How to Scale a 3D Model: Step-by-Step Guide for Any Tool
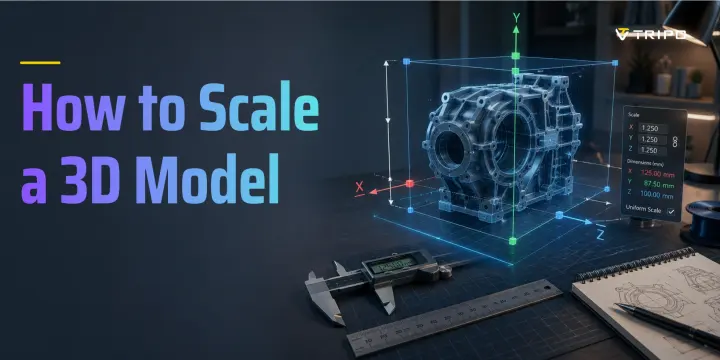
- Scaling a 3D model means resizing it proportionally or along individual axes.
- Most scaling problems come from unit mismatches between software and real-world dimensions.
- Blender, Cura, Tinkercad, and online tools all use slightly different scaling workflows.
- Uniform scaling preserves proportions; non-uniform scaling stretches or squashes selected axes.
- Tripo AI generates print-ready or game-ready meshes you can scale before or after export.
You have a 3D model, but it is the wrong size. Maybe it is too big for your print bed, too small for your game scene, or imported in the wrong units. Learning how to scale a 3D model is one of the most common beginner operations, but unit confusion still trips up experienced users.
This guide covers Blender, Cura, PrusaSlicer, Tinkercad, Meshmixer, and browser-based tools. It also explains uniform vs. non-uniform scaling, real-world print dimensions, and common export problems. Tripo AI’s AI 3D Model Generator outputs models you can scale directly inside the browser before export.
What Does Scaling a 3D Model Actually Mean?
Scaling a 3D model means changing the size of a mesh by applying a multiplier along the X, Y, and Z axes. If you scale a model by 2, it becomes twice as large. If you scale it by 0.5, it becomes half the size.
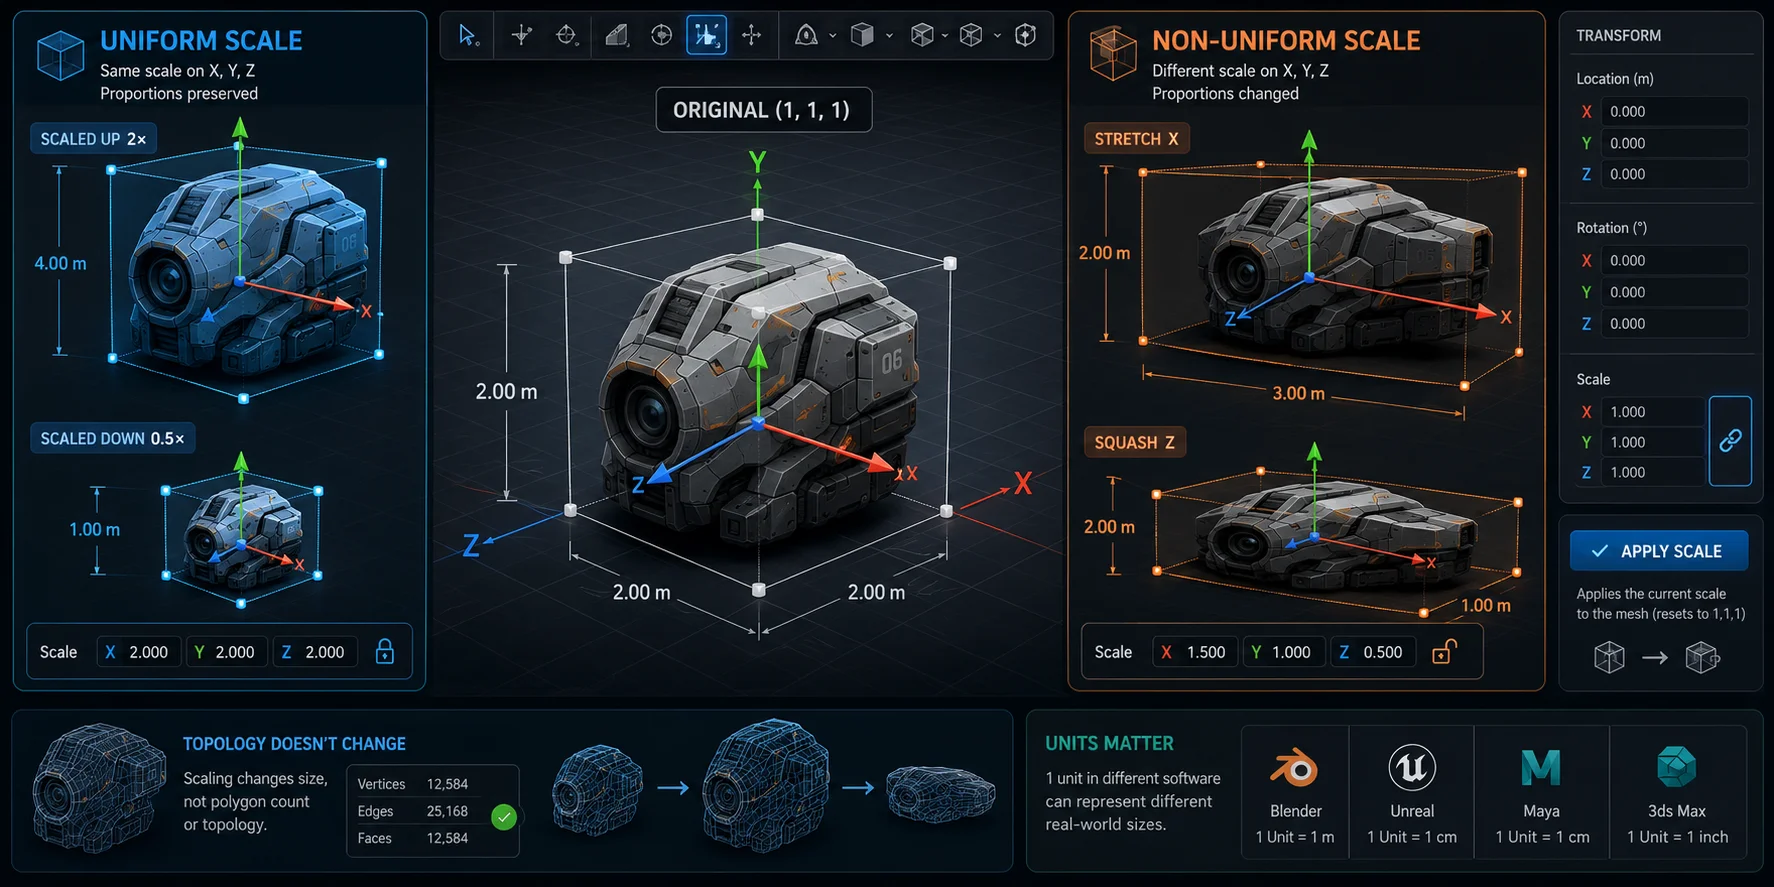
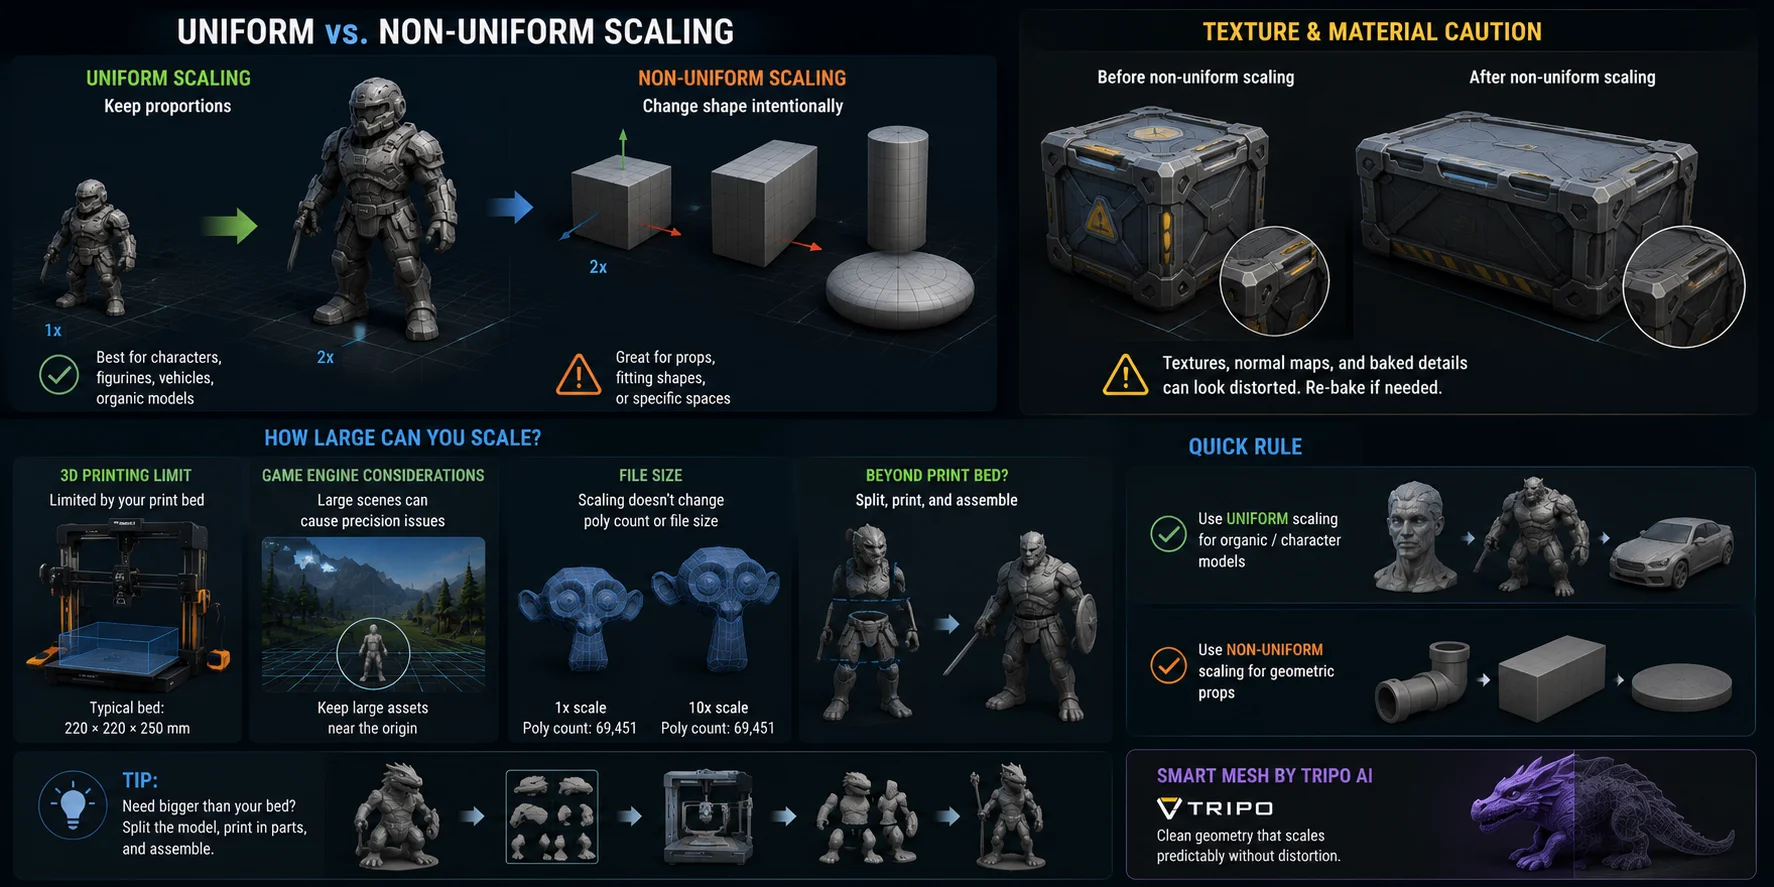
Uniform scaling applies the same factor to all axes, such as X = 2, Y = 2, and Z = 2. The model becomes larger or smaller, but its proportions stay the same.
Non-uniform scaling applies different values to different axes, such as X = 2, Y = 1, and Z = 0.5. This stretches or squashes the object.
Scaling does not change polygon count or mesh topology. It only transforms the model’s dimensions in 3D space. In Blender, scale can remain stored as a transform value separate from the actual mesh data, which is why you often need Ctrl+A → Apply Scale before exporting.
Units matter because “1 unit” is not universal. One cube unit in Blender might export as 1 meter, 1 centimeter, or 1 inch depending on your software settings.
Step-by-Step Scaling Workflow
The same basic scaling workflow works across most 3D tools.
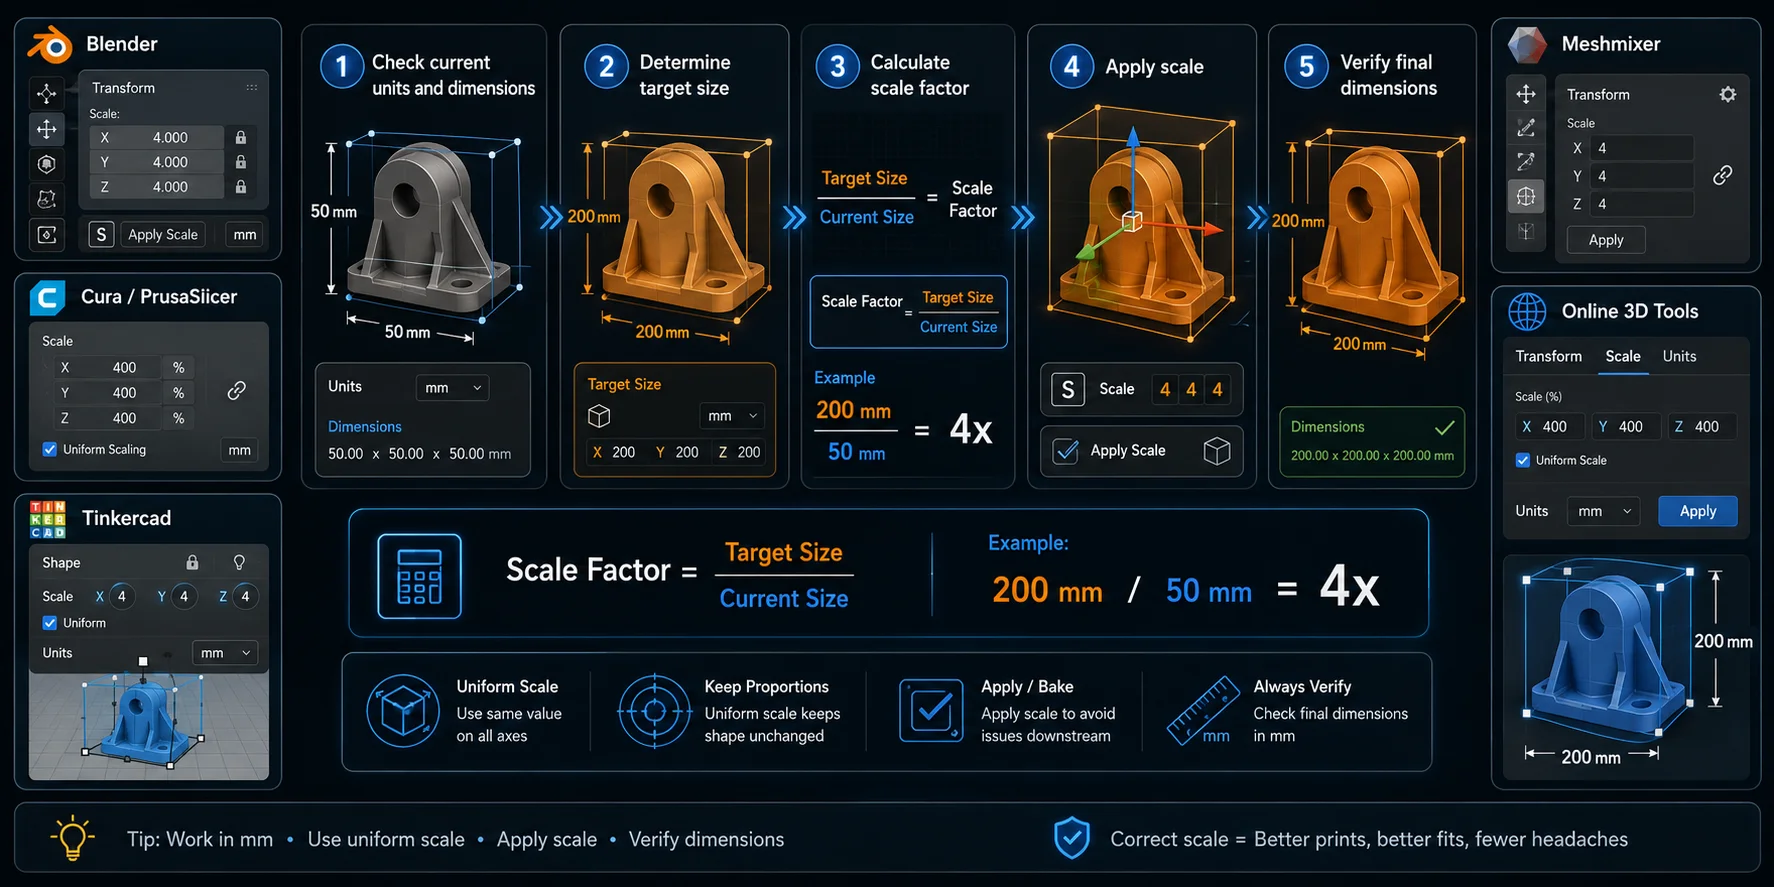
Step 1: Check current units and dimensions. Before scaling, confirm the model's current size. Use the dimension readout in Blender, Cura, PrusaSlicer, Tinkercad, or your online viewer. Never resize blindly.
Step 2 — Determine the target size. Your target depends on the workflow. For 3D printing, check your print bed. For games, check your engine scale. For product visualization, use real-world dimensions.
Step 3 — Calculate the scale factor. Use this formula:
Scale factor = target size / current size
For example, if a figurine is 50 mm tall and you want it to be 200 mm tall:
200 / 50 = 4
So you scale the model by 4×, or 400%.
Step 4 — Apply scale and verify. After scaling, check the dimensions again with a ruler tool, transform panel, or slicer readout. In Blender, apply the scale before export so the file carries the correct dimensions into the next tool.
| Tool | Scaling workflow |
|---|---|
| Blender | Press S → type scale value → Enter → Ctrl+A → Apply Scale |
| Cura / PrusaSlicer | Select model → Scale icon → type mm value or percentage |
| Tinkercad | Drag corner handles or type values into dimension boxes |
| Meshmixer | Edit → Transform → Scale |
| Online 3D tools | Use a slider, transform panel, or dimension input box |
The safest workflow is simple: check units first, calculate the scale factor, resize the model, then verify the final dimensions.
Scaling for 3D Printing — Getting Real-World Units Right
3D printing is the most unit-sensitive scaling workflow because your model must fit a real machine. Most slicers, including Cura, PrusaSlicer, Bambu Studio, and OrcaSlicer, work in millimeters. If the model imports at the wrong scale, it may appear tiny, enormous, or impossible to place on the bed.
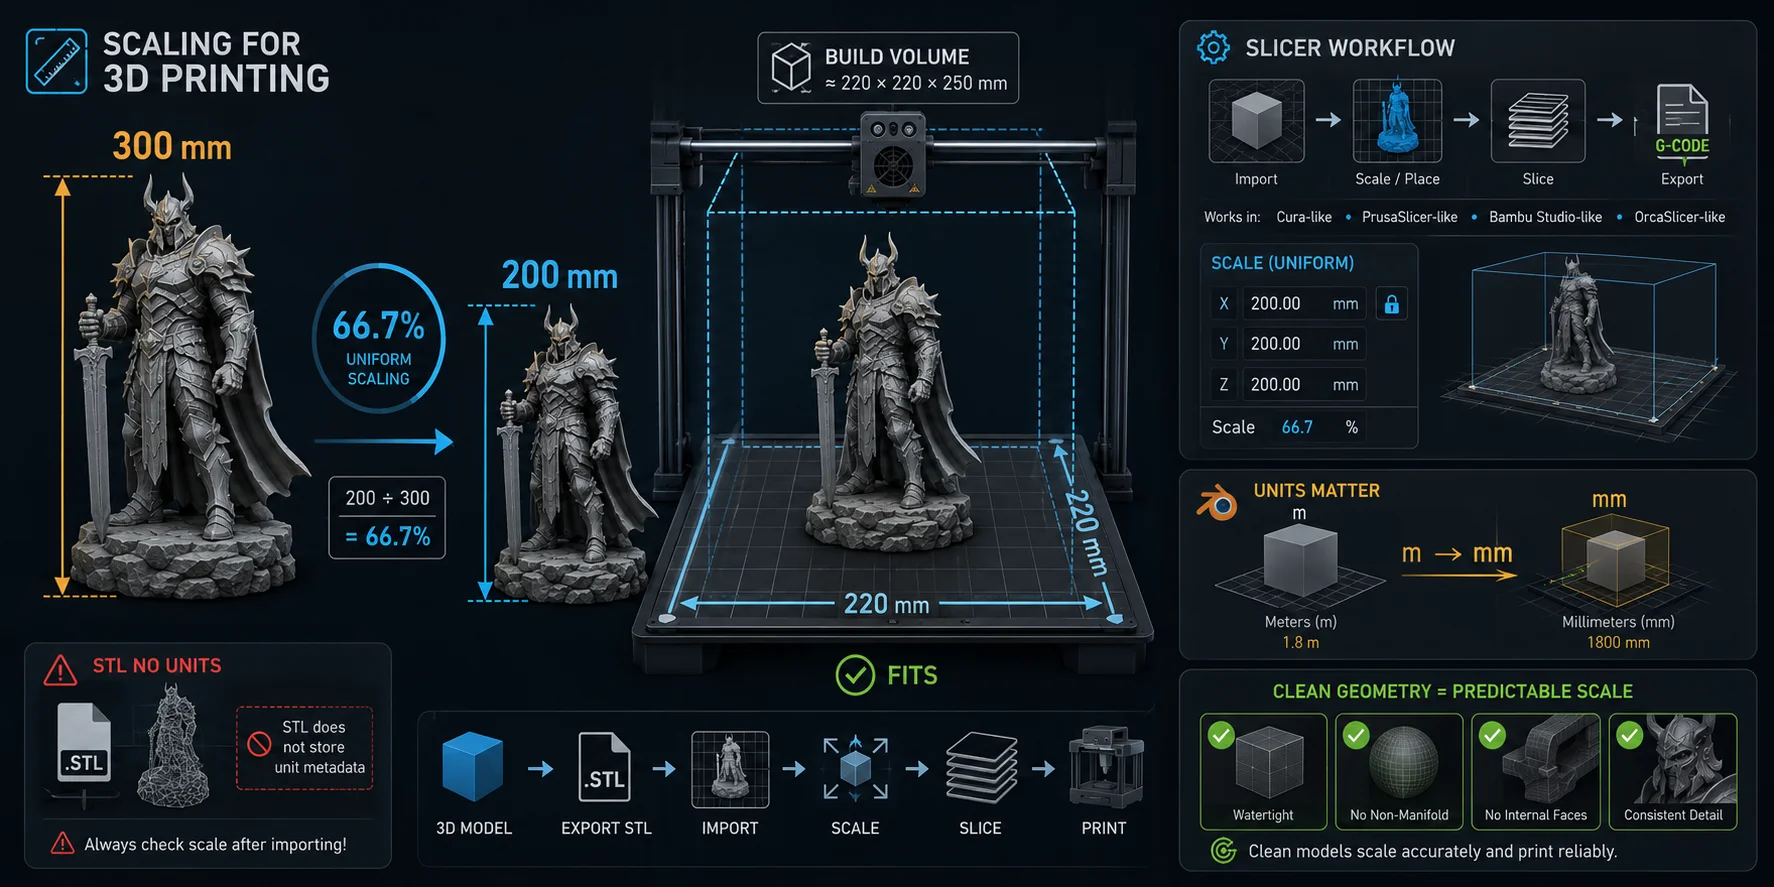
Blender often causes confusion because its default unit system is based around meters. A model that is 2 meters tall in Blender may appear as 2000 mm in a slicer, which is too large for most consumer printers. You can fix this by setting Blender scene units to millimeters before modeling, or by scaling the model down after import. In some Blender-to-slicer workflows, a 0.001 scale conversion is needed when meters are interpreted as millimeters.
STL files add another trap: they do not store unit metadata. A slicer usually assumes the file is in millimeters. If the model was created in inches, centimeters, or meters, the slicer may still read the numbers as millimeters.
Example: an Ender 3 has a common bed size of about 220 × 220 mm. If your figurine is 300 mm tall and you want it to fit at 200 mm:
200 / 300 = 0.667
Scale uniformly to about 66.7%.
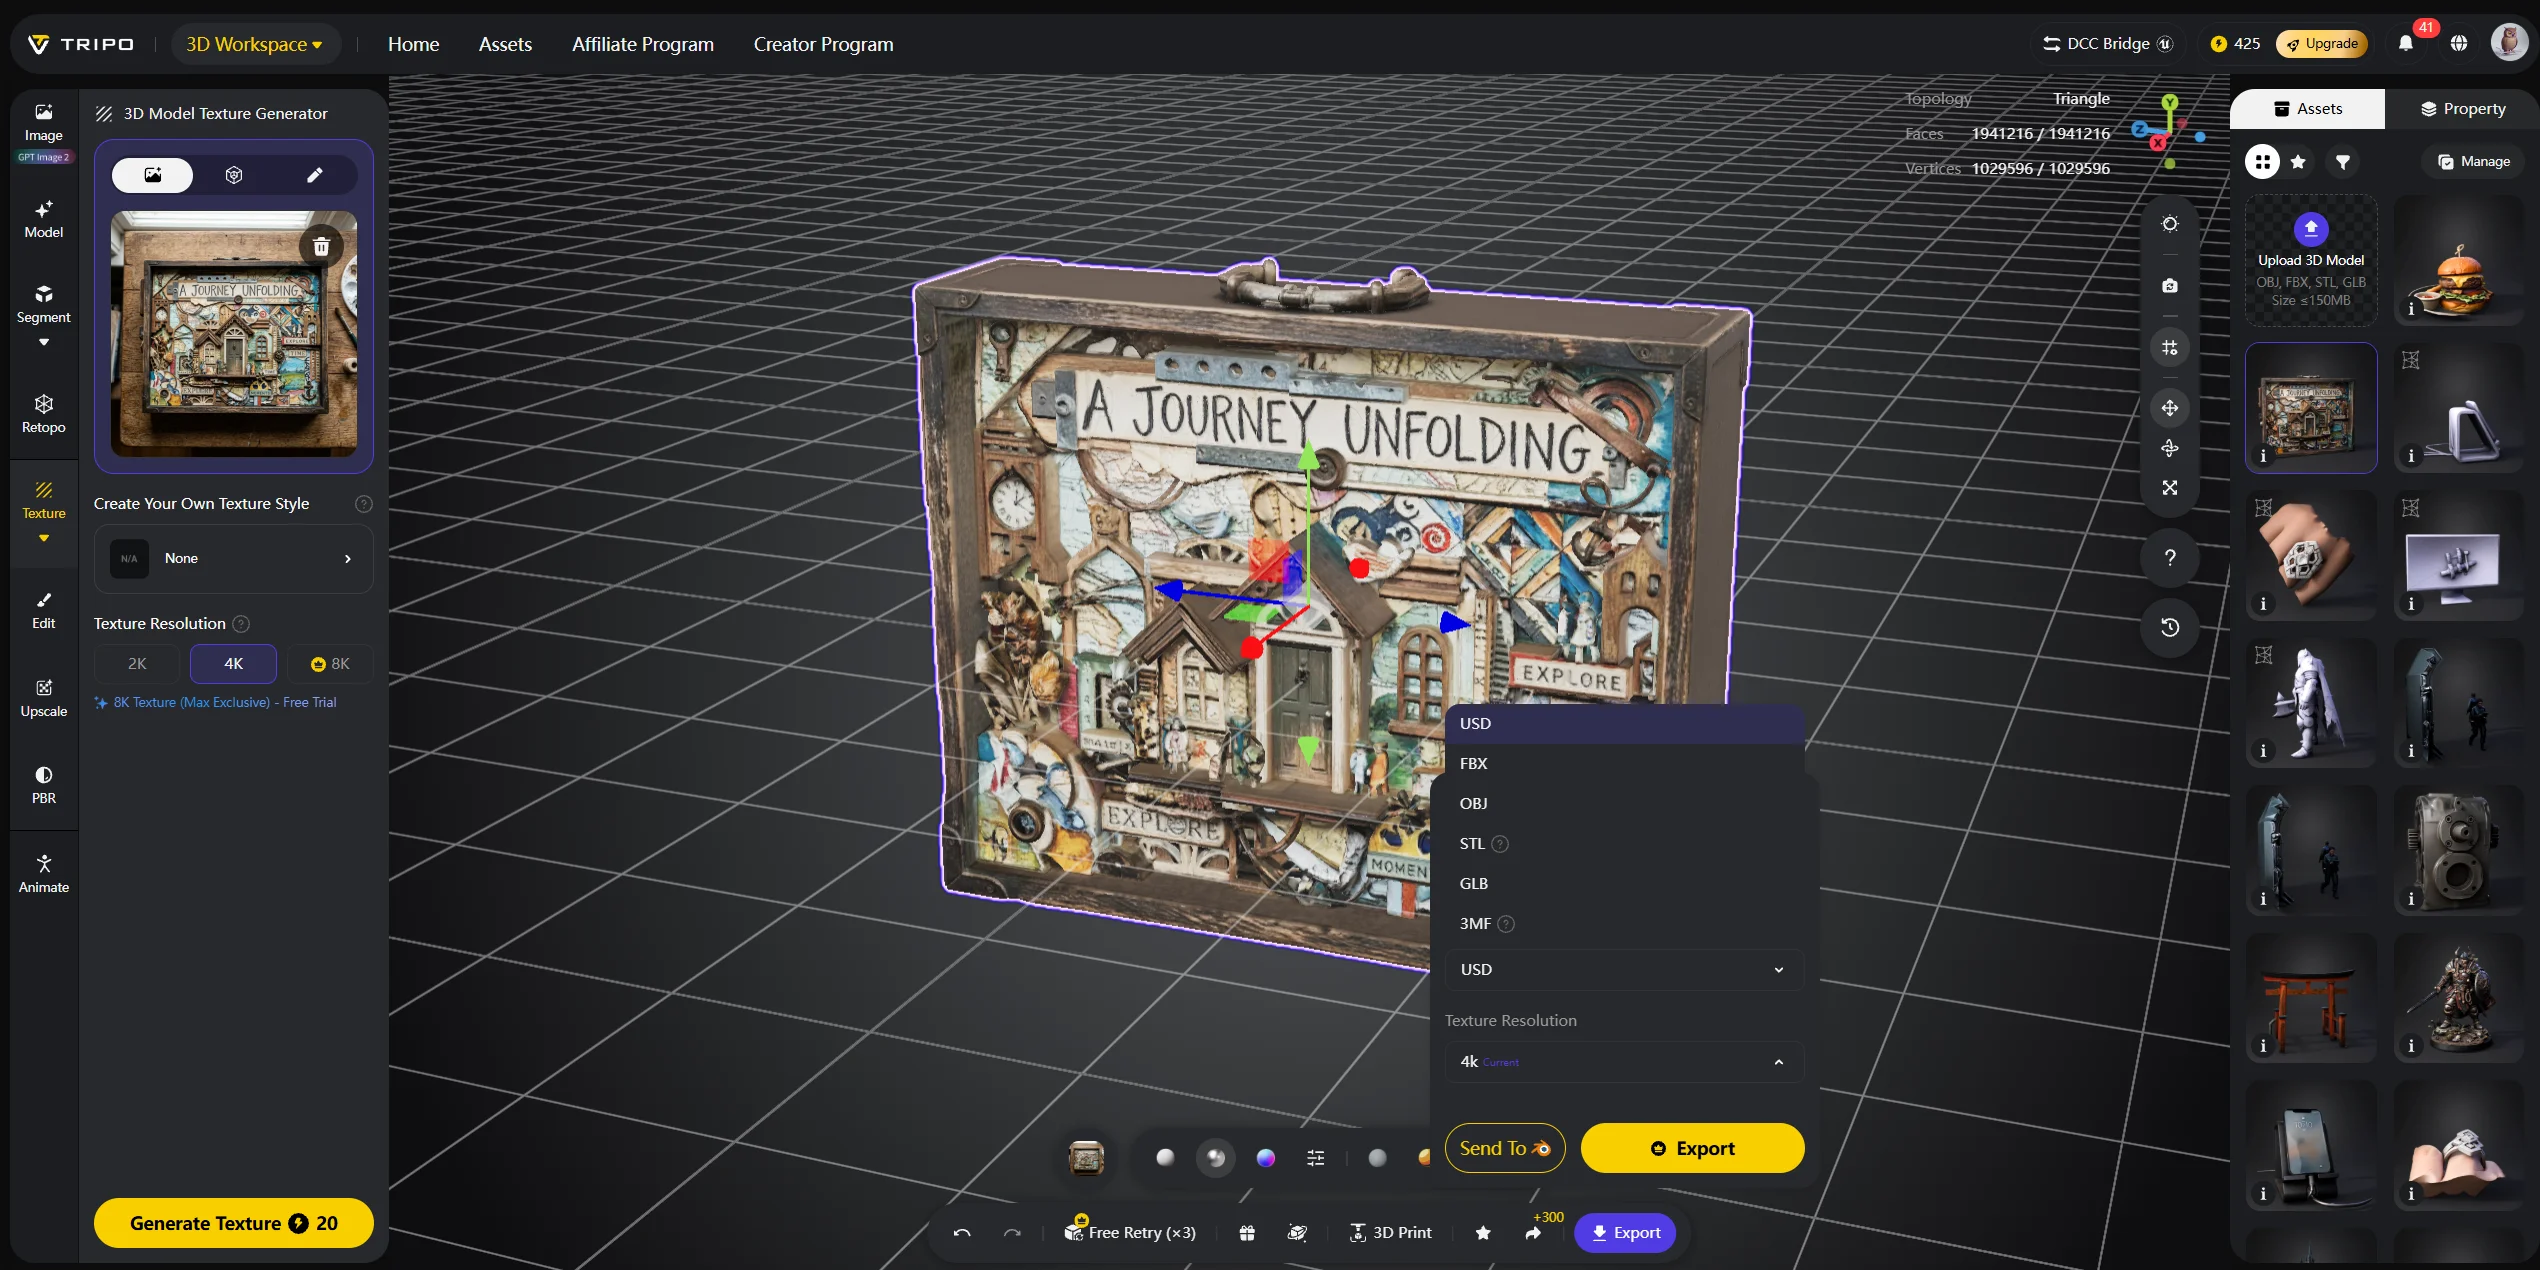
Tripo AI’s Smart Mesh helps generate clean geometry that scales predictably without unexpected distortion, especially when preparing assets for printing, editing, or engine export.
Uniform vs. Non-Uniform Scaling — When to Use Each
Use uniform scaling when you want the model to keep its proportions. This is the safest option for characters, figurines, vehicles, creatures, props, and organic models. If you scale a character uniformly, the head, body, arms, and legs all stay in proportion.
Use non-uniform scaling when you want to change the shape intentionally. You might stretch a cylinder into a pipe, squash a sphere into a disc, or resize a box so it fits a specific space.
Be careful with non-uniform scaling on textured assets. Normal maps, baked lighting, and detailed texture maps can look distorted if the mesh is stretched unevenly. After major non-uniform changes, you may need to re-bake textures or adjust materials.
Quick rule: if the model is organic or character-based, use uniform scaling. If it is a geometric prop that must fit a specific space, non-uniform scaling is usually fine.
How Large Can You Scale a 3D Model?
There is no hard software limit to scaling. You can scale a 1 cm model to 10 meters in Blender if you want. Practical limits come from the final use case.
For 3D printing, the main limit is your print bed. If the model is larger than the bed, you need to scale it down or split it into parts.
For game engines, very large meshes can cause floating-point precision issues, especially far from the scene origin. Keep large assets near the origin and use reasonable scene scale.
For file size, scaling alone does not change the file size because it does not add polygons. However, if you add subdivisions to make a low-resolution model look better after scaling up, the file will become heavier.
Tip: if you need a physical print larger than your bed allows, split the model into parts, print them separately, and assemble them afterward.
Scaling Individual Parts vs. the Whole Model
Multi-part models need extra care. A character might have a separate head, body, arms, armor, and accessories. If you scale only one part, the whole model may lose its proportions.
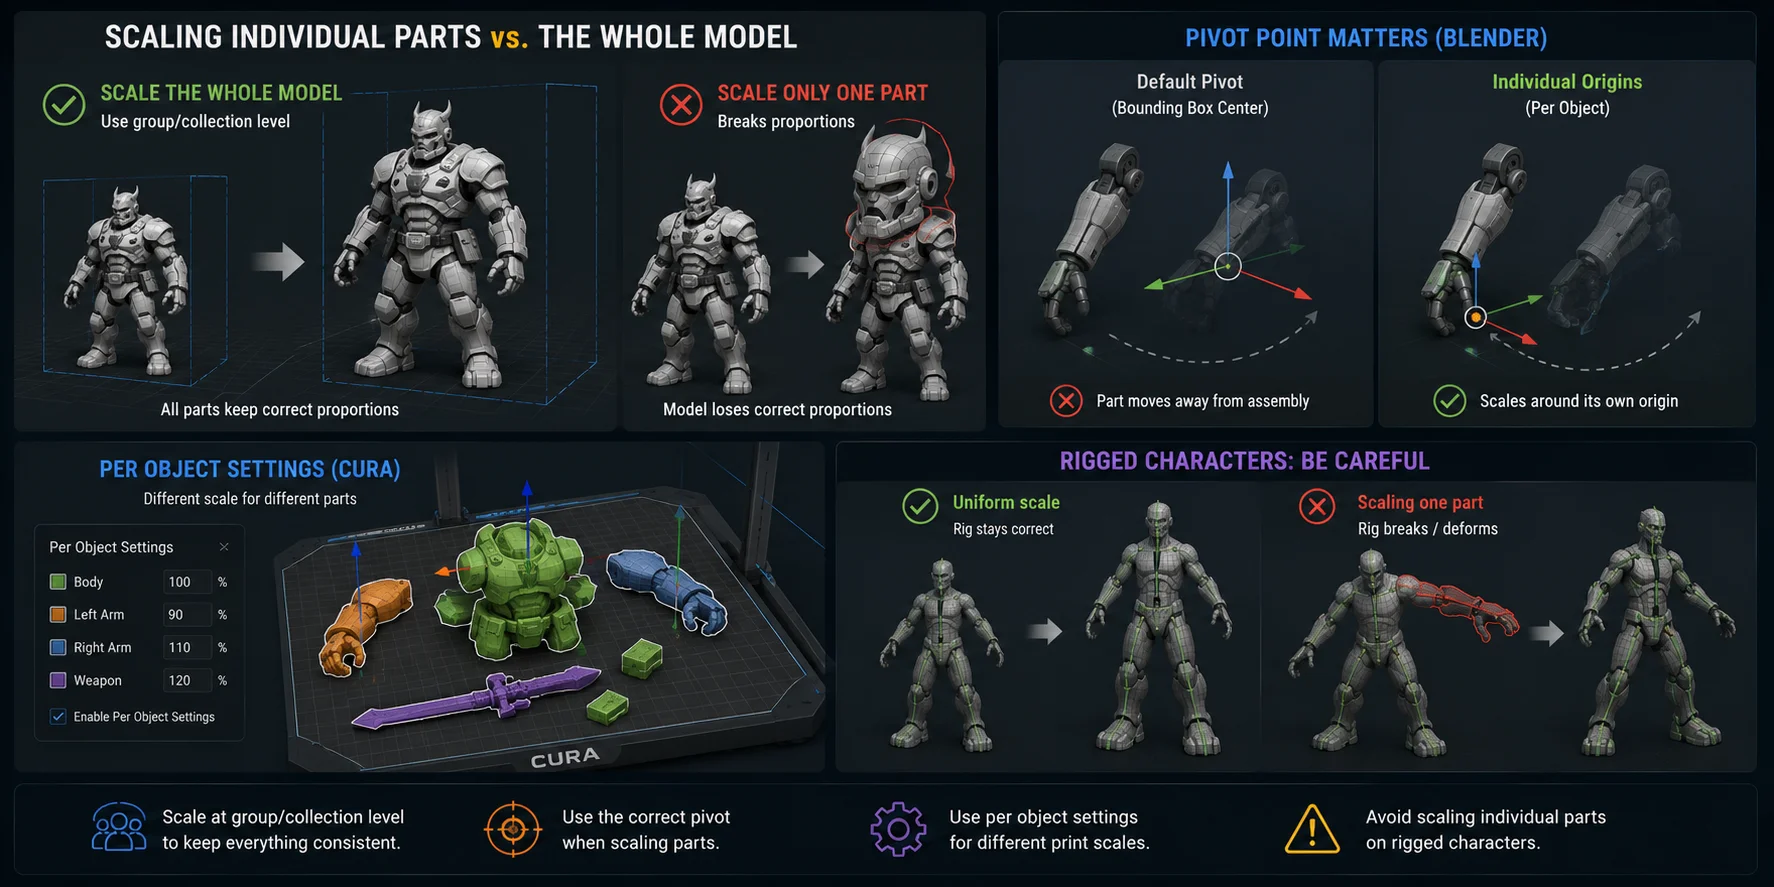
When resizing the entire model, scale at the group or collection level. This keeps all parts in the same relative position and size.
If you only need to scale one part, use the correct pivot point. In Blender, set the Pivot Point to Individual Origins before scaling selected objects. This keeps each selected part scaling around its own local origin instead of moving away from the assembly.
In Cura, use Per Object Settings if separate parts need different scale factors. This can help when printing multiple components on the same bed.
Avoid scaling individual parts of an already-rigged character unless you understand the rig. Bones, weight maps, and deformations may break if the mesh and skeleton no longer match.
Frequently Asked Questions
Can you scale up a 3D model? Yes. You can scale a 3D model up in Blender, Cura, PrusaSlicer, Tinkercad, Meshmixer, or online tools. The practical limits are print bed size, scene scale, texture quality, and mesh resolution.
Can you scale an STL file? Yes. STL files can be scaled in slicers such as Cura, PrusaSlicer, Bambu Studio, and OrcaSlicer. Because STL files do not store unit metadata, always check dimensions after import.
How do I scale my model? Check the current size, decide the target size, calculate the scale factor, apply the scale, and verify the final dimensions. In Blender, use Ctrl+A → Apply Scale before exporting.
How do you scale 1:100 to 1:56? Use source scale / target scale. For 1:100 to 1:56, calculate 100 / 56 = 1.786. Scale the model to about 178.6%.
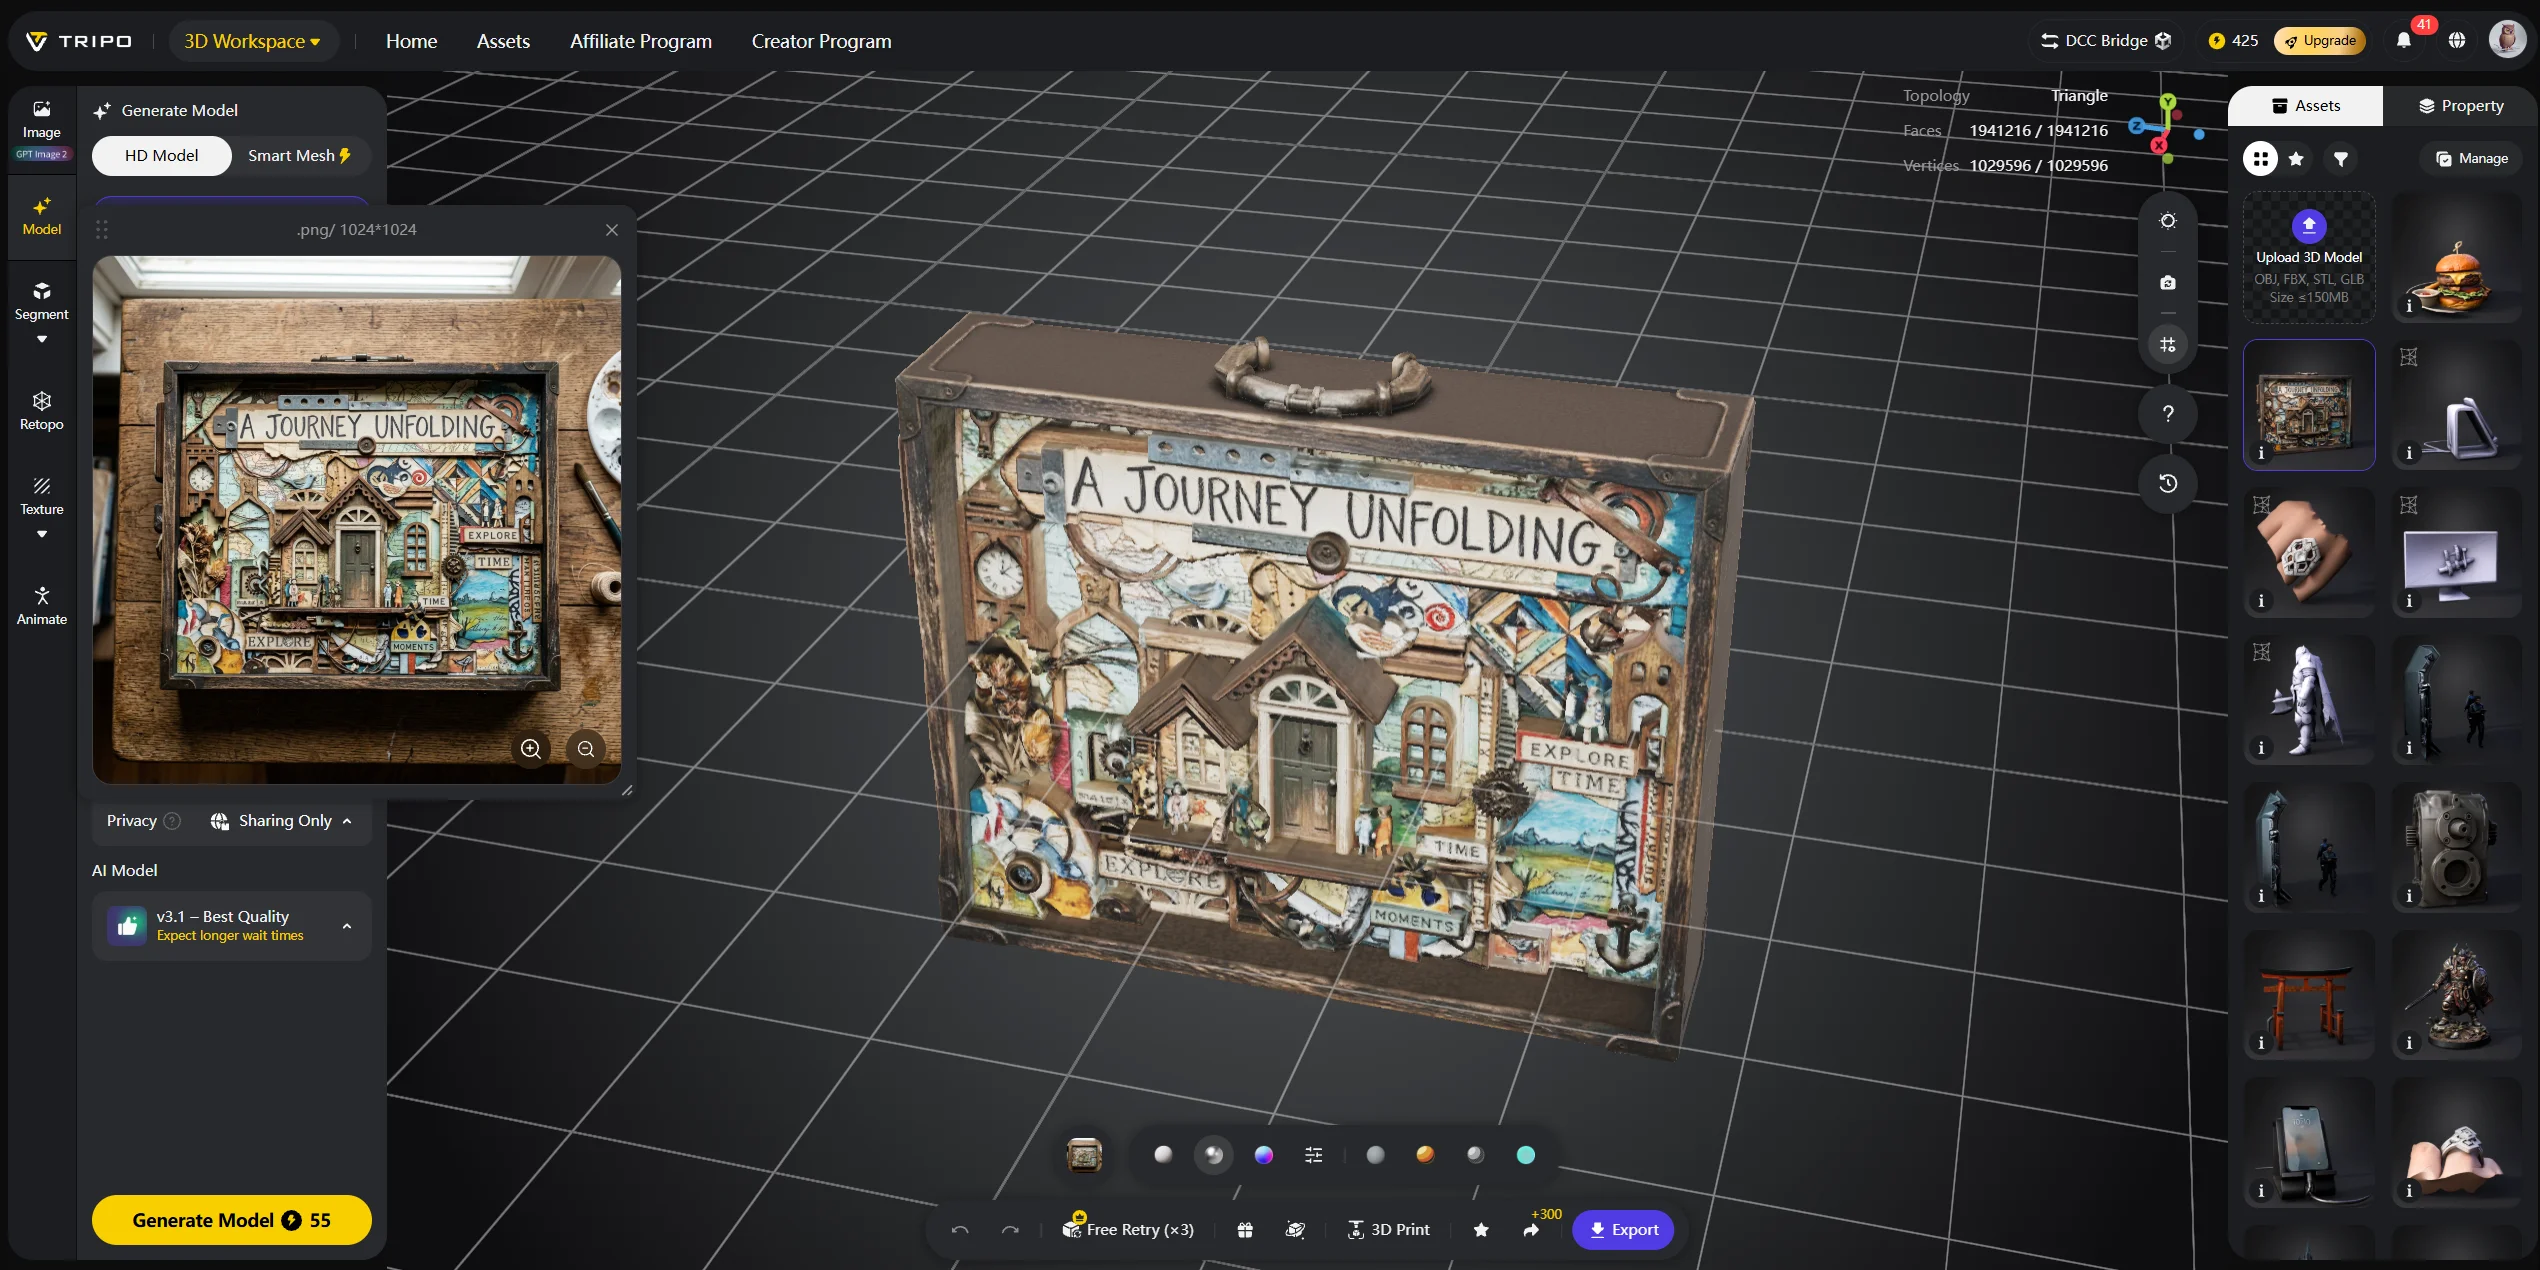
How can I scale a 3D model for free? Use free tools such as Blender, Cura, PrusaSlicer, Tinkercad, or Meshmixer. Tripo AI also offers browser-based model generation and preview workflows.
How do I resize a 3D model for printing online? Use an online viewer or browser-based tool to check dimensions, then export to a slicer for final print setup. The Tripo AI 3D Viewer can help preview the model before download.
Does scaling a 3D model affect print quality? Yes. Scaling down can make thin walls, small text, or fine details unprintable. Scaling up can reveal low-resolution geometry, so always check wall thickness and surface detail after resizing.
What is a 3D print scale calculator? A 3D print scale calculator helps convert one model scale to another, such as 1:100 to 1:56. You can also calculate it manually with source scale / target scale.
Conclusion
Scaling is straightforward once you understand units, proportions, and pivot settings. Use uniform scaling when you want to preserve shape, and non-uniform scaling when a geometric part needs to fit a specific space.
Tripo AI generates well-proportioned meshes you can preview and resize in the 3D Viewer before downloading, saving one round-trip in your workflow. Try Tripo AI Studio or see Tripo AI Pricing.