Why Is My 3D Model Not Printable? Common Causes and How to Fix Them
TL;DR
- A non-printable 3D model usually has geometry, thickness, scale, or export issues.
- Start by checking manifold geometry, face normals, wall thickness, and slicer warnings.
- Use your slicer and a mesh-analysis or repair tool to identify issues, then validate the repaired file in layer preview.
- Tripo tools can help create or edit 3D assets, but every final model still needs printer- and material-specific validation before printing.
- Check the final export, dimensions, wall thickness, and layer preview before starting a print.
You have a model that looks perfect on screen, but your slicer marks it as broken or the print fails halfway through. If you are asking, "why is my 3D model not printable?", the issue is usually the model's geometry, such as holes, non-manifold edges, flipped normals, thin walls, overlapping shells, or scale errors.
Most printability problems can be diagnosed and fixed. This guide explains what makes a model printable, the five common failure causes, how to check your file, and how to repair it with a slicer and mesh-analysis tools. A model created for visual rendering still needs a final printability check before it goes to a printer.
What Makes a 3D Model "Printable"?
A printable 3D model is a closed, solid, geometrically valid mesh that a slicer can turn into toolpaths without confusion. It must describe a real physical volume, not just a surface that looks good on screen.
A print-ready model usually has five core properties:
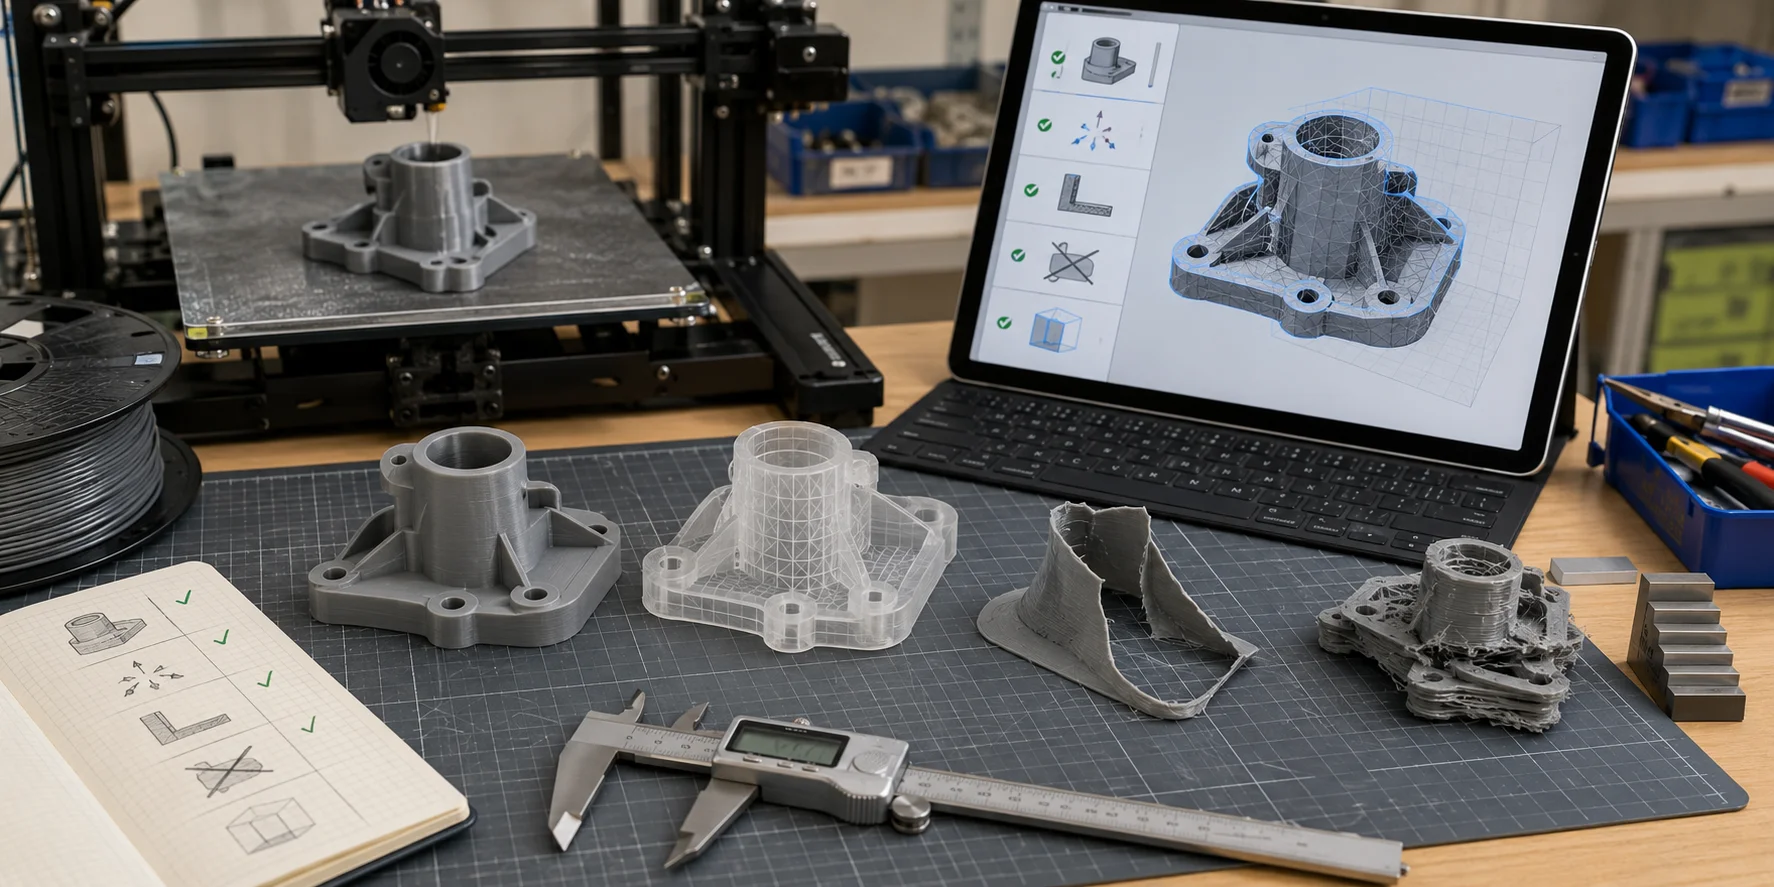
- Manifold or watertight geometry: The model has no holes, and every edge is connected correctly.
- Correct face normals: All faces point outward, so the slicer knows which side is inside and outside.
- Enough wall thickness: Walls and small features are thick enough for the printer to reproduce.
- No self-intersections: Parts of the mesh do not overlap in confusing ways.
- Correct scale and build volume: The model fits the printer and imports at the intended size.
This is different from a display mesh. Game assets, cinematic models, scanned objects, and some AI-generated visuals are often optimized for appearance, not physical printing. They may contain zero-thickness surfaces, internal faces, hidden holes, or overlapping pieces.
File format also matters. STL and 3MF are widely used for 3D printing, while formats created for rendering or editing may need conversion and geometry validation before slicing.
Why Is My 3D Model Not Printable? The 5 Most Common Causes
1. Non-Manifold Geometry
Non-manifold geometry means the mesh is not a clean closed solid, with holes, poorly connected surfaces, or edges shared by too many faces.
Spot it: Import the model into your slicer and read any mesh, hole, or non-manifold warning. If it does not report a clear result, run the program's mesh-analysis check before slicing.
2. Inverted or Incorrect Face Normals
Face normals tell the slicer which side is outside. Flipped normals may look fine in modeling software but confuse shell and infill generation.
Spot it: Use the face-orientation or normal-display view in your 3D editor. Faces that point inward or display as reversed need correction before export.
3. Wall Thickness Below Minimum
If walls are thinner than the capability of your printer, nozzle, material, and chosen process, the slicer may omit them or produce a weak part. Use the recommendation for the specific printer and material you will use rather than a single universal number.
Spot it: Use your slicer's thin-wall or feature check, then inspect layer preview for details that disappear or break into isolated lines.
4. Self-Intersecting or Overlapping Geometry
Self-intersections happen when mesh parts overlap in the same 3D space, often after Boolean operations, creating unclear inside/outside regions.
Spot it: Run a mesh-intersection or mesh-repair check. Inspect any highlighted overlapping shells or ambiguous regions before continuing.
5. Incorrect Scale or File-Unit Mismatch
A model built in millimeters but exported as centimeters can import 10x too large or too small. Some export workflows also strip unit data.
Spot it: Check the slicer's bounding box and compare it with the intended real-world dimensions.
Manifold and Watertight Models: Why It Matters
A watertight model is easy to understand if you imagine filling it with water. If water would leak through holes or gaps, the mesh is not watertight, and the slicer may not treat it as a printable solid.
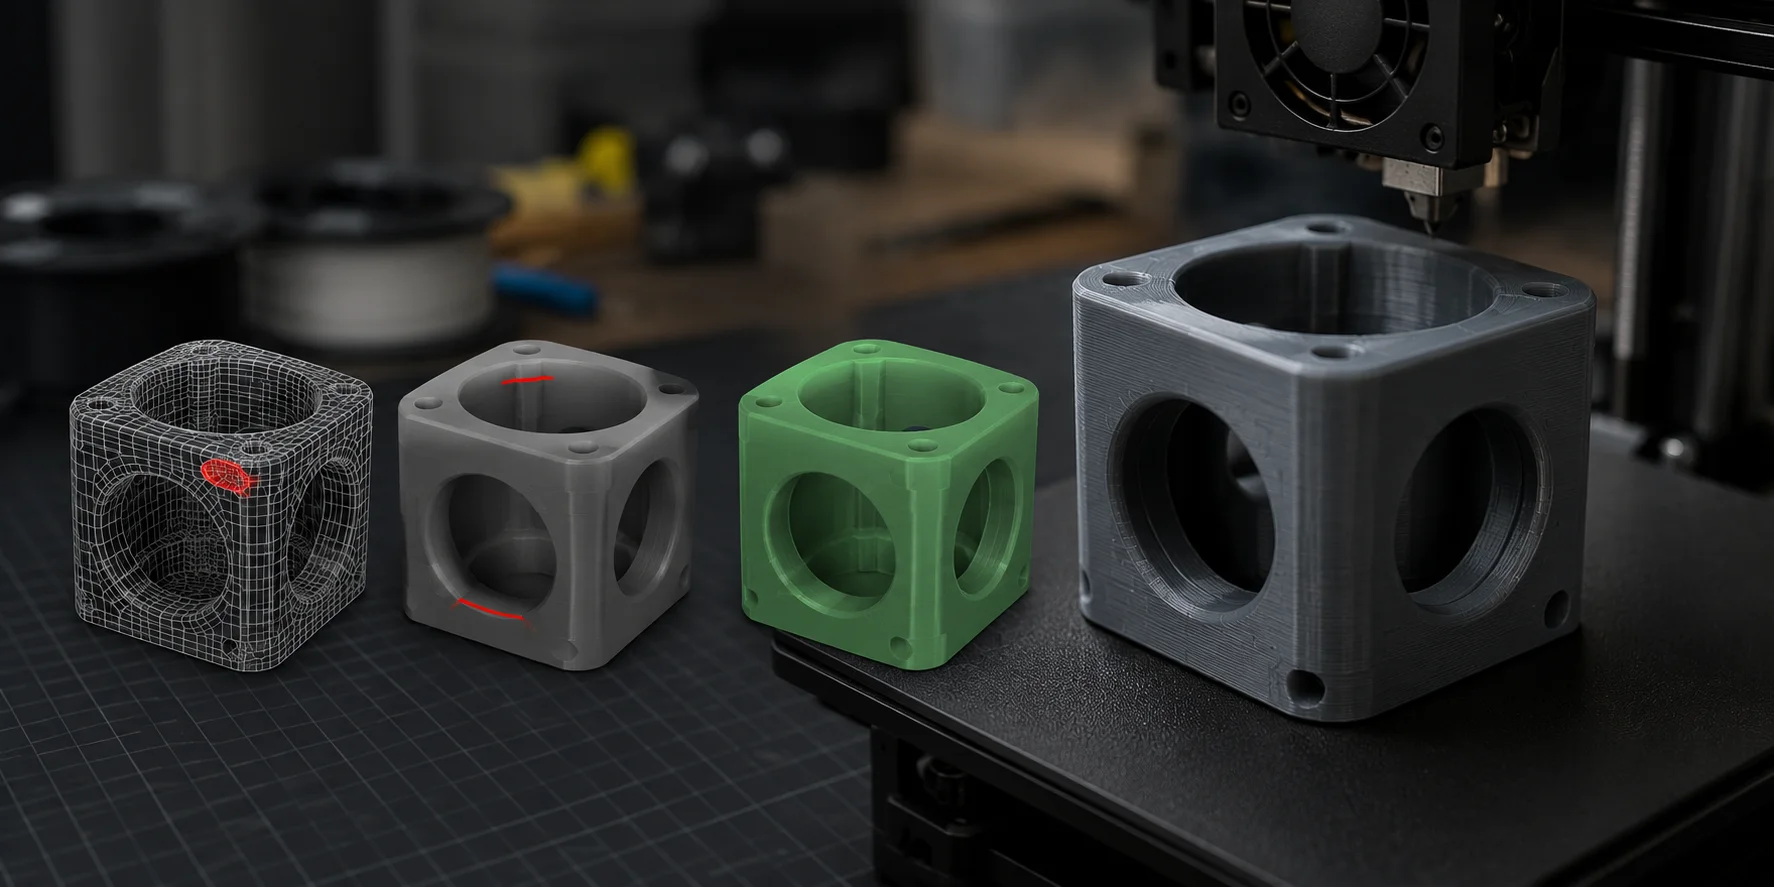
A valid manifold mesh has every edge shared by exactly two polygons. A "naked edge" creates a hole, while an edge shared by three or more faces makes the model's interior unclear.
Slicers need a clear inside and outside to generate shells, infill, supports, and toolpaths. If the mesh is not manifold, it can cause missing walls, broken layers, hollow sections, or confusing print paths.
Non-manifold geometry is not just a beginner mistake. CAD exports, Boolean intersections, imported files, and scanned models can all contain hidden gaps. The goal is to turn the broken surface into a closed, solid model the slicer can read correctly.
Wall Thickness Requirements for 3D Printing
Every printing process has a physical minimum size it can reproduce. If your model is below that threshold, the slicer may ignore the detail, or the printed part may be too weak to survive.
| What to check | How to set the requirement |
|---|---|
| Wall thickness and small features | Use the minimum values in the documentation for your exact printer, nozzle or optical system, material, and layer settings. |
| Part strength | Increase thickness, orientation support, or structural features according to the part's load and the material guidance. |
| Service-bureau orders | Use the selected service's current design guide, because limits vary by process and material. |
If walls are too thin, they may disappear in the slicer layer preview. This often looks like the model is "broken" only in certain areas, even though it looked complete in the modeling software.
For small lettering, engravings, and fine decorative features, begin with the printer or material manufacturer's design guidance and verify the result in layer preview. A small test print is the reliable way to confirm marginal details.
For AI-generated or scanned models, inspect the mesh before printing. Tripo AI's Smart Mesh is designed for optimized low-poly topology; it does not replace a printer-specific wall-thickness and slicing check.
How to Check If Your 3D Model Is Printable
Before fixing a model, diagnose the issue clearly. Use this four-step workflow to find geometry, scale, and slicing problems before wasting print time.
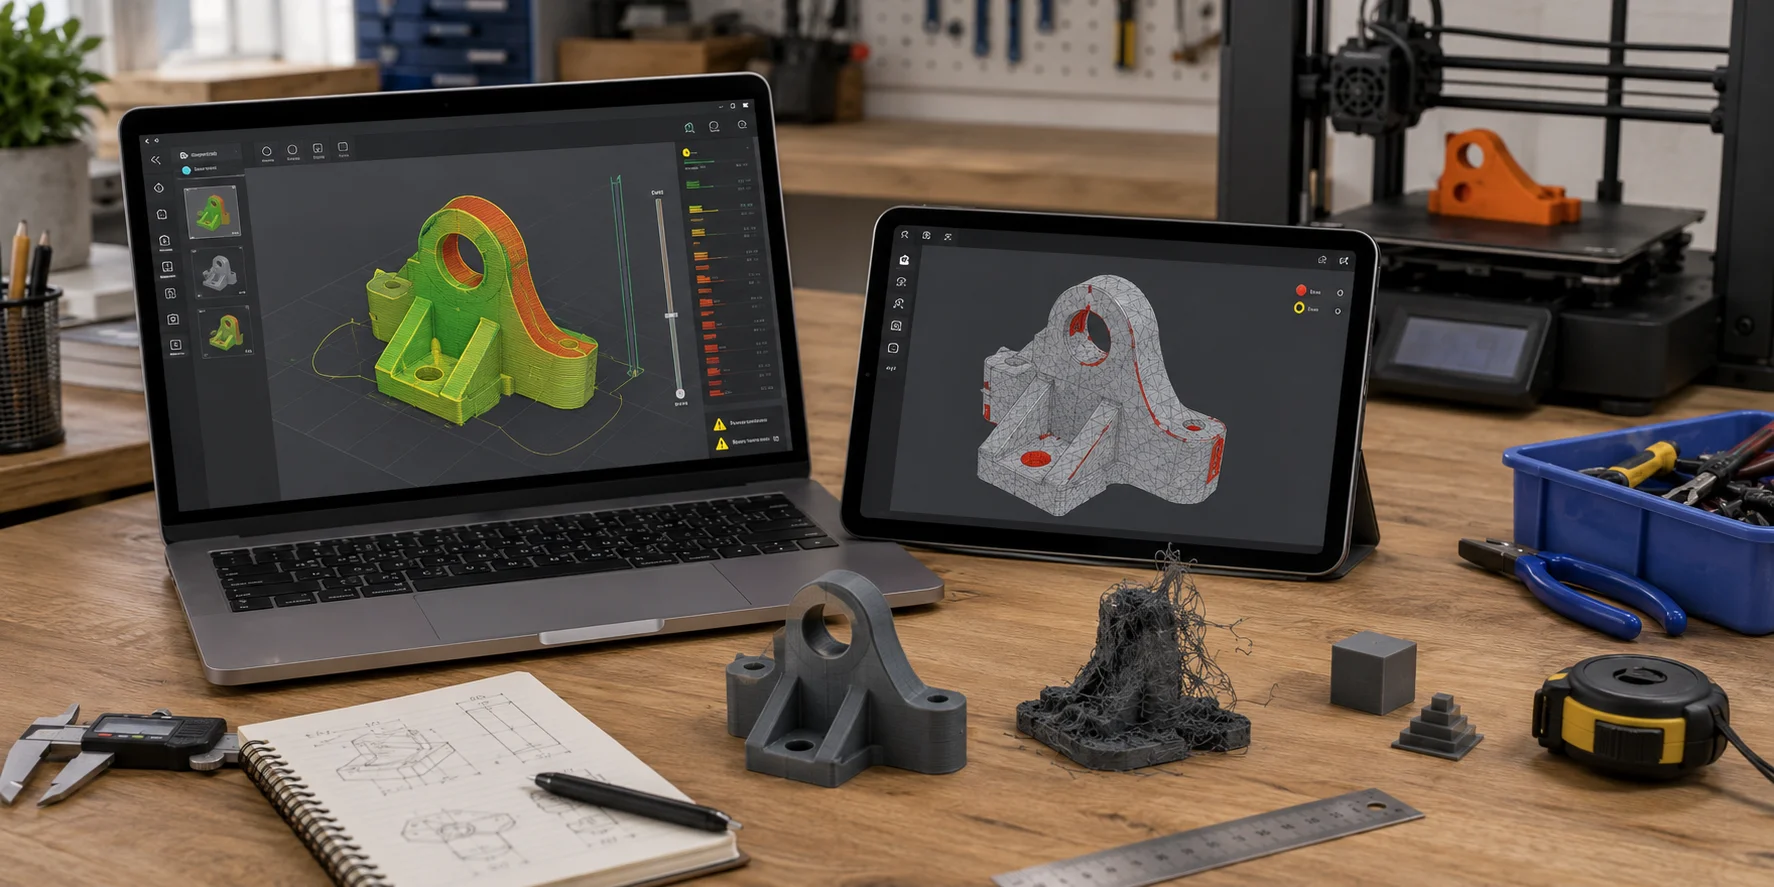
Step 1: Import the Model into a Slicer
Open the file in your slicer. Read any warning about holes, non-manifold regions, or an invalid mesh, and do not treat a successful import as proof that the part will print correctly.
Step 2: Run a Mesh Analysis Tool
If the slicer warning is unclear, use a mesh-analysis or repair utility. Check for holes, non-manifold regions, inverted normals, self-intersections, and walls below the requirement for the chosen printer and material.
If a model needs easier manual editing, Tripo AI's AI Quad Remesher can convert a triangle mesh to quad-dominant topology. Inspect and slice the resulting mesh before printing; remeshing alone is not a printability check.
Step 3: Check Scale and Units
Compare the slicer's bounding box with the intended real-world size. If a 20 cm object appears as 2 cm, re-export with explicit millimeter units.
Step 4: Preview Layer by Layer
Use layer-preview mode and scroll from bottom to top. Missing layers, unexpected gaps, disconnected islands, or disappearing thin sections usually indicate wall-thickness issues, mesh errors, or self-intersections.
How to Fix a 3D Model for Printing
Start with the fastest repair method, then move to manual cleanup only if the problem remains.
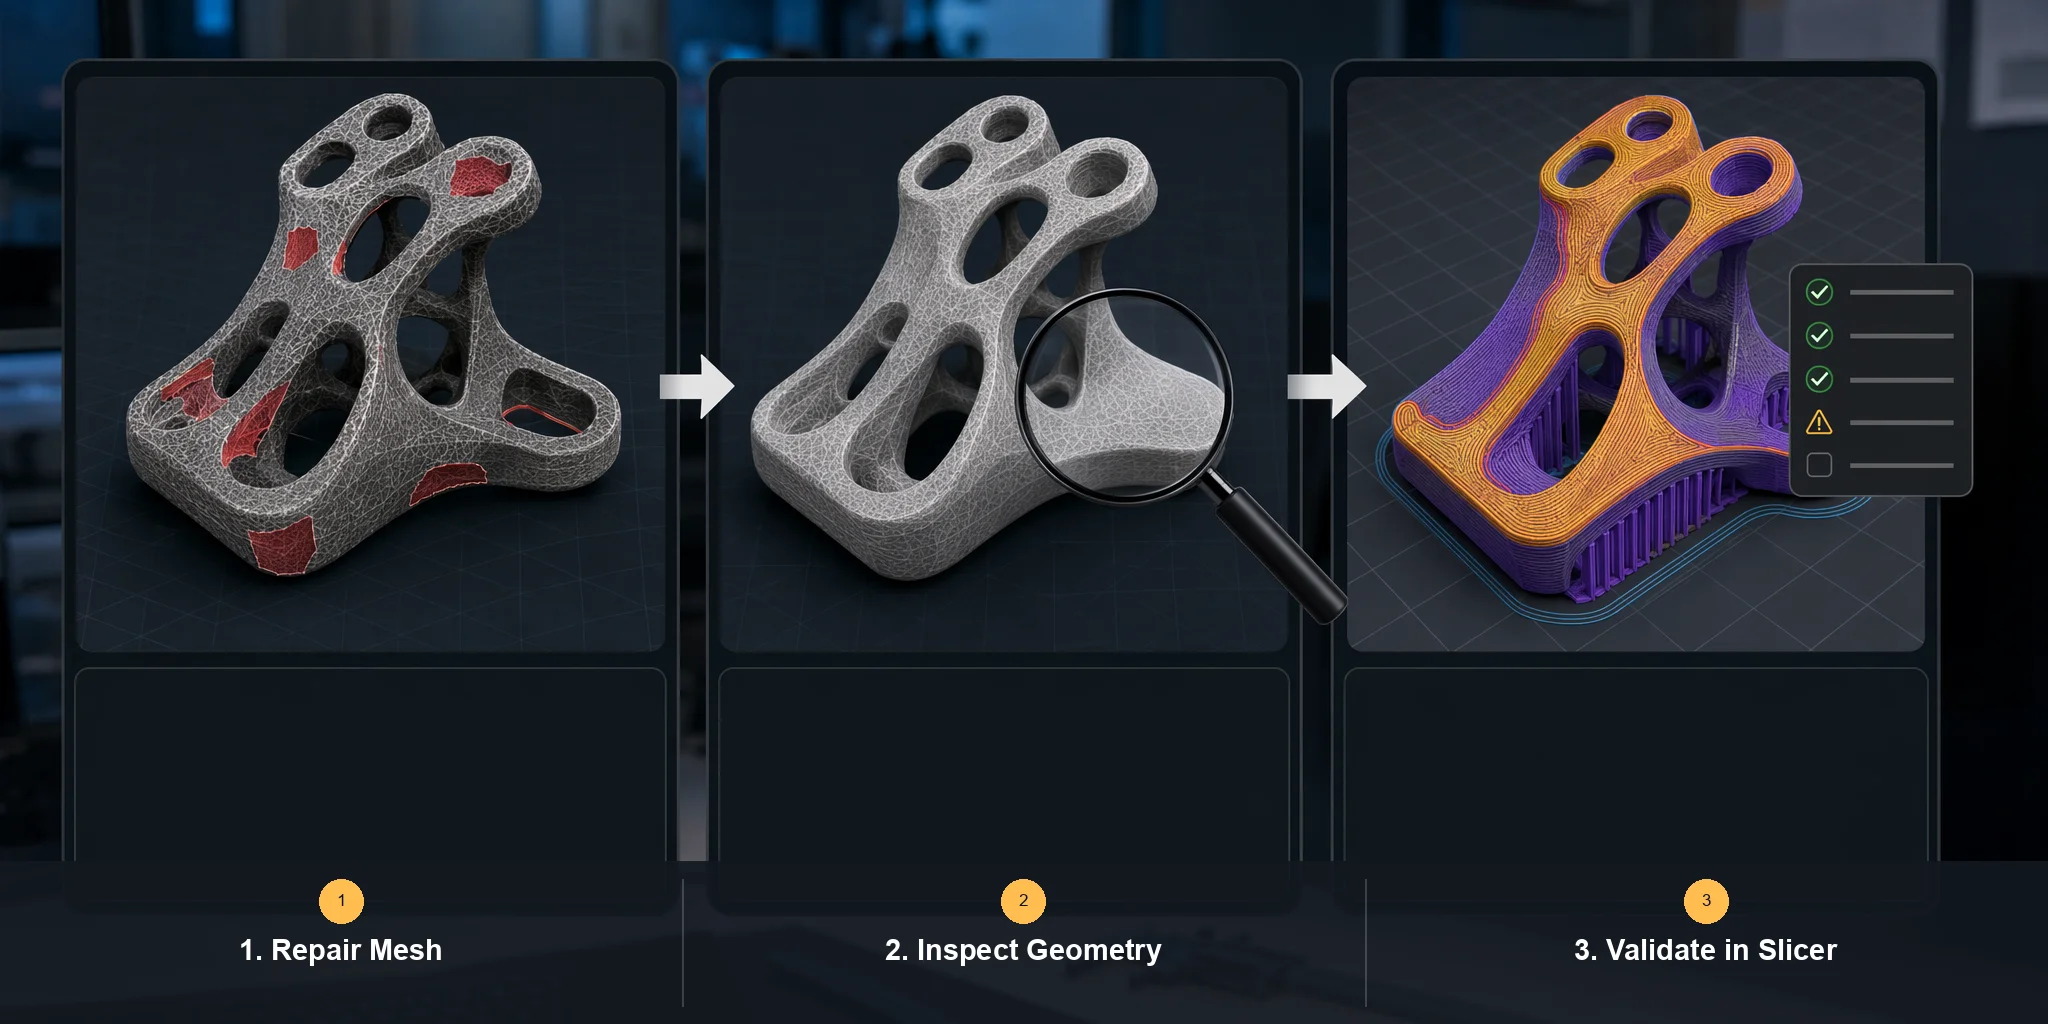
Fix 1: Try Auto-Repair First
For simple STL errors, start with a mesh-repair utility's automatic repair function, then reopen the saved file in your slicer. If you use a 3D editor, fill confirmed holes and recalculate outward normals before export. Always validate the repaired result in layer preview.
Fix 2: Clean Up the Mesh Manually
For complex issues, inspect the mesh directly. Select boundary or non-manifold edges in your 3D editor, then bridge, fill, merge, or remove geometry until the mesh-analysis check reports a closed, unambiguous volume.
Fix 3: Rebuild Thin Walls
If walls are too thin, repair tools may close holes but will not make the part suitable for your process. Add material or redesign the feature using the minimum wall and feature guidance for the exact printer and material, then test marginal details.
Fix 4: Correct Face Normals
In your 3D editor, select the mesh and use its normal-orientation or recalculate-outside command. Re-run mesh analysis afterward, because imported meshes can still contain overlapping shells or open boundaries.
Fix 5: Re-Export with Proper Settings
Before exporting, use the unit system expected by your slicer, apply object transforms, and include the final mesh changes. After export, check the imported bounding box and layer preview before printing.
For future models, starting with cleaner geometry can reduce repair work. Tripo AI's Smart Mesh is intended for optimized low-poly topology, but the final export still needs mesh analysis and slicing validation for the target printer.
Common 3D Modeling Mistakes That Cause Print Failures
Many print failures come from small modeling habits that look harmless on screen. These mistakes are common but easy to avoid once you know what to check.
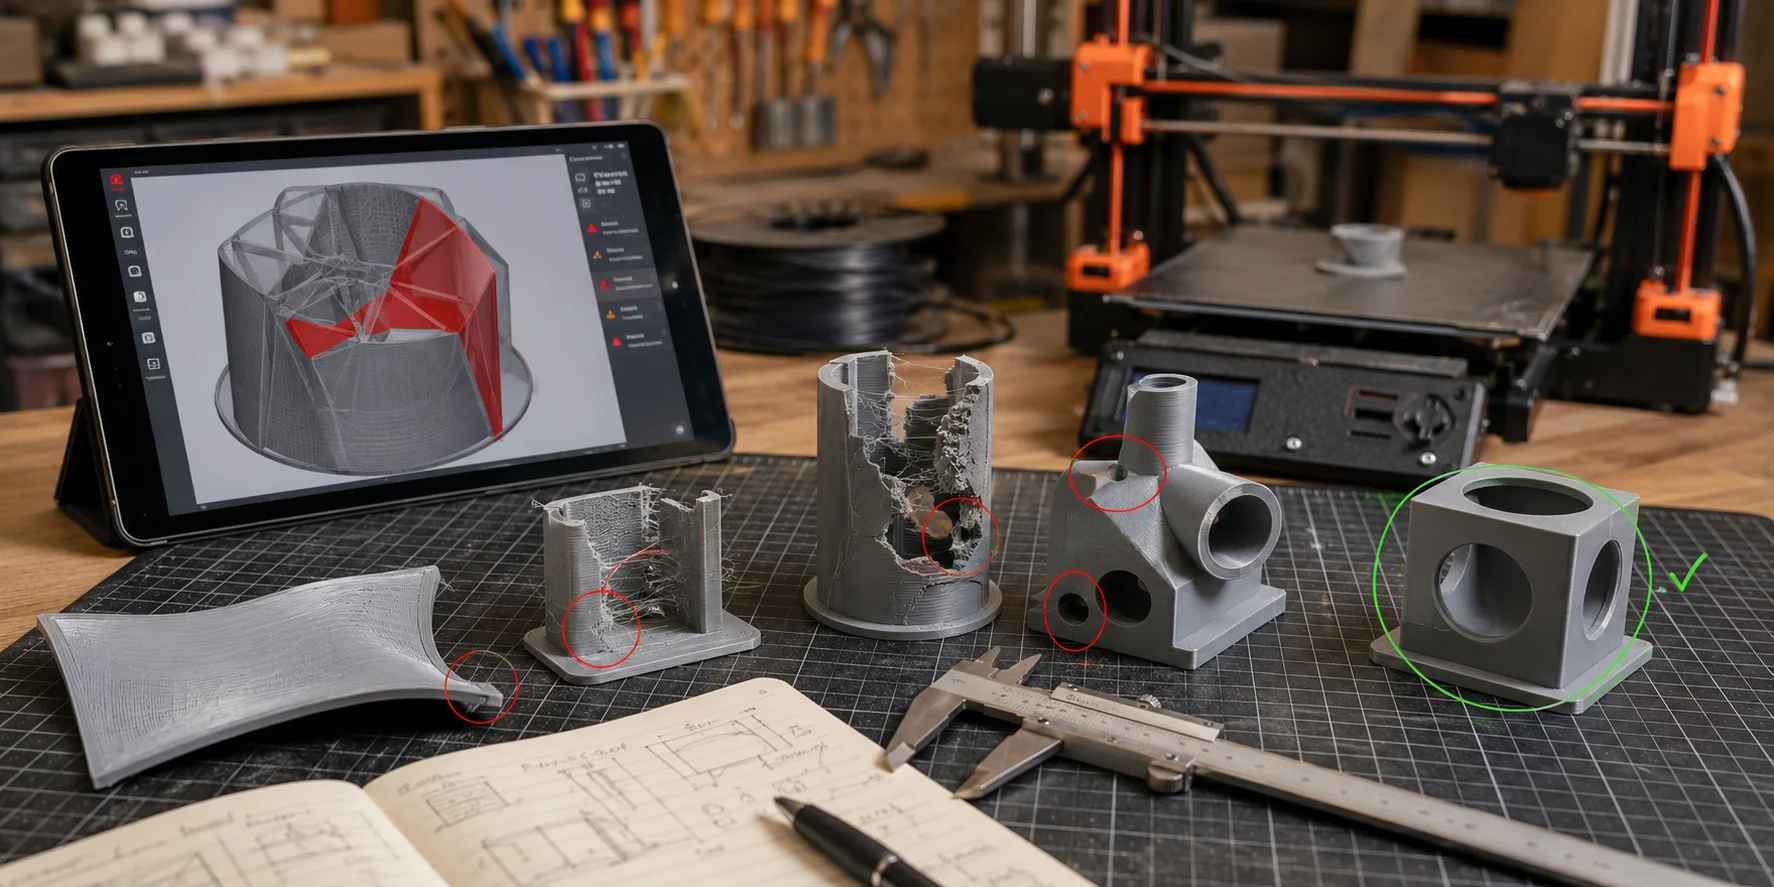
- Using subdivision or NURBS surfaces without converting to mesh: Slicers need mesh geometry, so convert smooth surfaces to a valid triangulated mesh before export.
- Importing game or cinematic assets directly: These assets are built for visuals, not printing. Check for duplicate vertices, zero-thickness surfaces, inverted normals, and disconnected shells.
- Ignoring slicer warnings: A model that looks fine can still fail if the slicer reports mesh errors. Read warnings and fix the cause before printing.
- Forgetting to apply scale transforms: Object-level scaling may not be preserved as expected by every export workflow. Apply transforms before export, then verify the bounding-box dimensions in the slicer.
- Generating supports inside enclosed cavities: Trapped internal supports can damage the model or stay inside permanently. Avoid sealed cavities that require unreachable supports.
- Overusing Boolean operations without cleanup: Boolean cuts and unions can create non-manifold edges. Run a mesh check after every major Boolean edit.
Print Quality Troubleshooting: When the Model Is Printable but the Print Still Fails
Even a valid model can fail because of slicer settings, material behavior, or printer calibration. If the mesh is clean but the print still looks wrong, check these non-geometry issues.
Bed adhesion or first-layer failure: Clean and level the build surface, confirm the correct surface preparation, and begin with the printer and material manufacturer's recommended first-layer and bed settings. Change one setting at a time and use a small test print.
Layer separation or delamination: Begin with the approved material profile, then check print speed, temperature, cooling, and material condition. Adjust in small increments within the manufacturer's stated range and record the result.
Warping or lifting corners: Verify build-surface preparation, ambient conditions, part orientation, and the recommended bed and chamber settings for the material. Add adhesion features only after checking the profile guidance.
Stringing: Start with the printer's validated material profile. Tune retraction, travel, temperature, and drying only within the equipment and material guidance, using a controlled test model rather than a universal distance.
Under-extrusion or missing walls: Check the material path, nozzle condition, extrusion calibration, and slicer material profile. Confirm that the selected filament or resin settings match the material actually loaded.
Troubleshoot in layers: geometry first, then slicer settings, then hardware calibration and material condition.
Frequently Asked Questions
Why is my 3D print not printing?
The most common reasons are non-manifold geometry, holes in the mesh, walls that are too thin, or a scale mismatch between the modeling software and slicer. Start by importing the model into your slicer and reading any mesh-error warnings.
How do I make my 3D model printable?
Use a mesh-repair tool to close confirmed holes and correct normals, then verify wall thickness against the documentation for your printer and material. Re-export with the intended units and inspect every layer in the slicer before printing.
How do I check if my 3D model is printable?
Import the file into your slicer and review all mesh and dimension warnings. For a deeper check, run mesh analysis for holes, non-manifold regions, normals, intersections, and thin features, then inspect the layer preview.
How do I fix a 3D model for printing?
Start with automatic mesh repair, then recheck the result in your slicer. If the issue remains, manually repair non-manifold boundaries, fill confirmed holes, correct face normals, apply transforms, and export again.
What does non-manifold geometry mean in 3D printing?
Non-manifold geometry means the mesh is not a clean closed solid. It may have holes, edges shared by more than two faces, or surfaces that make the inside and outside unclear.
Can I print an STL file that has errors?
Sometimes minor STL errors are repaired automatically by the slicer. However, serious errors can cause missing walls, hollow regions, failed layers, or a broken print, so repairing the file first is safer.
Why is my 3D model not printable even after repair?
Auto-repair may close holes but leave thin walls, scale problems, internal shells, or self-intersections. Recheck the printer- and material-specific thickness requirements, model dimensions, mesh analysis, and layer preview.
Conclusion
Most 3D model printability problems fall into five categories: non-manifold geometry, flipped normals, thin walls, self-intersections, or unit and scale errors. Diagnose them with mesh analysis and layer preview, repair the confirmed issue, and validate the new export before committing material and machine time.
If the source model was built for visual rendering rather than physical printing, it may be more efficient to prepare a new mesh for the target process. Tripo AI offers high-detail model generation for 3D-printing use cases, Smart Mesh for optimized low-poly topology, AI Quad Remesher for quad-dominant remeshing, and STL export. None of these steps replaces validation against the final printer, material, dimensions, and slicer preview.
Try Tripo AI Studio to generate or refine a model, then validate the export for your printer and material.