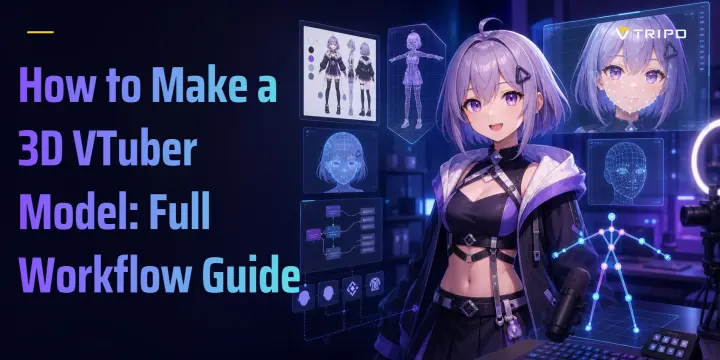
How to Make a 3D VTuber Model: Full Workflow Guide
TL;DR
- Build or generate the character mesh, then prepare it for real-time tracking.
- Add a humanoid rig and facial blendshapes before exporting VRM.
- Use VSeeFace or another VRM-compatible app for live tracking.
- Test blinking, lip sync, movement, and performance before streaming.
To make a 3D VTuber model, build or generate a character mesh, rig it for body and face tracking, export it as a VRM file, and load it into compatible tracking software. A simple first version can take an afternoon in VRoid Studio. A custom Blender model can take weeks.
The VTuber market reached USD 3.13 billion in 2026 and is projected to grow at a 9.56% CAGR to USD 4.94 billion by 2031, according to Mordor Intelligence. You do not need a studio budget to join it. The hard part is not creating a character that looks good in a still image. It is getting that character to blink, speak, move, and render smoothly during a live session. This guide follows the whole path from tool choice to a tested stream scene.
What is a 3D VTuber model?
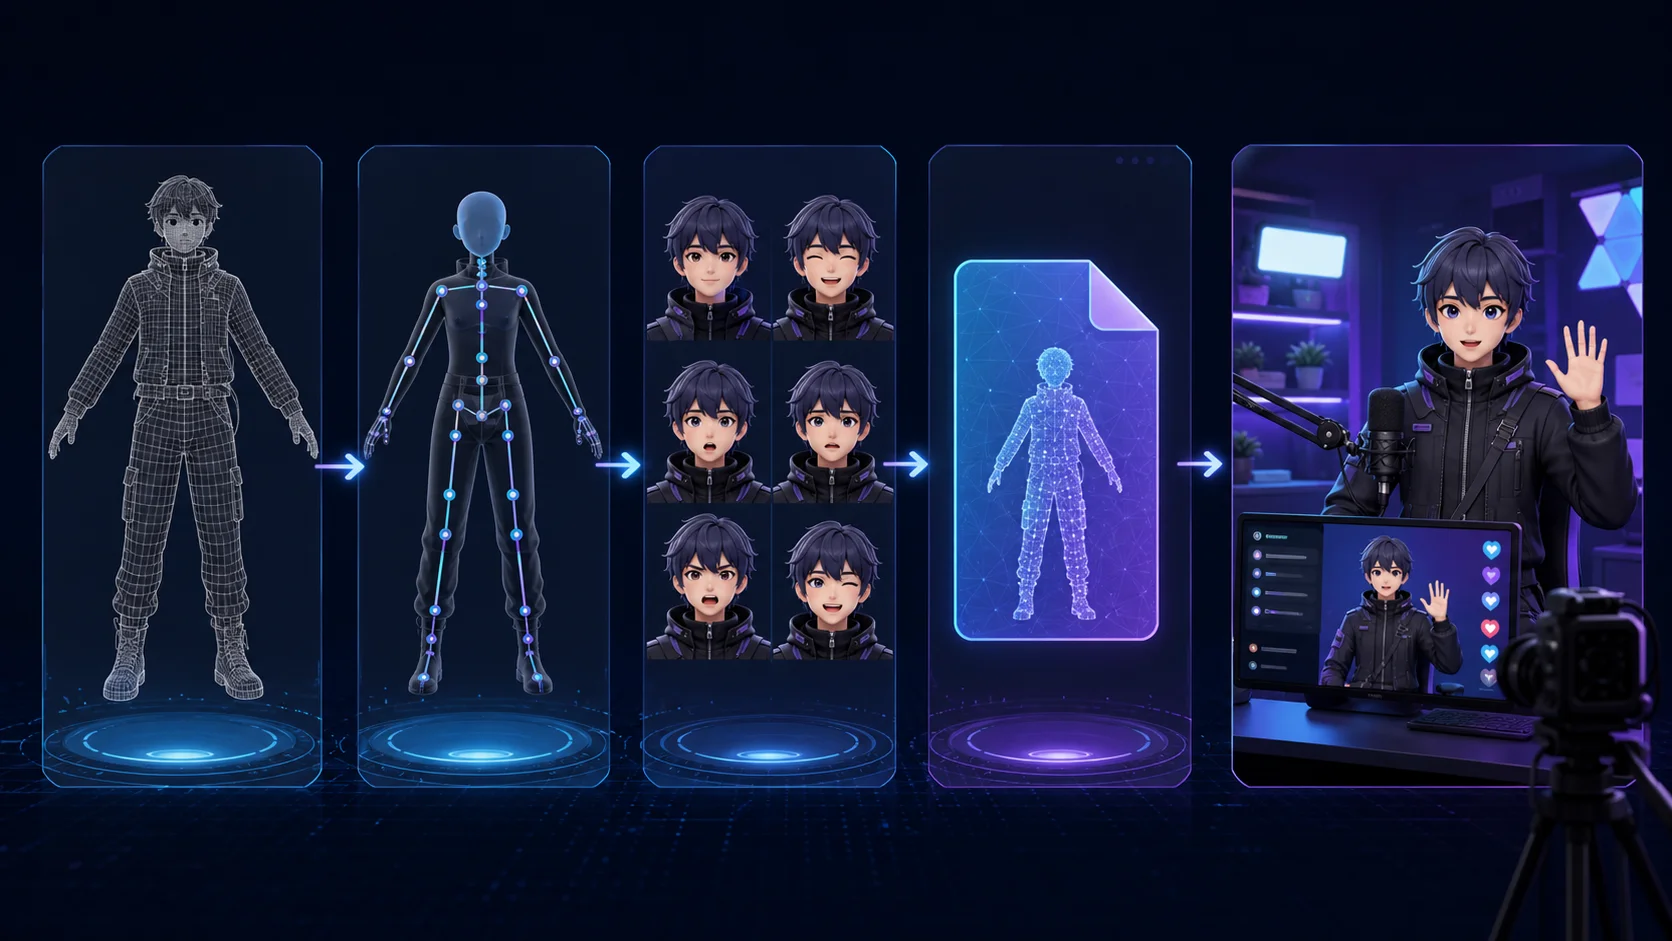
A 3D VTuber model is a rigged character that responds to face or body tracking in real time. The visible surface is the mesh. Textures give it color and material detail. A humanoid skeleton moves the body, while facial blendshapes change the eyes, mouth, brows, and other features.
Most 3D VTuber workflows use the VRM file format. VRM is based on glTF and packages the model, textures, humanoid bone assignments, expressions, and usage information into one portable file. That shared structure lets compatible applications understand where the head, hands, eyes, and mouth controls are without rebuilding the setup for each program.
A static 3D character is not automatically VTuber-ready. It may look finished in a renderer while lacking a skeleton or facial controls. A usable avatar needs four working parts: a clean mesh, textures, a humanoid rig, and named facial expressions. If any part is missing, the model may load but remain stiff, gray, or silent.
This distinction matters before you choose software. Some tools create the character, some add the rig, and others only drive the finished model during a stream.
2D Live2D vs 3D VTuber models: which should you build?
| Factor | 2D (Live2D) | 3D |
|---|---|---|
| Cost to make | Low for DIY; commissions vary | Free DIY paths; custom work costs more |
| Time to first result | Fast with a prepared illustration | Fastest with VRoid presets |
| Movement freedom | Strong face and upper-body motion | Full-body movement and 3D camera angles |
| Software needed | Live2D Cubism plus VTube Studio | VRoid or Blender plus a VRM tracker |
| Best for | Bust-shot streams and illustration-led styles | Dancing, body tracking, and 3D scenes |
For most beginners who want full-body movement, a 3D model is the better starting point. VRoid Studio removes much of the modeling work, and a basic webcam setup can drive the result. The model can turn, dance, and share a three-dimensional scene without redrawing every angle.
Choose 2D when your channel depends on a specific illustrated style and you mainly appear from the waist up. Live2D remains common among established VTubers because a strong illustration can be highly expressive. It also works directly with VTube Studio, which officially supports Live2D models rather than VRM files.
Choose 3D when movement is part of the idea. Full-body tracking, dance streams, virtual stages, and 3D collaborations all benefit from a real volume and skeleton. Once that choice is clear, the next question is which tool should create the model.
What software do you need to make a 3D VTuber model?
VRoid Studio: the beginner default
VRoid Studio is free and gives you a complete humanoid base with editable face, body, hair, and clothing controls. You can produce a usable anime-style avatar without traditional modeling experience. It also exports VRM directly, so the skeleton and standard expressions already fit a typical VTuber workflow.
Pick VRoid when you want a working result quickly and are comfortable building within its character system. Custom textures and accessories can push the design beyond the defaults, but the underlying style remains recognizable.
Blender: full control, steeper curve
Blender is free and gives you control over topology, sculpting, UVs, materials, bones, weights, and shape keys. It is the right choice when the character has unusual proportions, clothing, hair, or props that preset tools cannot reproduce.
That freedom comes with a longer learning curve. A first custom Blender avatar usually takes weeks rather than hours because modeling is only one part of the job. You must also create clean deformation, facial expressions, and a valid VRM export. If you are still comparing creation tools, the 3D character maker roundup explains where each category fits.
AI generation: a fast path to an original mesh
AI generation helps when you already have a character reference and want a distinct starting mesh. Tripo AI Studio can turn a single image or sketch into a 3D asset. You still need to review the silhouette, topology, textures, and back view. You also need VTuber-specific facial controls and VRM conversion later.
This route sits between presets and manual modeling. It avoids starting from an empty Blender scene, while leaving room for custom cleanup and design changes.
VSeeFace and VTube Studio: the tracking layer
Creation software builds the model. Tracking software drives it. VSeeFace loads compatible VRM avatars and maps webcam or supported device tracking to the face and body. It is a practical free starting point for 3D streaming.
VTube Studio belongs to the 2D side. Its official documentation says it supports Live2D models, not VRM or other 3D models. It can provide high-quality iPhone tracking data to a separate 3D application in some setups, but it does not replace a VRM tracker. Keeping these layers separate prevents hours of troubleshooting the wrong program.
How to make a 3D VTuber model step by step
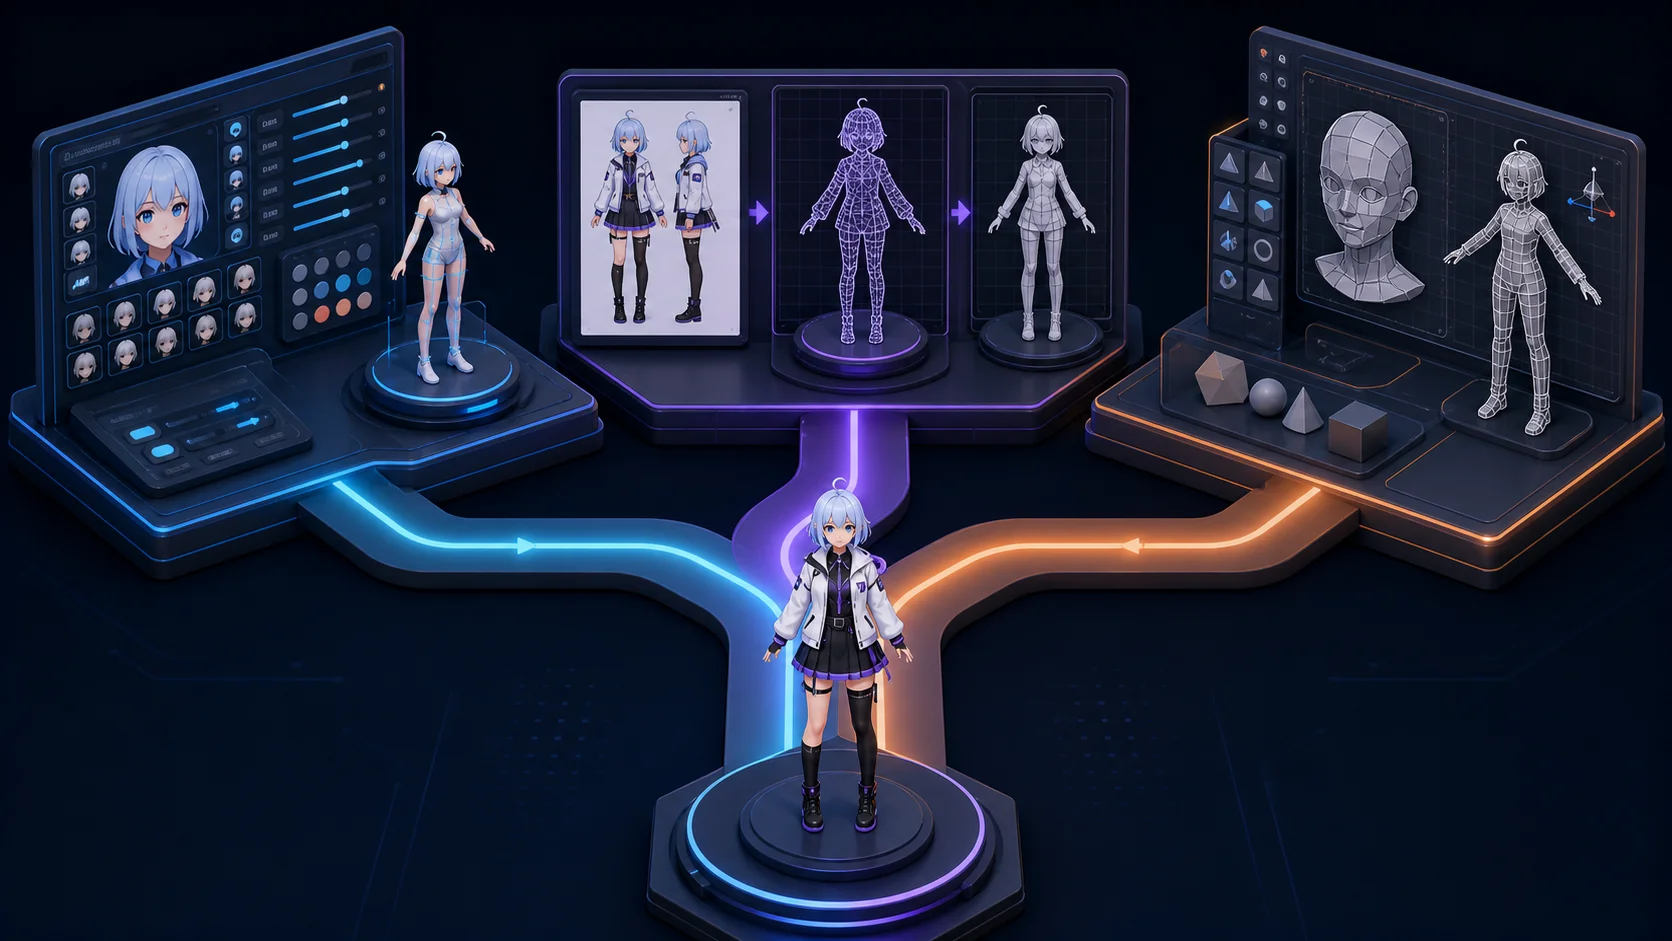
There are three useful creation routes. Your choice depends on how original the character must be, how much time you have, and how much mesh editing you want to learn.
Route 1: build it in VRoid Studio
- Download and open VRoid Studio. Start a new avatar and save the editable project before changing anything.
- Pick a base body preset. Choose the closest starting shape rather than forcing an unsuitable base into the design.
- Adjust face and body sliders. Work from large proportions to smaller details. Check the profile as often as the front view.
- Edit hair and outfit textures. Paint inside VRoid or import your own texture files. Keep seams and transparent edges clean.
- Add custom items carefully. Test accessories while the character moves so they do not clip through the head or shoulders.
- Export as VRM. Review texture quality, permissions, author information, and optimization settings before saving the file.
VRoid is the fastest route because the rig and expression structure already exist. A basic avatar can be ready the same day. Spend that saved time testing expressions, lighting, and stream performance instead of polishing unseen details.
Route 2: generate an original character from a reference image
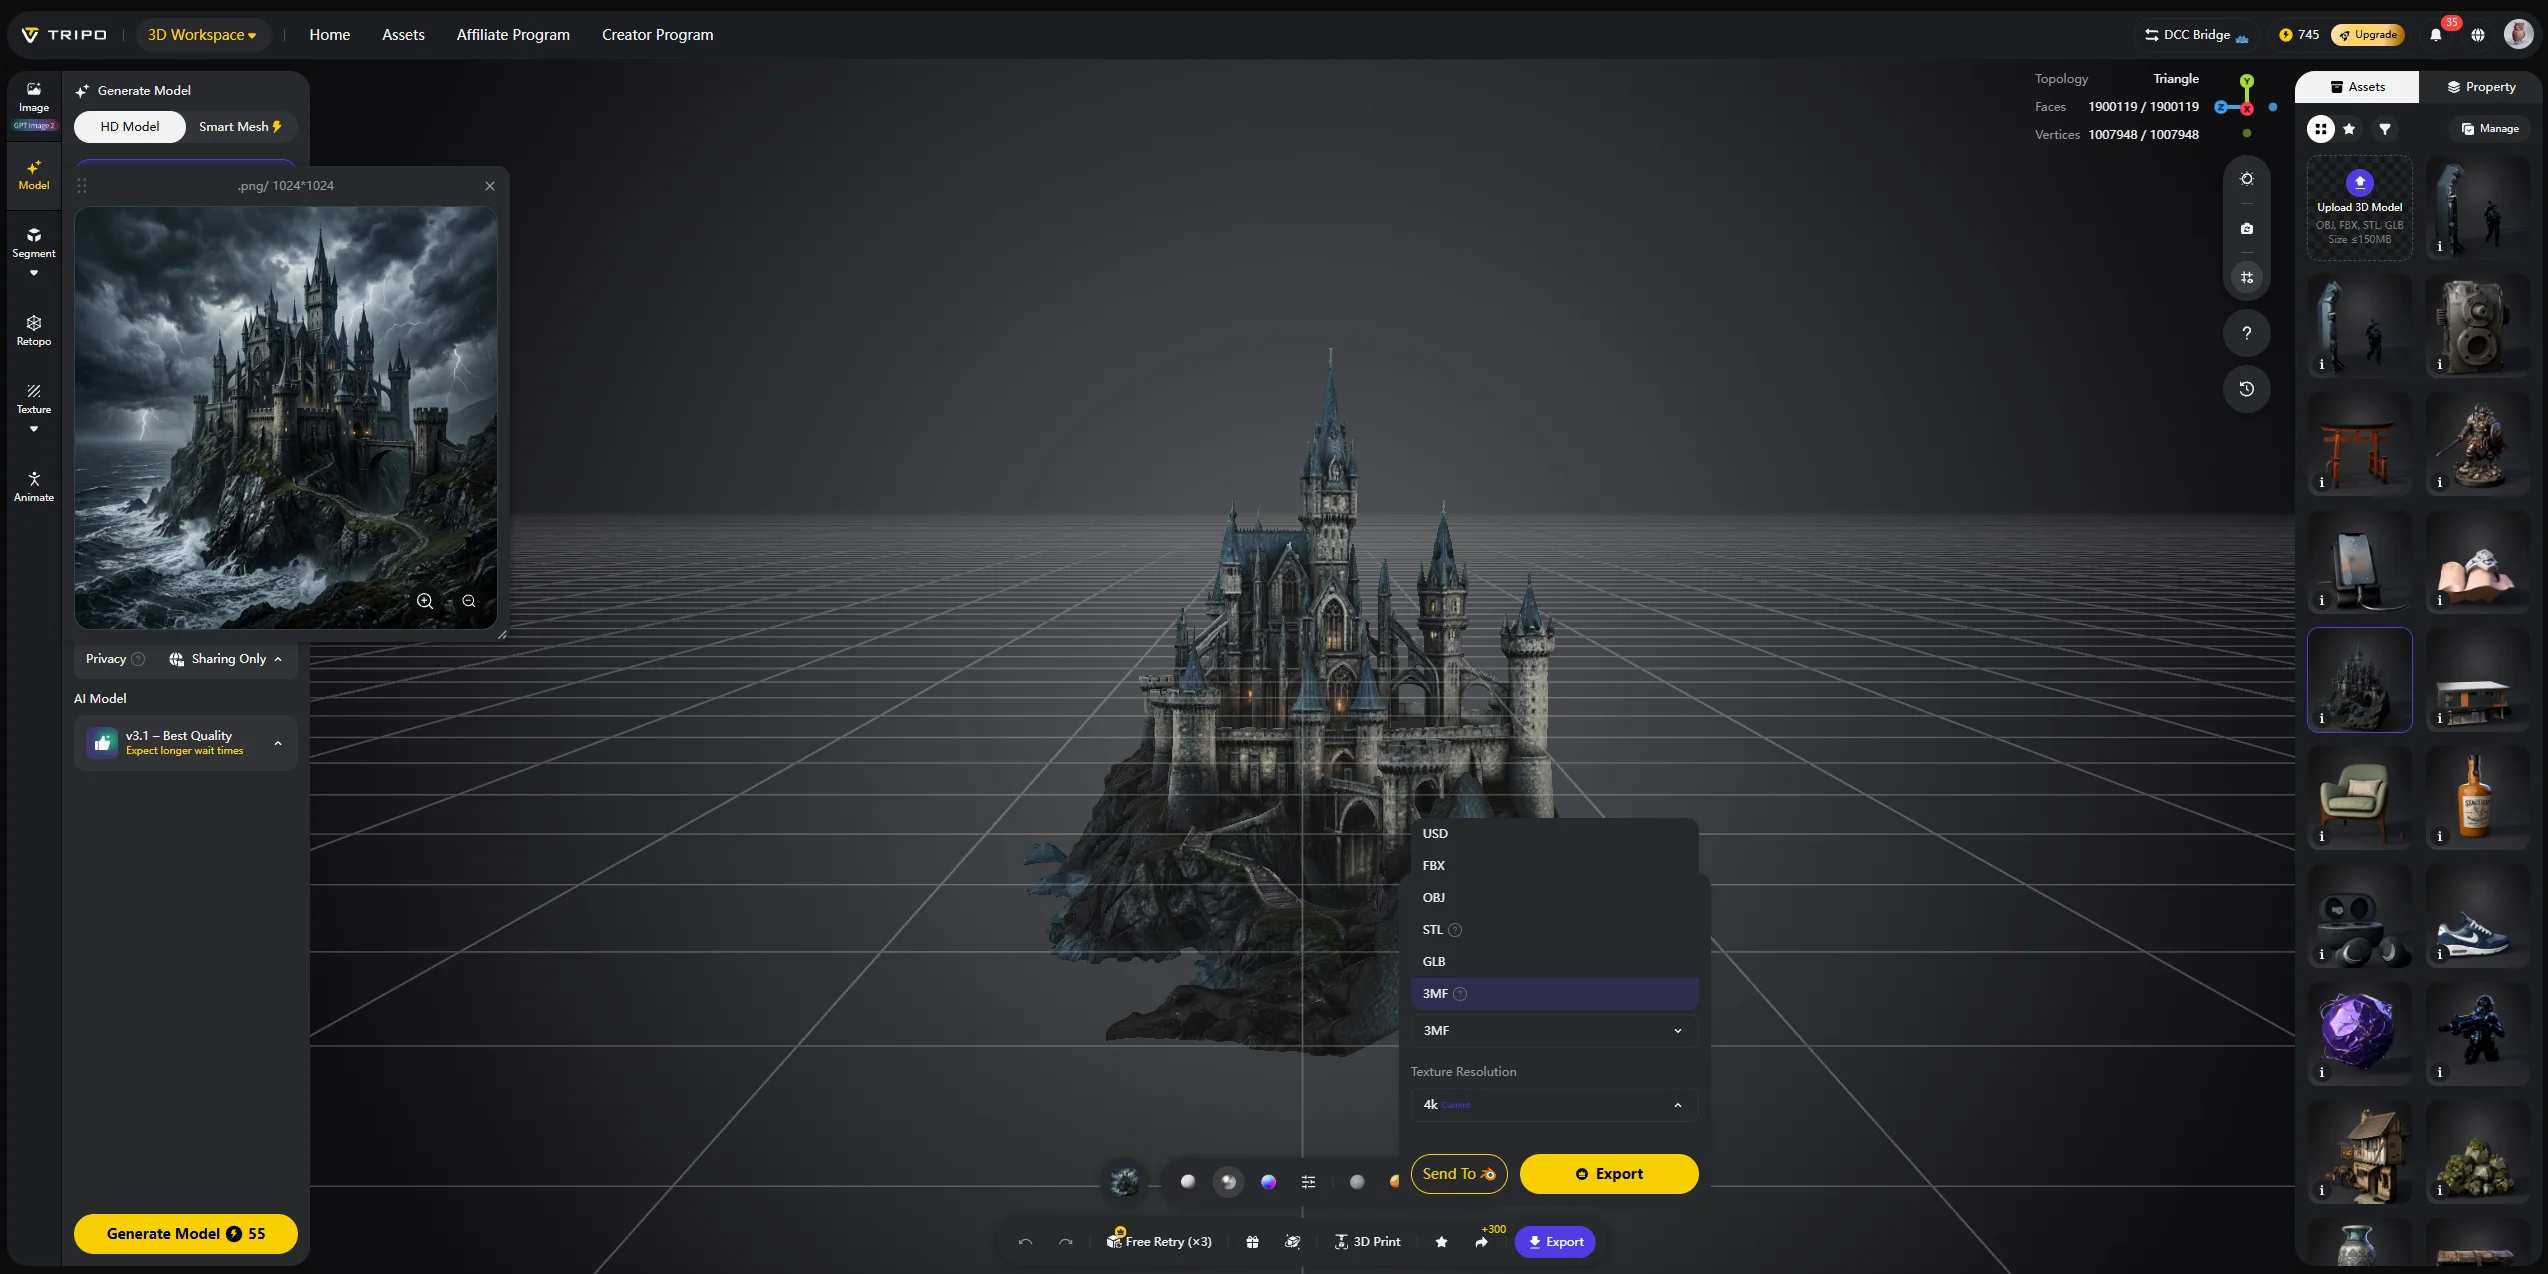
- Prepare a front-facing reference. Use a clear pose, simple background, visible limbs, and even lighting. Avoid props covering the body.
- Upload it to Tripo AI Studio. Run Image-to-3D to create the starting mesh.
- Review the silhouette. Rotate the result. Regenerate when the profile, hands, clothing volume, or hidden back surface is far from the intended design.
- Generate and inspect textures. Look for stretched details, mirrored marks, and baked lighting that will move incorrectly.
- Export GLB or FBX. Tripo does not export VRM directly. Export also requires an eligible subscription under Tripo's current policy.
- Finish the avatar in Blender or Unity. Correct the mesh, add or refine rigging, build facial shape keys, enter VRM metadata, and export VRM.
This method produces a custom starting point from your own concept, but it is not a one-click streaming workflow. The generated asset is evidence of the design and mesh stage. Facial tracking, expression names, physics, and VRM validation remain separate work.
Route 3: model from scratch in Blender
Start with a front and side reference, then block out the major volumes. Build clean topology around the eyes, mouth, shoulders, elbows, hips, and knees because those areas must deform. Create UVs and textures, add a humanoid armature, paint weights, and build facial shape keys.
A simple stylized model may take several days for an experienced artist. A beginner should expect weeks. Do not judge progress only by the still render. Pose the shoulders, blink the eyes, and open each mouth shape throughout production. Early deformation tests prevent late rebuilds.
Whichever route creates the mesh, the next stage decides whether it can perform.
How to rig a 3D VTuber model for face tracking
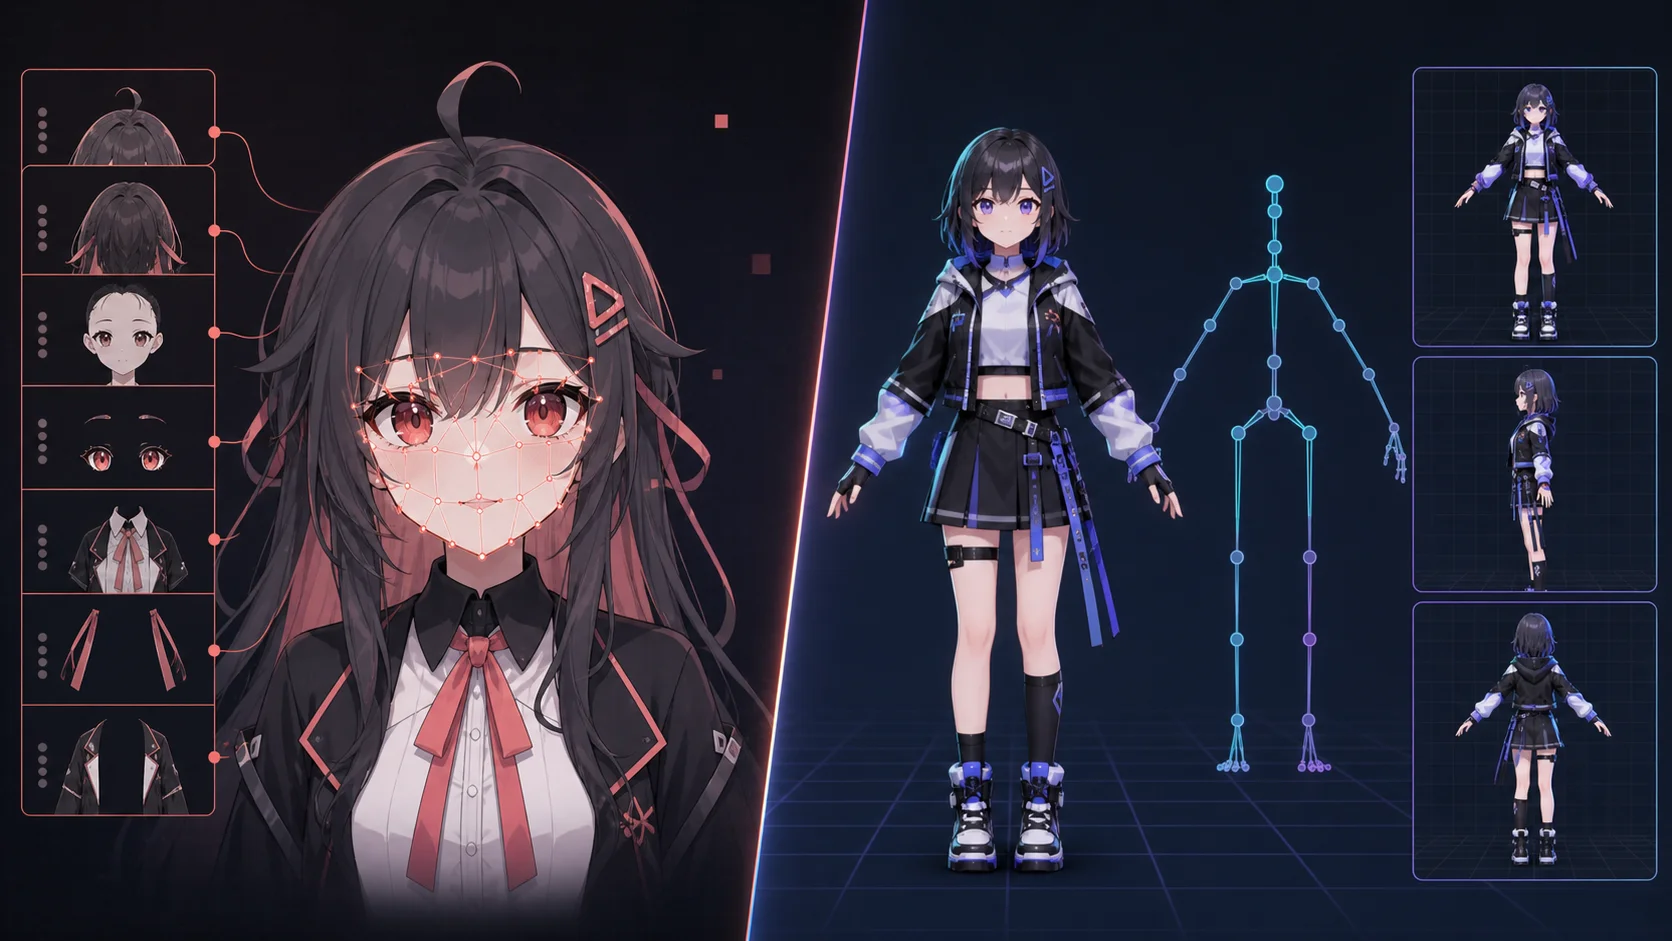
A 3D VTuber model uses two related systems. The humanoid bone rig moves the head, spine, arms, hands, and legs. Facial blendshapes, called shape keys in Blender, reshape selected vertices for blinking, speech, and emotion. Face tracking depends mostly on the second system.
Start with the minimum useful expression set. Create left and right eye blinks, eye direction when supported, and mouth visemes for lip sync. Common VRM 0.x presets include A, I, U, E, O, Blink, Joy, Angry, Sorrow, and Fun. VRM 1.0 organizes expressions differently, so follow the exporter and destination application's expected slots rather than guessing names.
Naming matters because software maps tracking signals to known expression entries. A perfectly sculpted blink assigned to the wrong slot will never fire. Test each shape key manually before export. The eyelid should close without crushing the lashes or pulling the cheek. Mouth shapes should move the lips without dragging teeth or the entire jaw.
Then connect those shapes in your VRM exporter. Keep emotion presets separate from lip-sync shapes so a smile does not cancel speech. Add hair and clothing physics only after the face works. Secondary motion is easier to debug when the core tracking chain is already stable.
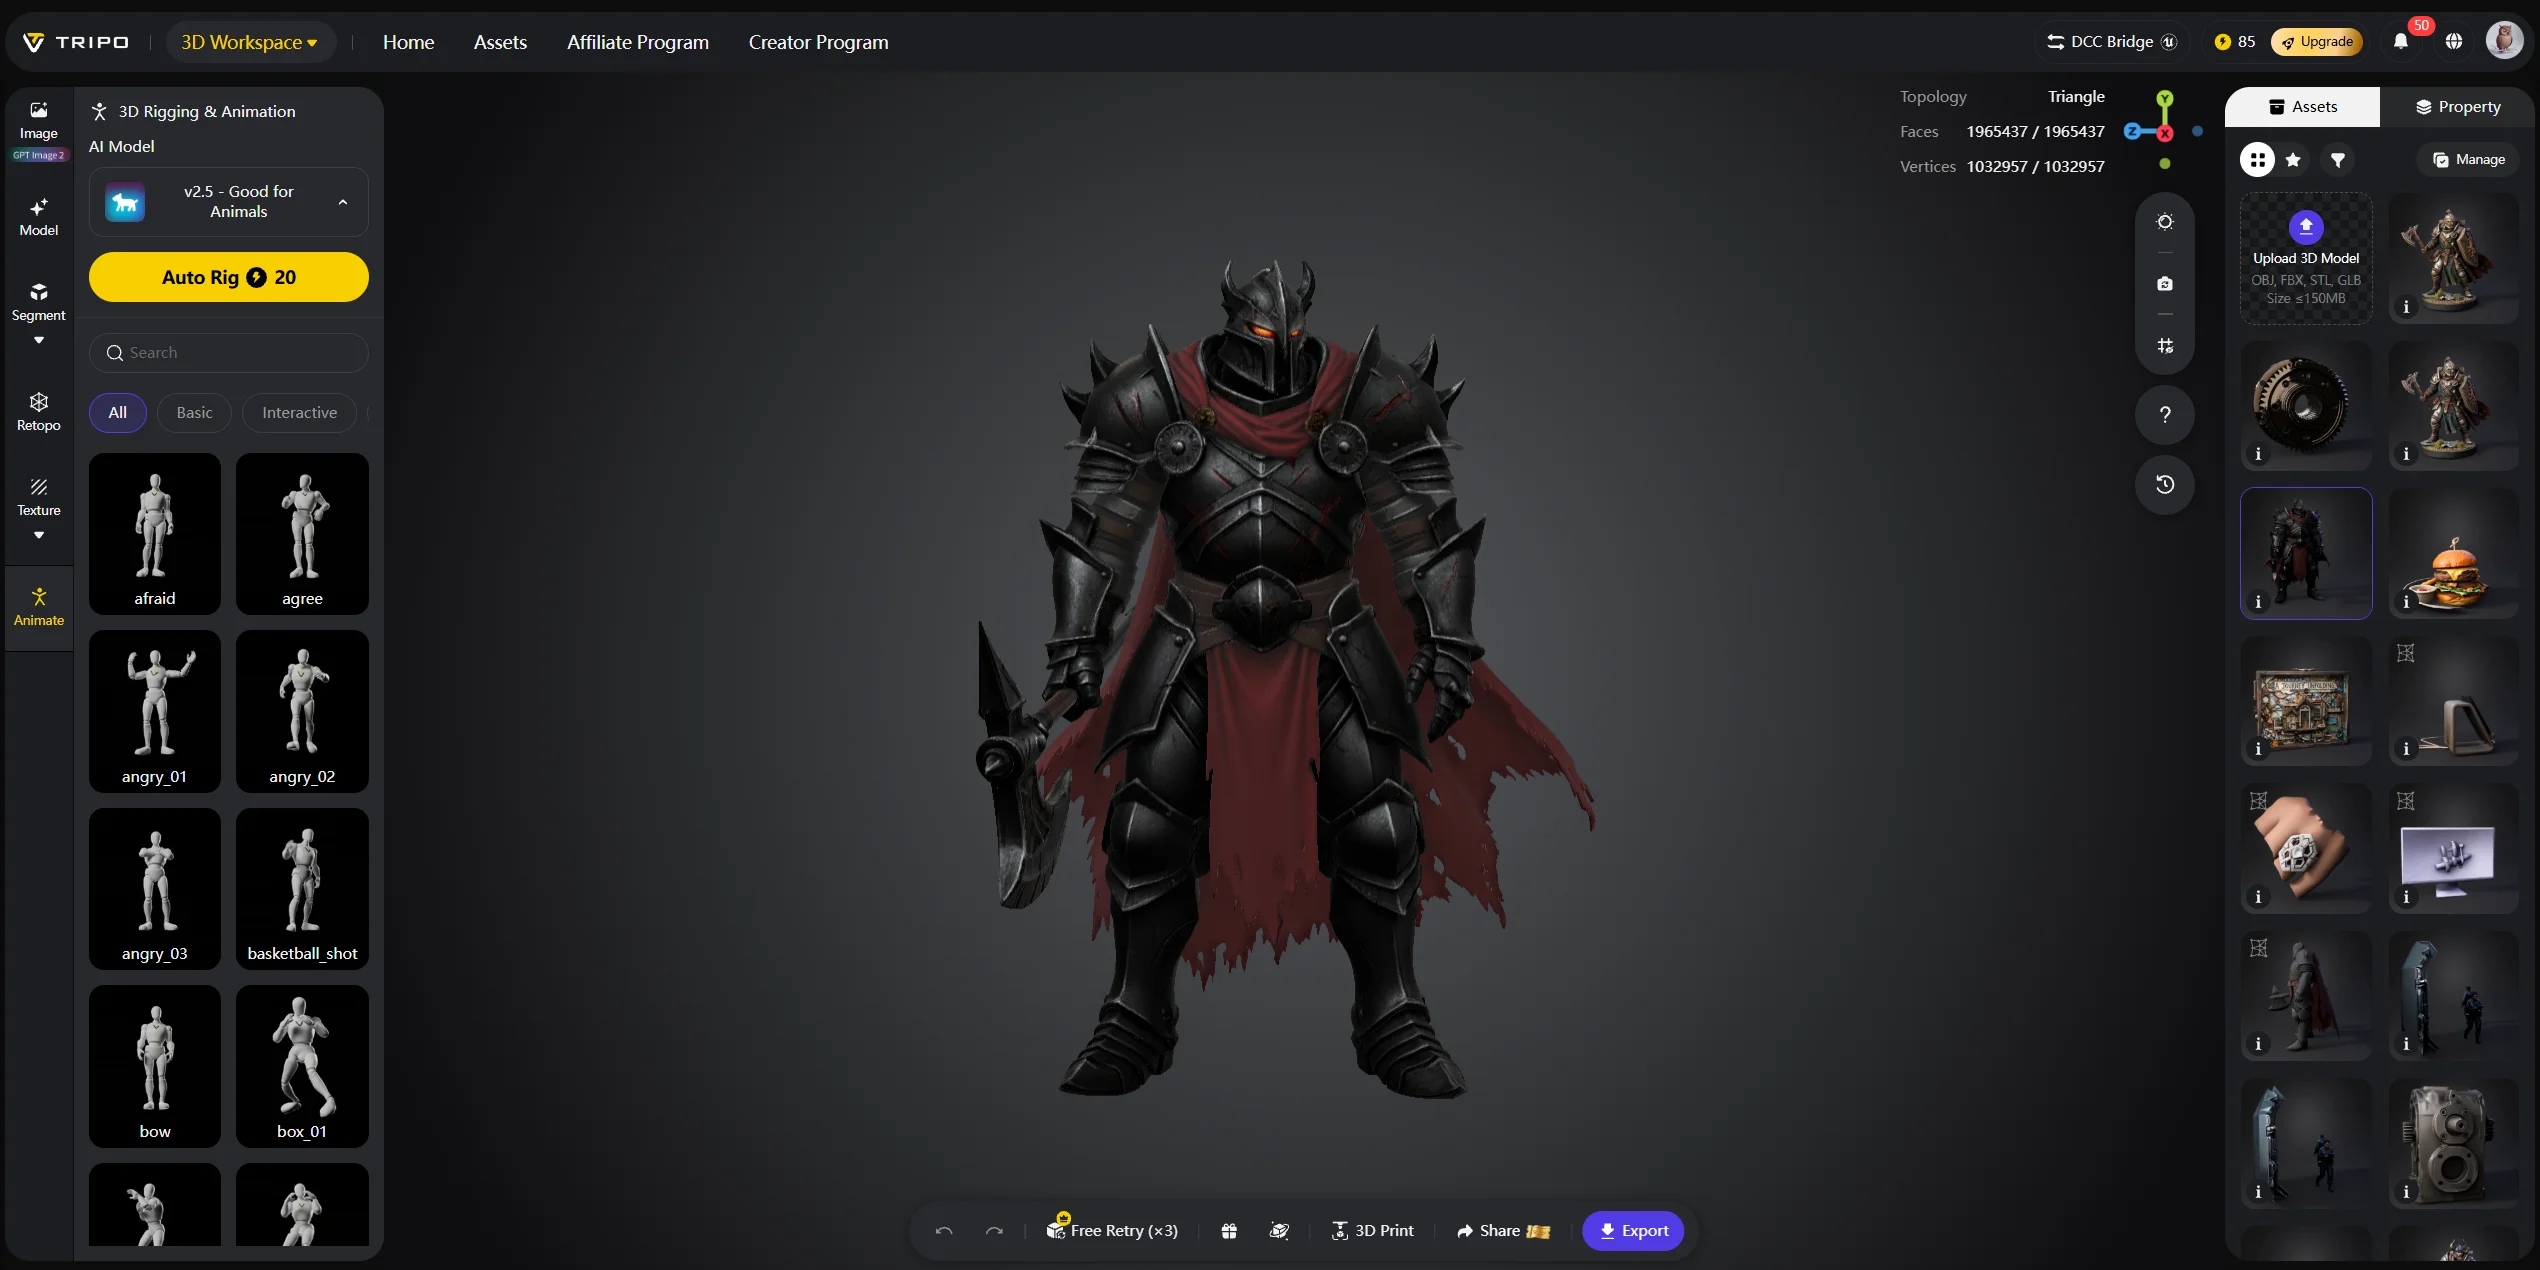
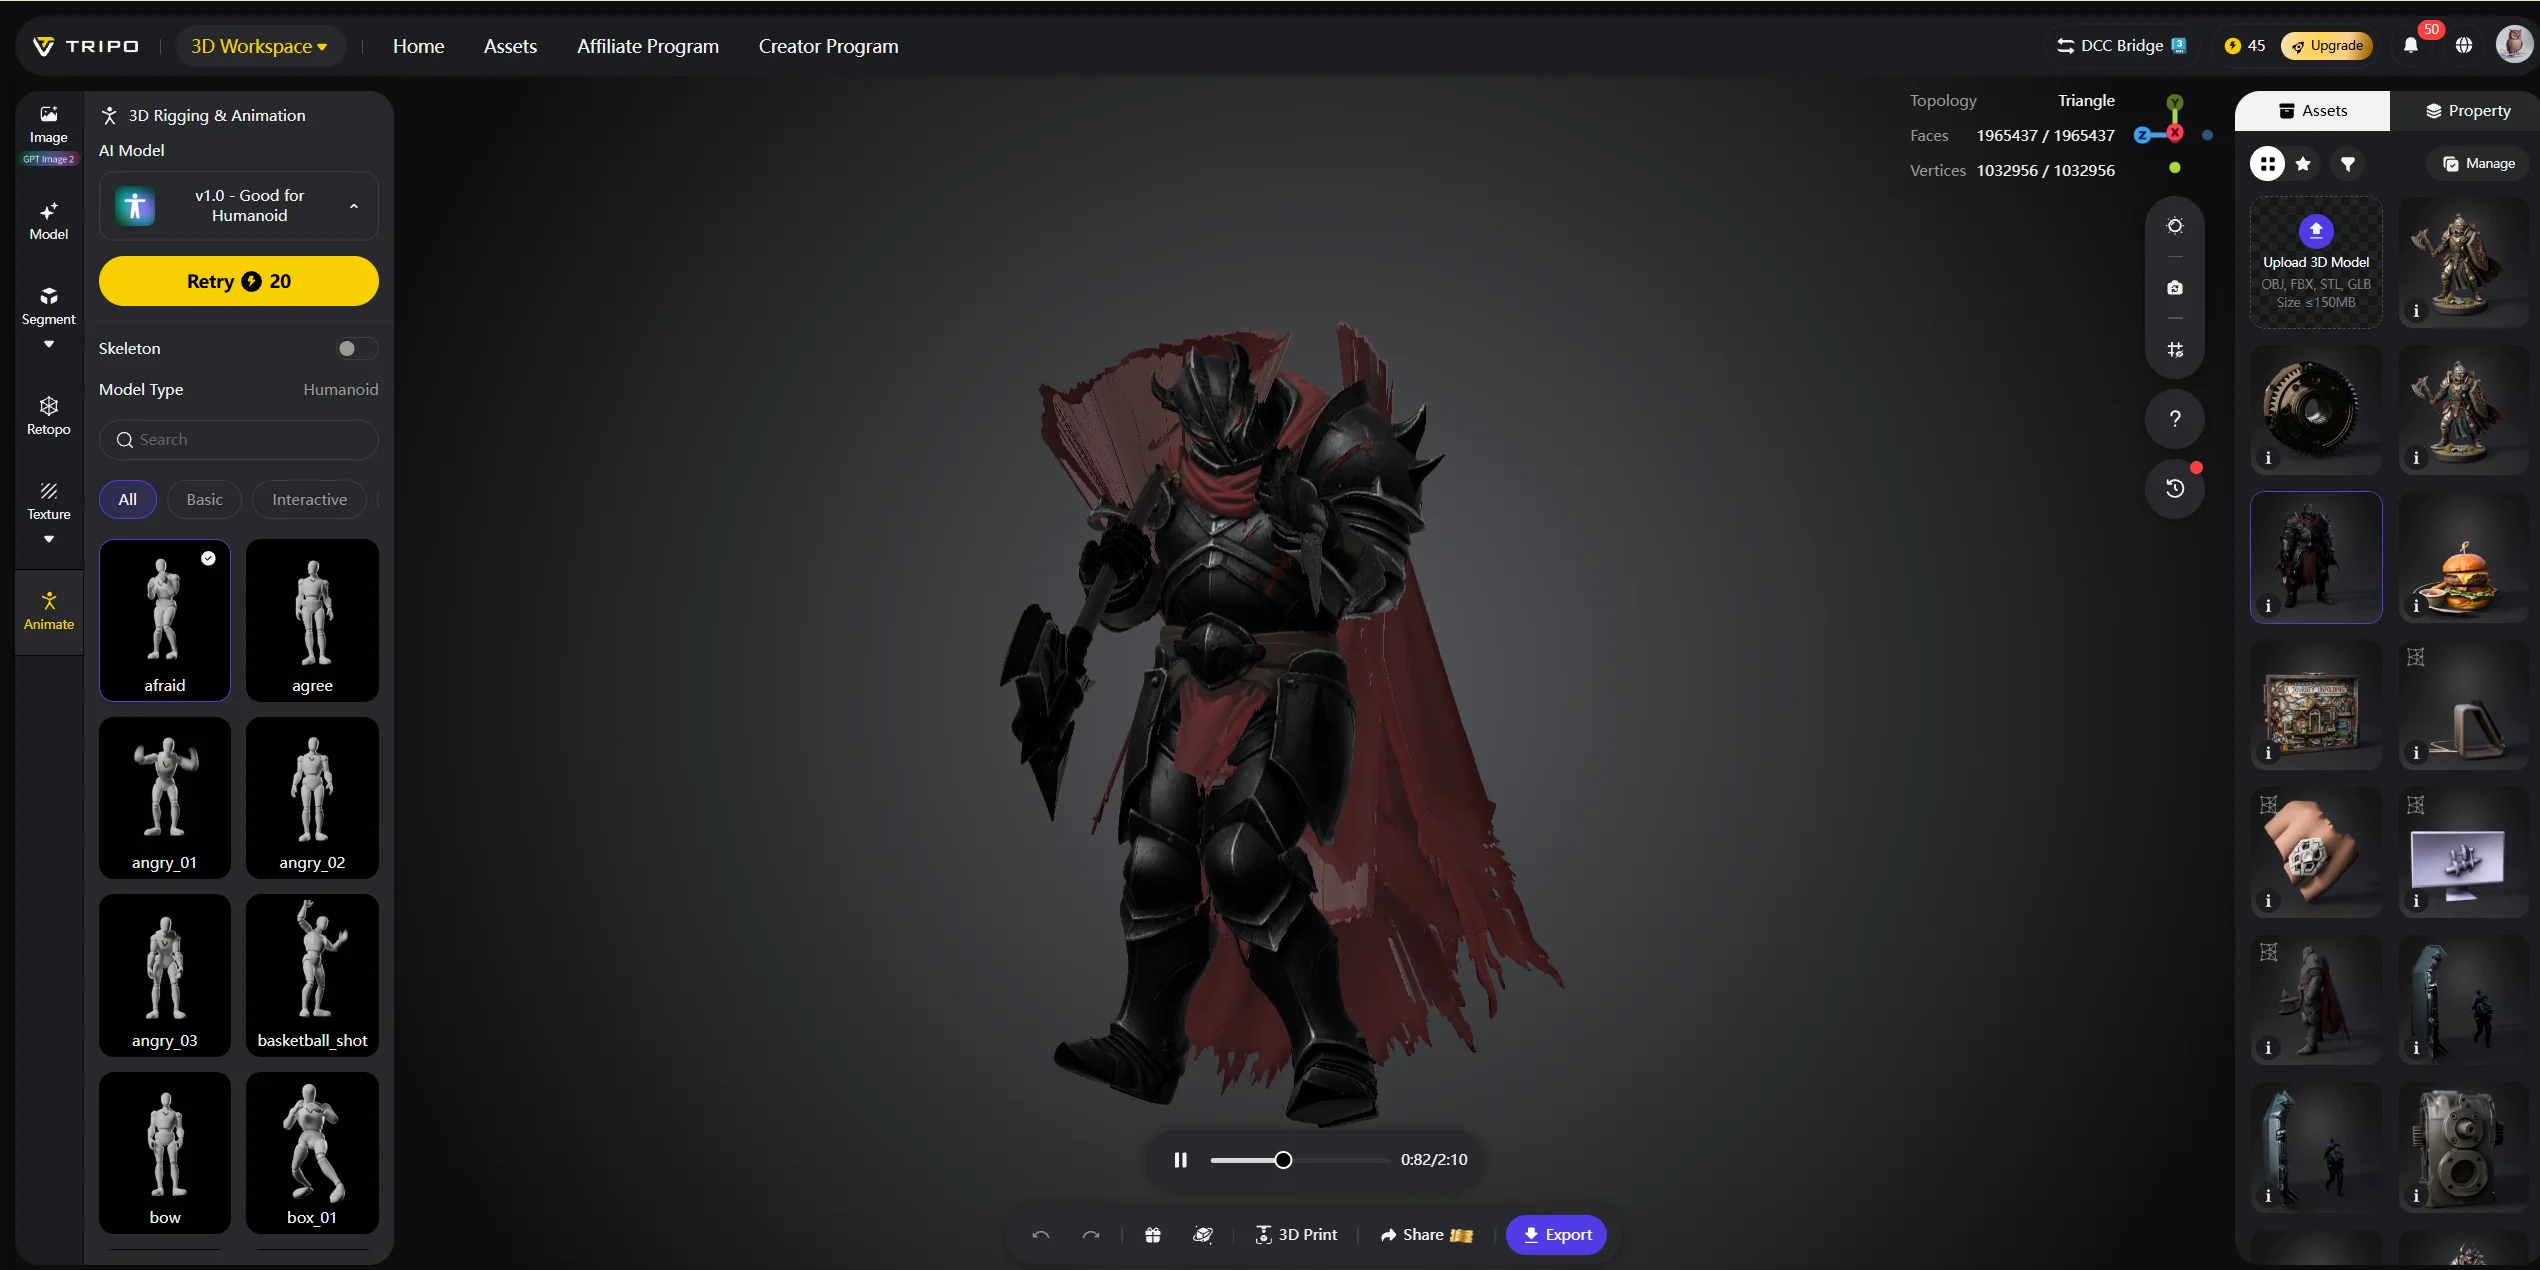
For the body, place the character in a clean T-pose and use a standard humanoid hierarchy. Tripo's Auto Rig can add a starting skeleton to compatible models, but the result must be checked for bone mapping, skin weights, and deformation before use. Auto Rig currently supports T-pose humanoid characters and standard standing quadruped animals only. It does not add the VTuber facial blendshapes or VRM setup required for live tracking. The complete AI character rigging guide covers that general workflow; this article focuses on VTuber facial controls.
Before moving on, load the avatar into a test viewer. Blink once, cycle the mouth shapes, turn the head, and raise both arms. If the mesh does not respond correctly here, streaming software will not fix it.
How to export your model and go live with VSeeFace
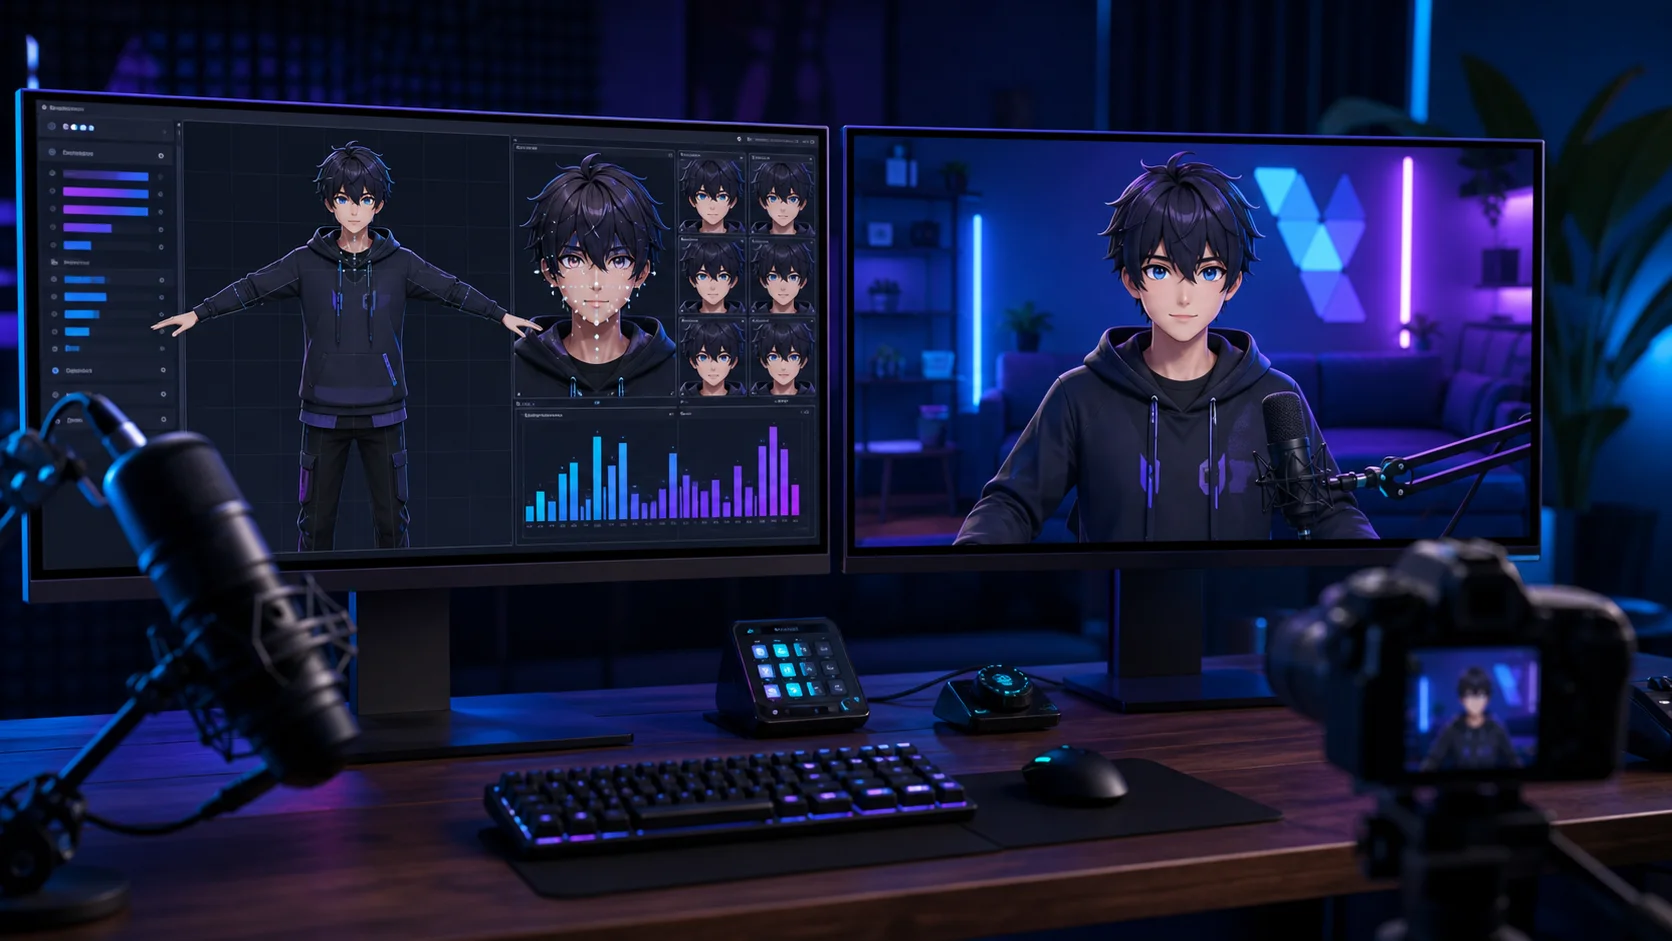
- Export or convert the model to VRM. VRoid exports VRM directly. Blender and Unity need a VRM add-on or UniVRM. If your source is GLB or FBX, convert it after completing the humanoid map, expressions, and metadata. Tripo's 3D file converter helps with general formats, but VRM still needs avatar-specific setup.
- Open the VRM in VSeeFace. Import the avatar and confirm that its thumbnail and materials appear correctly.
- Select and calibrate tracking. A webcam is enough to begin. A supported iPhone setup can provide richer face data, including ARKit-style signals when the model and software support them.
- Map expressions and hotkeys. Assign useful emotion presets, toggles, or props. Test that hotkeys do not interrupt automatic blinking or lip sync.
- Add the output to OBS. Capture the VSeeFace window or use a supported transparency workflow. Crop the frame, check audio sync, and record a private test before going live.
Do not place a VRM file in VTube Studio's model folder. VTube Studio only loads Live2D models. If you use its iPhone tracking integration, the 3D model still runs inside VSeeFace or another compatible 3D application.
Performance problems often come from the whole scene rather than one number. High polygon counts, many transparent hair layers, large textures, physics chains, tracking, OBS encoding, and the game all compete for resources. If the stream stutters, test the avatar alone first. Reduce texture sizes, simplify unseen geometry, limit physics, and measure again before rebuilding the art.
The model is now technically live, but cost and production time still shape which route makes sense.
How much does a 3D VTuber model cost?
| Route | Typical cost | Time to finish |
|---|---|---|
| VRoid Studio DIY | Free, plus optional assets | Hours to several days |
| AI generation | Subscription or credit cost, plus cleanup | Hours to several days |
| Commissioned custom model | Hundreds to several thousand dollars | Weeks to months |
| Blender from scratch | Free software; substantial labor | Several weeks or longer |
Commission prices vary because the deliverable varies. A simple model with basic blinking and lip sync is not the same product as a detailed avatar with custom topology, many expressions, outfit swaps, hair physics, hand tracking, and commercial rights. Ask what the quote includes before comparing totals.
The free path is genuinely viable. VRoid Studio can create and export the model, VSeeFace can drive it, and OBS can broadcast it. Optional clothing, accessories, art, or tracking hardware can come later. AI generation also lowers the time needed to get an original starting mesh, though exports and cleanup have their own costs. Check Tripo AI pricing for current plan details instead of assuming unlimited free export.
Start with the least expensive route that can prove your channel idea. Upgrade the model after you know which expressions, outfits, and movements your content actually uses.
Common mistakes when making your first 3D VTuber model
Wrong expression mapping. This is the most common failure because the model looks complete until tracking begins. Test named blink and mouth slots in a VRM viewer before opening OBS.
Rigging outside a clean rest pose. A bent or asymmetrical starting pose can confuse humanoid mapping. Return to a T-pose, apply the correct transforms, and map the skeleton again.
An unnecessarily heavy model. Dense hidden geometry, huge textures, layered transparency, and excessive physics can reduce stream frame rate. Profile the avatar with tracking and OBS running, then simplify the expensive parts.
Missing textures after export. A gray model usually points to broken texture paths, unsupported material nodes, or images that were not packed. Reconnect the images, use supported shaders, and export a small test file.
Waiting too long to test tracking. Outfit polish cannot rescue a dead blink or broken shoulder. Run a full face and pose test on an early version, then add detail after the motion works.
Frequently asked questions
How do you make a 3D model into a VTuber?
Add a humanoid skeleton for body movement and facial blendshapes for tracking. Export the configured avatar as VRM, then load it into compatible software such as VSeeFace.
What program do VTubers use for 3D models?
Beginners often create models in VRoid Studio, while advanced artists use Blender. AI tools can generate a starting mesh. VSeeFace or another VRM application drives the finished 3D avatar.
How do VTubers do 3D models?
They build a model with preset software, generate and edit one, model from scratch, or commission an artist. Every route still needs a rig, expressions, VRM export, and tracking tests.
How much does a VTuber model 3D cost?
A DIY setup can use free software. Custom commissioned models often range from a few hundred dollars to several thousand, depending on rigging, expressions, physics, outfits, and usage rights.
Can I make a 3D VTuber model for free?
Yes. VRoid Studio can create and export a basic VRM avatar, VSeeFace can track it, and OBS can stream it. Custom art and hardware are optional upgrades.
Do I need Blender to make a 3D VTuber model?
No. VRoid Studio can produce a complete preset-based avatar without Blender. Use Blender when you need custom geometry, topology repairs, advanced shape keys, or unusual clothing and accessories.
What file format do VTuber models use?
Many 3D VTuber applications use VRM because it stores humanoid mapping, expressions, materials, metadata, and the mesh together. GLB and FBX can be source formats but need VRM-specific setup.
How long does it take to make a 3D VTuber model?
A basic VRoid model can take an afternoon. An AI-generated model plus cleanup may take days. A custom Blender model commonly takes weeks, depending on experience and complexity.
Can I use an AI-generated 3D model as a VTuber avatar?
Yes, if you have the necessary usage rights. Review the mesh and textures, then add a humanoid rig, facial expressions, metadata, and VRM export before tracking.
Why aren't my VTuber model's expressions working?
The blendshapes may be missing, malformed, or assigned to the wrong VRM expression slots. Trigger each shape manually, confirm the mapping, and test the exported file in a viewer.
Conclusion
A working 3D VTuber model follows four stages: create the mesh, rig the body and face, export VRM, and test it in tracking software. Build a rough version through the full chain before spending days on clothing details.
Use Tripo AI Studio when a reference image should become the starting mesh, then finish the VTuber-specific rigging and VRM work in the appropriate tools. Review Tripo AI pricing before planning exports and production volume.