AI 3D for Product Prototyping: Tools, Workflow & When to Move to CAD
TL;DR
AI 3D for product prototyping means using AI tools to create early 3D models from text prompts, sketches, product photos, or reference images.
It is useful for exploring shape, scale, style, and presentation before committing to detailed CAD work, manufacturing design, or expensive physical prototypes.
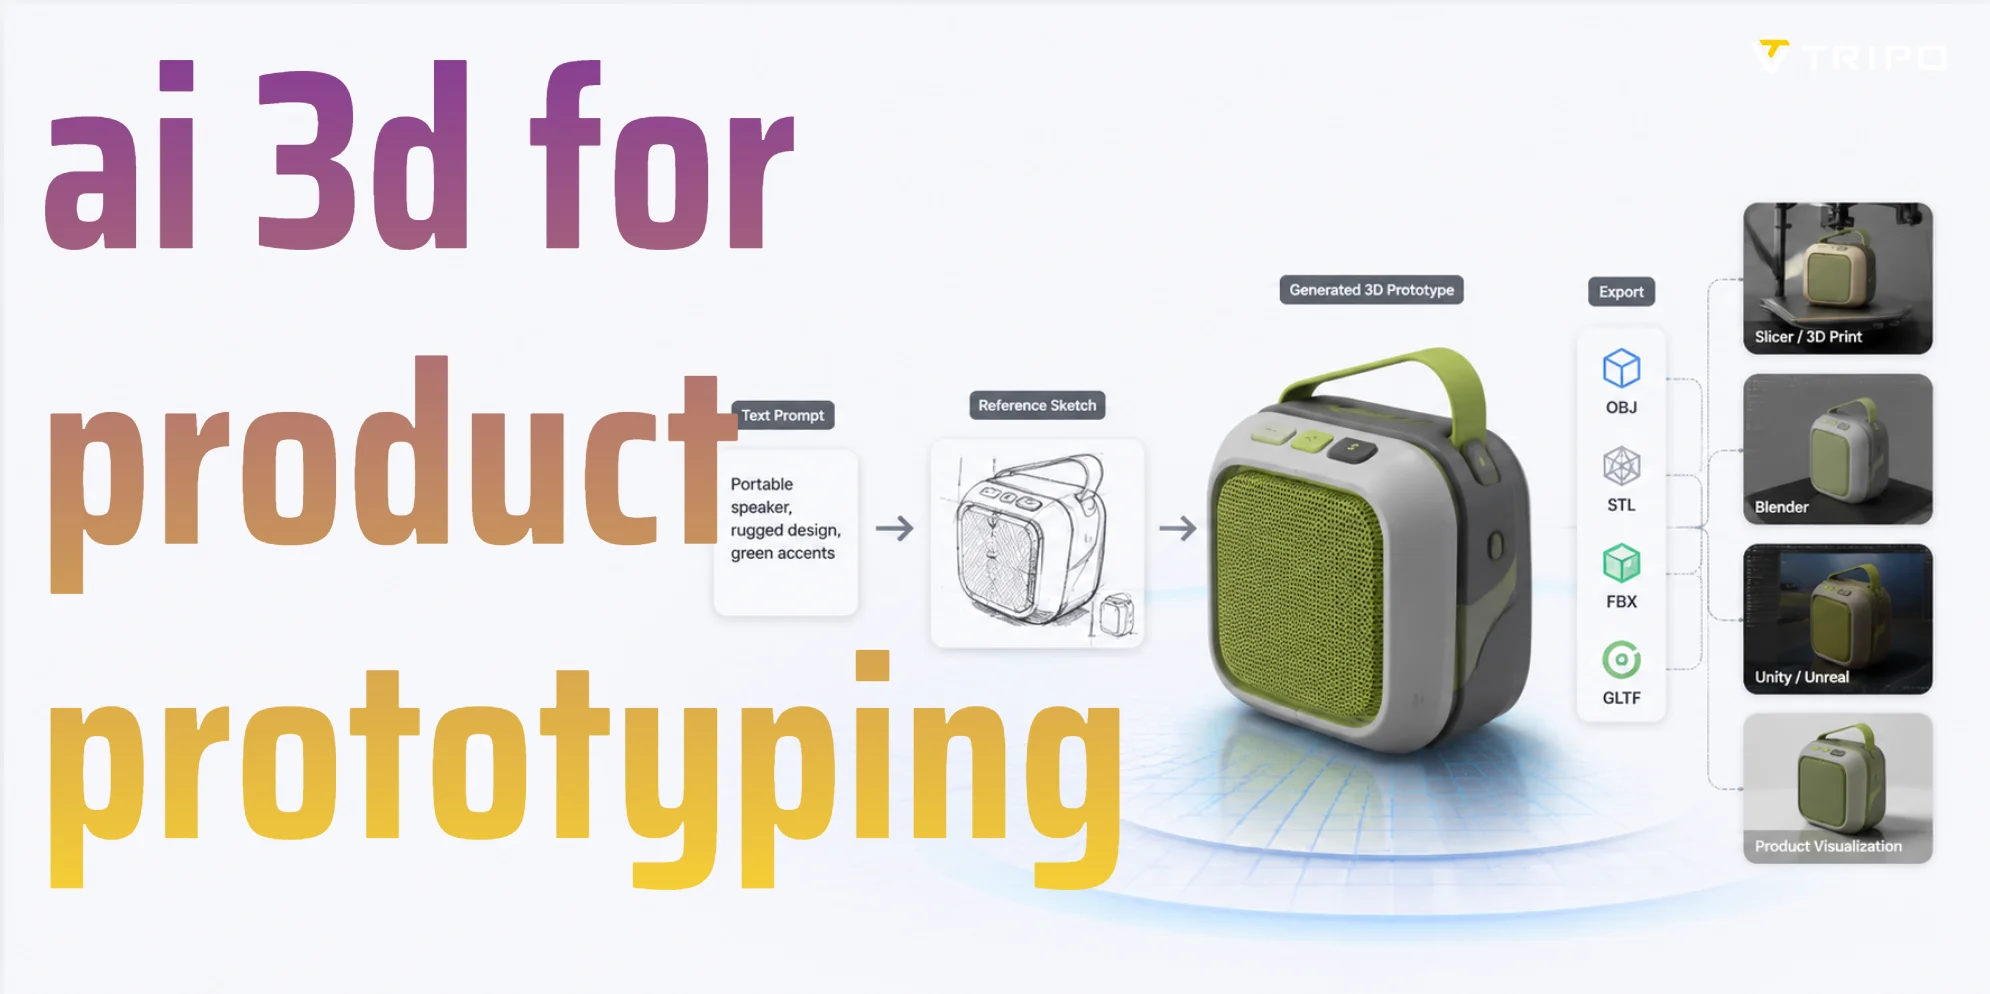
A practical workflow looks like this:
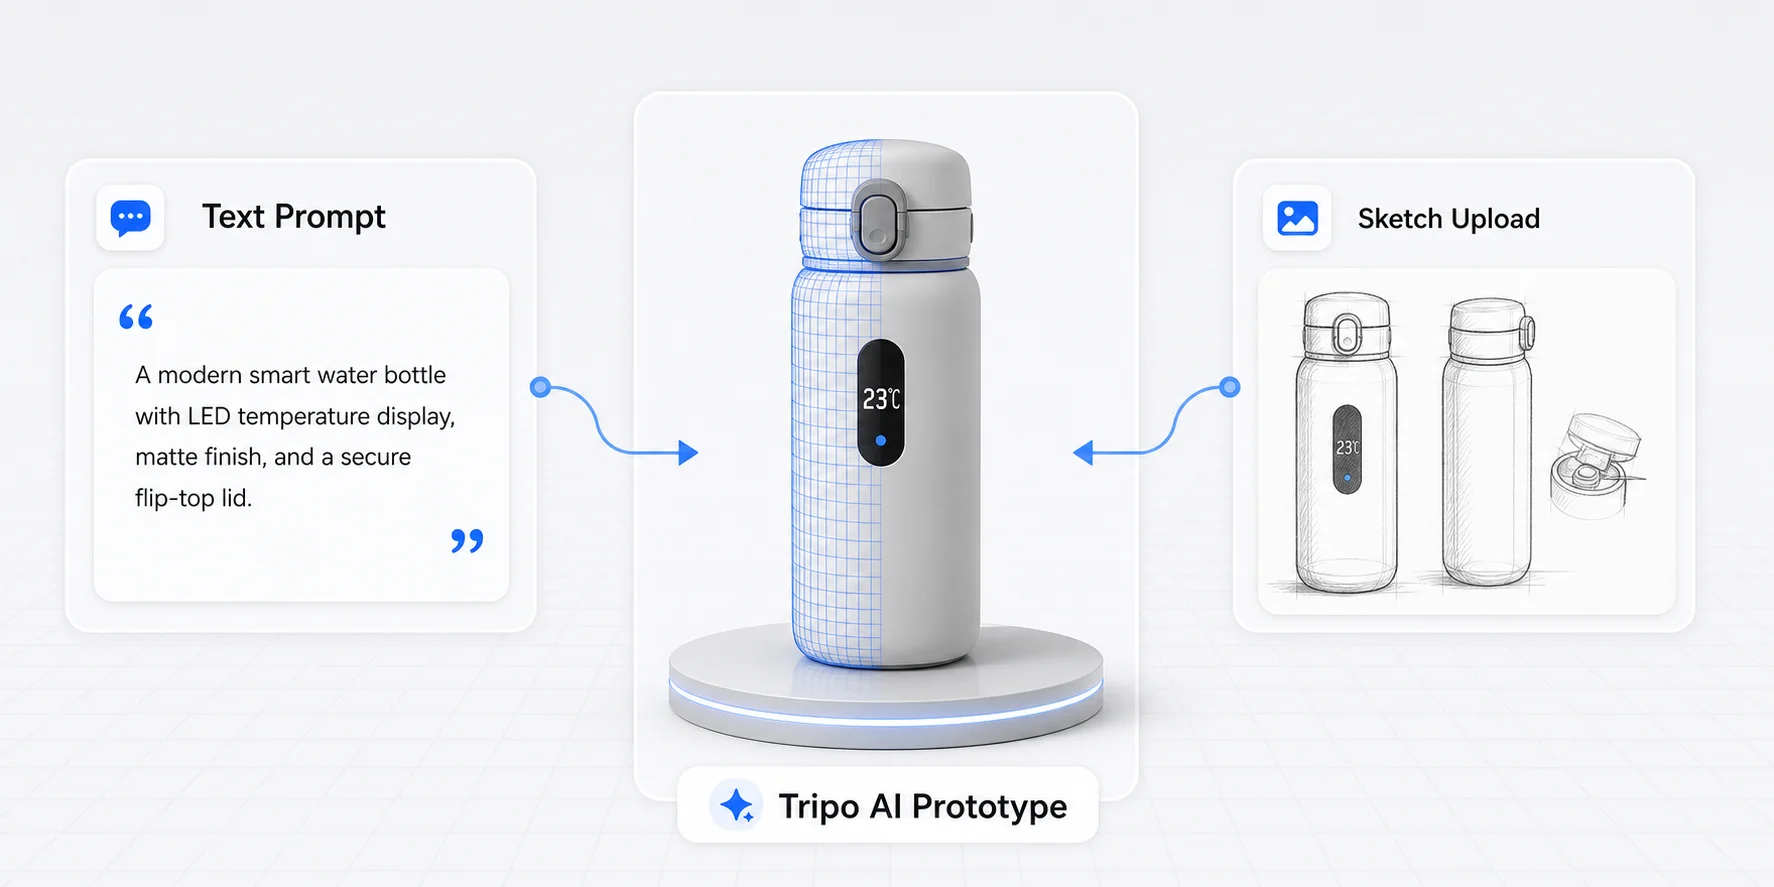
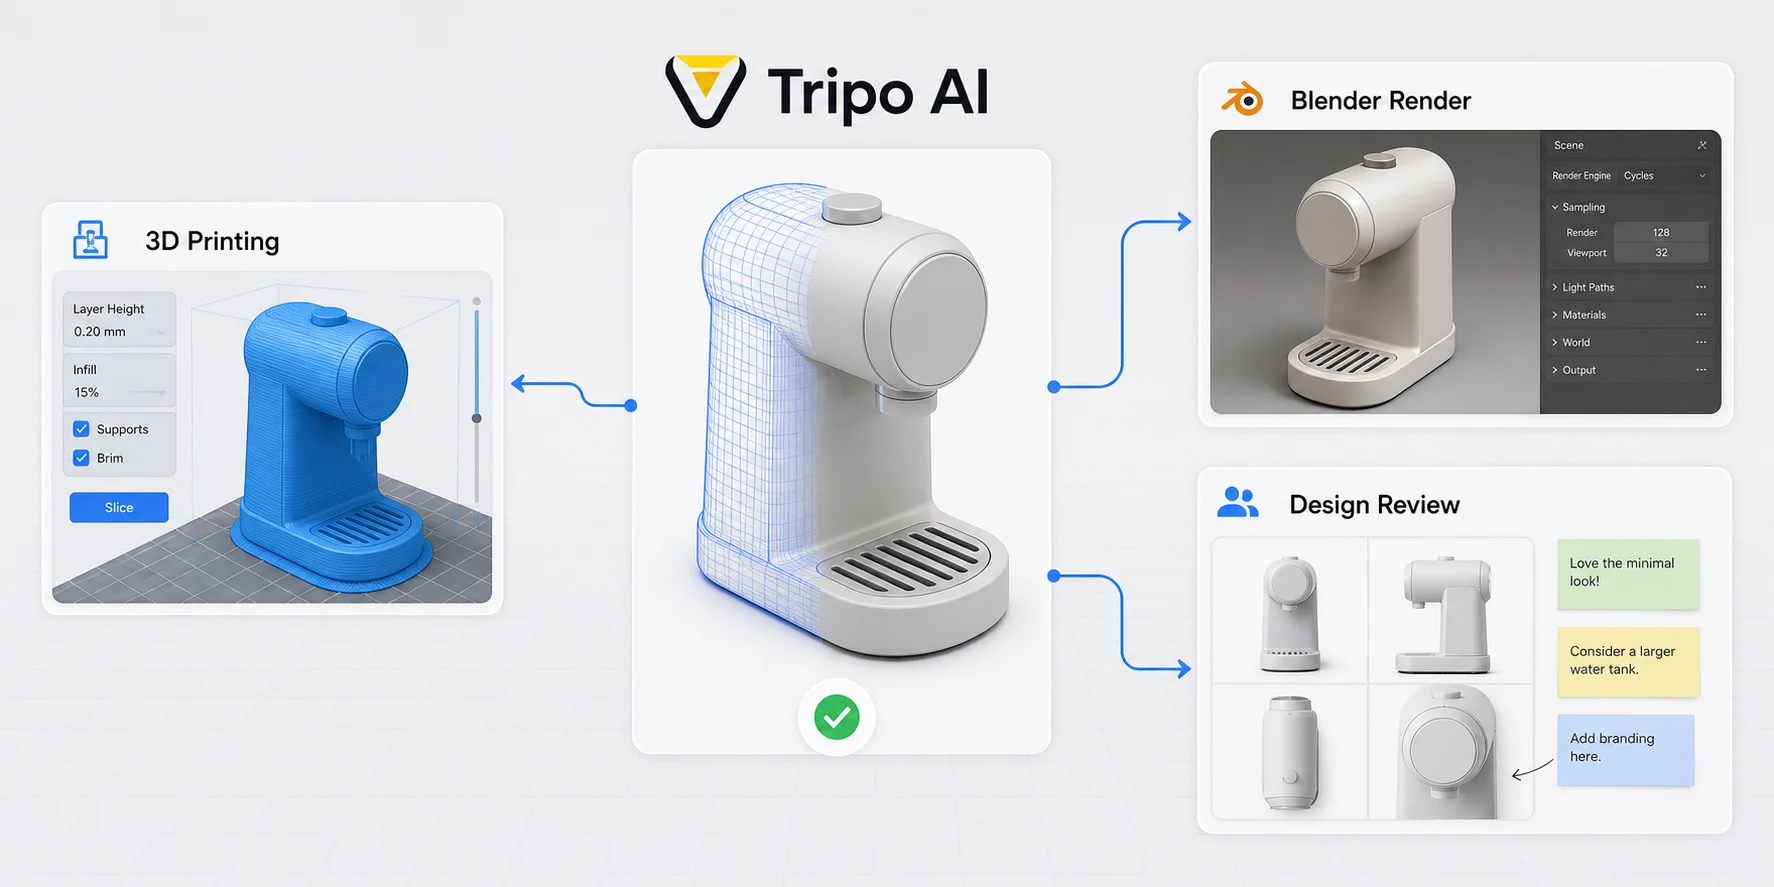
Idea → Text Prompt or Image → Generate Model in Tripo → Review Geometry → Improve if Needed → Export → Use for 3D Printing, Blender, Product Visualization, or Design Review
AI 3D models are best treated as early prototypes. They can help teams think faster, but they still need review for proportions, geometry, printability, materials, and real-world constraints.
Introduction
AI 3D for product prototyping gives designers, founders, marketers, engineers, and hobbyists a faster way to turn an idea into something visible. Instead of starting with a blank CAD file or a detailed manual model, you can describe a product concept or upload a reference image and generate an early 3D model.
That model may not be production-ready. It may not have engineering tolerances, exact dimensions, internal mechanisms, or manufacturing data. But it can still answer useful early questions. Does the shape make sense? Does the handle look comfortable? Is the silhouette readable? Would the concept work as a desk object, wearable, package, toy, accessory, or device enclosure?
This is where Tripo's AI 3D Model Generator can fit into a product prototyping workflow. You can generate a first model from text or images, inspect the geometry, improve detail with HD Model when needed, and export the asset for the next step.
The goal is not to skip design judgment. The goal is to get a first 3D object on screen quickly enough that the team can react to it.
What Is AI 3D for Product Prototyping?
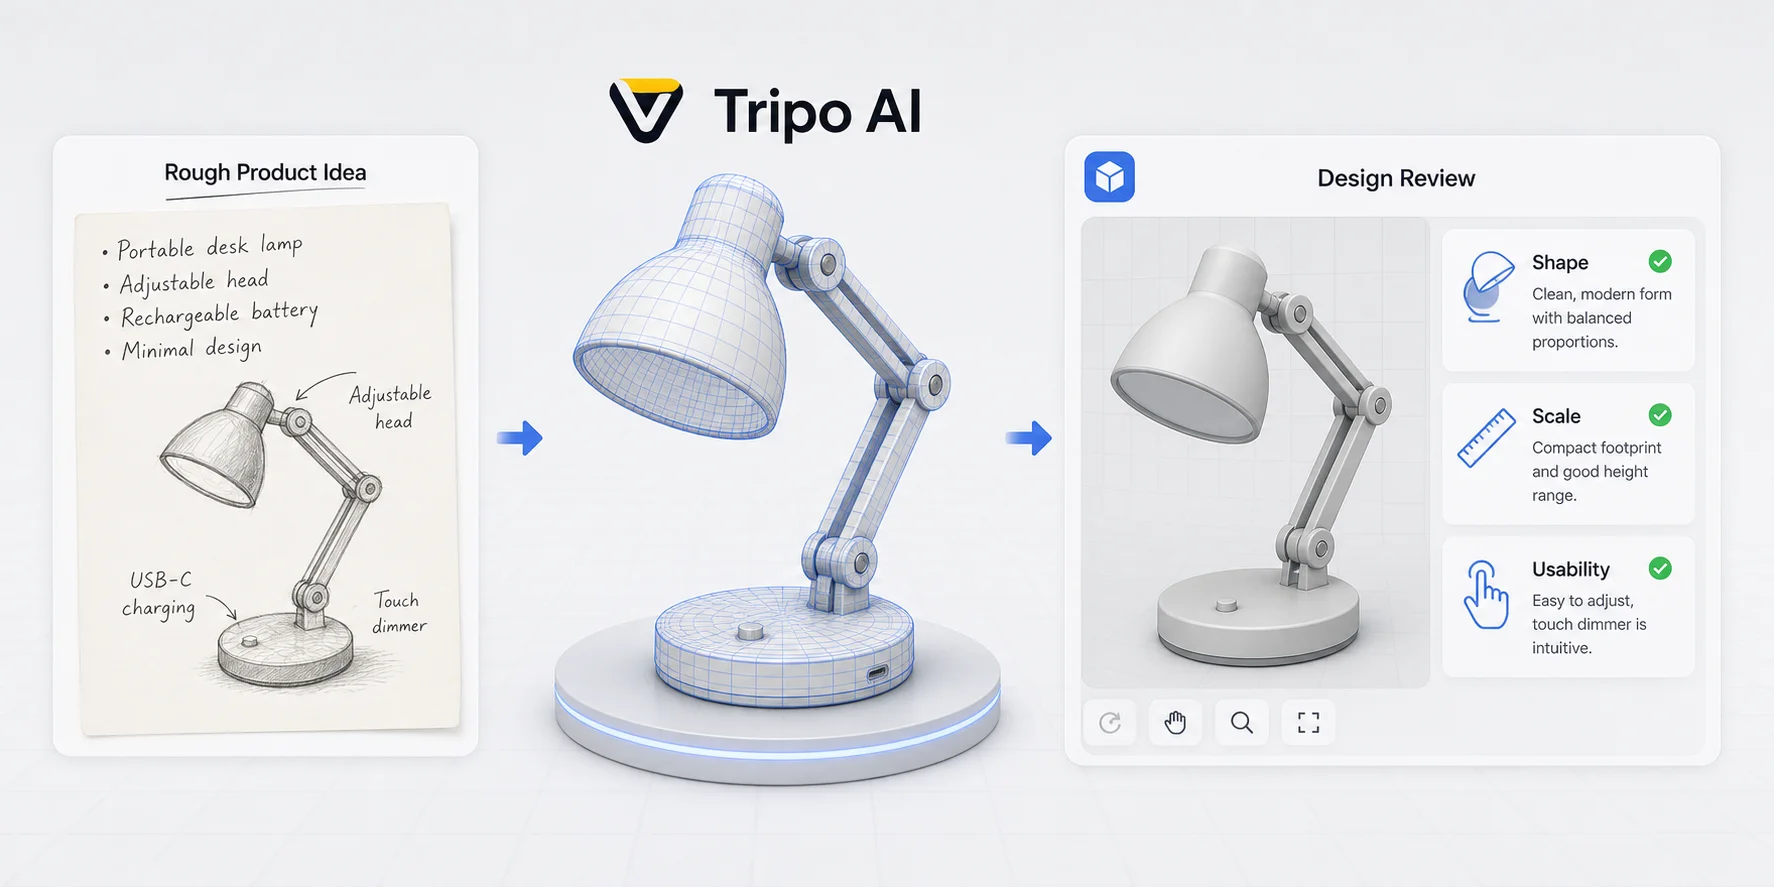
AI 3D for product prototyping is the use of AI 3D modeling tools to generate early product models from simple inputs. Those inputs may be a written prompt, a sketch, a product photo, a concept image, or an existing visual reference.
A typical prompt might be:
"Compact wireless speaker concept, rounded rectangular body, fabric front grille, soft rubber base, minimal buttons on top, matte black and gray finish."
An image-based workflow might start with a hand sketch of a bottle, a photo of a chair, or a mood board for a wearable device. The AI 3D model generator creates a digital object that can be reviewed, edited, rendered, printed, or used as a starting point for a more detailed workflow.
This is different from CAD. CAD is used when dimensions, tolerances, assemblies, and manufacturable parts matter. AI 3D modeling is better for early visual exploration. It helps you see a concept before every measurement is locked down.
That distinction matters. A generated model can support ideation and communication, but it should not be mistaken for an engineering drawing.
How AI 3D Generation Works
AI 3D generation turns a text description or reference image into a mesh that can be viewed, reviewed, and exported. A prompt supplies design intent such as product category, silhouette, materials, and visible features; an image supplies visual cues such as proportion, color, and surface treatment.
The output is a starting model, not a verified engineering representation. Treat it like a design-study maquette: it helps a team react to form and presentation before it commits to dimensions, tolerances, or assemblies.
For a product prototype, the practical pipeline is input → generated mesh → visual review → optional geometry or texture refinement → export to the next tool. Review the model from more than one angle before deciding whether it is ready for rendering, print preparation, or CAD reference.
AI Across the Product Lifecycle
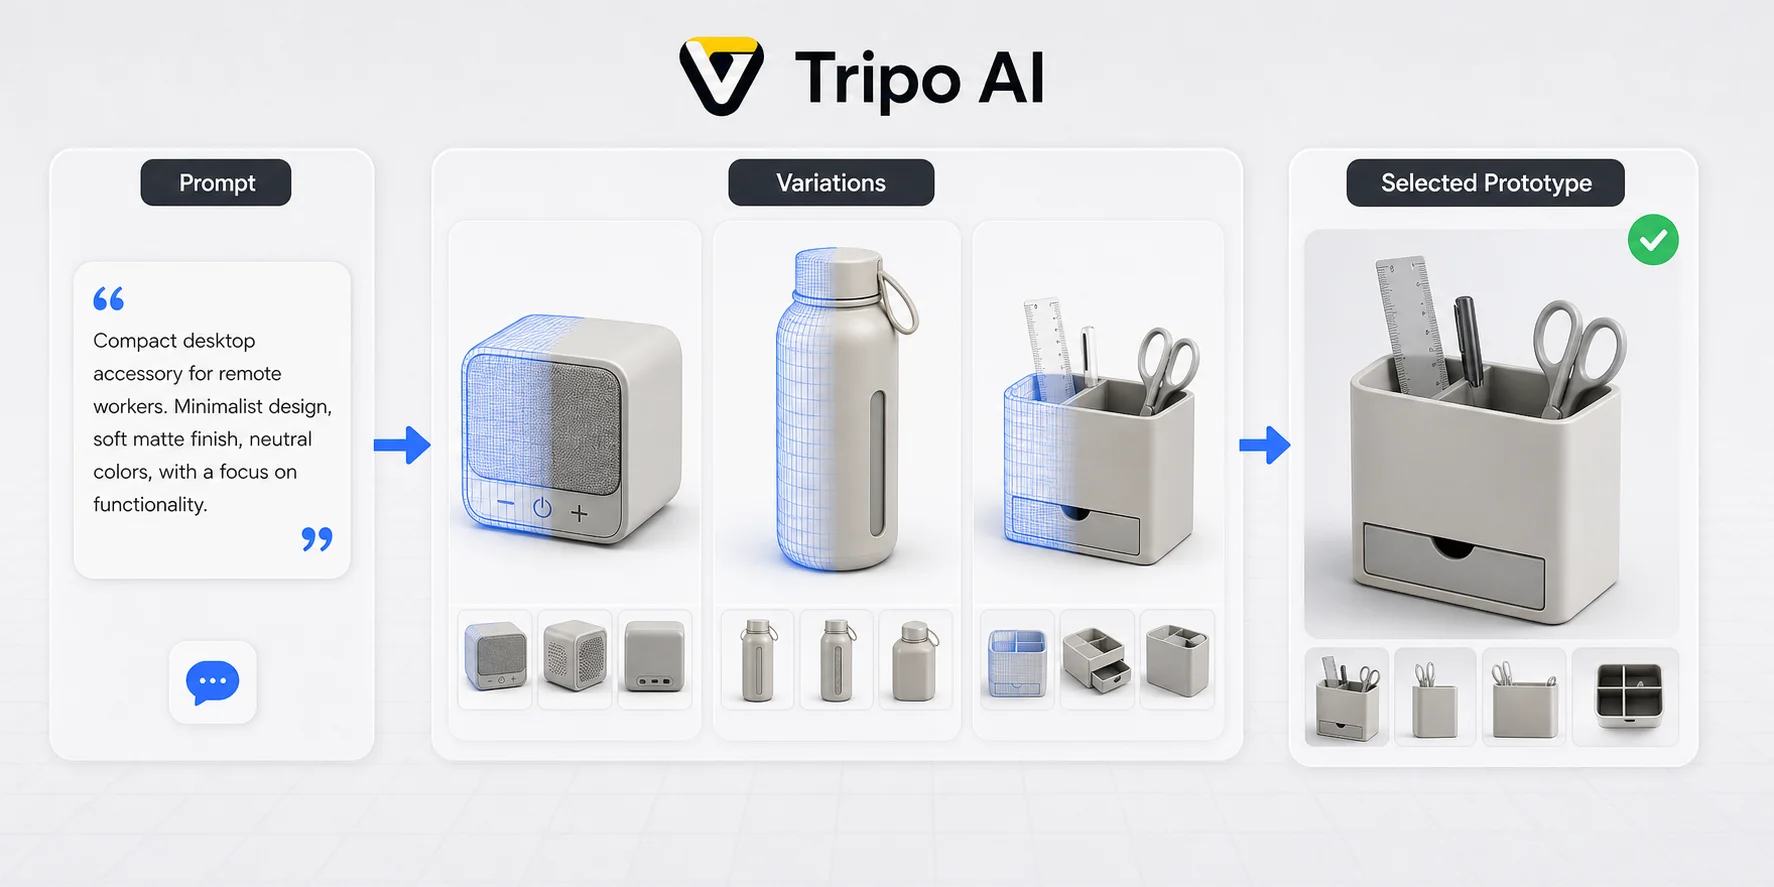
AI 3D is most useful where the team needs a shared visual object. During concept exploration, it can turn a written brief, sketch, or reference image into options that make silhouette, proportion, and design language easier to discuss.
During form validation, use the generated model to check major volumes, viewing angles, visible interfaces, and the relationship between parts. During a client or internal review, use a clear render or interactive model to collect feedback on the concept rather than treating it as engineering sign-off.
Once a direction is selected, pass the useful reference into the next stage: CAD for dimensions and assemblies, a 3D tool for materials or rendering, or a slicer for a printability review. The model should support that handoff, not replace the downstream checks.
Choosing the Right AI 3D Tooling
Choose the workflow by the decision you need to make next. For a visual concept, prioritize a tool that accepts the input you have and produces a model you can inspect from multiple angles. For an image-led concept, use a workflow that can start from a clean product sketch or reference image; for a text-led concept, use a prompt that states the object, form, materials, and visible features.
Before you generate, decide whether the next handoff is a design review, a render, a CAD reference, or a printability check. That choice determines whether you need an editable visual model, a clean export, or an engineering model built later in CAD. In Tripo, start with the relevant AI 3D Model Generator workflow, then review the generated asset against the requirements of the next tool.
Use a short checklist before choosing a workflow: Can it accept the source material you have? Can you inspect the output from multiple angles? Can you export to the next tool? Does the workflow preserve the distinction between a visual prototype and a dimensioned engineering model? These questions keep the choice tied to the product decision rather than a feature list. They also make review criteria clear for everyone involved throughout the concept review process and final approval discussion.
When to Move from AI 3D to CAD
Move to CAD when the work requires exact dimensions, tolerance control, assemblies, internal mechanisms, structural analysis, or manufacturing drawings. These are decisions that depend on measured geometry and engineering intent rather than a visually plausible mesh.
AI 3D and CAD work best as complements. Use AI 3D to explore exterior form and communicate a direction, then rebuild or reference the selected concept in CAD when the product must be manufactured, tested, or documented. Do not treat an AI-generated mesh as a substitute for a validated production model.
From Prototype to Print: AI 3D + 3D Printing
For a printable prototype, export the selected model in a format your downstream workflow supports. STL is commonly used for geometry-only printing workflows, while OBJ can be useful when visual data is also needed. Import the model into a slicer before treating it as ready to print.
In the slicer, check scale, orientation, wall thickness, overhangs, supports, mesh errors, and the layer preview. A model can look convincing on screen while still needing cleanup for printability. Use the first print to test the physical concept, then revise the geometry in the appropriate 3D or CAD tool before relying on it for functional parts.
Traditional product prototyping can involve sketches, CAD, foam models, 3D prints, renders, and physical mockups. Each stage has a purpose. A rough sketch is fast. CAD is precise. A 3D print reveals physical issues. A render helps presentation.
AI 3D does not replace these stages. It adds another early step between idea and more formal modeling.
| Area | Traditional Prototyping | AI 3D Prototyping |
|---|---|---|
| Starting point | Sketches, CAD, foam, manual 3D modeling | Text prompt, sketch, photo, reference image |
| Best for | Precision, engineering, production planning | Early shape exploration and visual concepts |
| Speed | Depends on skill and detail level | Fast for first drafts and variations |
| Control | High when using CAD or manual modeling | Less exact, needs review |
| Output | Drawings, CAD files, prints, renders | AI-generated 3D models for review or export |
| Main risk | Slow iteration before visual buy-in | Model may lack real-world accuracy |
The strongest workflow combines both. Use AI 3D to explore form and direction, then move promising ideas into CAD, Blender, a slicer, or product visualization software.
Step-by-Step: Building Your First AI 3D Prototype
1. Describe the product brief
Name the object, intended use, main form, visible features, and material cues. For example: “Reusable smart water bottle, cylindrical body, small lid display, matte steel finish, silicone base.”
2. Choose the right input
Use Text-to-3D for an open concept. Use Image-to-3D when a clean sketch or reference image already defines the desired silhouette.
3. Generate and inspect
Review the model from the front, side, back, top, and underside. Check major volumes, proportions, symmetry, openings, and the way visible details connect.
4. Refine for the next handoff
Revise the input if the form is too generic. Where appropriate, use Tripo options such as HD Model, Smart Mesh, or texture generation to support the intended review, render, or editing workflow.
5. Export and validate downstream
Export for the next tool, then run the relevant checks there: a slicer for printability, a 3D application for materials and rendering, or CAD for controlled dimensions and assemblies.
Where AI 3D Prototypes Fit Best
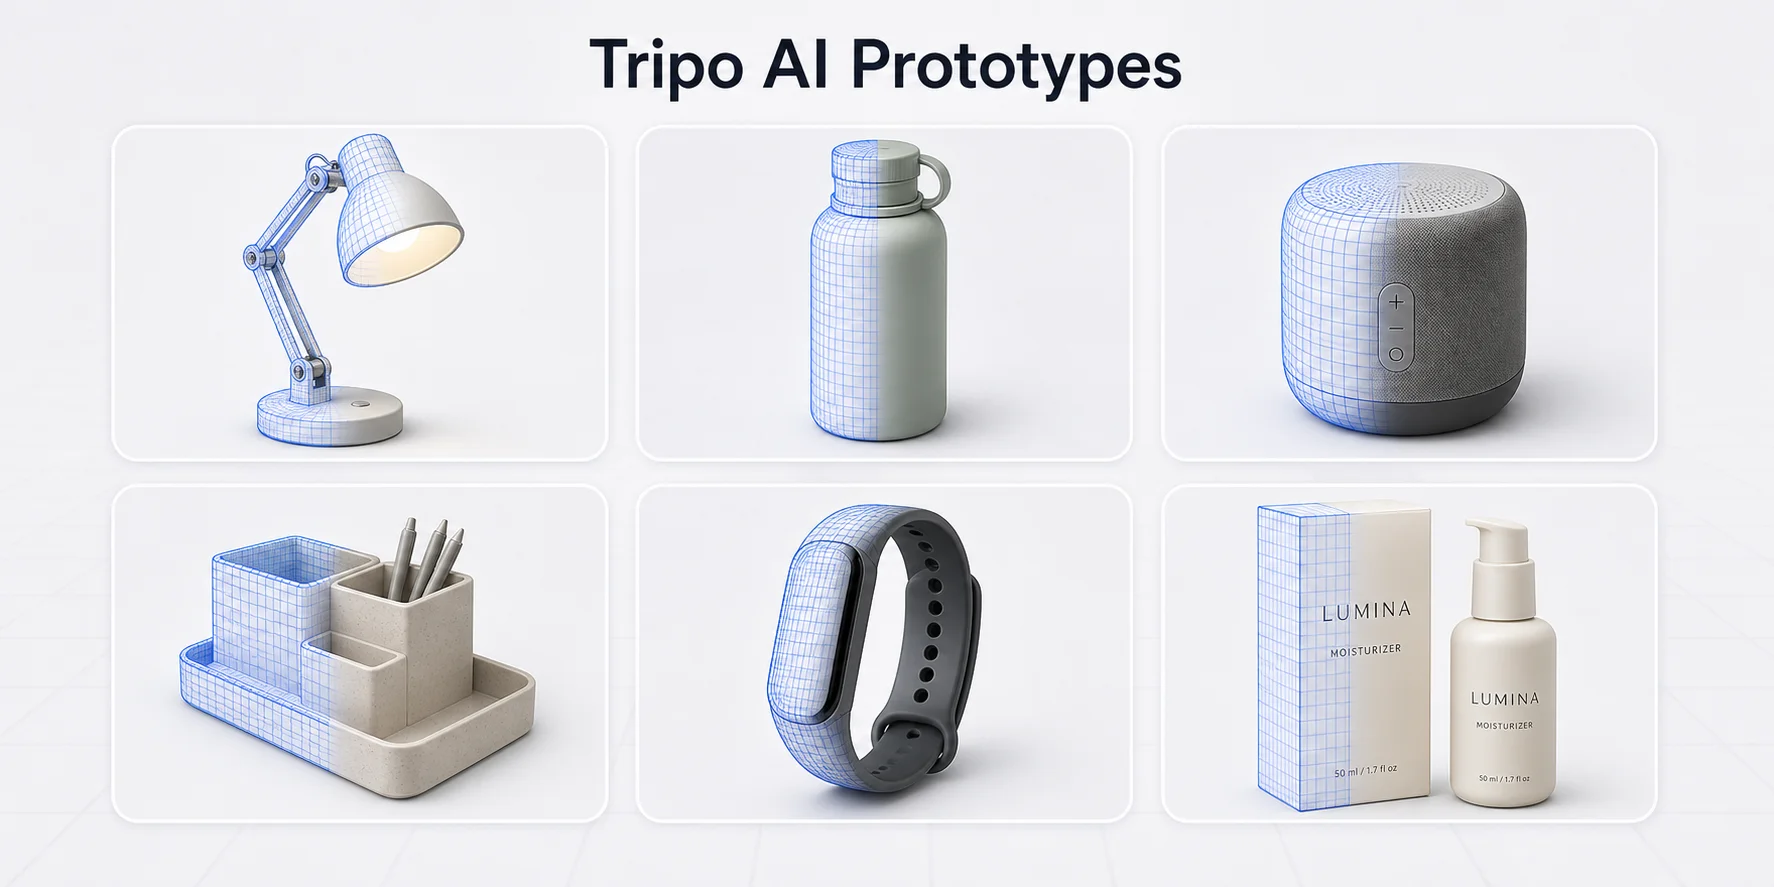
AI 3D is most useful when exterior form, presentation, and design language are the questions to resolve. Desk accessories, packaging, consumer-electronics exteriors, furniture forms, and lifestyle objects are good candidates. Precision mechanisms, load-bearing structures, and seal-critical parts still need an engineering workflow.
Frequently Asked Questions
What is the best AI 3D approach for product prototyping?
There is no universal best approach. Start with the input you have and the decision you need to make: text-to-3D is useful for an early concept, while image-to-3D is useful when a sketch or reference image already establishes the visual direction. Evaluate the result by how well it supports the next step, such as a review, render, CAD handoff, or printability check.
Can I use an AI 3D model generator with a free tier for prototyping?
Free-tier availability, credits, export access, and other limits can change. Treat a free tier as a way to test whether the workflow fits your concept, then check the provider's current official pricing and export conditions before planning a production workflow around it.
Can I convert an image to a 3D model with AI?
Yes. Start with a clean sketch, product photo, or concept image, then use an image-to-3D workflow to create a model for visual review. A clear subject, simple background, and readable silhouette make it easier to judge whether the output follows the intended direction.
How do AI-generated 3D models from images work in product prototyping?
The image provides visual cues such as silhouette, proportions, colors, and surface treatment. The generated mesh is useful for exploring and presenting an idea, but it still needs review from multiple angles and should not be treated as a verified dimensioned part.
Should I use AI 3D tools or traditional CAD for product prototyping?
Use AI 3D for early form exploration, concept communication, and visual variation. Use CAD when exact dimensions, tolerances, assemblies, structural analysis, or manufacturing drawings matter. Many product teams use both: AI 3D to select a direction and CAD to engineer it.
What should I check before printing an AI-generated 3D prototype?
Check scale, orientation, wall thickness, overhangs, supports, mesh errors, and the slicer's layer preview. A first print is a physical concept check, not proof that the model is ready for a functional or manufactured part.
Conclusion
AI 3D for product prototyping is most useful when a product idea needs to become visible quickly. It can help you move from a written concept, sketch, or reference image to an early 3D model that people can review, compare, print, render, or refine.
The important part is knowing what the model is for. Use AI 3D for early form exploration and communication. Use CAD, engineering review, and manufacturing workflows when precision matters.
Want to create an early product prototype from text or an image? Start in Tripo Studio, review the generated model, and export it into the workflow that fits your next design step. See Tripo AI Pricing to review the current plan options before you export.