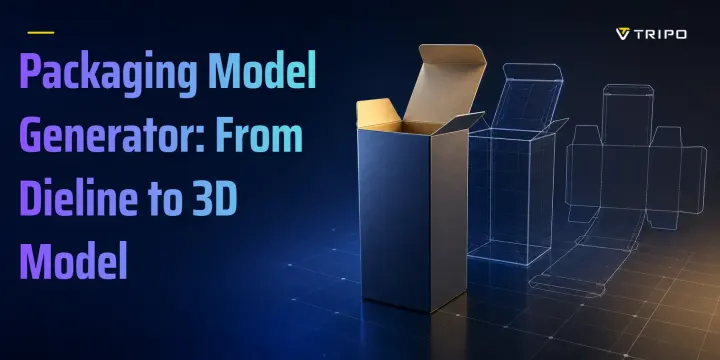
Packaging Model Generator: From Dieline to 3D Model
A packaging model generator creates editable geometry, not only a promotional image. Lock package dimensions before generating models for sampling, quoting, or supplier reviews. Use clean artwork, then inspect shape, textures, scale, and polygon count. Choose GLB or USDZ for previews and STL or 3MF for printing.
Generated geometry supports visualization, but production dielines still need structural validation.
A packaging model generator creates a three-dimensional model of a box, carton, pouch, or label that you can rotate, render, AR-preview, or send to a printer. That is different from a packaging mockup generator, which wraps your flat artwork onto a fixed template image and normally returns a picture rather than editable geometry.
Packaging is a USD 1.22 trillion market in 2026, yet most tools described as “3D packaging” still hand you a picture instead of a model. This guide explains the difference between mockups and real 3D geometry, then shows how to prepare artwork, generate a model, handle dielines, choose export formats, and fix common problems before using the asset online, in AR, or for sample printing.
What Is a Packaging Model Generator?
A packaging model generator converts an input such as approved artwork, a product photograph, package dimensions, or a written description into three-dimensional geometry. That geometry is usually a mesh, which means a digital surface made from vertices and polygon faces. You can open the result in a browser, renderer, AR viewer, modeling program, game engine, or slicing application.
The term often gets mixed up with two other kinds of packaging tools. An AI artwork generator creates the flat graphics that appear on a package and usually exports PNG, JPG, or PSD files. A template-based mockup generator places those graphics onto a fixed box, bottle, pouch, or label scene and normally exports a rendered image. A true 3D packaging model generator creates geometry that can be exported in a model format such as GLB, OBJ, or STL.
The fastest test is the download button: If the download button gives you a .png or .jpg, you got a mockup. If it gives you a .glb, .obj, or .stl, you got a model.
Each package type also creates a different modeling challenge. A folding carton needs straight panels, crisp folds, and believable closing flaps. A corrugated box needs visible board thickness and clean corners. A stand-up pouch needs controlled soft curves, sealed edges, and a stable base. A bottle label must fit a curved surface without stretching the artwork. A rigid box may need separate lid, base, lining, and double-wall geometry.
A generated mesh can help you judge appearance, scale, and digital presentation. It does not automatically include the engineering information required to cut, fold, seal, fill, ship, or manufacture the package.
Packaging Mockup vs 3D Packaging Model: What Actually Ships

| What you get | File you download | What it’s good for | What it can’t do |
|---|---|---|---|
| AI artwork generator | PNG, JPG, or PSD | Exploring graphics, colors, labels, and campaign directions | Cannot represent real package depth, folds, thickness, or structure |
| Mockup generator, template-based | PNG, JPG, or video | Ecommerce A/B tests, social posts, pitch decks, and fast concept approval | Usually cannot be measured, edited as geometry, printed, or placed accurately in AR |
| 3D packaging model, geometry | GLB, OBJ, FBX, USD, USDZ, STL, or 3MF | 360-degree viewers, rendering, AR, animation, scale checks, and prototype printing | Does not automatically provide a production-ready dieline |
| Production dieline plus CAD | PDF, AI, DXF, CAD-native file, or supplier template | Cutting, folding, material planning, tolerances, quotations, and manufacturing | Usually needs a separate render or 3D conversion for polished marketing visuals |
A mockup is often enough for ecommerce and marketing work. You can place several artwork versions on the same template, run an A/B test, create social posts, or show a retailer how the front panel may look. A static image is easy to approve, download, and share, so there is no reason to build geometry when the decision is only about color, composition, or campaign direction.
The limitation appears when the next step depends on space, movement, scale, or fabrication. A picture cannot power a true 360-degree turntable, sit at real size on a customer’s table through AR, reveal hidden panels, enter a slicer, or support a meaningful structural review. It may also hide a badly proportioned side panel or an unrealistic closure because the viewer sees only one controlled angle.
Use a mockup when you need to answer, “Does this design look right?” Use a 3D model when you need to answer, “Can people inspect, position, render, or test this object?” Use a verified dieline and structural CAD when the question becomes, “Can a printer or converter manufacture it correctly?”
How to Generate a 3D Packaging Model Step by Step
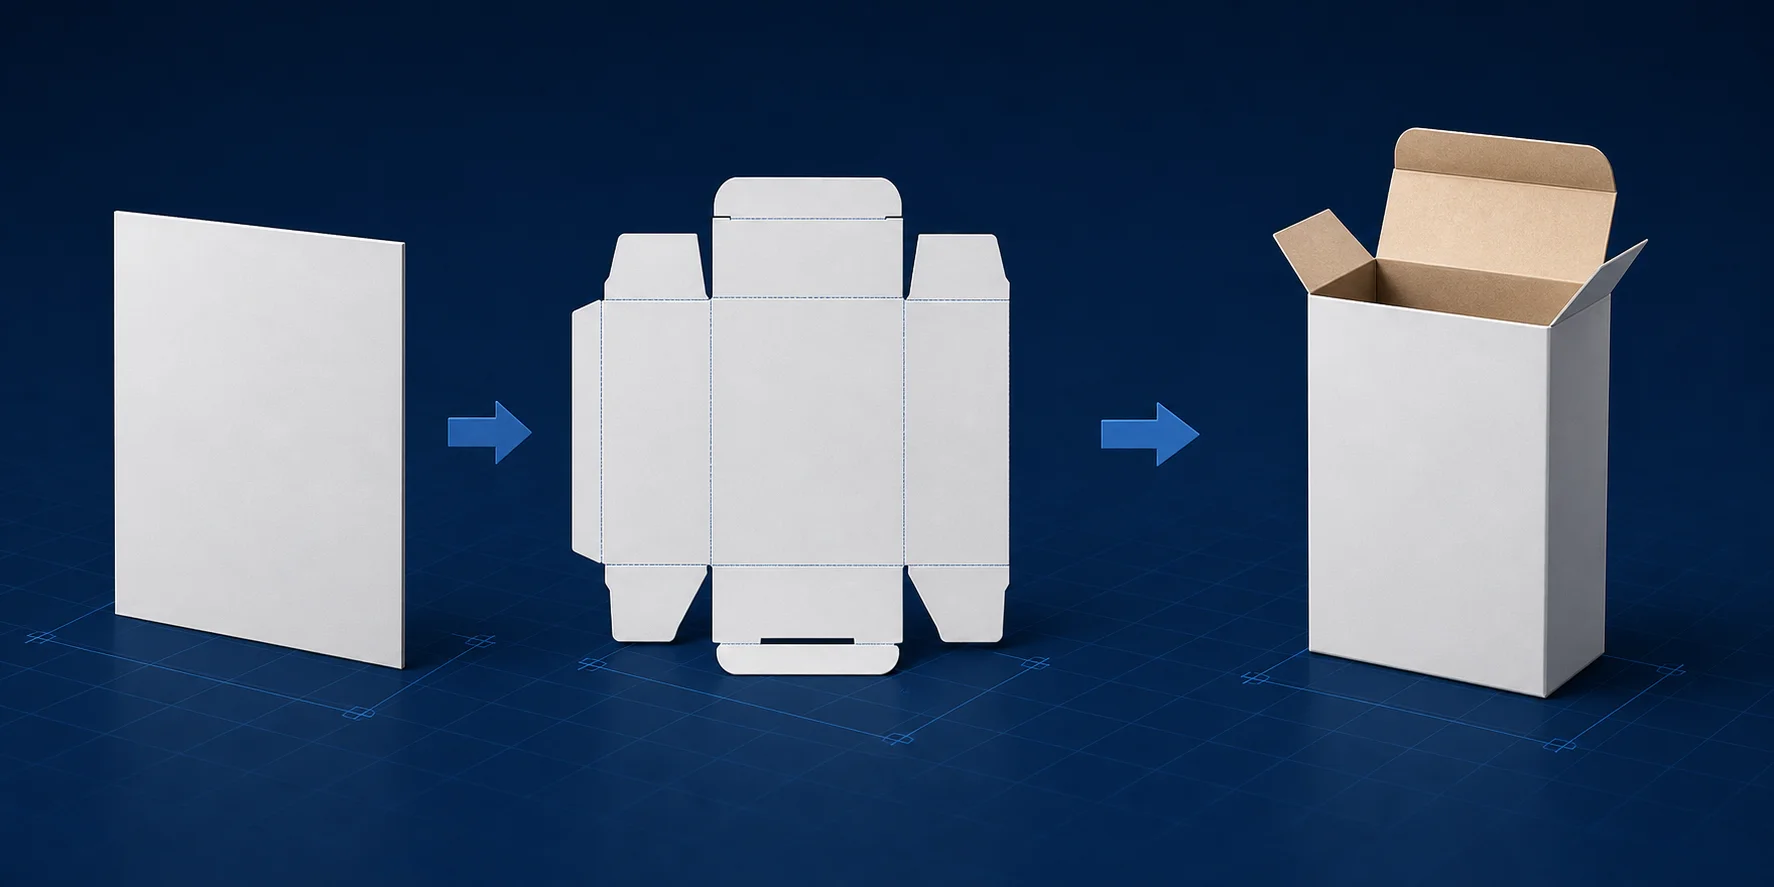
- Lock the dimensions first. Record the package length, width, height, and intended material thickness before generation. Without exact dimensions, the model may support a concept render, but it cannot reliably support supplier quotes, capacity checks, shelf-fit reviews, or sample printing.
- Prepare one clean input. Use a front-facing flat artwork file or a clear straight-on product photograph. Remove the background, hard shadows, hands, shelves, and nearby objects so the generator does not mistake them for package geometry.
- Generate the base geometry. In Tripo AI Studio, follow the working path Generate Model → Upload → choose the available model version → Generate. Upload the clean image, run image-to-3D, and inspect the resulting mesh from the front, sides, back, top, and bottom before spending time on textures or cleanup. Tripo’s official image-to-3D workflow supports single-view and multi-view inputs and follows an upload, generate, enhance, and download sequence.
When reviewing this comparison, check more than front-panel resemblance. Rotate the model to confirm that the side depth, top and bottom surfaces, seams, and corners were actually inferred as geometry. Record any manual corrections separately. A convincing front view can still hide an unusable back or distorted side panel, so the comparison should support visual review only and must not be treated as structural approval.
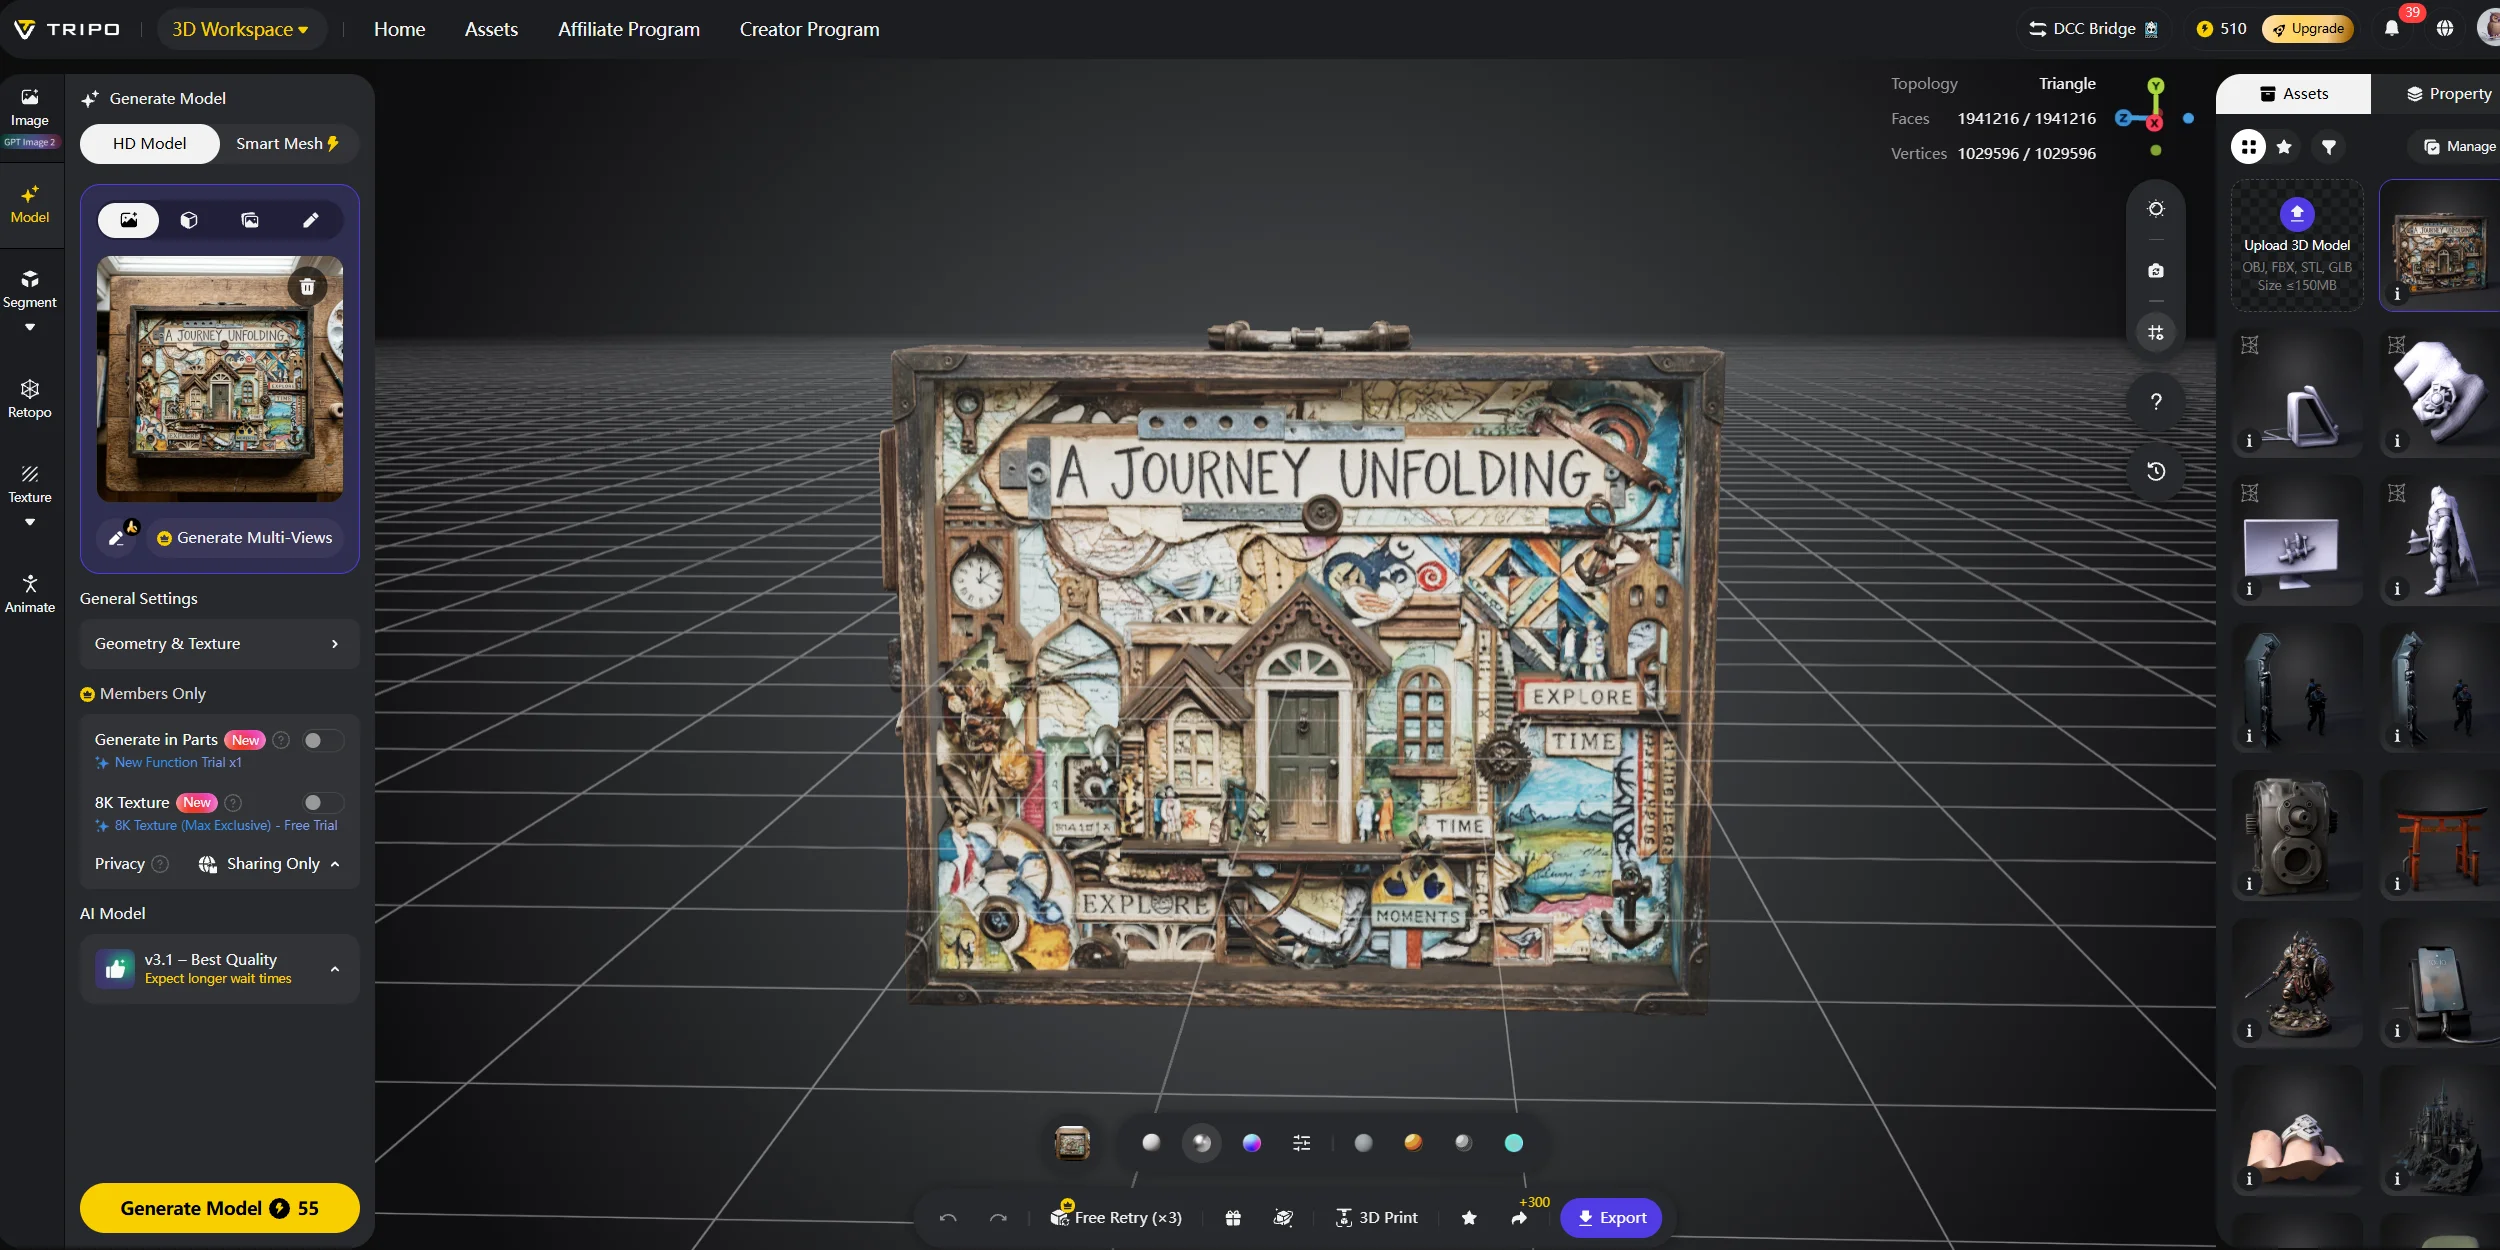
- Control the polygon count. Create a lighter version for product pages and mobile AR, and keep a denser version for close-up renders. An automatic quad remesher can reduce or reorganize the mesh, but inspect the silhouette and surface after remeshing. Preserve more faces around curved shoulders, pouch seams, embossed marks, and rounded corners.
- Fix the surface and artwork alignment. Confirm that the front logo sits on the front panel, text remains readable, and borders do not drift across folds or seams. If the generated texture stretches or invents lettering, export the geometry and reapply the approved artwork with UV mapping, which is the process of placing a flat image accurately across a 3D surface.
- Export twice. Export a GLB version for web viewing, review, or later AR conversion, then export STL or 3MF for a sample-printing workflow. Download eligibility depends on both the subscription and model version: Basic can download v2.5 models, while v3.0 and v3.1 downloads require an active paid plan. Before a commercial handoff, also confirm the current privacy and commercial-use terms.
**Try it in **Tripo AI Studio →
Dielines and Structural Geometry: Why a Flat Template Isn’t Enough
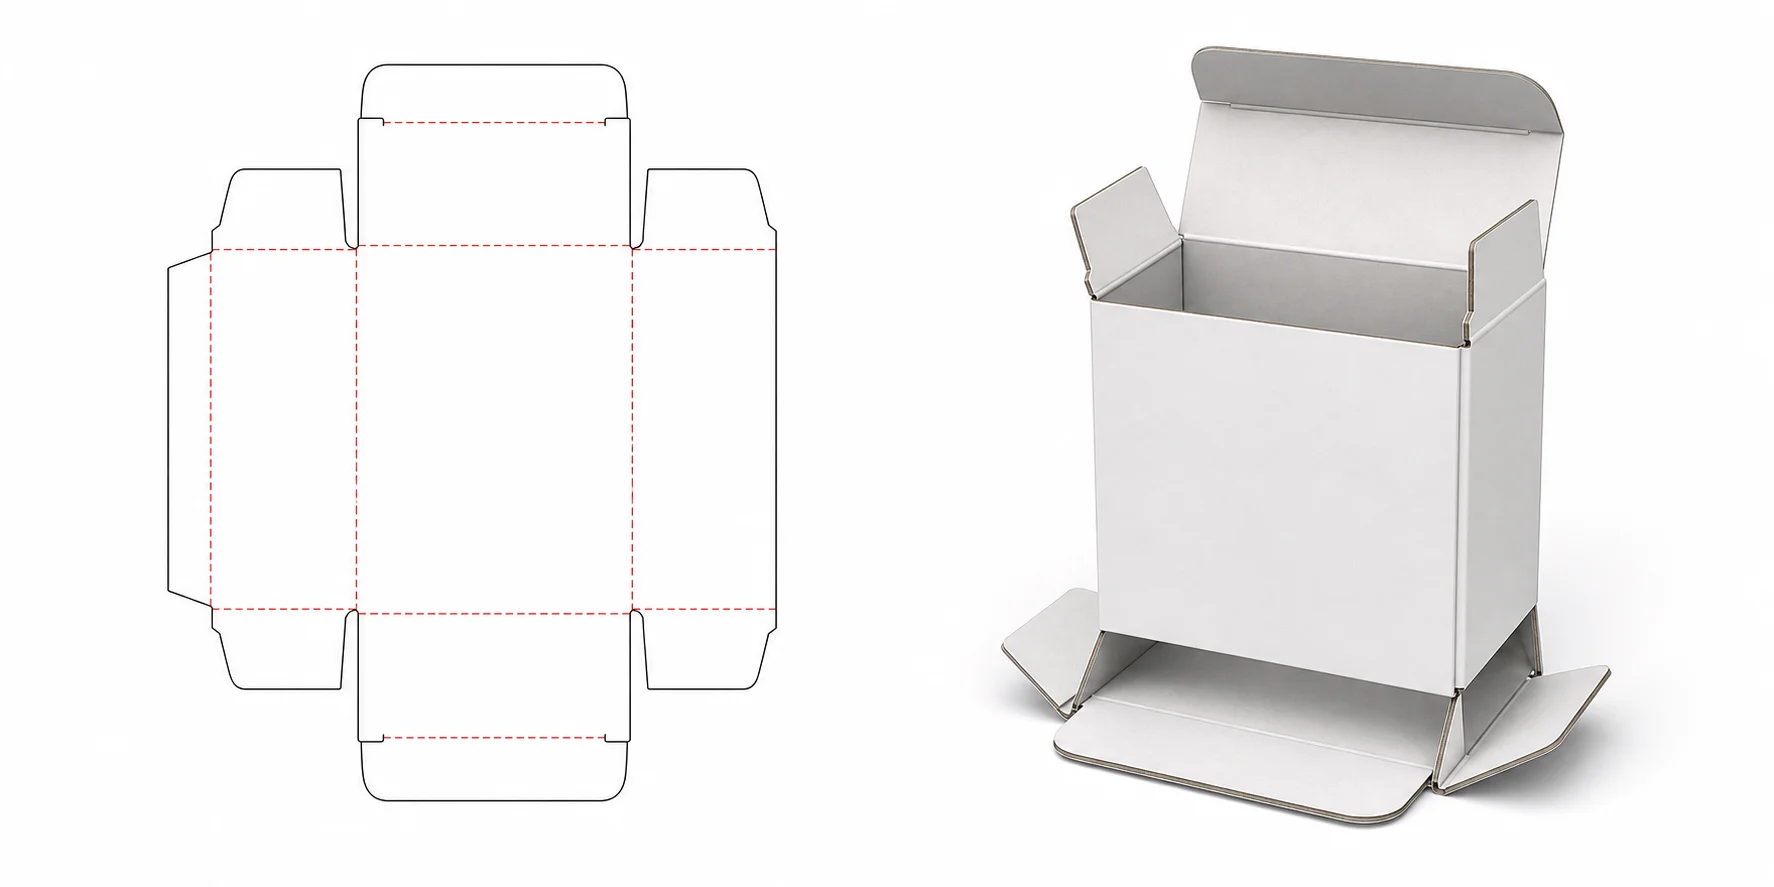
A dieline is the flat cutting and folding map a printer uses to turn a sheet into a box. It normally includes solid cut lines, dashed fold or score lines, bleed beyond the artwork edge, safe areas for important content, and glue tabs used during assembly.
The outer shape produced by a packaging model generator is not the same as a production-ready dieline. Panel dimensions, material-thickness compensation, flap clearances, glue areas, fold allowances, grain direction, seal widths, and machine tolerances must still be defined in structural packaging software, a supplier-approved template, or a computer-aided design file prepared by a packaging engineer.
This boundary matters because a mesh can look correct while being impossible or expensive to manufacture. A lid may fit visually but lack clearance for wrapped board. A carton flap may overlap incorrectly after material thickness is added. A pouch may look full in a render while missing the seal and gusset dimensions required by the filling line.
The most useful workflow is often to begin with the 3D model for visual and proportion decisions. Review shelf presence, package-to-product scale, logo hierarchy, opening direction, and camera angles before final production artwork is locked. Once the visual direction is approved, move the artwork onto a verified dieline and ask the supplier to confirm the structure. This can reduce avoidable prototype rounds without pretending that AI geometry replaces packaging engineering.
Materials and finishing also change the required shape. Corrugated board creates thicker edges and wider folds than paperboard. Flexible packaging needs seals, gussets, and controlled deformation. Labels and sleeves stretch over curved surfaces. Rigid boxes may require separate boards, wraps, liners, trays, and lid clearances. Treat the 3D model as a decision and communication asset, while treating the verified structural file as the manufacturing source of truth.
Which Export Format Should You Use for a Packaging Model?
| Format | Best for | Watch out for |
|---|---|---|
| GLB | Product pages, web viewers, AR/VR, and game engines; textures can be embedded | Reduce mesh and texture size before publishing |
| USD | VFX, animation, scene assembly, and collaborative pipelines | Material and hierarchy support can vary between applications |
| FBX | Digital content creation, animation, and established content pipelines | Files may be large, and materials may transfer inconsistently |
| OBJ | General exchange and easy import into many modeling or structural tools | Textures and material files may remain separate |
| STL | 3D printing when only geometry is needed | Geometry only; it contains no texture or color data |
| 3MF | Modern 3D printing with richer color, texture, and print information | Confirm support in the chosen slicer and printer |
| USDZ | Fast AR preview on iOS and iPadOS devices | Scale, materials, and file size still need testing |
For packaging work, use GLB as the normal product-page and cross-platform preview file. Use USDZ when the final experience is a quick Apple-device AR preview. For sample printing, choose 3MF when color or richer print data matters, and choose STL when you only need the shape.
GLB is the safest default for a product page, but picking the right export format depends on whether the file is headed to a browser, a render, or a printer. Tripo currently documents direct Studio support for USD, FBX, OBJ, STL, GLB, and 3MF, so USDZ may require conversion from USD or GLB when it does not appear in the current export panel.
Format choice is only one part of the handoff. Download eligibility also depends on the account and model version: Basic can download v2.5 models, while v3.0 and v3.1 downloads require an active paid subscription. Check the current pricing and licensing terms before building a client workflow around repeated exports.
Where 3D Packaging Models Get Used
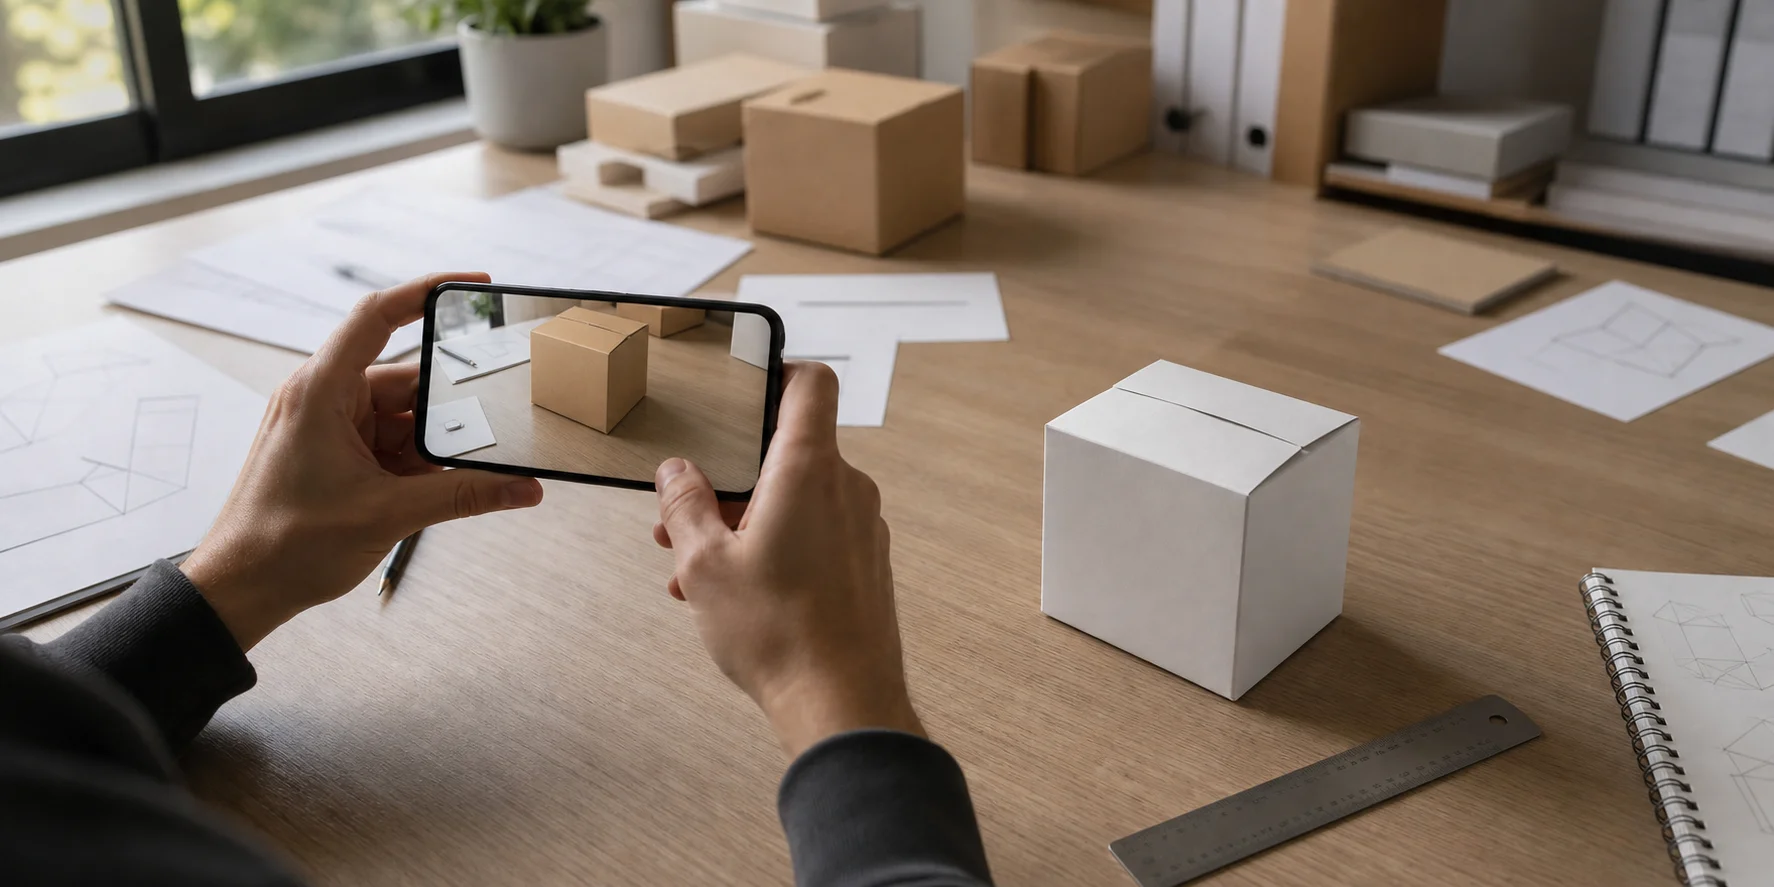
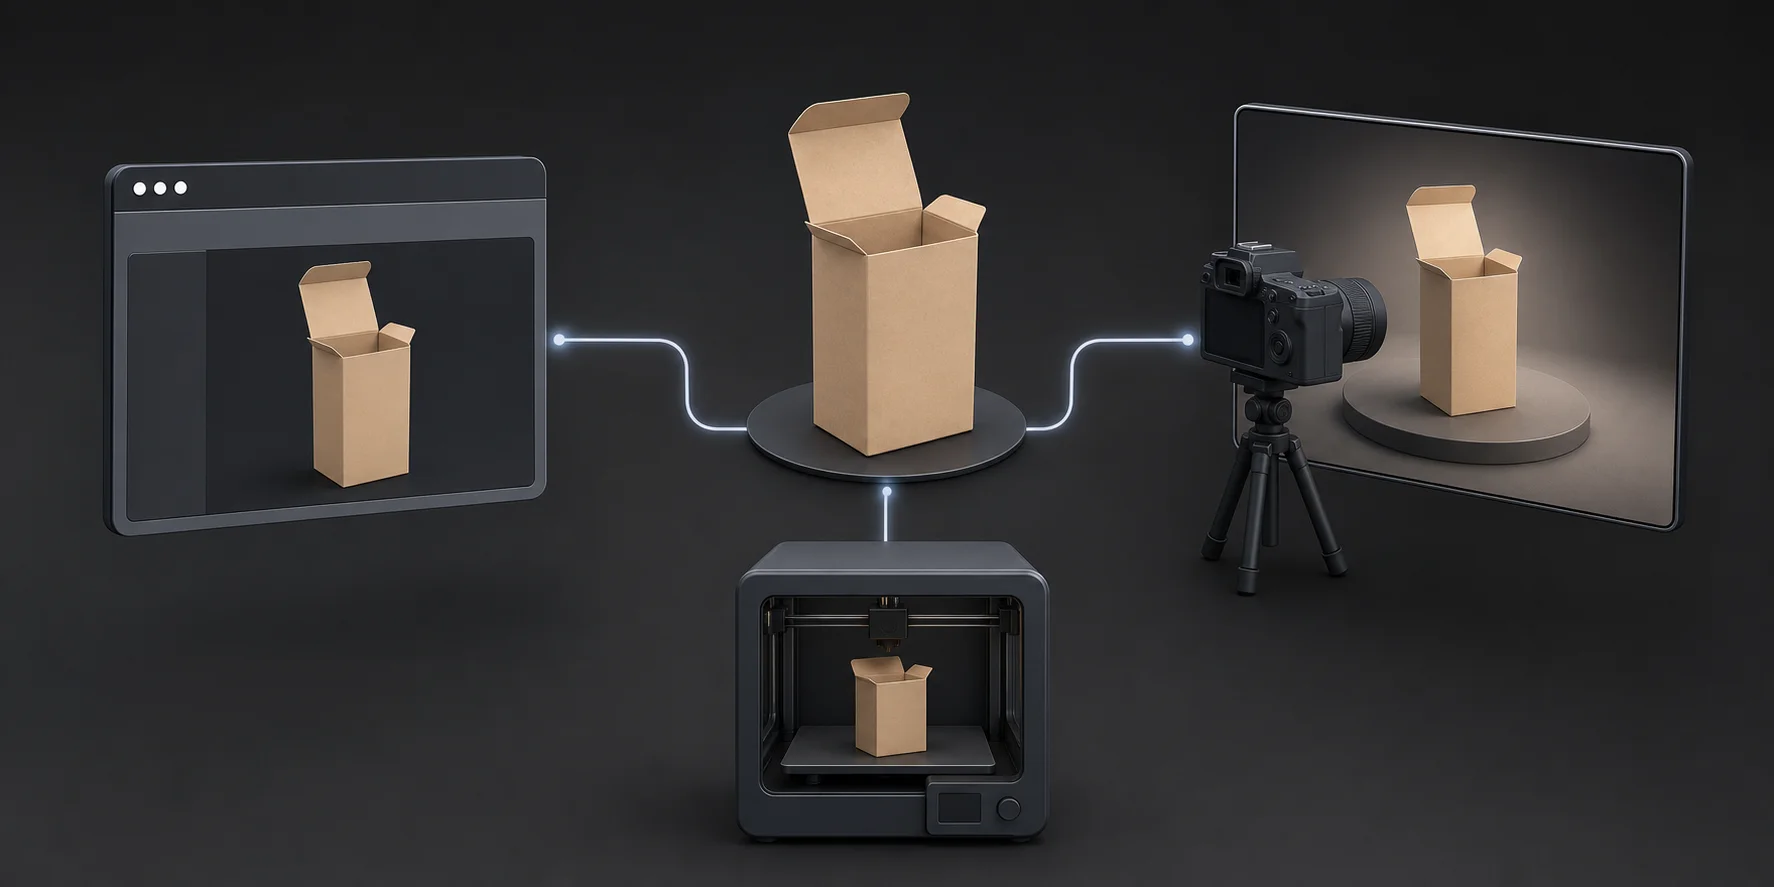
On an ecommerce product page, a lightweight model can provide a 360-degree turntable and controlled zoom. Buyers can inspect the box type, closure, side panels, and surface finish without relying on a set of disconnected photographs.
A phone-based AR preview places the package at approximate real scale on a table, counter, or shelf. This is especially useful for exposing a design that looks balanced in a flat image but feels too tall, too wide, or too bulky beside the actual product.
Before formal tooling or supplier sampling, a scaled print can support hand-feel, shelf-blocking, and proportion reviews. It is not a substitute for testing the real paperboard, film, seal, or closure, but it can reveal obvious scale or shape issues before the structural file is finalized.
A rotatable file also improves team and supplier communication. Designers, brand managers, ecommerce staff, and structural partners can point to the same corner, flap, or panel instead of comparing six separate angle images.
The same geometry can support advertising and social media renders. Change the approved texture, material, lighting, camera, or background to create several campaign images without rebuilding the package from the beginning.
Common Problems With AI-Generated Packaging Models (and Fixes)
- Text and logos look melted Symptom: Letters blur, curve, merge, or become unreadable because the source image is small or distorted by perspective. Fix: Use a higher-resolution, front-facing flat artwork image, regenerate the base model, and reapply approved text as a controlled texture when accuracy matters.
- The box isn’t square Symptom: Corners become rounded, the package leans, or opposite panels no longer match because the generator inferred shape from a photograph. Fix: Include a known-size reference or strong rectangular silhouette, then align major faces and enter exact dimensions in modeling software.
- The file is too heavy for the product page Symptom: A mesh with hundreds of thousands or millions of triangles loads slowly, freezes on mobile, or uses too much data. Fix: Reduce the face count, resize oversized textures, remove hidden geometry, and export a dedicated lightweight copy. Inspect the result in an online 3D viewer, then test it on the actual page and target devices before publishing.
- The STL comes out with no color Symptom: The slicer shows a plain object even though the original model had branded artwork and materials. Fix: Nothing is broken: STL is geometry only. Use 3MF for a compatible color-aware printing workflow or GLB when the destination is a digital viewer.
- The export button won’t work Symptom: The download is unavailable or the chosen model version is not eligible under the account. Fix: Confirm the subscription and model version. Basic can download v2.5 models; downloading v3.0 or v3.1 models requires an active paid plan. Recheck the current pricing page before relying on these conditions for a production workflow.
Frequently Asked Questions
1. What is a packaging model generator?
A packaging model generator turns artwork, an image, dimensions, or a description into three-dimensional package geometry. The result can be rotated, rendered, edited, previewed in AR, or prepared for sample printing.
2. What’s the difference between a packaging mockup and a 3D packaging model?
A mockup normally places artwork on a fixed template and exports a picture. A 3D packaging model contains geometry that can be viewed from new angles, measured, edited, animated, or exported to another workflow.
3. Can a packaging model generator create a production-ready dieline?
Not by itself in most cases. A production dieline still needs verified panel dimensions, cuts, folds, bleed, glue areas, material allowances, and supplier tolerances.
4. What file format should I use for a 3D packaging model?
Use GLB for most product pages and web previews, and use USDZ for quick AR viewing on Apple devices. Use STL for geometry-only sample printing or 3MF when a compatible workflow needs richer color or print information.
5. Can I 3D print a generated packaging model?
Yes, after confirming the scale and checking that the mesh is closed and manifold, meaning it has no unintended holes or impossible edges. Export STL when you only need shape, or 3MF when the slicer supports richer print data.
6. Do I need exact dimensions before generating a model?
You can create a visual concept without them. Exact dimensions become necessary when the model supports scale checks, sampling, supplier communication, shelf planning, or quotations.
7. Can I generate a food packaging model, like a pouch or a carton?
Yes, both rigid cartons and flexible pouches can be generated for visualization. Food-contact safety, barrier performance, seal strength, legal labeling, and manufacturing specifications still require professional validation.
8. How do I get my artwork onto the 3D model correctly?
Begin with a clean, front-facing artwork image and inspect every panel after generation. For precise placement, correct the UV map and apply the approved artwork separately rather than trusting generated text.
9. Can I use a generated packaging model on a product page or in AR?
Yes, provided you optimize polygon count, texture size, scale, and loading performance. Use a lightweight GLB for many browser workflows and prepare USDZ when the final AR experience targets Apple devices.
10. Is a 3D packaging model enough to get a quote from a printer?
Usually not. A printer normally also needs exact dimensions, material, quantity, finishing requirements, artwork, and a verified dieline or structural drawing.
Conclusion
A mockup answers, “What will the package look like?” A 3D model answers, “Can people inspect, position, render, or test it?” Lock the dimensions first, generate and correct the geometry, then choose the export format based on whether the next step is web viewing, AR, rendering, or sample printing.
Generate your first packaging model in Tripo AI Studio and export it in the format your next step needs.
If you’re weighing how often you’ll need exports, the Tripo AI pricing page lays out what each plan covers.