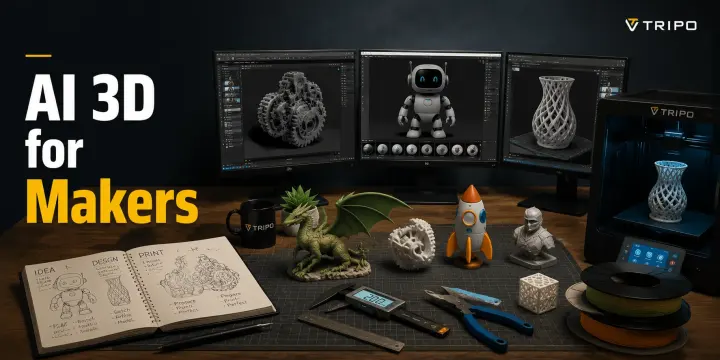
AI 3D for Makers: How to Generate, Print, and Build Custom Parts
TL;DR
- AI 3D tools let makers skip Blender and Fusion 360 entirely — go from a text prompt or photo to a printable STL in ≈15 minutes.
- The main use cases are custom enclosures, replacement parts, cosplay props, tabletop miniatures, and one-off art pieces.
- Print-ready output requires checking for manifold geometry, correct scale, and no internal geometry — most AI meshes need minor cleanup.
- Tripo AI is the strongest option for makers: no CAD knowledge needed, Smart Mesh mode for quick props, HD mode for detailed parts, and direct STL/OBJ export.
Yes, makers can now use AI 3D tools to skip the traditional CAD workflow entirely. In 2025, AI-powered platforms can compress the journey from an idea to a printable STL file into roughly 15 minutes, allowing creators to turn concepts into physical objects faster than ever. This guide explores how makers are using AI 3D for different projects, the key differences between AI generation and traditional CAD modeling, a complete Tripo AI workflow from prompt to print-ready model, and the practical techniques needed to optimize AI-generated designs for successful 3D printing.
What Can Makers Actually Make with AI 3D Tools?
AI 3D tools are most useful when makers need custom designs that are difficult to find in existing STL libraries or too time-consuming to model from scratch. Instead of starting with CAD sketches and complex measurements, creators can describe an idea, generate a 3D model, and refine it into a printable object. Common maker applications include:
Custom Enclosures for Electronics Projects One of the most practical uses is creating custom housings for electronics projects such as Raspberry Pi cases, Arduino enclosures, and sensor mounts. AI can quickly generate enclosure concepts based on a description, helping makers prototype designs before fine-tuning dimensions in CAD software.
Replacement Parts for Broken Household Items AI 3D generation is also valuable for everyday repairs. Broken clips, brackets, knobs, covers, and small replacement components can often be recreated faster than searching through online STL libraries. For maker communities focused on repair and DIY, generating a custom replacement part can save hours of searching.
Cosplay Props and Armor Pieces Cosplay creators can use AI 3D tools to design helmets, armor details, decorative parts, badges, and fantasy props. Since many cosplay pieces prioritize visual appearance over mechanical precision, AI-generated models provide a fast way to explore unique designs without advanced sculpting skills.
Tabletop Miniatures and Terrain Pieces For tabletop RPG and wargaming projects, AI works well for creating terrain elements, vehicles, creatures, and decorative scene pieces. These objects usually require moderate detail rather than engineering-level accuracy, making optimized outputs like Smart Mesh suitable for faster generation and printing.
Custom Art Pieces and Decorative Objects AI 3D tools are especially powerful for artistic projects where creativity matters more than exact measurements. Makers can create personalized sculptures, decorative objects, collectibles, and custom gifts from simple ideas, giving independent creators a faster way to produce unique designs.
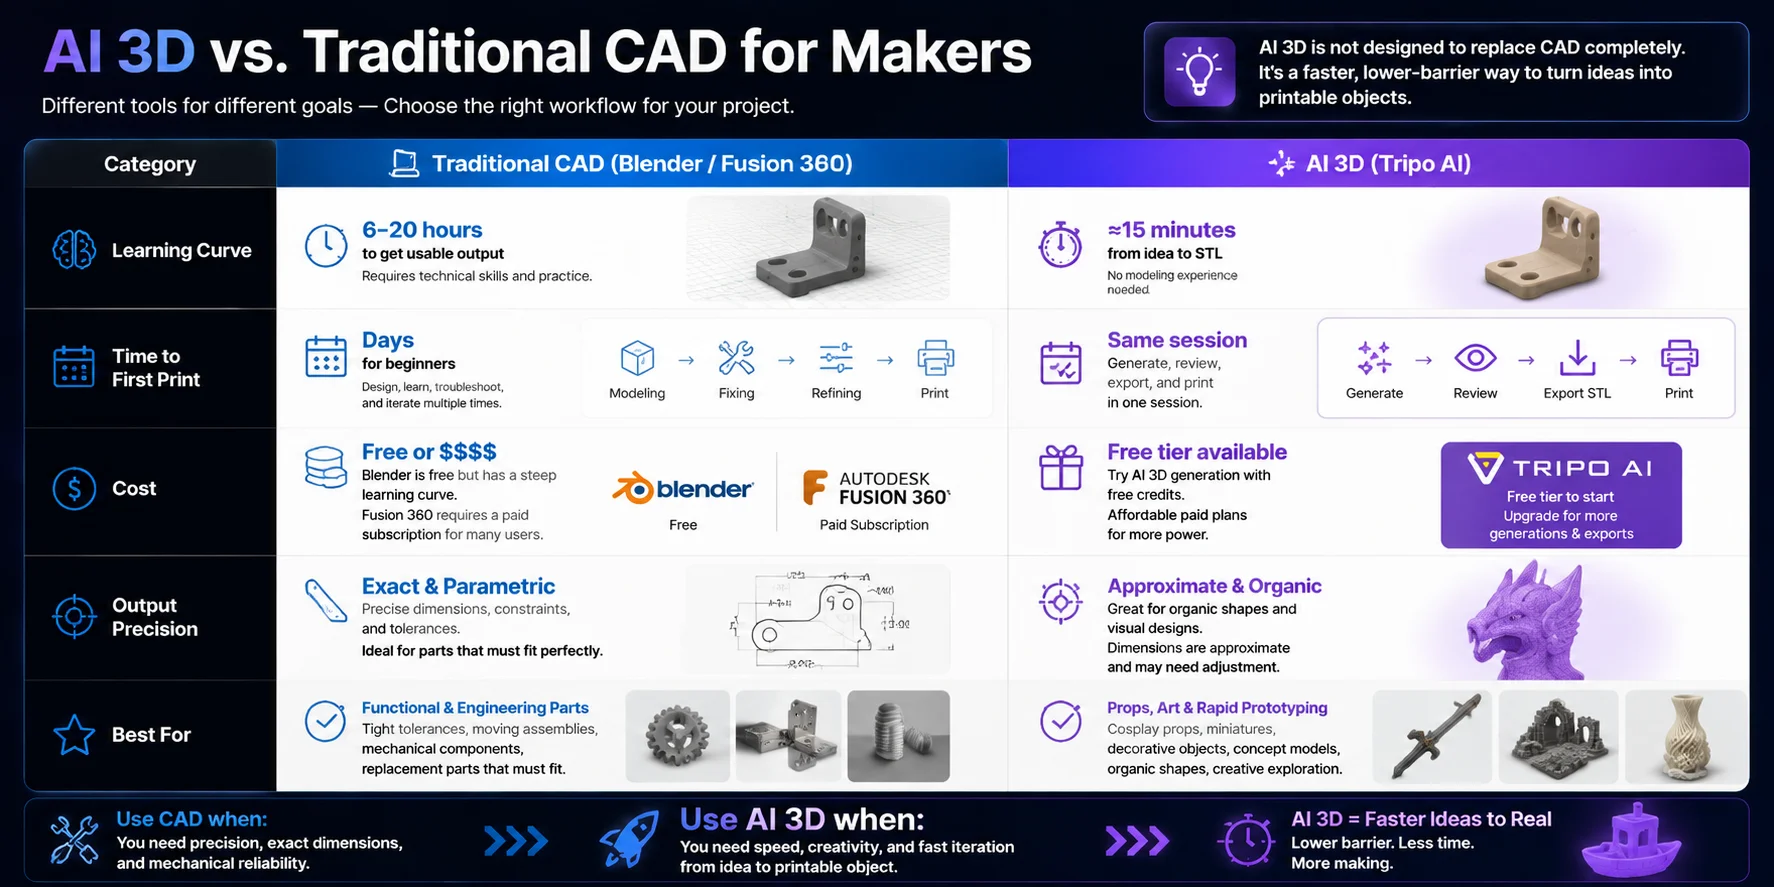
AI 3D vs. Traditional CAD for Makers
AI 3D is not designed to replace CAD completely — it changes the workflow for a different type of maker. Traditional CAD tools like Blender and Fusion 360 remain the best choice when exact dimensions, mechanical fit, and engineering accuracy are critical. AI 3D tools like Tripo AI focus on speed, accessibility, and creative exploration, making them ideal for prototypes, props, organic shapes, and decorative objects.
| Category | Traditional CAD (Blender / Fusion 360) | AI 3D (Tripo AI) |
|---|---|---|
| Learning Curve | Requires technical skills. Beginners typically need 6–20 hours to create usable models. | No modeling experience required. Go from idea or image to STL in approximately 15 minutes. |
| Time to First Print | Beginners may need days to design, modify, and prepare their first printable model. | Generate, review, export, and print within the same session. |
| Cost | Blender is free but has a steep learning curve. Fusion 360 offers professional tools but requires a paid subscription for many users. | Free tiers are available, making AI generation accessible for testing and quick projects. |
| Output Precision | Parametric modeling provides exact dimensions, constraints, and mechanical accuracy. | Best for visual designs and organic shapes. Dimensions are approximate and often need adjustment before precision printing. |
| Best For | Functional parts, engineering components, replacement parts requiring tight tolerances, and production-ready designs. | Cosplay props, miniatures, decorative objects, concept models, and rapid prototypes where speed matters most. |
For makers, the choice depends on the project. If a part must fit perfectly into an existing system, CAD is still the right tool. But when the goal is to quickly turn an idea into a printable object, AI 3D dramatically reduces the barrier between imagination and physical creation.
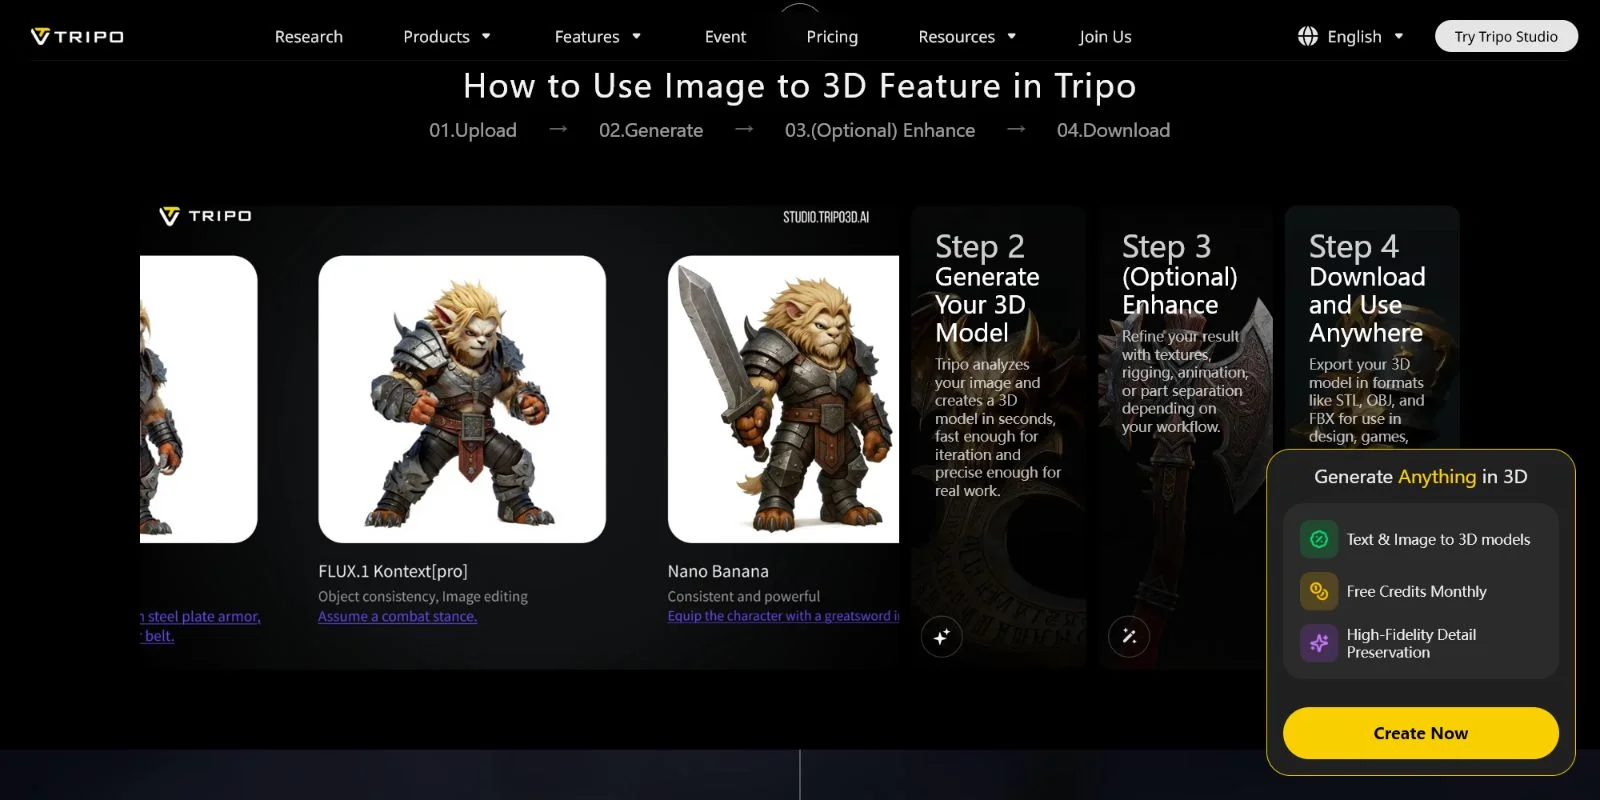
How to Use Tripo AI as a Maker: Step-by-Step
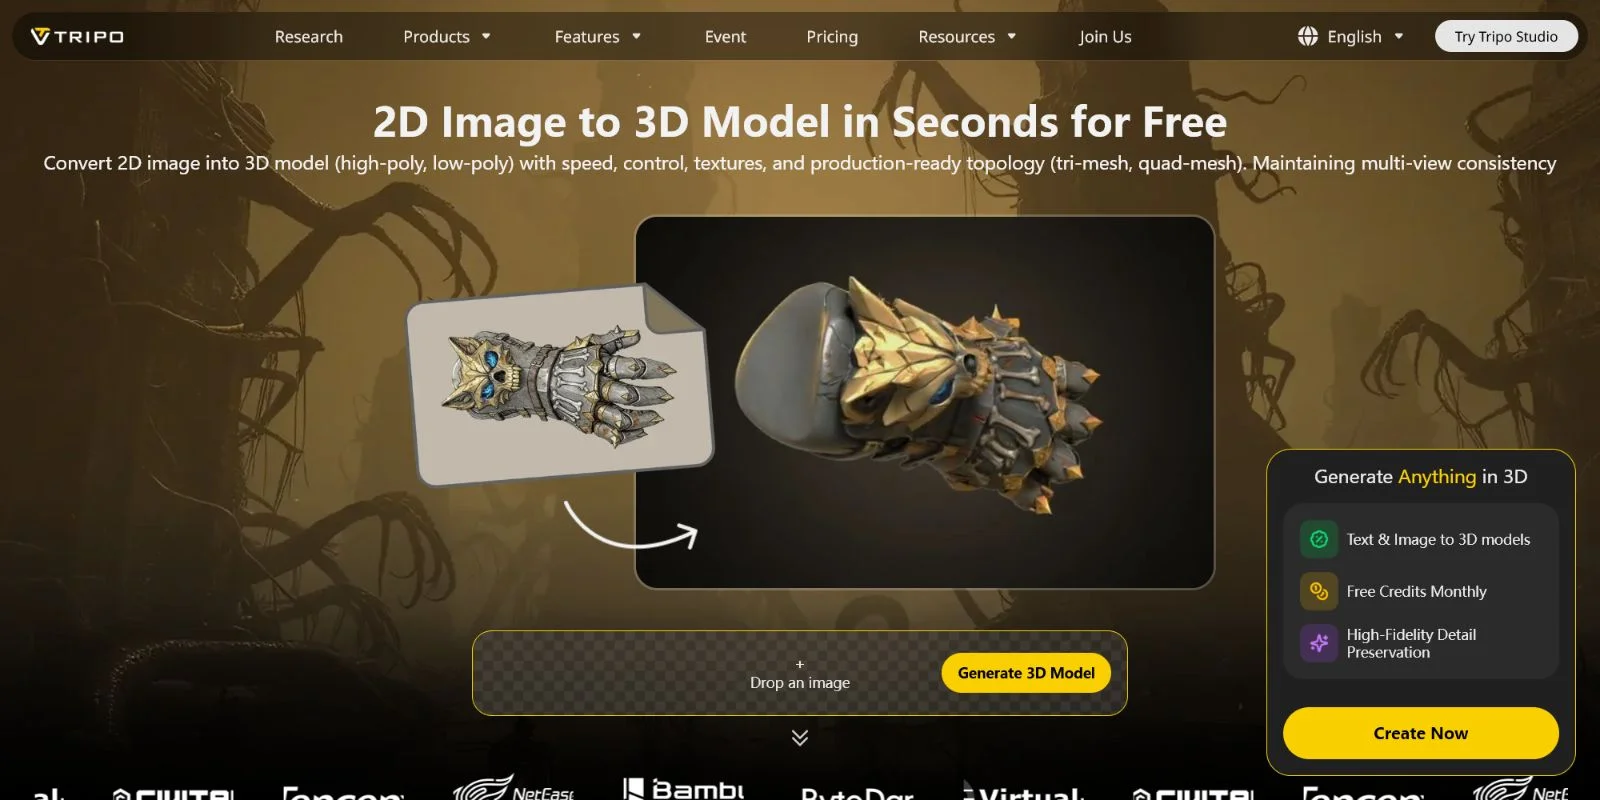
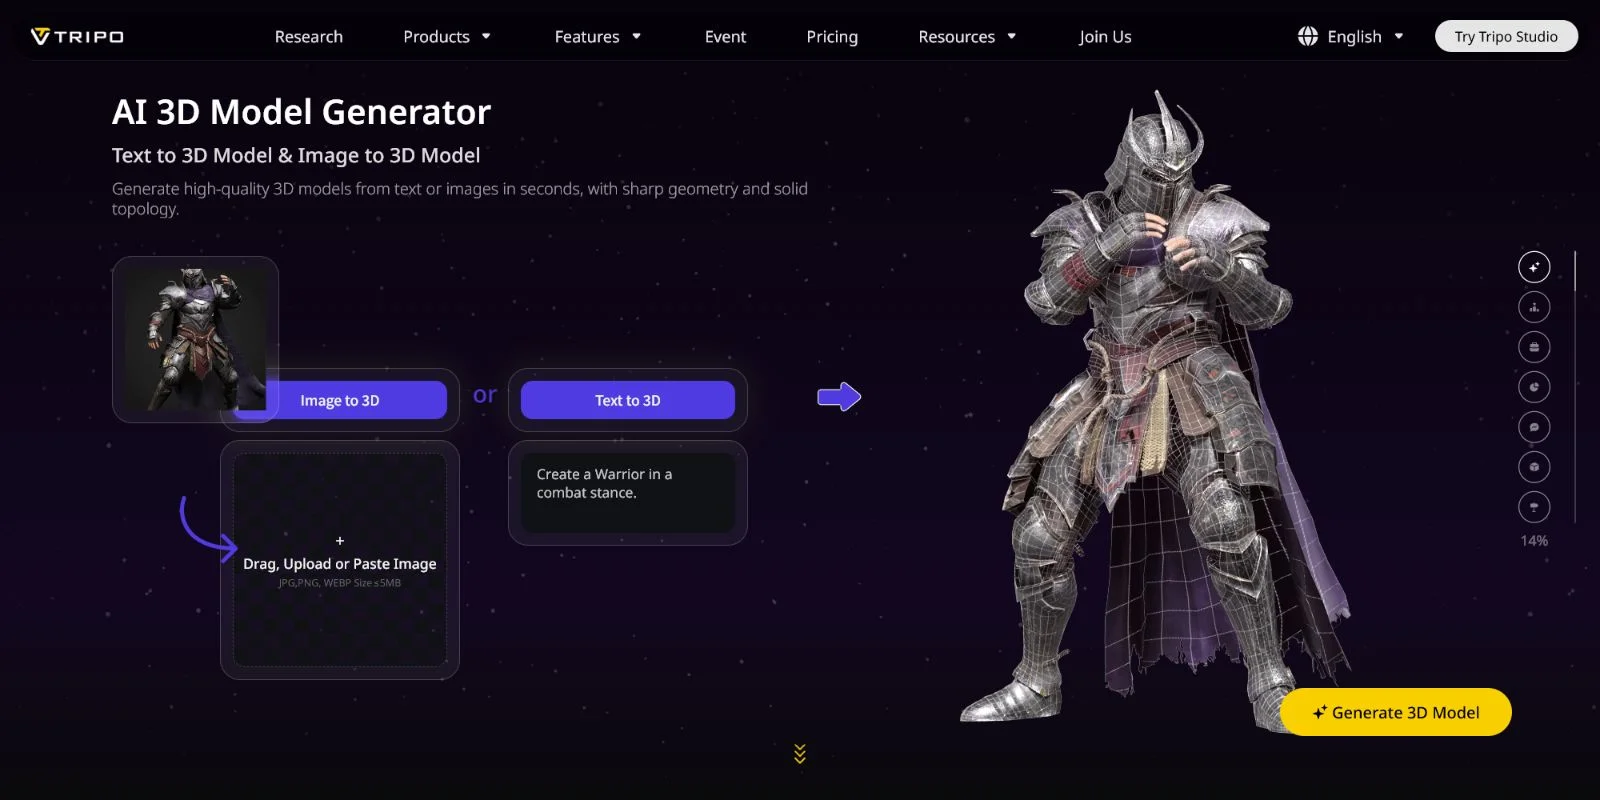
Tripo AI gives makers a faster path from an idea to a printable 3D model without requiring Blender, Fusion 360, or traditional CAD skills. Unlike traditional workflows that require manual modeling, AI 3D generation can create printable assets directly from a text description or reference image. For maker projects, Tripo AI’s Smart Mesh mode (around 5,000 faces) is suitable for props, figurines, and decorative objects, while HD Model mode (up to 2 million triangles) provides higher detail for projects that need more surface quality. Models can be exported as STL or OBJ and prepared directly for 3D printing.
Step 1 — Write a Clear Prompt or Upload a Reference Photo
The quality of an AI-generated model depends heavily on the input. Instead of using a vague description like “a cap,” provide details about the shape, material, and approximate size. For example, “a cylindrical enclosure cap, 40mm diameter, with a snap-fit lip” gives the AI much more useful design information. If you already have a sketch, product photo, or reference image, use the image-to-3D workflow for better visual accuracy.
Step 2 — Choose the Right Generation Mode
Select the generation mode based on your project needs.
- Smart Mesh: Around 5,000 faces, optimized for faster workflows and lightweight models. It works well for props, figurines, terrain pieces, and organic shapes where extreme detail is not required.
- HD Model: Supports up to 2 million triangles, making it better for detailed surfaces, collectibles, and models where visual quality matters.
The choice is a balance between performance and detail — lightweight models are easier to process, while high-detail models capture more complex surfaces.
Step 3 — Check Mesh Quality in the Preview
Before exporting, inspect the model in the Tripo AI preview window. Look for common issues such as holes, unexpected internal geometry, missing details, or incorrect proportions. If the result does not match your idea, improving the prompt and generating again is usually faster than trying to manually repair a poor model later.
Step 4 — Export as STL or OBJ
Choose the format based on your final goal.
- STL: Best choice for 3D printing because it contains only geometry and works with almost all slicer software.
- OBJ: Useful when you need texture information or material workflows.
- FBX / GLB: Better suited for game engines, AR, VR, or animation pipelines.
For printable projects, STL is usually the simplest path from AI model to slicing software.
Step 5 — Fix Issues if Needed
AI-generated models may occasionally contain non-manifold geometry or small mesh problems. Before printing, run a quick check using tools like Meshmixer’s Inspector feature, which can automatically detect and repair many common issues. A clean manifold mesh helps prevent failed prints and slicing errors.
Step 6 — Slice and Print
Import the repaired model into slicing software such as PrusaSlicer or Chitubox. Because AI-generated dimensions are approximate, measure a reference part with a caliper and adjust the scale if exact sizing is required. For resin printing, consider hollowing the model and adding drainage holes. For FDM printing, optimize the print orientation and support placement to reduce failures.
Ready to turn your ideas into printable models? Try Tripo AI free → studio.tripo3d.ai.
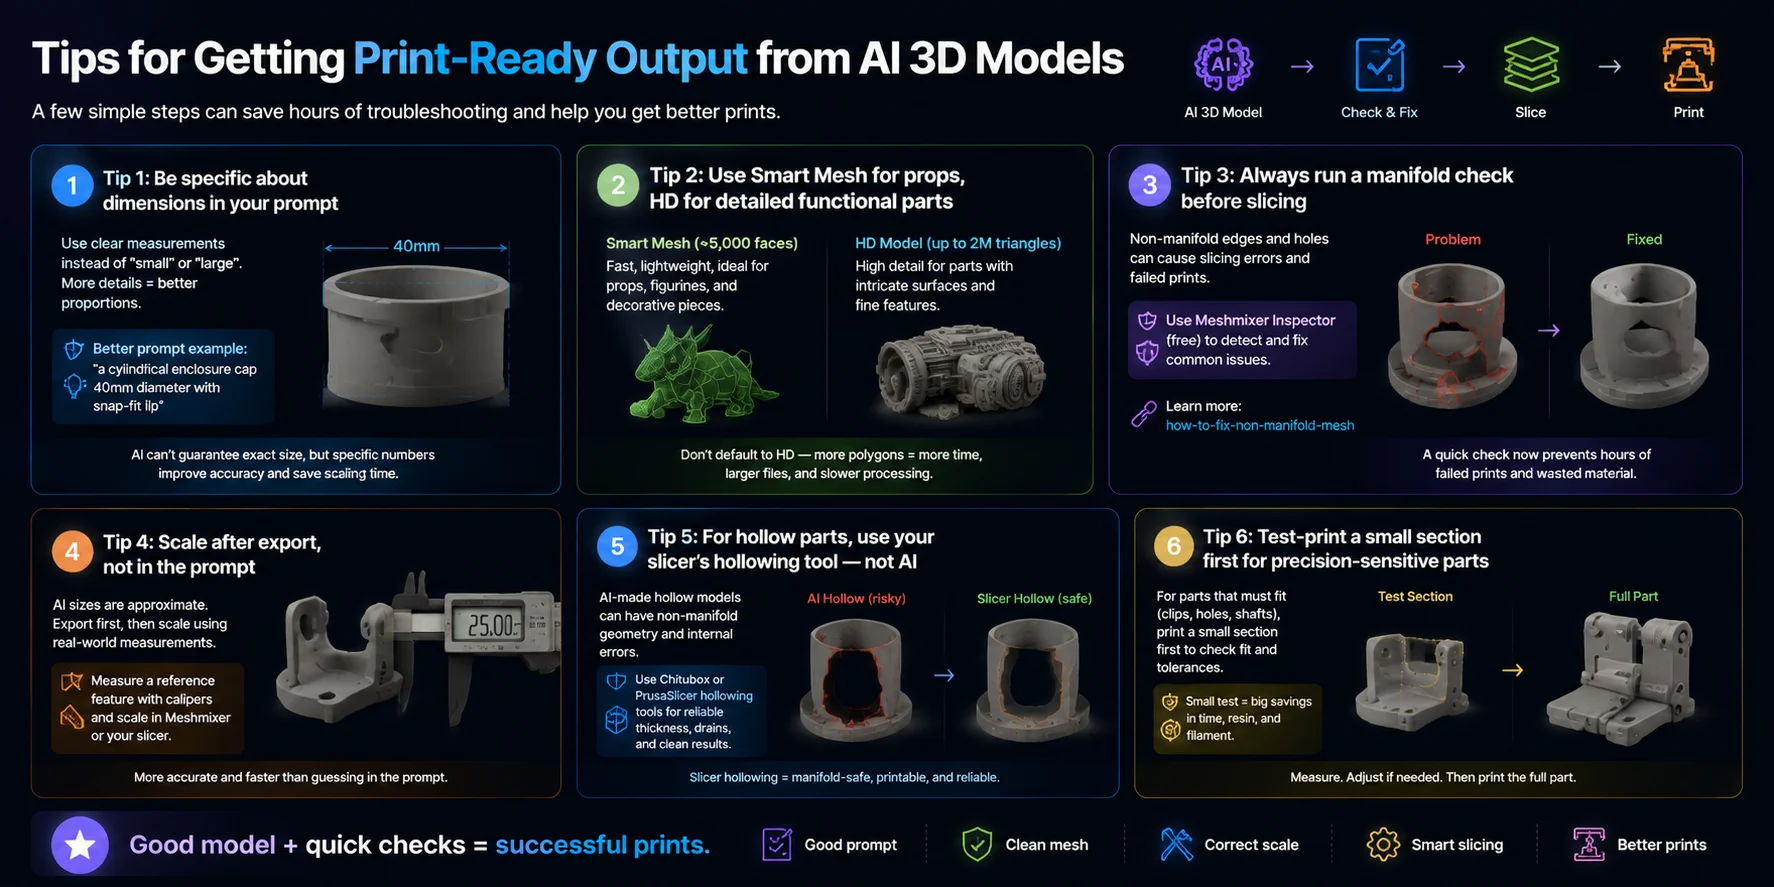
Tips for Getting Print-Ready Output from AI 3D Models
AI 3D tools can dramatically speed up the design process, but a generated model is not always ready for printing immediately. A few simple checks and workflow improvements can prevent failed prints and help makers get more reliable results.
Tip 1: Be Specific About Dimensions in Your Prompt
AI models work better with clear design requirements. Instead of using vague descriptions like “small box” or “large cap,” include approximate measurements such as “40mm diameter enclosure cap” or “100mm tall decorative figure.” AI cannot guarantee exact dimensions, but specific size references help create more realistic proportions and reduce scaling problems later.
Tip 2: Use Smart Mesh for Props, HD for Detailed Parts
More polygons do not always mean a better print. For most maker projects, Smart Mesh (around 5,000 faces) provides enough detail for props, figurines, and decorative objects while keeping files lightweight and easier to process. Use HD Model (up to 2 million triangles) when surface details matter, such as collectibles or parts with complex textures.
Tip 3: Always Run a Manifold Check Before Slicing
Before sending an AI-generated model to your slicer, check whether the mesh is printable. Non-manifold edges, holes, or broken geometry can cause incorrect toolpaths and failed prints. Free tools like Meshmixer Inspector can quickly detect and repair many common issues before slicing.
Tip 4: Scale After Export, Not Inside the Prompt
AI-generated models usually have approximate dimensions, so trying to guess the perfect size through prompts is inefficient. Export the model first, then adjust the scale in Meshmixer or your slicer using a real-world reference measurement. This approach gives you much better control over final dimensions.
Tip 5: Use Slicer Hollowing Tools for Hollow Parts
Do not rely on AI to create printable hollow structures. AI-generated hollow models may contain internal geometry problems or non-manifold surfaces. For resin printing, use reliable tools like Chitubox or PrusaSlicer hollowing features to create proper walls, drainage holes, and printable internal structures.
Tip 6: Test Print Small Sections for Precision Parts
For parts that require accurate fitting, such as clips, connectors, or holes, avoid printing the entire model immediately. Create a small test section first to check tolerances and fit. A quick prototype can reveal scaling or clearance issues before wasting time and material on a full print.
Frequently Asked Questions
Can I use AI to generate 3D models for free?
Yes. Tripo AI, Meshy, and several other tools offer free tiers that produce export-ready STL and OBJ files. Tripo AI's free tier supports both text-to-3D and image-to-3D, and the output is fully usable for personal 3D printing projects.
How good are AI-generated 3D models for printing?
AI-generated models are well-suited for props, decorative pieces, and prototypes — categories where exact tolerances matter less. For precision parts requiring tight fits, expect to spend a few minutes in Meshmixer fixing geometry before slicing.
What is the difference between AI 3D and traditional CAD for makers?
Traditional CAD tools like Fusion 360 give you exact parametric control but require 6–20 hours to learn before you can produce usable output. AI 3D tools like Tripo AI get you to a printable STL in ≈15 minutes with no prior modeling experience — the tradeoff is that dimensions are approximate rather than exact.
Can AI create print-ready STL files directly?
AI generators export STL files, but "print-ready" usually requires a quick manifold check in Meshmixer and scale verification in your slicer. Most AI-generated STLs pass with minor fixes; complex organic shapes typically need less work than mechanical parts.
What is the best free AI 3D model generator for makers?
Tripo AI is the most capable free option for makers — it supports text and image input, offers both standard and HD mesh quality, and exports to STL, OBJ, FBX, and GLB. The free tier is sufficient for most hobbyist printing projects.
How do I turn a photo into a 3D printable model with AI?
Upload your reference photo to Tripo AI's image-to-3D feature, select your mesh quality mode, preview the result, and export as STL. The process takes under 5 minutes. For best results, use a photo with a clean background and consistent lighting.
Is AI 3D modeling good for cosplay props?
Yes — cosplay props are one of the best use cases for AI 3D. Props don't require tight tolerances, so the organic shapes AI generates work well. Tripo AI's Smart Mesh mode (≈5,000 faces) is fast and produces clean geometry for most prop shapes.
Can AI 3D tools make replacement parts for household items?
AI can generate replacement parts like brackets, knobs, and clips that don't require precise mechanical fits. For parts that need exact dimensions — gears, threads, or snap-fits with tight tolerances — traditional CAD is more reliable. AI works best as a starting point you can adjust in your slicer.
Do I need to know Blender to use AI 3D tools?
No. Tools like Tripo AI are entirely browser-based and require no 3D software knowledge. You describe what you want in text (or upload a photo), and the AI handles the modeling. Post-processing in Meshmixer for manifold fixes is the most technical step, and it takes about 2 minutes.
What file formats do AI 3D generators export for 3D printing?
Most AI generators, including Tripo AI, export STL (best for FDM and resin printing), OBJ (geometry + textures), FBX, and GLB. STL is the standard format for slicers like PrusaSlicer, Chitubox, and Bambu Studio.
Conclusion
AI 3D tools have reached a point where makers can go from an idea to a printable object within a single afternoon project session. You no longer need to master CAD software or learn Blender to start creating — AI generation makes it possible to quickly produce props, decorative pieces, prototypes, and one-off custom parts. For makers who want the fastest path from imagination to physical print, Tripo AI provides an accessible starting point with text-to-3D and image-to-3D workflows.
Ready to create your first AI-generated printable model?
Need more generation capacity and advanced features? Explore Tripo AI pricing → pricing page