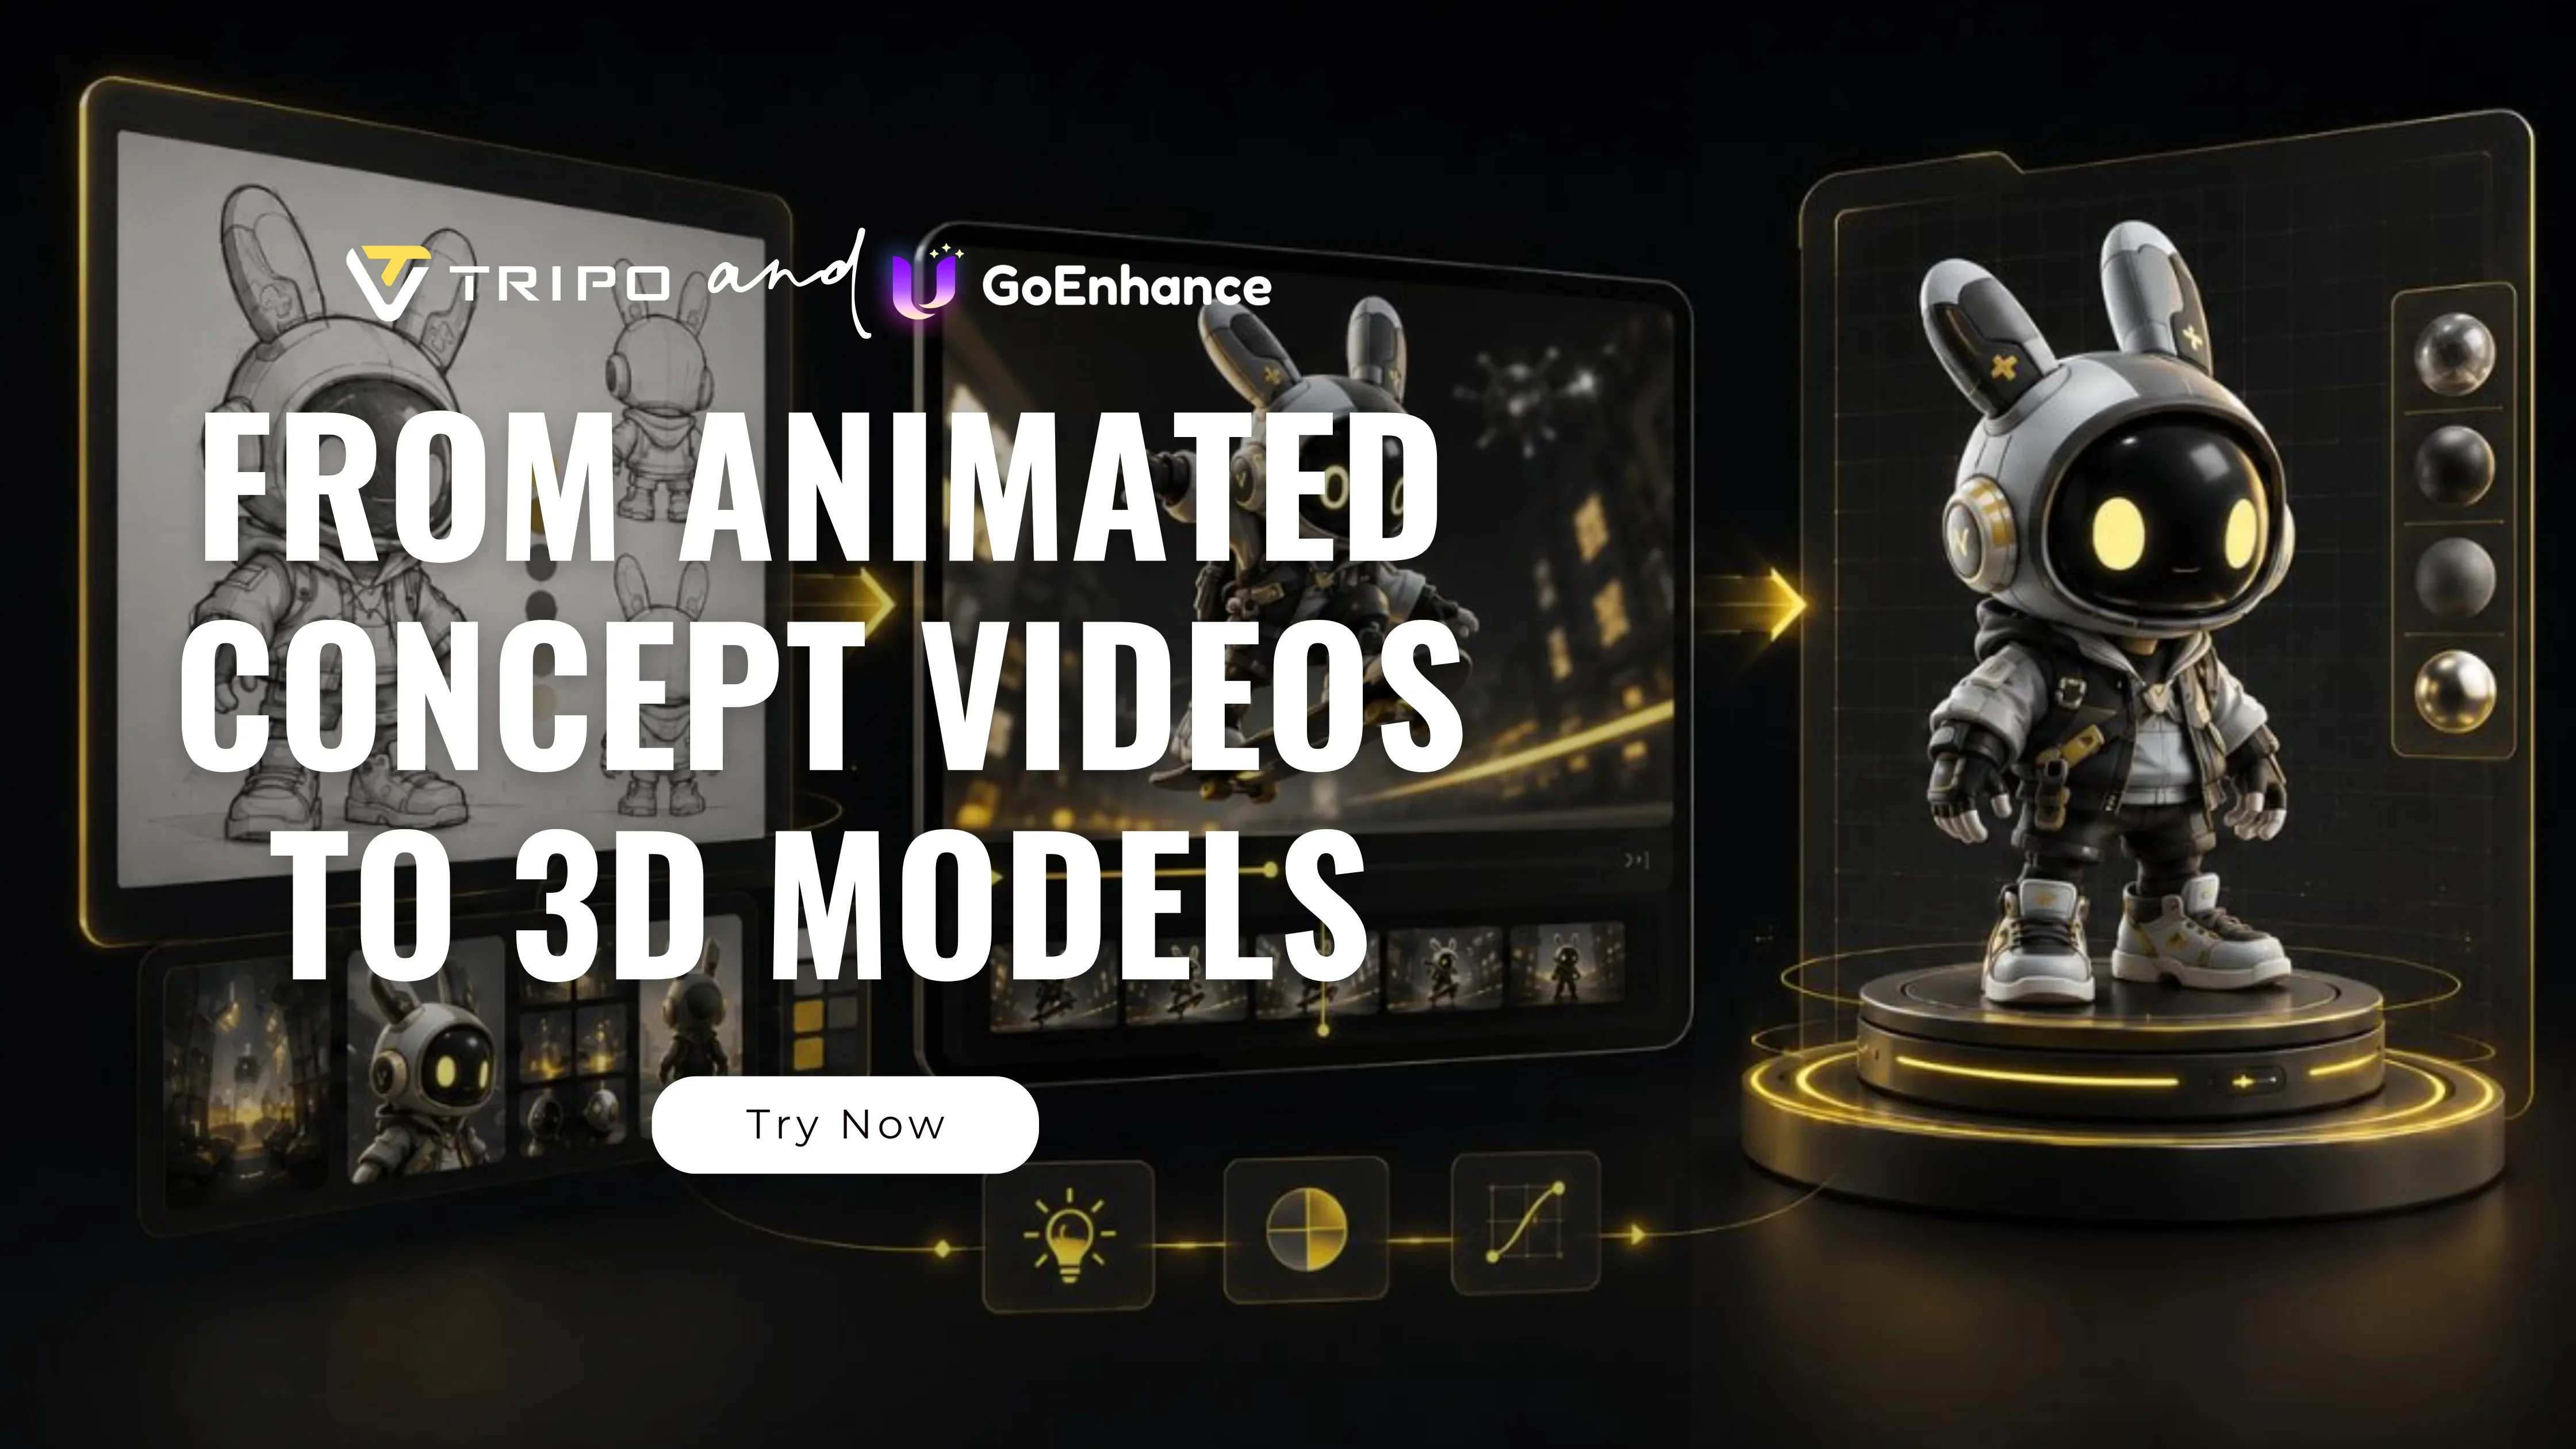
GoEnhance AI and Tripo: From Animated Concept Videos to 3D Models
1. Why 3D Creators Need a Visual Testing Stage
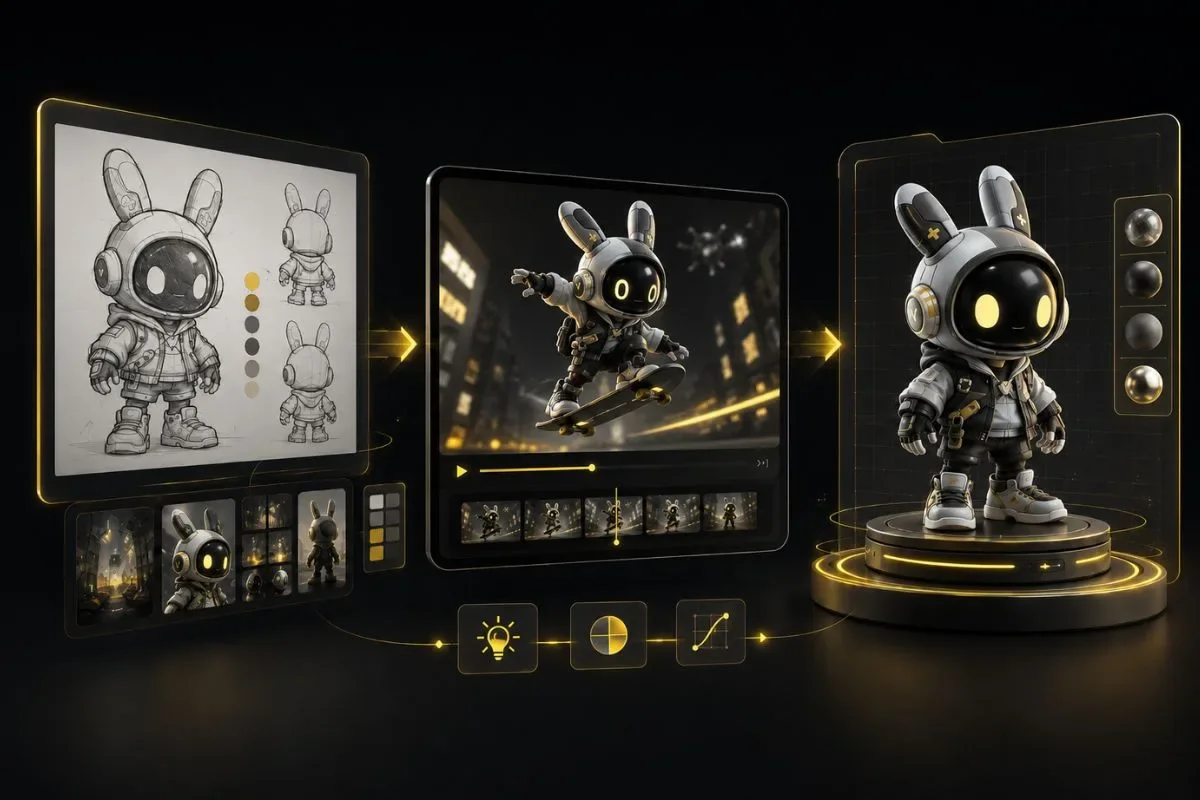
Many 3D projects do not begin with a clean production plan. A creator may only have a character sketch, a toy idea, a product photo, a rough prompt, or a short reference clip. The idea looks interesting in their head, but there is still one uncomfortable question: is it strong enough to become a 3D model?
That is where a visual testing stage becomes useful. Before spending time on a 3D model, creators often need a simpler way to check whether the idea has enough visual pull. A character may look fine in a sketch, but once it moves, the weak parts become easier to spot: the pose may feel flat, the silhouette may not read well, or the toy-like style may not be strong enough.
In this early stage, GoEnhance AI can be used as a visual testing tool. It is an AI creative platform for turning images, videos, and visual ideas into animated or stylized content, including image-to-video, video-to-video, animation-style clips, and creator-focused video effects.
This matters most for designer toys, anime-style figures, game characters, collectibles, and product concepts. These projects often depend on a strong first impression. If the idea feels unclear in a short animated preview, it will probably need more work before entering the 3D stage. If the preview already has a strong shape, mood, and character identity, the next step becomes much easier.
2. GoEnhance AI: Testing the Visual Direction Before 3D Modeling
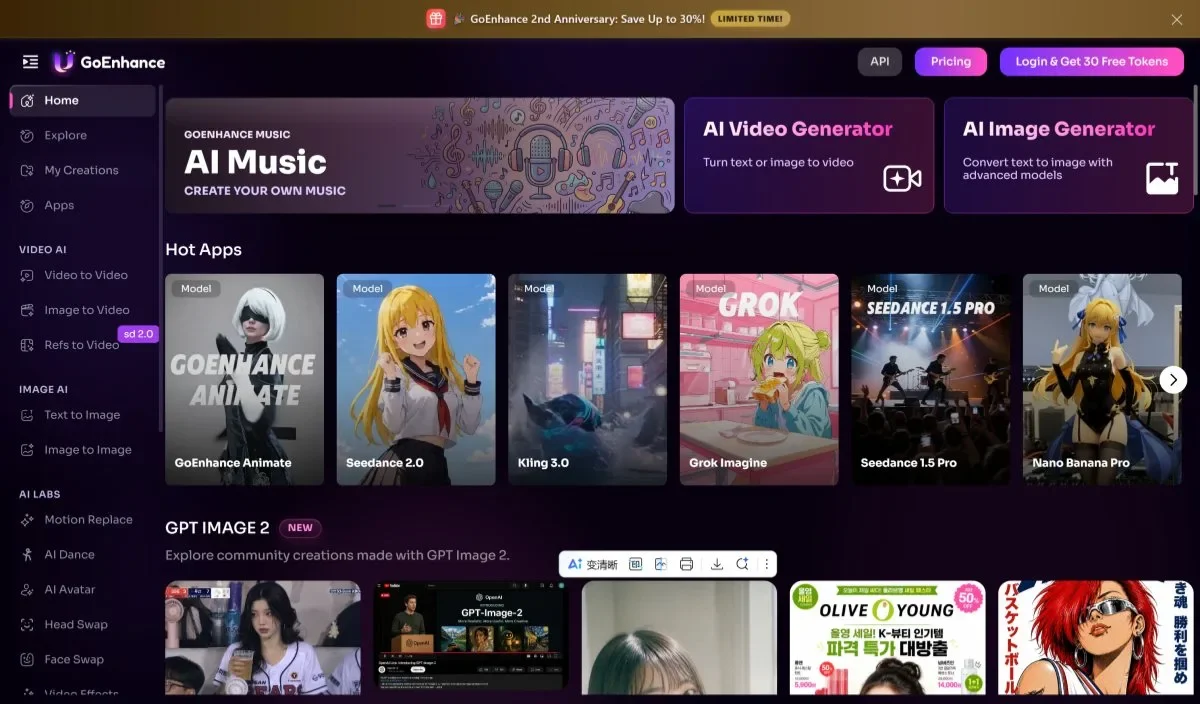
GoEnhance AI fits into the early creative stage because it gives creators something more useful than a still reference, but less expensive than a finished 3D model. A rough character sketch, product render, toy concept image, or short reference clip can be turned into a more vivid visual draft. That draft does not need to be perfect. Its job is to answer a practical question: does this idea feel worth building?
For example, a creator may test whether a mascot has enough personality, whether a collectible figure has a readable shape, or whether a product concept feels better in an anime, cartoon, clay toy, or cinematic style. These small tests can reveal problems that are easy to miss in a static image.
The benefit is not just speed. It also makes the later 3D work more focused. Instead of asking Tripo or a 3D workflow to solve every creative decision from scratch, the creator can bring in a clearer direction: a stronger pose, a more confident style, or a visual mood that has already been tested.
| Creative Need | How GoEnhance AI Helps In The Early Stage |
|---|---|
| Character reveal | Shows how the character feels in motion before 3D modeling begins |
| Toy concept preview | Tests whether the design has collectible appeal |
| Product concept clip | Turns a static product idea into a short visual presentation |
| Social media teaser | Helps creators collect early reactions before deeper production |
| Style exploration | Compares looks such as anime, cartoon, clay toy, cinematic, or commercial styles |
A still image can tell you what a design looks like. A short animated concept tells you whether people may actually care about it.
3. Tripo: Turning The Chosen Direction Into A 3D Model
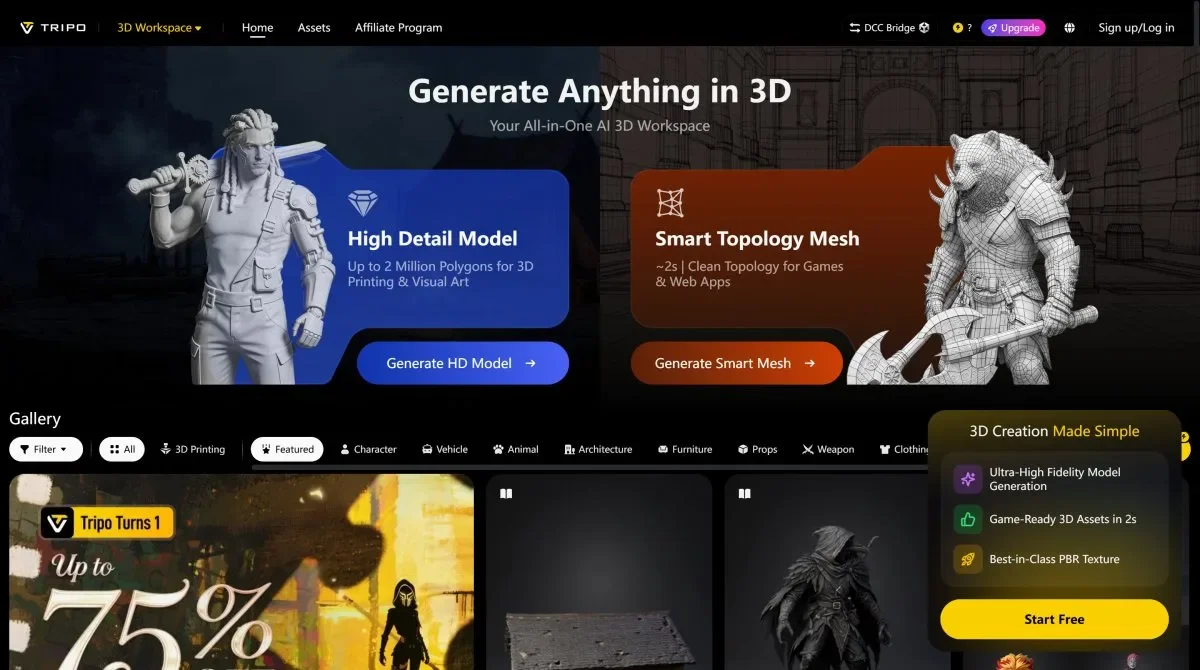
Once a creator has a clearer visual direction, Tripo can become the next step. In this workflow, Tripo is not just an extra tool added at the end. It is the stage where the selected idea becomes more tangible.
This is useful for 3D characters, collectibles, game assets, toy prototypes, printable models, and product-style concepts. Instead of starting from a vague prompt or a half-formed sketch, creators can bring in a visual direction that has already been tested. That may be a selected frame, a stronger pose, a clearer character style, or a short concept video that shows the mood of the final asset.
This changes the 3D process. The question is no longer "What should this idea become?" It becomes "How can this tested visual direction be translated into a 3D form?"
That difference sounds small, but it often saves a lot of revision time. A 3D model needs decisions: shape, proportion, surface detail, pose, balance, accessories, and sometimes printability. When the visual direction is already clearer, those decisions become easier to make.
4. Workflow Step 1: Start With A Character, Toy, Or Product Idea
The starting point does not need to be polished. In fact, many good concept workflows begin with rough material. The creator only needs enough direction to begin testing.
Possible starting inputs include:
- A character sketch
- A toy concept image
- A product photo
- A short reference video
- A rough creative prompt
- A mood board
- A previous AI-generated concept
- A hand-drawn mascot idea
- A simple product render
At this stage, the goal is not to produce the final result. The goal is to find a visual direction before jumping into 3D. A creator may know the character should feel like a blind box figure, a stylized mascot, a game NPC, a sci-fi collectible, or an anime-inspired figure. That is already enough to run early visual tests.
A useful way to judge the idea is to look at three things: silhouette, personality, and use case.
| What To Check | Why It Matters |
|---|---|
| Silhouette | A strong 3D character or toy should be readable even from a distance |
| Personality | The design should show attitude, role, or mood without too much explanation |
| Use case | A figure, game asset, product model, and social teaser may need different visual choices |
This early thinking can prevent a common problem: turning a weak visual idea into a polished but unconvincing 3D model.
5. Workflow Step 2: Use Video To Animation For Stylized Motion Tests
If a creator already has a product clip or character reference video, a video-to-animation converter can help turn that footage into a more stylized animated concept before selecting key frames for 3D creation.
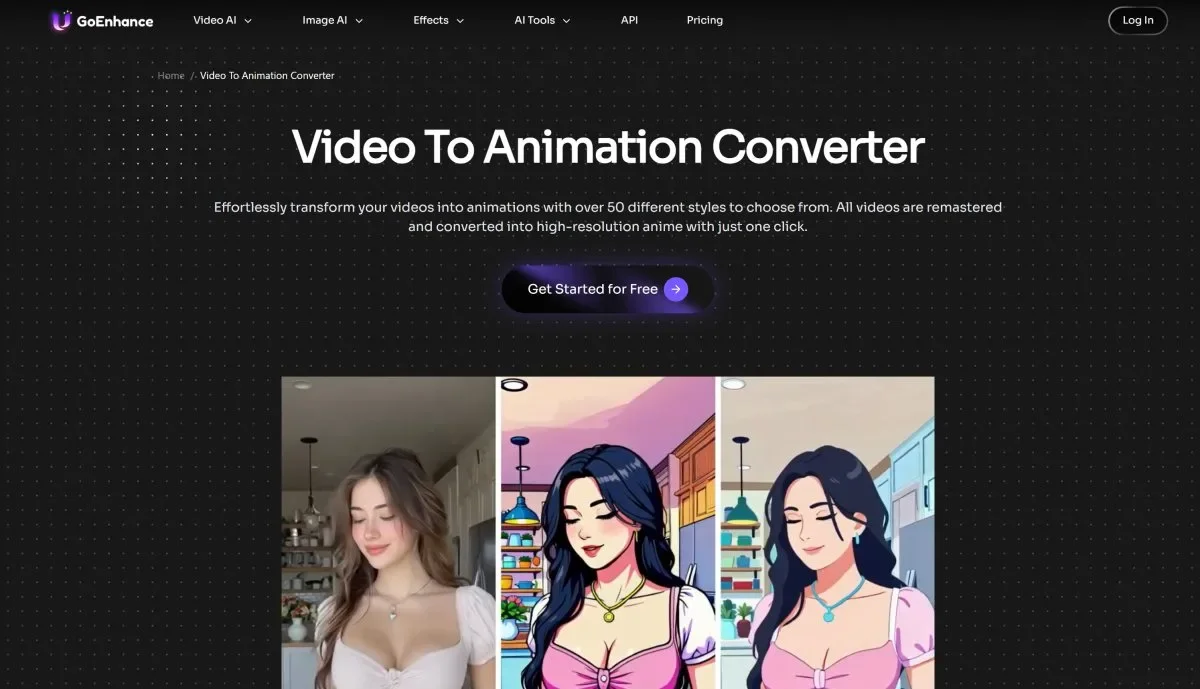
This step works well when the source material already has useful movement. A creator may have a simple product rotation, a person holding a prototype, a rough character motion reference, or a short video showing how an object should move. By turning that clip into a stylized animation, the creator can see whether the idea has enough energy, charm, and visual identity.
The value here is not only about making the clip look more polished. It helps creators find design moments. A certain pose may feel stronger than expected. A side angle may show a better silhouette. A movement may reveal that the character needs bigger hands, a clearer head shape, or a more expressive costume.
| Style Direction | Where It Can Help |
|---|---|
| Anime-inspired animation | Character previews, figure concepts, expressive reveal clips |
| Cartoon style | Mascots, playful product ideas, social content |
| Clay toy look | Blind box concepts, vinyl toy previews, collectible planning |
| Commercial animation | Product teasers, creator merchandise, short ads |
| Cinematic stylization | Dramatic character reveals or premium concept videos |
For toy and collectible projects, this step can be especially helpful. A toy concept is not only about details. It needs a memorable shape. Motion makes that easier to judge because the viewer sees the design from different angles and emotional moments.
6. Workflow Step 3: Use Video To Video To Compare Visual Styles
A video-to-video workflow is useful when creators want to restyle an existing clip, compare different visual directions, and decide which version is worth developing into a 3D model.
This is helpful when the motion is already acceptable, but the visual style is still uncertain. The same source clip can be used to test several directions: realistic, anime, clay toy, collectible figure, cinematic product video, or stylized commercial look. Because the base movement stays similar, the creator can judge the style more clearly.
This kind of comparison is useful before 3D work begins. A character may look too ordinary in a realistic treatment but much stronger as a vinyl toy. A product may feel flat in a clean studio look but more memorable with animated commercial styling. A mascot may become more appealing when its proportions are pushed further.
| Same Source Clip | Possible Style Tests |
|---|---|
| Character walking clip | Anime, cartoon, toy figure, cinematic reveal |
| Product rotation video | Premium commercial, clay model, futuristic render, playful ad style |
| Mascot reference | Cute collectible, game character, sticker-like animation, brand avatar |
| Toy prototype video | Blind box preview, vinyl figure look, stop-motion-inspired styling |
This step reduces uncertainty. Instead of asking a 3D workflow to interpret a broad creative idea, the creator can choose from tested visual directions. The selected version becomes a more useful brief for Tripo and for any later refinement.
7. Workflow Step 4: Bring The Selected Concept Into Tripo
After the visual tests, the creator can choose the strongest direction and bring it into Tripo. That direction may come from a selected frame, a short animation, a style reference, or a clearer concept image created during the testing stage.
This is where the project shifts from "Does this idea look good?" to "Can this become a usable 3D asset?"
The selected reference can guide:
- Character proportions
- Pose and body language
- Toy-like form
- Outfit and accessory direction
- Surface detail
- Product shape
- Overall mood and style
- Presentation angle
For 3D printable collectibles, the creator may still need to think about balance, thin parts, base design, support structure, and small details that may not print well. For game assets, topology, texture, and performance may matter more. For product concepts, shape accuracy and presentation quality may become the focus.
Even with those extra steps, the workflow becomes more controlled because the creator is no longer building from a blank idea. The visual target is already there.
8. Practical Use Cases
This GoEnhance AI and Tripo workflow can fit many creator scenarios. It is especially useful when a project needs both visual presentation and a 3D result.
| Use Case | How The Workflow Helps |
|---|---|
| Designer toy concept development | Tests whether the toy idea has enough personality before 3D modeling |
| Blind box character previews | Helps compare cute, themed, or collectible character directions |
| Anime figure reveal videos | Creates animated previews before developing figure-style 3D models |
| 3D printable collectible planning | Checks whether the concept has a clear pose, shape, and style |
| Game character prototyping | Tests character mood and visual identity before asset creation |
| Creator merchandise concepts | Turns mascot or brand character ideas into stronger references |
| Social media product teasers | Builds early concept clips for feedback and promotion |
| Stylized product commercials | Explores how a product may look in an animated campaign |
The workflow is also useful for communication. A static sketch can be hard to explain to a client, audience, or teammate. A 3D model without context may feel unfinished. An animated concept preview sits between the two. It gives people a quick emotional read before the 3D version is ready.
9. Why This Workflow Saves Time
The main benefit is not that every step becomes automatic. The real value is that creators make better decisions earlier.
3D production can become slow when the direction keeps changing. A creator may begin modeling, then realize the style is wrong. They may change the pose, adjust proportions, simplify accessories, or restart the design completely. These changes are normal, but they become costly when they happen after the 3D stage has already started.
A visual testing workflow helps filter ideas earlier. Weak concepts can be revised before modeling. Strong concepts can move forward with more confidence.
| Stage | Main Question | Practical Role |
|---|---|---|
| Idea stage | What is the concept? | Gather sketches, photos, prompts, or reference clips |
| Visual test stage | Does it work in motion? | Use GoEnhance AI to create animated or stylized previews |
| Style comparison stage | Which direction feels strongest? | Test different animation or video styles |
| 3D stage | Can this become a usable asset? | Use Tripo to move toward a 3D model |
| Refinement stage | Is it ready for presentation, prototype, or printing? | Review details, adjust structure, and prepare final use |
This structure also makes collaboration easier. If a creator works with a designer, modeler, marketer, or client, a tested visual direction is much easier to discuss than a vague written idea. People can point to a frame, a pose, a style, or a movement and say what works.
That may sound basic, but in creative production, clarity often saves more time than speed.
10. From Motion Tests To 3D Assets
GoEnhance AI and Tripo support different parts of the same creative path. GoEnhance AI helps creators test how an idea looks in motion. Tripo helps turn the chosen direction into a 3D model.
The workflow is not about skipping creative judgment. It is about putting that judgment in the right place. Before a creator spends time on 3D production, they can test whether the concept has a strong enough visual identity. Once the direction feels right, the 3D stage becomes more focused.
For designer toys, anime-style figures, game characters, printable collectibles, creator merchandise, and product concept videos, this approach gives creators a smoother bridge between early ideas and usable 3D assets.
A rough idea becomes an animated preview. The preview becomes a clearer visual direction. That direction becomes the starting point for a 3D model. In practice, this can be the difference between modeling too early and building with a creative target that already makes sense.