AI Character to 3D Model: Bring Your SeaArt Role to Life with Tripo
Your AI character can move beyond a chat window, profile image, or flat concept sheet. If you have built a role with a name, personality, outfit, world setting, and visual style in SeaArt AI, you already have the source material for a 3D figure you can display, animate, remix, or even print.
The full AI character to 3D model workflow has two jobs: use SeaArt AI to define the character identity and image, then use Tripo to turn the strongest character reference into a 3D asset. SeaArt AI gives the character a face and story. Tripo gives that character volume, surface detail, materials, and export options.
Tripo supports image-to-3D generation from a single image or multiple views, HD models with up to 2M polygons, AI texturing with PBR materials, and Smart Mesh for lighter real-time assets. That makes Tripo a natural bridge for creators who want a SeaArt AI character 3D workflow without starting from manual modeling.
What Makes SeaArt AI Characters More Than Character Images?
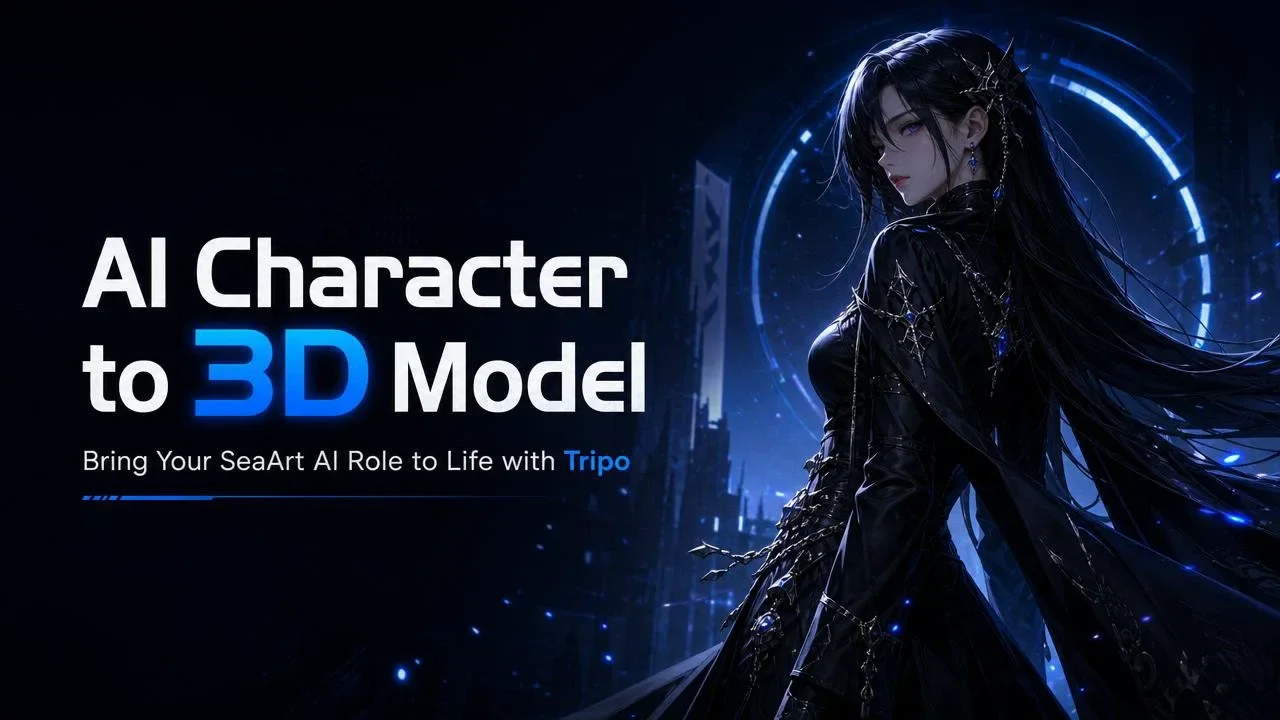
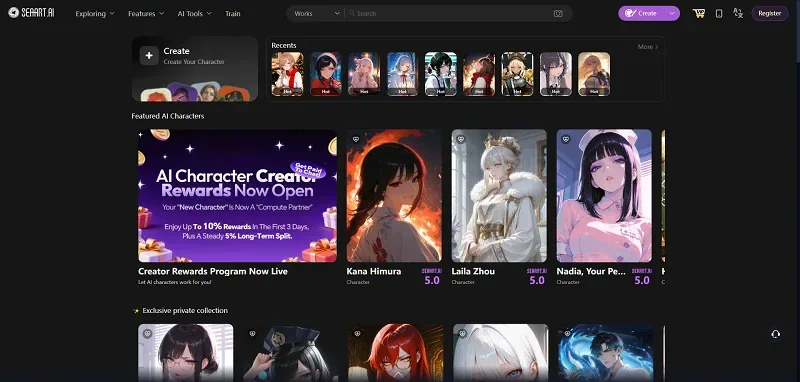
A SeaArt character is more than a finished image. SeaArt's AI character chat experience is built around characters you can browse, create, talk to, and bring into roleplay scenes. The character already has a social and interactive layer before any 3D work starts.
The useful design data lives in the settings. A SeaArt role can have a name, short bio, personality, world setting, dialogue style, outfit logic, and story direction. You can also discover other creators' characters inside SeaArt, which turns character browsing and interaction into part of the creative process.
Why Turn an AI Character into a 3D Model?
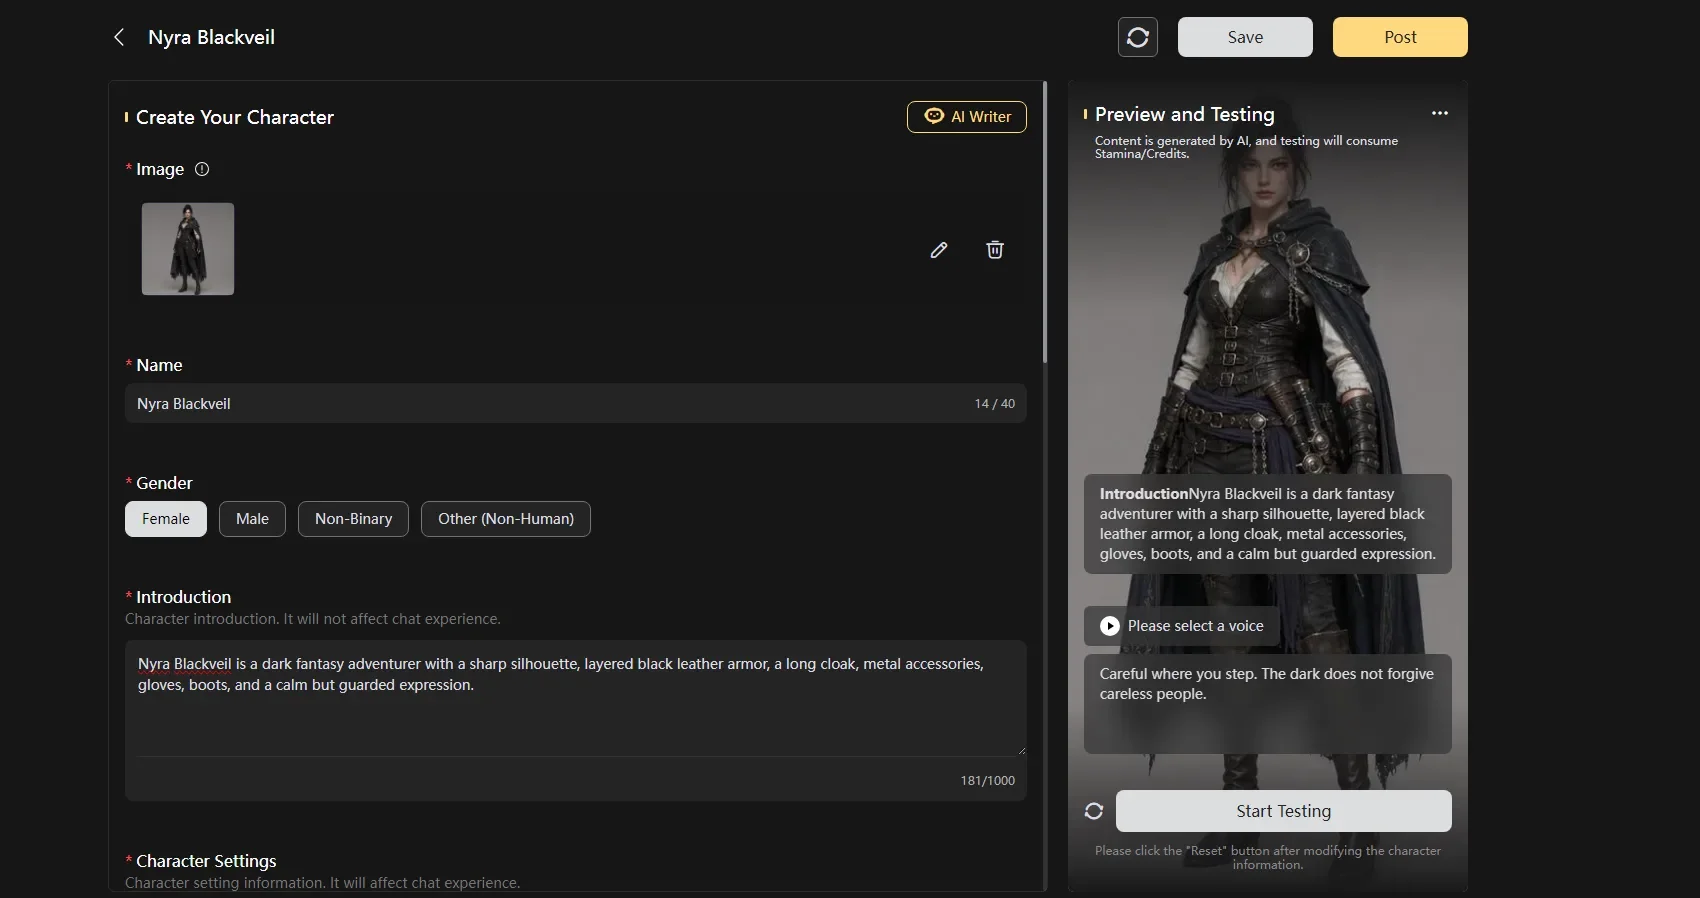
2D AI characters are great for avatars, illustration, chat interaction, social posts, and role setting. But once a character has a look, personality, world, and interaction history, you may want it to do more than live inside a screen. A 3D model can move the character into display renders, game assets, animation tests, IP concept packs, collectible figure mockups, and physical prints.
The workflow works best when each tool has a clear role. SeaArt handles character creation, character settings, and character interaction. Tripo handles 3D conversion, model detail, texture, material polish, and output paths. SeaArt AI makes the role recognizable; Tripo makes that role spatial, reusable, and ready for more creative formats.
This division affects the final model. If the 2D character has a weak identity, the 3D output may look technically fine but forgettable. If the 2D character is clear, consistent, and full of readable design choices, Tripo has a stronger starting point.
Step-by-Step Workflow: Turn a SeaArt AI Character into a 3D Model with Tripo
Step 1: Create or Choose Your AI Character in SeaArt AI
Start inside SeaArt AI by creating or choosing an AI character with a clear role and visual identity. A random attractive portrait may look good, but it gives Tripo fewer design clues. A SeaArt AI role with outfit logic, mood, backstory, and interaction style gives you anchors for the 3D model.
Use the Character Consistent 3D Image app when you need front, side, back, or 3/4 references to stay consistent across angles.
Copyable SeaArt Character Image Prompt:
Full-body 3/4 view of an original AI character, clear face, visible hands, complete outfit, clean silhouette, simple studio background, balanced lighting, detailed clothing materials, readable accessories.
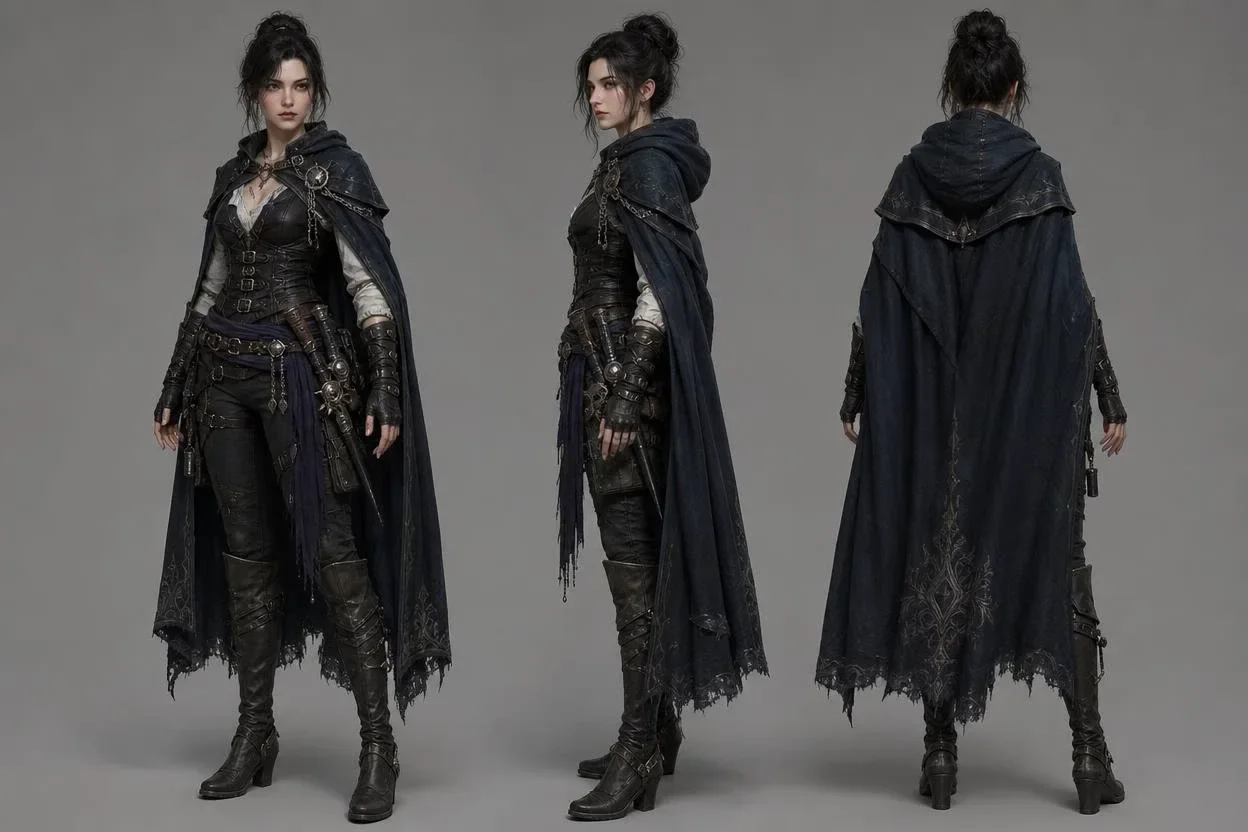
For Tripo, prioritize a full body, clean silhouette, visible hands, readable accessories, and a simple background. Adjust the genre, clothing, and details to match your role.
For a turn AI role into 3D figure workflow, choose a clear 3/4 view over a dramatic poster shot every time. The poster may look cooler, but the clean view usually gives Tripo better information about the character's shape.
Step 2: Prepare the Best Character Image for 3D Generation
The image you upload to Tripo acts as the 3D blueprint. Tripo's Image to 3D Model workflow supports fast generation from one image, and multi-view references when you need stronger structure and depth. That means your SeaArt image should make the character easy to read.
If you can create multiple clean views in SeaArt, save them. A front view plus a side or 3/4 view can be more useful than one dramatic pose. Treat beauty as secondary to readable structure.
Step 3: Upload the Character Image to Tripo Image to 3D
Open Tripo Studio and upload the selected SeaArt character image. Tripo's image-to-3D model generator is built for creators who want to move from a 2D visual into a 3D asset quickly, without modeling every body shape, clothing fold, and accessory by hand.
Start with a single clear image if you want speed. Use multi-view references when the character has complex hair, armor, wings, a long coat, or props that must stay readable from more than one angle. For a simple social post or early concept, one strong SeaArt image may be enough. For a printable figure, prepare multi-view references before generating.
Before generating, shrink the SeaArt image to thumbnail size. If the eyes, hands, outfit edges, and main accessories are still readable, the reference is likely clean enough for a first Tripo pass.
Step 4: Generate a High-Detail 3D Character Model
For AI characters, figures, collectibles, hero assets, and 3D printing tests, detail matters. Tripo's HD Model feature supports high-poly generation with up to 2M polygons, which is useful when the face, hair, clothing folds, accessories, and surface detail need to hold up in close view.
Use HD Model when the character is the main subject. A mascot figure, VTuber-style avatar concept, collectible prototype, or product hero render should preserve face shape, outfit volume, hair detail, and surface texture. A low-detail output may be fine for a background prop, but not for a character people will inspect closely.
Use HD Model for close-up beauty renders, collectible concepts, and print-first prototypes. Use Smart Mesh when the same character needs lighter geometry for web, game engines, or real-time previews. If the project needs both, keep an HD version for presentation and a lighter version for testing.
Step 5: Refine the Look with AI Texturing and Materials
A 3D character is not finished when the shape appears. The model still needs readable surface behavior: soft skin, rough fabric, shiny metal, leather grain, painted plastic, or resin-like figure material. Tripo's AI Texturing helps generate 3D textures with PBR materials, style control, and local fixes through Magic Brush.
SeaArt AI role settings help again at the texture stage. If your character is a cyberpunk courier, the jacket may need coated nylon, scratched metal clips, and emissive trim. If your character is a fantasy florist, soft fabric, leaf accessories, and hand-painted figure materials might fit better. The 3D texture prompt should follow the character, not fight it.
Copyable Tripo Texture Prompt:
Refine this 3D character with PBR materials: soft stylized skin, matte fabric jacket, slightly glossy boots, brushed metal buckles, clean painted figure finish, clear color separation, preserve facial features.
Use local texture edits when one area looks wrong. For example, repaint a noisy sleeve, correct a shoe material, or clean up a face detail without reworking the whole model.
Step 6: Use, Display, Animate, or Print the 3D Character
After the Tripo model is generated and textured, choose the final use case. A printable AI character asset needs different checks from a game character, and a social media 360-degree preview needs different polish from a Blender render.
For 3D printing, check scale, base support, wall thickness, thin hair pieces, thin weapons, floating cloth, and small accessories. HD detail is helpful, but printability still depends on clean mesh preparation. For animation, use rigging when it is available in your Tripo workflow, or export the model to a 3D package for rigging. For games and web, consider Smart Mesh or further optimization before bringing the asset into Unity, Unreal, Blender, Godot, or a web viewer.
Tips: How to Make Your AI Character More Suitable for 3D
The strongest SeaArt reference for Tripo is usually the clearest one, not the most dramatic one. If a lighting effect hides half the outfit, save that image for promotion and generate a cleaner character-sheet-style image for 3D.
Why Character Setting Can Affect the 3D Result
SeaArt AI settings are not background flavor. SeaArt AI role settings tell you what must survive the 3D conversion. A knight's shoulder armor, a singer's microphone, a mascot's rounded silhouette, or a sci-fi character's mechanical legs can become the difference between a generic model and a recognizable character.
Look at the SeaArt character page before exporting your image and ask one blunt question: if the 3D model kept only three design details, which three would make the character recognizable? Protect those details in the SeaArt image and in the Tripo texture prompt.
Common Pitfalls and Fixes
The SeaArt to Tripo chain is fast, but the first reference still sets the ceiling. Most weak results come from two problems: the source image is hard to read, or the model settings do not match the final use case.
Treat the first model as a draft. Rotate it, inspect the face, hands, silhouette, and signature accessory, then decide whether the fix belongs in SeaArt source-image preparation or in Tripo texture refinement. That makes each retry more targeted.
FAQ: SeaArt AI Character 3D Workflow
Can I turn any SeaArt image into a Tripo 3D model?
You can try many SeaArt images, but not every image is a good 3D source. A clean character image with visible body structure will usually work better than a cinematic portrait, heavy effects shot, or image with hidden limbs.
Is a front-facing image better than a 3/4 image?
A front-facing image is clean and predictable, while a 3/4 image gives Tripo more depth clues. Start with a 3/4 view for a character figure, then add a front view if you want a stronger multi-view reference set.
Can I make a SeaArt AI character into a printable asset?
Yes, a SeaArt AI character can become a printable asset through Tripo, but printing still needs physical checks. Inspect thin hair, fingers, weapon tips, coat tails, and small accessories before sending the model to a printer.
What is the difference between Tripo HD Model and Tripo Smart Mesh?
Tripo HD Model is better when detail is the priority. Tripo Smart Mesh is better when a lighter mesh and real-time use are the priority. For one character, you may want both: HD for promotion images, Smart Mesh for interaction.
Do SeaArt character settings really affect the 3D result?
SeaArt AI settings affect your creative choices before Tripo sees the image. The character's job, world, outfit, and personality tell you which image to pick, which details to protect, and which material prompts to write later.
Can I animate the Tripo model after generation?
Animation depends on the final mesh, available rigging tools, and export path. If rigging is available in your Tripo Studio workspace, test it after the model and texture pass. If not, export to a 3D tool and rig the character there.
Conclusion: From Character Creation to 3D Character Asset
SeaArt AI and Tripo fit together because the handoff is clear. SeaArt AI defines the character people care about: the face, role, story, setting, and community presence. Tripo turns that character into a 3D model with geometry, texture, material detail, and asset options.
Begin with one SeaArt AI character, one clean 3/4 image, and one Tripo image-to-3D pass. Refine only the details that matter most. Once the result is solid, expand it into character cards, 360-degree previews, 3D figure concepts, printable prototypes, game-ready versions, and short videos that show the before-and-after moment.
Generate Your SeaArt AI Character in 3D
Your AI role already has a personality. Create the character in SeaArt AI, choose the cleanest 3/4 reference, then bring that image into Tripo for 3D generation.