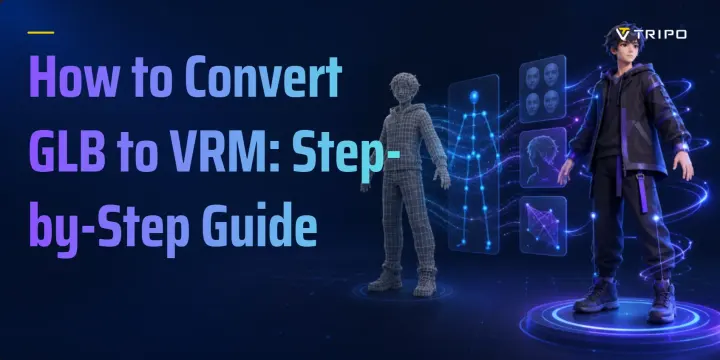
How to Convert GLB to VRM: Step-by-Step Guide
TL;DR
- GLB files need added avatar data before they can become valid VRM files.
- Use UniVRM in Unity or the VRM Add-on in Blender.
- Map humanoid bones, expressions, metadata, and materials before export.
- Always test the exported avatar in a VRM viewer.
GLB and VRM do not carry the same information. A GLB may contain a mesh, textures, and an armature while still lacking what an avatar app needs to understand the body and face. This guide covers both workflows, preflight checks, validation, and common fixes.
Why you can't just rename GLB to VRM
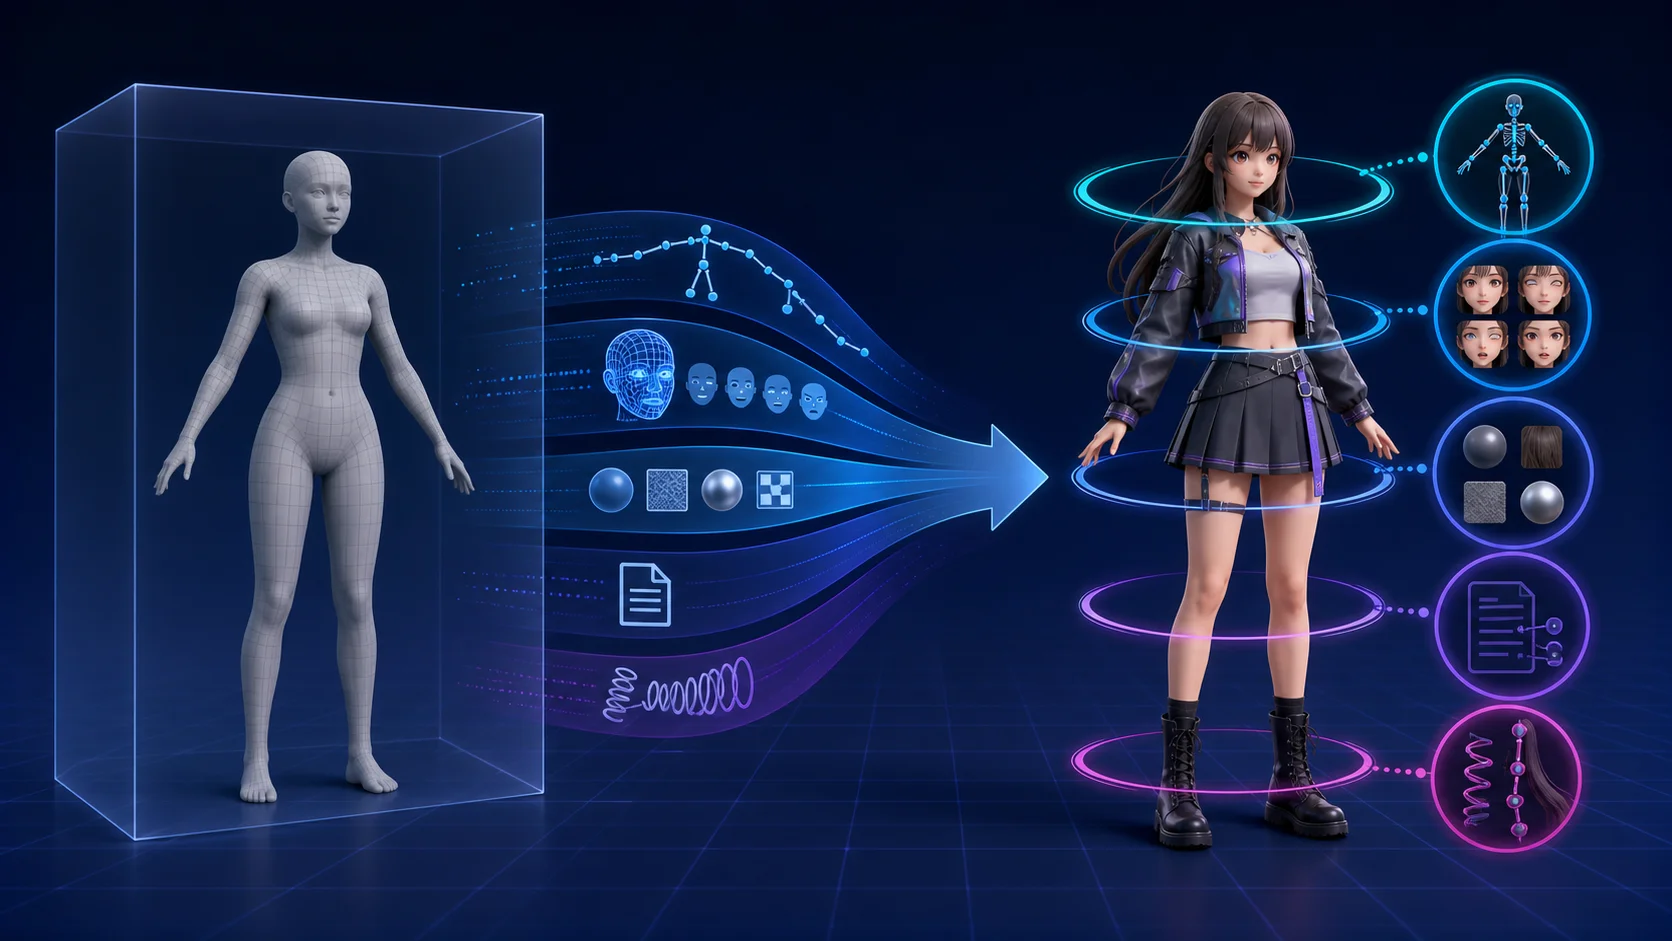
A VRM file is based on glTF 2.0, the same technology used by GLB. The difference is that VRM adds extensions made for humanoid avatars. Those extensions identify which bones act as the hips, spine, head, hands, feet, and other body parts. They also describe facial expressions, first-person display settings, secondary motion, and usage permissions. A normal GLB does not have to include any of that.
Changing the extension from .glb to .vrm only changes the filename. It does not map the skeleton, create blendshapes, or add author and license metadata. A VRM loader will either reject the file or treat it as incomplete because the data it expects is missing.
The reverse direction can appear to work. The official VRM documentation notes that a .vrm file can often be renamed to .glb and opened by software that supports glTF. That works because the base glTF model is still present and the viewer can ignore VRM-specific extensions. You are dropping information that the viewer does not understand, not generating information that was absent.
If a GLB originally came from a VRM and still contains intact VRM extensions, renaming it back may load. That is a round trip, not a general conversion method.
What your GLB needs before you start
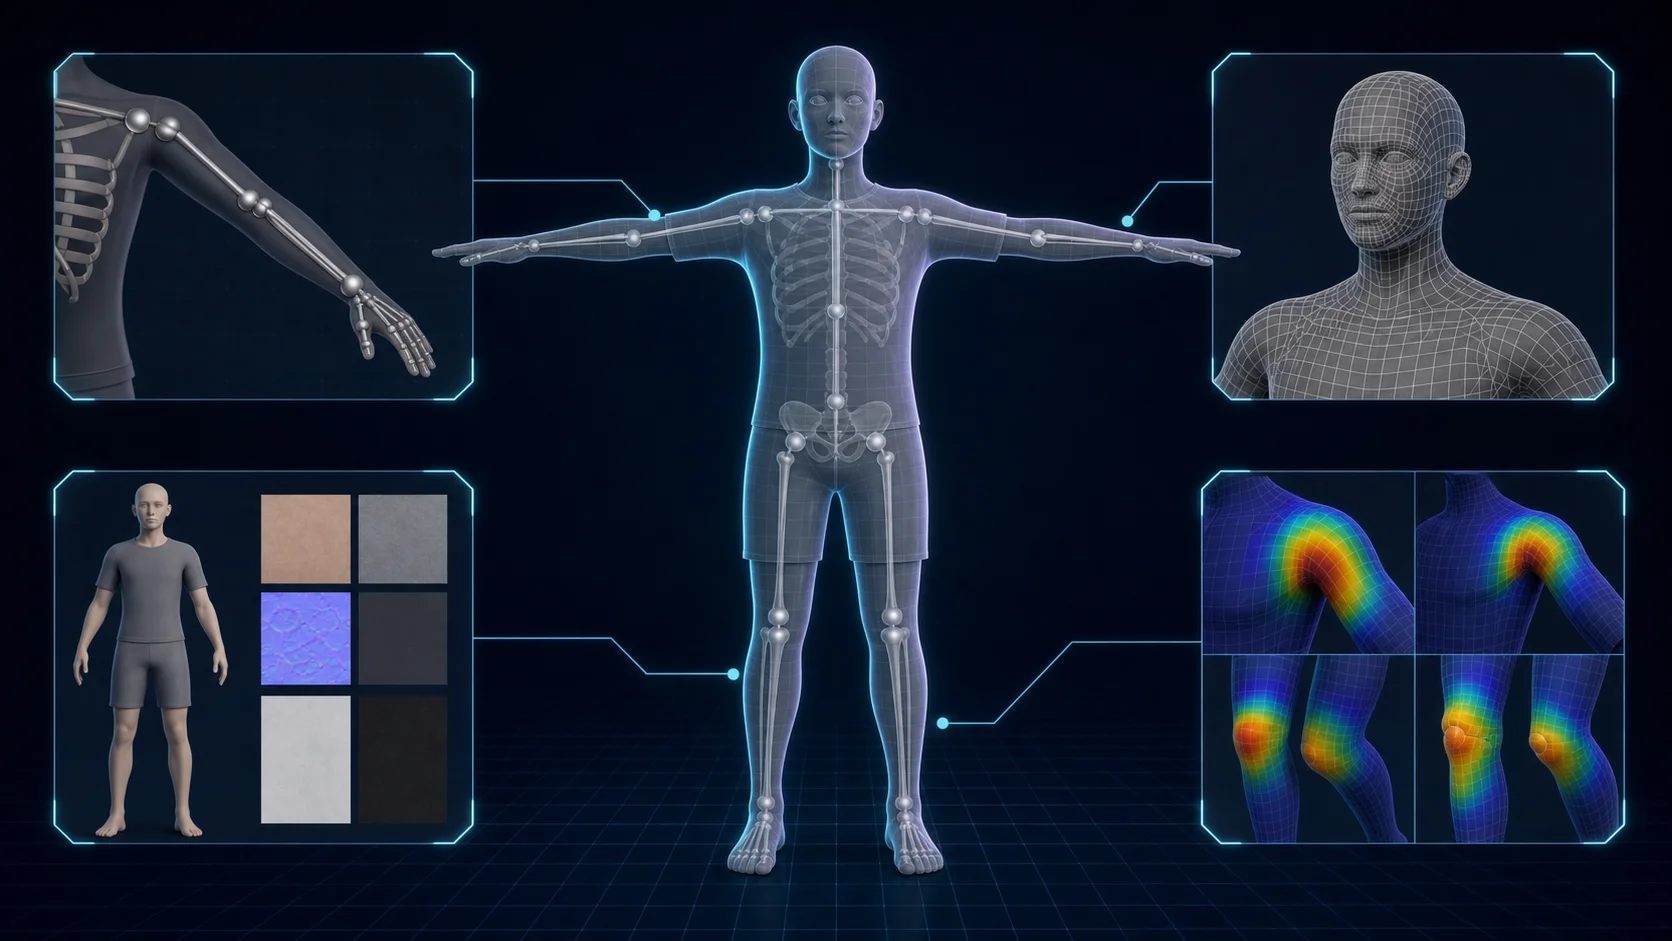
Check the model before opening Unity or Blender. Fixing a weak source model first is faster than tracing export errors later.
- A humanoid body. VRM is a humanoid avatar specification. A vehicle, prop, or abstract creature cannot become a valid humanoid VRM by changing its container.
- A usable rest pose. A T-pose is the safest starting point because VRM humanoid mapping expects a standardized pose. You can retarget a clean A-pose, but you may need to correct the armature before mapping bones.
- A skeleton. A static mesh has no joints to map. Rig it before conversion. If your T-pose humanoid GLB has no rig, Tripo Auto Rig can generate skeletal bindings for uploaded GLB or OBJ models. Tripo states that Auto Rig supports T-pose humanoids and standard standing quadrupeds; nonstandard poses and non-humanoid shapes may not rig correctly.
- A real-time polygon budget. A file can satisfy the VRM structure and still run poorly in face tracking or streaming software. Reduce unnecessary geometry based on the limits of the app and device you plan to use.
- Available textures. Embedded textures are convenient. If the GLB references external files, collect them before import so materials do not arrive blank.
Route 1: how to convert GLB to VRM in Unity with UniVRM
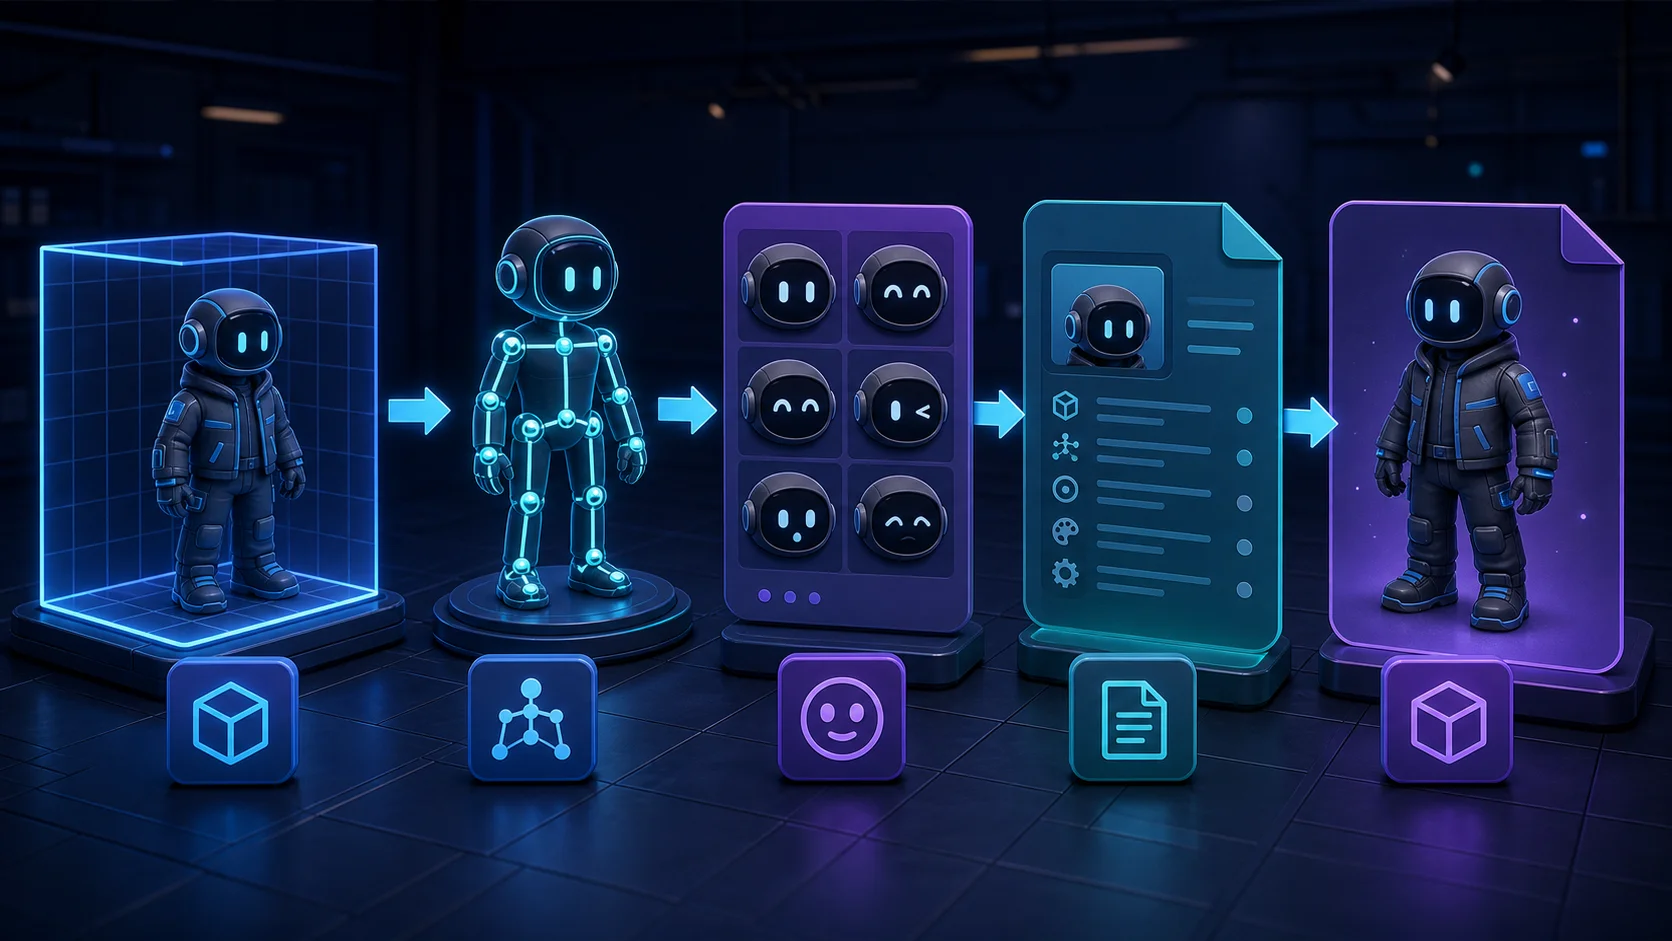
UniVRM is the official Unity implementation for VRM import and export. Use a Unity LTS release supported by the UniVRM package and check its release notes for compatibility.
- Create a 3D project. Start a clean Unity project so unrelated packages and import settings do not complicate the conversion.
- Install UniVRM. Download a current package from the official UniVRM releases and follow that release's installation instructions.
- Import the GLB. Add the model to the Assets panel. Confirm that Unity imports the mesh, armature, and textures before you continue.
- Configure a Humanoid rig. Select the imported model, set its animation rig to Humanoid, and open the bone configuration. Unity should map the required body roles to the correct bones.
- Correct mapping errors. Red or missing entries usually mean the source hierarchy, rest pose, or bone assignments need work. Map the correct bones manually and check that left and right limbs are not swapped.
- Place the avatar in the scene. Drag the configured model into the scene and use that root object as the export target.
- Add VRM metadata. Fill in the model name, author, and usage or license fields required by your chosen VRM version. Missing metadata can block export or leave a file that does not communicate how it may be used.
- Set up expressions. Map at least blink and the mouth shapes used for lip sync. UniVRM names and interfaces differ between VRM 0.x and 1.0, but the goal is the same: connect expression slots to the model's blendshapes.
- Export and test. Open the UniVRM export window, resolve its validation messages, export the avatar, and test the result before moving it into production.
Bone mapping and metadata stop many exports. If the humanoid configuration shows errors, return to the armature and fix the source. If no usable file appears, check the required metadata and validation messages.
Choose the VRM version according to the target application. VRM 1.0 is the current specification, while many established avatar tools still support VRM 0.x. If the destination does not clearly advertise 1.0 support, VRM 0.x is often the safer compatibility choice. Do not convert down by changing the extension; export the version you need.
Route 2: how to convert GLB to VRM in Blender without Unity
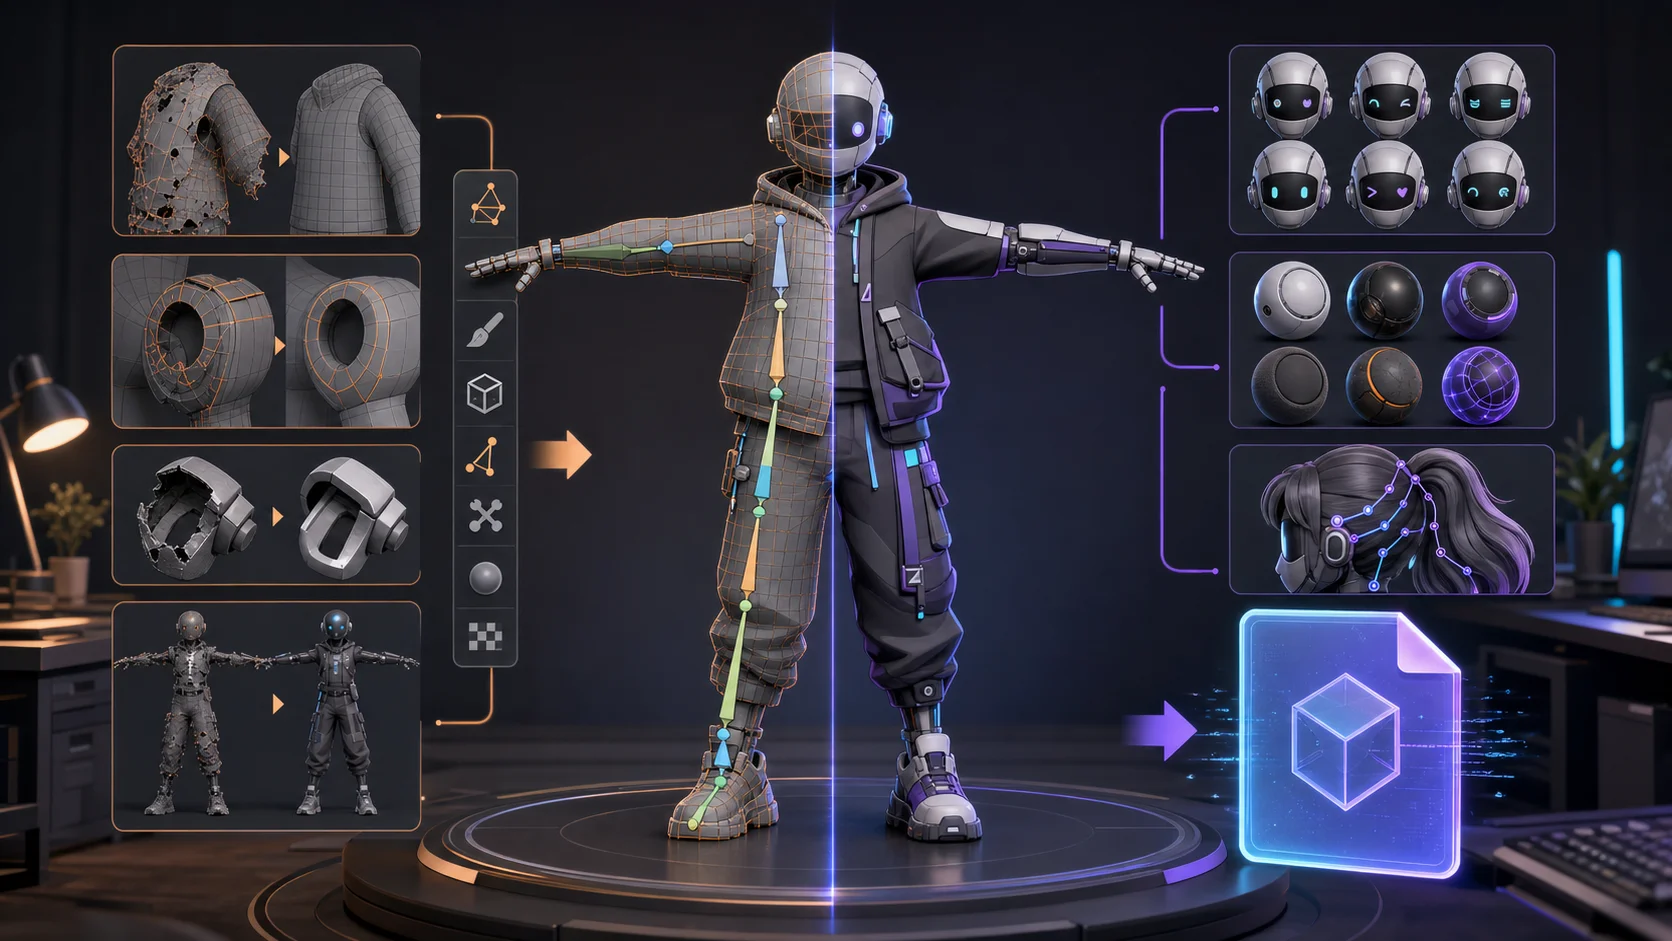
The VRM Add-on for Blender keeps the conversion in one application. It is a practical choice if you already edit meshes, weights, and shape keys in Blender or do not want to install Unity. The add-on can import, edit, and export VRM data, including VRM 0.x and 1.0.
- Install the VRM Add-on. Follow the add-on's instructions for your Blender version, then confirm that VRM options appear in the interface.
- Import the GLB. Use File > Import > glTF 2.0. Inspect the imported mesh, armature, materials, and texture links.
- Check the pose and armature. Confirm that the character is humanoid and that the armature has separate, sensible bones for the required body roles. Correct the rest pose if needed.
- Set the VRM version and humanoid mapping. Use the add-on's VRM armature properties to choose 0.x or 1.0 and assign each required human bone. Resolve missing or duplicate assignments.
- Prepare expressions. Create or reuse shape keys for blinking and mouth movement. Connect them to the add-on's VRM expression controls.
- Review materials and secondary motion. Decide whether the original PBR materials are acceptable or whether the avatar needs MToon-style materials. Add spring bone settings only where the model needs secondary motion, such as hair or accessories.
- Enter metadata. Add the avatar name, author, and usage settings required by the selected specification.
- Export the VRM. Use File > Export > VRM (.vrm), read the validation messages, save the file, and test it in a separate viewer.
Blender gives you direct control over geometry and weights when the GLB needs repair. A successful export is still only the start of validation.
Online GLB to VRM converters: what they can and can't do
Browser-based converters offer a quick check when the GLB already has a clean humanoid rig and basic expressions.
The convenience has limits. An automated converter cannot reliably invent a correct humanoid mapping for an unusual skeleton. It may create minimal expression settings or omit them, and materials can change because glTF's physically based materials do not map perfectly to VRM's common toon workflow. Spring bones, first-person settings, and detailed usage permissions may also need manual work.
Use an online converter as a sanity check, not as proof that the avatar is ready. For a model that must track well in a VTubing application, use Unity or Blender so you can inspect the skeleton, expressions, materials, and metadata. Before uploading, confirm that you own the model or have permission to send it to a third-party service.
How to test your VRM file before you use it
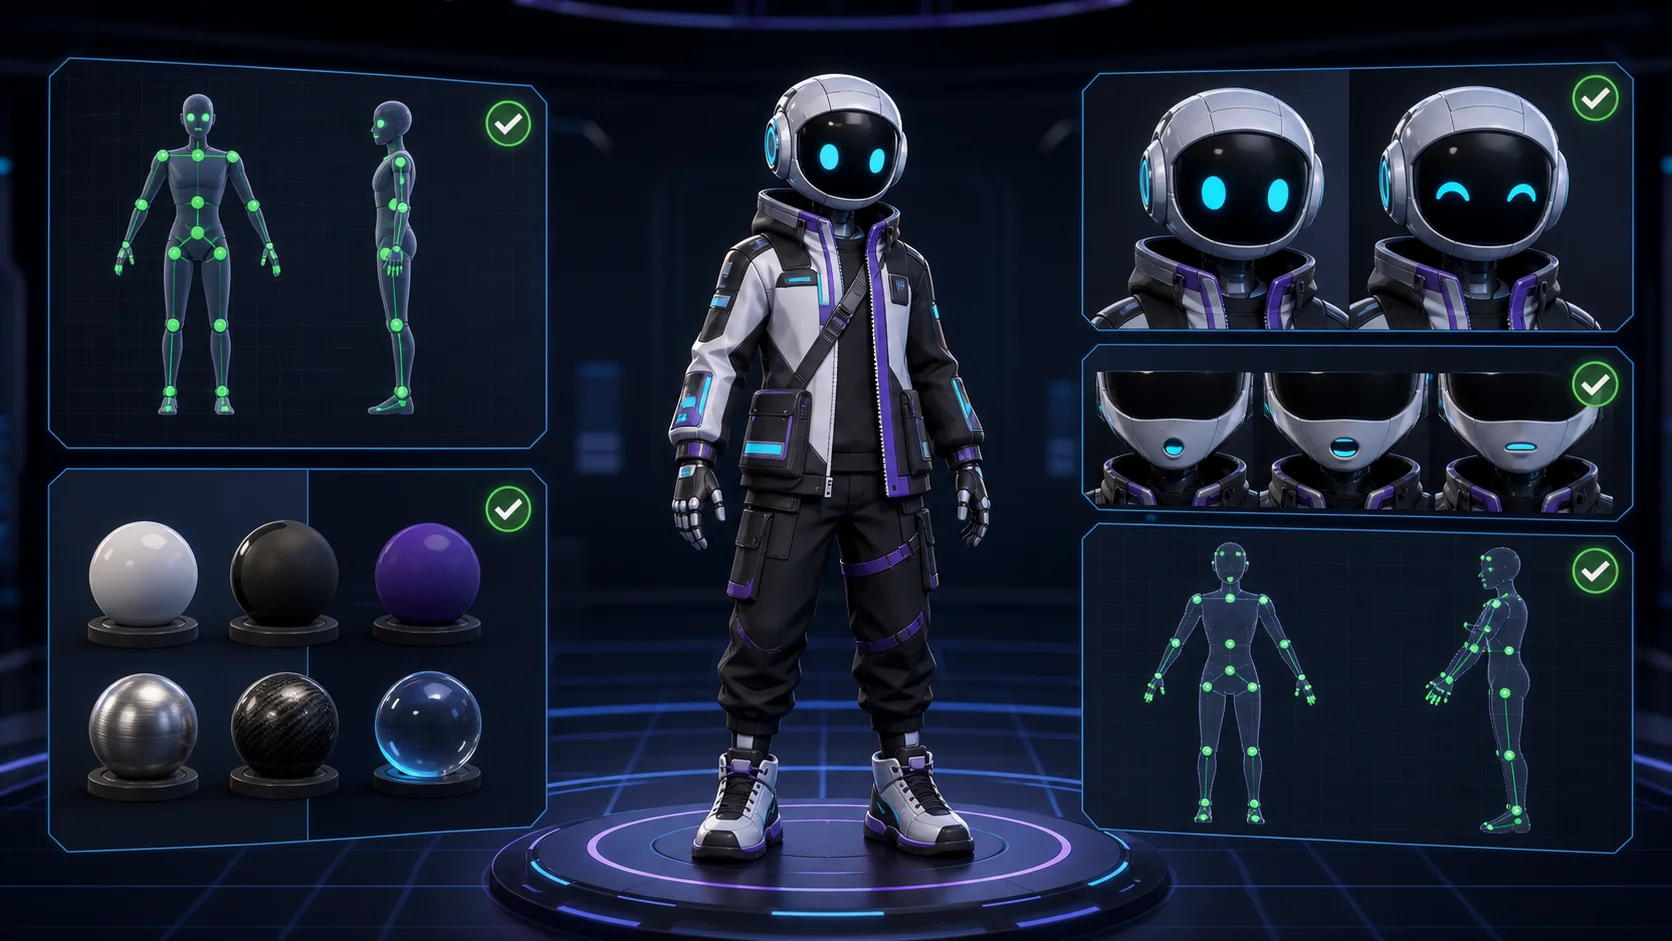
- Open the file in a VRM viewer. First confirm that the file loads without parser or validation errors.
- Inspect the humanoid skeleton. Check that the viewer recognizes the avatar as humanoid and that major joints bend in the expected direction.
- Trigger expressions. Test blink and at least one lip-sync mouth shape. A face that stays still usually means the shapes are missing or mapped to the wrong expression slots.
- Test in the destination. Load the file into a VRM-compatible app such as VSeeFace, then calibrate tracking. If your final platform does not import VRM directly, follow that platform's avatar upload workflow instead.
- Compare materials. Look for missing textures, flat shading, transparency errors, or color changes that did not appear in the GLB.
This test separates a file that merely exported from one that behaves as an avatar. A viewer check takes a minute and catches bad bone mapping or dead expressions before you build a streaming setup around the model.
Common GLB to VRM problems and how to fix them
Export fails or produces no file. Required metadata may be empty, or the export root may be invalid. Fill in the required author and usage fields, select the correct avatar root, and resolve every validation error before exporting again.
Humanoid bone mapping shows errors. The model may not be in a valid rest pose, a required role may be missing, or the wrong bone may be assigned. Restore a clean T-pose, map each required role manually, and check left and right assignments.
The avatar loads, but the face never moves. The source may lack blendshapes, or the shapes may not be connected to VRM expression slots. Confirm that the mesh has working blink and mouth shape keys, then map them in UniVRM or the Blender add-on.
Materials look flat, bright, or transparent. The original GLB probably uses material features that the chosen VRM shader does not reproduce. Reconnect missing textures, review alpha settings, and tune PBR or MToon parameters in the export tool instead of retexturing the whole model immediately.
The destination rejects the avatar. The application may support VRM 0.x but not 1.0, or it may not accept VRM files directly. Check its documented format and version requirements, then export the correct version or use its required avatar upload process.
Frequently asked questions
How to convert GLB to VRM?
Import the GLB into Unity with UniVRM or into Blender with the VRM Add-on. Map the humanoid bones, connect facial expressions, add author and license metadata, export the required VRM version, and test it in a VRM viewer.
How to convert a model to a VRM?
Start with a humanoid model that has a usable skeleton and rest pose. GLB, glTF, or FBX can be source formats, but static meshes must be rigged before a VRM exporter can map their body bones.
What files can be converted to VRM?
Humanoid models in formats such as GLB, glTF, and FBX can be prepared for VRM if an editor can import their mesh, armature, and textures. OBJ and other static mesh formats need rigging and expression setup first.
What is the difference between VRM and glTF?
glTF is a general 3D asset format. VRM is a glTF-based specification for humanoid avatars that adds standardized bone roles, expressions, gaze and first-person settings, secondary motion, and usage information.
Can I rename a GLB file to VRM?
Not for a normal conversion. Renaming does not create VRM extensions or map bones and expressions. Renaming VRM to GLB may work in a glTF viewer because the viewer can ignore extra VRM data, but the opposite direction requires adding data.
Do I need Unity to convert GLB to VRM?
No. Blender with the VRM Add-on is a complete alternative and is often easier when the mesh, weights, or shape keys need editing. Unity with UniVRM is useful if your workflow already runs through Unity.
Should I export VRM 0.x or VRM 1.0?
Use the version supported by the destination app. VRM 1.0 is the current specification, but VRM 0.x remains common in existing avatar software. When compatibility is unclear, check the app's documentation before export.
Do I need to retexture my model after converting?
Usually not. The textures can often be reused, but you may need to reconnect them or adjust material and shader settings because glTF PBR materials and VRM toon materials do not always render the same way.
Can I use an AI-generated model as a VRM avatar?
Yes, if the model is humanoid and you have the rights to use it. A model generated with Tripo can be exported as GLB and rigged when needed, but Tripo does not export VRM directly. You must still complete the mapping, expression, metadata, export, and validation steps in this guide.
Conclusion
GLB to VRM conversion works by adding avatar-specific structure to a glTF model, not by changing its extension. Choose UniVRM or the Blender VRM Add-on based on the tool you already know, then validate the skeleton, expressions, and materials in a separate viewer.
If you need a new source model, create one in Tripo AI Studio and export it as GLB before following this workflow. Review Tripo AI pricing for the plan and export options available to your account.