Start with the playable loop
Write one sentence for the mechanic, one for controls and one for the success or failure condition before adding visual detail.
Explore Single-file WebGL2 black hole raytracer prompt for Kimi K3: a Kimi K3 3D example featuring WebGL2, black hole simulation. Preview the result and adapt the prompt for your project.
Create a complete, self-contained single HTML file (no external libraries like Three.js) that implements a real-time geodesic raytracer for a Schwarzschild black hole inspired by Gargantua.

Use raw WebGL2 with GLSL ES 3.00 in a single fragment shader. Implement accurate physics: null geodesic integration with 4th-order Runge-Kutta solver, event horizon, photon sphere, accretion disk with proper rendering, gravitational lensing, Doppler beaming, and gravitational redshift effects. Target stable 60 FPS performance.

Include mouse-controlled camera orbiting/zooming, and a cyberpunk-style control panel with sliders for parameters (mass, spin, disk density, view angle, etc.). Add subtle particle effects for matter falling in and dynamic lighting/shadows.

The output must be 100% complete, immediately runnable in a modern browser, with no black screen, NaNs, errors, or missing features. Prioritize numerical correctness, boundary handling, solver discipline, and physical accuracy above all. Verify and comment key physics equations in the code. Make it visually stunning and interactive like a premium physics demo/game.
Prompt breakdown
Explore “Single-file WebGL2 black hole raytracer prompt for Kimi K3”, a Kimi K3 3D example about Kimi K3, WebGL2, black hole simulation. Check the evidence label to see whether the text is an original prompt or a brief adapted from the public source.
Keep the core outcome, then specify the camera, controls, lighting and what a successful result should do. Test that first before adding more visual detail.
Write one sentence for the mechanic, one for controls and one for the success or failure condition before adding visual detail.
Ask for visible state changes—cracks, impact, debris, score or progress—so you can judge the first result quickly.
Once the loop works, replace placeholder geometry with Tripo-generated assets instead of making the initial prompt carry every detail.
Your prompt builds the game or scene. Bring it to life with more detailed characters and props, created in Tripo to replace simple placeholder models.
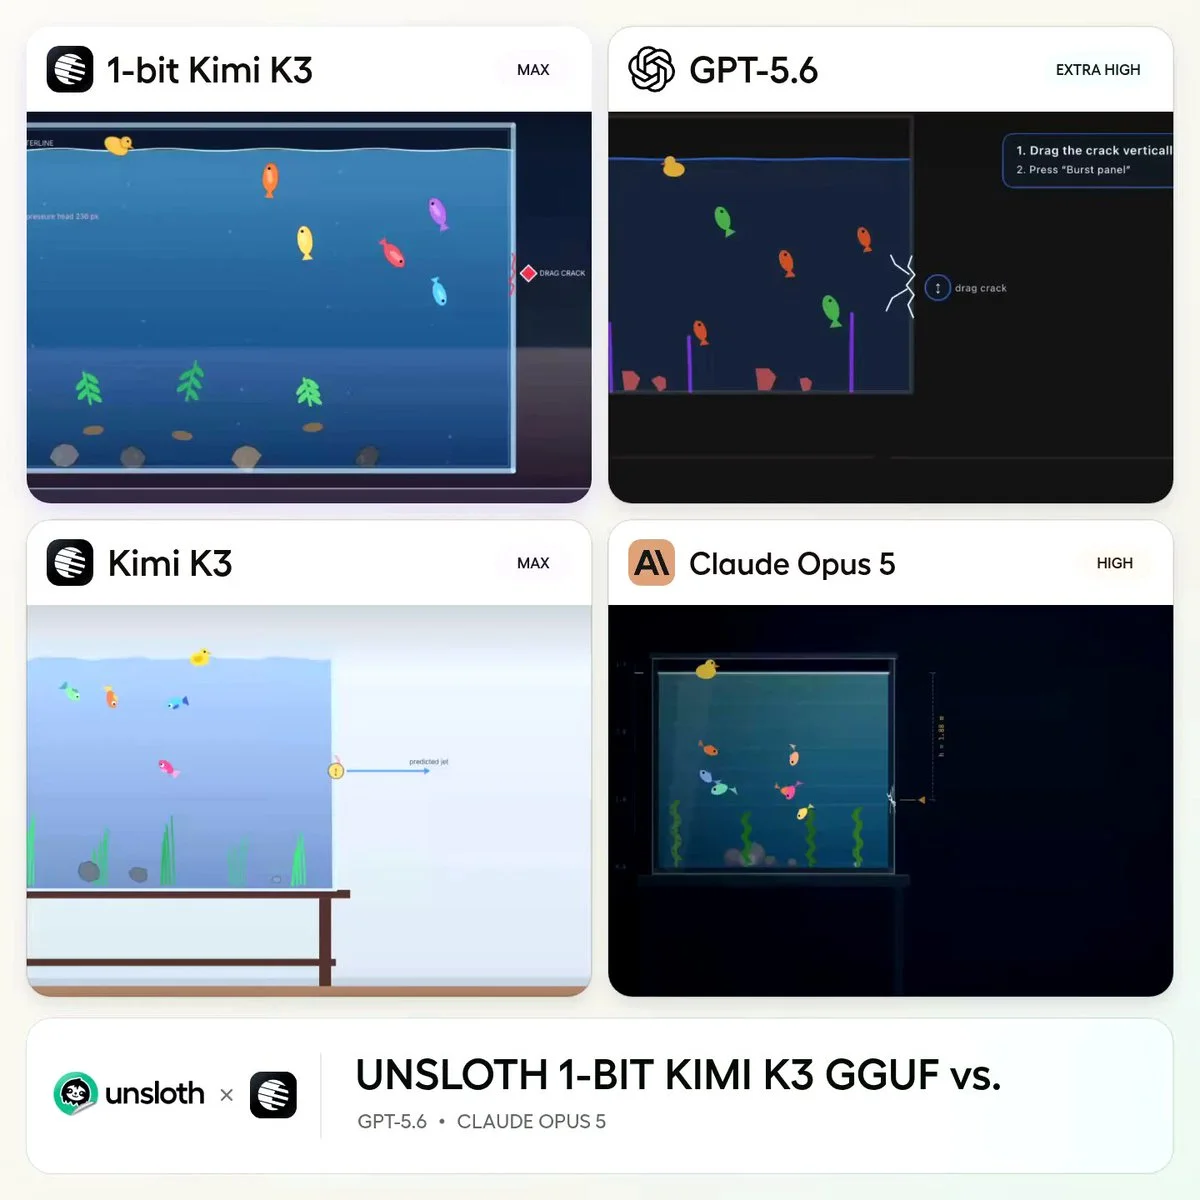
Create a glass aquarium whose side panel develops a visible crack and then bursts.
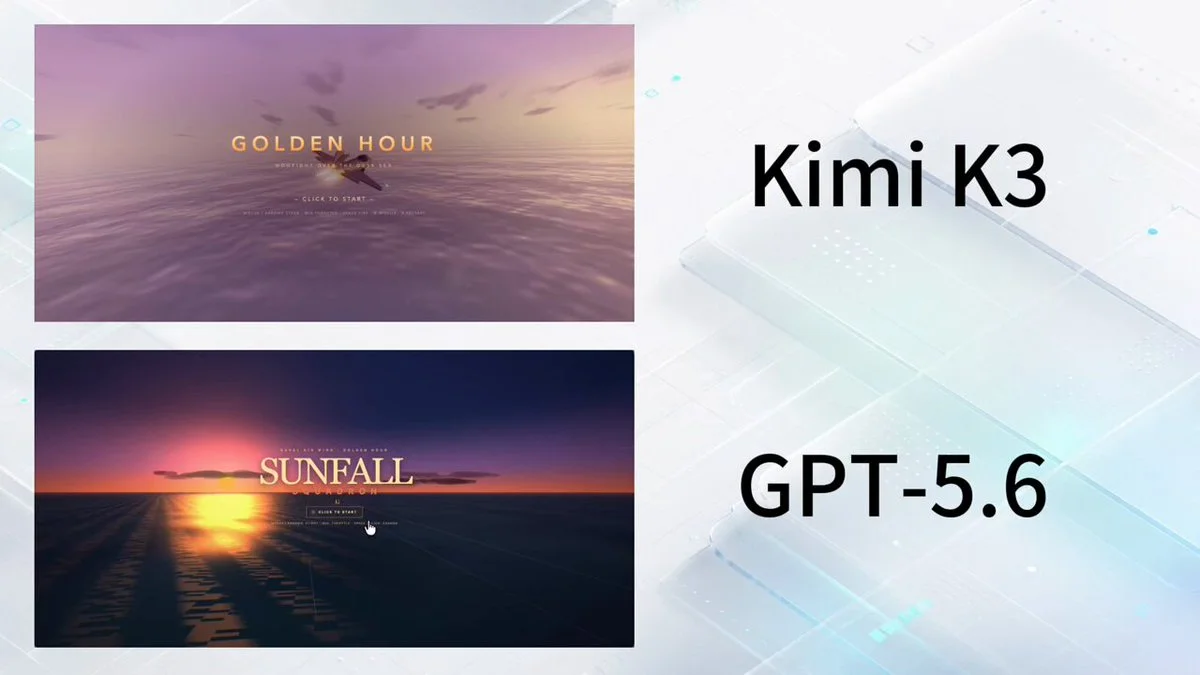
build a playable combat game
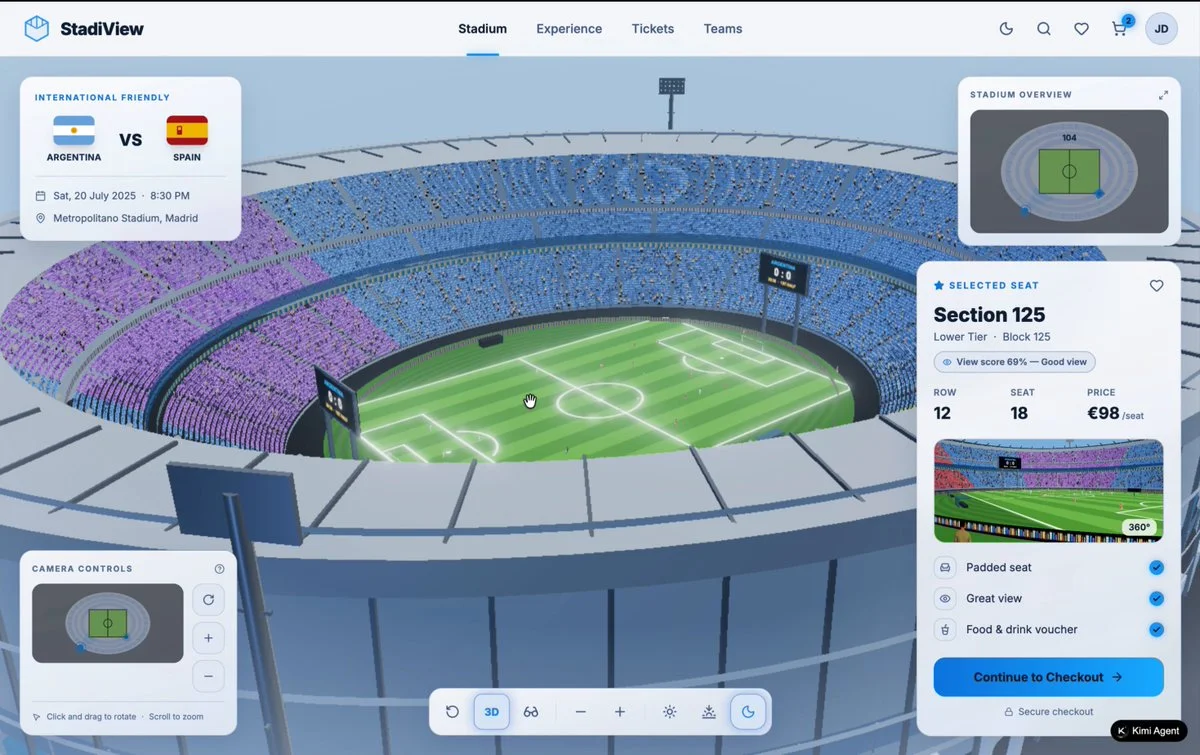
A developer compared models by giving them the same task: "build a 3D soccer stadium."