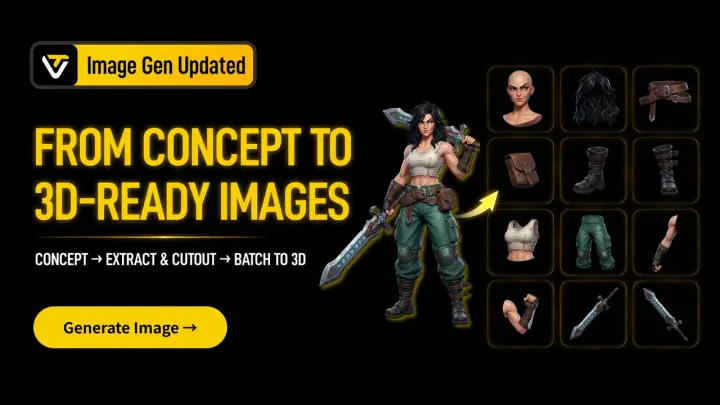
GPT-Image-2.5 Sunburst in Tripo: Create Better 3D References
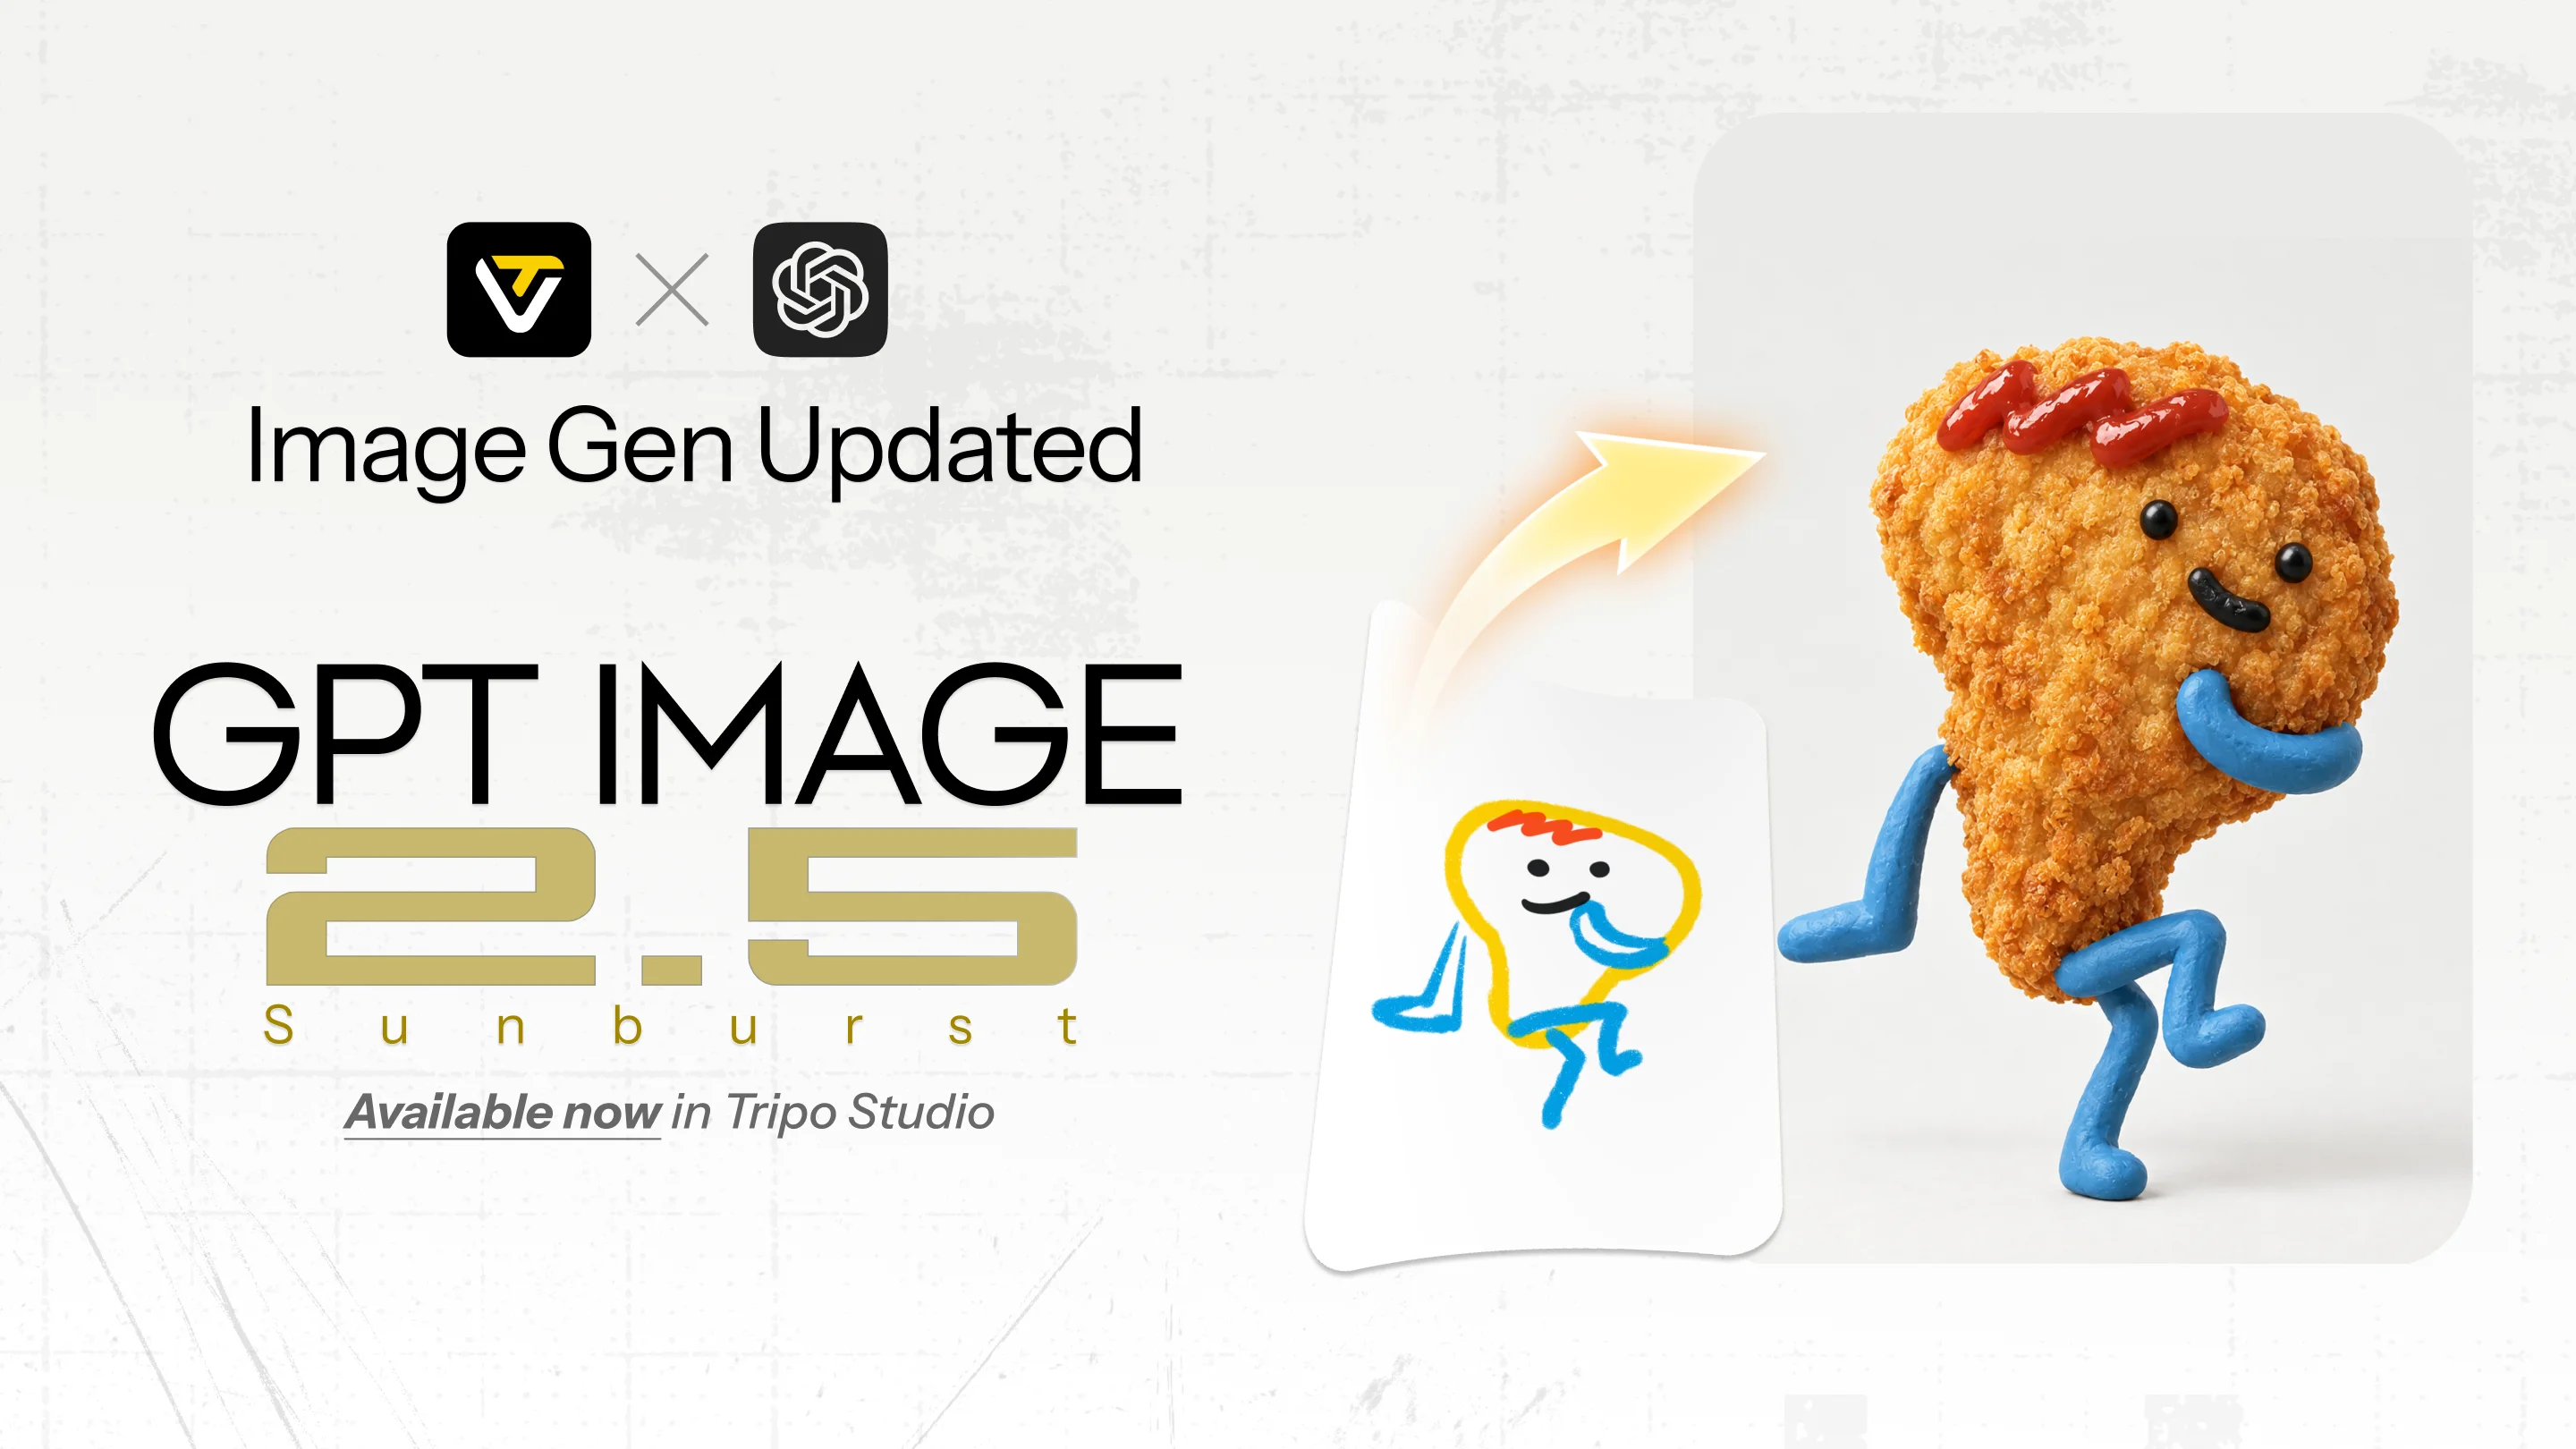
GPT-Image-2.5 Sunburst is now available in Tripo Studio for image generation and editing. Its improved detail, lighting, reference fidelity, and precision editing give creators a stronger starting point for 3D-ready images.
Tripo turns those image capabilities into a connected 3D workflow. Built-in templates help creators prepare characters, objects, scenes, and printable concepts for specific downstream tasks instead of relying on a blank prompt alone.
Creators can generate and refine an image, produce multi-view images, isolate individual assets, and move selected results into 3D model generation without leaving Tripo Studio.
Try GPT-Image-2.5 Sunburst in Tripo Image Gen
What Is New in GPT-Image-2.5 Sunburst?
GPT-Image-2.5 Sunburst is part of OpenAI's latest image generation and editing model family, announced on September 8, 2026. Compared with the previous generation, it improves image detail, lighting, reference preservation, precision editing, multi-turn consistency, instruction following, and generation speed.
These improvements make it easier to preserve an intended subject before using the image as a 3D reference. See OpenAI's official introduction for the model announcement and demonstrations.
Why Use GPT-Image-2.5 Sunburst in Tripo?
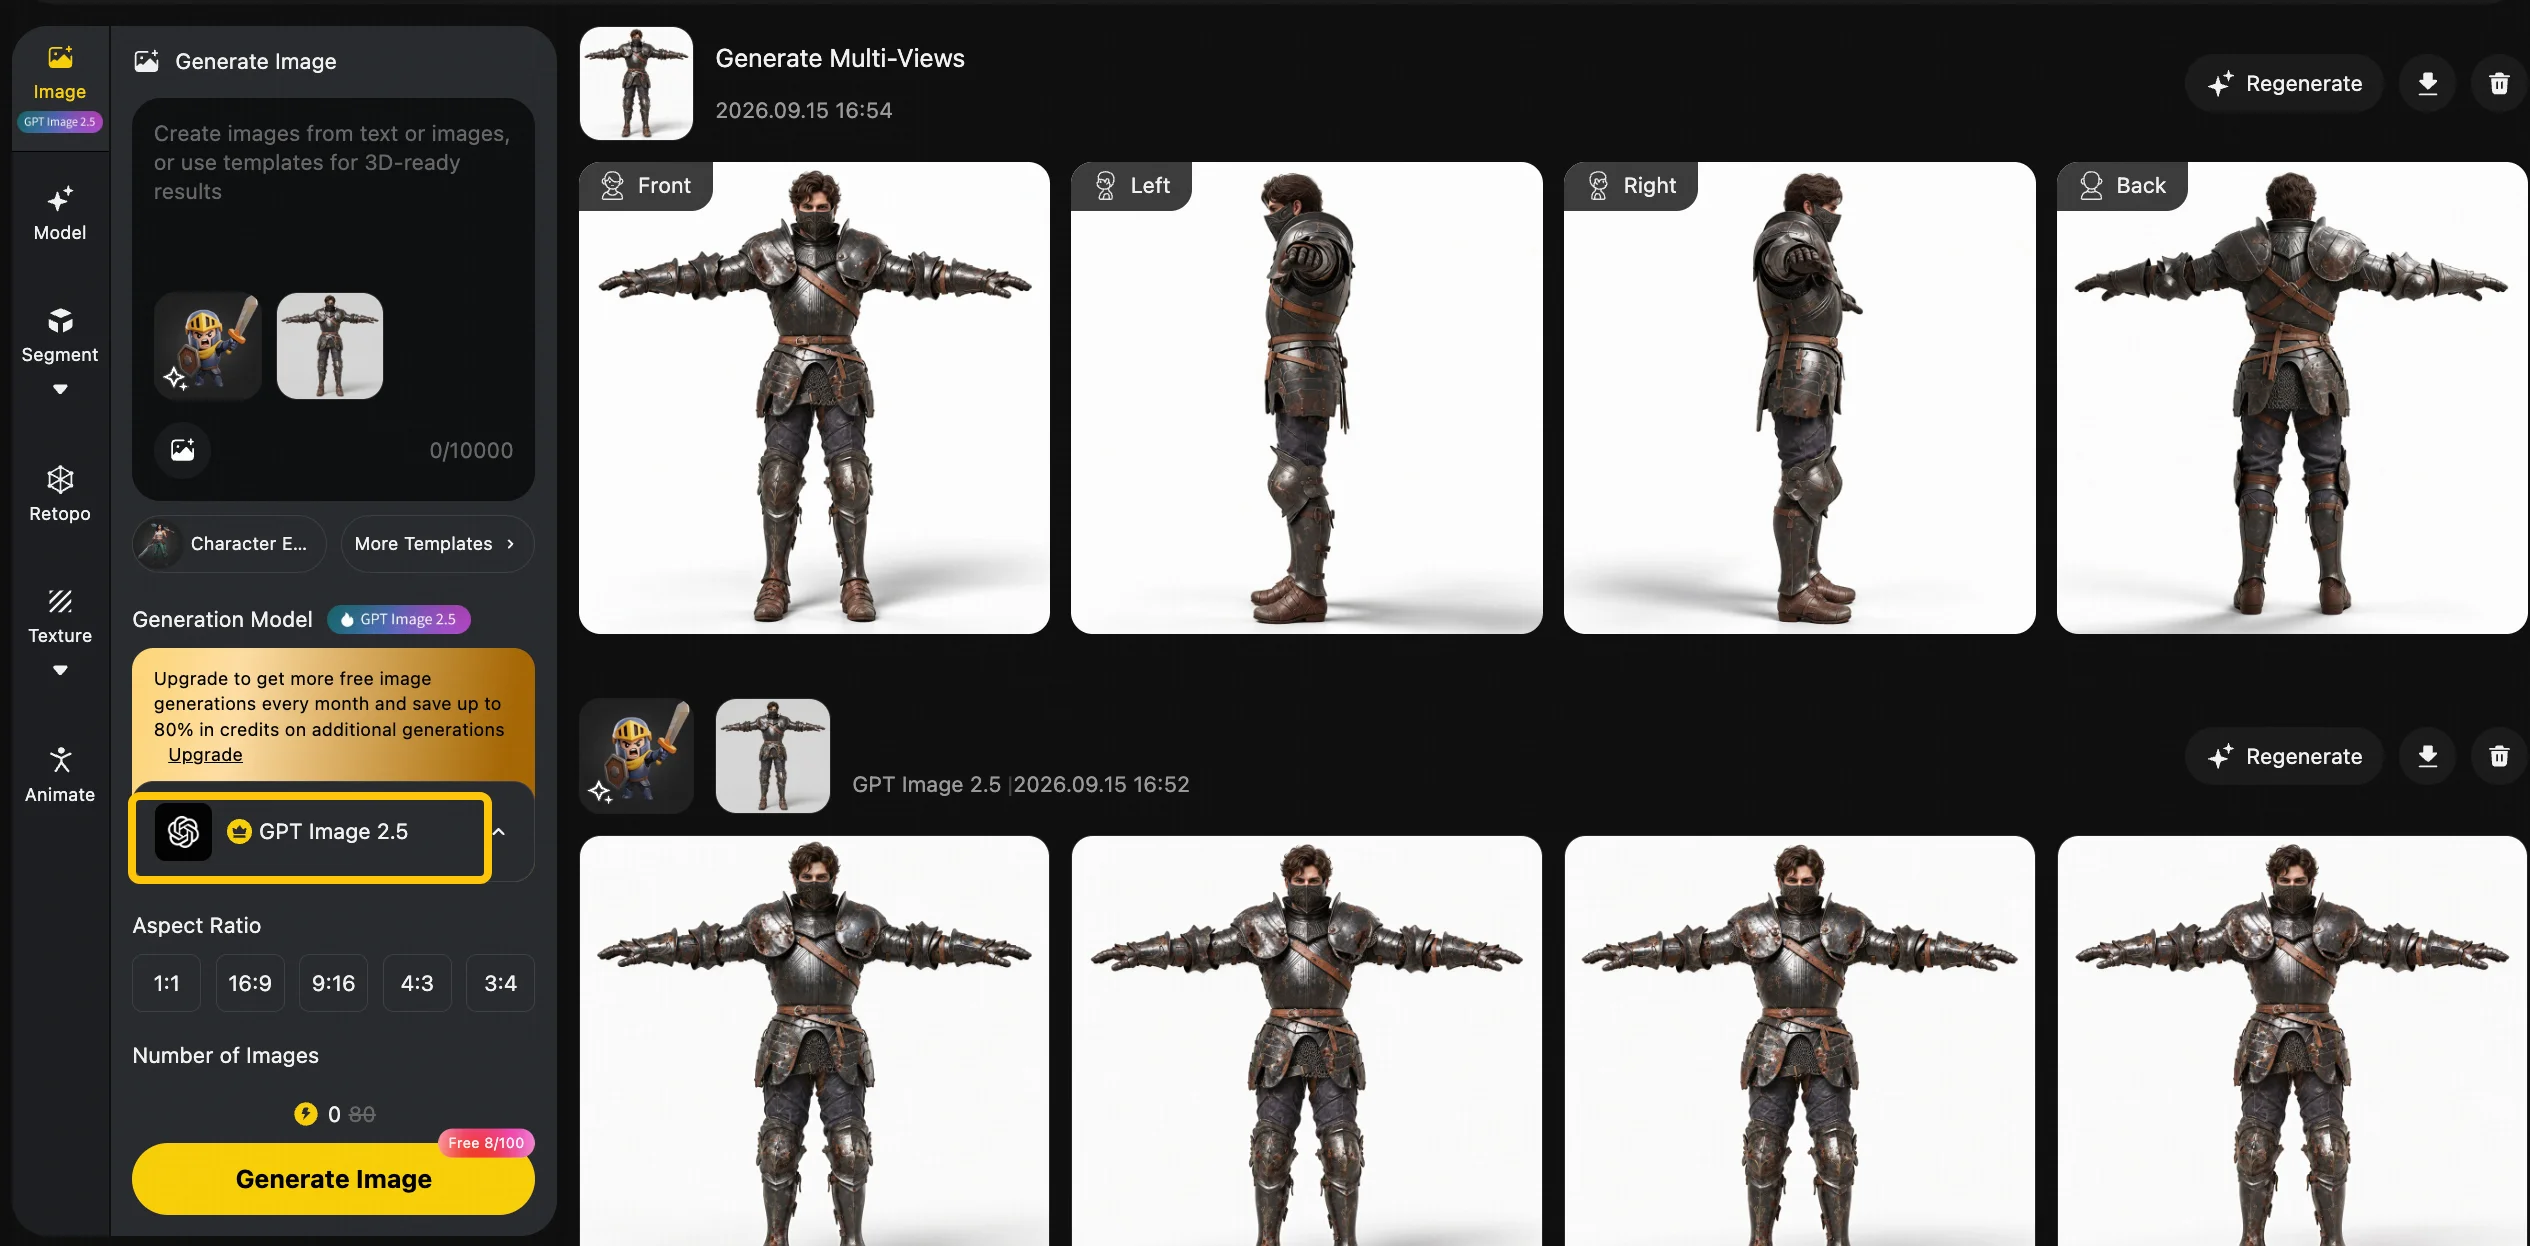
A visually appealing image is not always a useful reference for 3D generation. Important parts may be hidden, a character may have an unsuitable pose, or a scene may contain several objects that need to become separate assets.
Tripo addresses these needs with templates designed around common 3D tasks. Creators can choose a workflow for creating characters, T-pose models, scene assets, figurines, printable concepts, or style-consistent variations, then provide a text prompt, a reference image, or both.
Within the same workspace, creators can refine a result with Edit Image, generate multi-view images, isolate elements with Cutout, or move selected images into 3D model generation.
With GPT-Image-2.5 Sunburst, Tripo's image generation and editing capabilities are now more powerful, providing better results for downstream 3D generation and post-processing.
Choose a Template for Your 3D Task
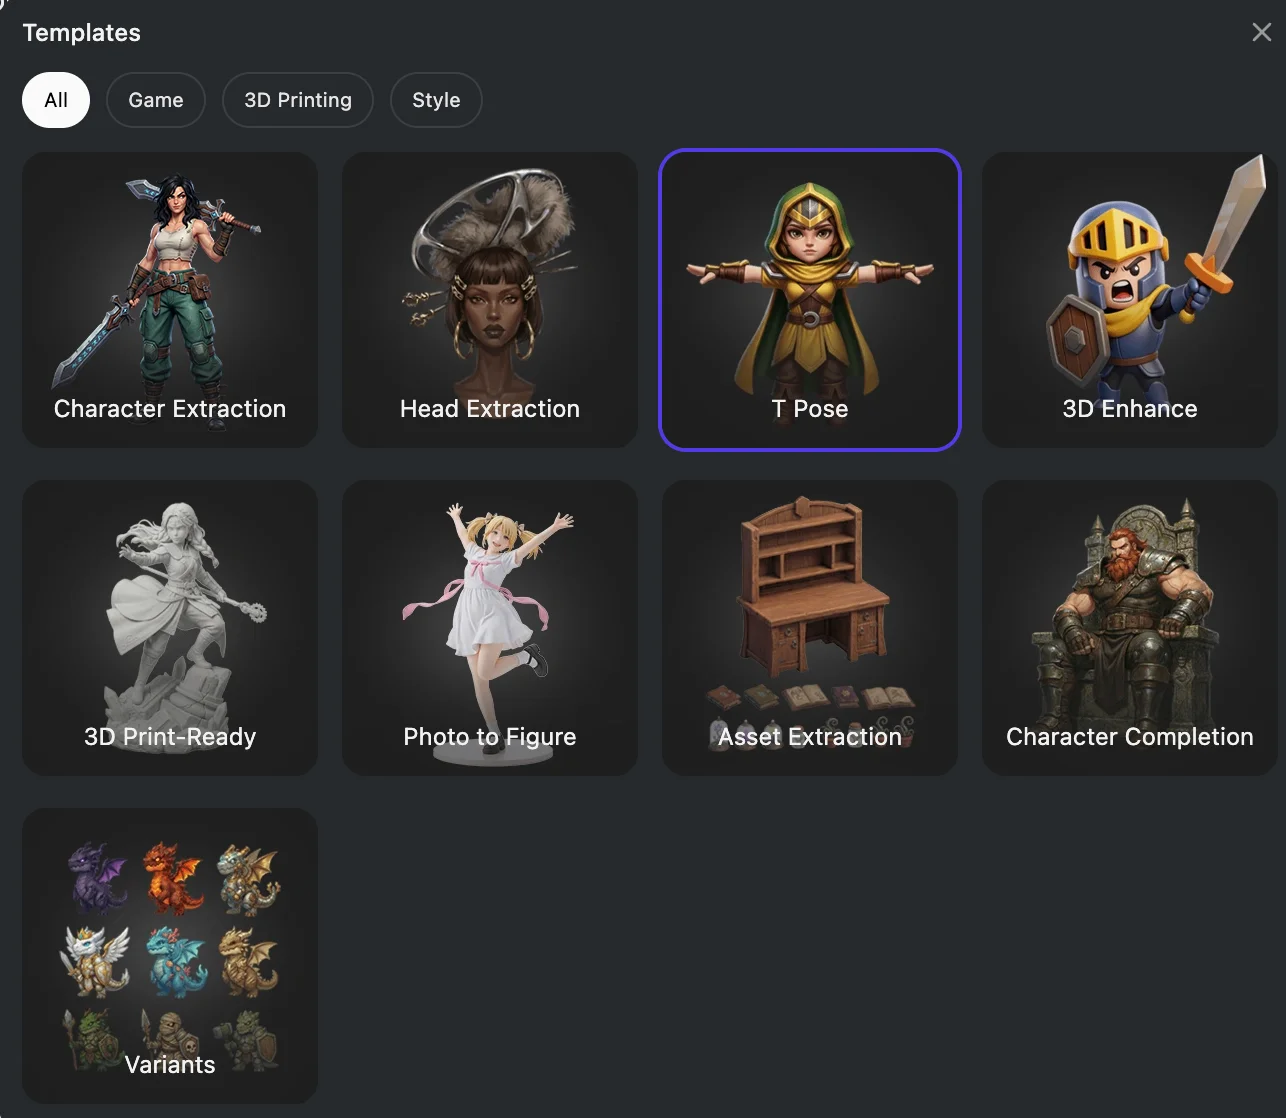
Tripo Image Gen offers templates tailored to specific 3D workflows, including Character Extraction, Head Extraction, T Pose, Character Completion, Variants, 3D Enhance, 3D Print-Ready, Photo to Figure, and Asset Extraction. Each template comes with a preconfigured prompt specially tuned for 3D tasks. Simply choose the template that best matches your goal.
| Template | What It Does |
|---|---|
| Character Extraction | Extracts character parts such as the head, body, and accessories into separate elements for individual 3D generation |
| Head Extraction | Extracts the head and enhances facial detail accuracy for better head and face 3D results |
| T Pose | Converts a character into a standard T-pose for rigging and animation |
| Character Completion | Fills in missing parts to restore a complete character from a partial reference |
| Variants | Creates multiple style-consistent variations for creative exploration |
| 3D Enhance | Enhances depth with 3D-style rendering for better 3D generation results |
| 3D Print-Ready | Creates a high-contrast white-model style that improves geometry accuracy for 3D printing |
| Photo to Figure | Converts a photo into a stylized figurine character |
| Asset Extraction | Extracts scene elements such as props and environmental pieces for quick 3D scene building |
The examples below show how templates reshape an input for different 3D goals. For character workflows, they can isolate facial detail, prepare a full body for rigging, or restore missing structure before generation.



Templates can also change how an asset is presented or broken down. Variants explores related directions, 3D Enhance strengthens depth cues, 3D Print-Ready emphasizes readable geometry, Photo to Figure creates a display-ready interpretation, and Asset Extraction separates scene elements for individual modeling.




Once the template has shaped the reference around the intended outcome, the result can move through the same connected workflow: review, refine, add views when useful, and generate the 3D asset.
From Reference Image to 3D in Tripo
Tripo Image Gen supports text-based generation, reference-image generation, image editing, and task-specific templates.
1. Define the Asset and Choose a Template
Decide whether the final asset is a character, separate character parts, a scene prop, a matching collection, or a printable concept. Then choose the Tripo template that best matches that intended result.
2. Add a Text Prompt and Reference Image
Creators can enter a text description directly in the image generation panel. They can also upload an image and combine it with text. The uploaded image can act as either a visual reference or an editing target.
For text-based generation, describe the intended subject clearly. For image-guided generation or editing, upload an image as a reference or editing target and combine it with a text prompt.
3. Generate and Review the Image
Generate the image and review whether it matches the intended concept or reference before continuing with editing, multi-view generation, Cutout, or 3D generation.
4. Refine the Result with Edit Image
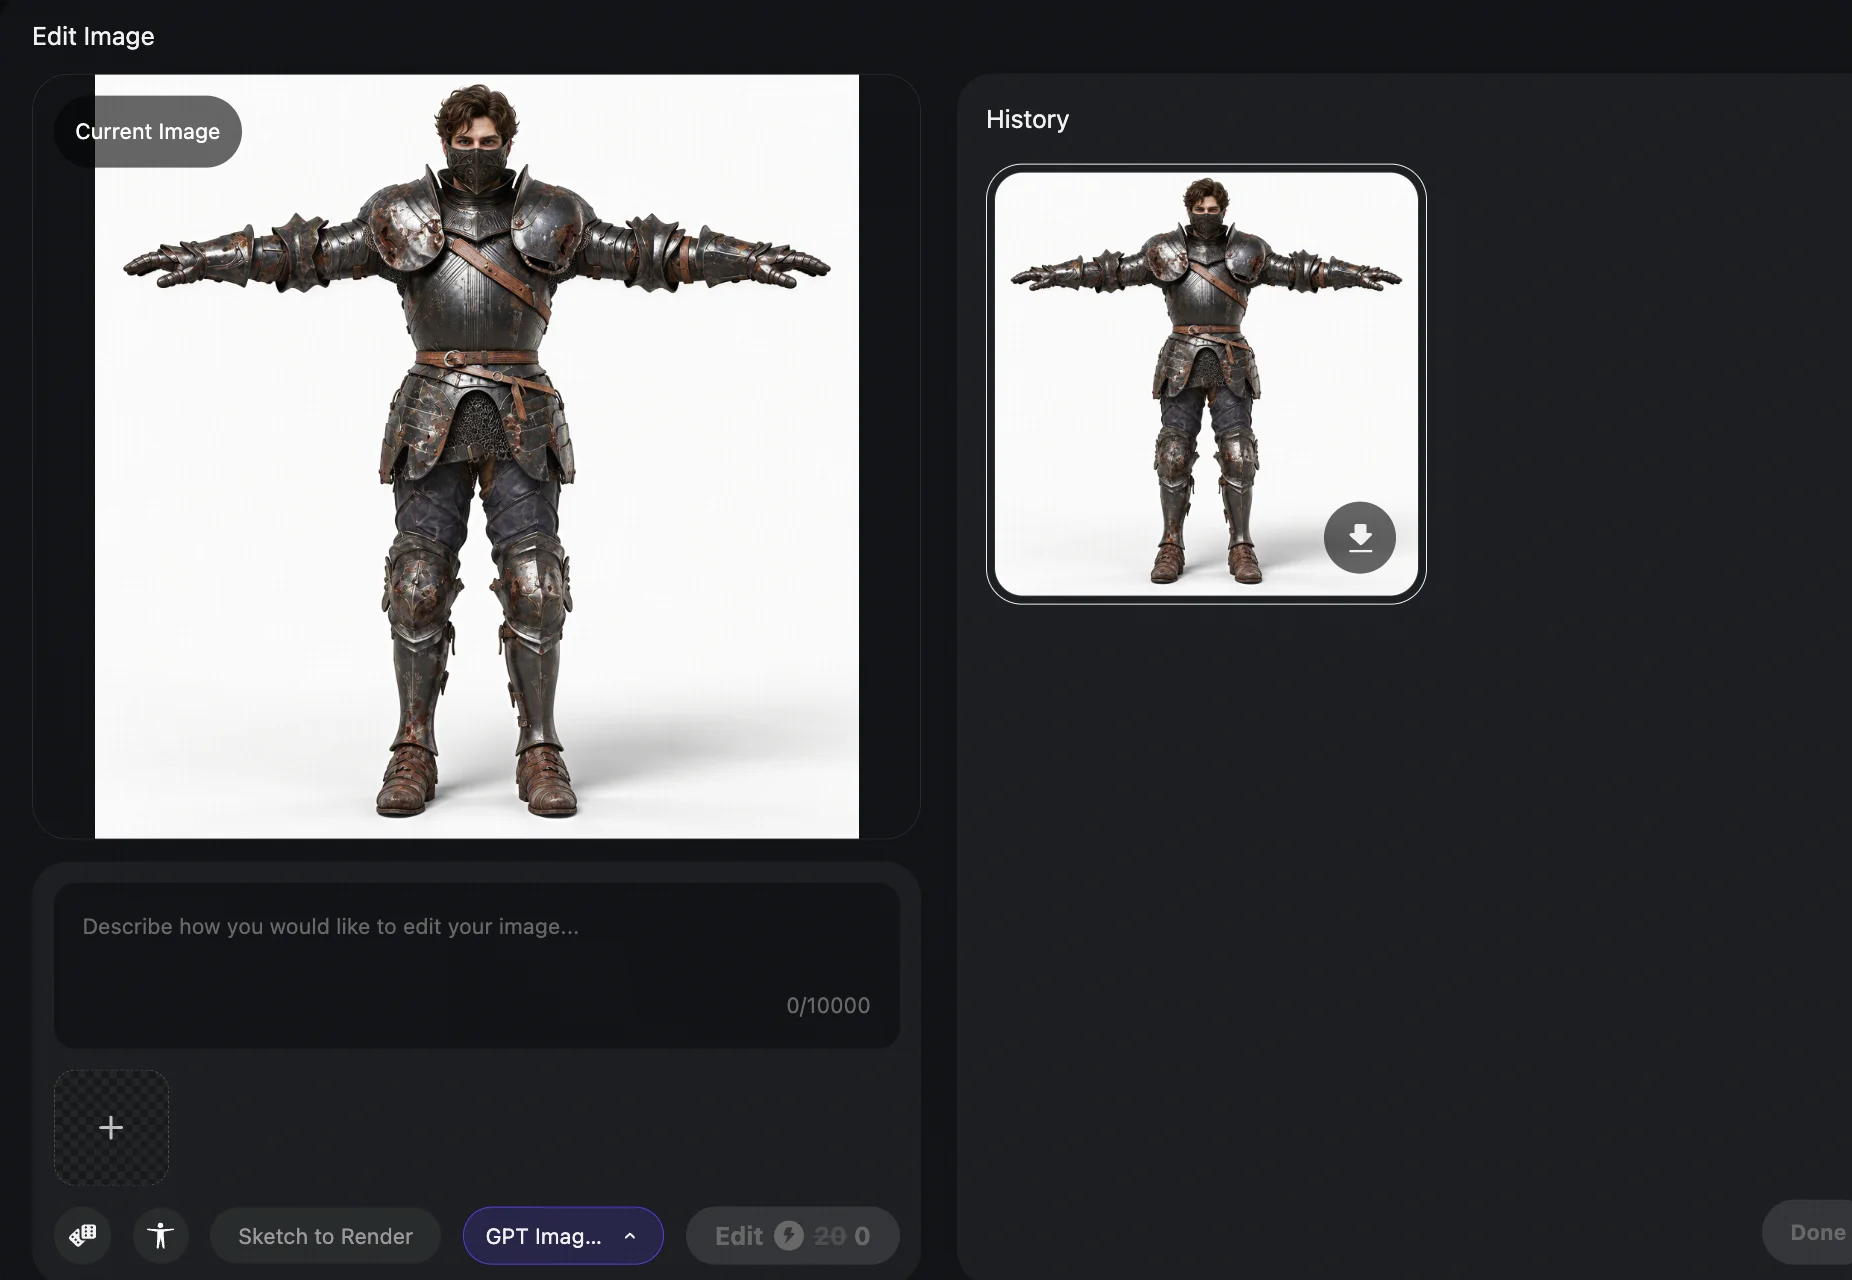
Tripo's Edit Image function supports text- and reference-guided changes when a generated image is broadly suitable but a specific area still needs adjustment.
GPT-Image-2.5 Sunburst is designed to make targeted changes while preserving more of the surrounding subject and composition.
5. Generate Multiple Views When Needed
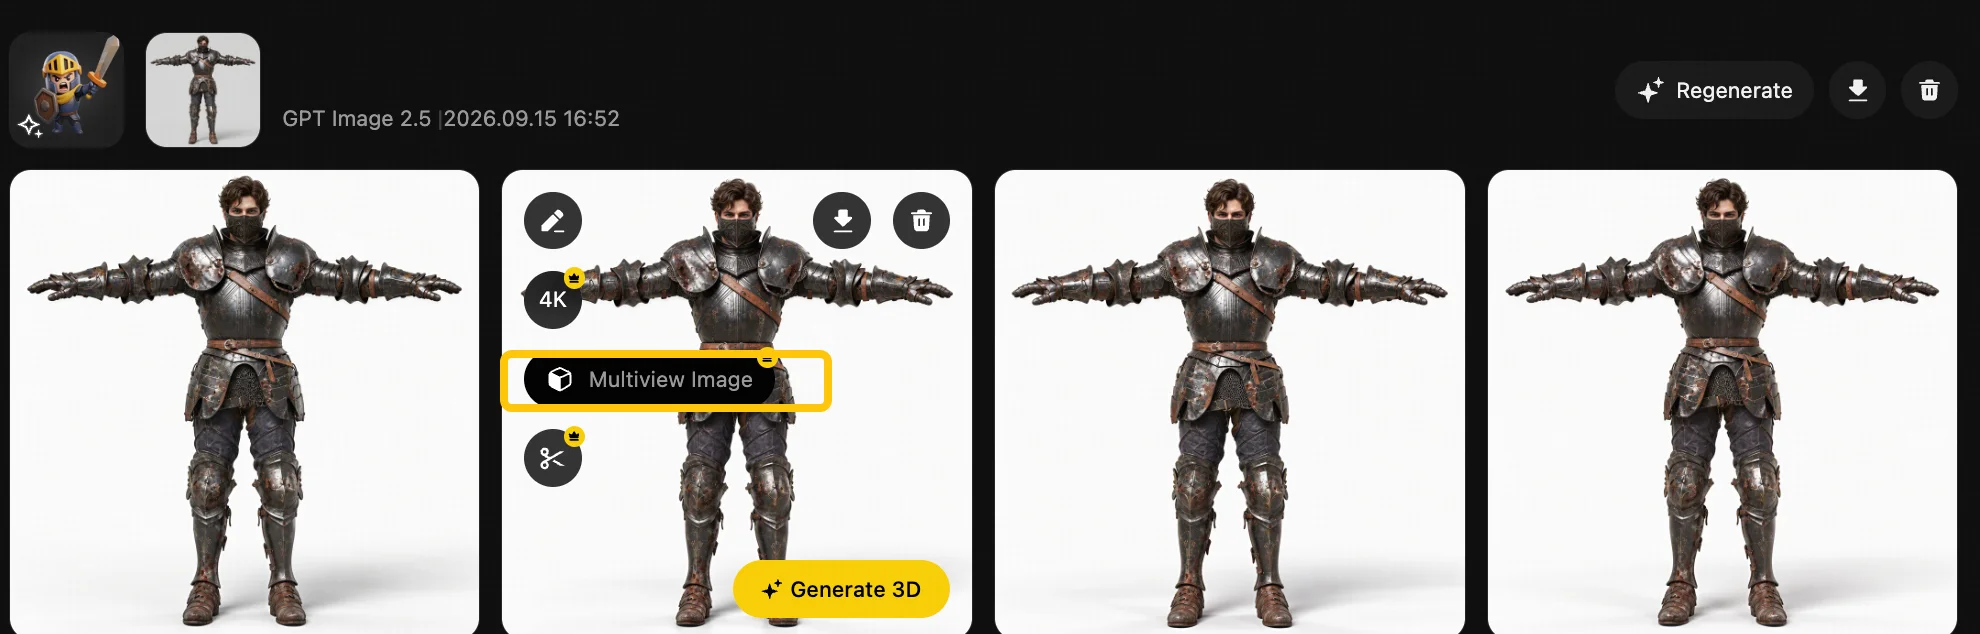
A single image may not show the side profile, back design, depth, or other structural details. Generate Multi-Views creates front, left, right, and back references that can provide additional visual information for better 3D generation.
6. Convert the Reference to 3D
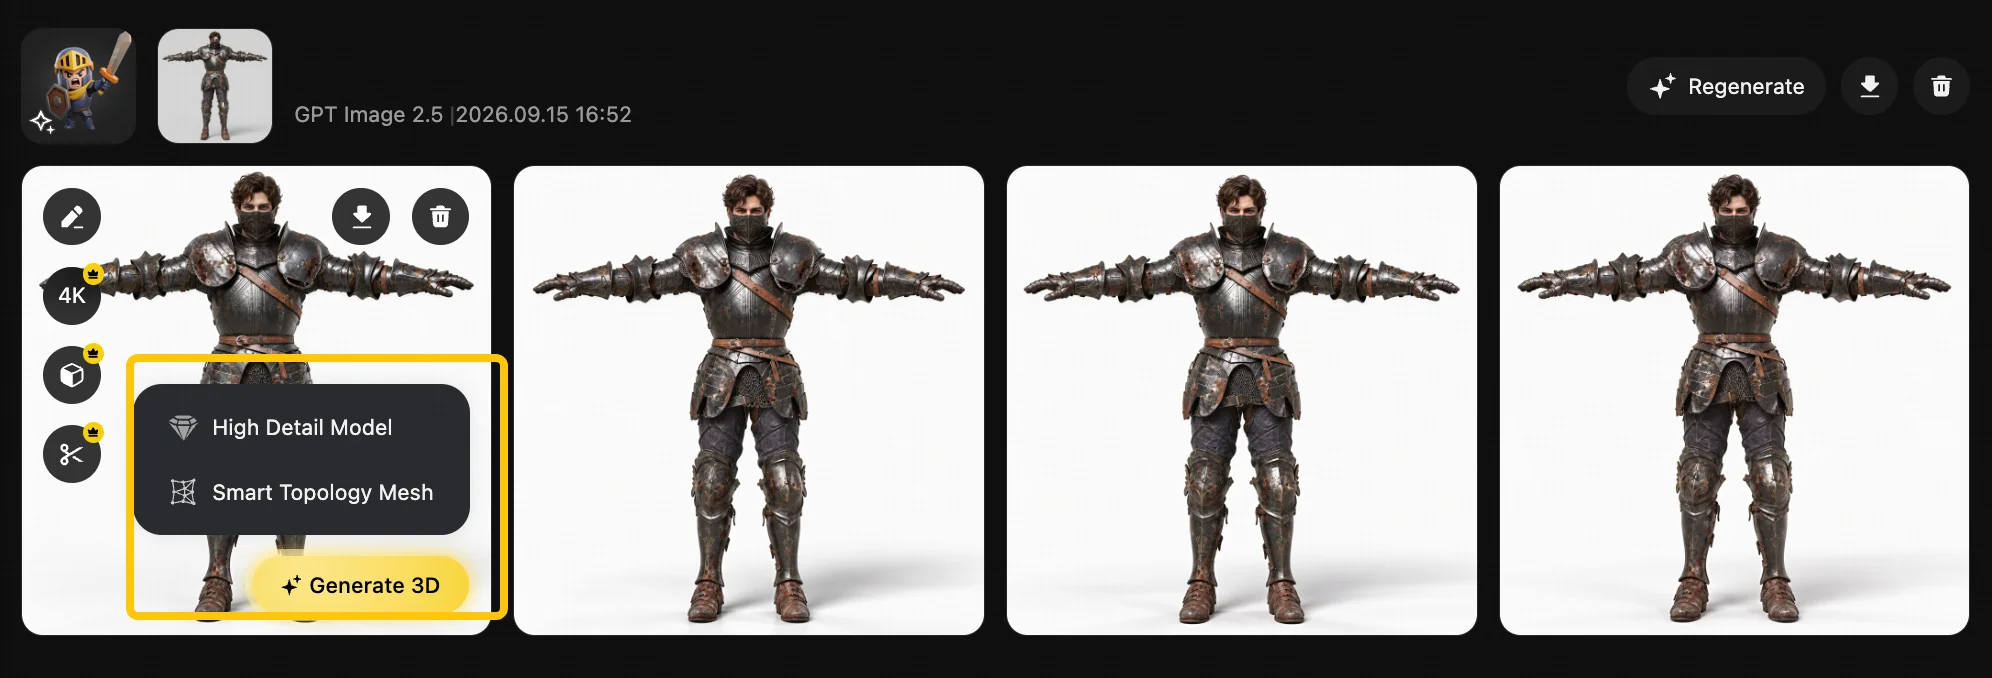
Once the reference is ready, click Generate 3D to move it directly into Tripo's model generation workflow.
Tripo supports model generation from a single image or multi-view references. The generated model appears in the asset panel for preview and further processing. For a group of prepared images, Batch to 3D can convert up to 10 images at once.
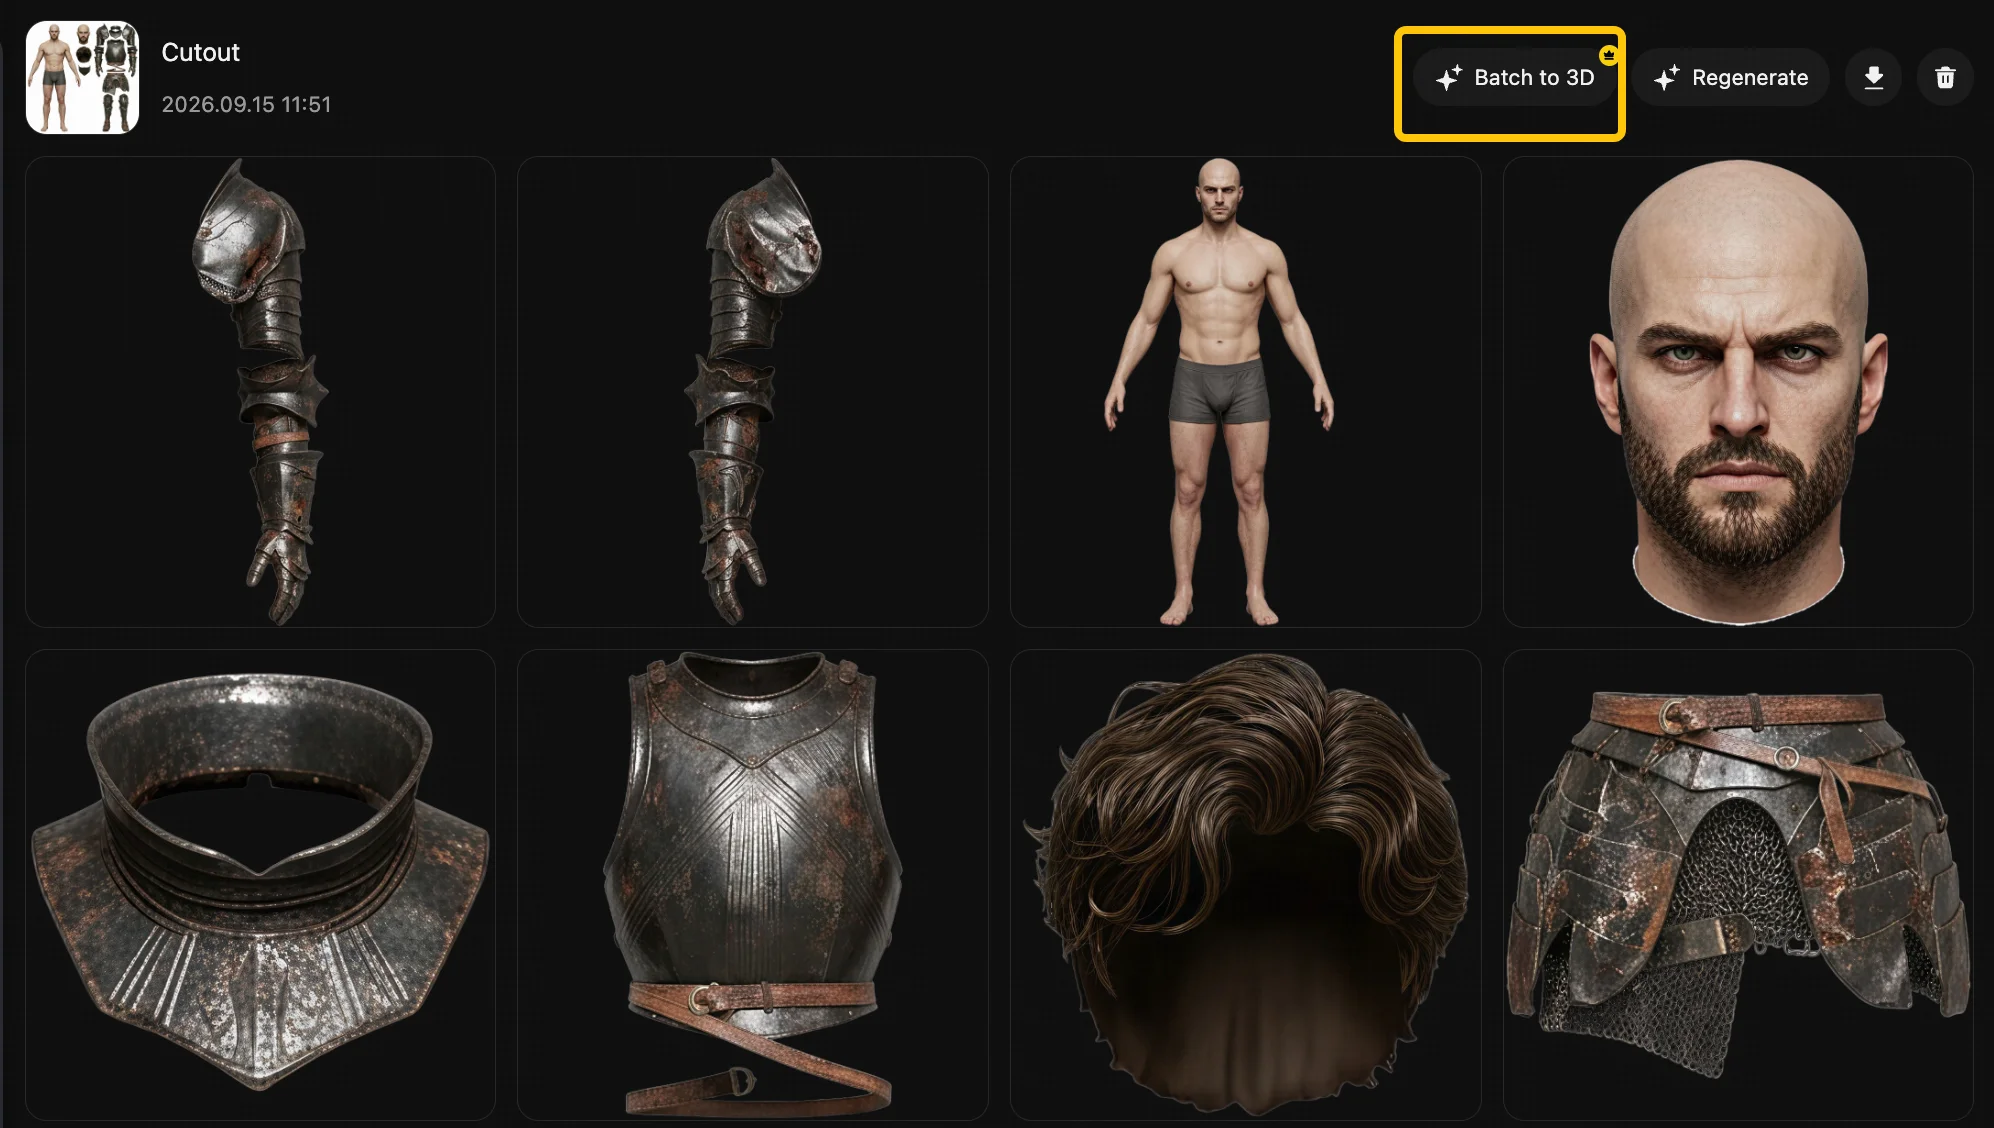
The complete path is: define the asset, choose a template, generate or upload a reference, review it, refine it, add views when needed, and convert the result to 3D.
Six Practical GPT-Image-2.5 Sunburst and Tripo Workflows
| Workflow | Steps | When to Use |
|---|---|---|
| Character workflow | Character concept -> Character Extraction -> Edit Image -> Cutout -> Batch to 3D -> DCC assembly | Create separate character parts such as the head, body, limbs, and accessories for later assembly. |
| Rigging-ready character workflow | Character image -> T Pose -> Smart Mesh -> Rig -> Animate | Prepare a complete humanoid character for rigging and animation. |
| Game scene assets | Scene concept -> Asset Extraction -> Cutout -> Batch to 3D -> DCC Bridge -> Scene Assembly | Separate props and environment elements into individual 3D assets for a larger scene. |
| 3D printing | Reference image -> 3D Print-Ready -> Multi-view Gen -> HD Model -> DCC to Bambu or Export | Prepare a geometry-focused reference for a printing workflow, then inspect the generated model before production use. |
| Photo to figurine | Photo -> Photo to Figure -> Multi-view Gen -> HD Model -> DCC to Bambu or Export | Turn a portrait or full-body photograph into a stylized figurine concept before 3D generation. |
| Style-consistent collection | Reference image -> Variants -> Cutout -> Select References -> Batch to 3D | Create a set of props, toys, or other assets that share a consistent visual direction. |
Start Creating with GPT-Image-2.5 Sunburst in Tripo
Choose a Tripo template around your intended 3D asset, generate or refine the reference with GPT-Image-2.5 Sunburst, and continue into multi-view or 3D model generation from the same workspace.