How to export an AI-generated character with its skeleton and preset animations for Unity
Getting an AI-generated character into Unity takes more than exporting a mesh, because your engine also needs a bound skeleton, a sensible pivot, and animation clips that play the moment you drop the prefab into a scene. The fastest reliable path is to rig and animate the character inside one workspace, then export a single GLB or FBX that already carries its skeleton and preset clips. Tripo is a 3D foundation model that turns a text prompt or reference image into a rigged, animated asset without hopping between separate programs. This guide walks indie Unity developers through auto-rigging, preset animation, the export settings that matter, and the DCC Bridge plugin.
What a Unity-ready character actually needs
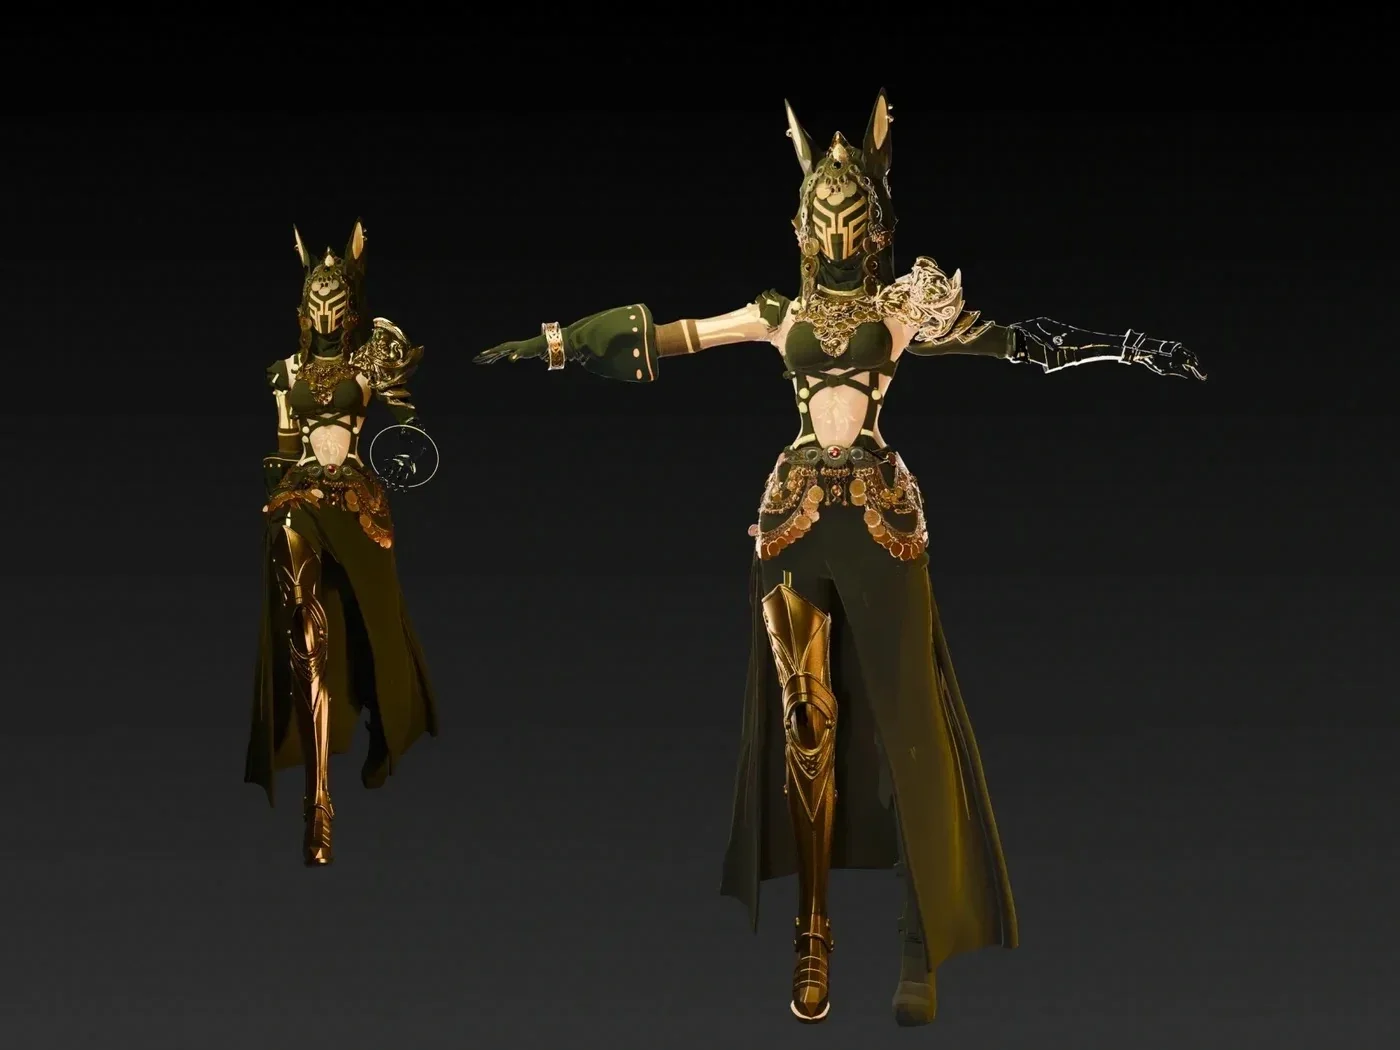
A model that looks good in a viewport can still break the second it lands in Unity, so it helps to define what "ready" means before you export anything. Unity wants a mesh whose vertices are weighted to a joint hierarchy, a rig it can read as Humanoid or Generic, and a pivot that sits at the character's feet so the transform behaves in a scene. For indie teams without a dedicated tech artist, the friction usually comes from bones that don't map cleanly, an origin floating at the model's chest, or animation that lives in a separate file you have to reconnect by hand.
Three things decide whether import goes smoothly:
- A clean skeleton in a standard pose, so Unity's Humanoid avatar mapping can find the hips, spine, and limbs.
- A Bottom-Center pivot, so the character stands on the ground plane instead of sinking or floating.
- Embedded animation, so the clips travel inside the same GLB or FBX and show up in the import inspector.
Judgment: if your export already carries a bound skeleton, foot-level pivot, and preset clips, most of the manual cleanup that slows indie Unity work disappears.
Meet Tripo Studio: rigging and export for Unity in one workspace
Tripo Studio is an all-in-one 3D workspace that runs from generation to export without asking you to switch tools, and it's the part of this workflow worth reading closely. You can generate a character from a prompt or an image-to-3D reference, rig it, apply animation, and hand Unity a finished file from the same browser tab. For an indie developer, that collapses a multi-app pipeline into a few clicks.
The modules that matter for a Unity character export are these:
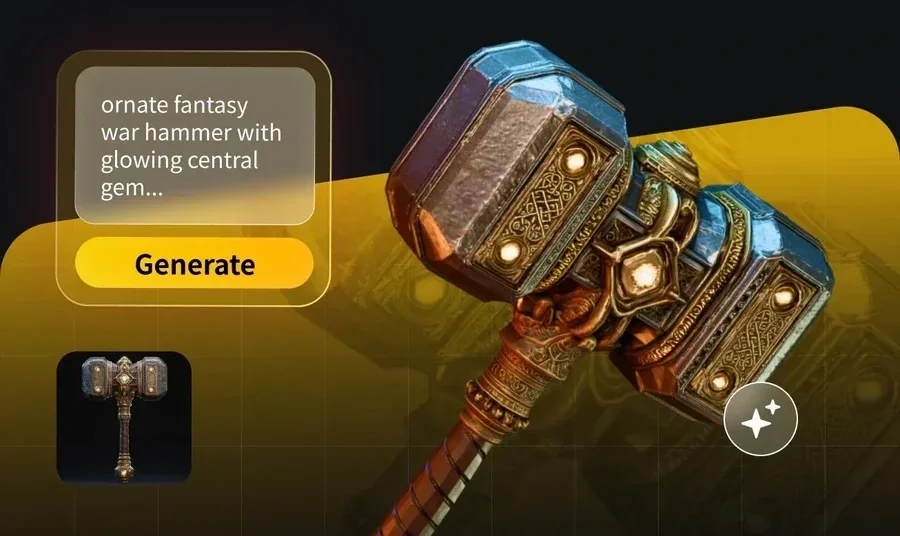
- Generate produces the base character, with Smart Mesh as the fast option that returns a standard white model in about 2 to 5 seconds when you want to iterate on silhouette first.
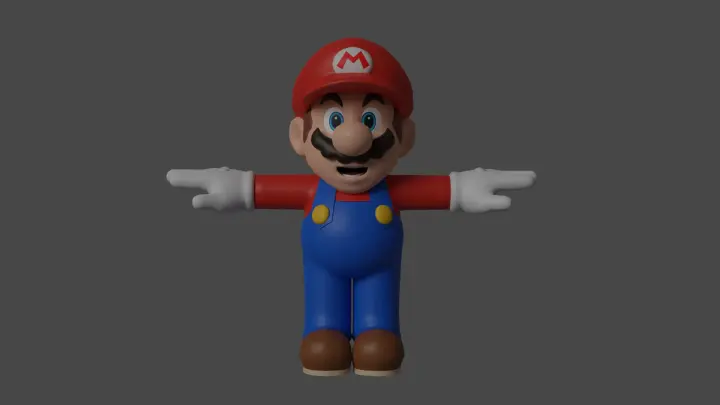
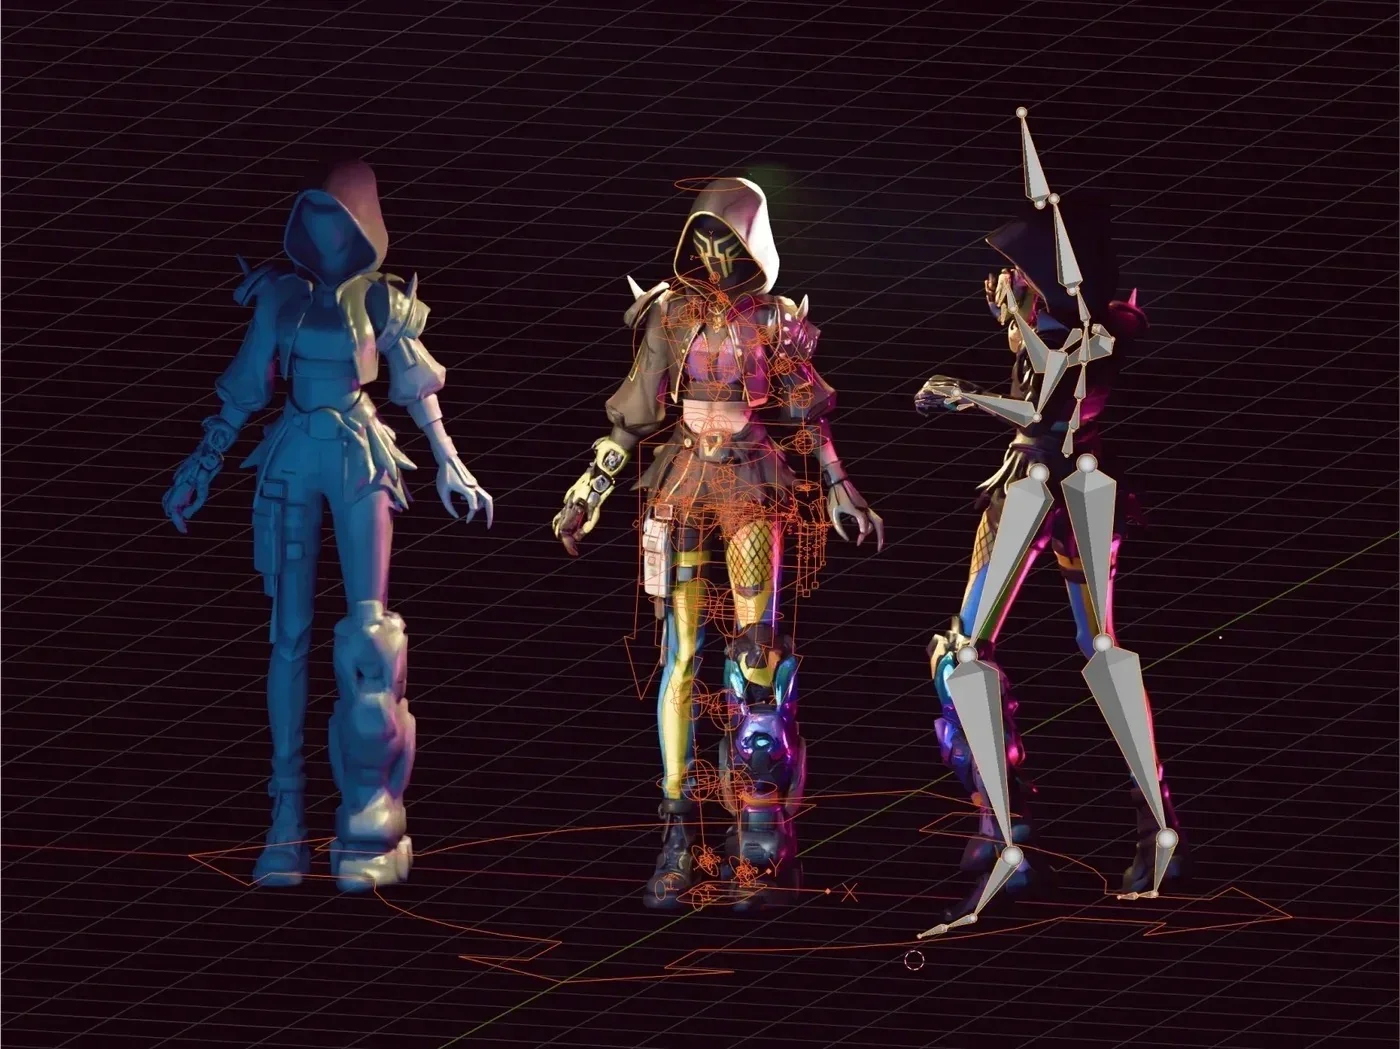
- Auto-rigging builds a skeleton and poses the character in T-Pose, and the output is Mixamo-ready, so it aligns with the humanoid conventions Unity expects.
- Rigging also lets you apply preset animations, so you can search for a walk, run, or idle clip and attach it before you leave the workspace.
- Export writes the final file with control over format, skeleton, animation count, and pivot.
The models under this run on Tripo v3.1, which handles high-precision geometry and complex topology. For teams comparing AI 3D tools on how far a file gets before it's usable, Tripo's value is that the same workspace covers rigging and engine-ready export, not only the initial mesh. Two info-gain points stand out for Unity work:
- High efficiency: one workspace takes a prompt to a rigged, animated, engine-ready file, which shortens the path for small teams under delivery pressure.
- Commercial landing: the same rig-and-export flow has been used across shipped game projects, including NetEase's Where Winds Meet, reported as the first game to ship a 3D-generation gameplay feature.
The export settings that make a character drop into Unity cleanly
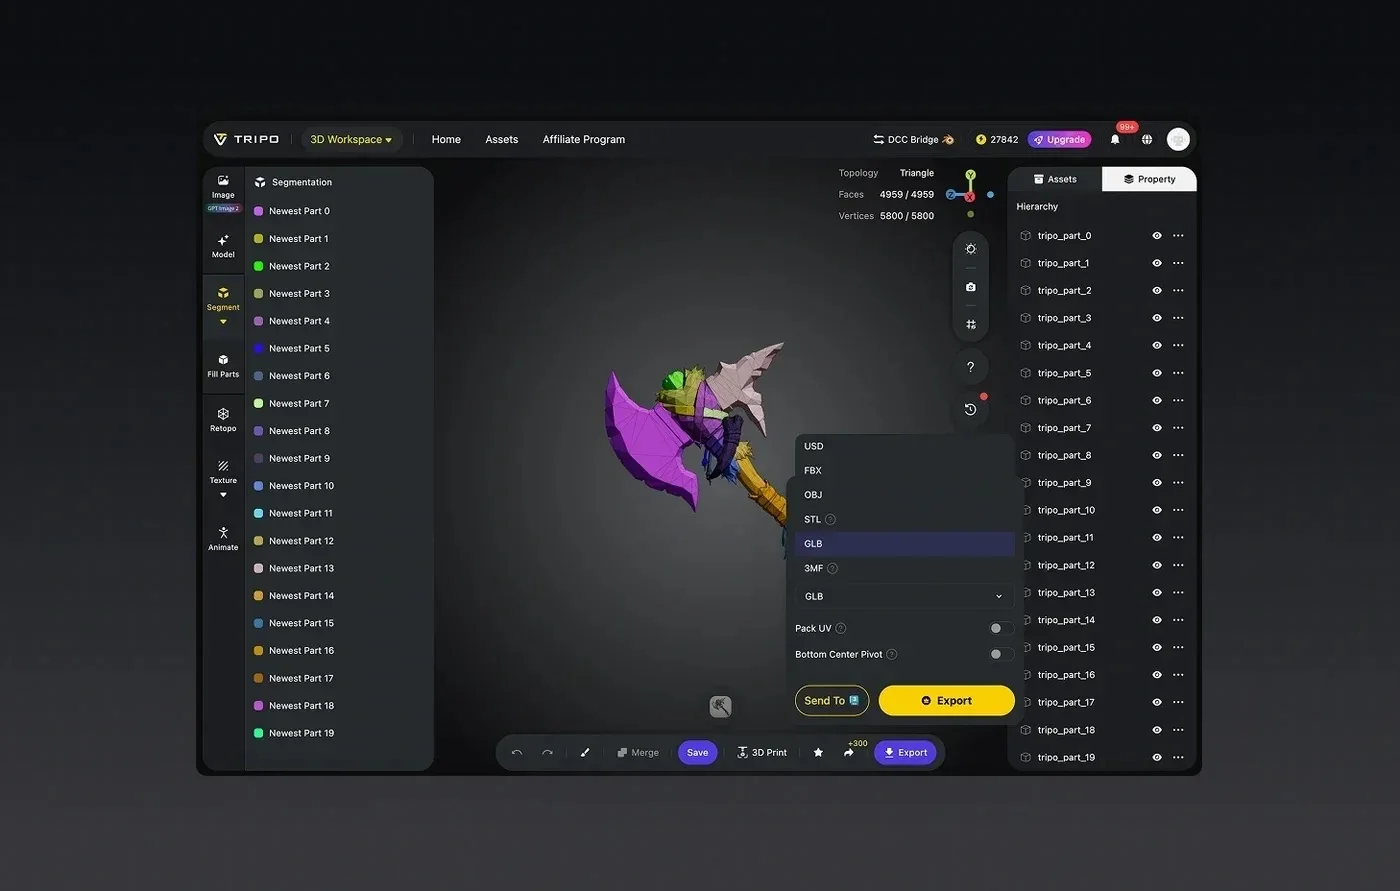
The Export panel is where a rigged character becomes a file Unity can read, and each setting maps to a concrete import behavior. Set them once with Unity in mind and you avoid re-exporting after a failed import. Here are the settings that decide how the asset behaves:
- File Name: give it a clear, project-consistent name, since Unity uses it for the imported asset and its generated avatar.
- Format: choose GLB for a single self-contained file that packs mesh, skeleton, and animation together, or FBX if your project pipeline or version control standardizes on it.
- Export Skeleton: keep this on so the joint hierarchy travels with the mesh, which is what lets Unity build a Humanoid or Generic rig on import.
- Number of Animations: set how many preset clips ride along in the file, so idle, walk, and run arrive as separate clips in the import inspector.
- Bottom-Center Pivot: enable this so the origin sits at the feet, and the character stands on the ground plane with a predictable transform.
Judgment: for most indie Unity setups, GLB with Export Skeleton on and Bottom-Center Pivot enabled is the combination that imports with the least manual fixing. If your team standardizes on FBX for animation review, switch the format and keep the other settings the same.
DCC Bridge: sending the character straight into Unity
Downloading a file works, but the DCC Bridge plugin removes the manual handoff and keeps assets aligned as you iterate. It's a lightweight plugin that connects Tripo Studio to native tools and transfers models, textures, and animations while preserving UVs, pivot, and geometry. For a Unity developer, that means an updated character can move into the editor without a re-export and re-import cycle each time you tweak the rig.
DCC Bridge supports Unity alongside Blender 4.1+, Unreal Engine, 3ds Max, Maya, Cocos, Godot, and ZBrush, plus a ComfyUI node. If you script or automate parts of your pipeline, the API and plugin details live in the developer docs. Judgment: use direct download for a one-off character, and reach for DCC Bridge once you're iterating on the same asset and want each revision to land in Unity without repacking files.
From prompt to a Unity-ready character: a practical workflow
This is the end-to-end path from an idea to a prefab you can control in Unity, in about six steps. Follow it in order and the character arrives rigged, animated, and standing on the ground.
- Generate the base character from a text prompt or a reference image. Use Smart Mesh for a fast draft when you're still deciding on the silhouette, then regenerate at full detail once the design holds.
- Check the mesh and topology in Preview, confirming the character reads as a clean single shell before you rig it.
- Run auto-rigging to build the skeleton and set the T-Pose. Because the output is Mixamo-ready, it lines up with Unity's Humanoid expectations.
- Apply preset animations in the Rigging module. Search for the clips you need, such as idle, walk, and run, and attach them to the rig.
- Open Export and set the options: pick GLB, keep Export Skeleton on, set Number of Animations to the clips you attached, and enable Bottom-Center Pivot.
- Import into Unity, set the rig type to Humanoid in the model inspector, confirm the avatar maps, and wire the clips into an Animator Controller.
Judgment: the two steps indie teams most often skip are setting Bottom-Center Pivot and confirming the Humanoid avatar map, and both take seconds while saving a full re-export later.
Bonus tips: getting more out of the export
A few habits make the Unity side calmer once the character is in your project. These aren't required, but they save time across a full cast of characters.
- Keep a consistent naming scheme across characters, so their avatars and clips stay easy to find in a growing project.
- Attach only the clips you'll actually use at export, since a smaller Number of Animations keeps the file lean and the import inspector readable.
- For characters that share a proportion, reuse the same Humanoid avatar in Unity to retarget clips across the cast.
- If you plan to keep editing a character, connect DCC Bridge early so later revisions update in place.
Judgment: naming discipline and a trimmed animation list matter most once you're managing more than a handful of characters, so set those conventions before the project scales.
Get your character into Unity
The path from an AI-generated character to a Unity prefab comes down to rigging it in T-Pose, attaching the animations you need, and exporting a GLB or FBX with the skeleton and pivot set for the engine. Handling generation, rigging, preset animation, and export in one workspace is what makes that path short enough for a small team to repeat on every character. You can try the full flow in Tripo Studio and export your first rigged, animated character for Unity today.