Tripo Studio Tutorial
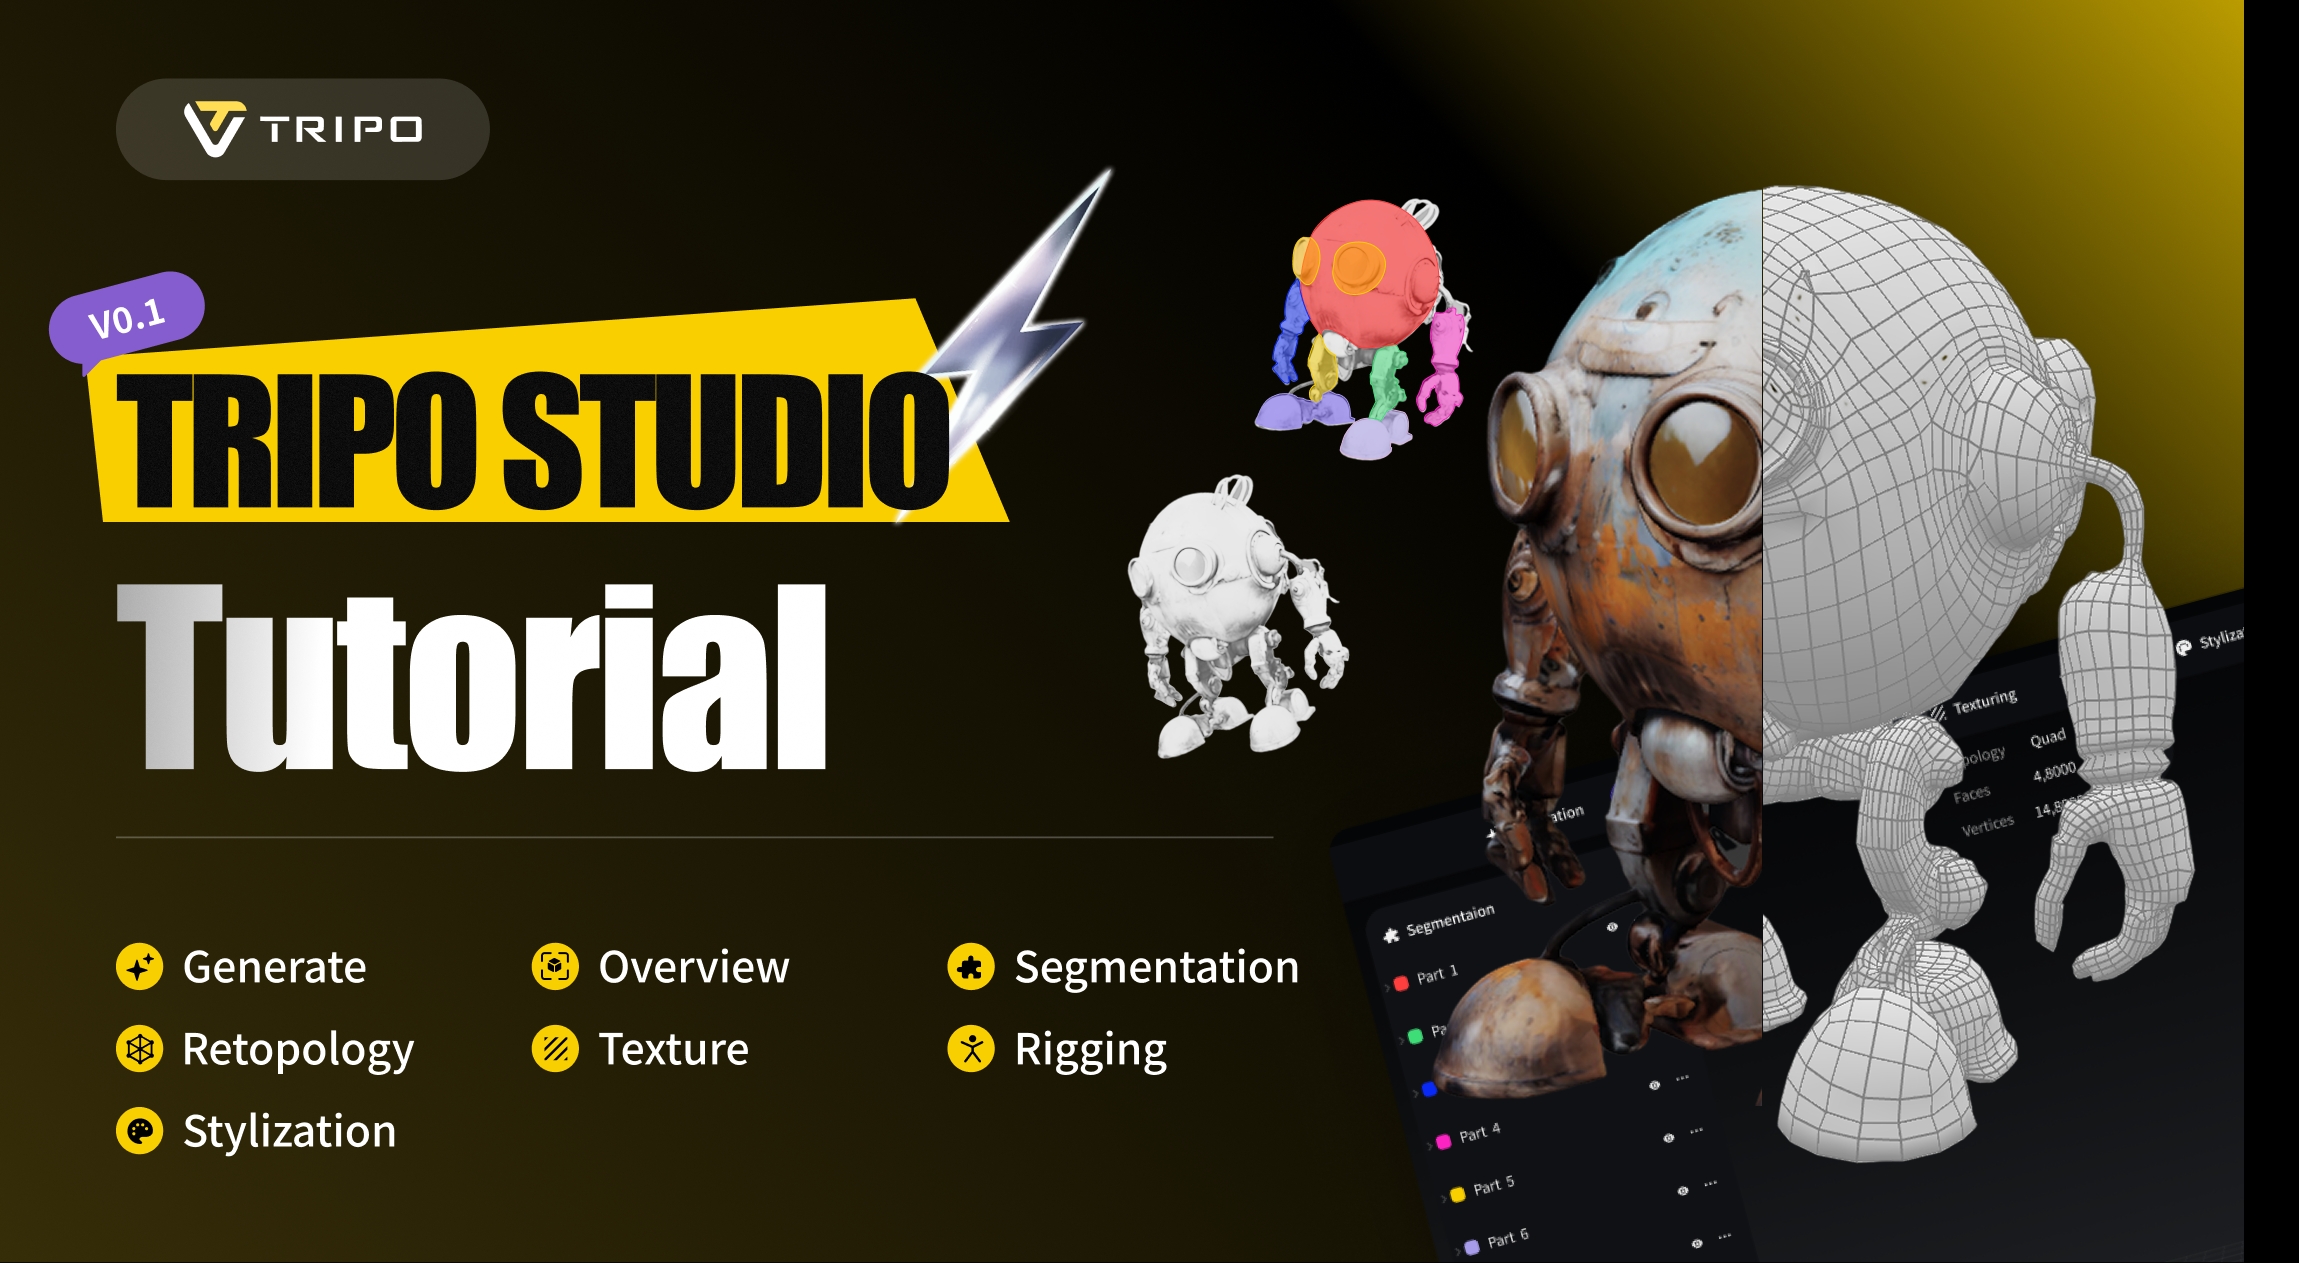
Hi there! Welcome to the brand-new Tripo Studio, your next 3D workspace with AI in one stop.
In the redesigned interface you'll find seven new tabs:
- Generate
- Overview
- Segmentation
- Retopology
- Texture
- Rigging
- Stylization

We'll walk you through how to use each of the 7 tabs. Some demo images may differ slightly from the final release. Please refer to the live version for the most accurate experience.
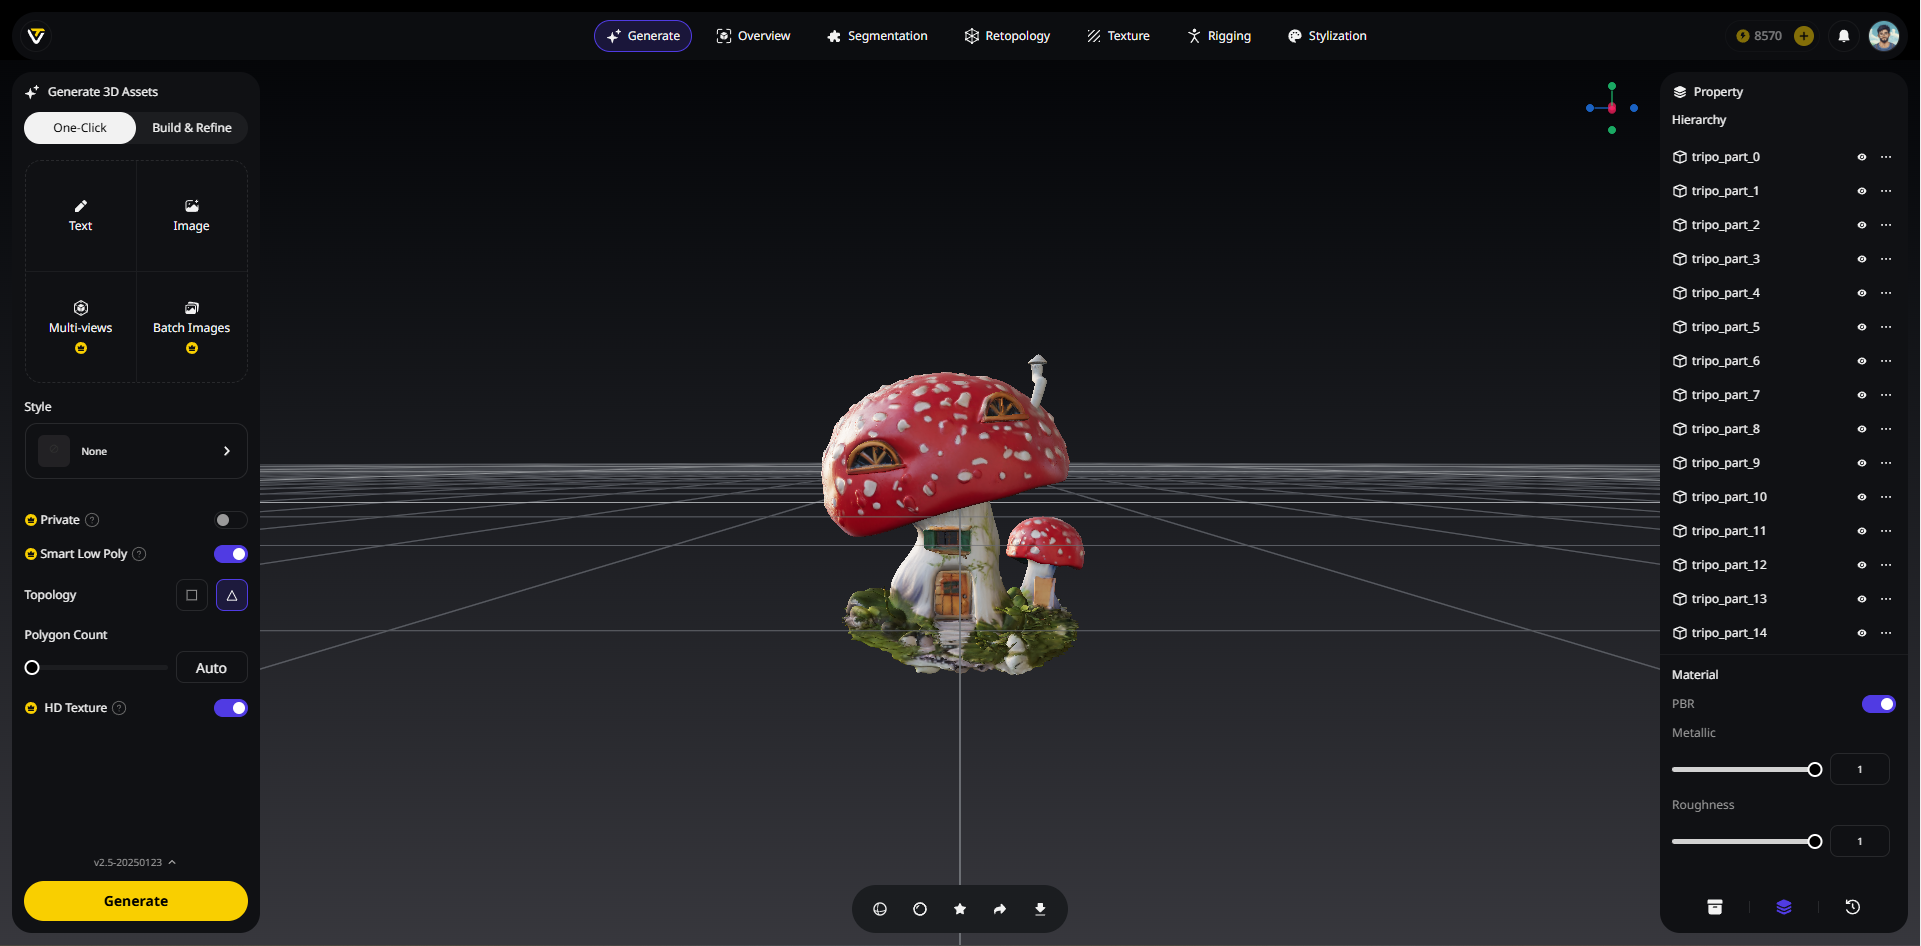
1️⃣ Generate
💡 Get started here.
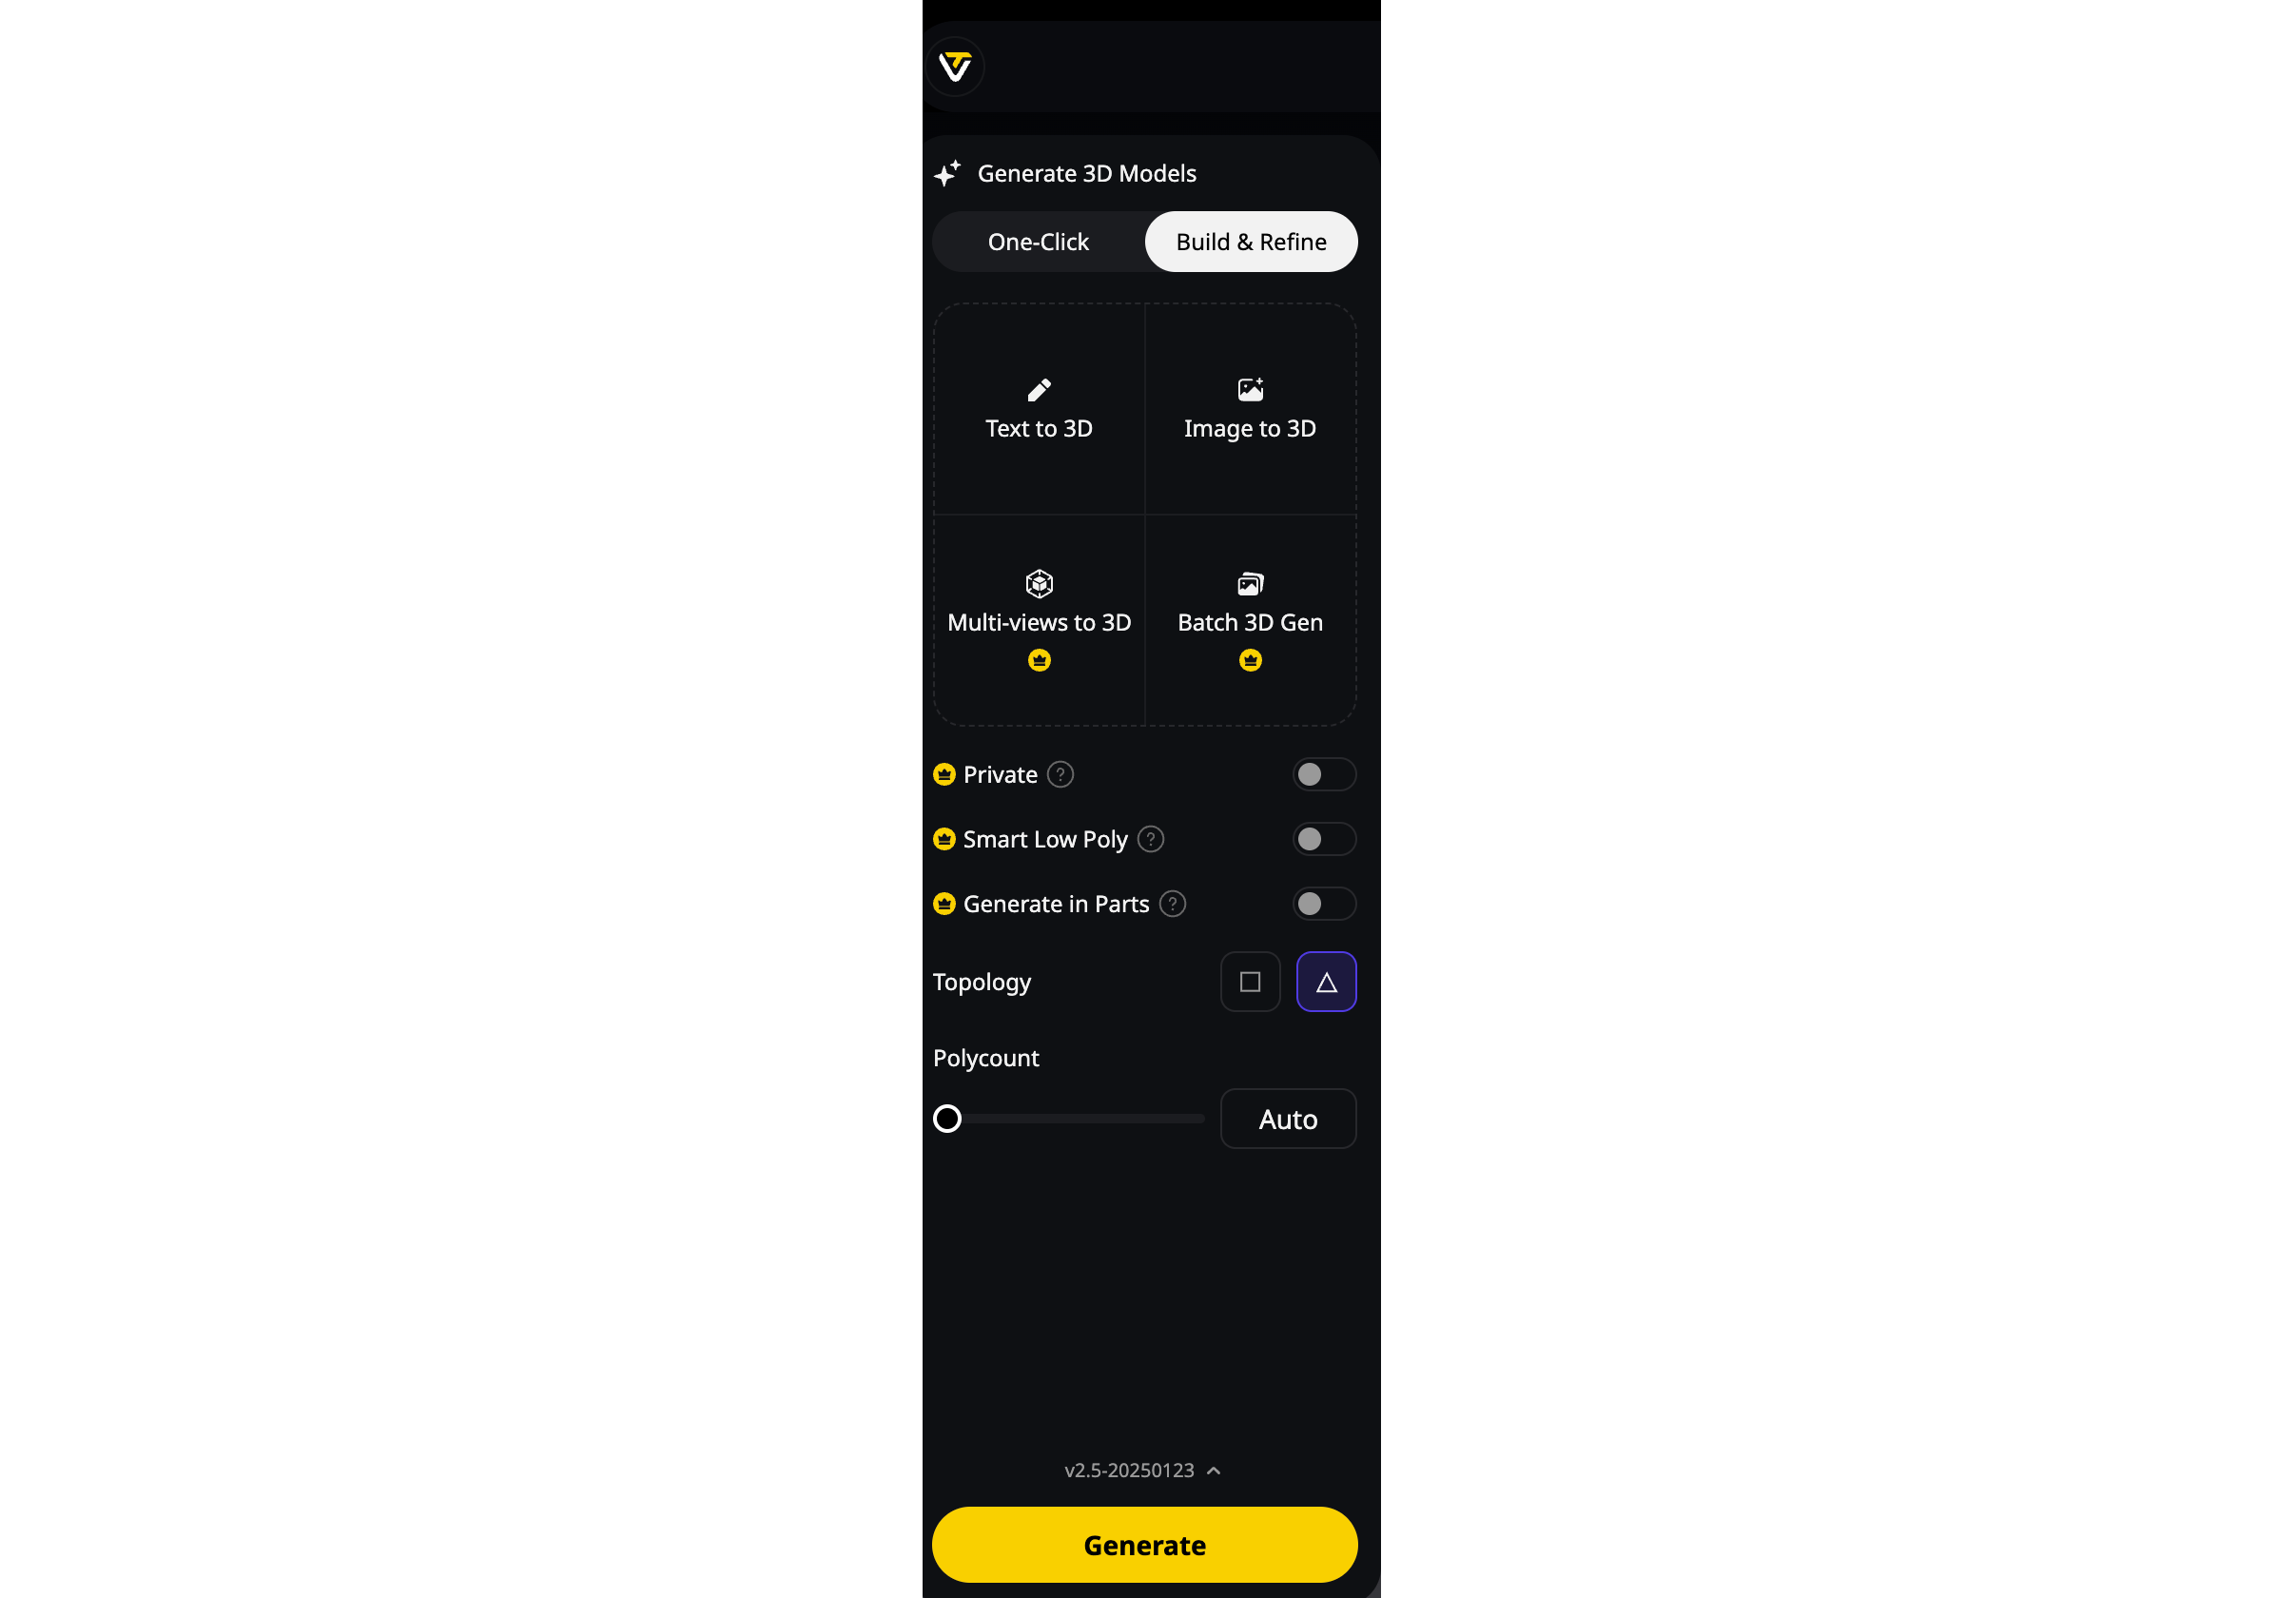
New Features
Batch 3D Gen
- You can now upload up to 10 images at once (each under 5MB) using the new
Batch 3D Genfeature. - Perfect for quickly generating multiple 3D models in one go.
Smart Low Poly
- It produces low poly models with hand-crafted precision.
- Offering better results than traditional retopology methods.
Topology
- Choose between quad-based or triangle-based topology.
- Depending on your pipeline or exporting needs.
Generate in Parts
- If you choose
Build & Refine, you can selectGenerate in Partsbefore model generation. - The resulting model will then automatically have its parts already segmented.
Two Generation Modes
One-Click: Instant Fully-textured Model, Ready to Use
💡 Use this mode when you need fast, high-quality results with minimal configuration.

- Upload an image or enter a prompt.
- Instantly generates a fully textured, PBR-ready 3D model.
Build & Refine: Start with a Base Model, Edit Later
💡 You can enable_
Generate in Parts_before generating. The resulting model will automatically have parts segmented for easy editing.
- Start with a base untextured model.
- Segment the parts and edit.
- Move into texturing once you're happy with the mesh.
2️⃣ Overview
💡 Know everything about your model.
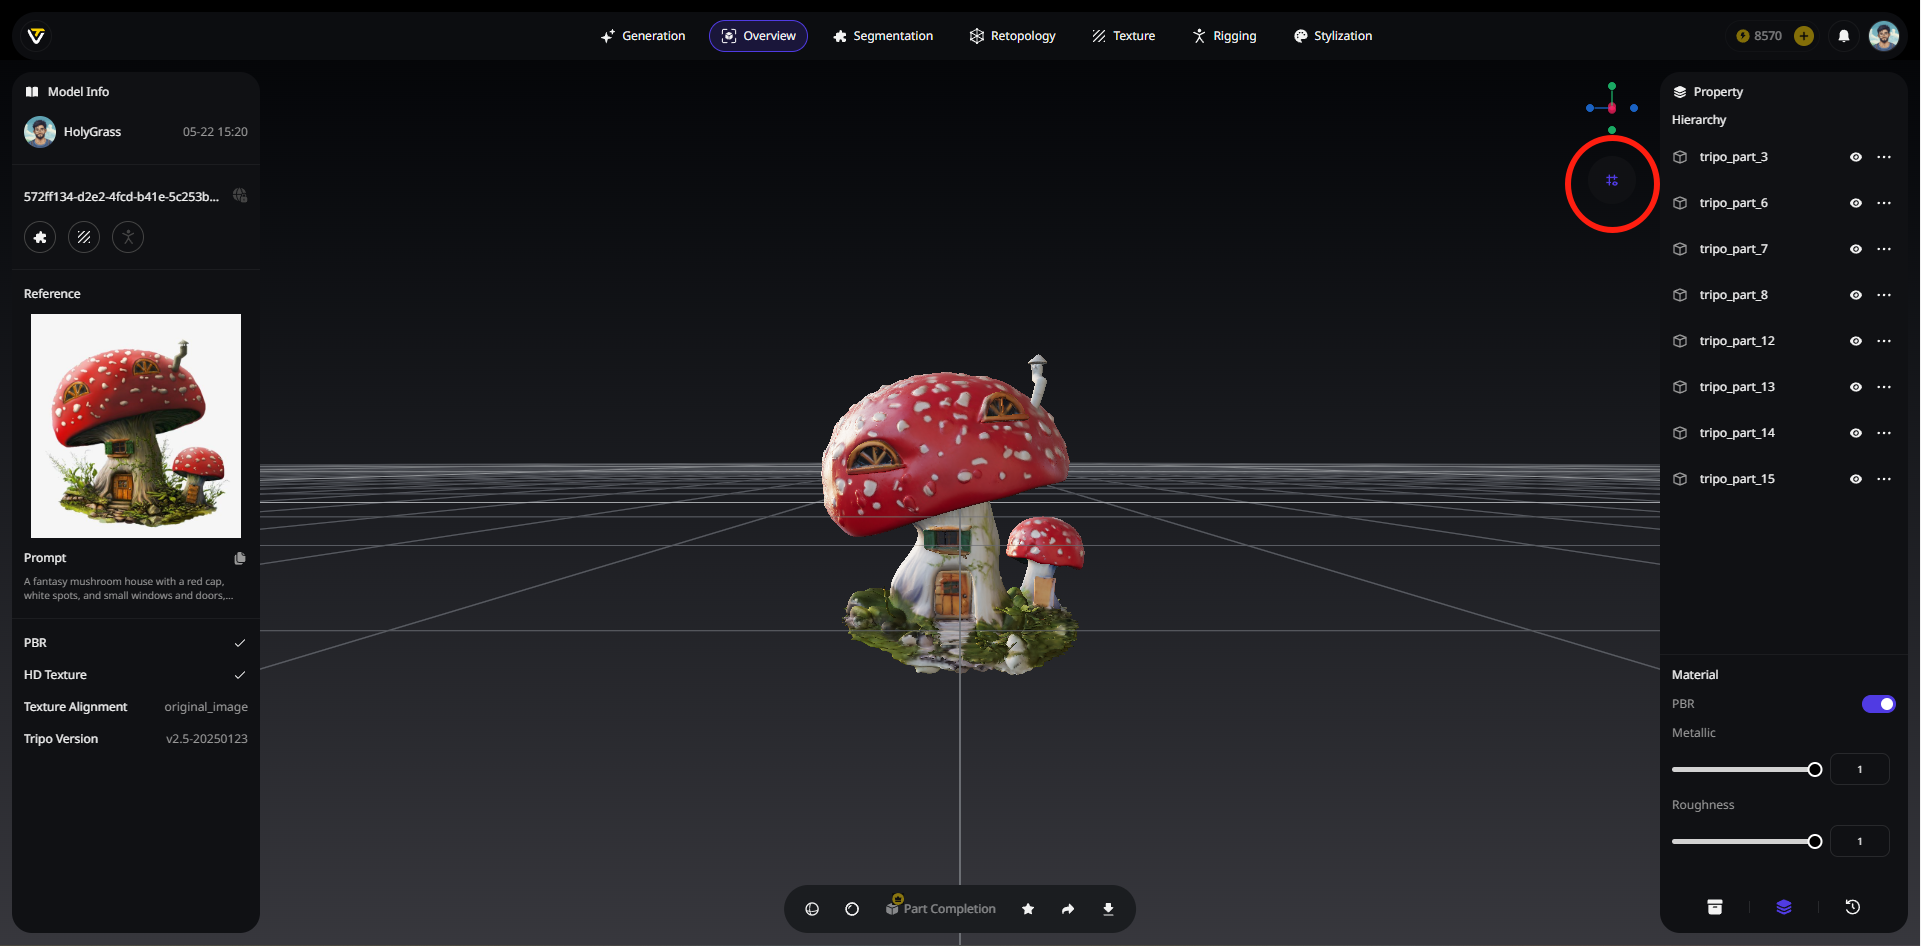
Model Info
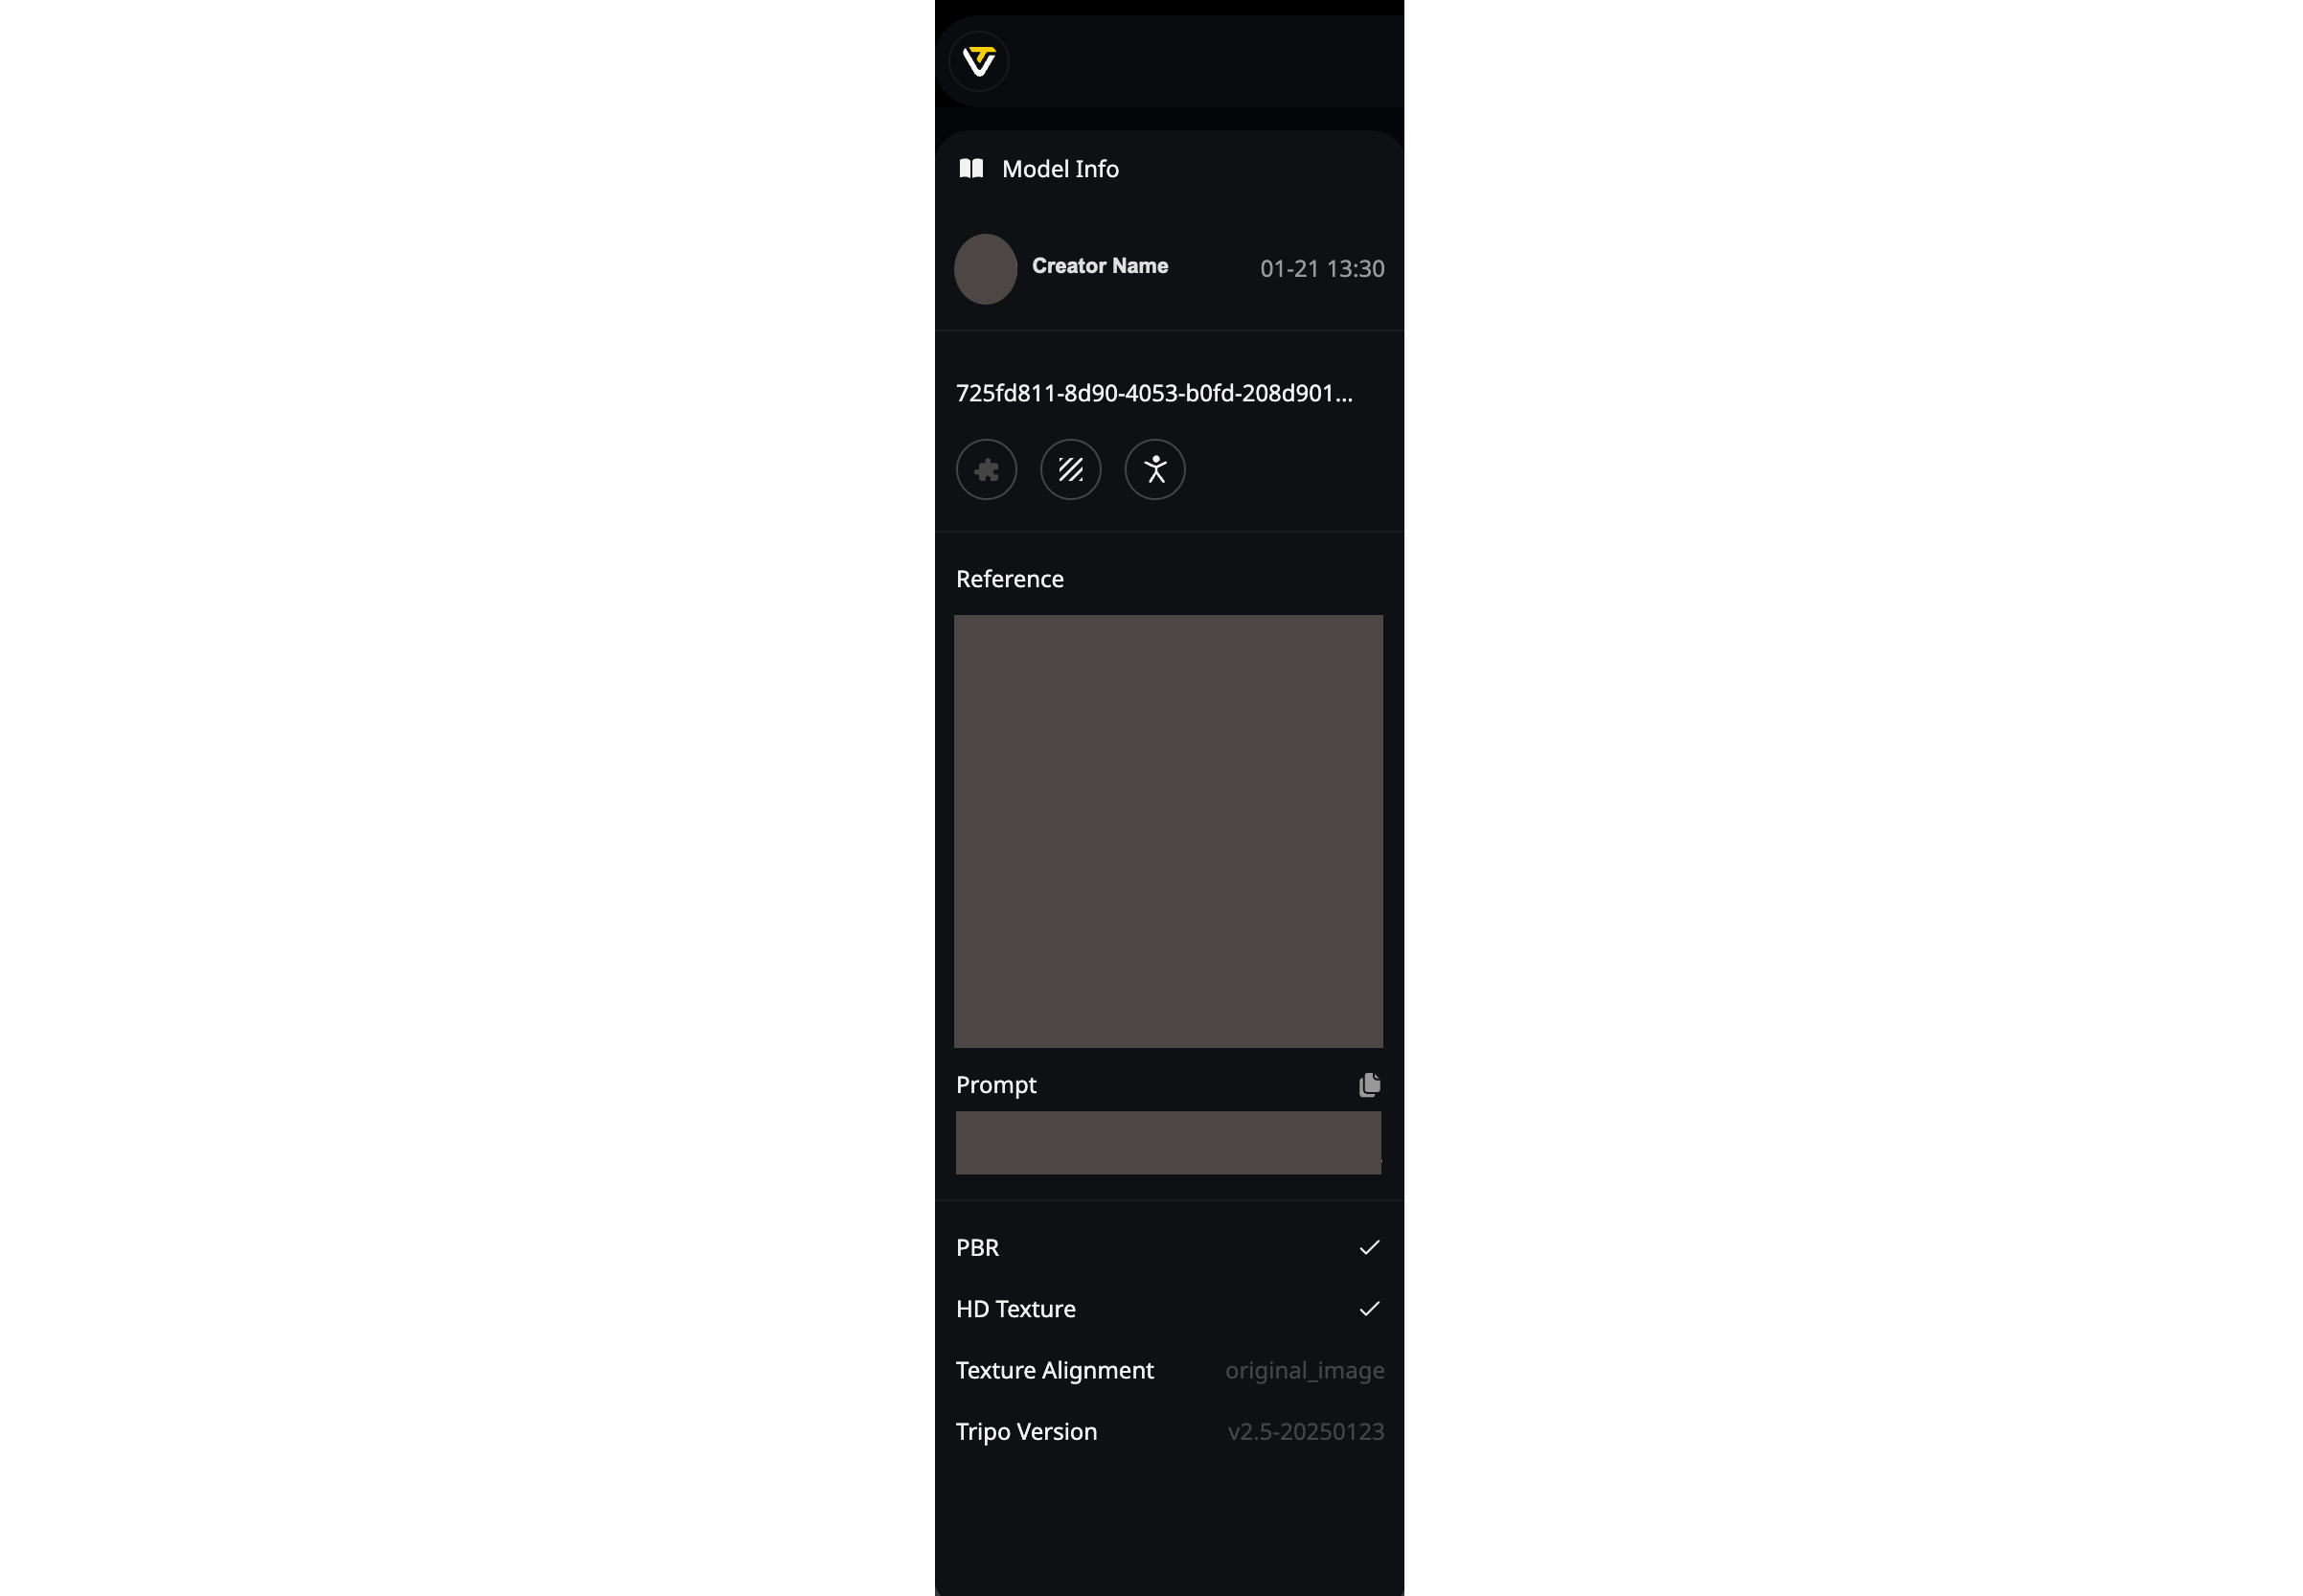
- You can see the model's original creator, personal avatar and generation time.
- Double-click
task_idto customize the model name. - Now it will show whether the model is currently
Private. - The three functional icons indicate whether the model has undergone
Segmentation,TextureorAuto Rig. If so, the corresponding icon will light up.
Right Sidebar
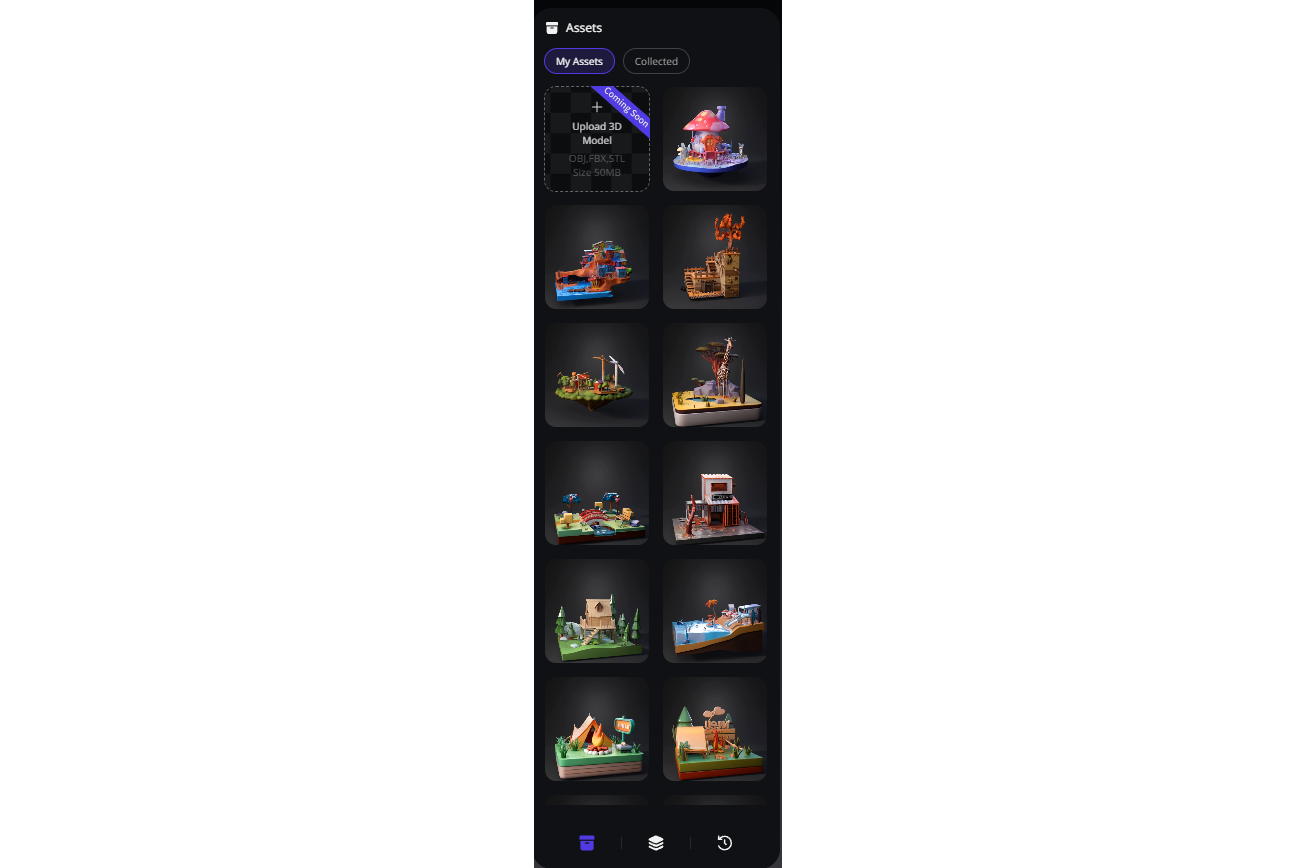
Assets
- Including
My AssetsandCollected. - Your generated models will appear in
My Assets. - You can collect your favorite models from
My AssetsorGallery_ _and find them inCollected. - It's able to upload your local 3D model files into Tripo. (Coming Soon)
- Quickly
Collect,Delete, and viewModel Info_ _by hovering your cursor over the model.
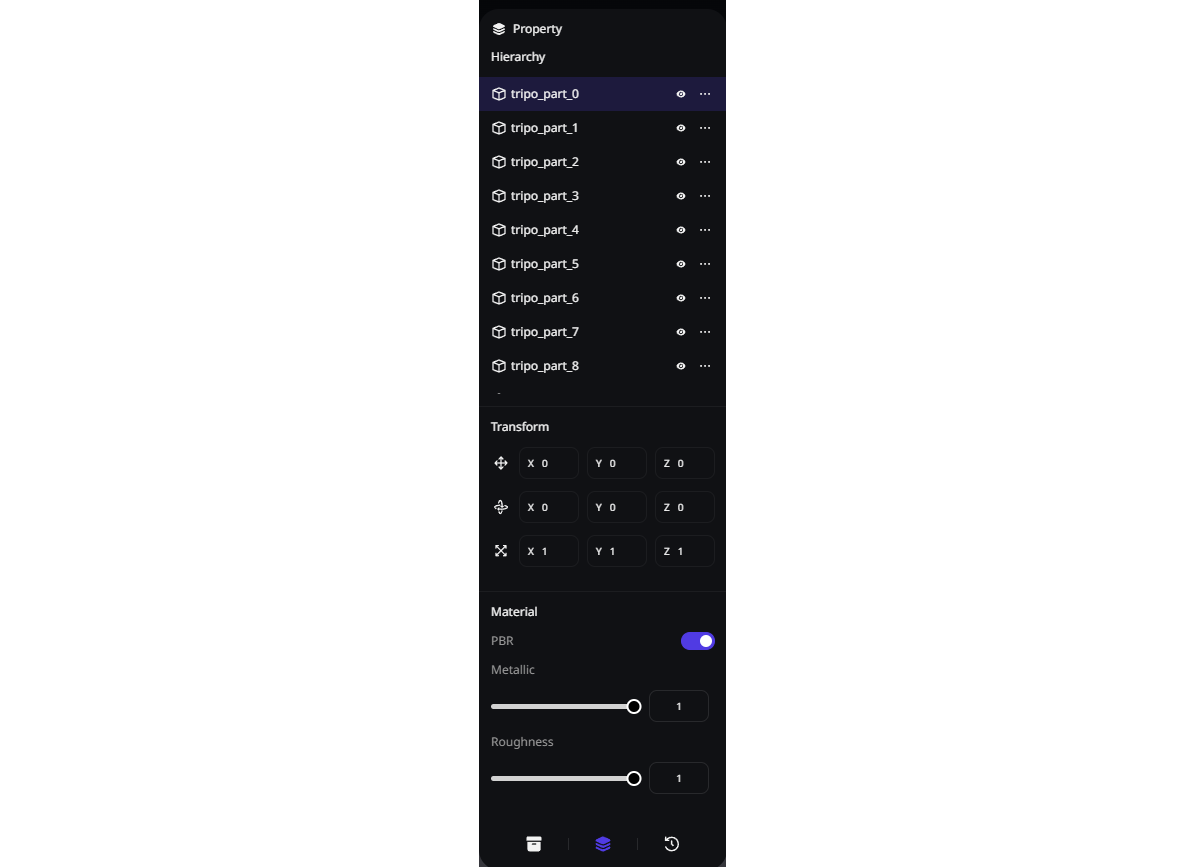
Property
- Rename the part by double click.
- You can make a part layer invisible, or delete it directly.
- Once a part is selected, you can
Translate,Rotate, andScaleit along its X, Y, and Z axes. - You can now toggle PBR with a single click, and adjust
Metallic_ andRoughness_settings.
History
- Every important step you take is recorded here.
- Click to preview the selected history step.
- After clicking a step sub-menu, you can choose to
Restore This VersionorSave as New Version.

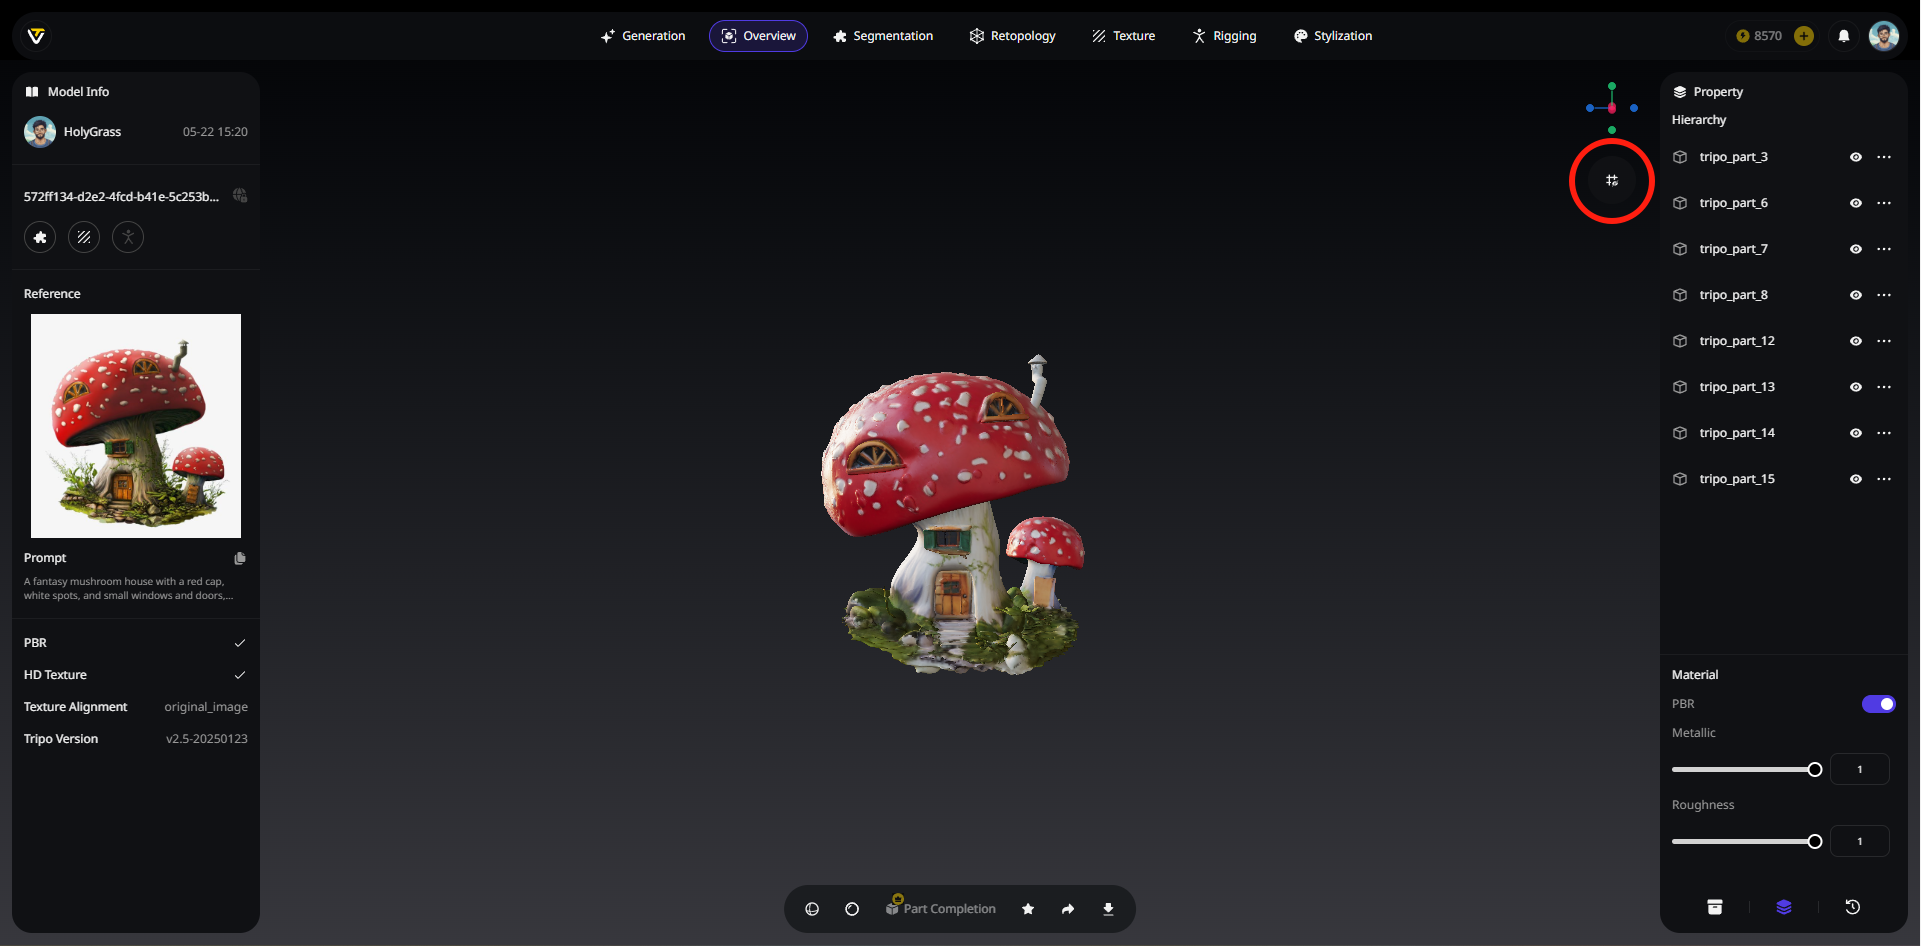
Ground Plane
- A grid-enabled reference plane used for assisted positioning and measurement.
- You can choose to turn it on or off, for easier operation or viewing.
3️⃣ Segmentation
💡 Segment your model into different parts for easier subsequent editing.
💡 For an in-depth look at our segmentation generative model, HoloPart, check out the HoloPart open-source announcement, or explore the code on GitHub.
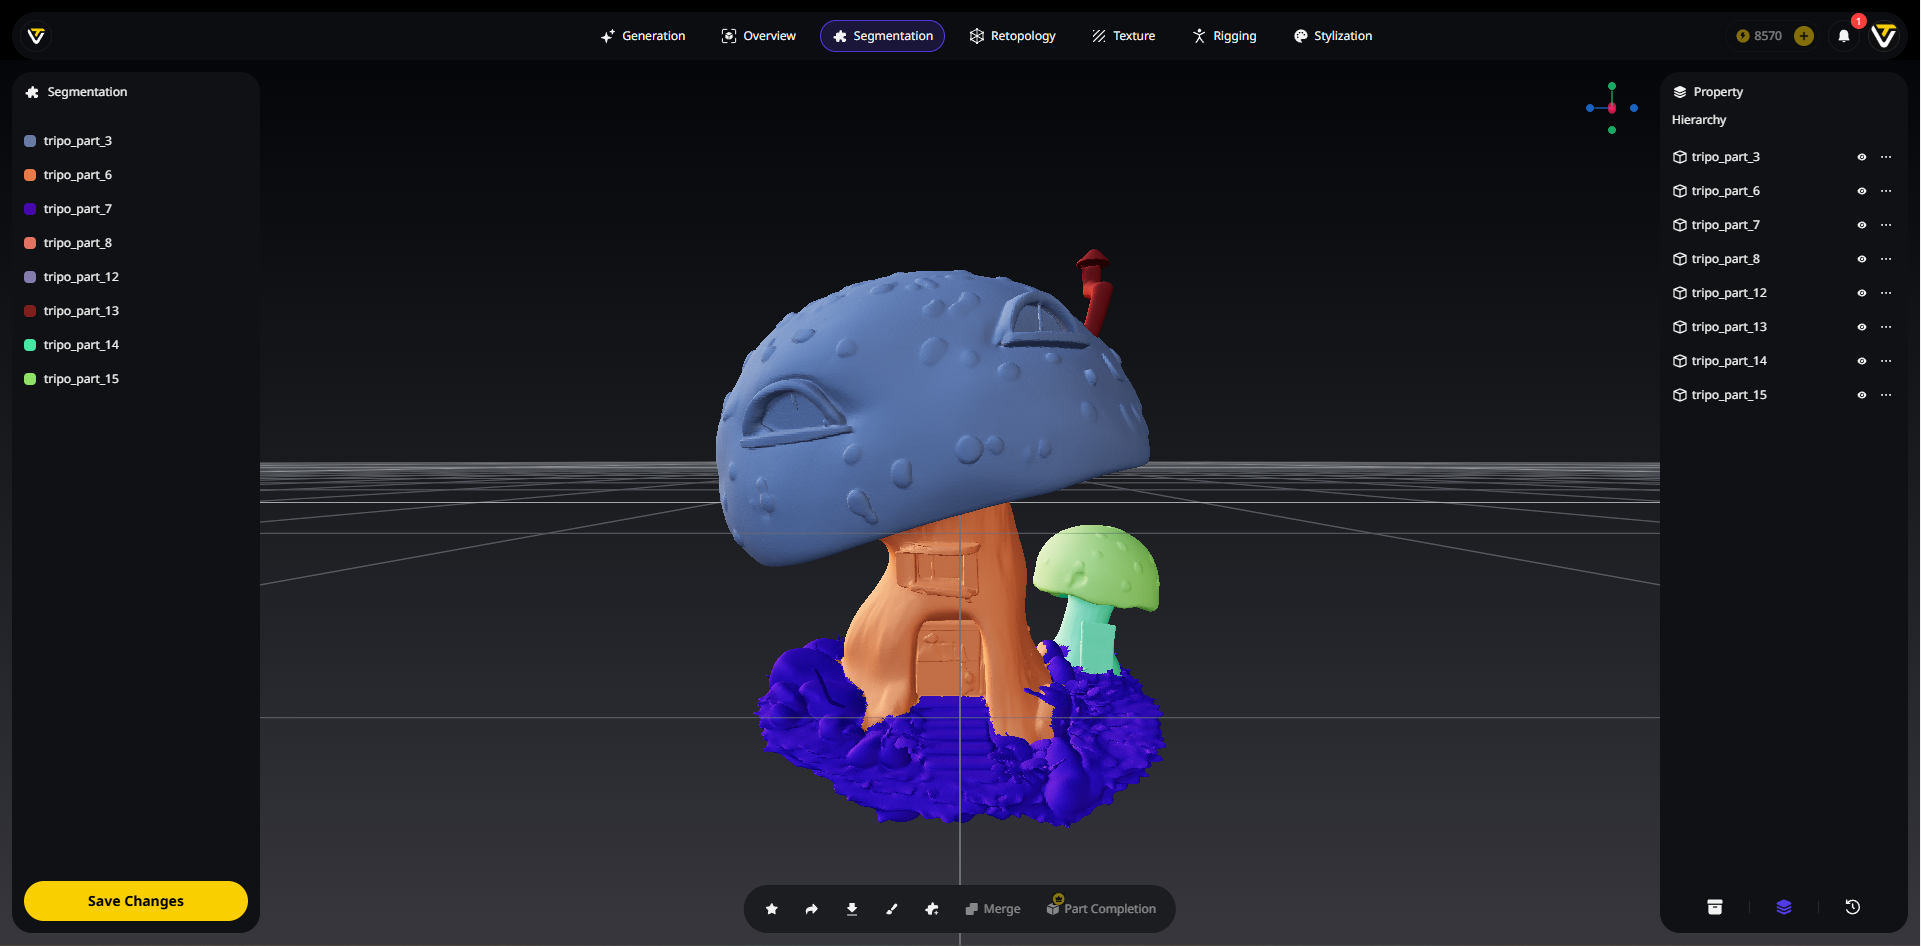
How to Use
- Select your model in the
Assetspanel. - Click
Start Segmentingand wait for the progress bar. - Parts appear in distinct colors.
Refine Your Segments
💡 After completing each operation, do not forget to click
Confirm_ _in the bottom left corner.
Brush
Add Part
- If you think there aren't enough parts, click
Add Part. - Click the
Brush, select the new part's color and start brushing to create the new part.
Merge
Part Completion
- If a part or parts look incomplete after edit, click
Part Completionto auto-fill missing geometry.
4️⃣ Retopology
💡 After segmentation is complete, you can move on to
Retopology. This process can be applied to the entire model or to selected parts only.
Available Options
Smart Low Poly
- Produces low poly meshes with hand-crafted precision.
- Simple inputs recommended.
Topology
- Choose between quad-based or triangle-based remeshing.
- Depending on your pipeline needs.
Polygon Count
- Apply classic face limit poly count constraints.
- Keep assets optimized for real-time use.
To Retopo Specific Areas
- Select one or more parts from the
Properties_ _on theRight Sidebar. - Or Ctrl-click directly on the model to pick multiple parts.
5️⃣ Texture
💡 Generate or edit the texture for your model.
Texture Gen
💡 Update your model's texture, or apply one to an untextured model.
Image-to-Texture
- Upload a reference image.
- Click
Generate Texture. - Output is an RGB map applied to the model.
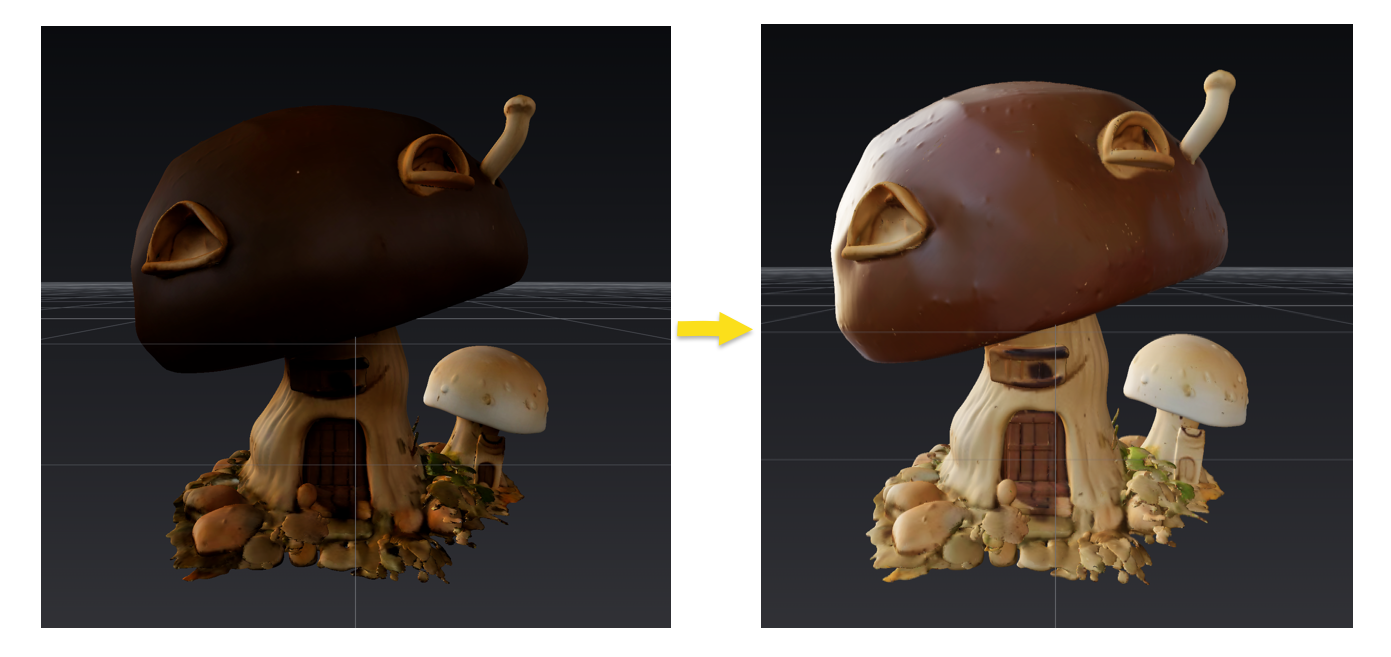
Text-to-Texture
- Click the
Lightbulb_ _to chooseKeyword Preset(e.g., "Wood" and "Scratches") - Enter a prompt (e.g., "a wooden mushroom")
- Get a texture based on your input.
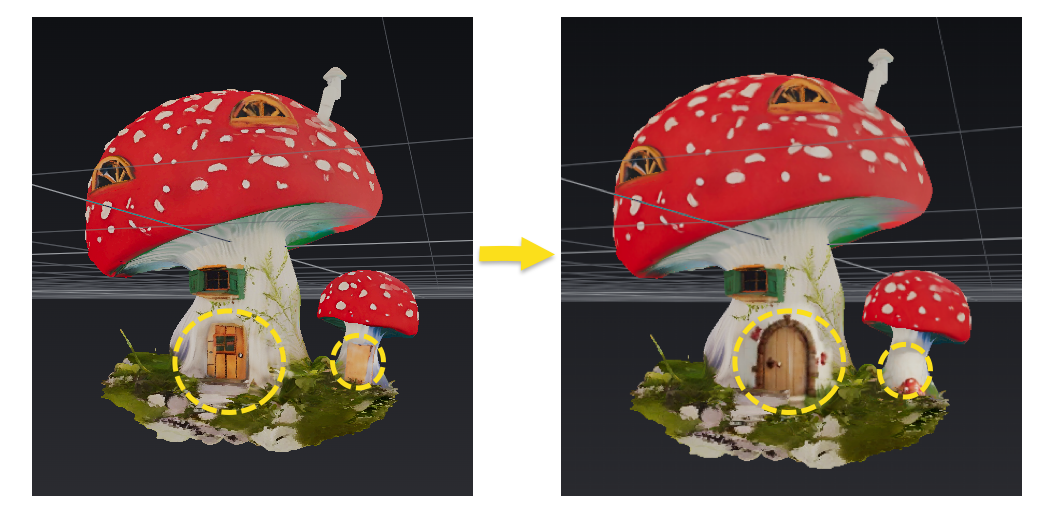
Magic Brush
💡 For flawed texture areas, generate new textures from the prompt, and then use brushing to correct the imperfections.
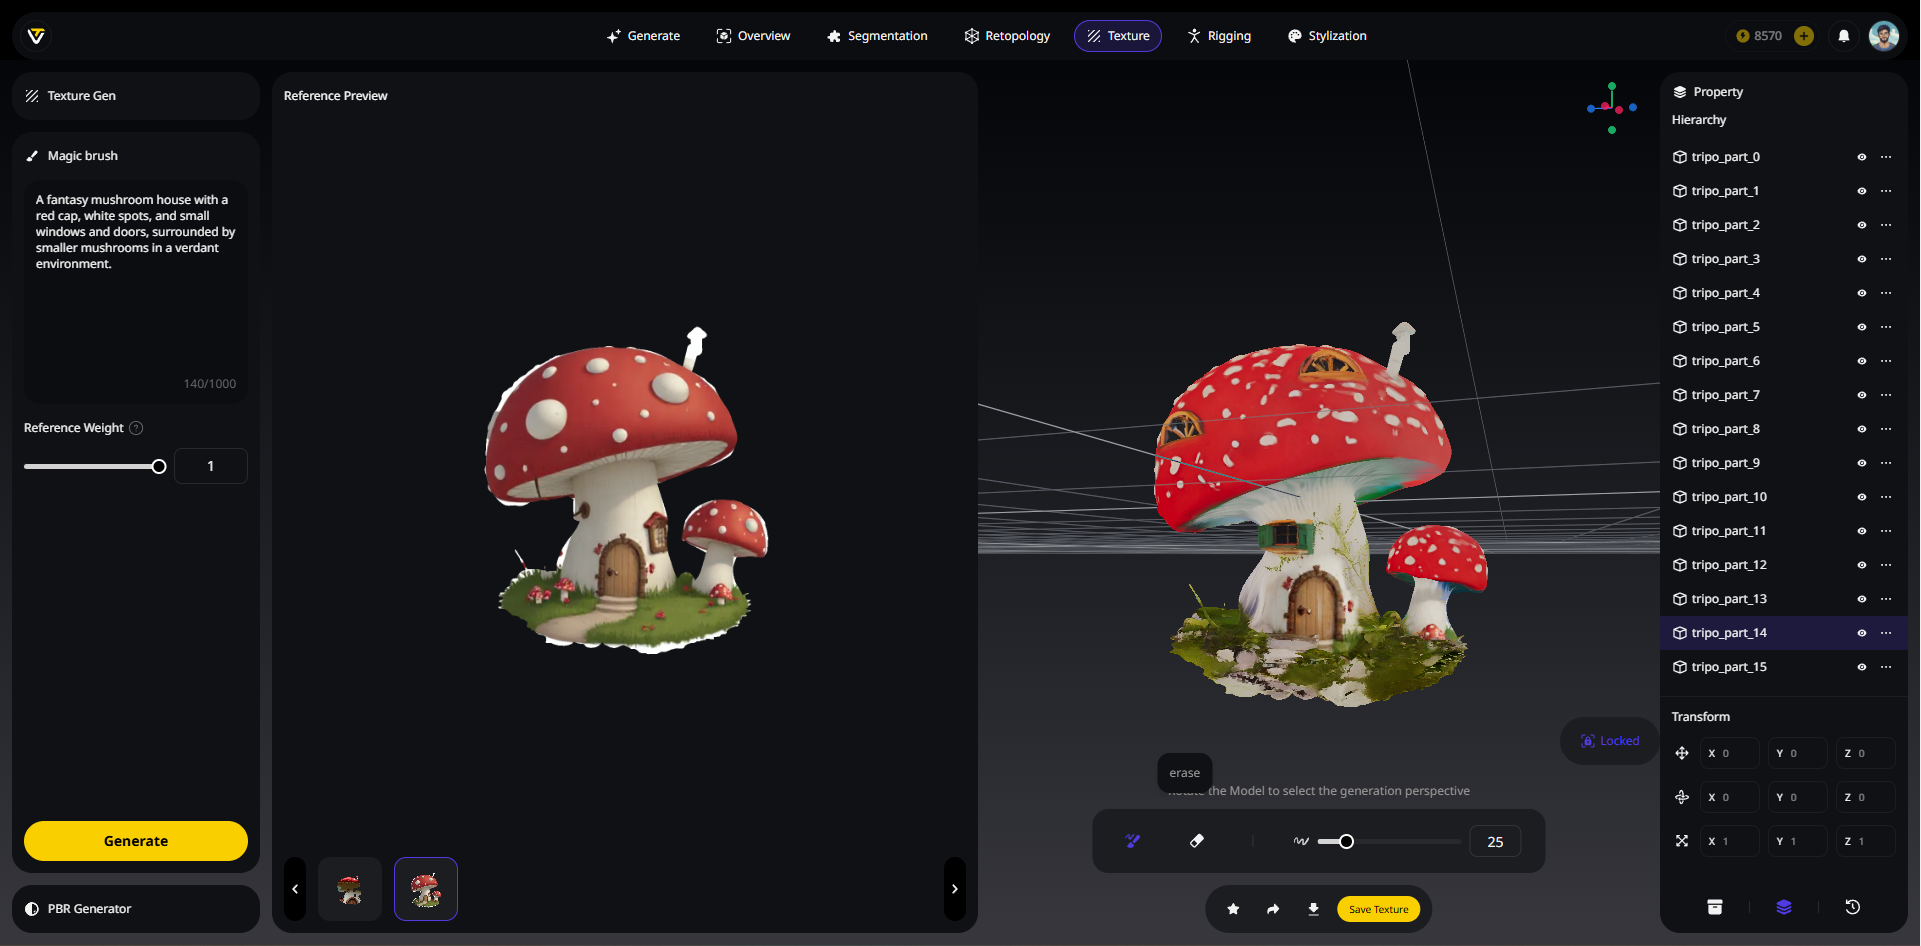
- Unlock
Camera Controlto adjust your model to the desired repair angle. ClickCamera Controlagain to lock the view, as the generated texture will be based on this locked perspective. - Opt for the default prompt, or type in the texture prompt you'd like to generate.
- Adjust
Creativity Strength. Left for closer match, right for more creativity. - You can generate multiple textures repeatedly until you're satisfied.
- From
Reference Preview, choose the texture that best suits your needs. - Brush to change the areas that need texture repair or replacement.
- Don't forget to click
Save Texture.
PBR Generator
- Create PBR materials with physically accurate reflectance properties for authentic surface rendering.
- Add
Metallic_ _andRoughnessdetails. One-Clickmodels already include full PBR maps by default.
6️⃣ Rigging
💡 Rig your model and add animation. Ideally, it supports rigging for any creature-like model.
💡 For an in-depth look at our open-source tech, UniRig, check out the UniRig open-source announcement, or explore the code on GitHub.
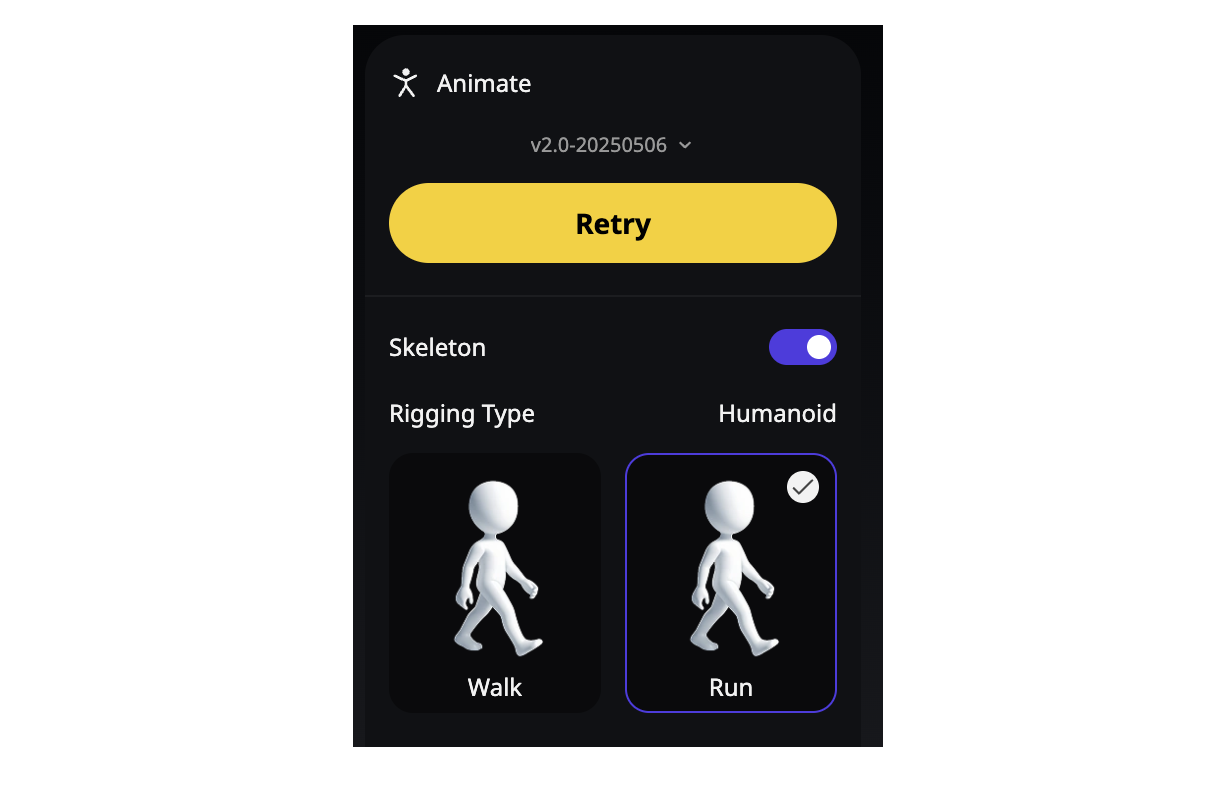
How to Use
- In
Assets, pick the model you want to rig. - Click
Auto Rig, and it will build a skeleton and skin weights for your model. - After rigging, you can choose an animation preset.
- Export
as.fbx or .glb for your engine.
7️⃣ Stylization
💡 You can apply styles to your model with just a click.
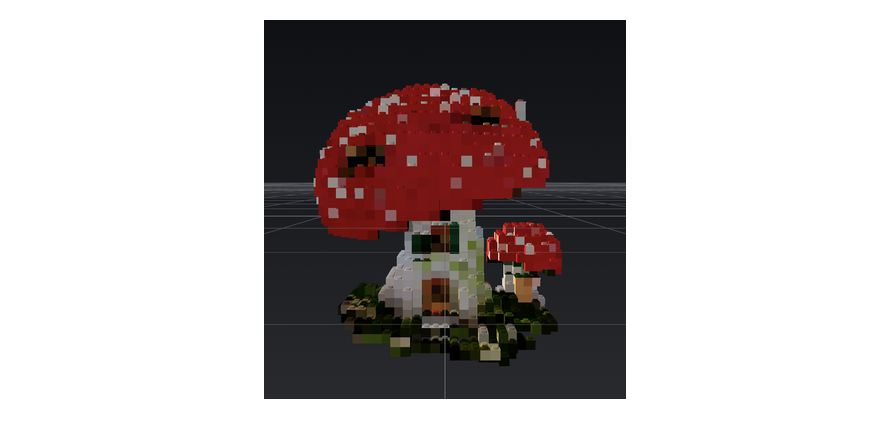
Current Options
- Voxel
- LEGO
- Figurine
