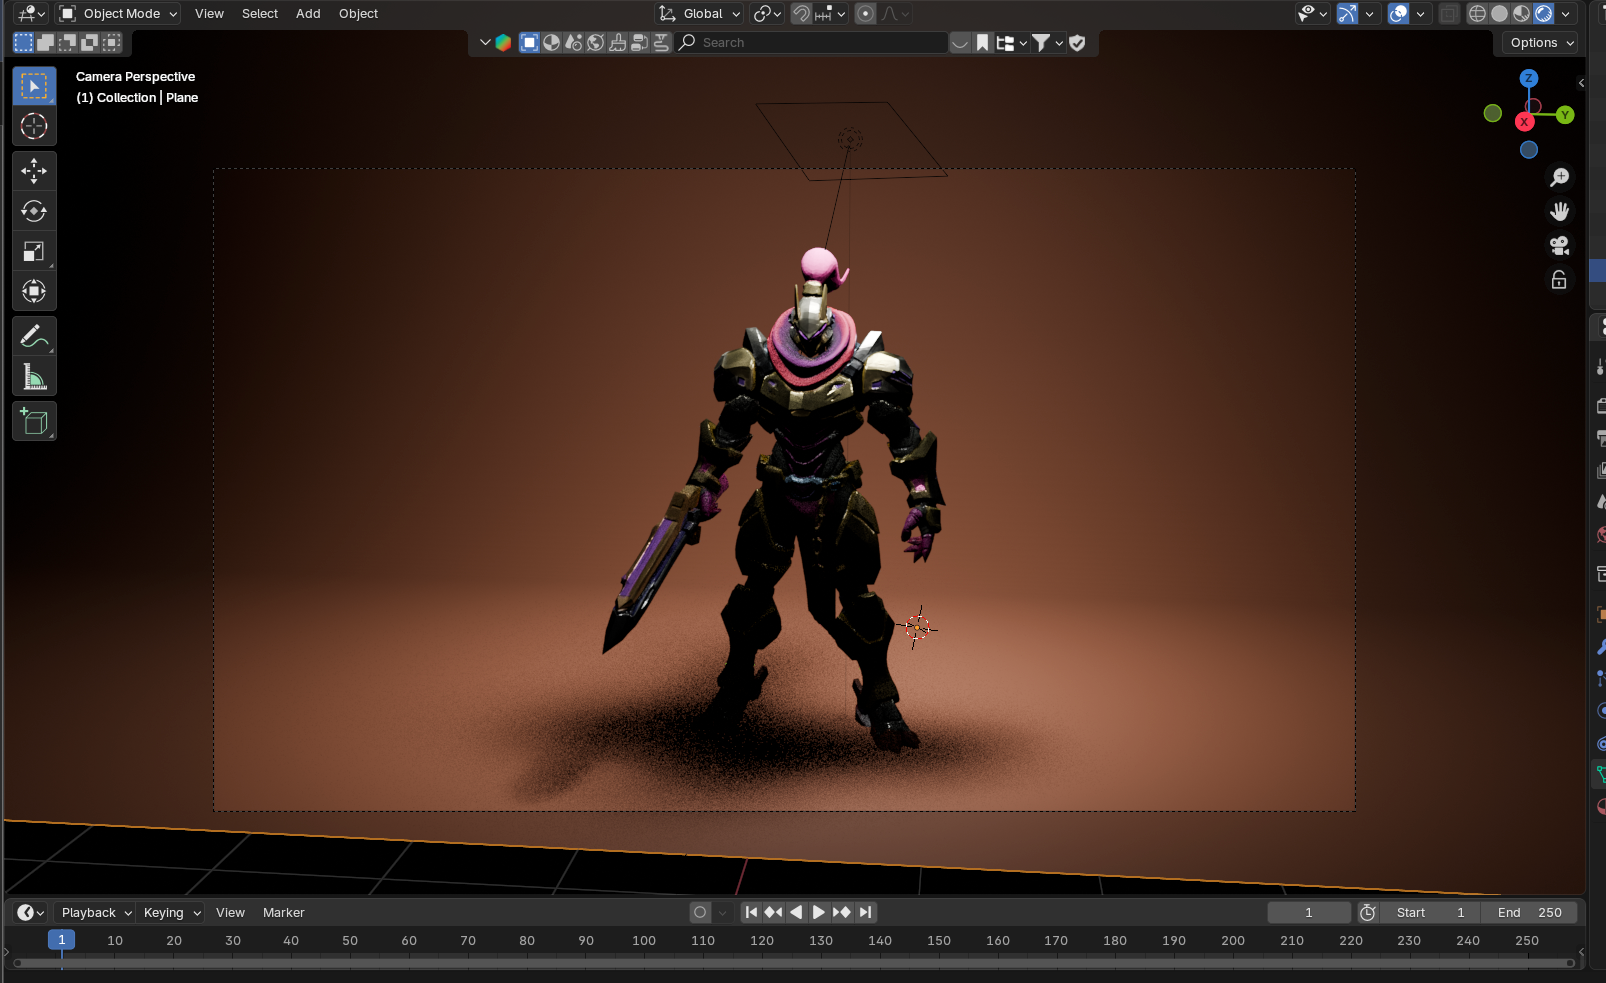
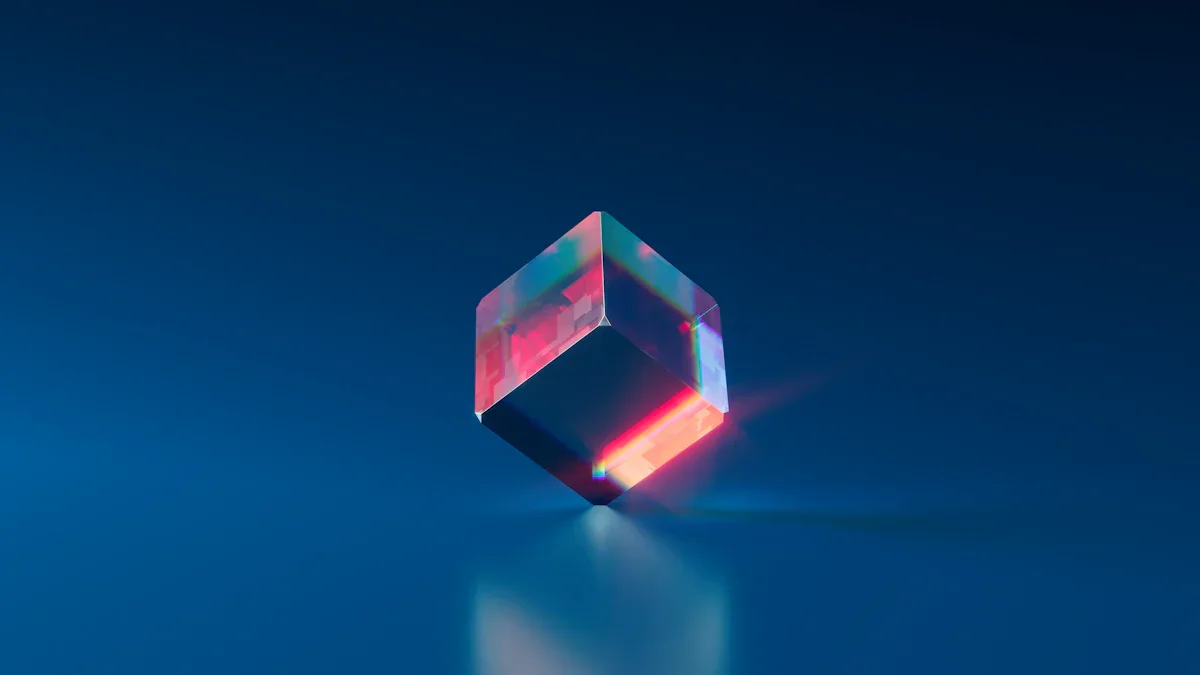
How to Add Simple Lighting in Blender to Make AI 3D Models Look Better
You've just generated an amazing 3D model using free ai 3d model generator generator tools like Tripo AI, but something feels off. The model looks flat, lifeless, maybe even a bit "plastic." Sound familiar? Here's the secret that transforms amateur renders into professional artwork, especially when starting from a 2d 2d images to 3d model free process (often involving an ai generated 3d model): it's all about the lighting.
Quick Start: Add Your First Light in 30 Seconds
Want to see immediate results? Here's the fastest way to add lighting to your AI-generated 3D model:
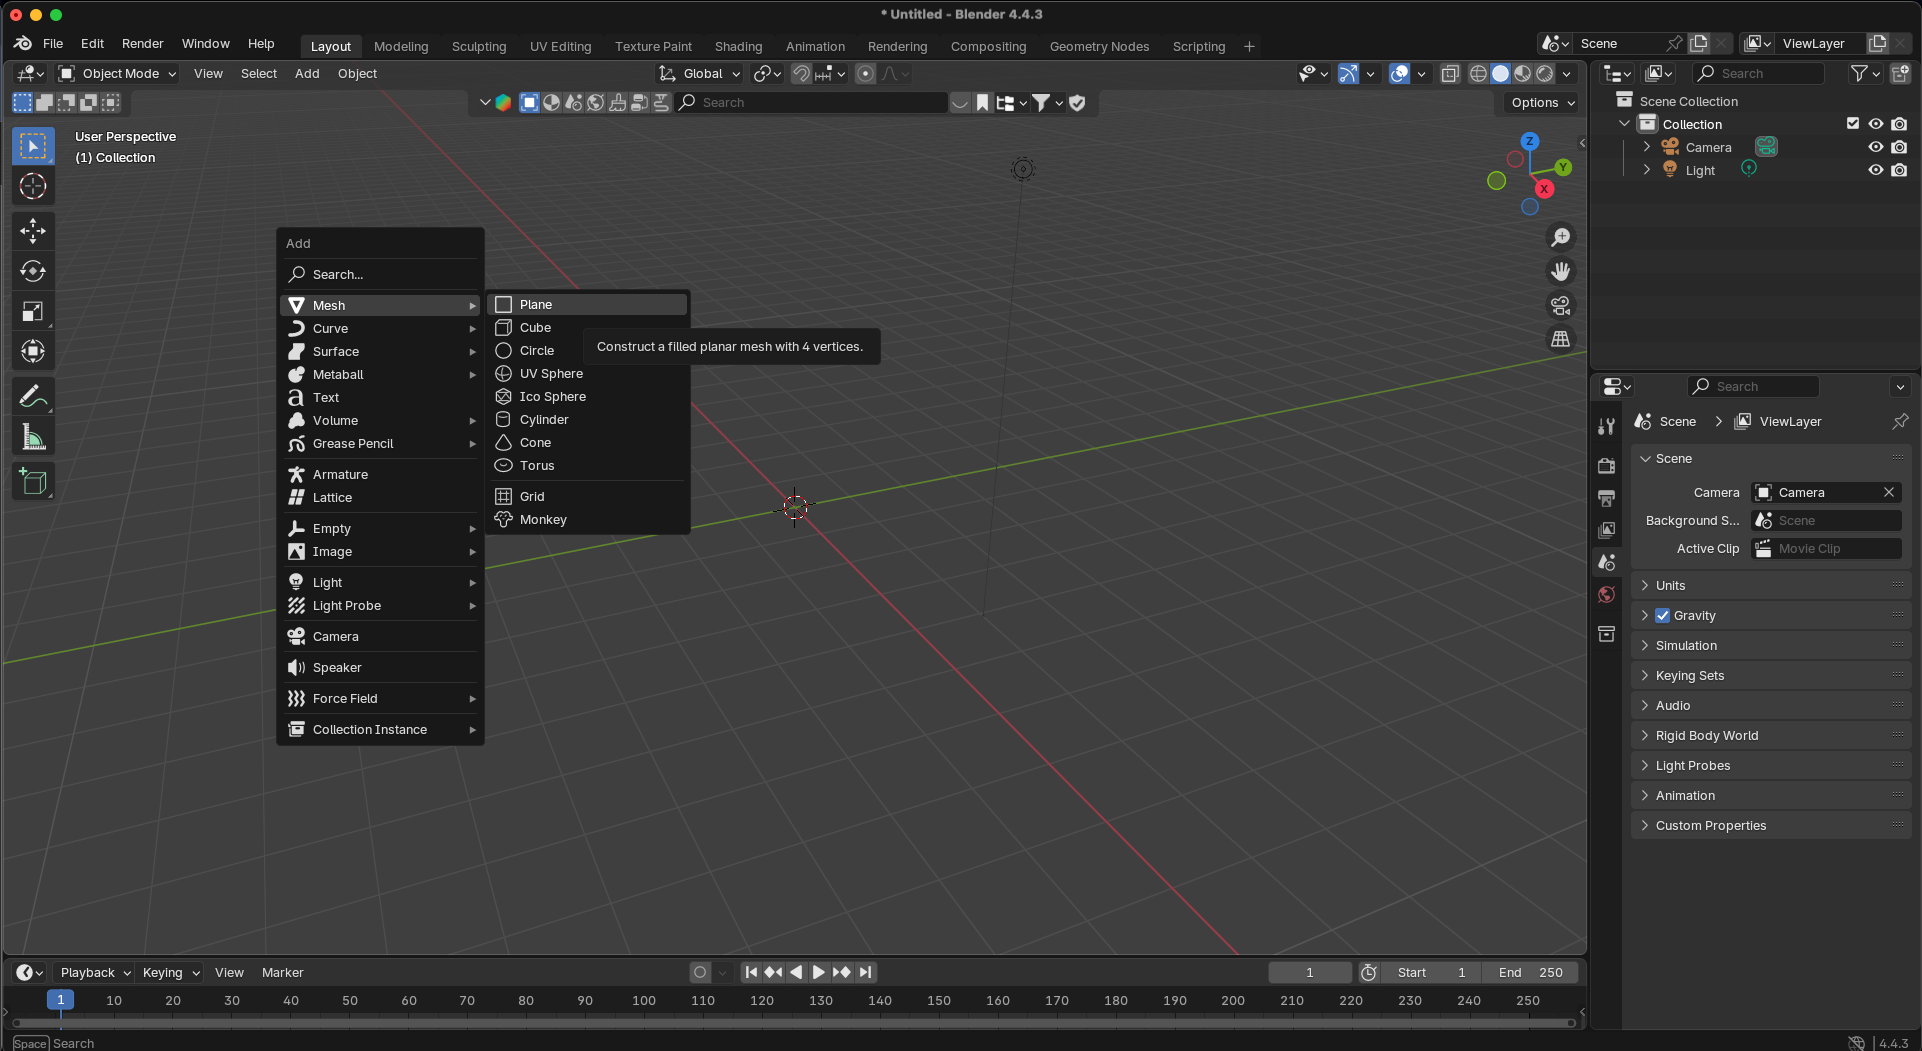
- Import your model into Blender (File > Import > Select your file)
- Add a light (Shift+A > Light > Area)
- Position it above and to the side of your model (G to grab, move with mouse)
- Scale it up for softer shadows (S key, drag outward)
- Adjust power in the Light Properties panel (try 100W to start)
- Switch to Rendered view (Z key > Rendered) to see the magic!
But here's the thing: This is just the fastest possible way to get started. While this basic setup will immediately improve your 3D models, there's so much more to learn if you want truly stunning results. Want to create studio-quality renders? Achieve photorealistic lighting? Make your AI 3D model generator outputs look like they were crafted by a pro?
Keep reading to discover professional lighting techniques, custom backdrop setups, and advanced tips that will transform your work from good to extraordinary.
What You'll Learn in This Guide
Whether you're using image to 3D conversion or text-based generation, proper lighting is the difference between a raw AI output and a stunning portfolio piece. In this comprehensive guide, we'll cover:
- Why lighting transforms AI models from flat to fantastic
- Essential prep steps for your Tripo AI models in Blender
- Professional studio setup with custom backdrop
- Two proven lighting setups that work every time
- Advanced techniques for atmospheric and stylized effects
- Common mistakes that ruin good models (and how to avoid them)
- Optimization tips for faster, better renders
Ready to dive deeper? Let's transform your 3D models from proof-of-concept into compelling visual art.
Why Lighting Matters for AI-Generated 3D Models
Think of lighting as the magic ingredient that brings your 3D models to life. Just like a photographer uses light to create mood and depth, 3D artists use virtual lighting to transform flat geometry into believable objects. For AI 3D model generator outputs, this is especially crucial because:
AI models often come with uniform, flat shading
Proper lighting reveals the intricate details the AI created
Good lighting can hide minor imperfections in AI-generated geometry
It's the fastest way to achieve professional-looking results
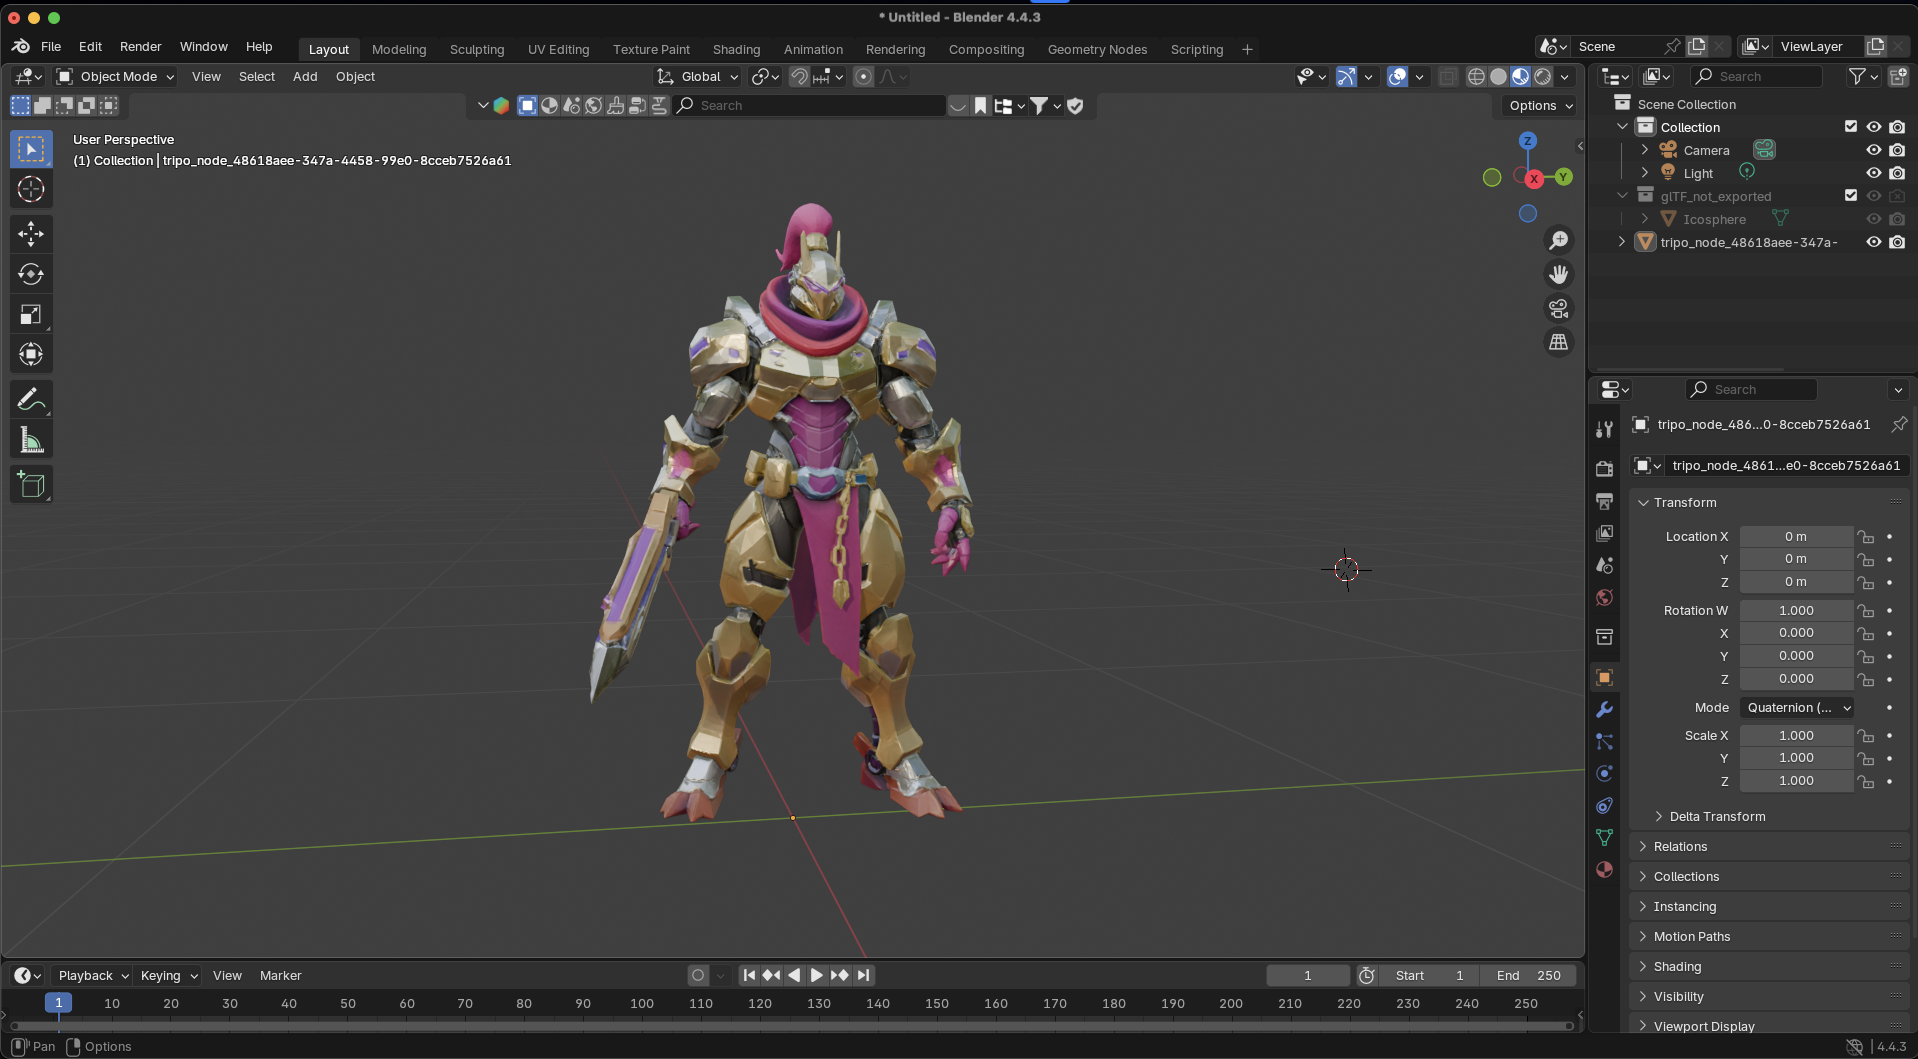
Phase 1: Preparing Your Tripo AI Model in Blender
First things first - let's get your AI-generated 3D model into Blender. Tripo AI supports multiple export formats, but for Blender, we recommend:
- Export your model as .GLB or .FBX from Tripo AI
- Open Blender and go to File > Import
- Select your file format and locate your model
- Click "Import" and your model appears in the viewport
Pro tip: If you're frequently working between Tripo AI and Blender, consider using the official Tripo-Blender plugin for a more streamlined workflow.
Initial Inspection and Cleanup (Optional)
Importing Your Model
Before we dive into lighting, let's ensure your model is ready. AI 3D model generators sometimes produce models with minor issues that can affect how light interacts with the surface:
Common issues to check:
Non-manifold geometry (edges that don't form proper surfaces)
Inverted normals (surfaces facing the wrong direction)
Extremely high polygon count slowing down your viewport
Quick fixes:
- Select your model and enter Edit Mode (Tab key)
- Select all (A key) and press Shift+N to recalculate normals
- Use Mesh > Clean Up > Merge by Distance to remove duplicate vertices
For models generated through image to 3D conversion, you might encounter messier topology. Don't worry - lighting can often mask minor imperfections, and we'll show you how.
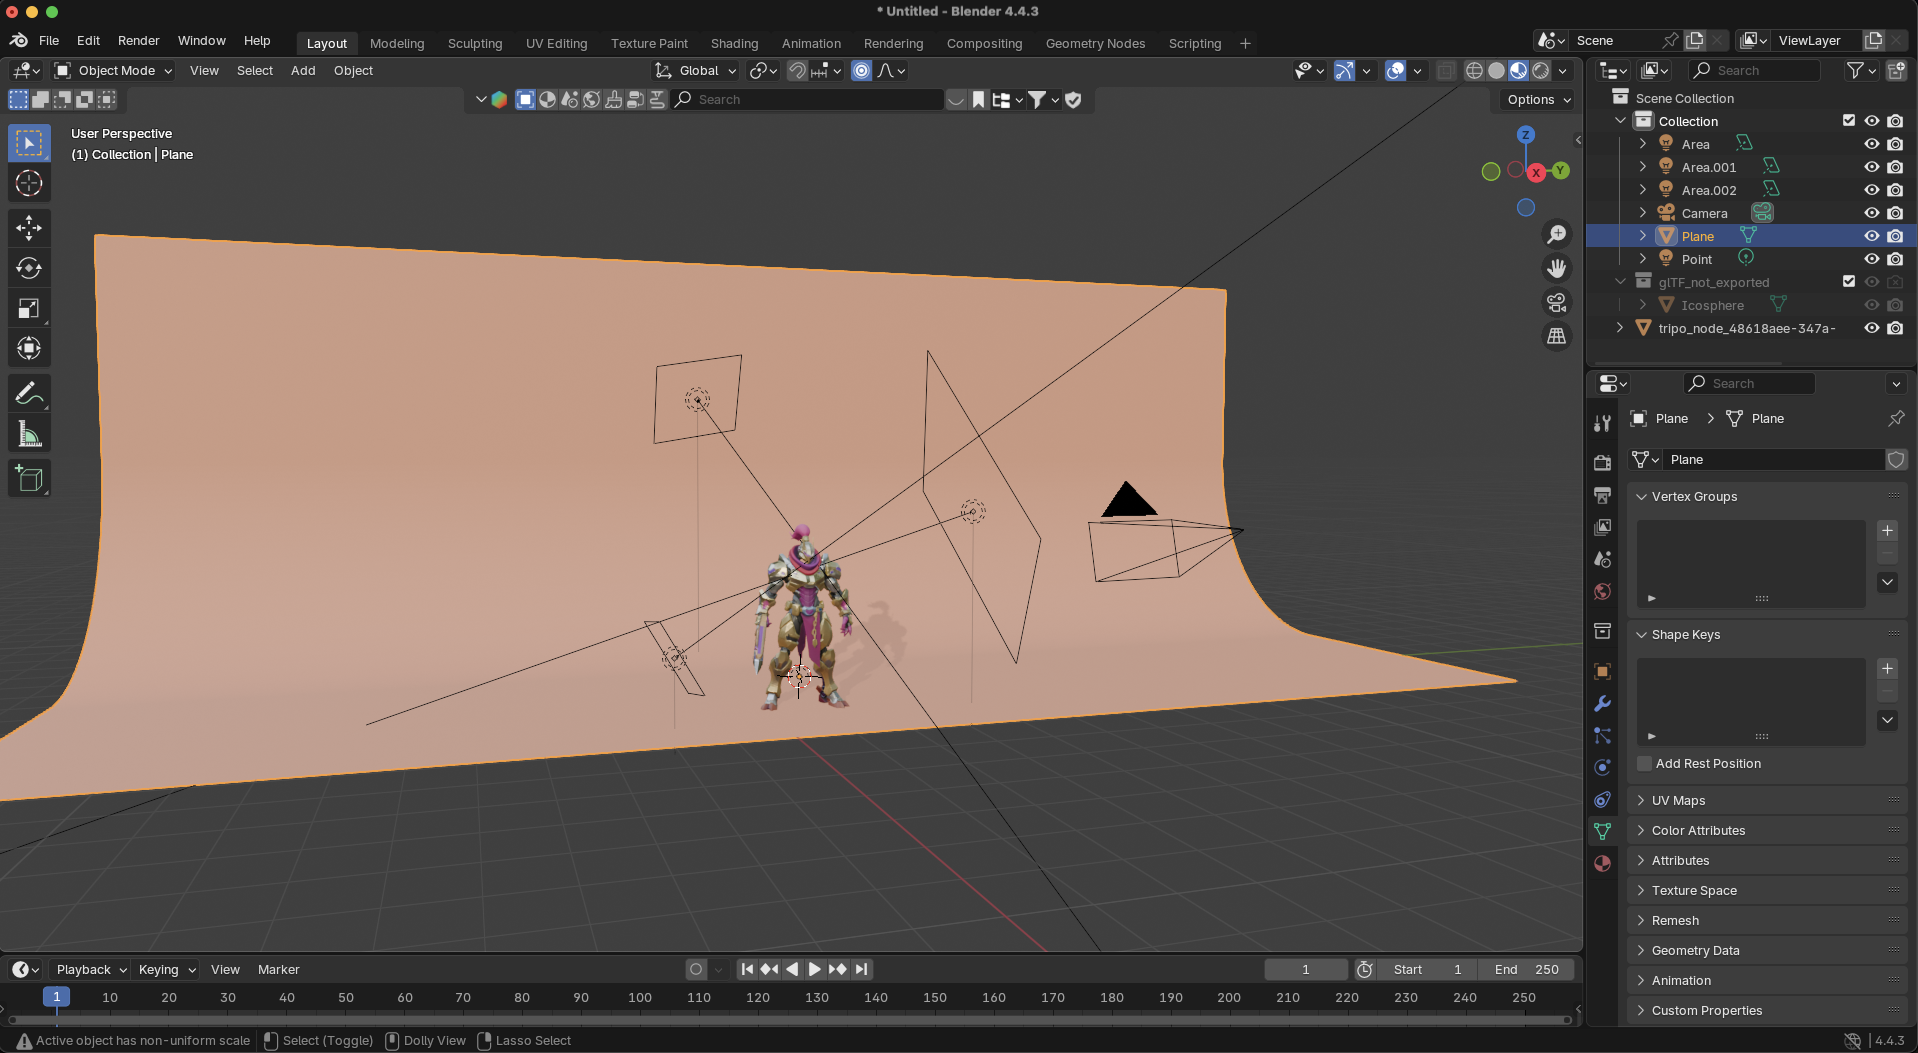
Creating a Professional Studio Backdrop
Before adding lights, let's create a professional backdrop that will make your AI-generated 3D models pop. This curved backdrop eliminates harsh corners and creates smooth gradients behind your model:
Step-by-step backdrop creation:
- Press Shift+A > Mesh > Plane to add a plane
- Press Tab to enter Edit mode
- Hold Shift and select the back two vertices
- Press E then Z to extrude along the Z-axis (drag upward)
- Press Ctrl+B to bevel the edge
- Use your scroll wheel to increase segments (10-15 for smoothness)
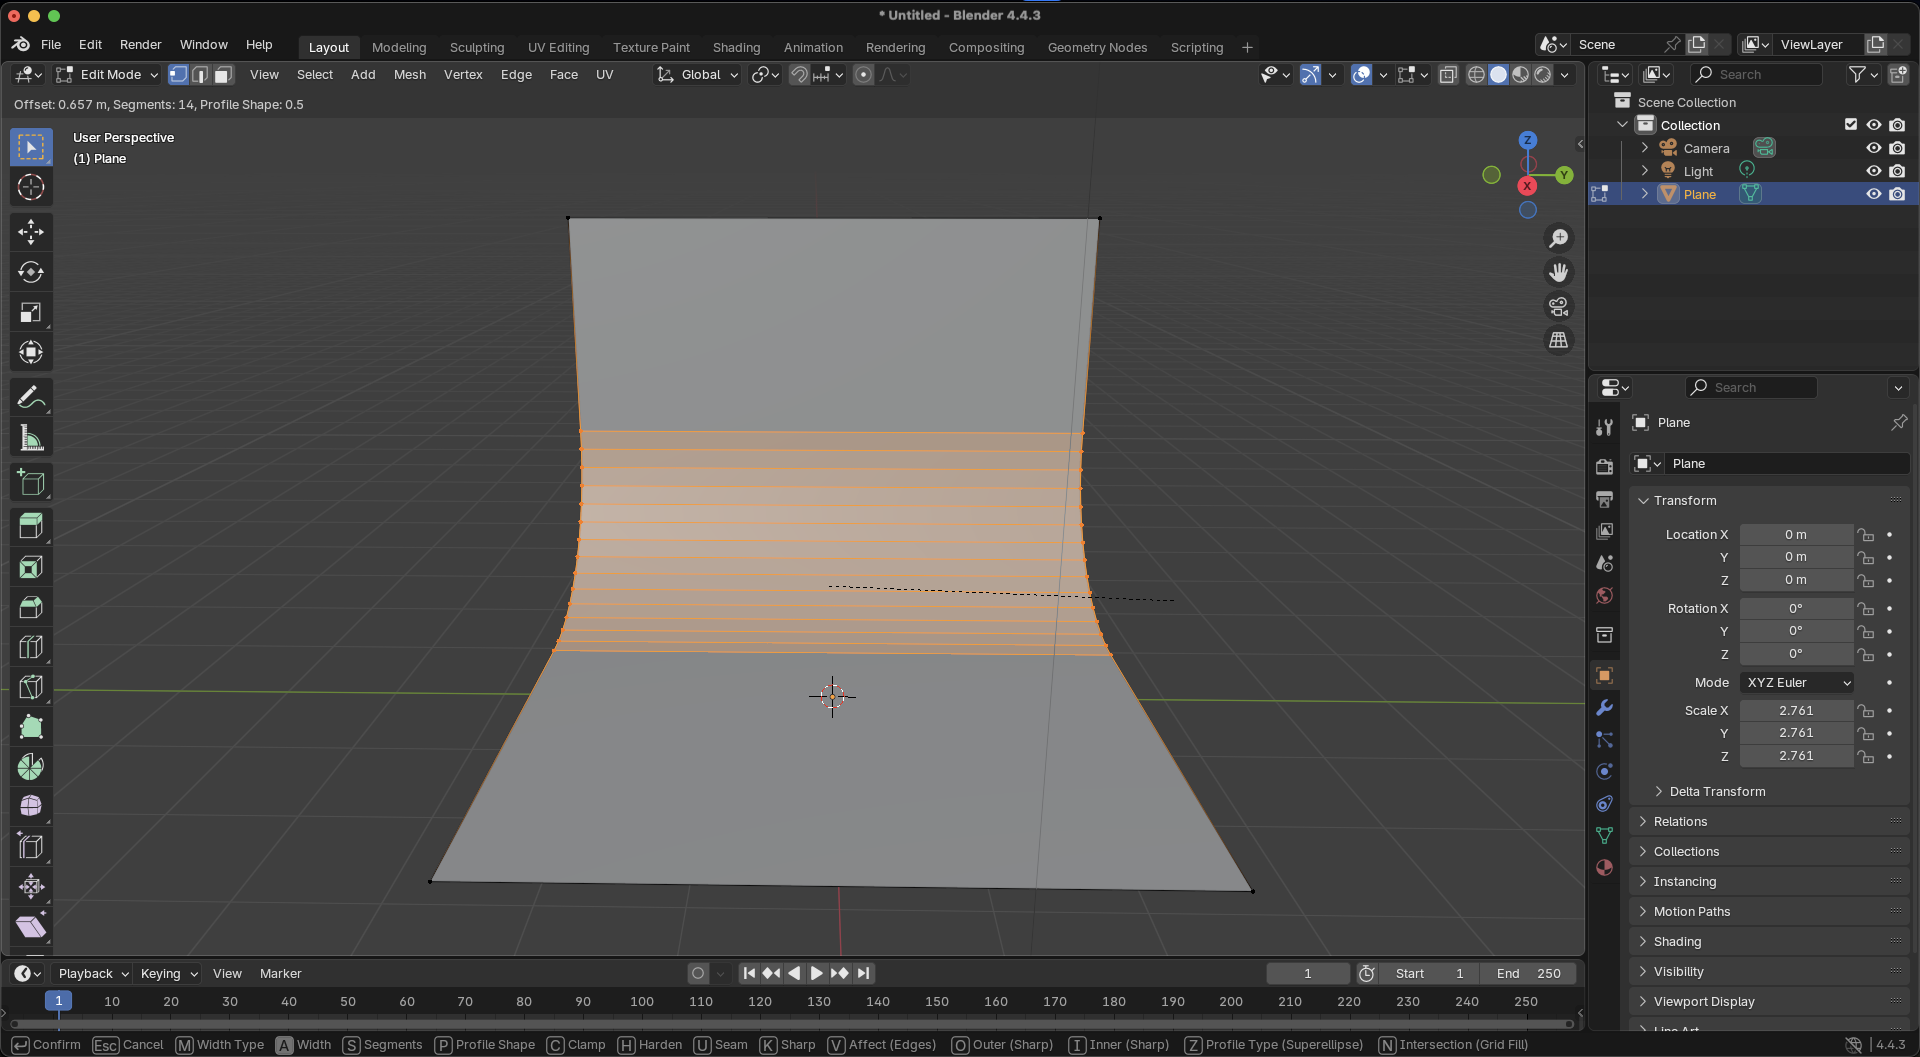
- Press Tab to exit Edit mode
- Press S to scale the backdrop to fit your model (try 5-10x)
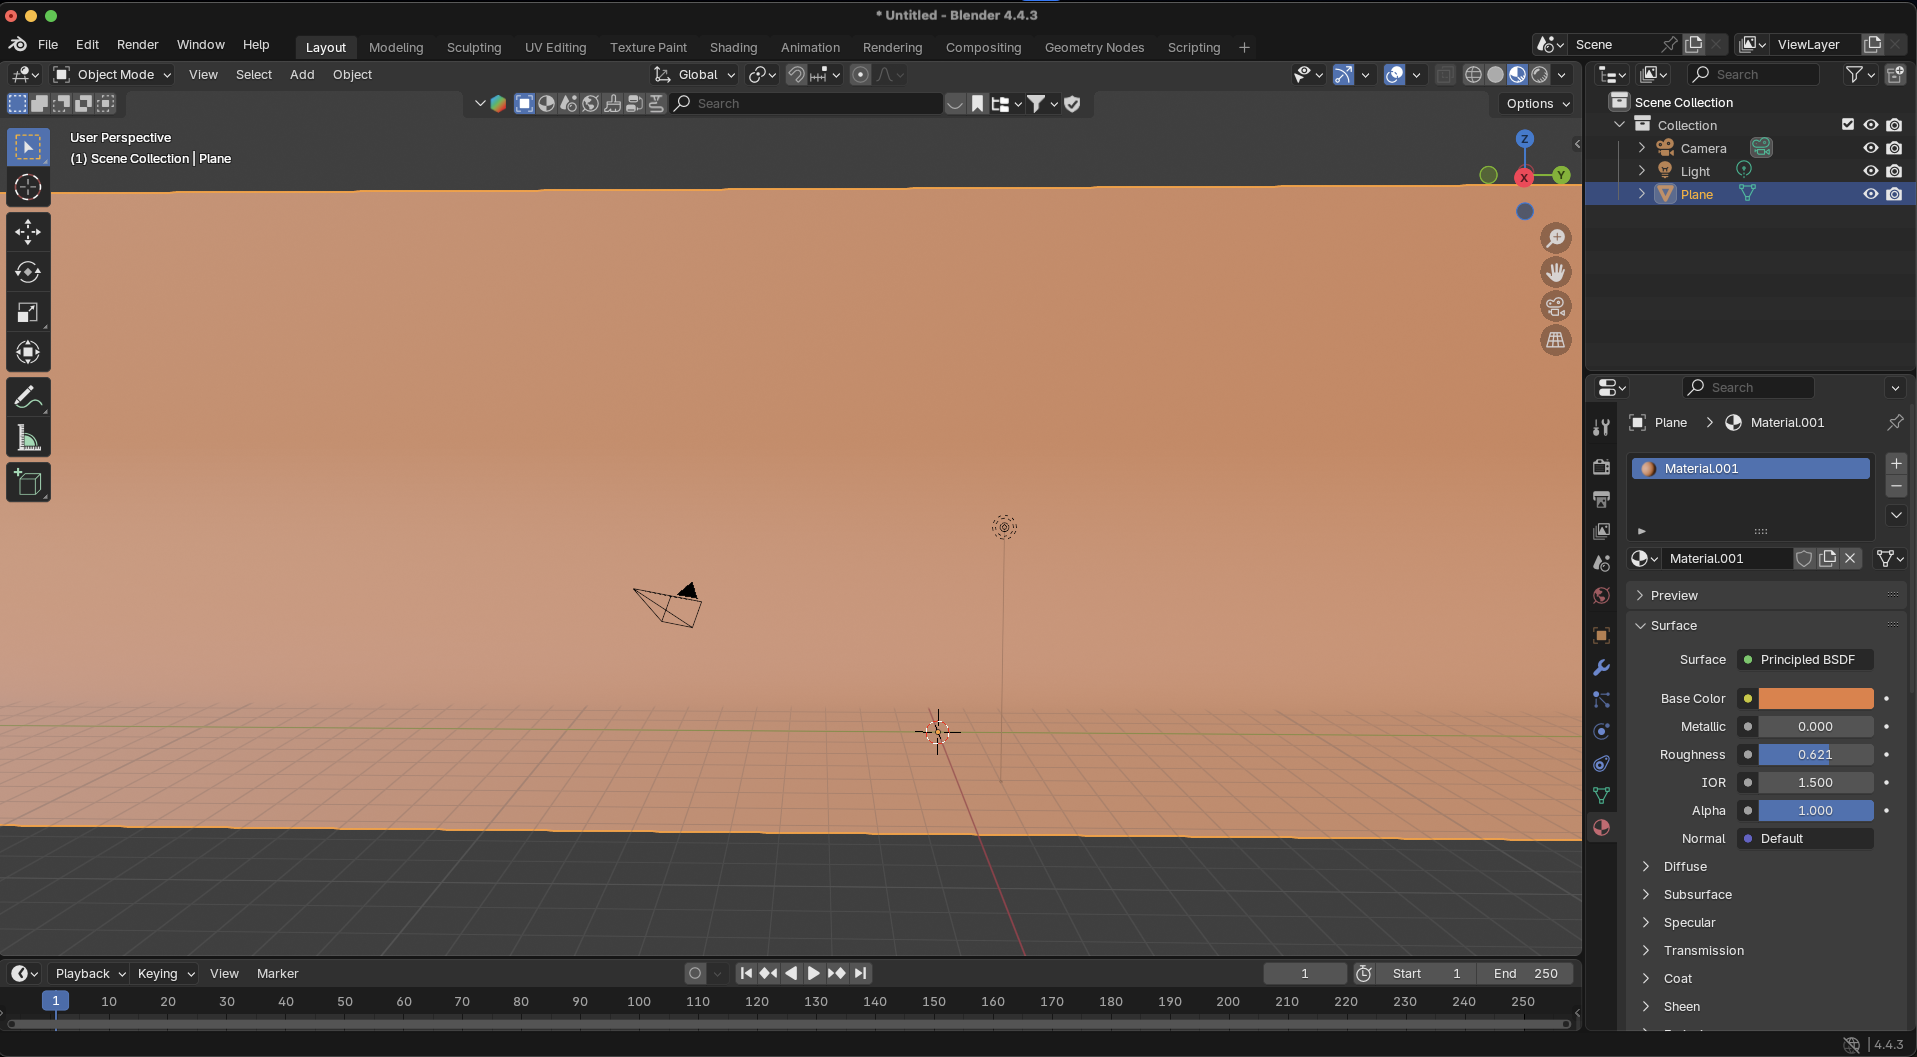
Adding backdrop material:
- Select the backdrop and switch to Material Properties
- Click "New" to add a material
- Increase Roughness to 0.8-1.0 (no reflections)
- Choose a neutral color (light gray works well)
- Optional: Add slight color variation for visual interest
Pro tip: Position your 3D model about 1/3 forward from the backdrop center for the best depth effect!
Phase 2: Blender Lighting Fundamentals
Choosing Your Render Engine: Cycles vs. Eevee
Blender offers two render engines, each with distinct advantages for lighting AI-generated 3D models:
For beginners: Start with Eevee for instant feedback while setting up your lights, then switch to Cycles for the final render.
Understanding Blender's Light Types
Blender provides four fundamental light types, each serving different purposes:
1. Point Light: Emits light in all directions from a single point
Perfect for: Simulating light bulbs, candles
Key setting: Power (measured in Watts)
2. Sun Light: Creates parallel rays like sunlight
Perfect for: Outdoor scenes, harsh directional light
Key setting: Strength (no distance falloff)
3. Spot Light: Emits light in a cone shape
Perfect for: Focused beams, stage lighting
Key settings: Spot Size, Blend
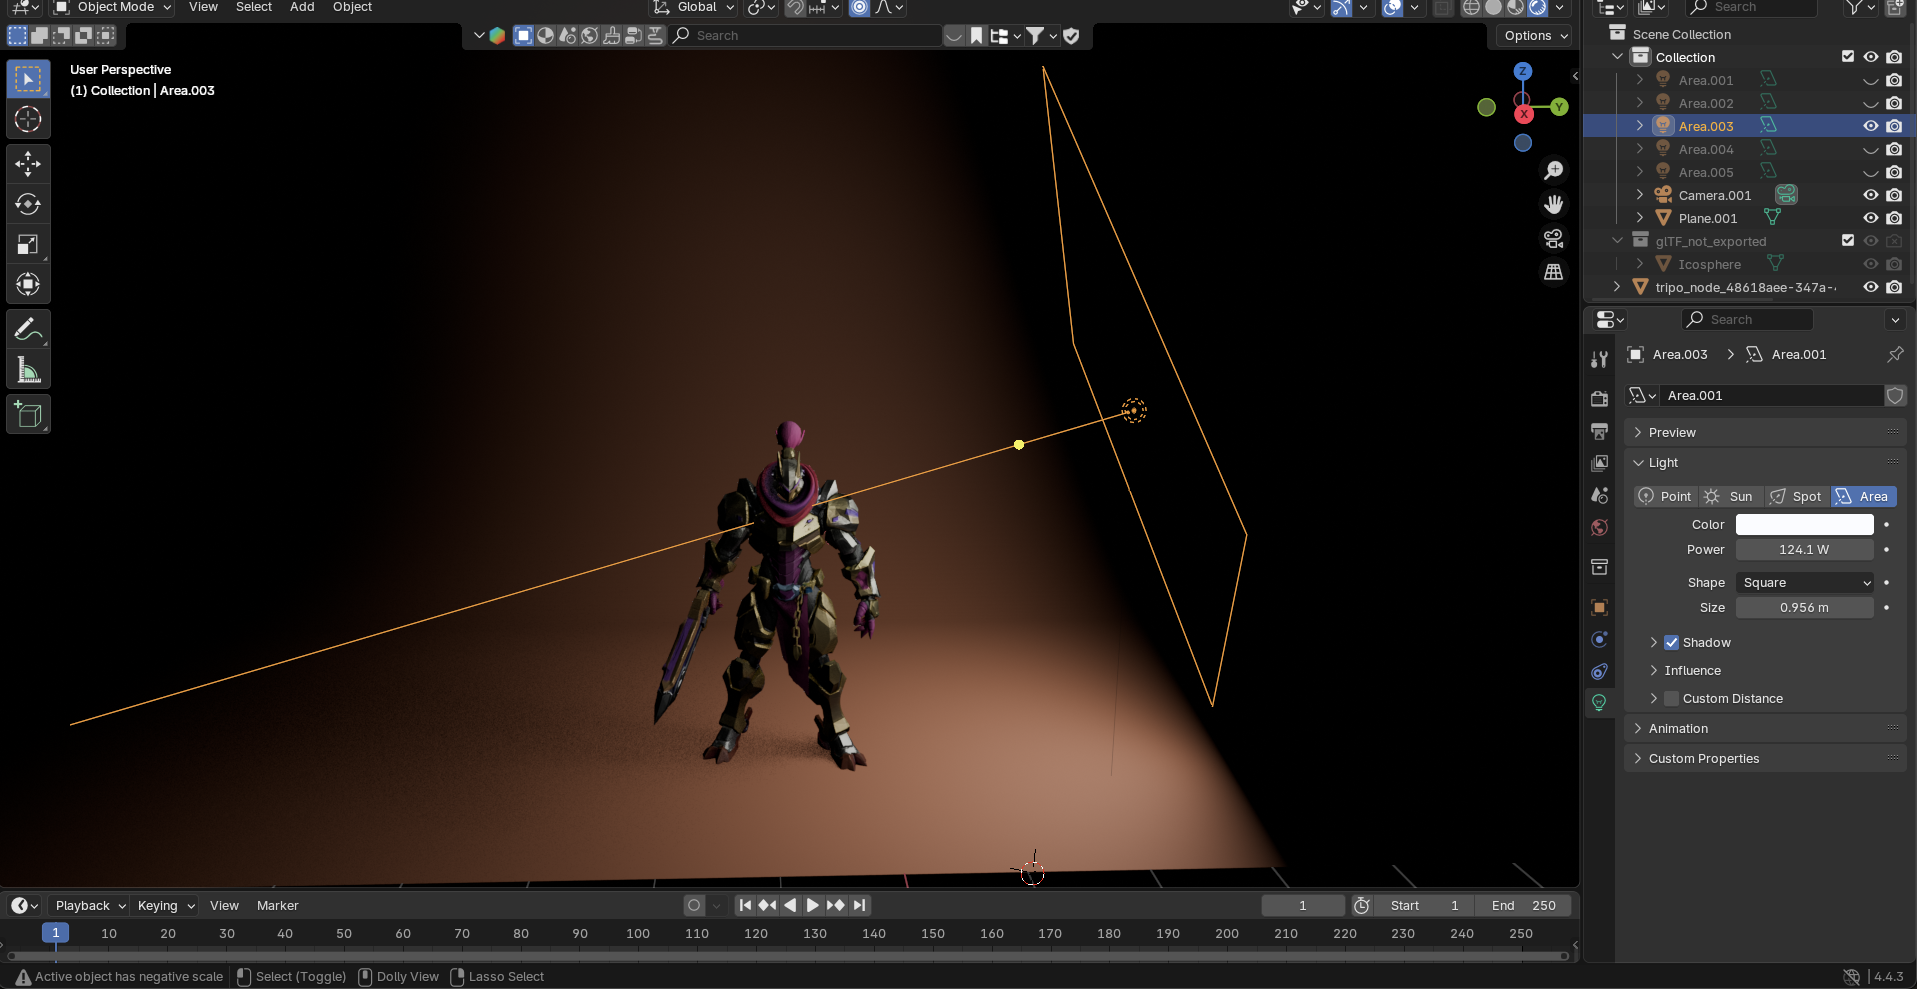
4. Area Light: Emits from a surface (rectangle, square, or disk)
Perfect for: Soft shadows, window light
Key setting: Size (larger = softer shadows)
Phase 3: Core Lighting Techniques for AI Models
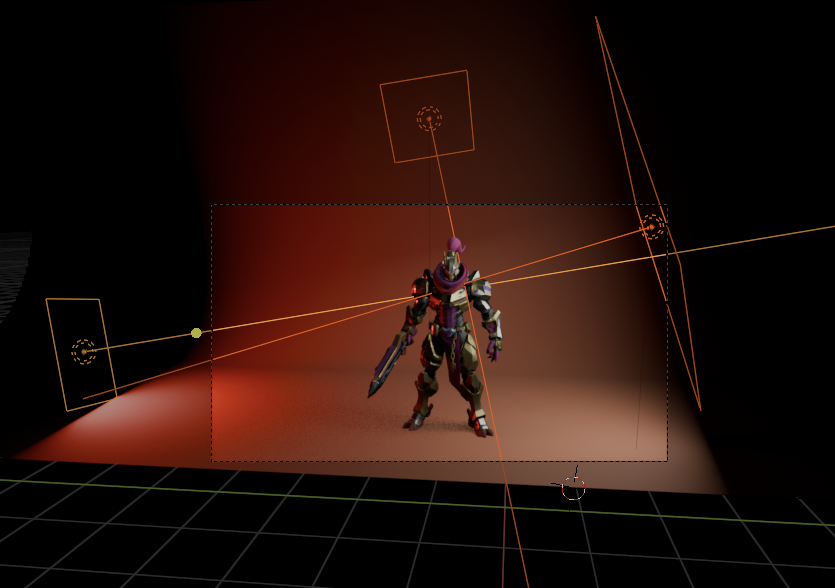
The Studio Lighting Setup
For a clean, professional look that showcases your AI 3D model generator creations, try this studio-inspired setup:
Setting the stage:
- Change your World color to black (Shading workspace > World Properties)
- This eliminates ambient light for more dramatic control
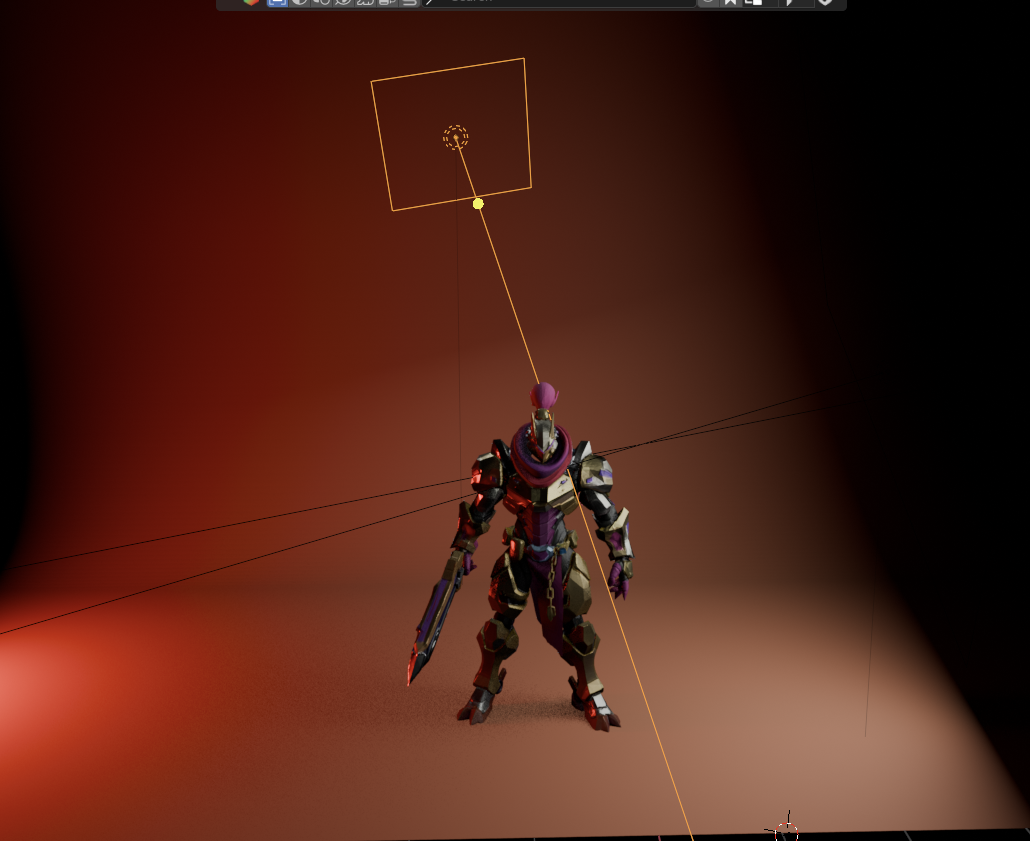
Positioning your key area light:
- Add an Area Light (Shift+A > Light > Area)
- Place it slightly behind and above your model
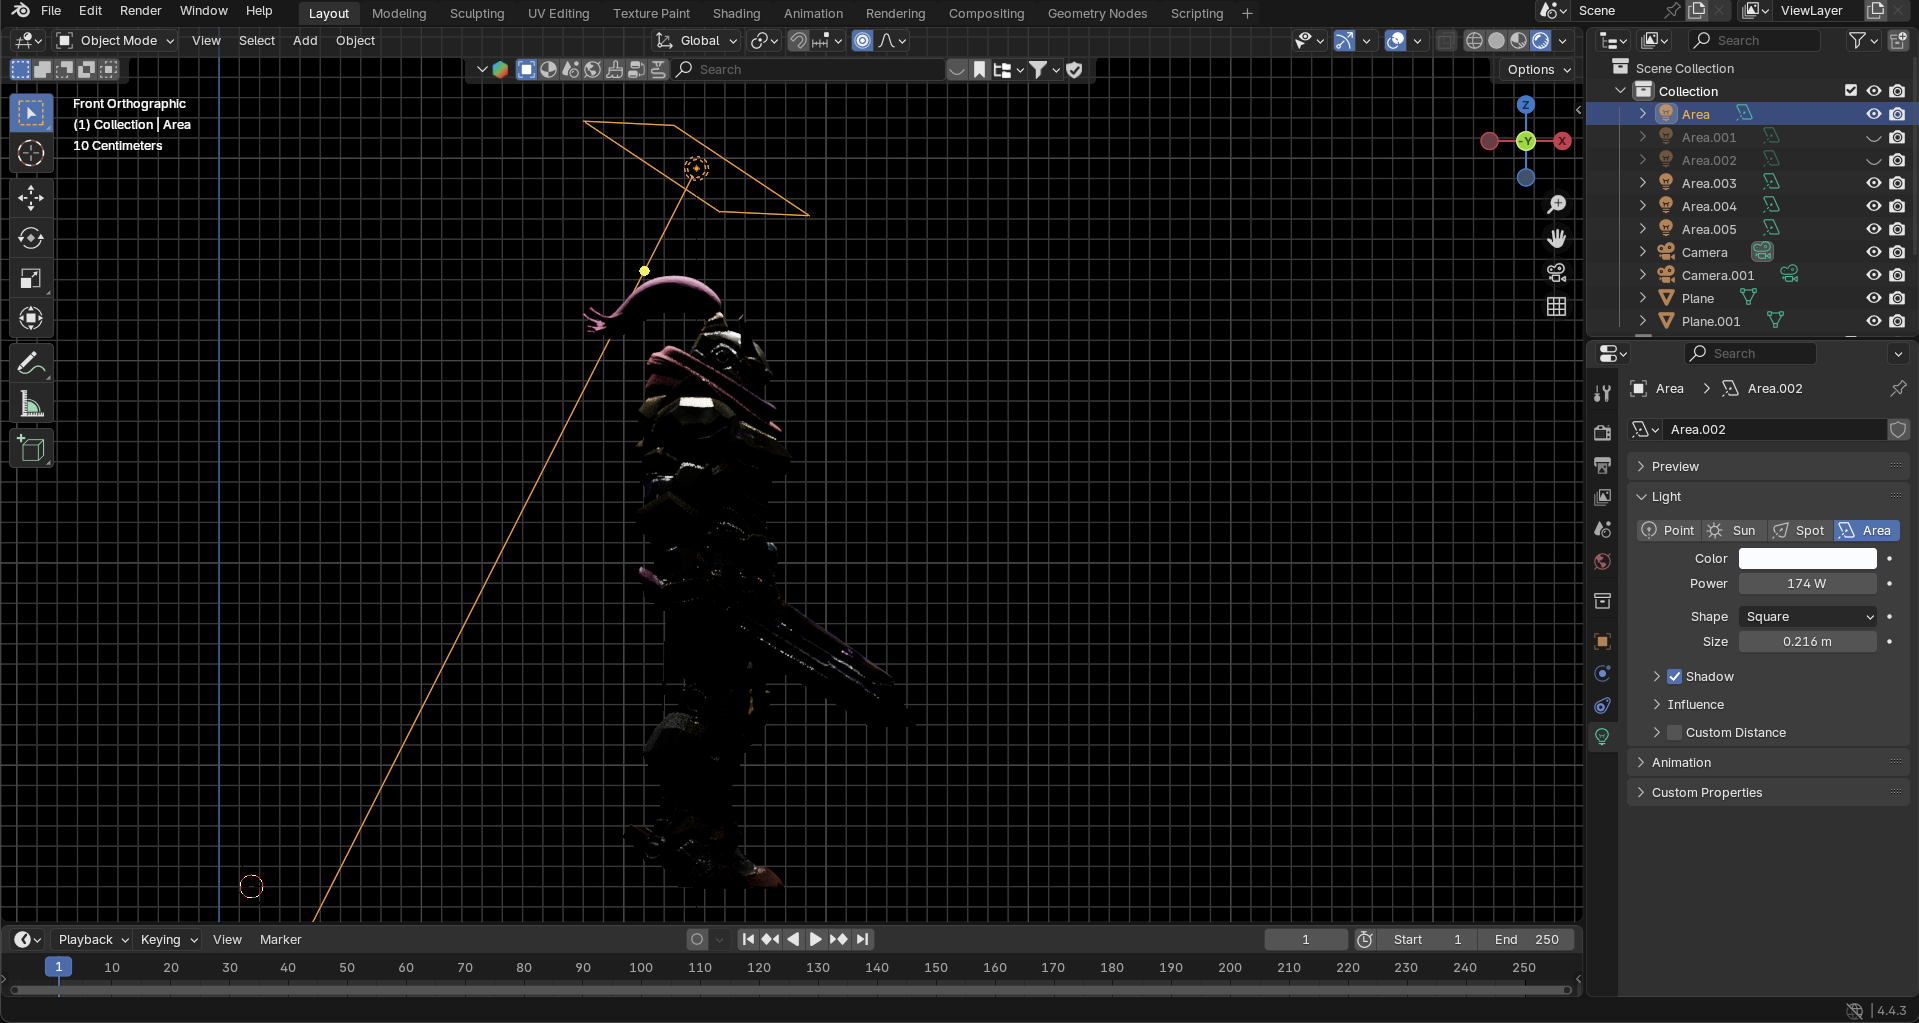
- Tilt it toward both the model and backdrop
- Scale it large (S key, 3-5x) for soft, wraparound lighting
- Set Power to 100-200W depending on model size
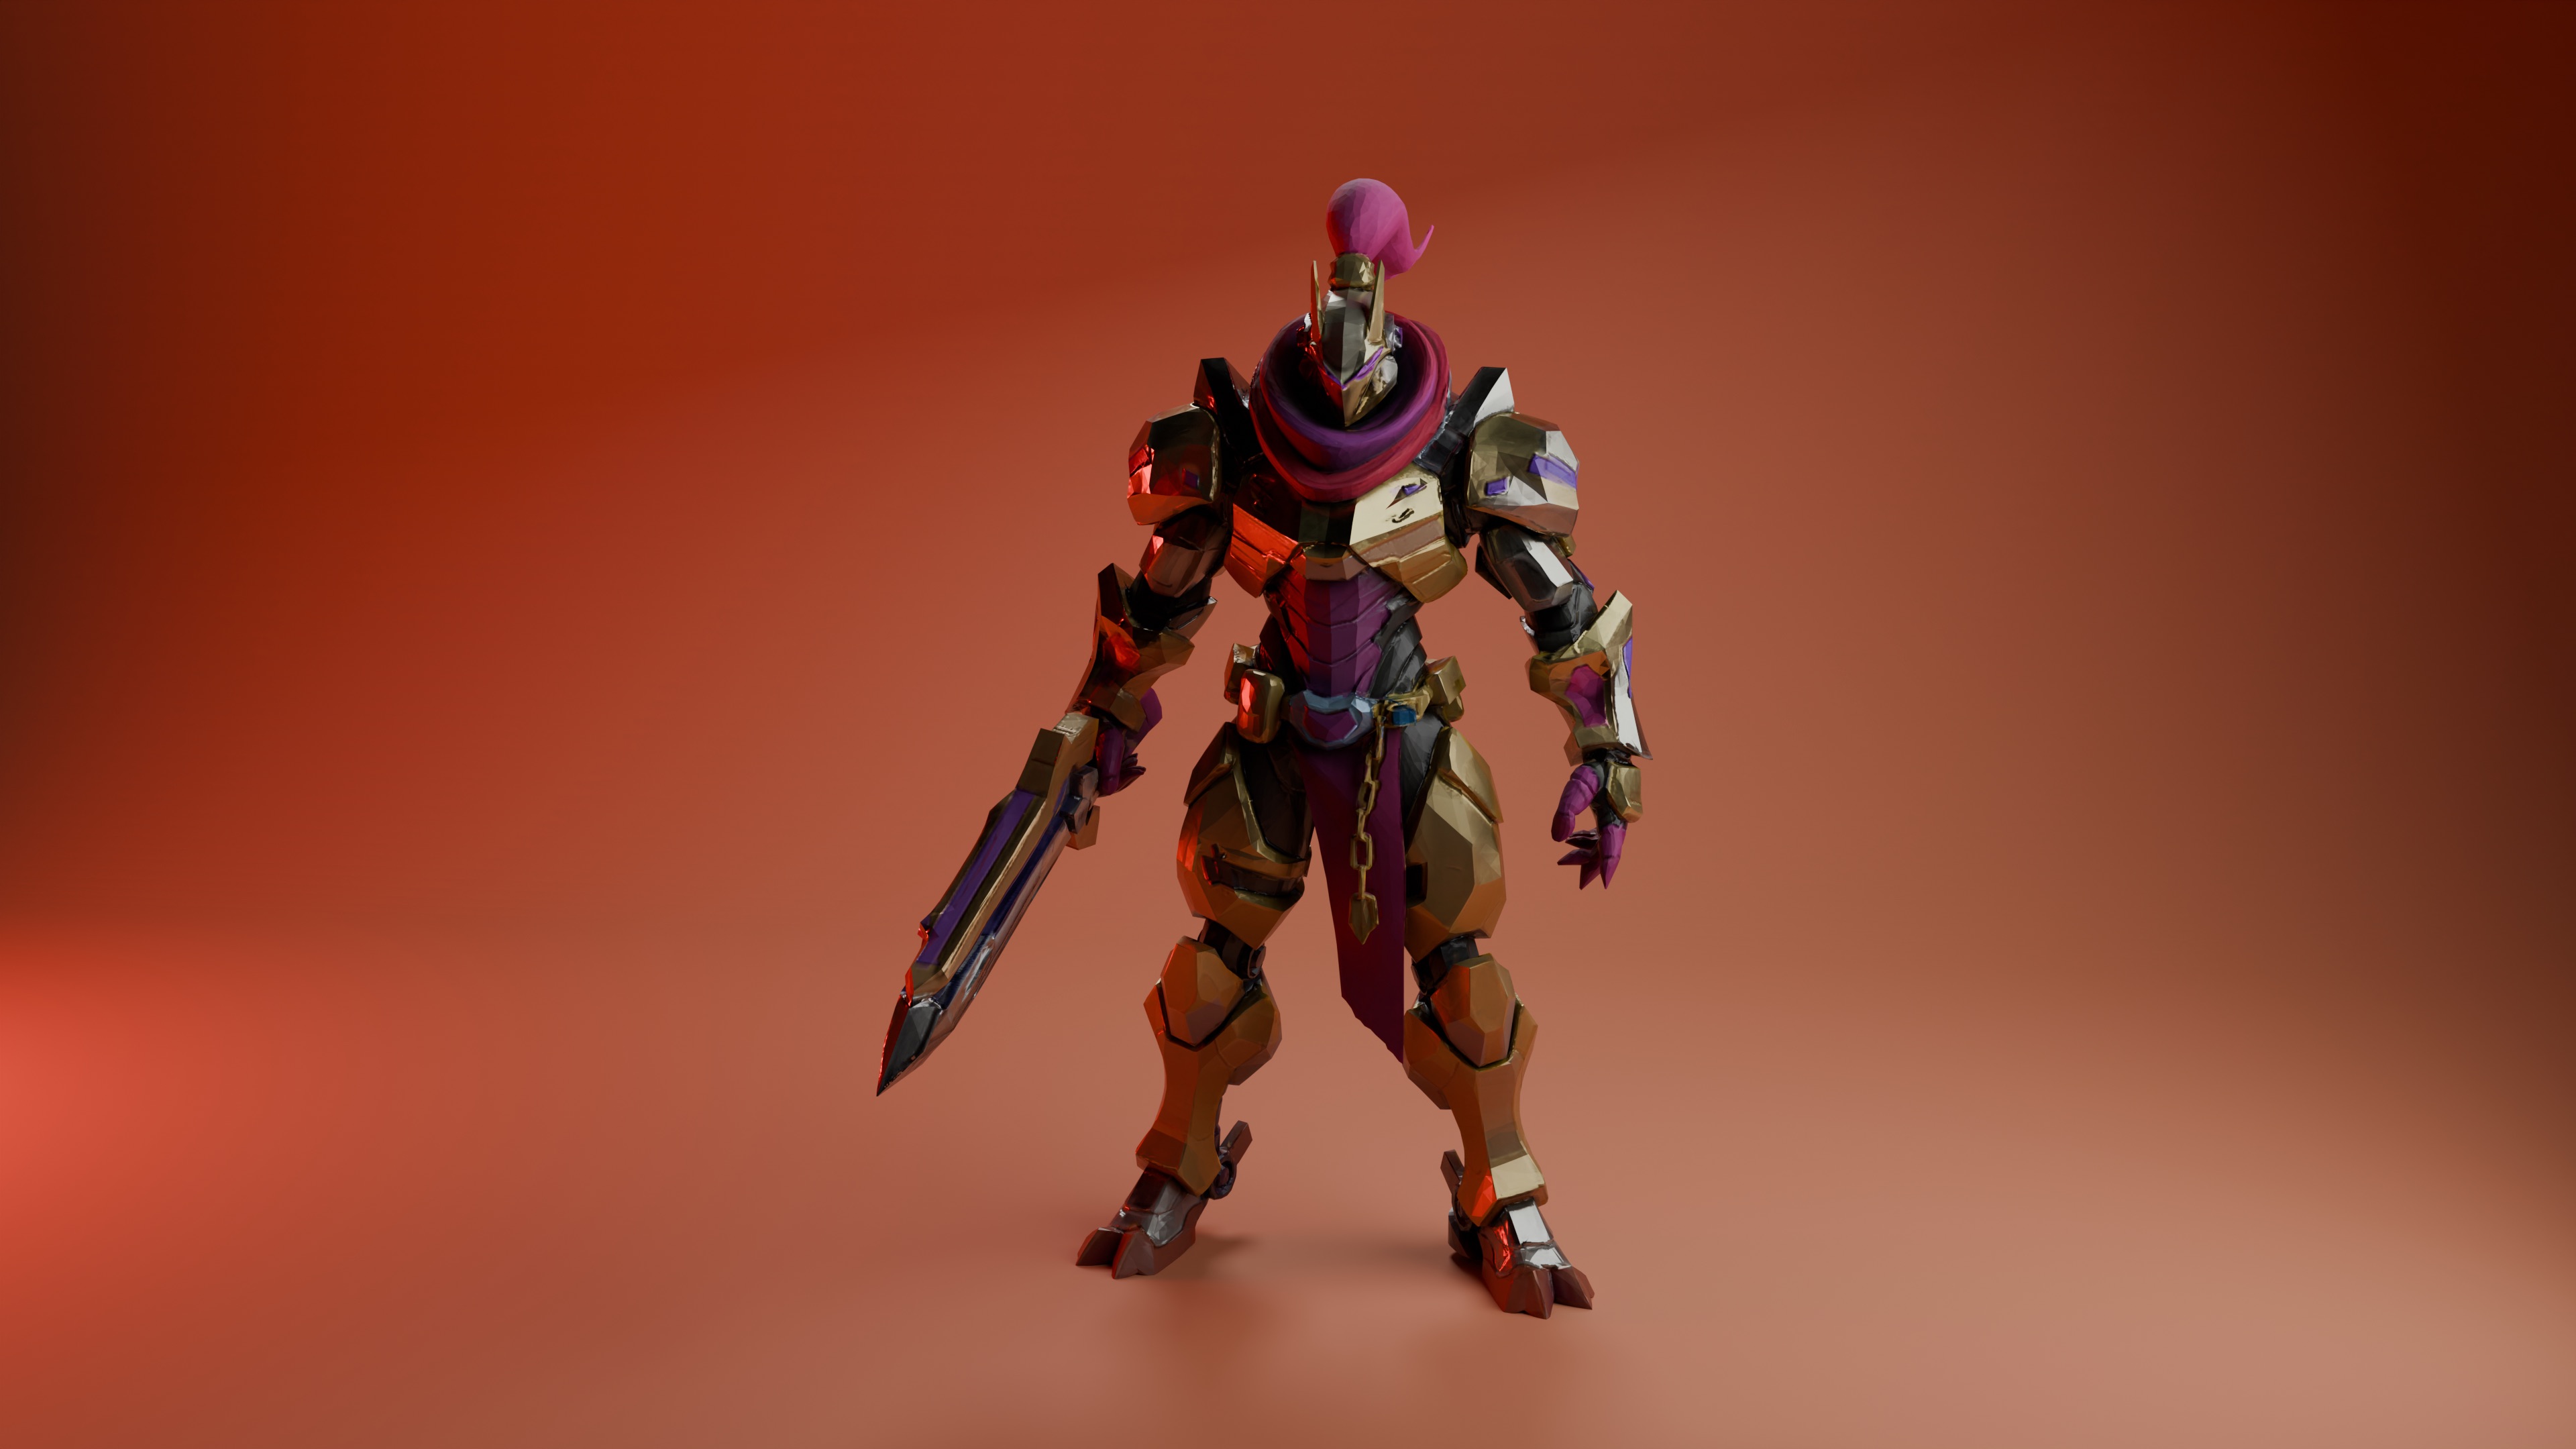
This setup creates beautiful gradient lighting on your backdrop while providing soft, flattering light on your 3D model. The slight back-positioning creates rim lighting that separates your model from the background.
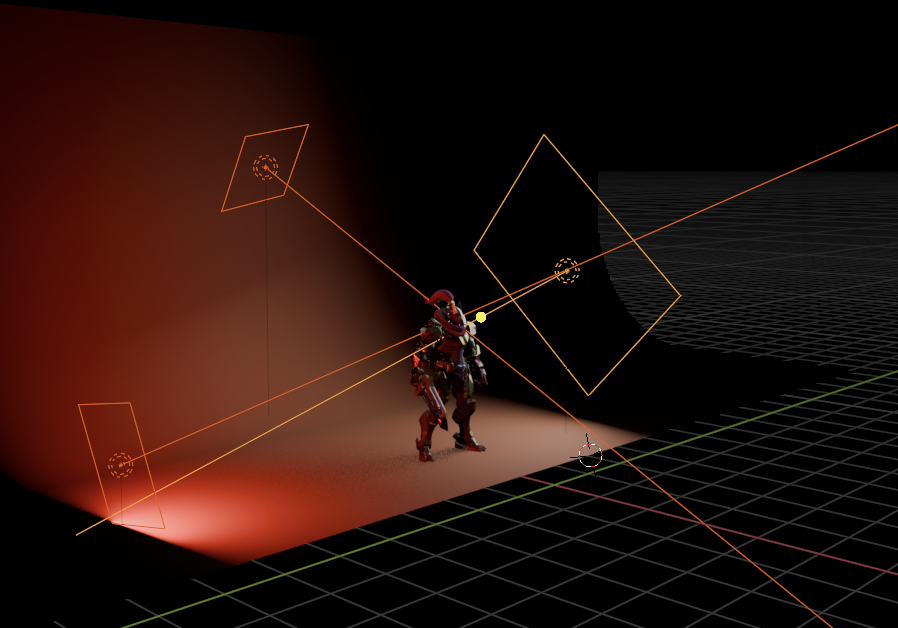
The Classic: Three-Point Lighting Setup
For more complex scenes or when you need precise control, three-point lighting remains the gold standard:
Step 1: Add the Key Light
- Add an Area Light (Shift+A > Light > Area)
- Position it 45 degrees to the side and above your model
- Set Power to 100W (adjust based on your model's size)
- Scale it up (S key) to about 2x for softer shadows
Step 2: Add the Fill Light
- Add another Area Light
- Position it on the opposite side of the key light
- Set Power to 30-50W (less than key light)
- Make it larger than the key light for even softer shadows
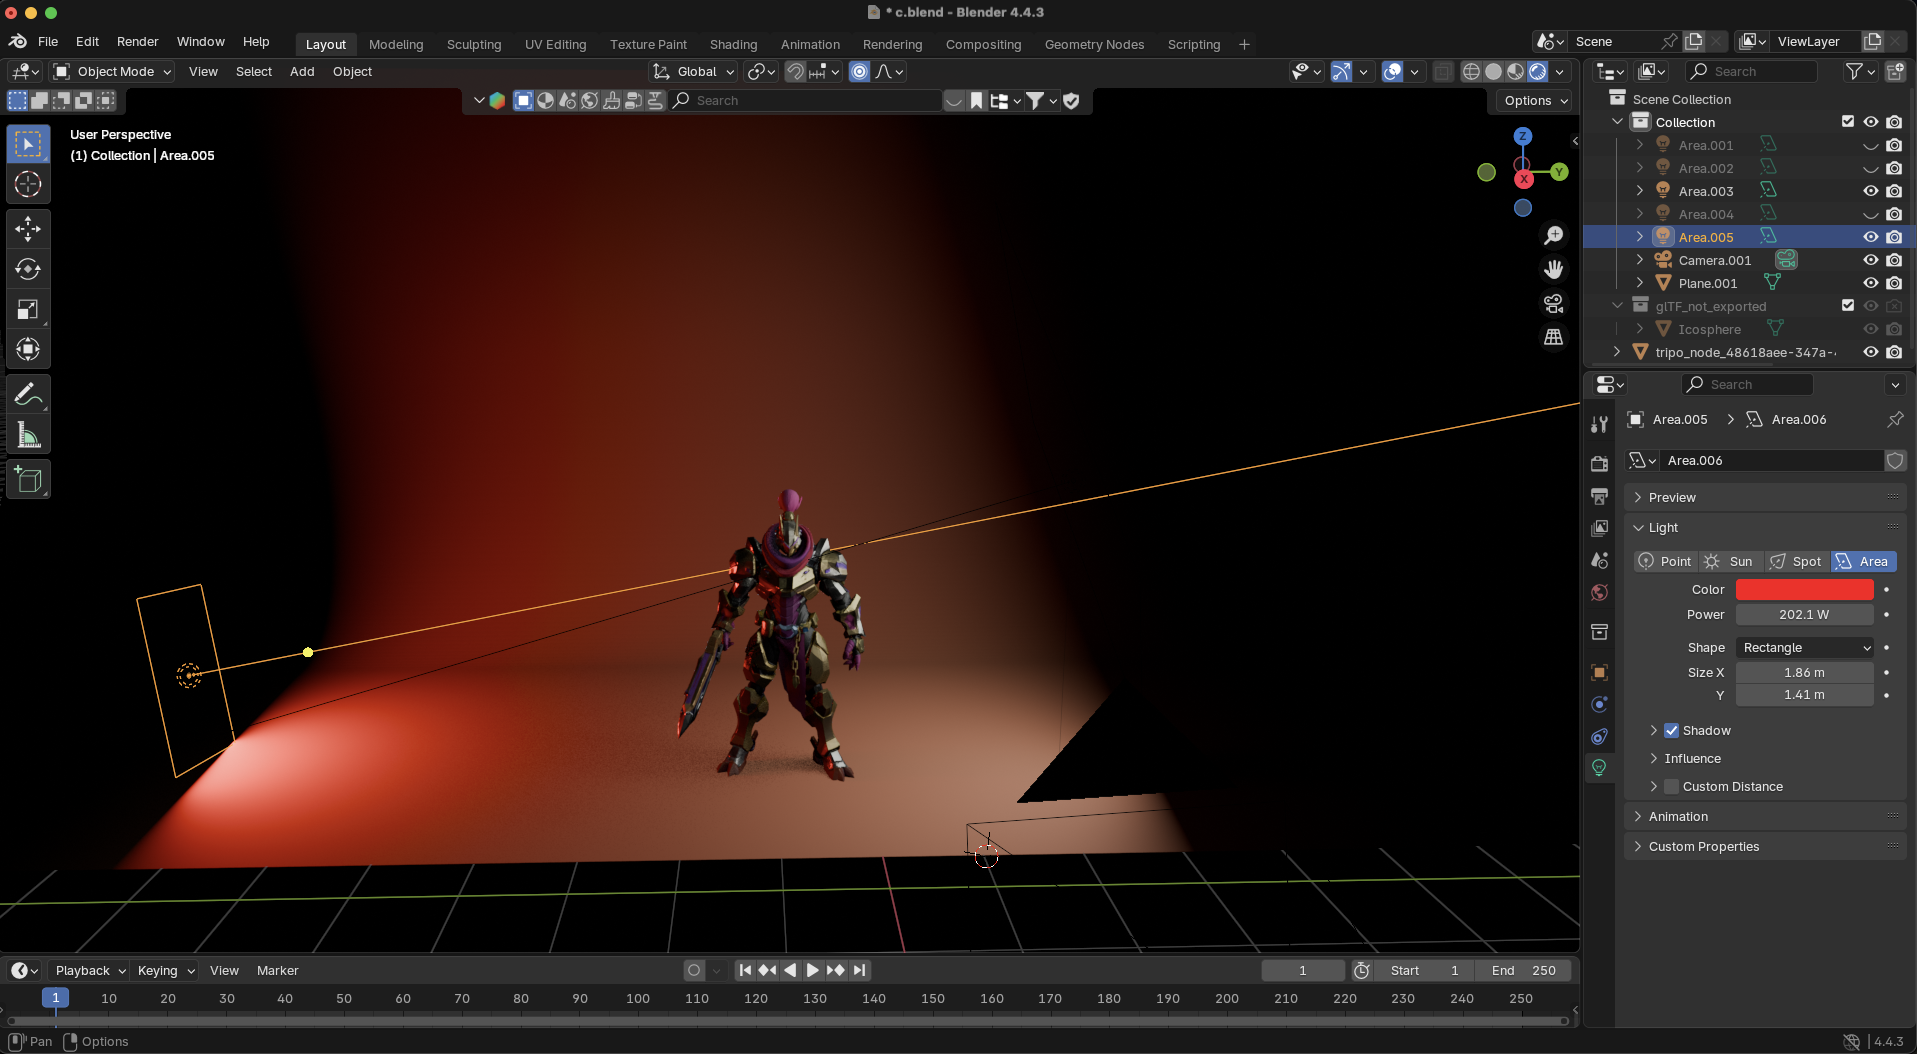
Step 3: Add the Rim Light
- Add a third light (Area or Spot)
- Position it behind and above your model
- Set Power to 150-200W (brighter than key light)
- Aim it at the model's edges to create a subtle outline
Quick Setup Tip: Enable Blender's built-in "Tri-lighting" add-on (Edit > Preferences > Add-ons) for automatic three-point lighting!
Phase 4: Advanced Lighting Tips for AI Models
Creating Atmosphere with Volumetrics
Add drama and depth to your 3D models with atmospheric effects:
- Add a cube and scale it to encompass your entire scene
- In Shader Editor, add a Principled Volume shader
- Set Density to 0.01-0.05 (start low!)
- Position a Spot Light to create visible "god rays"
- In Render Properties > Volumetrics, adjust Step Rate for quality
Adding Visual Interest with Light Textures
Transform simple lights into complex patterns:
- Select any light (works best with Spot Lights)
- In Shader Editor, add an Image Texture node
- Load a black and white pattern (leaves, blinds, abstract shapes)
- Connect to the light's Strength input through a ColorRamp node
- Adjust the ColorRamp to control intensity
This technique, called "gobo" lighting, adds professional polish to your renders and can hide imperfections in AI-generated 3D models.
Rendering Your Lit Model Like a Pro
Now that your AI-generated 3D model is beautifully lit, let's ensure your final render does it justice. The default settings won't showcase all your hard work - here's how to export a professional-quality image:
Setting up for high-quality renders:
- Switch to Cycles for photorealistic output
- Go to Render Properties panel
- Change Render Engine from Eevee to Cycles
- Cycles provides accurate light bounces and reflections
- Increase your resolution
- In Output Properties, change Resolution from 1920×1080 to 3840×2160 (4K)
- For web use, 2560×1440 is a good balance of quality and file size
- Set Resolution % to 100% (default is often 50%)
- Optimize render samples
- In Render Properties > Sampling
- Set Render samples to 512-1024 (default 128 is too low)
- Enable Denoising to clean up any grain
- For quick tests, use 128 samples with denoising
- Export settings for maximum quality
- File Format: PNG for transparency or EXR for maximum data
- Color Depth: 16-bit for better gradients
- Compression: 15% (maintains quality while reducing file size)
- Final render checklist
- Press F12 to render (or Render > Render Image)
- Save with Image > Save As (not Save - that saves the .blend file!)
For animations: Set frame rate to 30fps and output as FFmpeg video
Pro tip: Create a render preset by saving these settings. Next time you work with image to 3D conversions, you'll have professional settings ready to go!

Quick Lighting Recipes for Common AI Model Types
Character Models
Use three-point lighting with warm key light (3500K)
Add subtle rim lighting to define silhouette
Consider adding a subtle fill from below for heroic look
Product Visualization
Use the studio backdrop setup for clean presentation
Single large area light slightly behind the product
Black world background for dramatic effect
Add subtle second light for fill if needed
Architectural Models
Use Sun Light for exterior shots
Multiple area lights for interior spaces
Add emission shaders to windows for realism
Common Lighting Mistakes to Avoid
- Over-lighting: More lights ≠ better results. Start simple!
- Ignoring shadows: Shadows add depth and grounding
- Wrong color temperature: Mix warm and cool lights for visual interest
- Forgetting scale: Adjust light size based on your model's scale
- Uniform intensity: Vary your light strengths for dynamic results
- Skipping the backdrop: A proper backdrop elevates the entire presentation
Optimizing Render Settings for AI Models
Since AI 3D model generators can produce high-poly models, optimize your renders:
For Eevee:
- Enable Screen Space Reflections
- Turn on Ambient Occlusion
- Use Bloom for slight glow on highlights
For Cycles:
- Start with 128 samples for tests
- Use 512-1024 samples for final renders
- Enable Denoising to reduce render times
Conclusion: Your Next Steps
Congratulations! You now have the knowledge to transform any AI-generated 3D model from flat to fantastic using Blender's lighting tools. Whether you choose the simple studio setup or the classic three-point approach, remember that great lighting is about experimentation - try different setups, mix techniques, and develop your unique style.
The journey doesn't stop here. Once you've mastered lighting, consider exploring how textures interact with your lights, or take your beautifully lit models to the next level with animation.
Ready to create your next masterpiece? Fire up Blender, import that 3D model from your favorite AI 3D model generator, and start experimenting with these lighting techniques. The difference will be night and day - literally!
Join the community of 2+ million creators already using Tripo AI to bring their ideas to life. Try Tripo Studio today and see how our image to 3D technology combined with these lighting techniques can elevate your 3D art to professional standards!
You May Also Like: More About Image to 3D Model
Master the art of AI-generated 3D models with Tripo3D. This guide provides step-by-step instructions on setup, model exporting, and troubleshooting, helping you streamline and enhance your 3D workflow.
Discover how Tripo, the AI-driven 3D model generator, transforms your photos into highly detailed 3D models effortlessly.
Explore how AI technology transforms a simple image into a detailed 3D model. Learn about the tools, techniques, and industries that benefit from this fascinating process.
