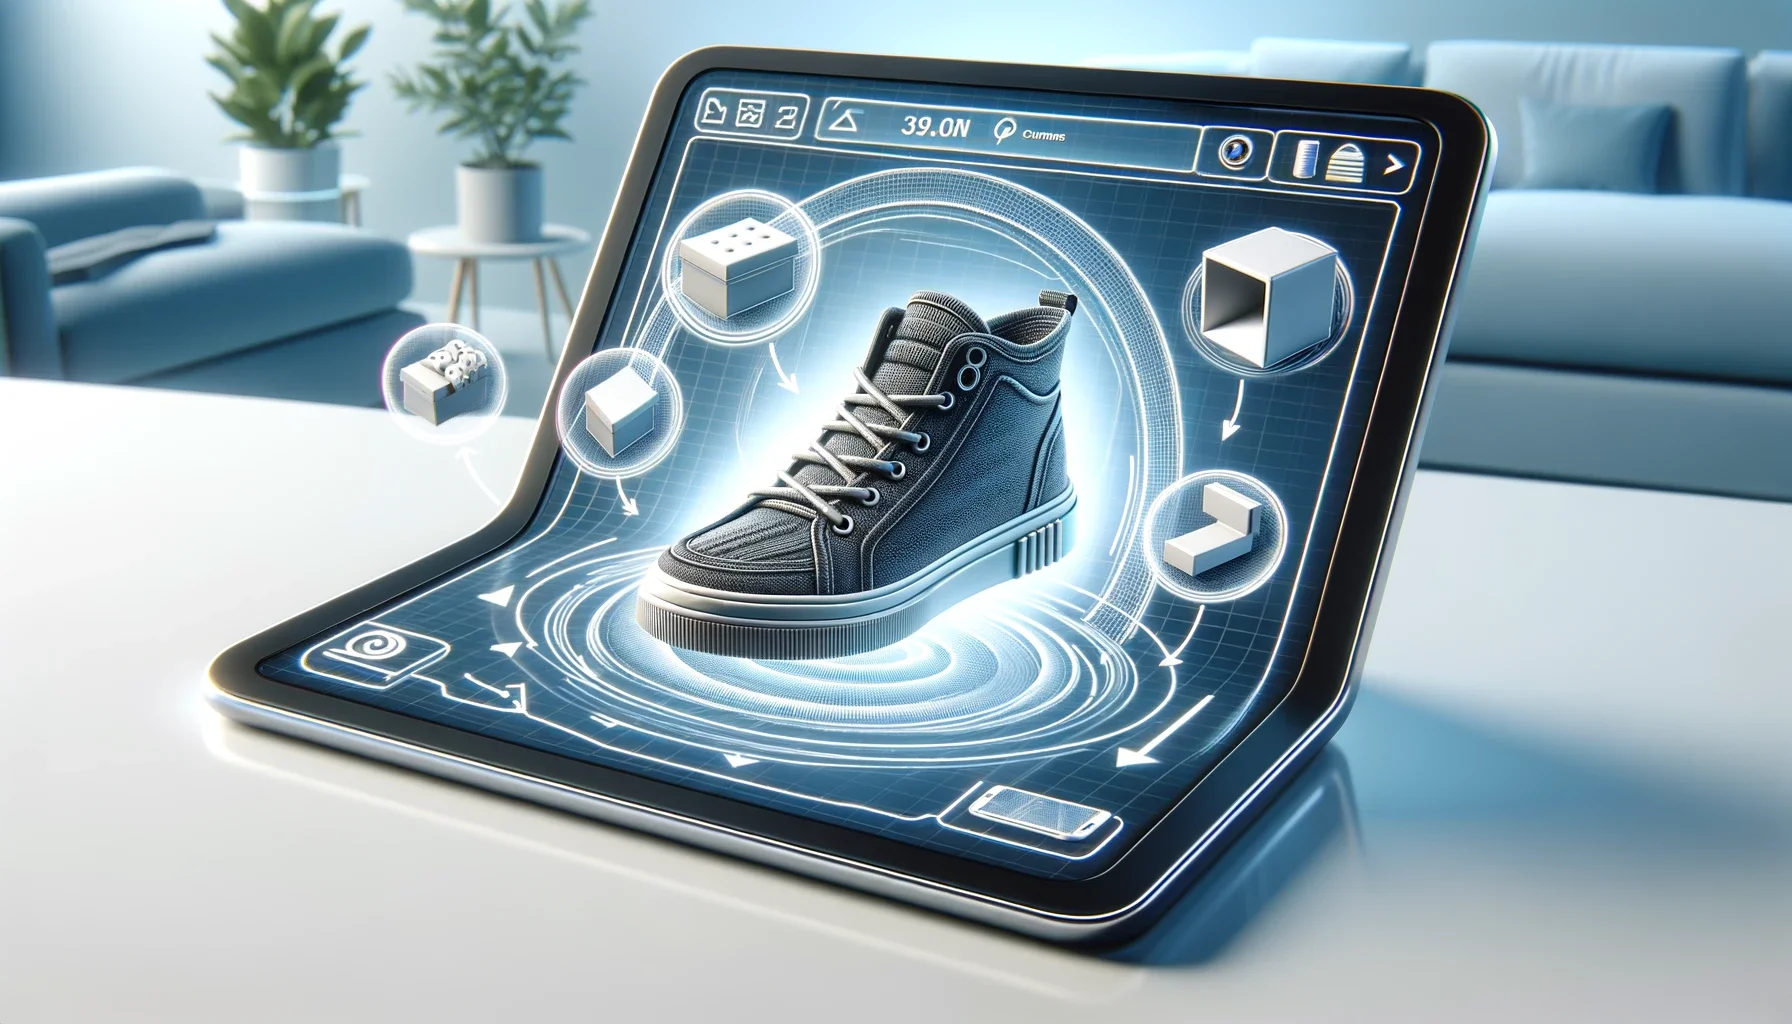
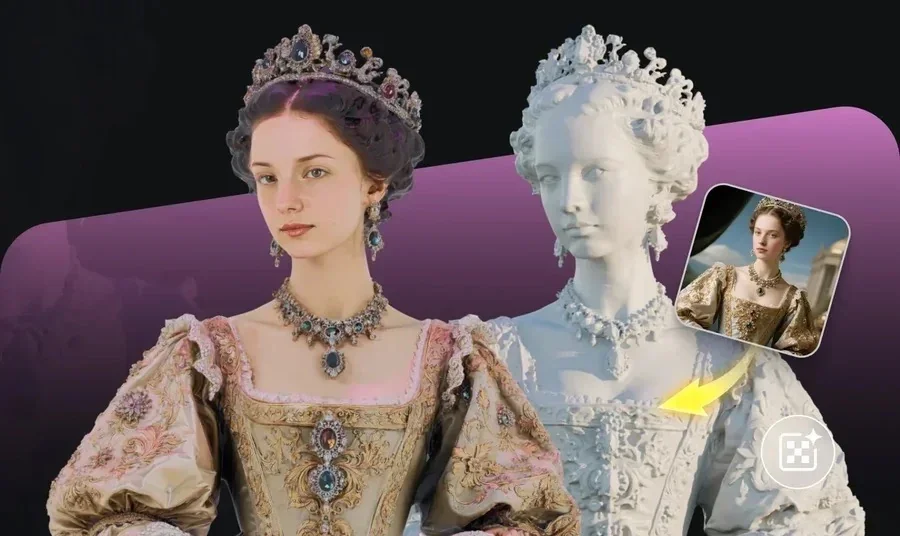
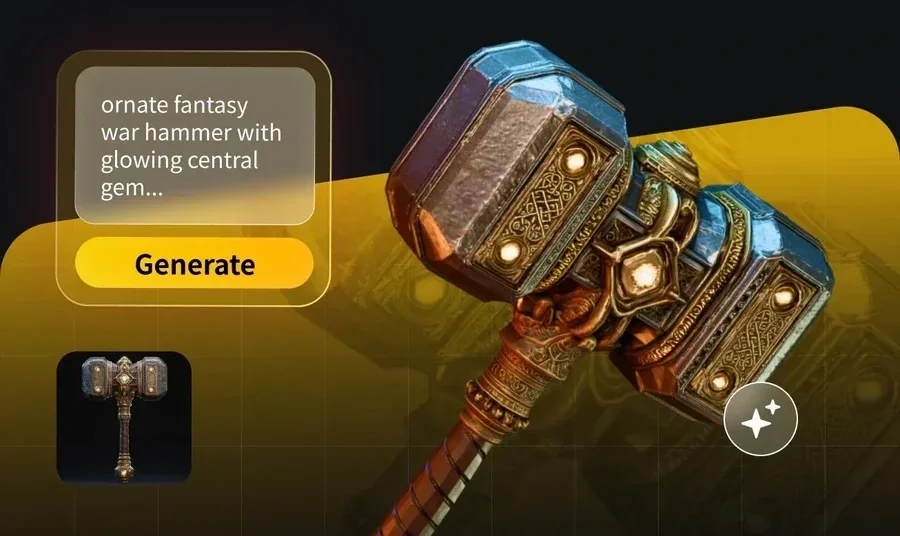
How do I turn one to three photos into an accurate 3D model with AI?
You can turn one to three photos into an accurate 3D model by shooting clean, well-lit angles, feeding them to an image-to-3D tool, and then checking and cleaning the reconstruction before export. Each extra photo you add from a different angle removes guesswork, so three good views usually reconstruct a noticeably more faithful shape than a single front shot. Tripo is a 3D foundation model that reconstructs geometry from reference photos and carries the model through texturing and export in one workspace. This guide walks through shooting the photos, running the reconstruction, and finishing the model so it holds up as an accurate asset.
How AI reconstructs a model from a few photos
An image-to-3D tool reads your photos and infers a full 3D shape from the parts it can see, filling the rest with learned shape priors. With one photo, it sees only the camera-facing faces and estimates everything behind them. With two or three photos from different angles, it gets direct evidence for more of the surface, which tightens the reconstruction where a single view would guess.
That's why the number and spread of your photos matters more than raw megapixels. A front, a side, and a three-quarter view describe an object far better than three near-identical front shots. The practical takeaway is to spend your one to three photos on distinct angles that reveal different parts of the form, since coverage drives accuracy more than resolution does.
What "accurate" means for a photo reconstruction
Accuracy in this context is not a laser-measured copy, and it helps to set the bar correctly before you start. These are the qualities a good few-photo reconstruction should hit.
- Correct proportions: the overall dimensions and silhouette match the real object across all your angles.
- Faithful major features: the defining shapes, like a handle, a spout, or a character's pose, read clearly in the mesh.
- Clean visible surfaces: the faces your photos covered come back smooth and free of obvious artifacts.
- Plausible hidden areas: the parts no photo saw are inferred sensibly, ready for a quick touch-up if needed.
Judgment: aim for a faithful, usable base rather than a perfect scan, because a strong reconstruction plus a short cleanup pass beats chasing measurement-grade accuracy from a handful of photos.
Meet Tripo Studio: from photos to a finished, accurate model
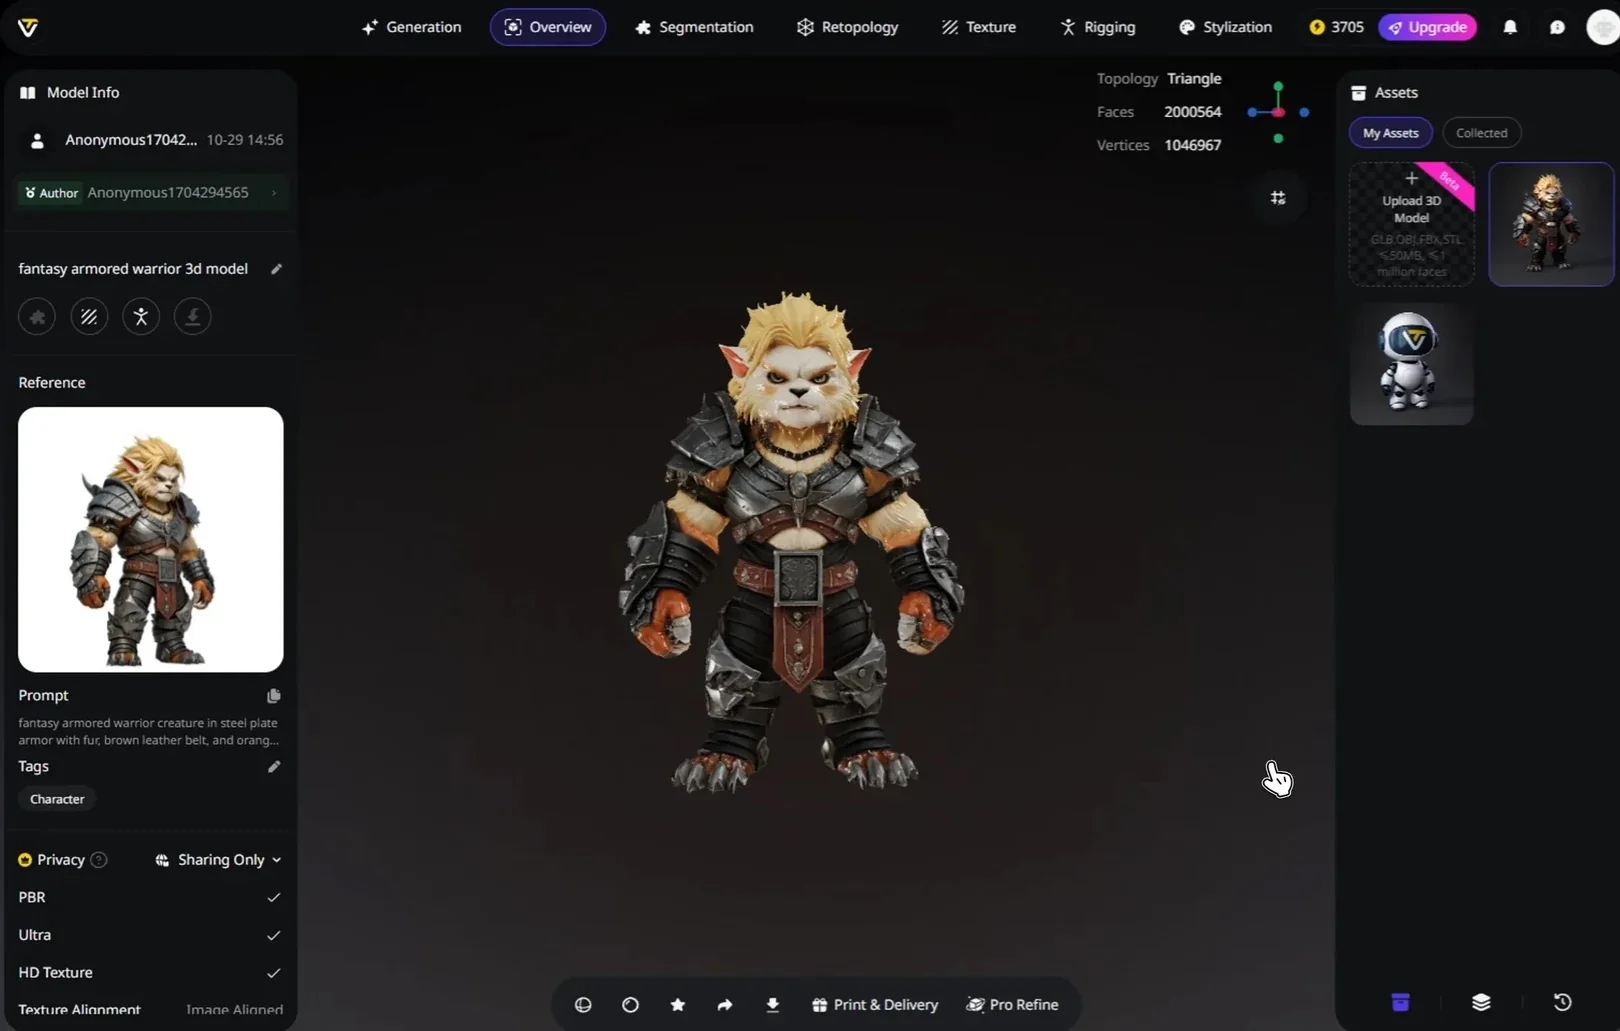
Tripo Studio is an all-in-one web workspace where a few reference photos become a full 3D model, then move through topology, texturing, and export without a tool switch. For makers reconstructing real objects, the value is that the accuracy you earn from good photos carries straight into a usable asset. Reconstruction quality comes from Tripo v3.1, a model trained on a 40-million-asset 3D database, which holds crisp edges on hard-surface objects where accuracy is easiest to lose.
The workspace maps each capability to a step in a photo-to-model job:
- Image-to-3Dreconstruction: feed one to three photos and reconstruct a full 3D shell, with control over mesh resolution.
- High-detail modeloutput: raise resolution on parts your photos captured in fine detail, so the reconstruction respects the source.
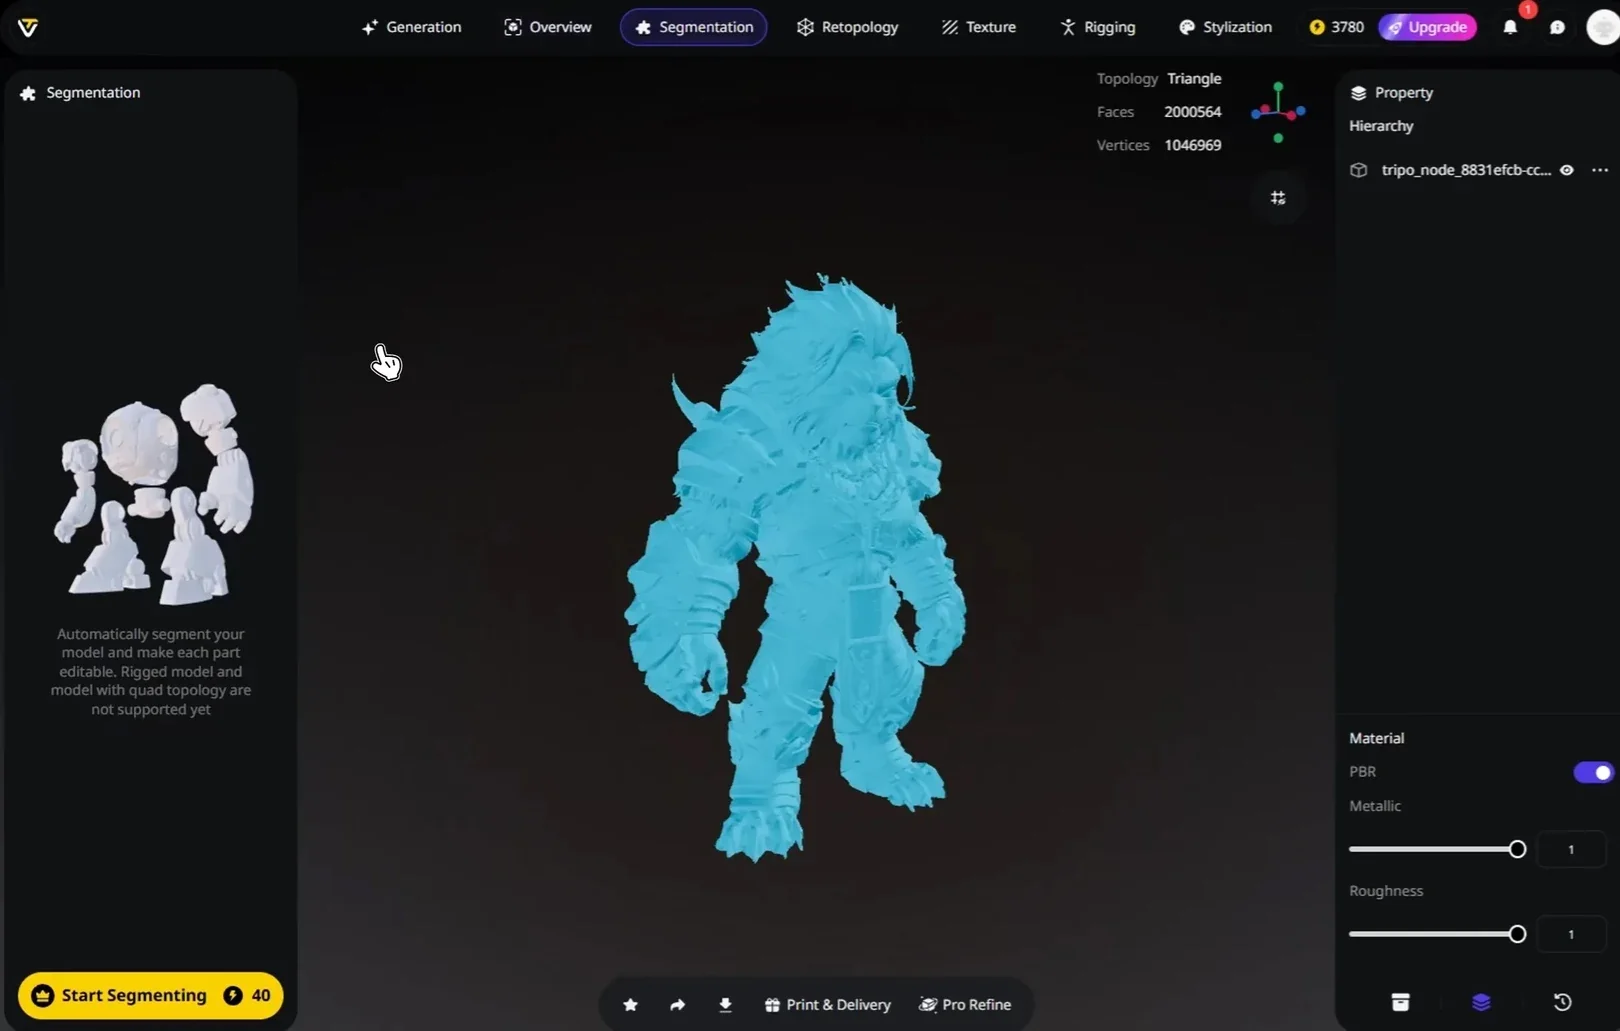
- Segmentationwith Part Completion: after splitting the model into parts, complete geometry your photos couldn't reach, like the inside of a cut or an occluded back.
- AI texturingwith PBR: generate materials from your reference photos, then upscale textures to 4K.
- Retopology and export: set Triangle or Quad topology and a polygon budget, then export GLB or FBX with a Bottom-Center Pivot.
Two strengths matter for photo reconstruction. Precision comes from v3.1 geometry, which reconstructs a clean base from good photos rather than a soft blob. Efficiency comes from finishing the model in the same workspace, so an accurate reconstruction doesn't degrade moving between tools. For anyone judging image-to-3D on faithfulness, a reconstruction that stays accurate through texturing and export is the part to rely on.
Shooting one to three photos for the best reconstruction
The photos set the ceiling on accuracy, so a few minutes of care pays off. These six habits produce reference shots that reconstruct cleanly.
- Spread your angles. Use a front, a side, and a three-quarter view rather than three shots from the same spot.
- Light evenly. Soft, even light avoids harsh shadows that the tool can bake into the surface.
- Use a plain background. A clean, contrasting backdrop helps the tool separate the object from its surroundings.
- Fill the frame consistently. Keep the object at a similar size and centered in each shot so no angle dominates.
- Hold the camera steady and level. Avoid tilt and motion blur, which distort proportions and add noise.
- Capture the defining features. Make sure at least one photo shows each part that matters, since the tool can only reconstruct what it sees.
Judgment: three clean, well-spread photos reconstruct better than a dozen careless ones, so prioritize angle coverage and lighting over sheer photo count.
One photo, two photos, or three
The right number of photos depends on the object and your accuracy target, and more is not automatically better. One photo suits a roughly symmetric object shot from its most descriptive angle, where the tool can infer the rest with little risk. Two photos help when a side profile carries information the front hides, like the depth of a bag or the curve of a helmet. Three photos earn their place on asymmetric objects, where a top view reveals a footprint the front and side both miss.
Think about what each additional photo actually adds before you take it. A second photo from nearly the same angle as the first repeats information and does little, while one from a genuinely different direction resolves real ambiguity in the shape. The same logic applies to the third photo, which should cover a face the first two left unseen rather than a slightly better version of one you already have. Judgment: spend your one to three photos on distinct, non-overlapping angles, since coverage of unseen faces is what raises accuracy, not the raw number of shots you upload.
This also affects how you spend your time in review. A single-photo reconstruction needs the most inspection on its hidden back and sides, since those were pure inference. A three-photo reconstruction usually needs the least, because more of the surface came from direct evidence, which is worth remembering when you decide how carefully to check each model.
From photos to an accurate asset: a practical workflow
This sequence turns a small set of photos into a finished, engine-ready or print-ready model. Follow the six steps in order.
- Shoot your references. Capture one to three clean, evenly lit angles that cover the object's key features.
- Reconstruct with image-to-3D. Upload the photos and pick a mesh resolution that matches the detail you need.
- Check against the real object. Compare the reconstruction to your photos from every angle, and regenerate if proportions drift.
- Fix hidden areas. Use segmentation and Part Completion to close geometry your photos couldn't reach.
- Texture and refine. Generate PBR materials from your references, and upscale to 4K for close-up use.
- Export. Write GLB or FBX with the right pivot, ready for a game engine, a renderer, or a 3D printer.
Run this loop, and the accuracy you invest in shooting stays intact all the way to the exported file.
Bonus tips: getting more accuracy from limited photos
When you can only manage a couple of photos, a few extra habits help the reconstruction along. These apply to any few-photo job.
- Prioritize the profile. If you get only two photos, make one a clear side profile, since it pins down proportions the front hides.
- Avoid reflective and transparent surfaces. Glass and mirrors confuse reconstruction, so matte the surface or accept a touch-up.
- Keep the object still. Photograph a static subject so features line up across angles.
- Match the lighting across shots. Consistent light helps the tool reconcile the views into one surface.
- Texture the fine detail. Reconstruct the major form, then let PBR texturing carry small surface detail rather than expecting it as geometry.
Treat these as first-pass insurance, and even a two-photo shoot can produce a reconstruction worth finishing.
Getting your first accurate reconstruction
Turning one to three photos into an accurate model comes down to covering the object with distinct, clean angles, reconstructing with an image-to-3D tool, and finishing the result before export. Tripo pairs v3.1 reconstruction quality with an in-workspace pipeline, so the accuracy from your photos carries through Part Completion, texturing, and export without degrading between tools. Spread your angles, light evenly, and check the reconstruction against the real object before you commit. To reconstruct your own object from a few photos, open Tripo Studio and start with image-to-3D.