How to Create and Optimize Evade Roblox 3D Models
Creating high-quality 3D models for Evade in Roblox can be surprisingly efficient with the right approach and tools. In my experience, focusing on platform-specific requirements, leveraging AI-powered workflows, and following best practices for optimization ensures models look great and perform smoothly in-game. This guide is for Roblox developers and 3D artists who want to accelerate their pipeline, reduce technical hurdles, and produce game-ready assets with minimal hassle.
Key takeaways
- Roblox models must be low-poly, well-optimized, and use compatible materials.
- AI-powered tools like Tripo speed up model creation, texturing, and rigging.
- Retopology and polygon count management are crucial for performance.
- Always check export settings and test models in Roblox Studio for compatibility.
- Balancing manual finesse with automation delivers the best results.
Understanding Evade Roblox 3D Model Requirements
What Makes a Model Suitable for Roblox
From my hands-on work, a Roblox-ready model must be lightweight, efficient, and visually clear. Key requirements include:
- Low polygon count: Roblox has strict limits for real-time performance.
- Compatible textures: Stick to PNG or JPEG, and avoid complex shaders.
- Simple rigging: Use straightforward bone structures for character models.
- Scale and orientation: Match Roblox’s units and axis conventions.
Before starting, I always check the latest Roblox documentation to avoid surprises later in the pipeline.
Common Challenges in Roblox Model Creation
Roblox’s constraints often trip up new creators. The main issues I’ve encountered:
- Too many polygons: Causes lag or import errors.
- Unsupported materials or shaders: Leads to broken visuals.
- Improper scaling: Models appear too large or small in-game.
- Animation glitches: Due to complex rigs or unsupported controllers.
Tips:
- Use reference models from Roblox’s library for scale and structure.
- Test early and often in Roblox Studio to catch issues before final export.
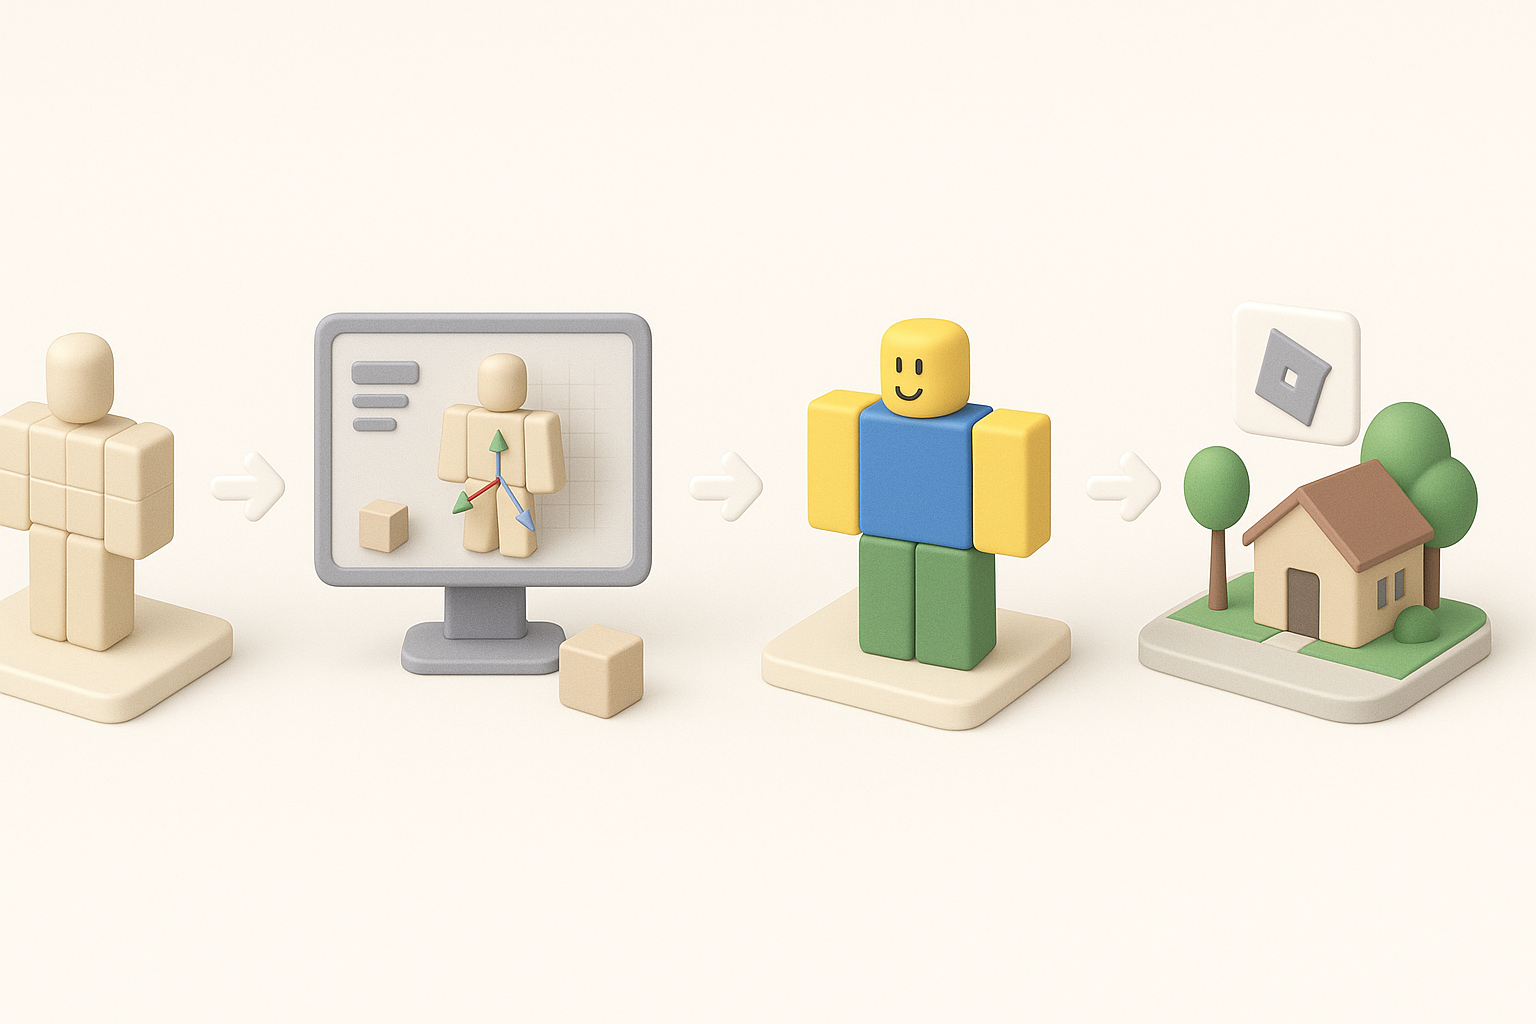
Step-by-Step Workflow for Building Evade Roblox 3D Models
Conceptualizing and Planning the Model
Every successful model starts with clear planning. My process:
- Reference gathering: Collect images or sketches of the desired Evade asset.
- Block out shapes: Quickly sculpt the main forms, focusing on silhouette.
- Define details: Only add features essential for gameplay readability.
I recommend sketching or using simple primitives to map out proportions before diving into full modeling.
Using AI-Powered Tools for Rapid Model Generation
AI-driven platforms like Tripo have transformed my workflow:
- Input: Upload a sketch, reference image, or text description.
- Generation: Let the AI create a base mesh with automatic segmentation.
- Editing: Tweak geometry and apply initial textures within the same tool.
This approach saves hours, especially for iterative design. I always review the AI output, making manual adjustments for style or gameplay fit.
Quick steps:
- Start with a clear prompt or image.
- Use built-in segmentation for clean part separation.
- Export the base mesh for further refinement if needed.
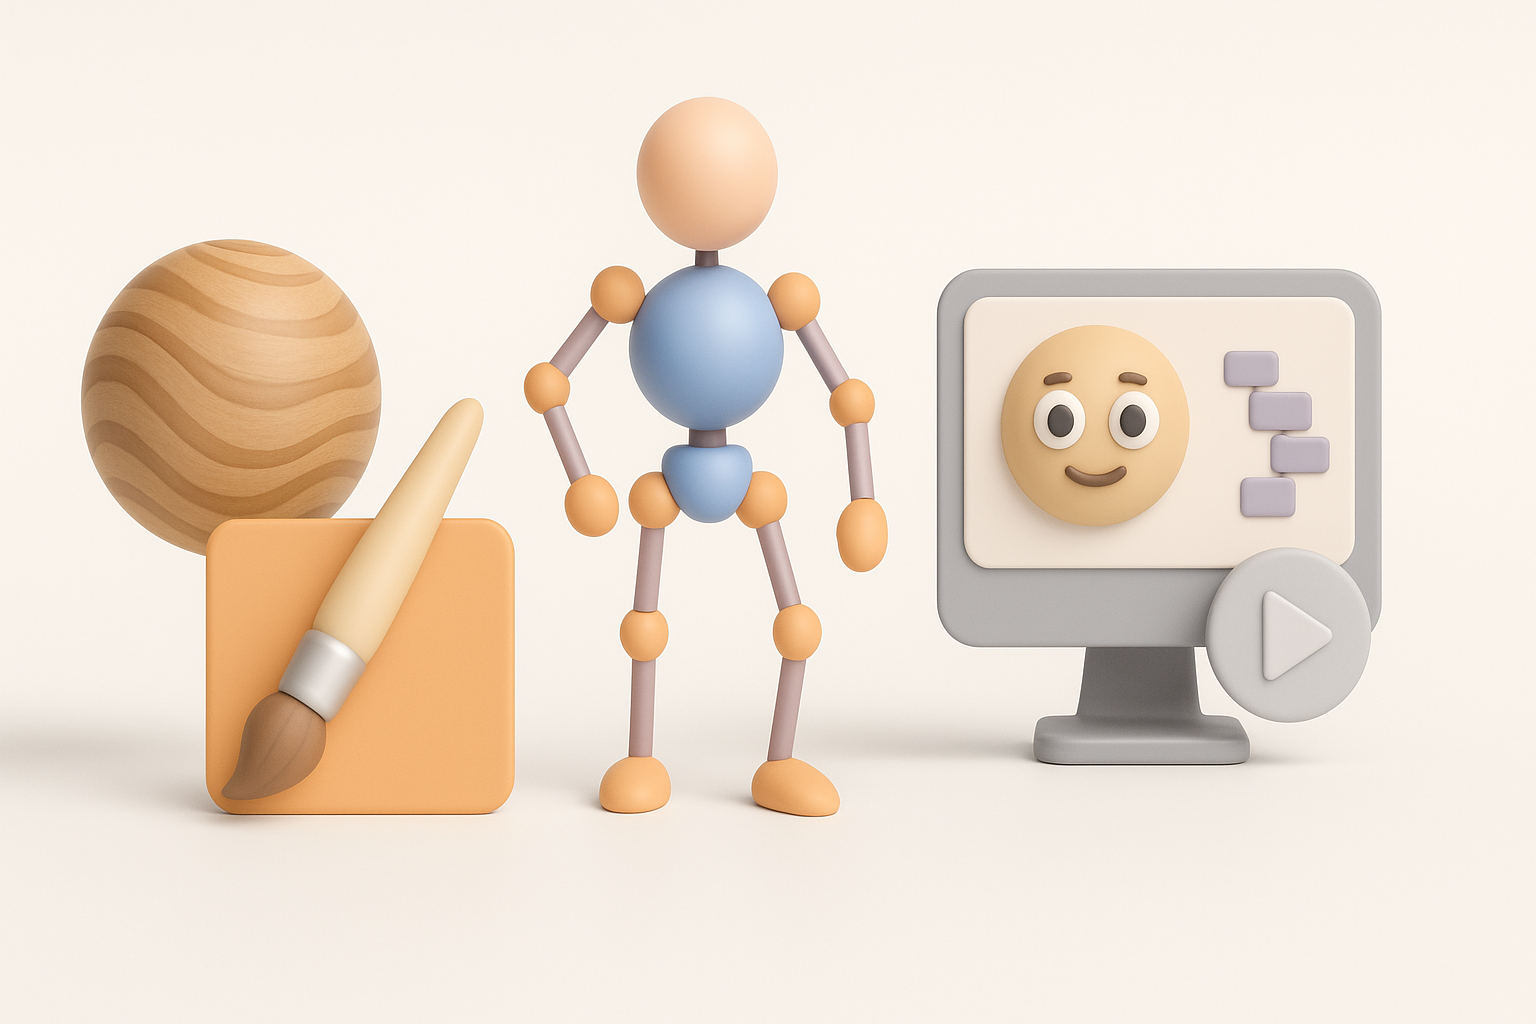
Best Practices for Texturing, Rigging, and Animation
Efficient Texturing Techniques for Roblox
Texturing for Roblox is about clarity and efficiency. My best practices:
- Keep texture sizes small: 256x256 or 512x512 is usually enough.
- Use flat colors or simple gradients: Avoid heavy detail that won’t show at game scale.
- Atlas textures: Combine multiple textures into a single image to reduce draw calls.
I often use Tripo’s texture generation tools to get a quick base, then fine-tune in Photoshop or a similar editor.
Checklist:
- Check texture dimensions and compression.
- Preview textures in Roblox Studio for color accuracy.
Rigging and Animation Tips for Game Integration
Roblox supports basic skeletal rigs and simple animations. What works for me:
- Minimal bones: Only rig what’s necessary for movement.
- Consistent naming: Use clear bone names for easy scripting.
- Export as FBX: Ensure animation data is included.
For animation, I keep cycles short and readable. Testing in Roblox Studio is essential—sometimes, I need to adjust root motion or frame rates for best results.
Pitfall: Overcomplicating rigs causes import issues or performance drops.
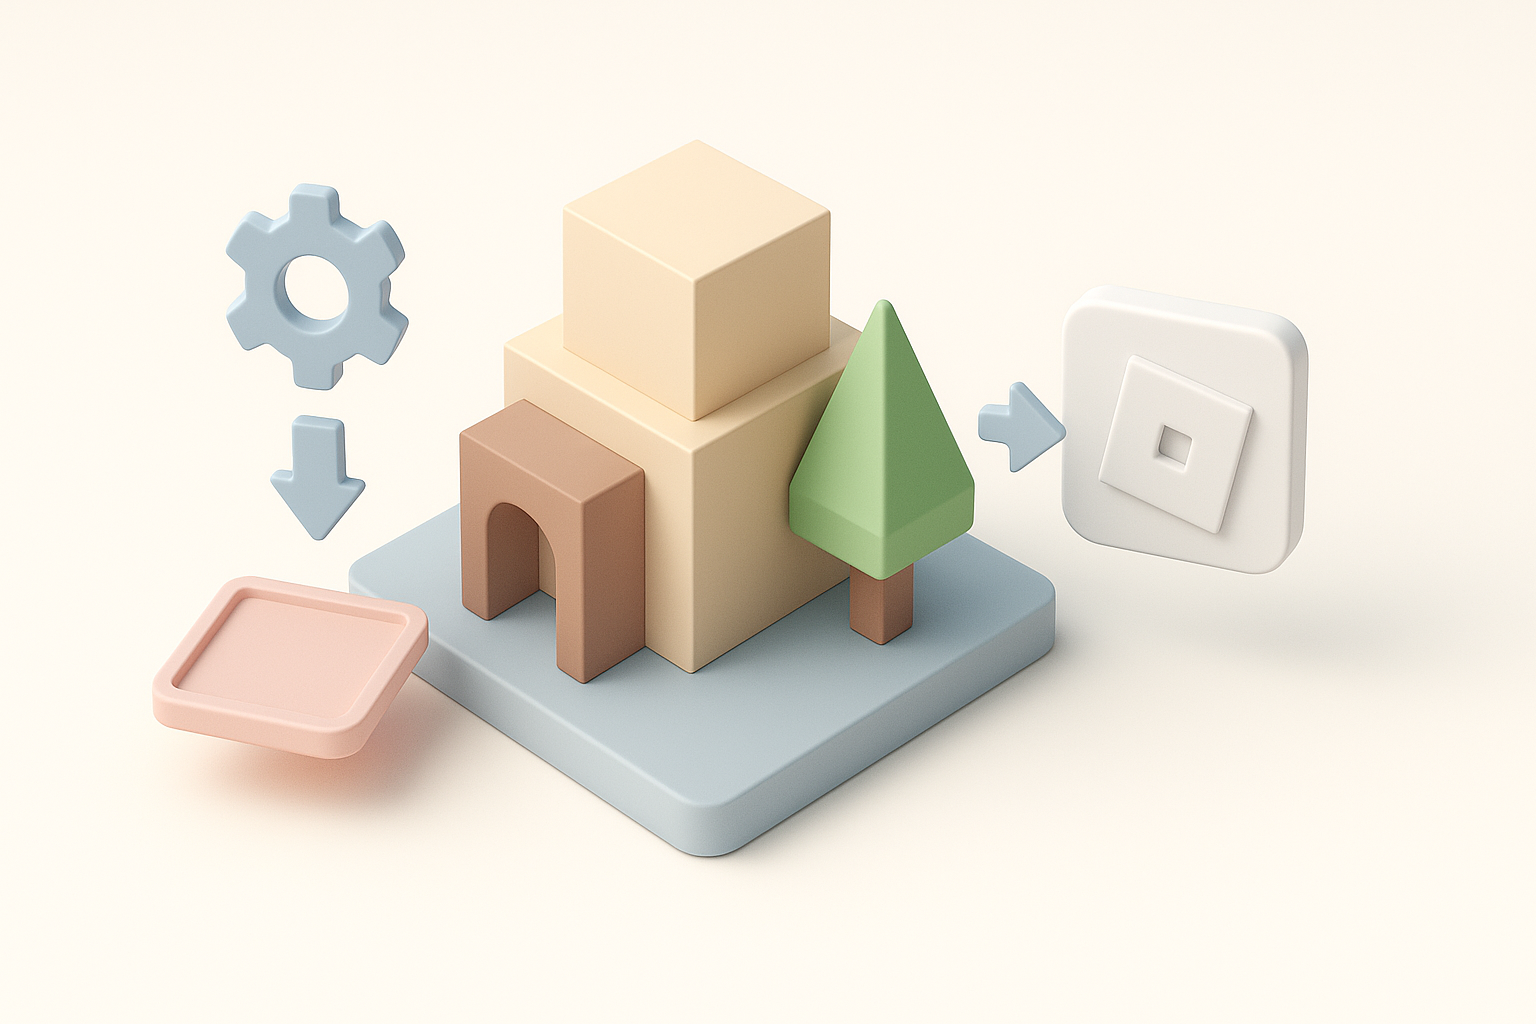
Optimizing and Exporting Models for Roblox
Retopology and Polygon Optimization
Optimization is non-negotiable for Roblox. My steps:
- Retopology: Use automated tools in Tripo to reduce unnecessary geometry.
- Manual cleanup: Check for hidden faces, stray vertices, or overlapping UVs.
- Target polycount: For props, under 2,000 triangles; for characters, under 5,000.
I always run a final check in a 3D viewer before export.
Export Settings and Compatibility Checks
Exporting correctly is just as important as modeling. My routine:
- Format: Use FBX for models and animations.
- Scale: Match Roblox’s unit system (1 stud = 1 meter).
- Pivot point: Set at the model’s base for easy placement.
Compatibility checklist:
- Test imports in Roblox Studio.
- Check for missing textures or rig issues.
- Review performance in a test scene.
Comparing AI Tools and Alternative Methods
Advantages of AI-Powered 3D Creation Platforms
Having used both manual and AI-assisted workflows, here’s what stands out with AI tools like Tripo:
- Speed: Models are ready in minutes, not hours.
- Integrated pipeline: Segmentation, retopology, and texturing in one place.
- Lower technical barrier: Great for non-experts or rapid prototyping.
I use AI tools for initial drafts and iterate manually for custom polish.
Manual vs Automated Workflows: What I’ve Learned
Manual modeling allows for full artistic control but is time-consuming. Automated workflows:
- Free up time for design and iteration.
- Reduce repetitive technical tasks.
- May require manual tweaks for complex or stylized assets.
My advice: Combine both approaches. Start with AI for speed, then refine manually for quality and game integration.
By following this workflow and leveraging AI-powered tools, creating and optimizing Evade Roblox 3D models becomes much more efficient—freeing up time to focus on gameplay and creativity.
