7 Expert Tips to Make Your AI 3D Models Shine in Screenshots
You've just created an amazing AI 3D model with Tripo AI. The geometry is perfect, the textures are spot-on—but when you take a screenshot to share online, it looks... flat. Underwhelming. Nothing like the professional renders you see everywhere else.
Sound familiar? The truth is, even the most detailed AI 3D models need proper presentation to truly shine. Think of it as digital photography—the same object can look amateur or professional depending on how it's captured.
In this guide, you'll learn seven practical techniques to transform basic screenshots into stunning showcases for your Tripo AI creations. No advanced technical skills required—just simple, effective methods anyone can apply.
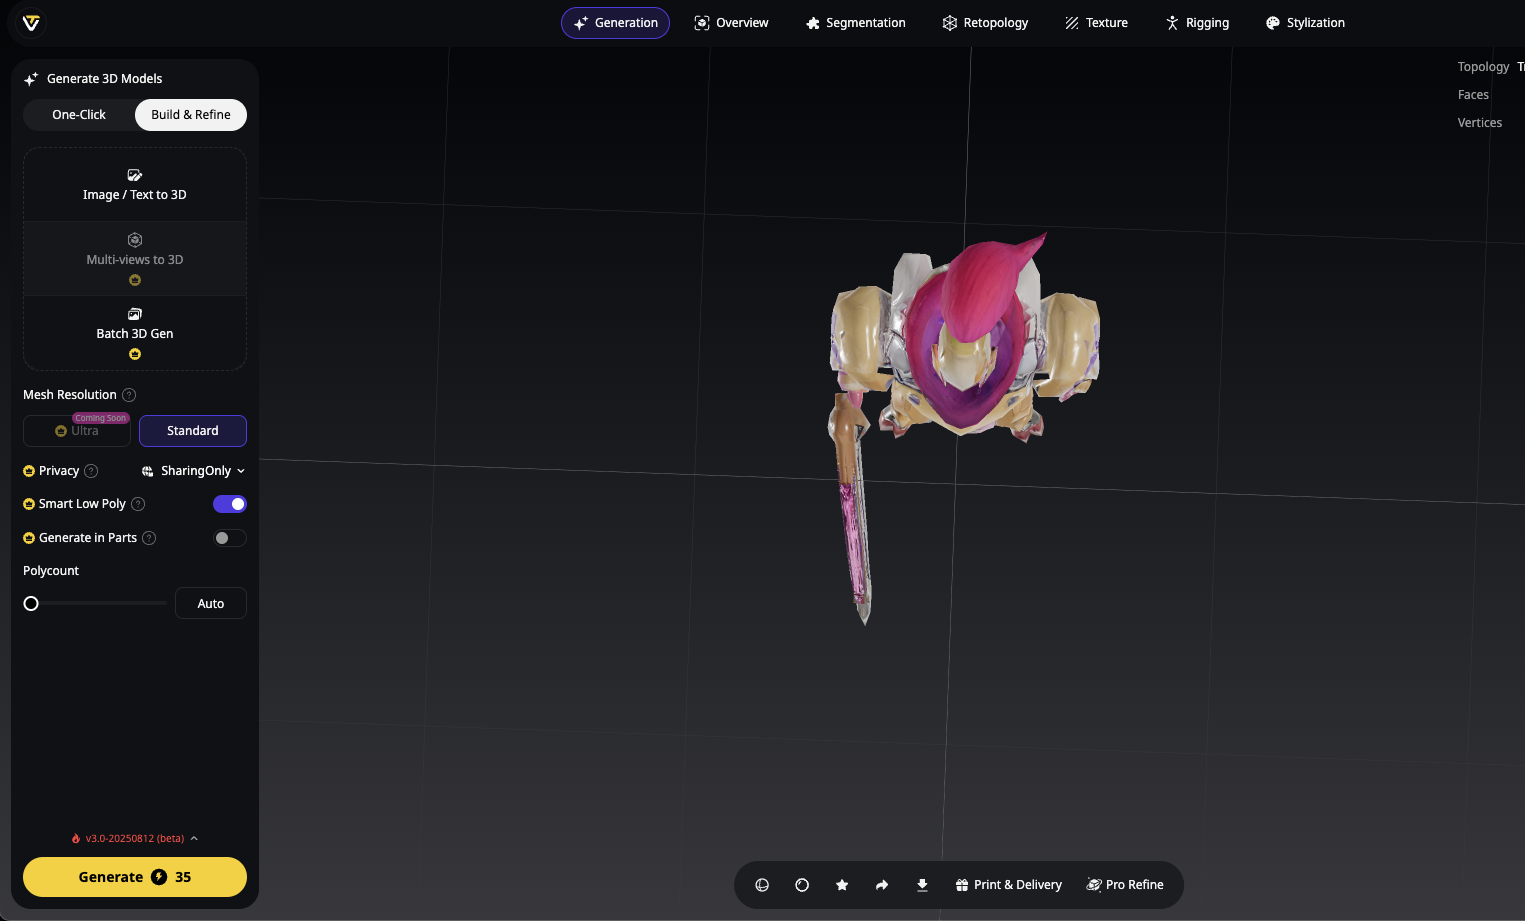
1. Start With Quality: Optimize Your Tripo AI Model
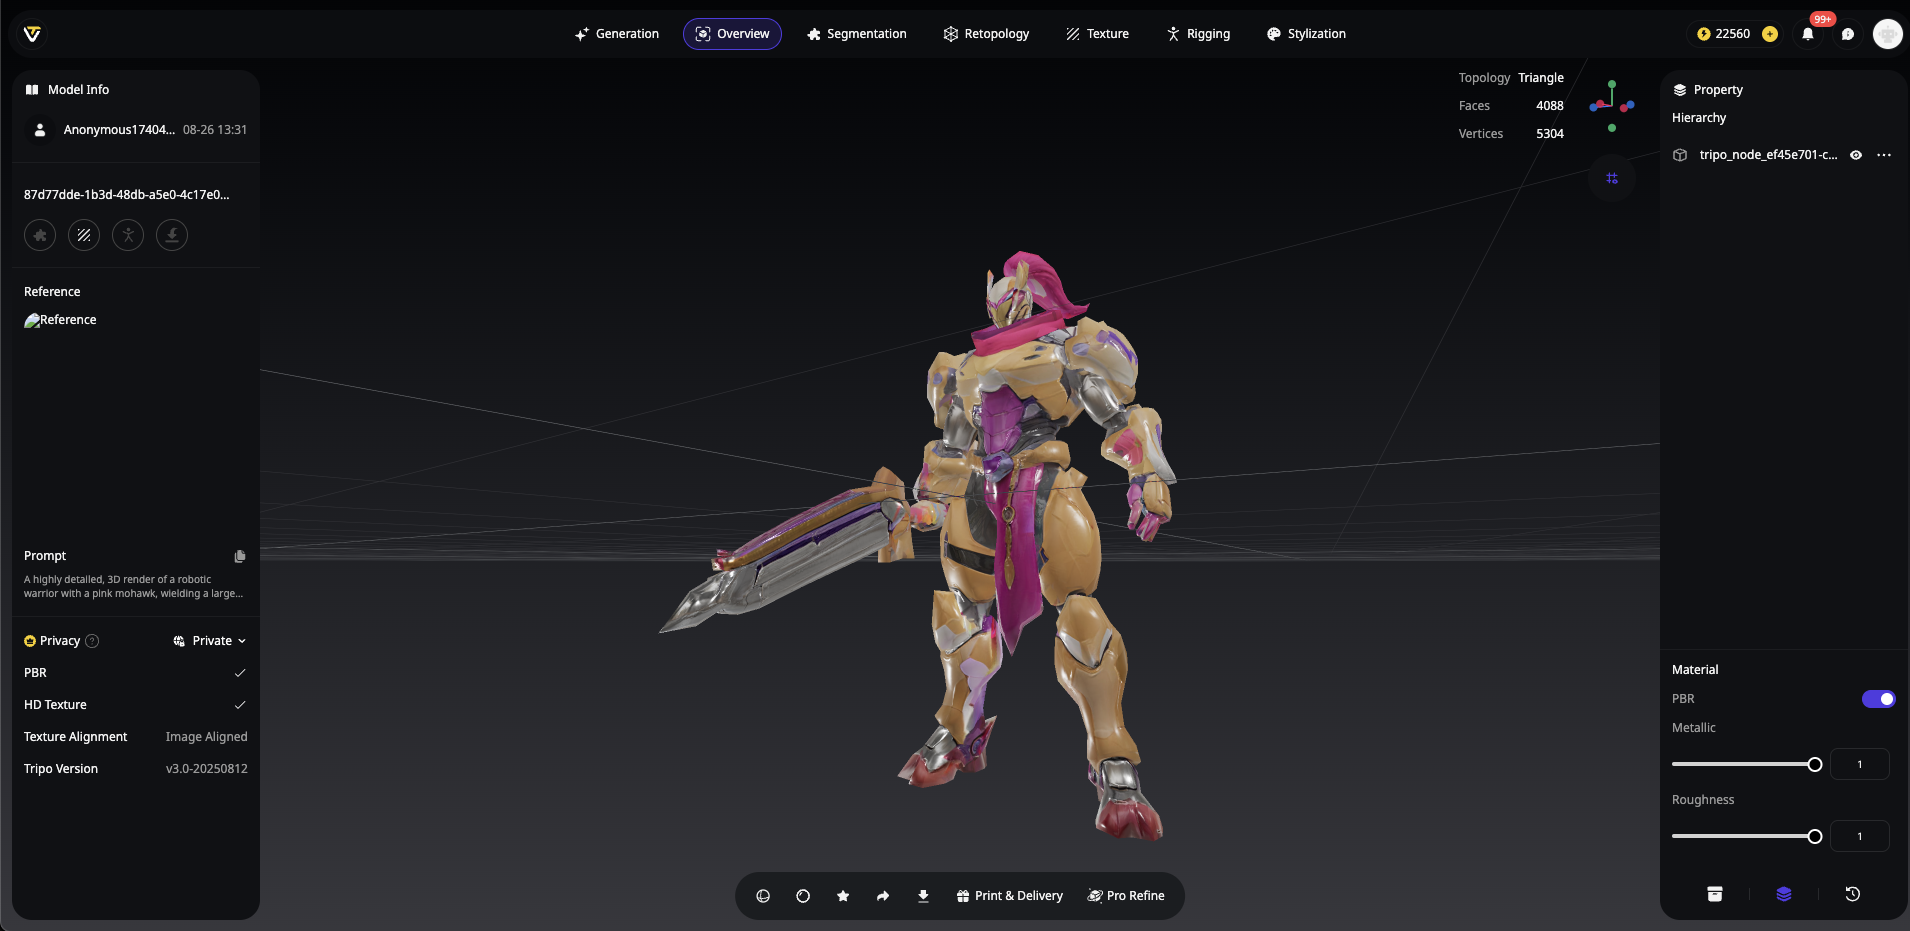
Before worrying about presentation, ensure you're starting with a detailed AI 3D model. Tripo AI's Algorithm 3.0 produces exceptionally detailed geometry and textures that respond beautifully to lighting techniques.
Pro Tip: When generating your model in Tripo Studio, try these quick enhancements:
- Use descriptive, detailed prompts that specify materials and surface qualities
- Select the "High Detail" option when available
- Allow the full refinement process to complete
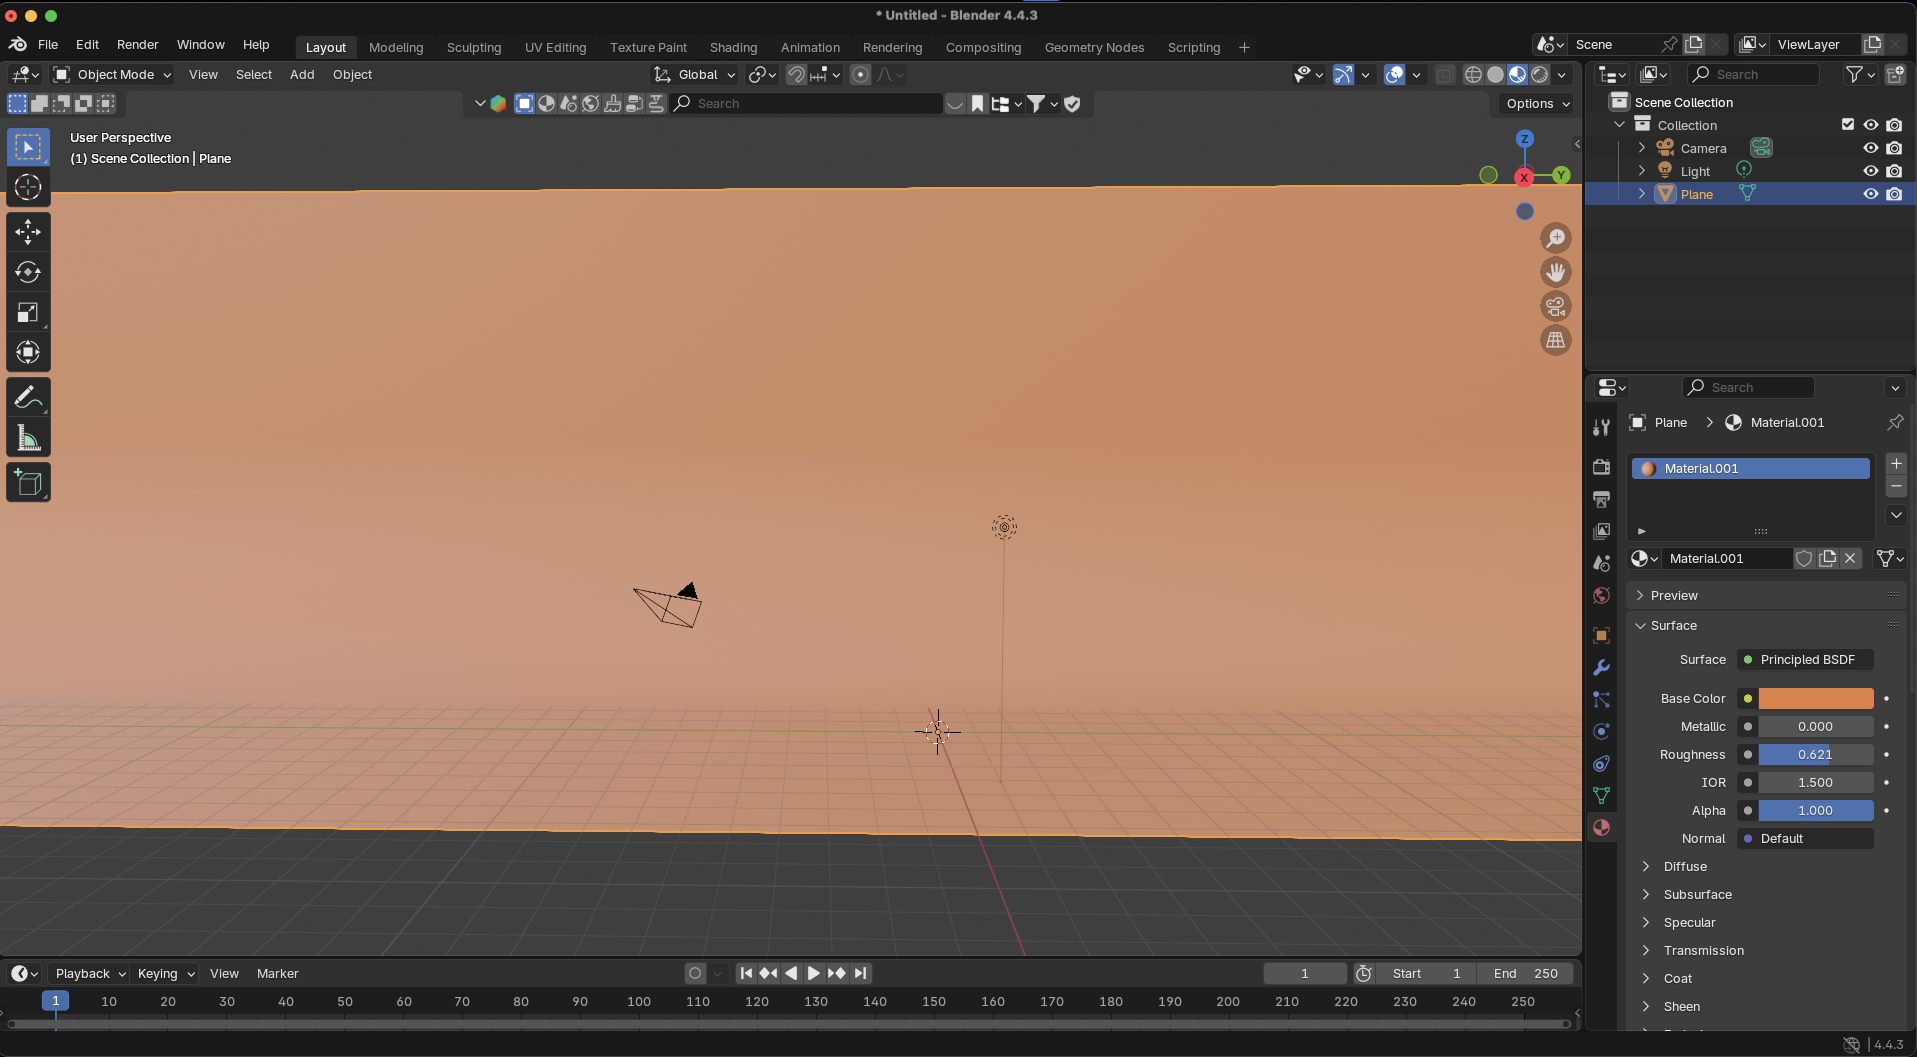
2. Master the Light: The Secret to Professional Renders
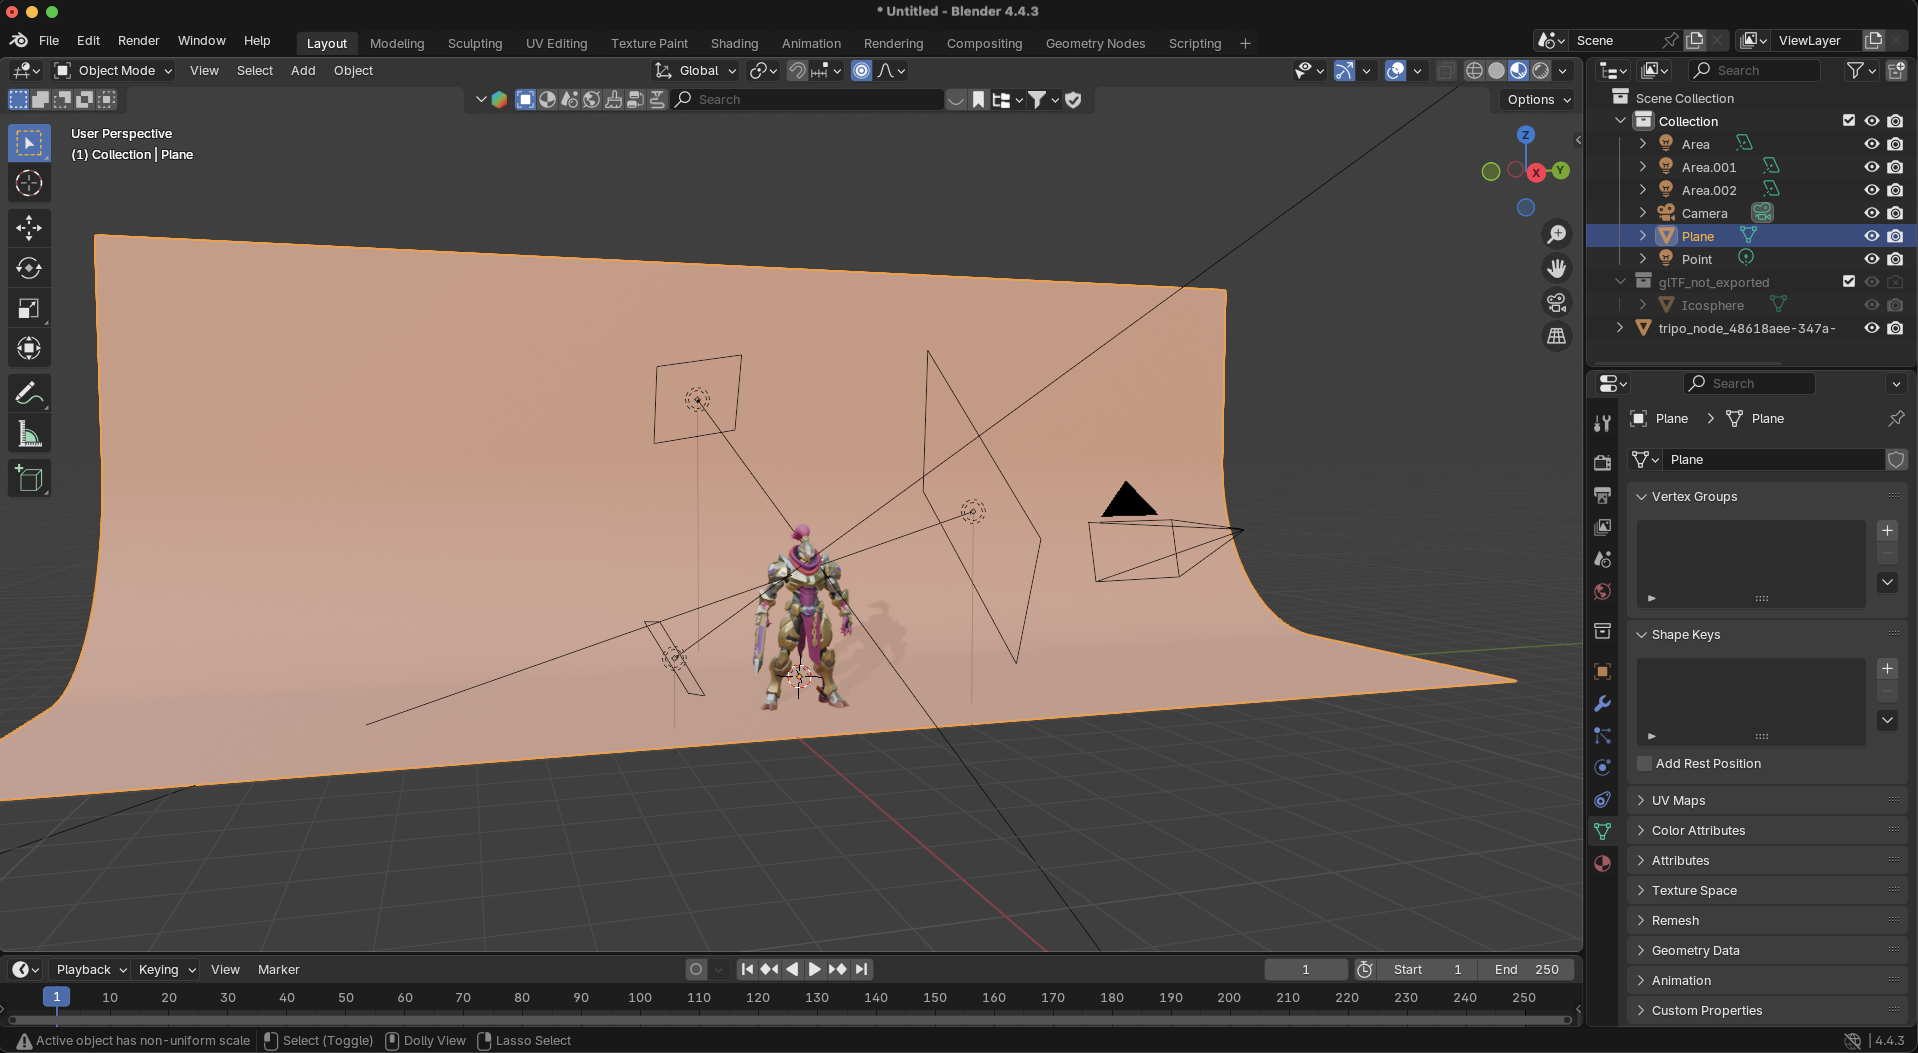
Lighting is everything when showcasing 3D models. Poor lighting can make even the best model look amateurish, while good lighting elevates even simple creations.
For a comprehensive guide on setting up professional lighting for your Tripo AI models in Blender, check out our detailed tutorial: Add Lighting in Blender for 3D Models.
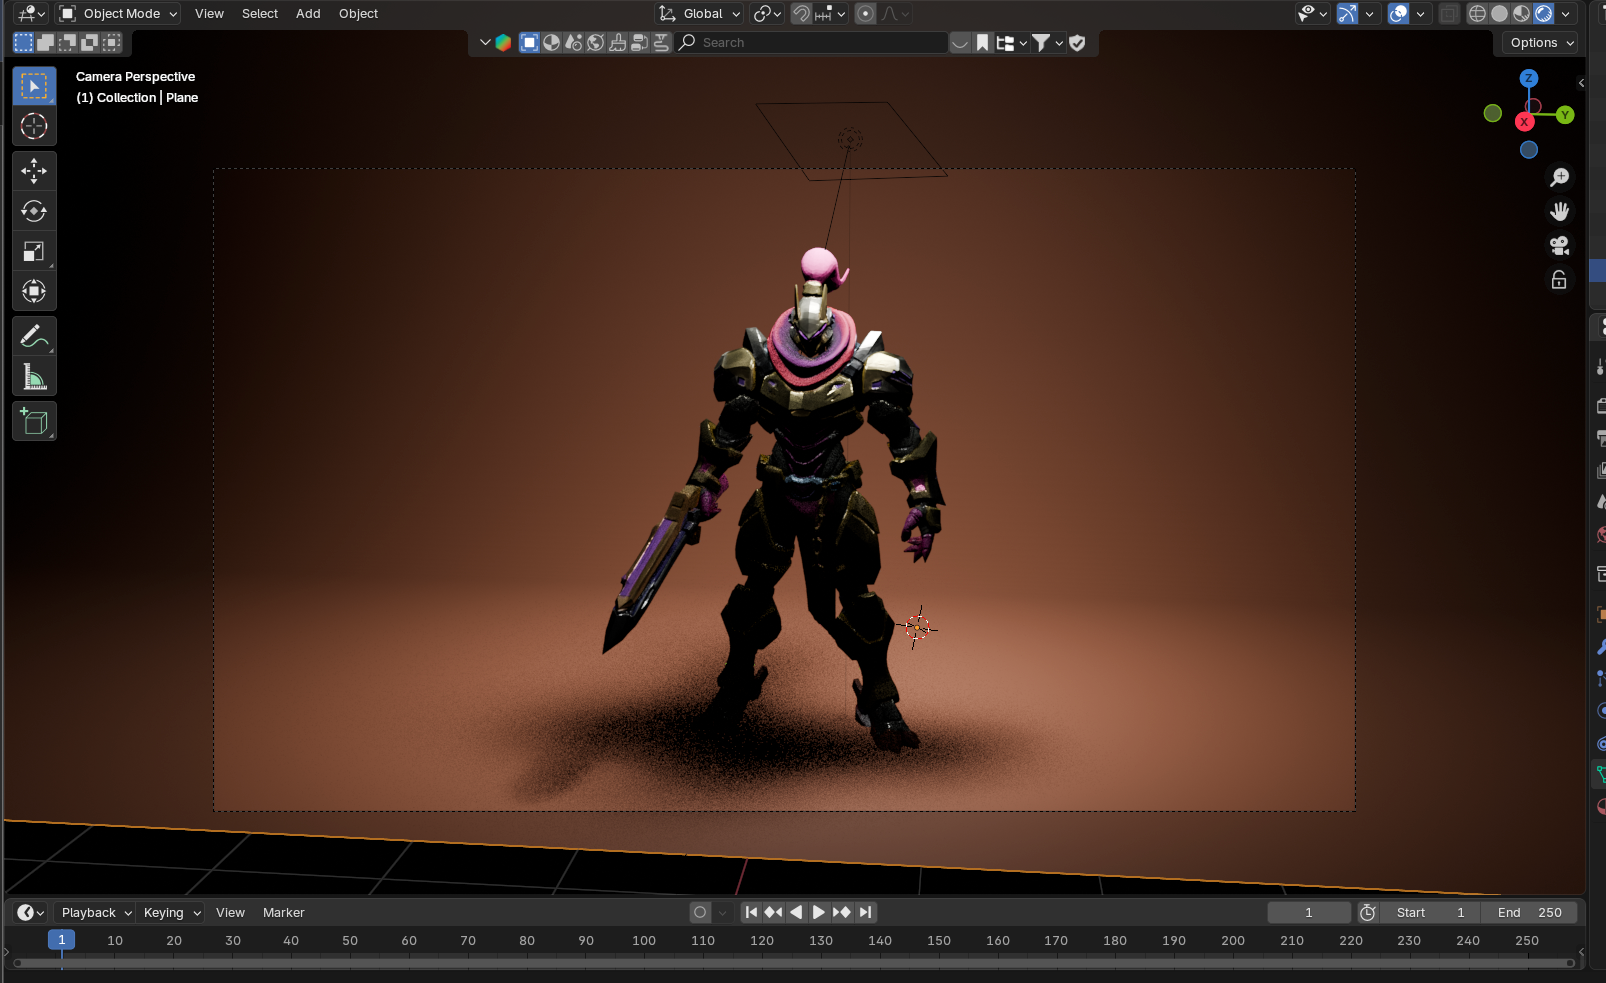
Three-Point Lighting Setup (The Classic Approach)
This film and photography standard works brilliantly for 3D model presentation:
HDRI Lighting (The Easy Method)
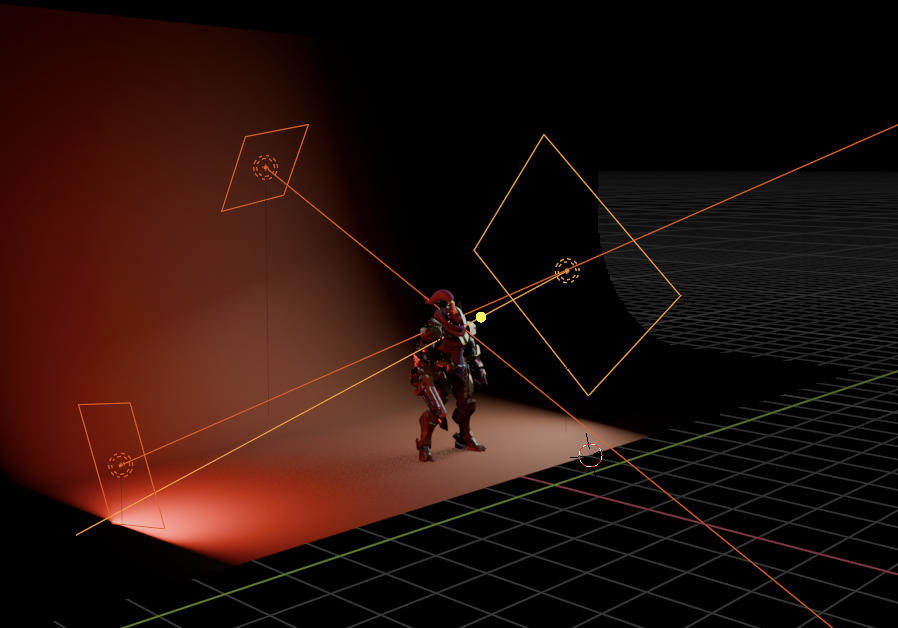
For beginners, HDRI (High Dynamic Range Image) environments provide the quickest path to professional lighting:
- Download free HDRI maps from Poly Haven
- Load the HDRI as an environment texture in your 3D viewer
- Rotate the HDRI until the lighting highlights your model's best features
Pro Tip: For product-style renders, try studio HDRIs with soft, even lighting. For character models, dramatic outdoor HDRIs often create more interesting highlights.
3. Find Your Angle: Camera Positioning That Flatters
The camera angle dramatically affects how viewers perceive your AI 3D model. Different angles create different emotional responses and highlight various aspects of your creation.
Rule of Thirds
Rather than centering your model, position it at the intersection points of a 3×3 grid:
This creates a more dynamic, visually interesting composition that draws the viewer's eye through the image.
Power Angles for Different Effects
Focal Length Matters
In your 3D viewer's camera settings, experiment with different focal lengths:
- Wide angle (24-35mm): Emphasizes foreground, creates dramatic perspective
- Standard (50mm): Closest to human vision, natural proportions
- Telephoto (85mm+): Compresses perspective, flattering for characters
4. Set the Stage: Background Choices That Enhance
The background you choose can either complement your model or distract from it. Consider these approaches:
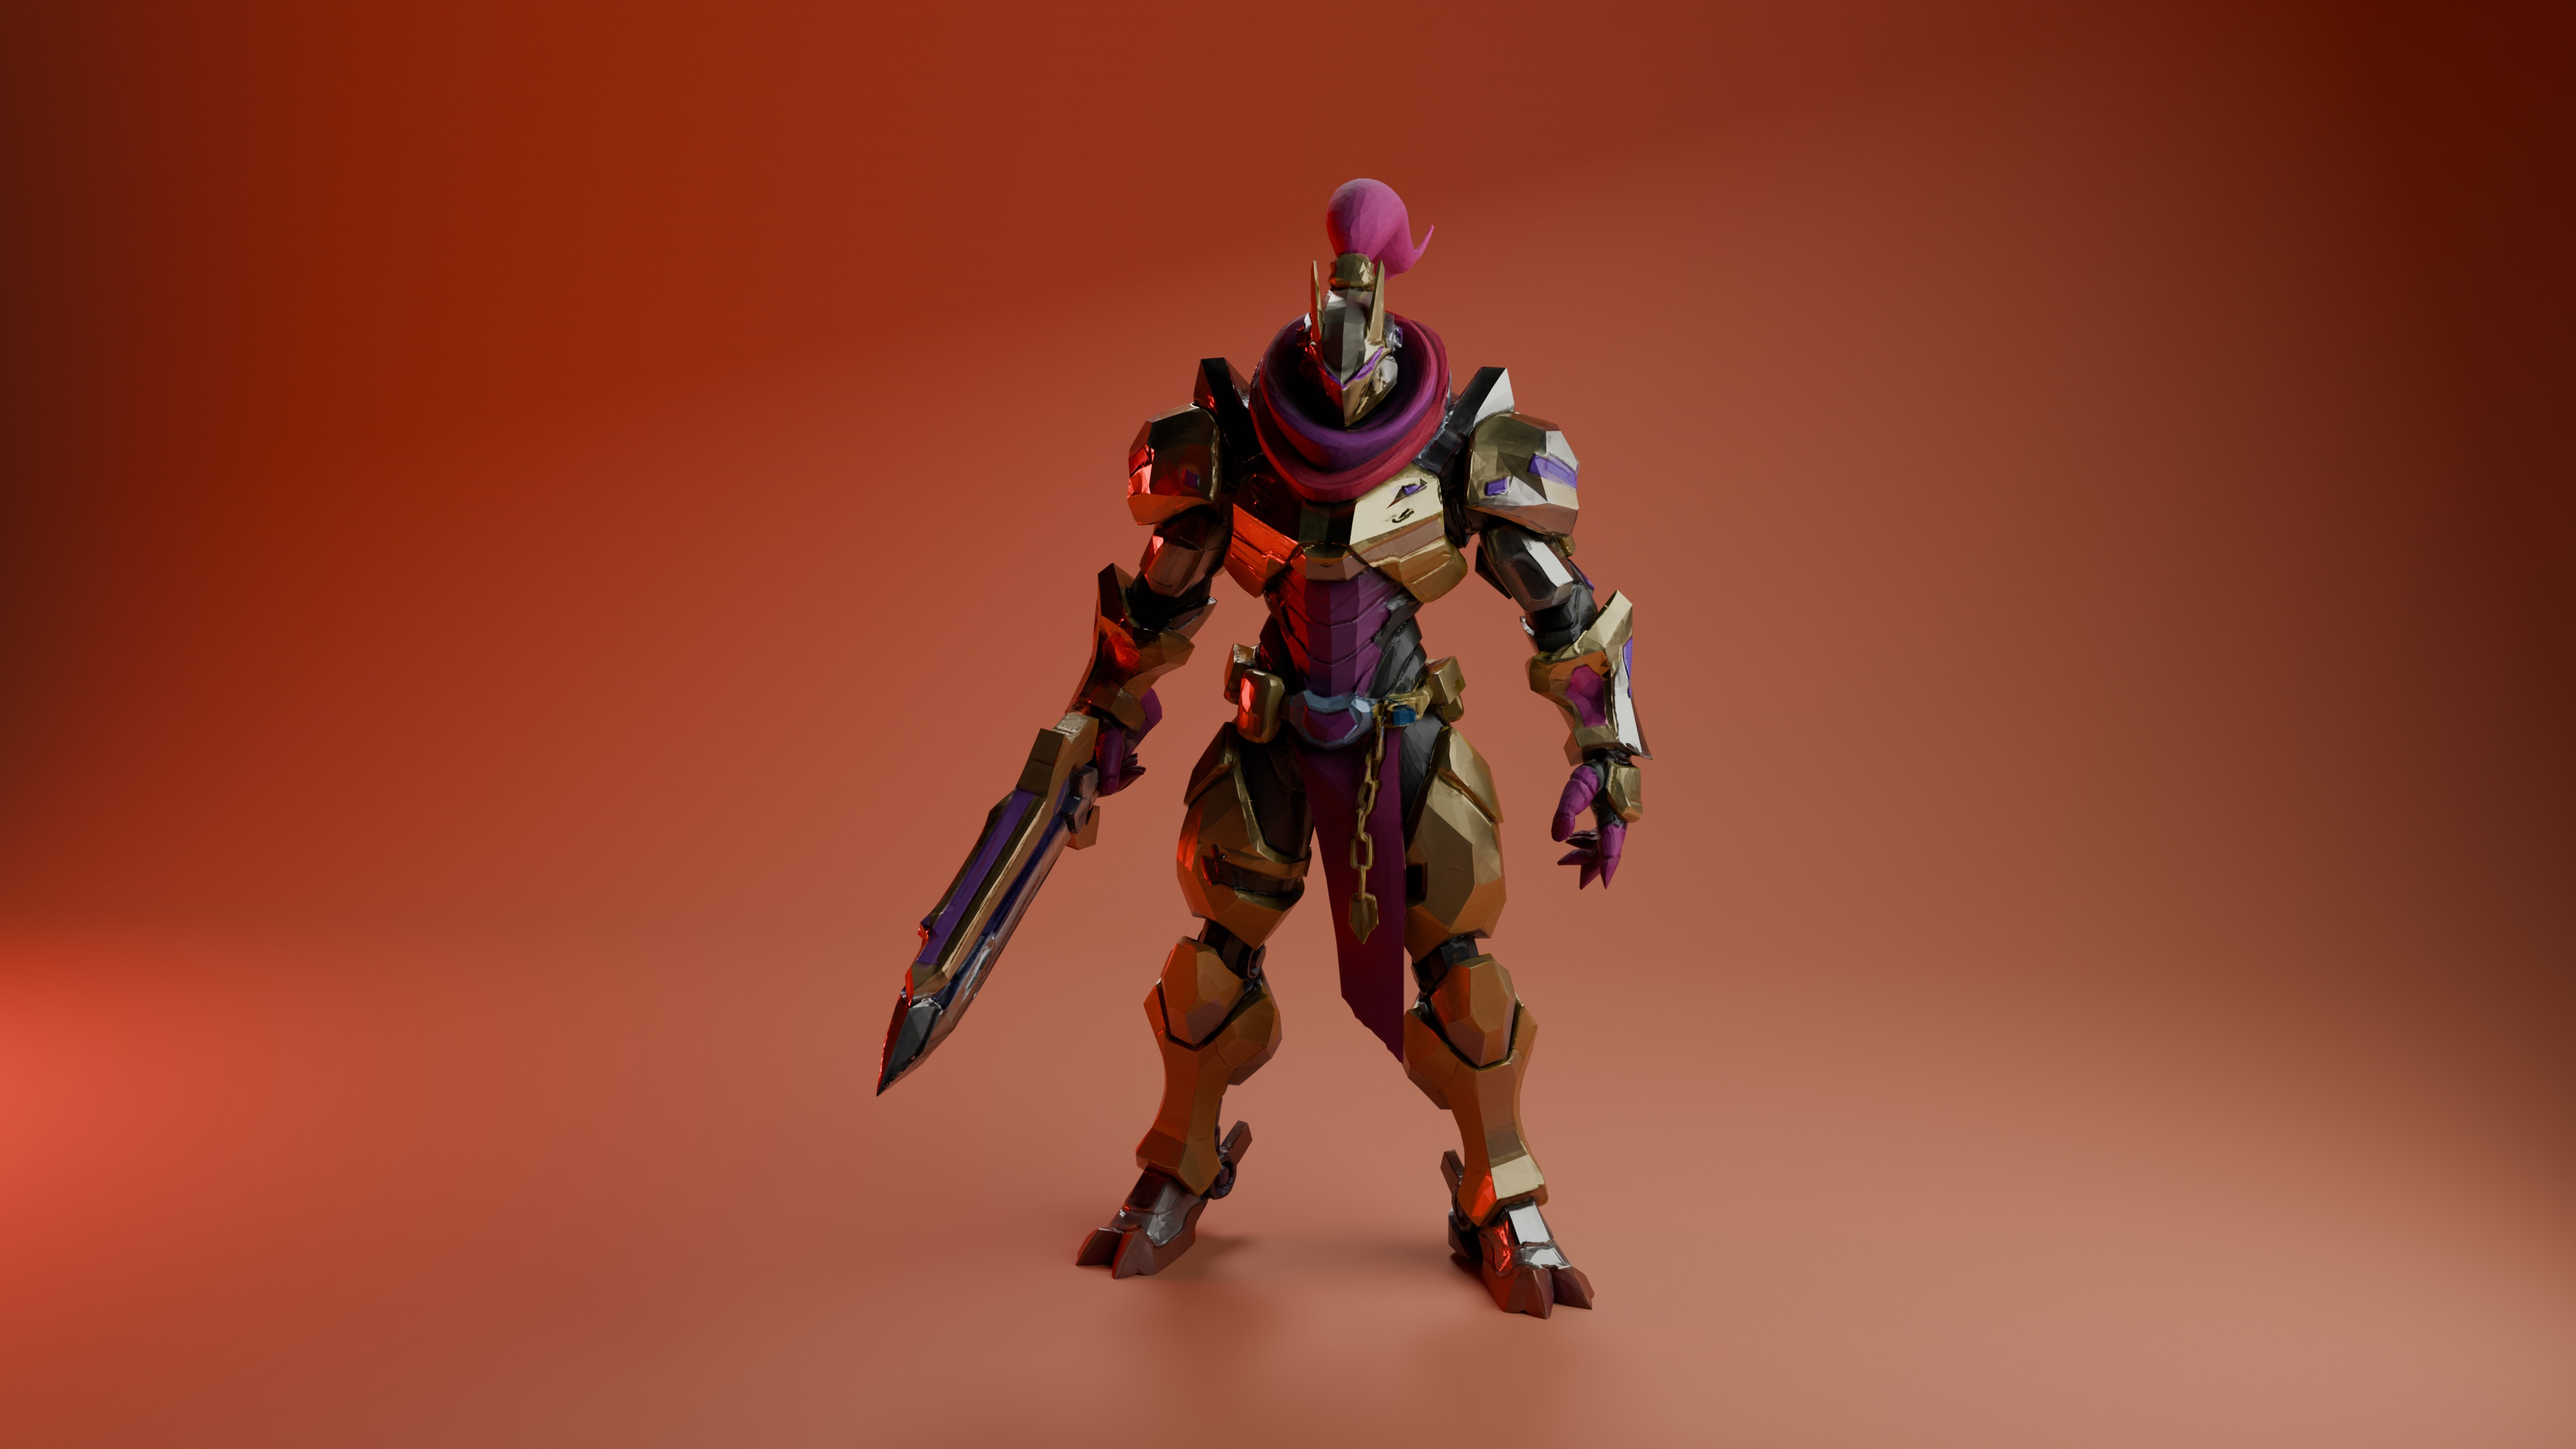
The Studio Look
A simple gradient or solid color background (white, black, or neutral gray) creates a professional, product-showcase feel. This works especially well for:
Product designs
Character models meant to be used in other scenes
Technical models where details need to be clearly visible
Environmental Context
Placing your model in a simple environment adds storytelling and context:
- A character on a simple floor with shadows
- A product on a surface with subtle reflections
- An architectural model with a basic landscape
Bold Tip: When using image to 3D conversion with Tripo AI, consider how your background will complement the original reference image's mood.
Transparent Background
For maximum flexibility, render with a transparent background (PNG format with alpha channel). This allows you to:
- Place the model on different backgrounds later
- Create clean composites in design software
- Use the render in presentations or websites with varying backgrounds
5. Perfect Your Lighting: Material and Shadow Refinement
Once you've set up basic lighting, refine it to enhance specific material qualities in your AI 3D model generator output.
Material Enhancement
Different materials need different lighting approaches:
Shadow Quality
Shadows anchor your model and add realism:
Soft shadows: Create professional, gentle transitions (increase light size)
Hard shadows: Add drama and contrast (decrease light size)
Contact shadows: Ensure your model doesn't appear to float (add ground plane)
6. Post-Processing Magic: Simple Enhancements
Even basic post-processing can dramatically improve your 3D model screenshots:
- Contrast adjustment: Slightly increase contrast to make details pop
- Color grading: Add subtle color tints to shadows/highlights for mood
- Vignette: Darken edges slightly to draw focus to your model
- Subtle blur: Apply minimal background blur to create depth
Free tools like GIMP, Photopea, or even Canva can handle these adjustments.
Pro Tip: Save both your raw render and edited version. The raw file gives you flexibility for future edits, while the enhanced version is ready for immediate sharing.
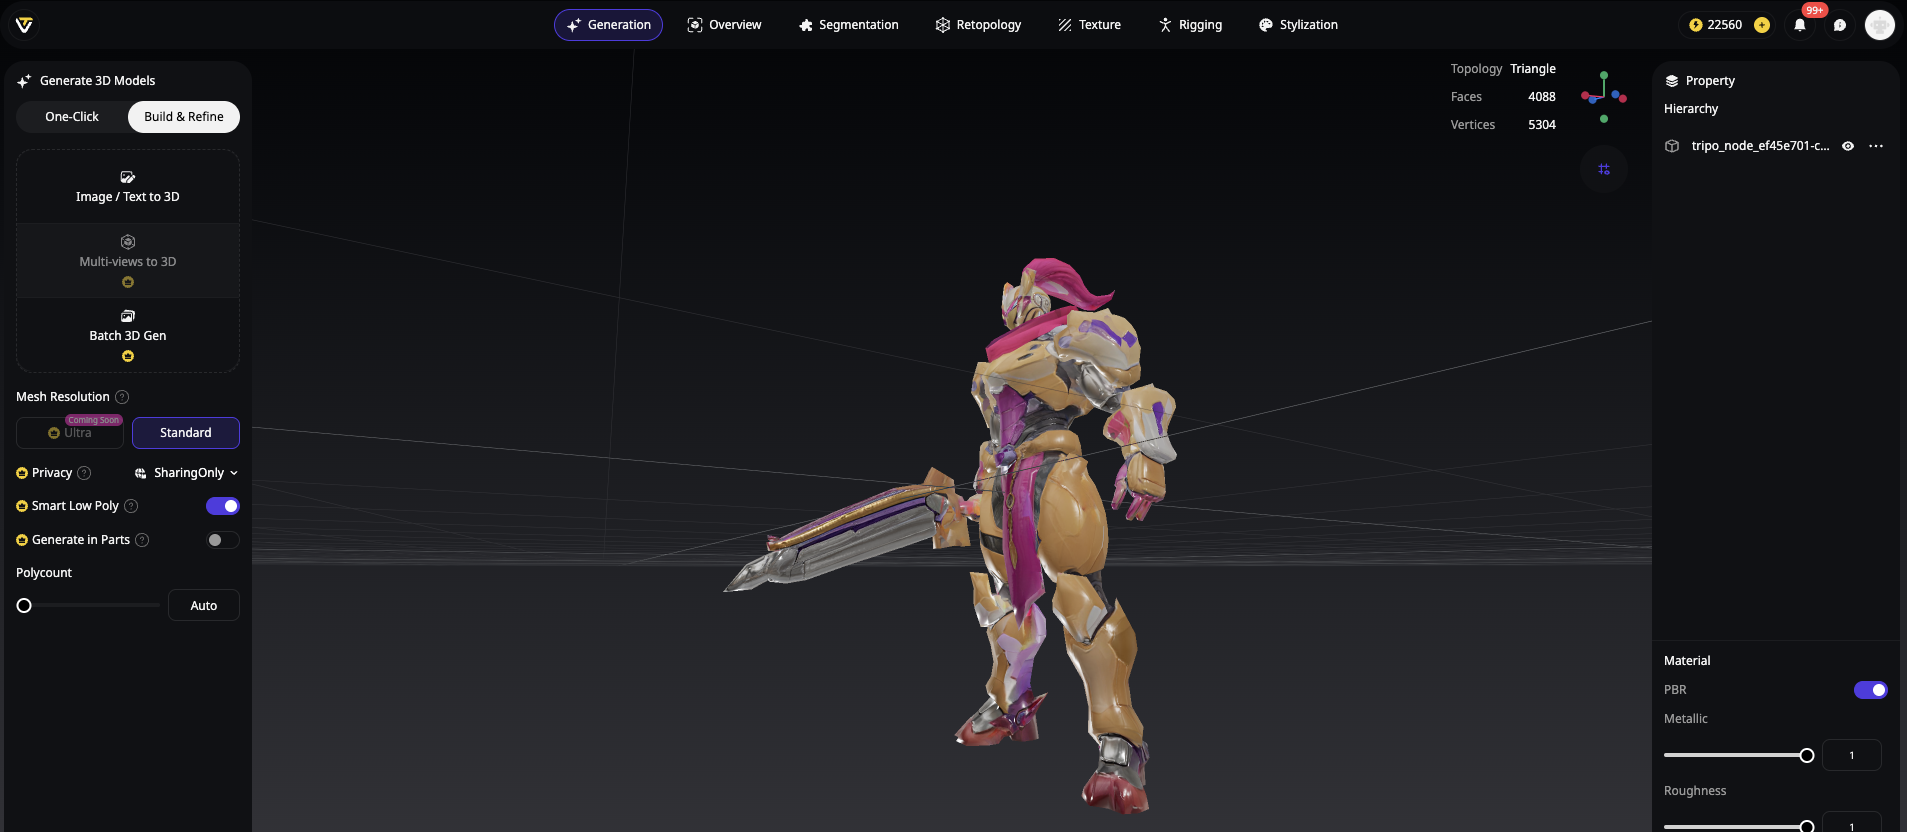
7. Tools of the Trade: Software for Stunning Presentation
You don't need expensive software to showcase your AI 3D models. Here are excellent options for every skill level:
Beginner-Friendly Viewers
- Sketchfab: Upload models directly, adjust lighting and background in-browser
- Windows 3D Viewer: A Simple built-in tool for quick screenshots
- Tripo Studio: Built-in rendering capabilities with preset environments
Intermediate Options
- Blender: Free, powerful, with extensive lighting and camera controls
- Paint 3D: Windows app with simple environment options
- Nomad Sculpt: Great mobile option for iPad/tablet users
Conclusion: From Good to Great
The difference between an amateur-looking render and a professional showcase isn't just model quality—it's presentation. With Tripo AI's powerful AI 3D model generator technology creating high-quality base models, these lighting and composition techniques will elevate your work to new heights.
Remember these key principles:
Lighting shapes perception of materials and form
Camera angles create mood and highlight features
Backgrounds provide context and focus
Post-processing adds the final polish
By applying these seven techniques, your AI 3D models will stand out in portfolios, social media, and presentations—showcasing both Tripo AI's capabilities and your creative vision.
Ready to put these tips into practice? Try Tripo Studio today and create stunning 3D models worth showcasing!
Frequently Asked Questions
Q: Do I need to be an expert in Blender to make my AI 3D models look good?
- A: Not at all! While Blender offers advanced options, even its basic lighting and camera controls are accessible to beginners. Alternatively, Sketchfab and Tripo Studio provide user-friendly environments with preset lighting options.
Q: What resolution should I use for screenshots?
- A: Aim for at least 1920×1080 pixels (HD) for sharp, share-ready images. For portfolio pieces or prints, consider higher resolutions like 3840×2160 (4K).
Q: Can I use HDRIs in simpler viewers like Sketchfab?
- A: Yes! Sketchfab supports environment maps, allowing you to upload an HDRI for professional-looking previews without complex setup.
Q: How do I make metallic or glass materials look realistic?
- A: These reflective materials rely heavily on their environment. Using an HDRI environment map gives them something to reflect, instantly improving realism without manual light placement.
Advancing 3D generation to new heights
moving at the speed of creativity, achieving the depths of imagination.
 Text & Image to 3D models
 Free Credits Monthly
 High-Fidelity Detail Preservation