Creating 3D Minecraft Skins: A Practical Workflow Guide
Discover how to create Minecraft skin 3D assets with compatible block editors, practical skin-format checks, and AI-assisted 3D character drafting.
Designing customized character assets for block-based environments requires a systematic approach to mesh creation and UV formatting. When users aim to create Minecraft skin 3D models, they often handle the transition between flat 2D texture coordinates and fully realized volumetric rigs. The modern automated avatar generation pipeline has shifted from manual pixel plotting to computational workflows, providing developers with precise control over their mesh topologies.
This guide details the technical constraints of manual skin painting, evaluates standard block-style creation tools, and explains how modern artificial intelligence can accelerate the early stages of custom 3D character creation.
The Challenges of Manual Character Customization
Manual character customization in voxel environments introduces specific operational frictions, primarily related to UV projection, spatial reasoning, and the high labor costs associated with pixel-by-pixel editing workflows.
The Limitations of Traditional Pixel-by-Pixel Editing
For years, customizing a character in block-based engines meant operating within strict 64x64 pixel grid constraints. Traditional 2D editing relies on unwrapped UV layouts, where creators mentally project flat pixel arrays onto a three-dimensional skeletal rig. This introduces structural limitations regarding spatial visualization. When painting a 2D template, ensuring seamless texture continuity across the seams of the arms, torso, and head requires constant viewport switching and geometry validation. Furthermore, standard 2D editing cannot inherently produce geometric depth. Any illusion of volume relies entirely on manual shading logic, such as hue-shifting and contrast manipulation, which adds hours of non-creative manual labor to the production cycle.
Why Block Editors Have a Steep Learning Curve
To address these spatial visualization issues, web-based 3D block editors emerged within the community. Platforms such as Nova Skin, SkinMC, and educational customization hubs like Tynker provide users with real-time 3D viewport rendering. However, these tools still operate on a manual, block-by-block input mechanism. The operational friction arises from the requirement for rigorous spatial reasoning and face-by-face assignment. Users meticulously select hex codes, manage alpha channels for outer layers (often referred to as armor or hat geometry), and manually paint each exposed voxel face. For complex concepts, translating detailed concept art into a low-resolution voxel format involves manual extrusion and vertex coloring that can take several hours, heavily bottlenecking rapid prototyping phases for developers.
Core Methods to Create Minecraft Skin 3D Assets
Evaluating production methodologies involves comparing standard web-based block editors against advanced modeling environments and AI-assisted generation workflows to determine structural efficiency.
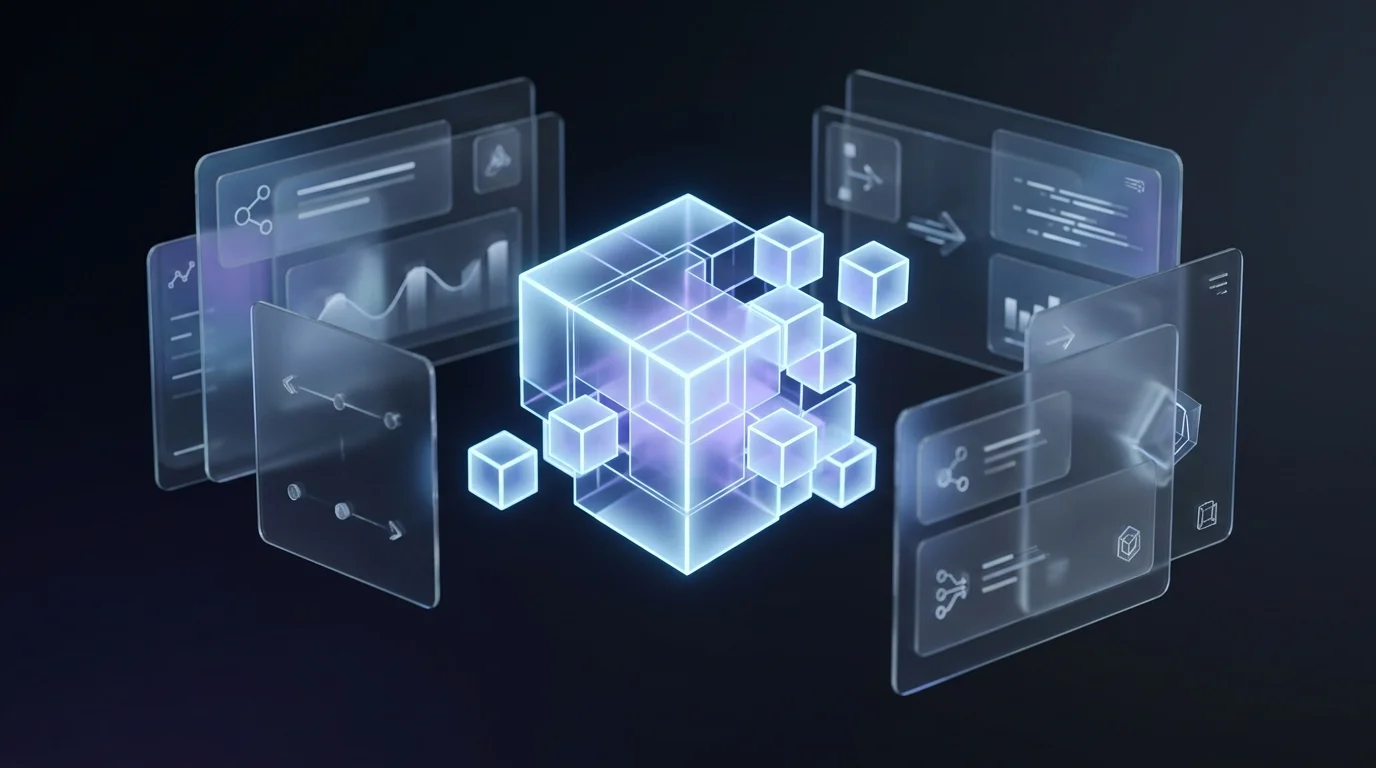
Standard Web-Based Block Editors vs. Advanced Generators
Understanding the available toolsets is critical for optimizing the asset creation pipeline. Below is a structural comparison of the primary methods utilized in the industry today:
| Production Method | Tool Examples | Primary Advantage | Technical Requirement | Production Time |
|---|---|---|---|---|
| Web-Based Block Editors | Nova Skin, MinecraftSkins.net | Browser-accessible, direct engine integration | Low; requires manual pixel painting | 1 to 4 hours |
| Advanced 3D Modeling | Blender (with MCPrep addon) | High-fidelity rendering output | High; requires node and lighting expertise | 2 to 8 hours |
Standard web tools remain the baseline for direct, low-volume skin modifications. Advanced 3D modeling via software like Blender is typically used for custom models and cinematic renders rather than directly playable skins. AI-assisted 3D generation can provide a starting mesh for original character concepts, reducing some early manual modeling work; it does not replace the skin-format and game-compatibility checks required for Minecraft.
Key Features Needed for Seamless Workflow
Regardless of the chosen method, an effective 3D skin editor must possess specific technical features to maintain workflow continuity. First, real-time viewport rendering is mandatory to evaluate texture mapping and UV alignment instantly. Second, layer management is essential. Modern character rigs support dual-layer textures, requiring alpha channel support for transparent outer geometries like glasses or jackets over the base model. Finally, the tool must support robust export functionality, allowing the raw PNG texture map to be extracted or the actual 3D geometry to be exported for external engine integration.
Step-by-Step Guide to Designing Your Character
Executing a character design requires defining visual parameters, selecting an appropriate software environment, and methodically applying diffuse lighting and texture density to the voxel grid.
Step 1: Establishing Your Concept and Visual Style
Before interacting with any software, define the visual parameters of your character asset. Characterize the color palette, specifically identifying the base hex codes, highlight shades, and shadow tones. Voxel art relies heavily on local contrast and readable silhouettes to ensure readability at low resolutions. Gather reference materials, including concept art, orthographic photographs, or existing 3D models, to serve as the foundational blueprint for your topology and texture layout.
Step 2: Selecting the Optimal Creation Tool
The choice of software directly dictates the efficiency of your production schedule. For minor adjustments to existing assets, tools like the Planet Minecraft editor or the Android-based 3D Skin Editor are sufficient for basic pixel replacement. However, if the objective is to build a completely original volumetric character based on a complex visual concept, utilizing a custom 3D character generator reduces manual labor by automatically interpreting structural geometry and initial UV layouts directly from reference images.
Step 3: Refining Details and Color Palettes
Once the foundational structure is established, refinement focuses on texture density and ambient occlusion. Apply directional shading to simulate lighting logic on the voxel grid. A standard workflow establishes a virtual light source from the top-down, applying lighter pixel values to the upper faces of the character rig and progressively darkening the colors toward the lower extremities. Ensure that the secondary armor layer is utilized optimally to project distinct geometric features like backpacks, hairstyles, or layered clothing without altering the base rig.
Using AI to Create 3D Character Drafts
AI-assisted 3D character drafting can help creators explore original forms from text or image references before they refine the result for their intended game workflow.
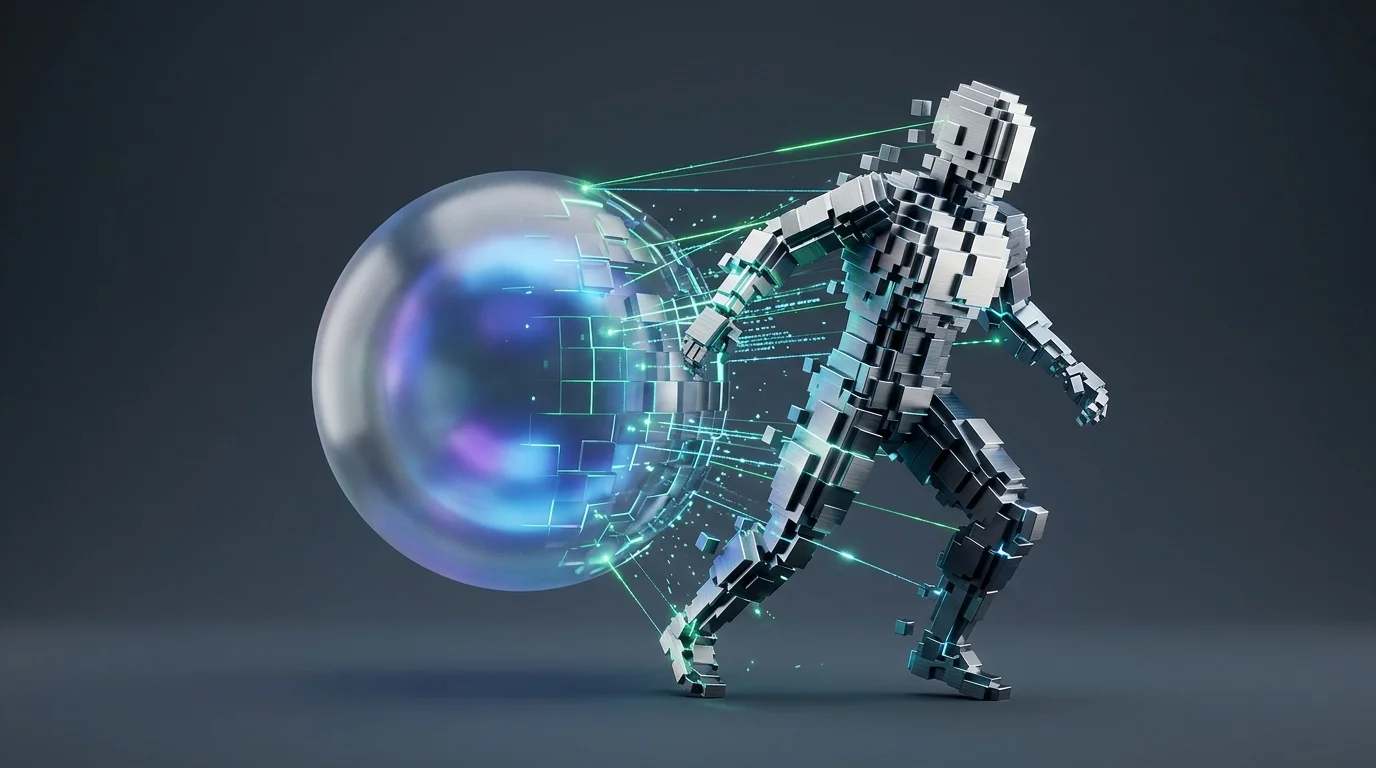
Transforming Text and Images into 3D Drafts Instantly
For professional designers, modding communities, and content teams, the demand for high-volume asset production frequently outpaces the capabilities of manual editors. This operational bottleneck is resolved by utilizing generalized 3D AI large models. Platforms like Tripo represent the current industrial baseline, serving as a comprehensive 3D content engine. Creators can upload a reference image or enter a descriptive text prompt to generate a native 3D draft model, then inspect and refine it for their intended use.
Adapting AI Drafts for Minecraft-Style Workflows
A general 3D draft is not automatically a Minecraft skin or a Minecraft-compatible block model. For a playable skin, creators still need to use a compatible skin editor and validate the required PNG layout, dimensions, layers, and game version. For block-style artwork, use the generated draft as a visual reference or starting point, then create and refine the final block-based asset in the appropriate modeling or game-specific tool.
Exporting and Integrating Your New Asset
Proper asset integration requires matching the exported geometry formats with downstream engine requirements and baking complex voxel meshes back into standard 2D texture layouts.
Understanding Format Compatibility (FBX, OBJ, GLB)
Once the 3D model is generated and refined, exporting it in the correct format is crucial for downstream pipeline integration. Standard web editors output flat PNG files, which are strictly for direct game upload. Advanced platforms ensure high compatibility by supporting direct exports into industry-standard formats such as FBX, OBJ, and GLB.
Preparing the UV Map for Game Integration
If your ultimate goal is to import the generated or newly modeled character back into a standard block-based game engine, the 3D geometry must be converted back into a localized 2D texture format. This requires adapting the texture maps from the 3D model to a standard 64x64 or 128x128 pixel UV layout.
FAQ
1. What is the fastest way to create a 3D skin from scratch?
The quickest workflow is to begin with the format you actually need. For a playable Minecraft skin, start in a compatible skin editor and work from the required PNG template. For an original 3D character concept, AI-assisted 3D generation can provide a base draft from a reference image or prompt, which you then inspect and refine before export.
2. Can I turn a real photograph into a block-style 3D character?
AI-assisted 3D tools can use a photograph as a reference to create a native 3D draft. That output is not automatically converted into a Minecraft-compatible block model or skin. Use it as a starting point or visual reference, then create the final game-compatible asset in an appropriate editor.
3. Do advanced 3D generation tools require coding skills?
No. While educational platforms like Tynker combine block customization with logic scripting, pure asset generation platforms utilize text or image inputs. Engineering complexities, including topology generation and parameter tuning, are handled entirely by the underlying AI model via a standard graphical user interface.
4. How do AI-generated 3D drafts differ from standard 2D textures?
Standard 2D textures are flat image arrays (PNGs) mapped around a predefined skeletal rig. An AI-generated 3D draft is a separate mesh with geometry and textures. It can be useful for concepting, rendering, animation, or other 3D workflows, but it must be adapted separately when the goal is a game-specific skin or asset format.