Creating Wuthering Waves 3D Models: Expert Workflow & Tips
If you’re looking to create production-ready 3D models for Wuthering Waves, you need a workflow that balances speed, artistic fidelity, and technical constraints. In my experience, leveraging AI-powered platforms like Tripo alongside traditional modeling techniques can dramatically streamline the process—from concepting to export. This guide covers step-by-step workflows, optimization strategies, and practical lessons for game artists, asset creators, and developers aiming for quality and efficiency.
Key takeaways
- Understanding game-specific style and requirements is critical before modeling.
- Combining AI-powered tools with manual refinement speeds up asset creation.
- Proper retopology, UV mapping, and texturing are key for game-ready assets.
- Rigging and export steps must align with engine requirements for seamless integration.
- AI tools excel at rapid prototyping; traditional methods remain vital for polish.
Understanding Wuthering Waves 3D Model Requirements
Game-specific style and technical constraints
Every game has its own visual language and technical limits. Wuthering Waves assets require stylized realism, balanced poly counts, and optimized textures for smooth gameplay. I always start by reviewing the game’s art direction, shader usage, and target platform specs—this shapes everything from mesh density to material setup.
Checklist:
- Review concept art and in-game screenshots.
- Note polycount targets and texture resolutions.
- Identify shader and material conventions.
Reference gathering and analysis
Gathering references is foundational. I collect official artwork, fan renders, and gameplay clips to understand proportions, color palettes, and animation cues. Annotating these references helps clarify details and avoid guesswork later.
Tips:
- Build a mood board for style consistency.
- Use image analysis tools to extract color and detail.
- Compare references against technical requirements.
My Step-by-Step Workflow for Wuthering Waves 3D Models

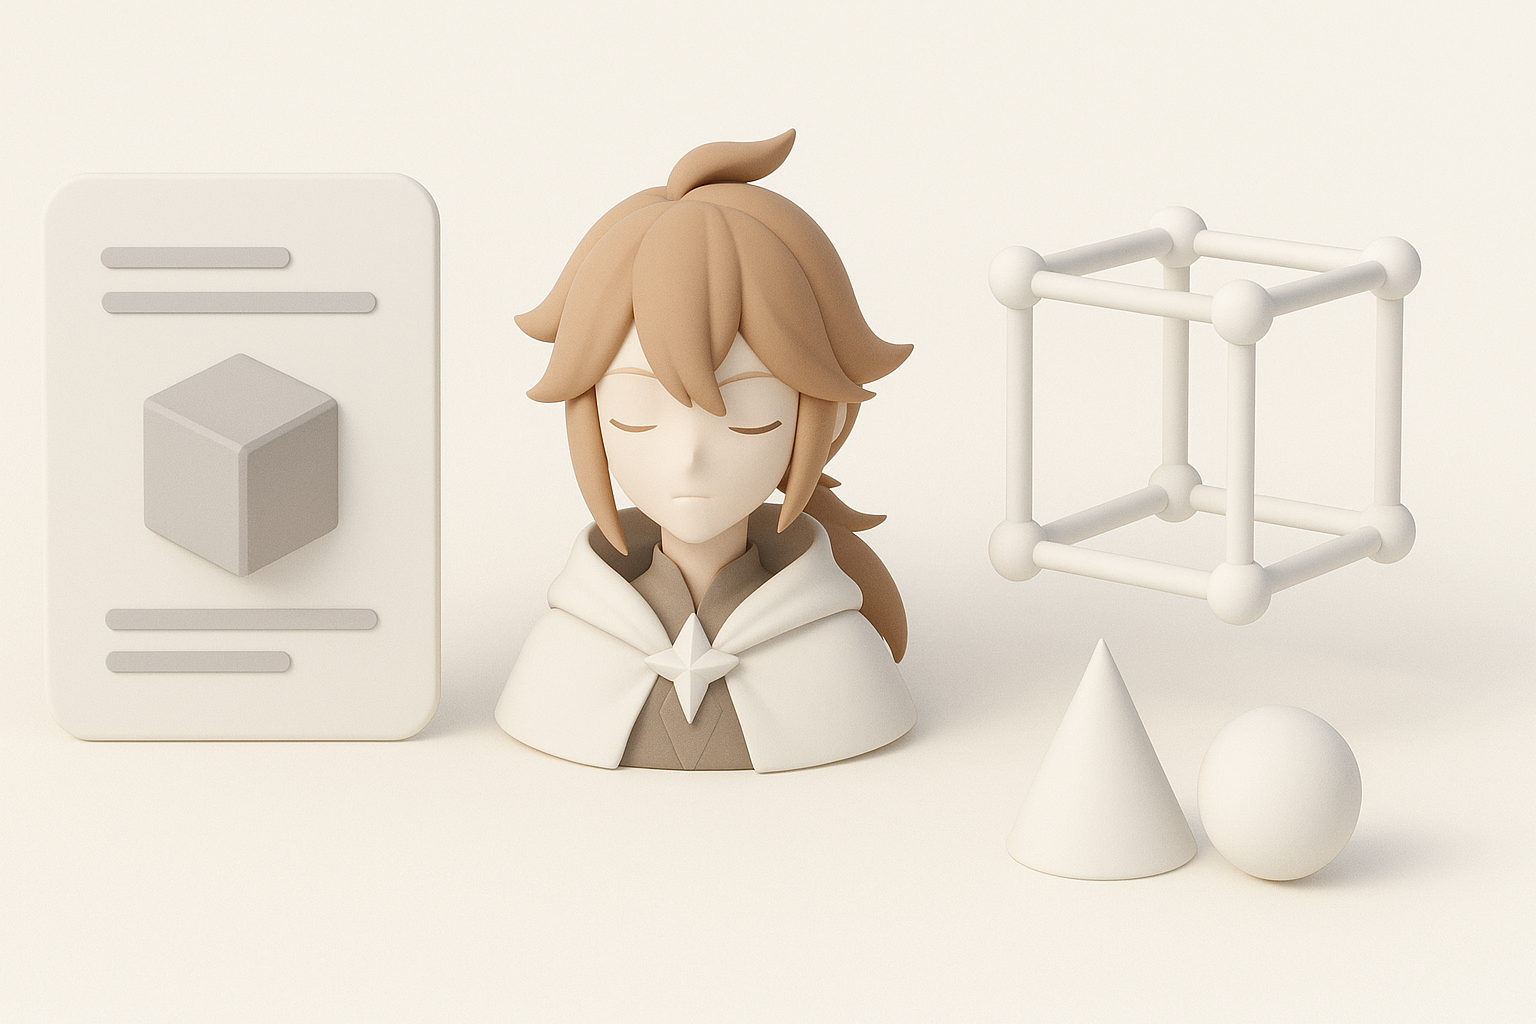
Concepting and blocking out the model
I begin with rough blockouts—either in 3D or as sketches—to lock in silhouette and proportions. Rapid iterations at this stage save time later. AI-powered platforms like Tripo let me generate quick base meshes from text prompts or sketches, which I refine in my preferred modeling software.
Steps:
- Sketch or describe the asset concept.
- Generate a base mesh using AI tools.
- Refine shape and proportions manually.
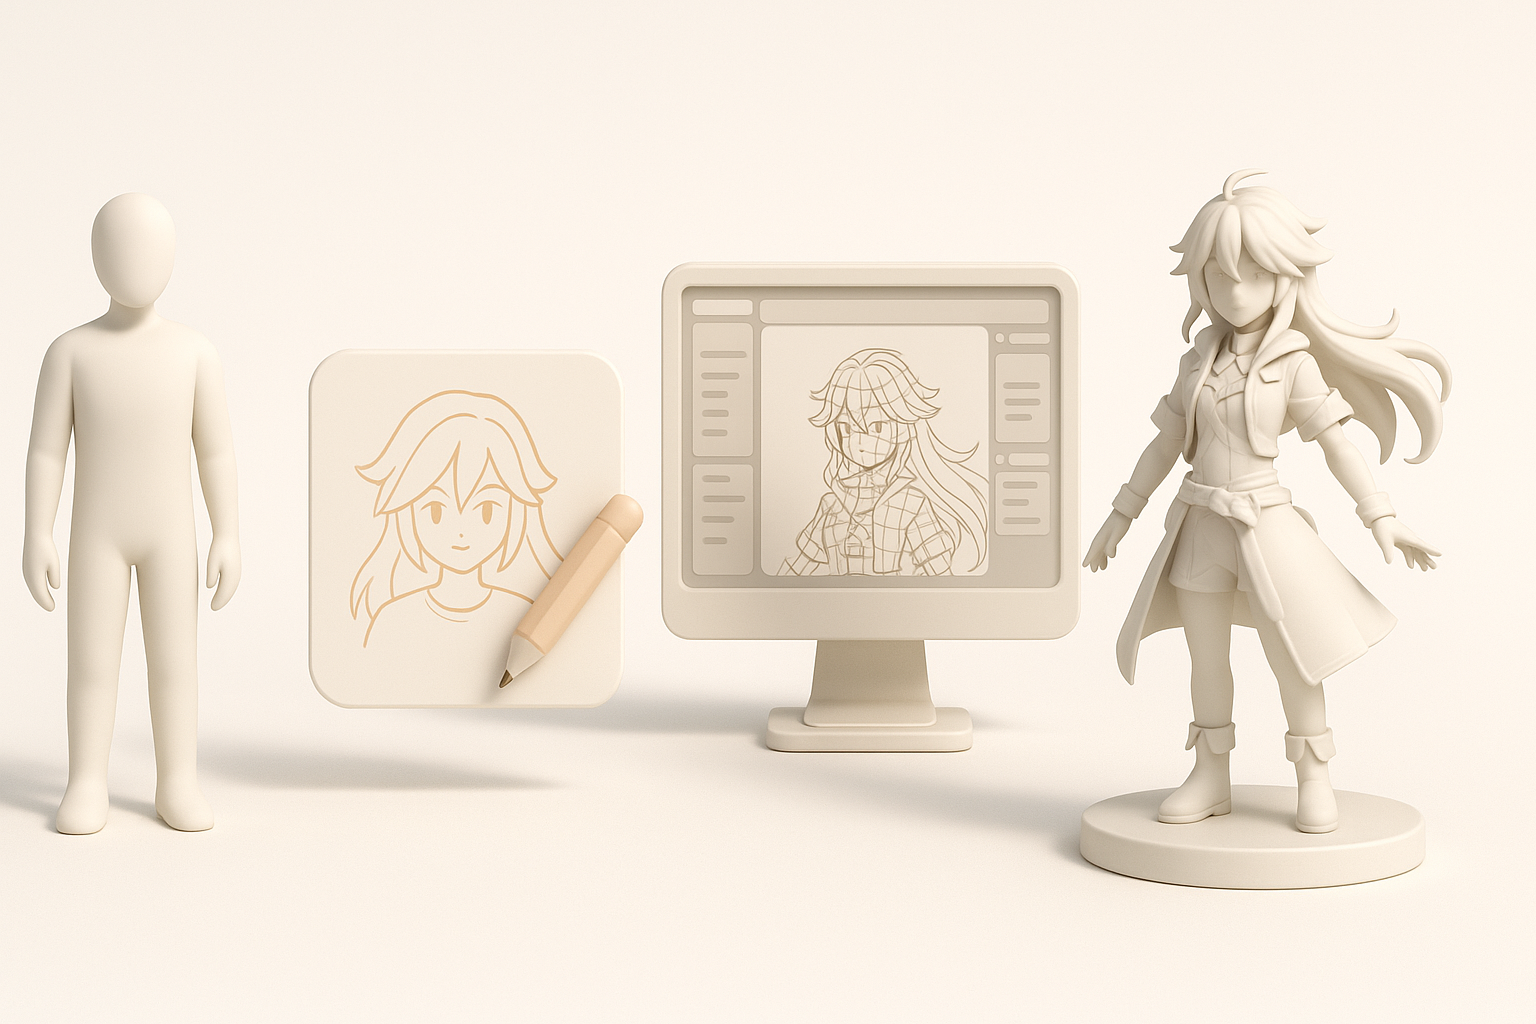
Using AI-powered tools for modeling and texturing
AI tools accelerate modeling and texturing, especially for generic props or NPCs. I input references or text prompts, then edit the output for accuracy. For texturing, Tripo’s auto-mapping and material suggestions are a solid starting point, but I always tweak details in Substance Painter or similar.
Pitfalls:
- AI outputs may need cleanup—check topology and UVs.
- Avoid over-reliance; manual tweaks are essential for hero assets.
Best Practices for Optimized Game-Ready Assets

Retopology and UV mapping techniques
Clean topology and efficient UVs are non-negotiable. I use Tripo’s retopology tools for quick fixes, then manually adjust edge flow for animation or deformation. For UVs, I aim for minimal seams and logical packing—this prevents texture stretching and makes iteration easier.
Mini-checklist:
- Ensure quad-based topology for deformable assets.
- Pack UVs tightly; avoid overlapping unless intentional.
- Test UVs with checker maps before texturing.
Efficient texturing and material setup
Game assets need textures that look good and load fast. I bake maps (normal, AO, etc.) and use Tripo’s auto-texturing as a base. Final passes involve custom painting, tweaking roughness, and optimizing maps for engine requirements.
Tips:
- Use layered materials for flexibility.
- Compress textures without losing key details.
- Preview assets in engine to check lighting/material fidelity.
Rigging, Animation, and Export Considerations

Preparing models for animation
Rigging starts with clean geometry and proper joint placement. I use auto-rigging tools for basic setups, then refine weights and controllers for complex characters. Testing simple animations early helps catch issues before export.
Steps:
- Clean up mesh and topology.
- Use auto-rigging for initial skeleton.
- Manually adjust skin weights and test poses.
Exporting and testing in game engines
Exporting is often overlooked but crucial. I check naming conventions, scale, and orientation before exporting FBX or GLTF files. I always test imports in the target engine (Unity, Unreal, etc.) to verify materials, animations, and performance.
Pitfalls:
- Forgetting to triangulate meshes for some engines.
- Overlooking export settings (e.g., embedded textures, animation clips).
Comparing AI Tools and Traditional Methods
When to use AI-powered platforms
AI tools excel at rapid prototyping and bulk asset generation. I use them for base meshes, quick props, and initial texturing. For hero assets or complex characters, manual modeling and detailing are still necessary.
Best uses:
- Early-stage ideation and blockouts.
- Background assets and props.
- Accelerating repetitive tasks.
Lessons learned from hands-on experience
In my workflow, AI platforms save hours but require oversight. Combining AI outputs with traditional techniques yields the best results. Always validate topology, UVs, and materials—automation is not a substitute for quality control.
What I’ve found:
- AI tools are best used as assistants, not replacements.
- Manual polish is essential for standout assets.
- Iterative testing in-engine prevents late-stage surprises.
Slug suggestion: wuthering-waves-3d-model-workflow-tips
Meta description: Learn expert workflows, best practices, and AI-powered tips for creating Wuthering Waves 3D models, from concept to game-ready assets and animation.
Keywords: wuthering waves 3d model, game asset workflow, ai 3d modeling tips, retopology best practices, 3d model export, tripo ai
