How to 3D Print a Salesforce Tower Model: Expert Workflow
If you want to 3D print a detailed model of Salesforce Tower, this guide distills my hands-on workflow from sourcing references to the final showcase. I’ll cover how I leverage AI-powered modeling platforms, optimize geometry for print, and finish models for architectural realism. Whether you’re a hobbyist or a professional, you’ll find actionable steps to streamline your process and avoid common pitfalls. This is for anyone aiming to create a production-quality architectural print, even without deep 3D modeling expertise.
Key takeaways:
- Use accurate references and AI-assisted modeling for fast, high-fidelity results.
- Optimize geometry with retopology and segmentation for clean prints.
- Choose printing methods and materials based on detail and durability needs.
- Focus on post-processing for realism and presentation.
- Leverage AI tools to accelerate and simplify the workflow.
Overview: 3D Printing the Salesforce Tower Model
Executive summary and key takeaways
3D printing a Salesforce Tower model is a rewarding project that tests both modeling and fabrication skills. The tower’s iconic silhouette and architectural details make it a compelling subject for display or education. In my experience, the biggest wins come from using smart tools to accelerate modeling and careful planning for the print and finishing stages.
Why choose Salesforce Tower as a 3D print project
Salesforce Tower’s unique geometry—tapered glass façade, crown, and base—offers a range of challenges and learning opportunities. It’s ideal for practicing segmentation, texturing, and assembly. I often recommend it for those looking to build a portfolio piece or a standout desk model.
- Striking, recognizable shape for architectural modeling
- Good balance of geometric complexity and printability
- Useful for testing new AI-powered 3D workflows
Sourcing or Creating the 3D Model
Finding accurate reference materials
I always start with high-quality references: architectural drawings, blueprints, and photo sets. For Salesforce Tower, public domain images, Google Earth, and architectural databases are invaluable. Cross-referencing multiple angles minimizes guesswork and ensures proportional accuracy.
Checklist:
- Download or screenshot orthographic images (front, side, top)
- Gather elevation data for height and window spacing
- Check for open-source or creative commons 3D models as a base
Using AI-powered tools and manual modeling techniques
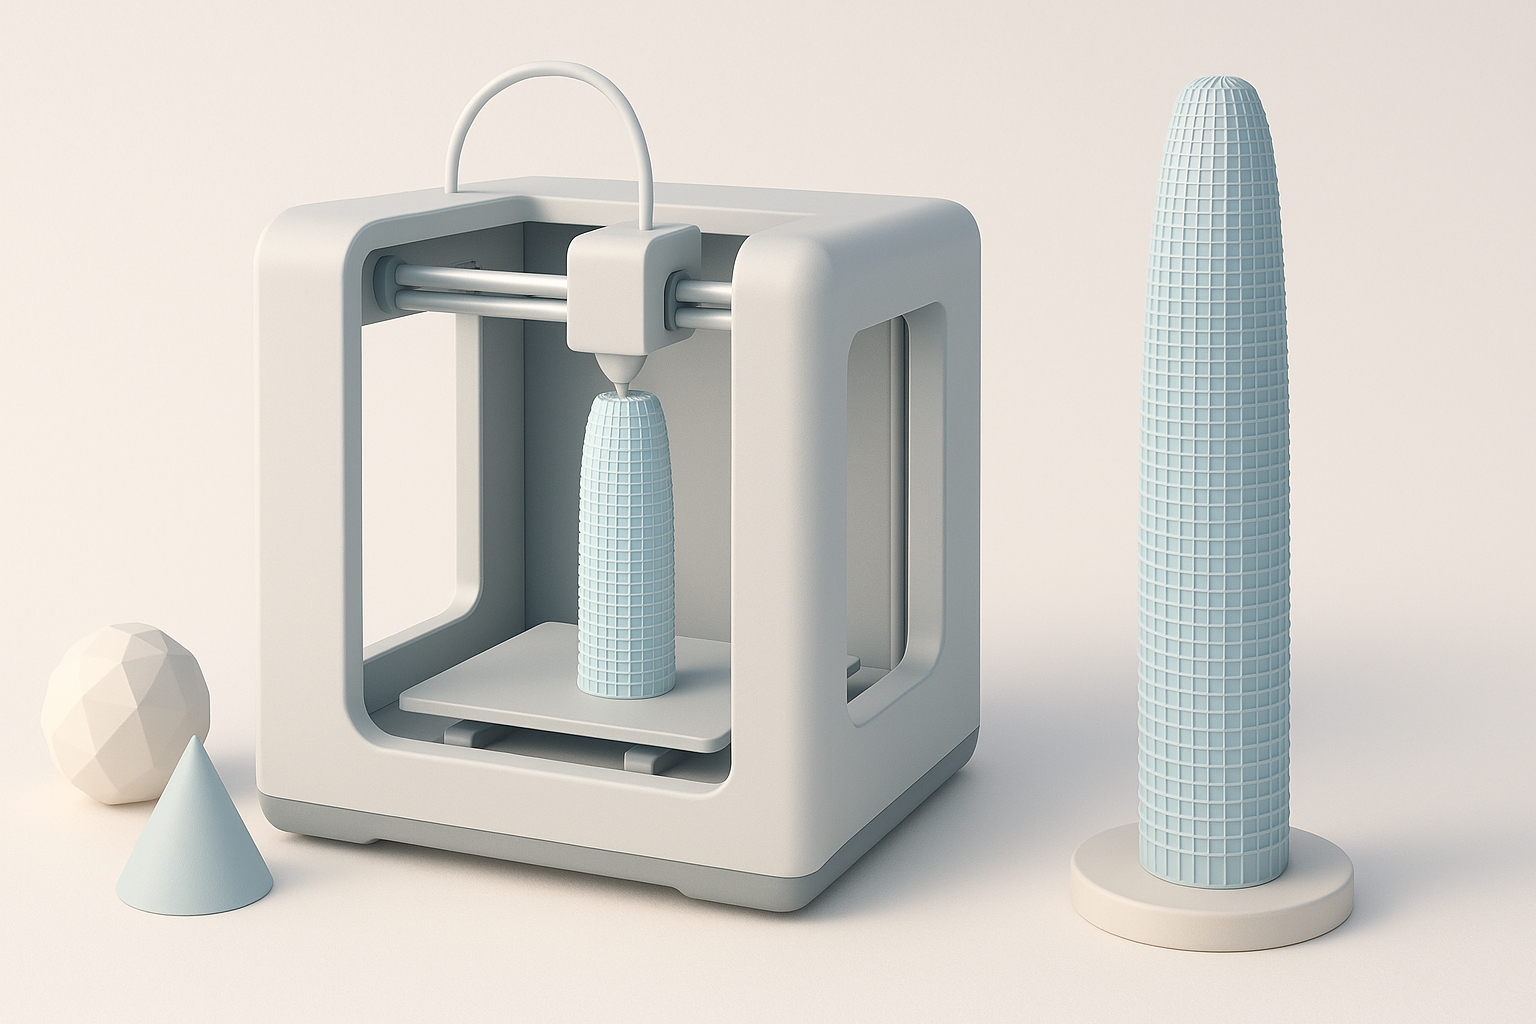
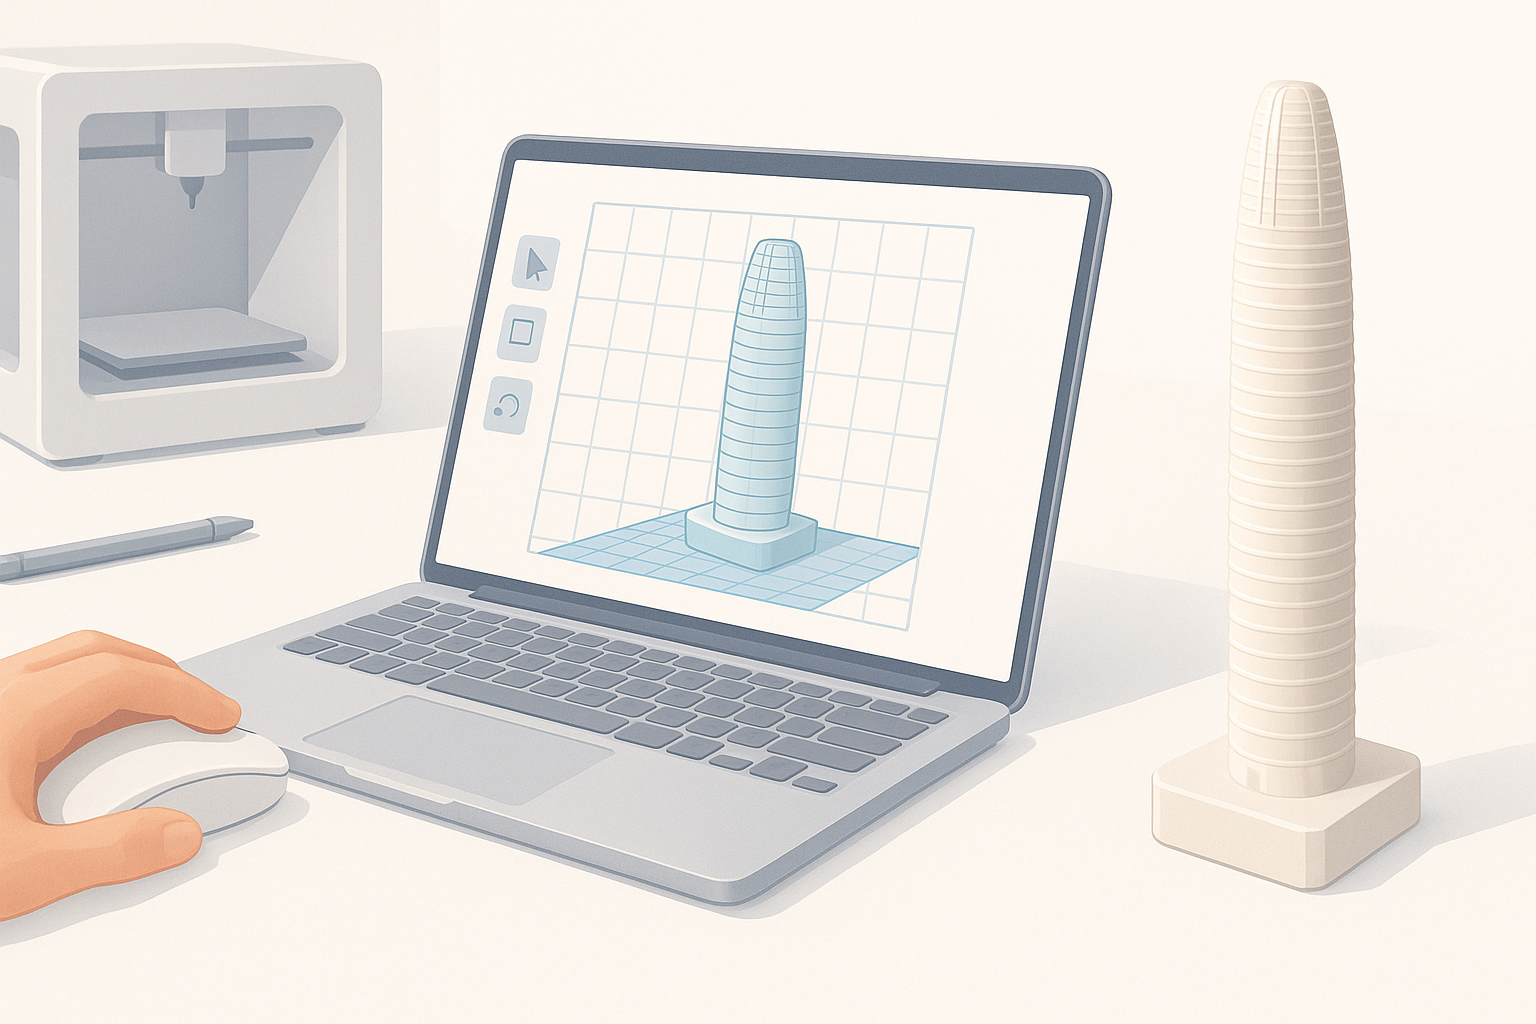
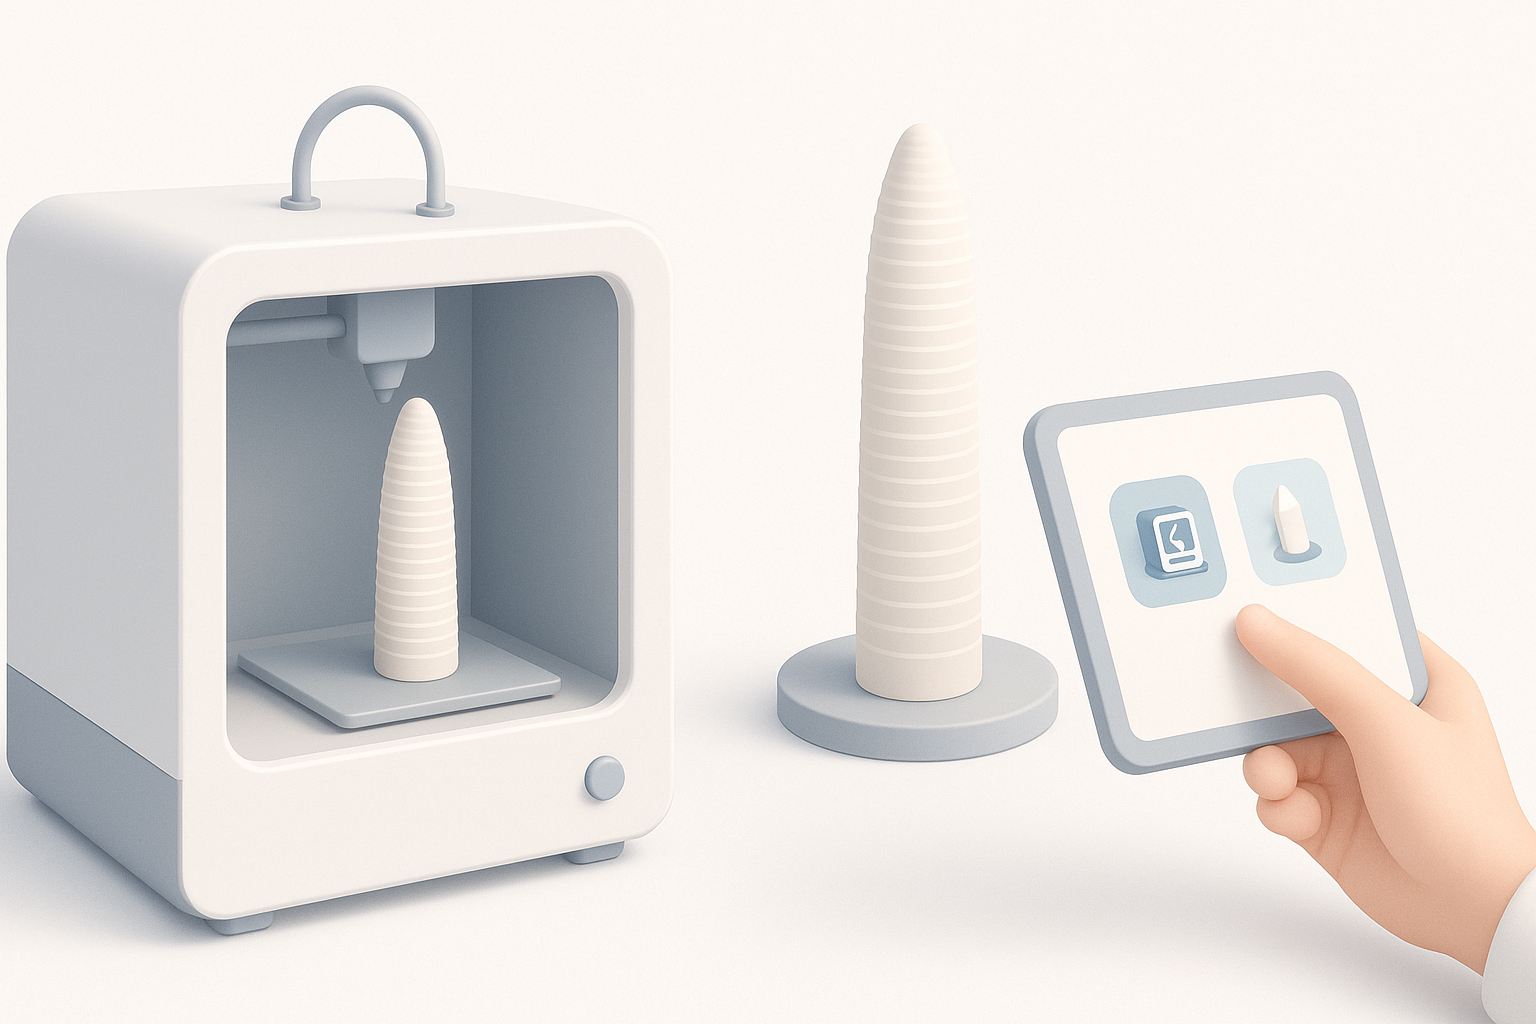
AI-powered 3D platforms like Tripo AI can generate a solid base mesh from text prompts or sketches. I typically input a description (“San Francisco Salesforce Tower, glass façade, cylindrical tapering”) and refine the result. For missing details, I supplement with manual modeling in Blender or similar tools.
- Use AI tools for rapid base mesh generation
- Refine geometry manually for accuracy (e.g., window placement, crown details)
- Validate proportions against reference images
Preparing the Model for 3D Printing
Retopology and mesh optimization best practices
Clean topology is critical. I use automatic retopology features to reduce unnecessary polygons while preserving detail. Overly dense meshes can bog down slicers and introduce print artifacts.
- Run automatic retopology, then manually check for non-manifold edges
- Remove internal faces and thin walls that won’t print well
- Ensure all normals face outward
Scaling, segmentation, and file export tips
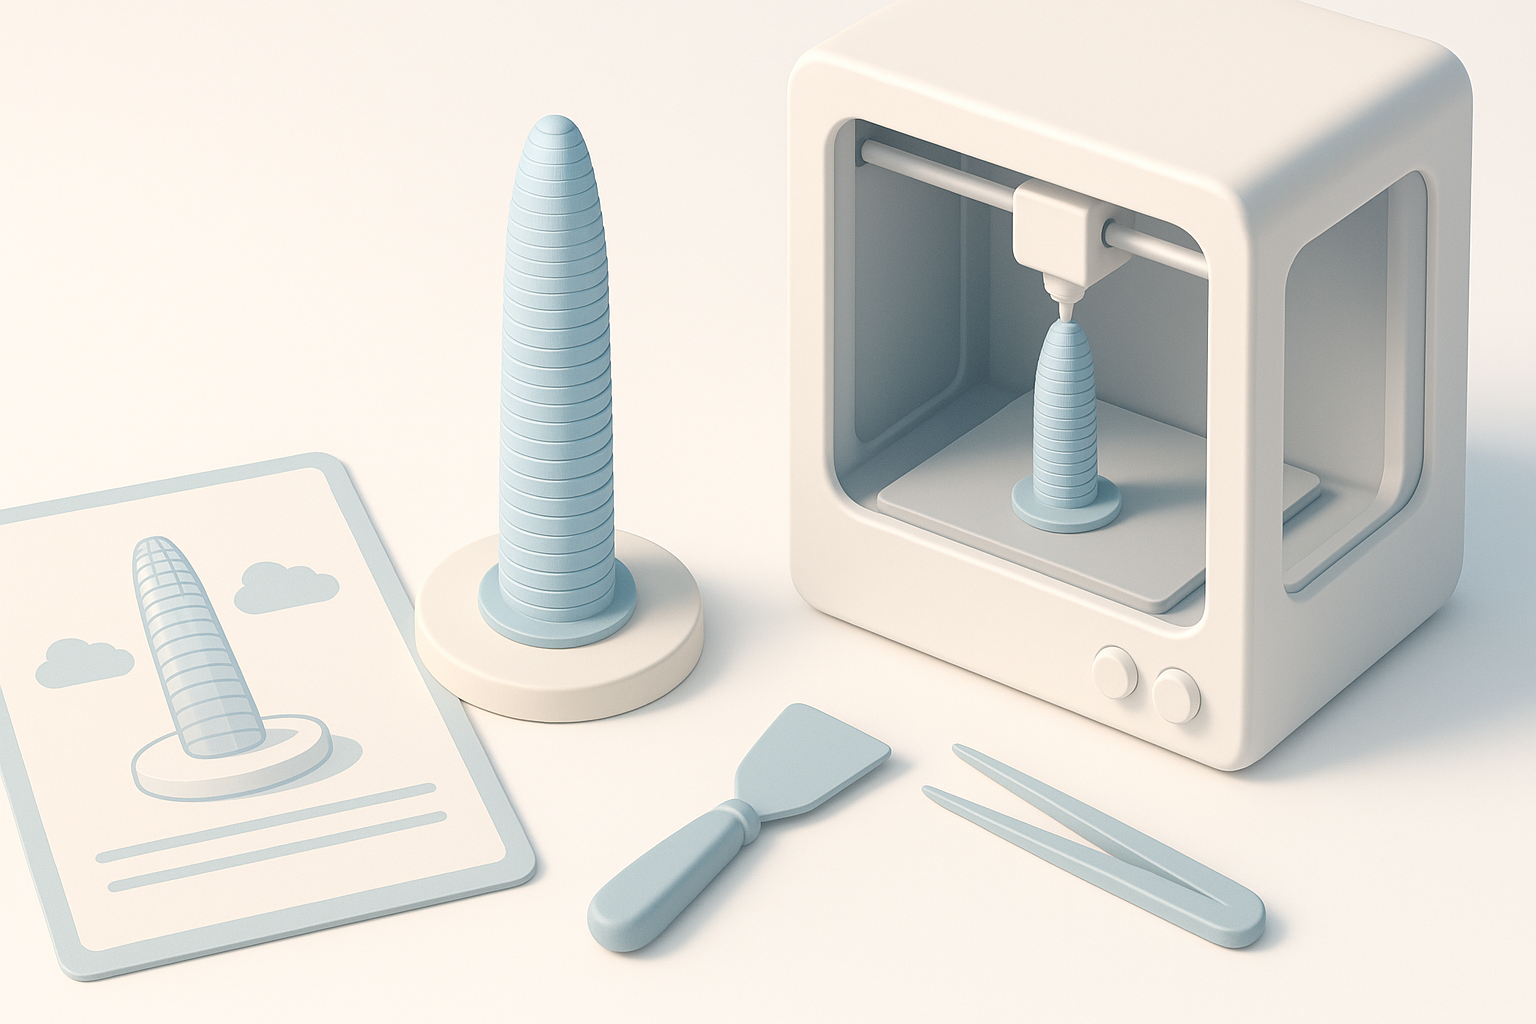
I scale the model to fit my printer’s build volume, usually aiming for 1:500 or 1:1000 scale. Tall structures like Salesforce Tower often require splitting into sections for reliable printing and assembly.
- Segment the model at logical breaks (e.g., base, midsection, crown)
- Add alignment pegs or registration marks for assembly
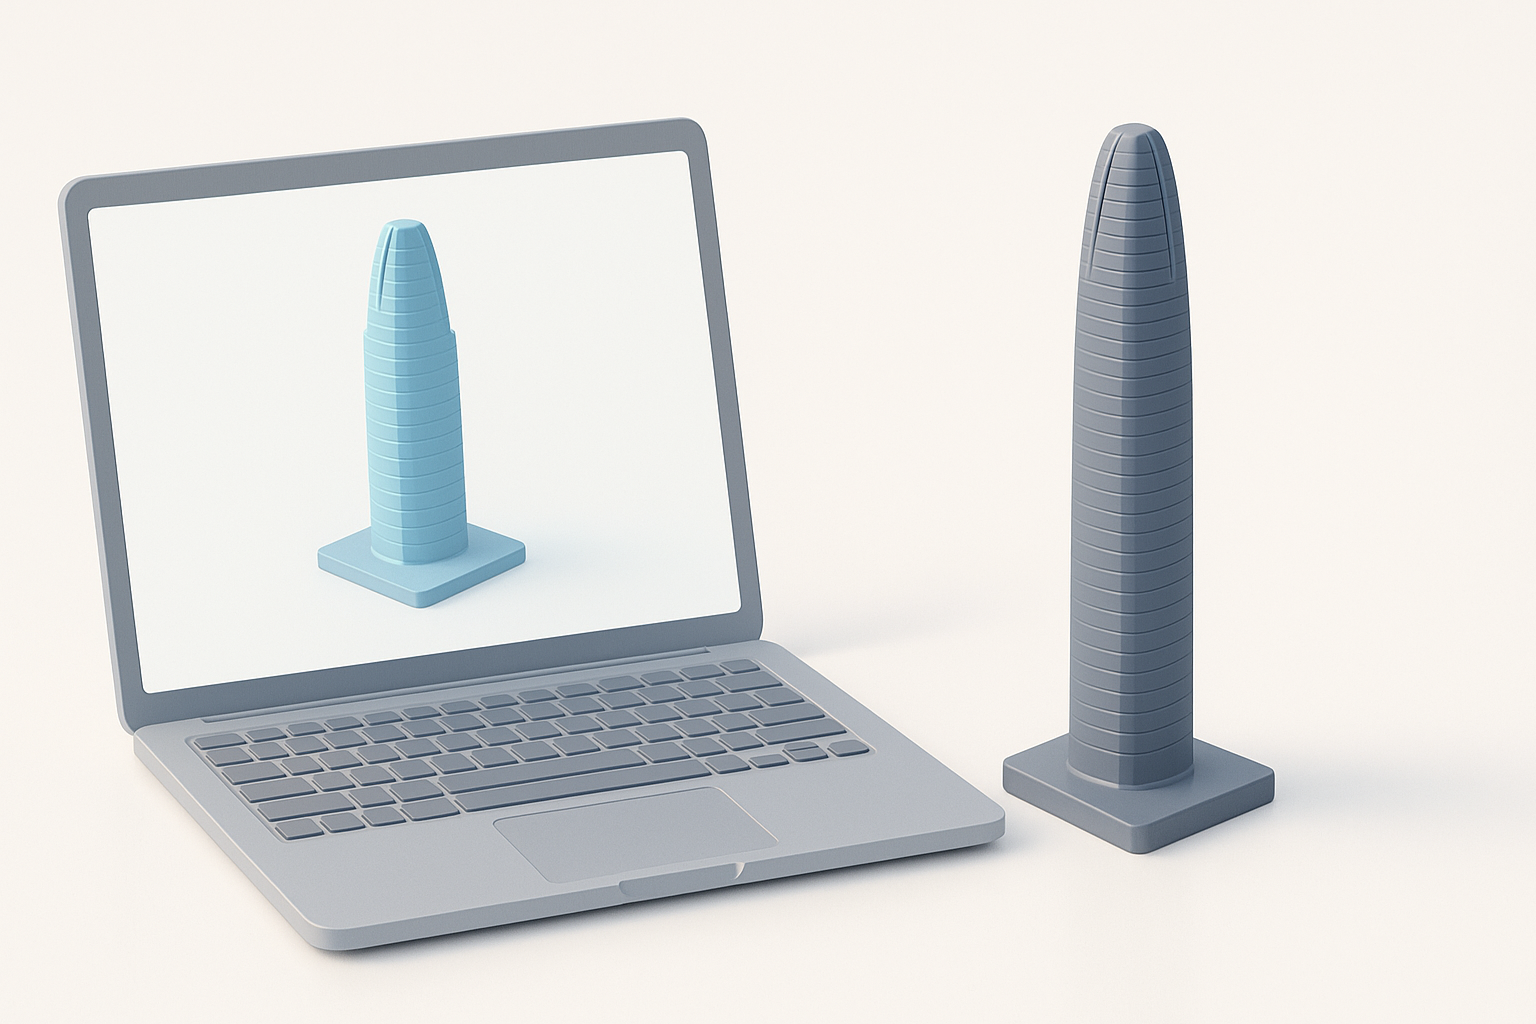
- Export as STL or OBJ, double-checking for watertight meshes
Texturing and Detailing for Realism
Applying textures and materials
While 3D printers can’t reproduce all textures, I bake surface detail into the mesh. I use Tripo AI’s texture tools to generate normal maps or displacement details, then transfer key features (like window frames) into the print geometry.
- Convert fine textures to physical detail where possible
- Use subtle embossing for façade patterns
- For color, prep separate texture maps for post-print painting
Balancing detail with printability
Too much detail can cause failed prints or excessive supports. I simplify small features that won’t resolve at my intended scale and exaggerate key elements for visual impact.
- Omit or merge elements smaller than your printer’s minimum feature size
- Test-print small sections to check detail fidelity
- Prioritize silhouette and major architectural lines
Selecting the Right 3D Printing Method
Comparing FDM, SLA, and other printing technologies
For architectural models, I typically weigh FDM and SLA printers:
- FDM: Good for larger, less detailed prints; strong and affordable
- SLA: Better for fine detail and smooth surfaces; more post-processing
I choose based on the model’s size, required detail, and budget.
Material choices for architectural models
PLA and resin are my go-to materials. PLA is easy to print and sand, while resin captures finer detail but requires more handling care.
- Use white or gray filament/resin for easy painting
- Avoid brittle materials for thin sections
- Consider transparent resin for glass-like features (if available)
Post-Processing and Finishing Touches
Sanding, painting, and assembly techniques
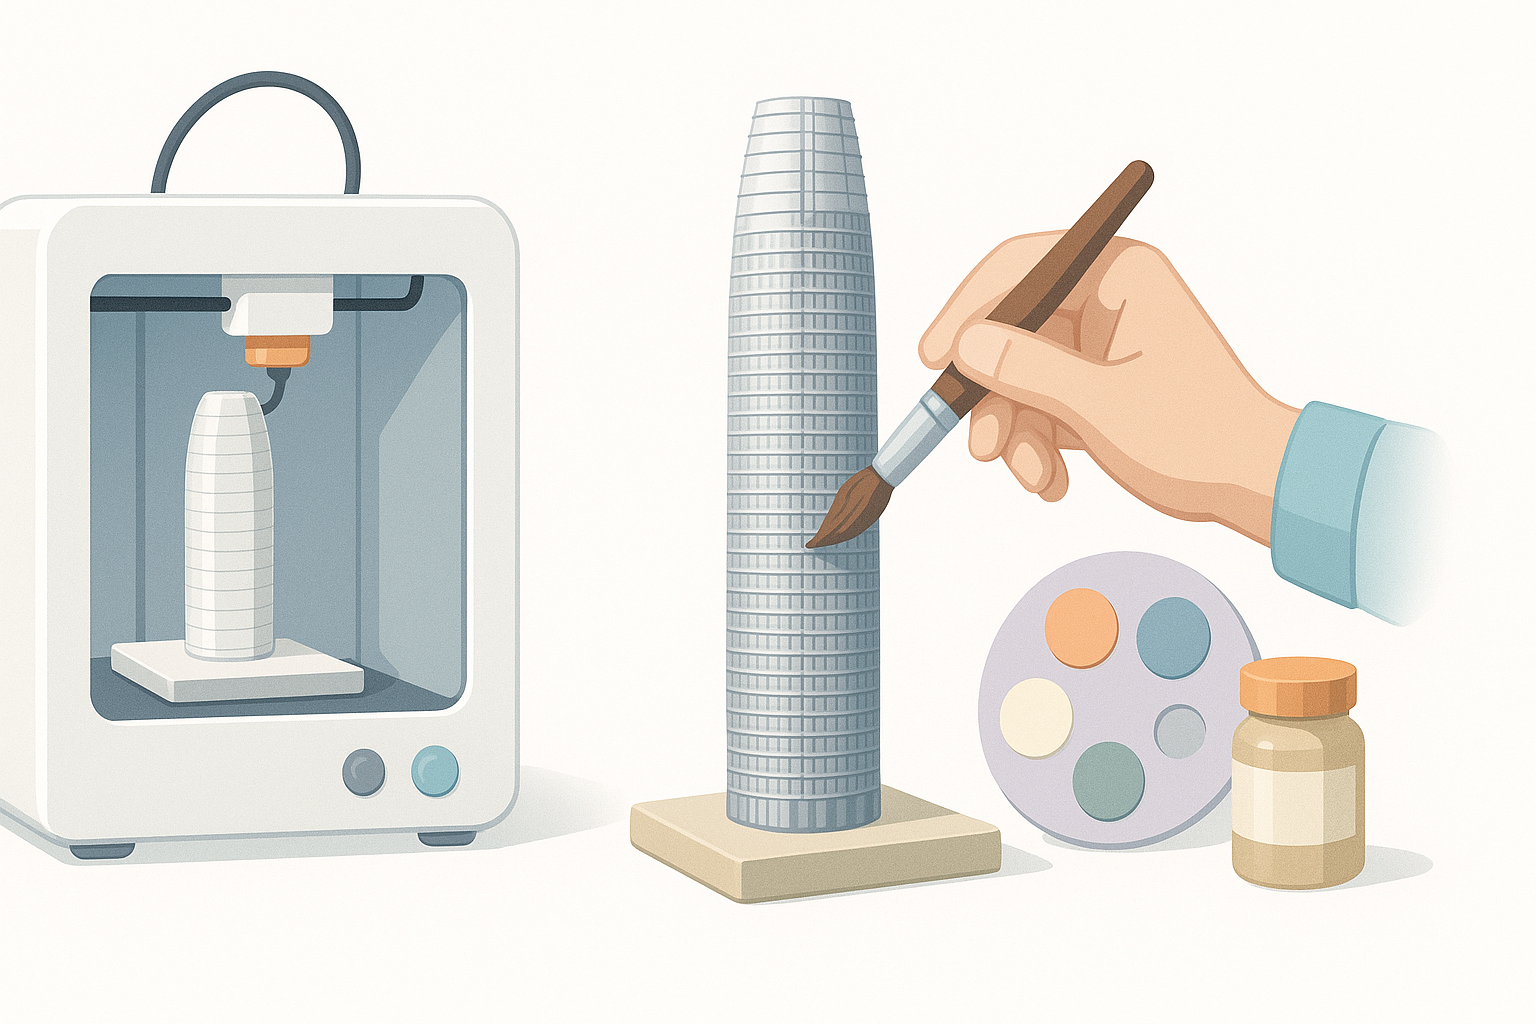
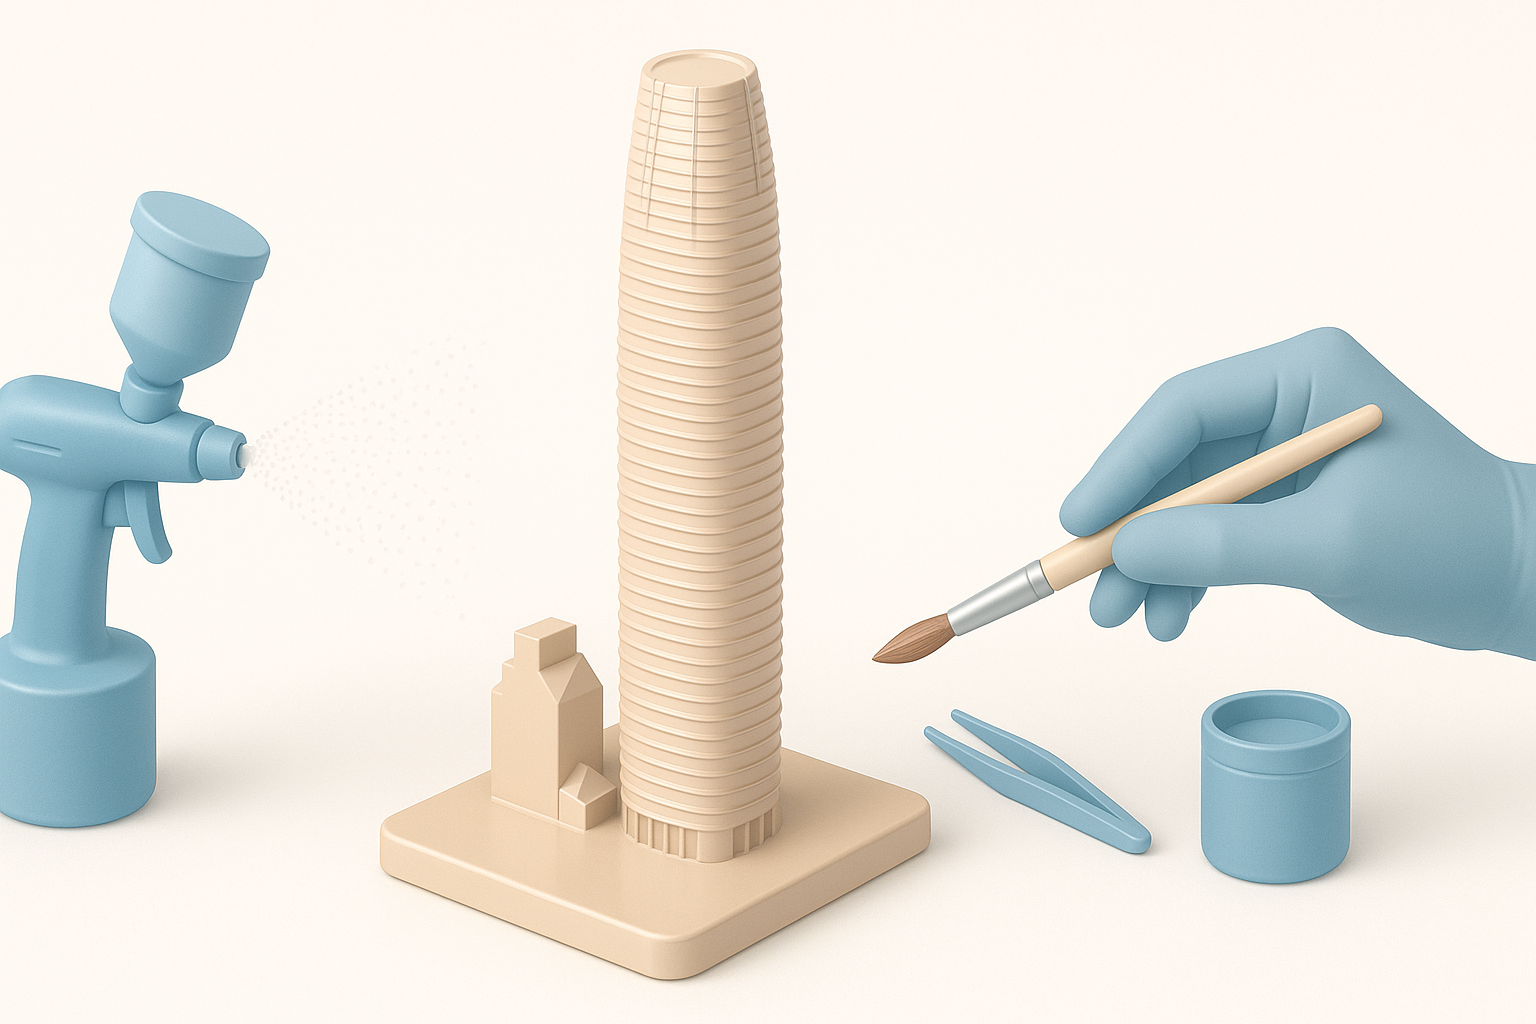
Post-processing makes the biggest difference in realism. I sand seams, fill gaps with putty, and use primer before airbrushing or hand-painting. For Salesforce Tower, metallic or pearlescent paints mimic the glass façade.
Steps:
- Sand printed parts with fine grit (220–400)
- Assemble with superglue and reinforce joints if needed
- Prime, then paint in layers (base, highlights, details)
Showcasing and displaying your finished model
I mount finished models on acrylic or wooden bases and add nameplates for context. Good lighting enhances the tower’s reflective features.
- Use clear display cases to protect from dust
- Position near a window or light source for dramatic effect
- Document your process for portfolio or social sharing
Lessons Learned and Expert Tips
Common challenges and how I solve them
- Warping: I print tall sections with a brim and slow speeds.
- Seam lines: Careful segmentation and post-print sanding minimize visible joints.
- Detail loss: I test-print small samples to calibrate detail levels before committing.
Workflow improvements using AI-powered platforms
AI tools like Tripo AI have cut my modeling time in half, especially for architectural forms. They’re especially useful for generating base meshes and quick iterations. I always double-check outputs for printability and accuracy, but the speed boost is significant.
- Use AI for initial modeling, manual tools for refinement
- Let AI handle repetitive or symmetrical elements (e.g., window grids)
- Save time on retopology and segmentation with built-in tools
By following this workflow, I consistently achieve professional, display-ready Salesforce Tower prints. The combination of smart modeling, careful prep, and finishing is key—AI tools just make it faster and more accessible.


