Creating a Piggy Roblox 3D Model: Expert Workflow & Tips
Creating a Piggy Roblox 3D model is a rewarding process that’s become dramatically faster and more accessible with AI-powered tools. In my experience, leveraging platforms like Tripo allows me to go from concept to production-ready asset in a fraction of the time compared to traditional modeling. This guide is for 3D artists, game devs, and hobbyists looking to streamline Roblox model creation, focusing on efficiency, best practices, and practical lessons learned.
Key takeaways:
- Use AI tools to quickly generate accurate base models from text/images.
- Intelligent segmentation and retopology are essential for game-ready assets.
- Proper rigging and animation prep ensures Roblox compatibility.
- Always test and iterate in Roblox Studio for best results.
- Avoid common pitfalls with organized workflows and attention to export settings.
Overview: Piggy Roblox 3D Model Creation
What Makes Piggy Roblox Models Unique
Piggy Roblox models stand out due to their stylized proportions, simple geometry, and iconic features—like the round head, large eyes, and minimal detail. These design traits make them both approachable for beginners and a good fit for real-time environments.
From my experience, the biggest challenge is balancing the cartoonish style with technical requirements (polycount, UVs, rigging). Roblox’s engine favors low to mid-poly assets, so I keep designs simple and clean.
Key Takeaways for Efficient 3D Creation
- Focus on silhouette and recognizable features first.
- Use reference images to maintain visual consistency.
- Keep the model optimized for performance in Roblox.
- Leverage AI tools for initial blocking, then refine manually.
Step-by-Step Workflow for Building a Piggy Roblox 3D Model
Conceptualizing and Reference Gathering
My workflow always starts with gathering references—screenshots from Roblox, fan art, and official character sheets. I organize these in a mood board for quick access.
Checklist:
- Collect front, side, and 3/4 views if possible.
- Note color palettes and key proportions.
- Sketch over references to clarify shapes.
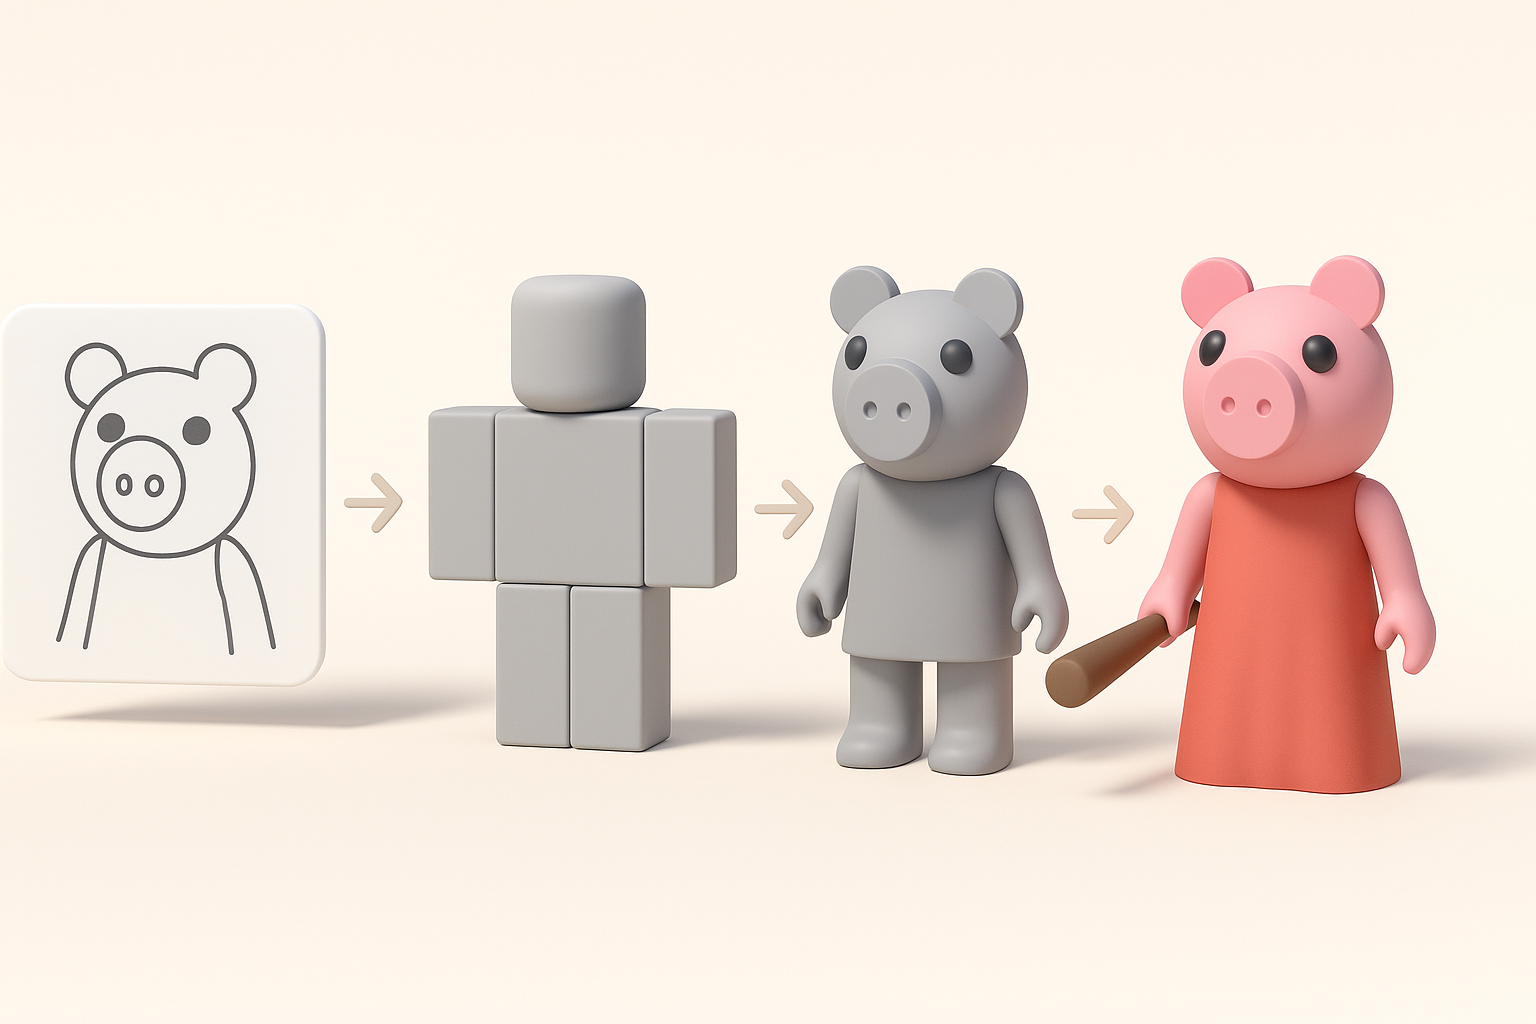
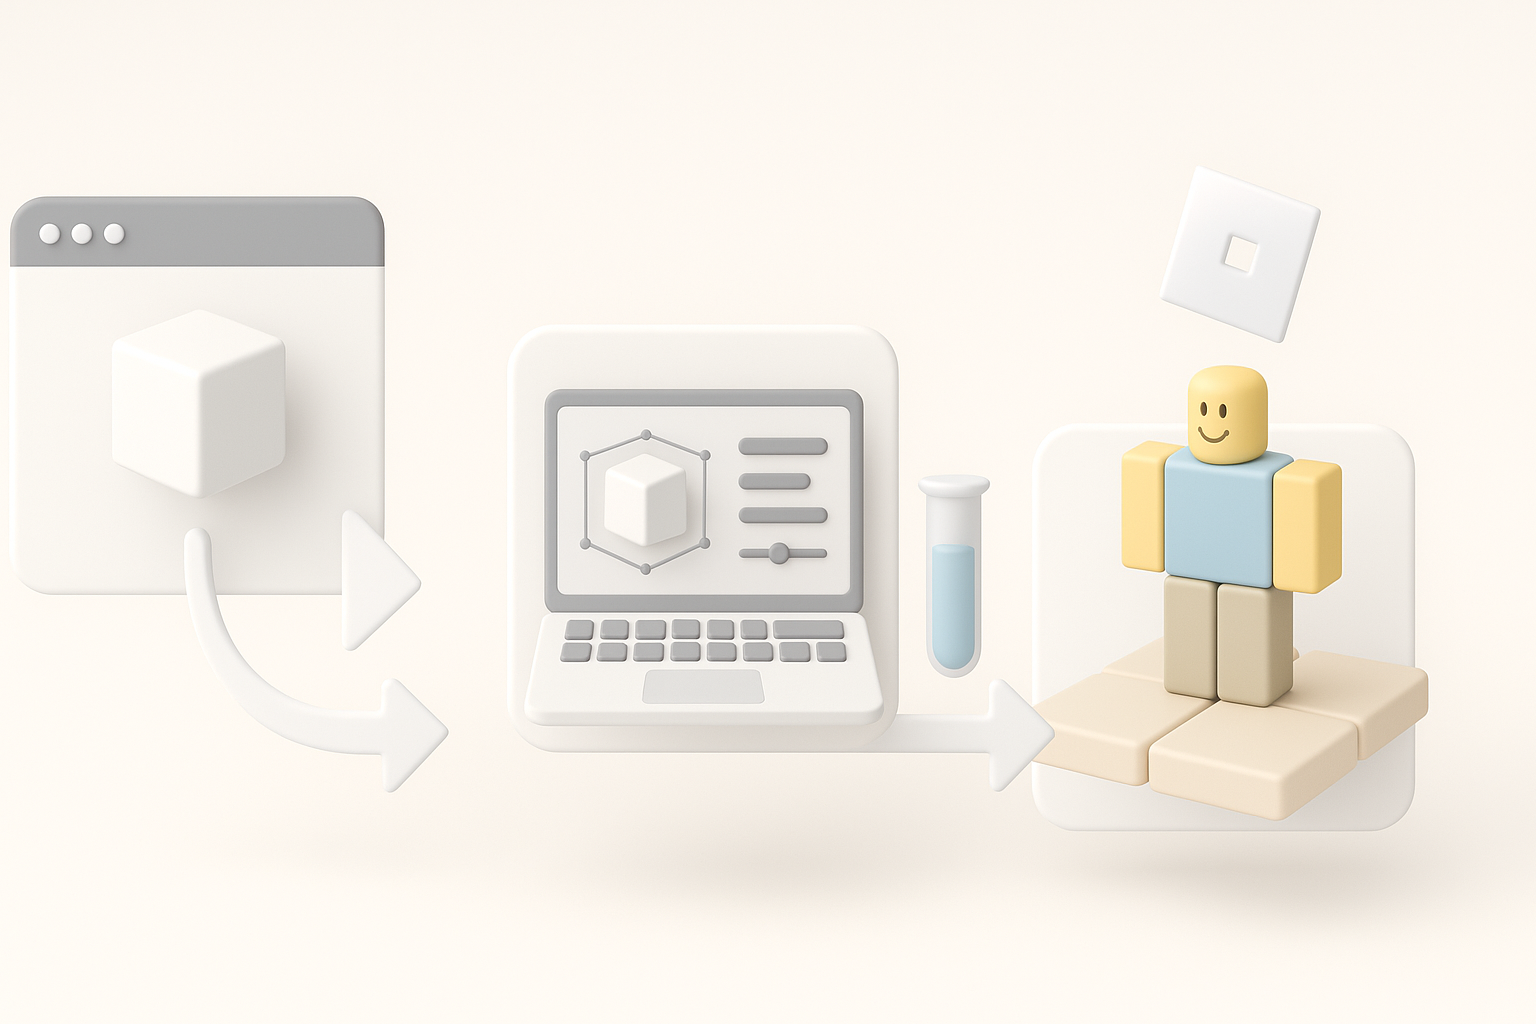
Generating the Base Model from Text or Images
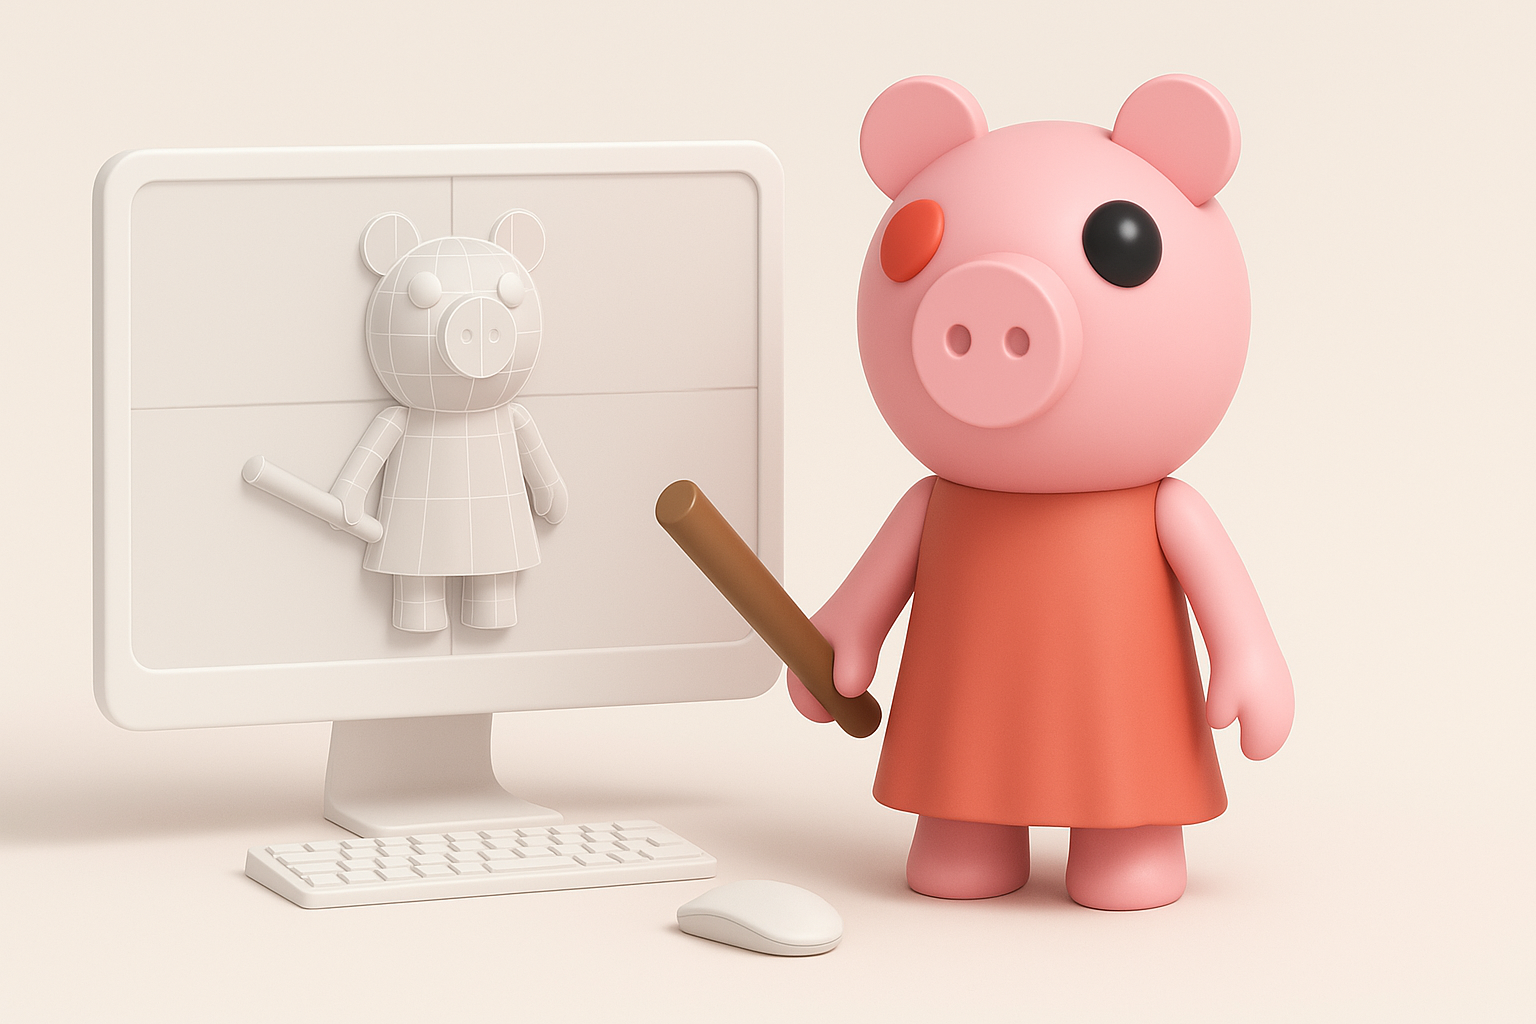
With a clear concept, I use Tripo’s text-to-3D or image-to-3D features. For Piggy, a simple prompt like “stylized pig character, round head, Roblox style” and a reference image yields a solid base mesh.
- Upload reference images and tweak prompts for accuracy.
- Review the auto-generated mesh for proportion and pose.
- Make quick manual edits to fix any glaring issues before moving on.
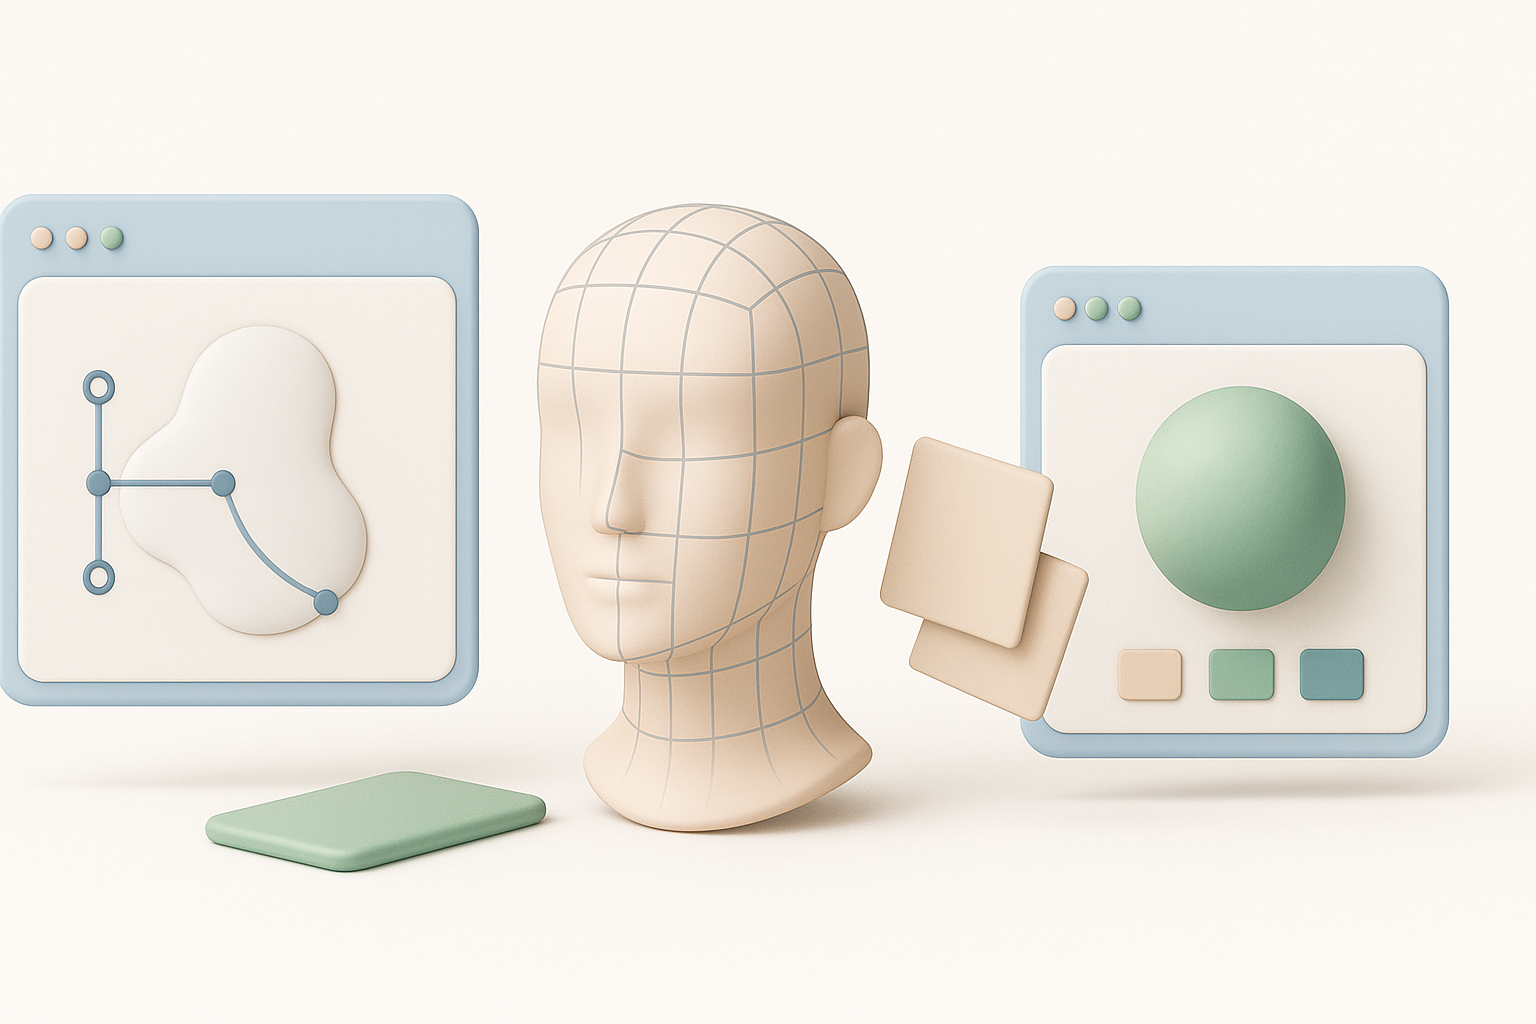
Best Practices for Segmentation, Retopology, and Texturing
Intelligent Segmentation Techniques
Segmentation is critical for separating body parts (head, limbs, accessories) for animation. Tripo’s segmentation tools let me quickly assign regions, saving hours compared to manual selection.
- Use auto-segmentation, then manually adjust for tricky areas (ears, snout).
- Group movable parts logically for rigging.
- Label segments clearly (e.g., “Head,” “LeftArm”).
Optimizing Retopology and Applying Textures
A clean topology ensures smooth deformation and easy texturing. I always check the mesh density and fix any poles or n-gons.
- Use automated retopology for a game-ready polycount.
- Unwrap UVs with minimal stretching—Tripo’s auto-unwrap is usually enough.
- Paint or project textures, focusing on eyes, nose, and clothing details.
Rigging and Animation for Roblox Compatibility
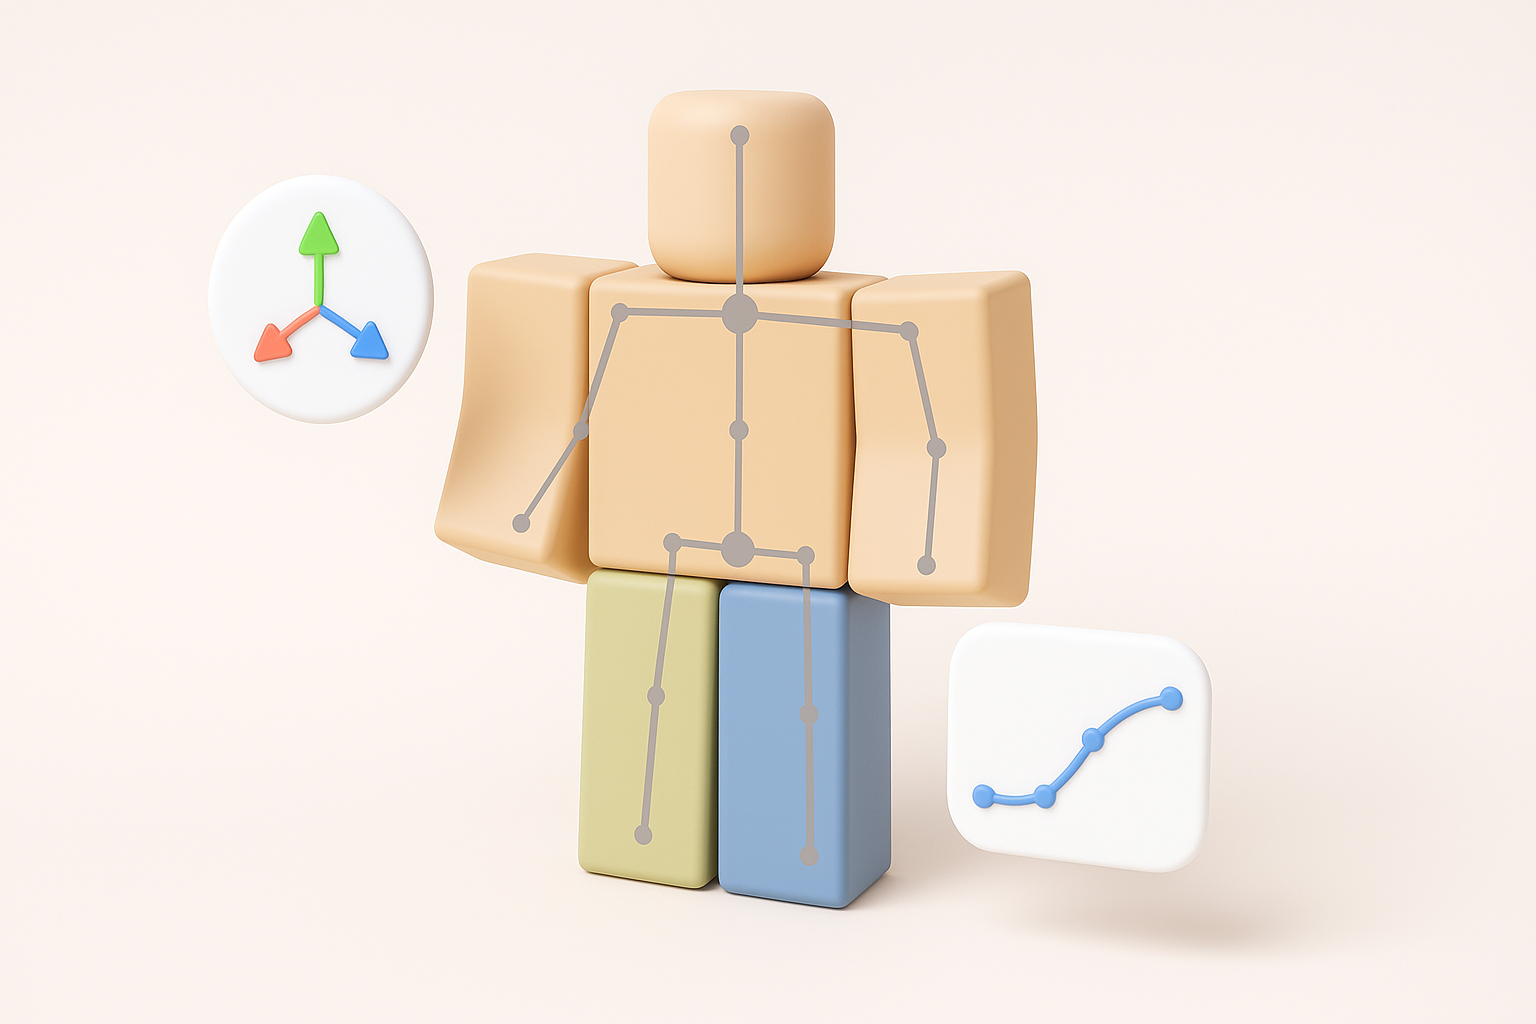
Preparing the Model for Rigging
Roblox requires a specific bone structure for characters. I use Tripo’s rigging presets, then adjust joints to match Roblox’s humanoid template.
- Ensure pivot points are at joint centers.
- Check bone names and hierarchy for compatibility.
- Test basic deformations (arms up/down, head turn).
Animating Piggy for In-Game Use
Simple idle, walk, and attack animations are standard. I animate in Tripo or export to a DCC tool if needed, then bake animations to the skeleton.
- Keep animation loops short and seamless.
- Export as FBX with embedded animations.
- Preview in Roblox Studio to catch any issues.
Comparing AI-Powered and Traditional 3D Creation Methods
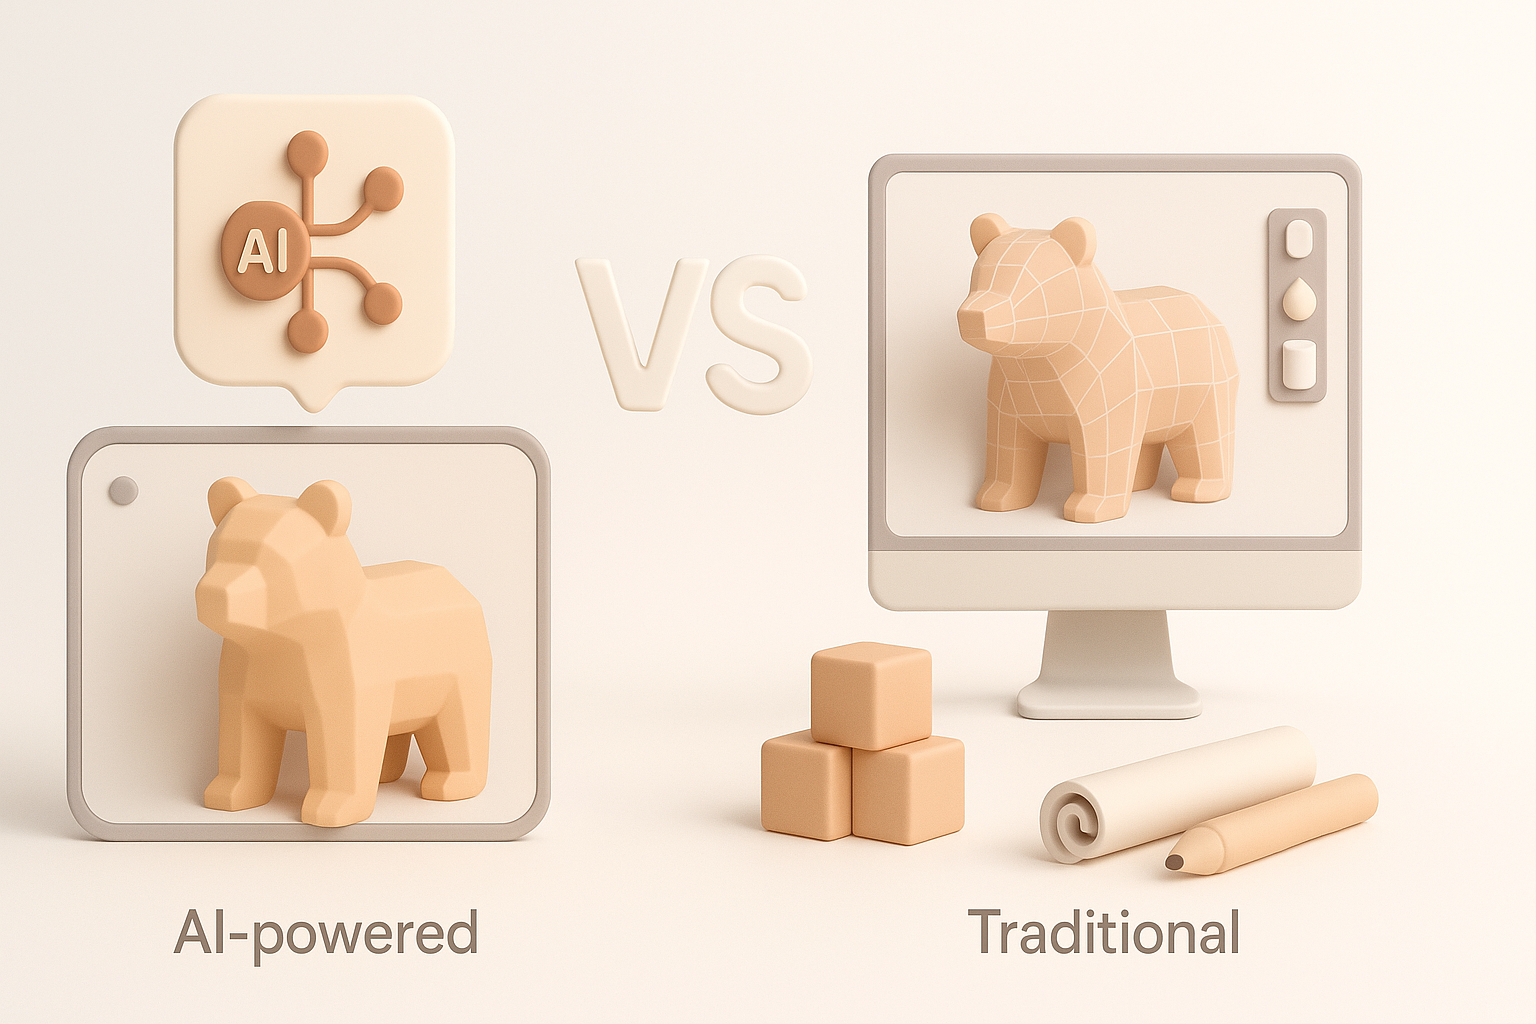
Advantages of AI-Driven Workflows
AI tools like Tripo save me hours on blocking, segmentation, and retopology. I can iterate rapidly, which is vital for stylized characters like Piggy.
Benefits:
- Drastically reduced manual modeling time.
- Quick iteration from text/image prompts.
- Built-in export and compatibility checks.
When to Use Alternative Methods
If I need ultra-custom topology, complex rigs, or highly detailed textures, I sometimes switch to manual modeling in a DCC. For most Roblox characters, though, AI-driven workflows cover 90% of my needs.
Exporting, Testing, and Integrating the Model in Roblox
Export Settings and File Formats
Exporting correctly is crucial to avoid import errors. I typically use FBX for models and PNG for textures.
- Set scale to match Roblox units (usually meters).
- Check “embed media” for textures.
- Verify bone hierarchy before export.
Testing and Troubleshooting in Roblox Studio
Once imported, I assign materials and test animations in Roblox Studio. Common issues include flipped normals, missing textures, or rig errors.
Troubleshooting steps:
- Reimport with adjusted settings if issues appear.
- Double-check bone names and weights.
- Use Roblox’s output window for error messages.
Expert Tips and Lessons Learned from Real Projects

Common Pitfalls and How I Avoid Them
- Messy topology: Always run a cleanup pass after auto-generation.
- Bad segmentation: Double-check part groupings for rigging.
- Export errors: Test export settings with a simple mesh first.
My Recommendations for Streamlined 3D Production
- Lean on AI tools for repetitive or technical steps.
- Keep your pipeline organized—label everything clearly.
- Test early and often in Roblox Studio.
- Save incremental versions to backtrack if needed.
By following this workflow and leveraging AI-powered platforms like Tripo, I consistently produce game-ready Piggy Roblox models with minimal friction. The key is to blend automation with hands-on refinement, ensuring both speed and quality in your 3D pipeline.


