Creating Little Nightmares 2 3D Models: Expert Workflow & Tips
Creating 3D models in the style of Little Nightmares 2 demands a balance of stylized artistry, technical precision, and workflow efficiency. In my experience, the most successful results come from blending strong references, careful sculpting, and efficient use of AI-powered tools to accelerate repetitive tasks. Whether you’re a game artist, indie developer, or hobbyist aiming for production-ready assets, this article covers my hands-on process—from concept to export—and shares practical tips for texturing, retopology, and integrating AI in your pipeline.
Key takeaways
- Reference and proportion are everything—get these right before detailing.
- Stylized textures need hand-painted finesse and smart UV layouts.
- AI tools like Tripo can rapidly prototype and segment models, freeing you to focus on creative polish.
- Manual workflows offer more control, but AI can dramatically speed up iteration and blockouts.
- Always optimize topology and export settings for your target engine.
Overview: Little Nightmares 2 3D Model Creation
Key challenges and requirements
Little Nightmares 2’s models are deceptively simple—characterized by exaggerated proportions, minimal facial detail, and moody, hand-painted textures. The main challenges I face are:
- Capturing the unique, unsettling proportions and silhouettes.
- Achieving a painterly texture style without losing efficiency.
- Ensuring the final assets are optimized for real-time engines.
Executive summary and main takeaways
My workflow focuses on getting the blockout right before investing in detail, using AI tools for rapid prototyping, and maintaining a tight feedback loop with references. Streamlining UVs and texture work is essential, and I always prioritize clean topology for animation.
My Step-by-Step Workflow for Little Nightmares 2 3D Models
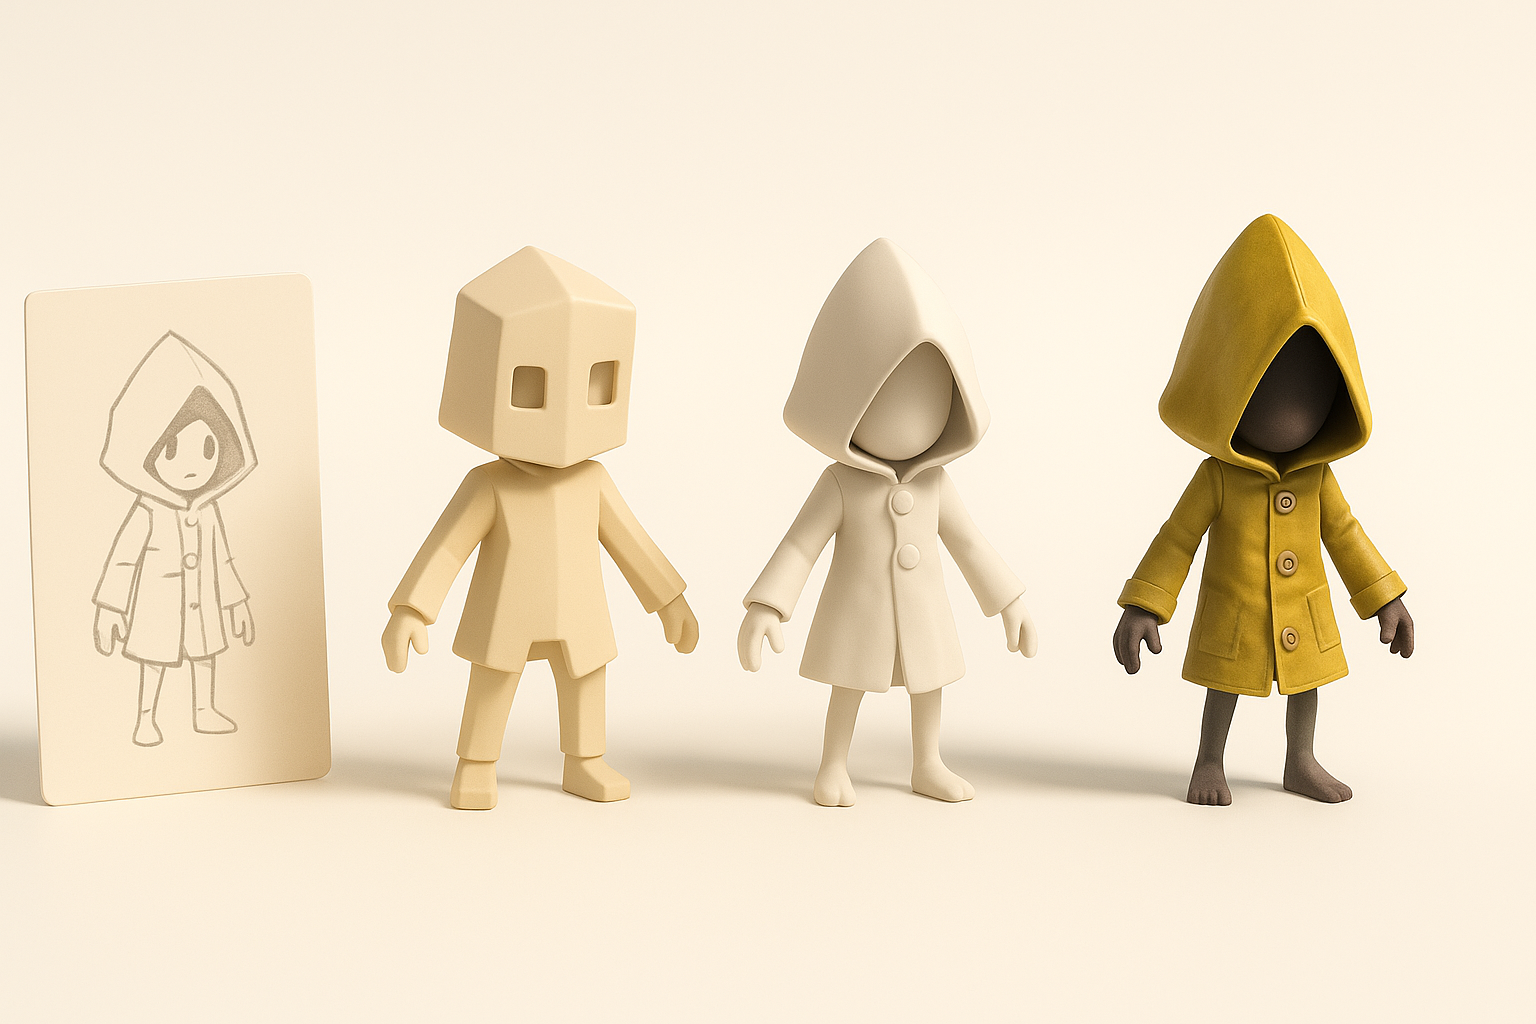
Concept gathering and reference collection
I start every project by gathering high-quality references—screenshots, concept art, and fan interpretations. For Little Nightmares 2, I pay special attention to:
- Character proportions, clothing folds, and silhouette.
- Material references (wood, cloth, skin).
- In-game lighting and color palette.
Checklist:
- At least 5–10 reference images from different angles.
- Moodboard with close-ups of key details.
Blocking out forms and proportions
Before any detail work, I block out the major shapes in my 3D software. I focus on:
- Getting the head-to-body ratio correct (oversized heads, thin limbs).
- Simple geometry—no fingers or facial features yet.
- Using symmetry tools to stay efficient.
Pitfall: Don’t rush into detailing. If the blockout feels off, everything else will too.
Best Practices for Texturing and Detailing
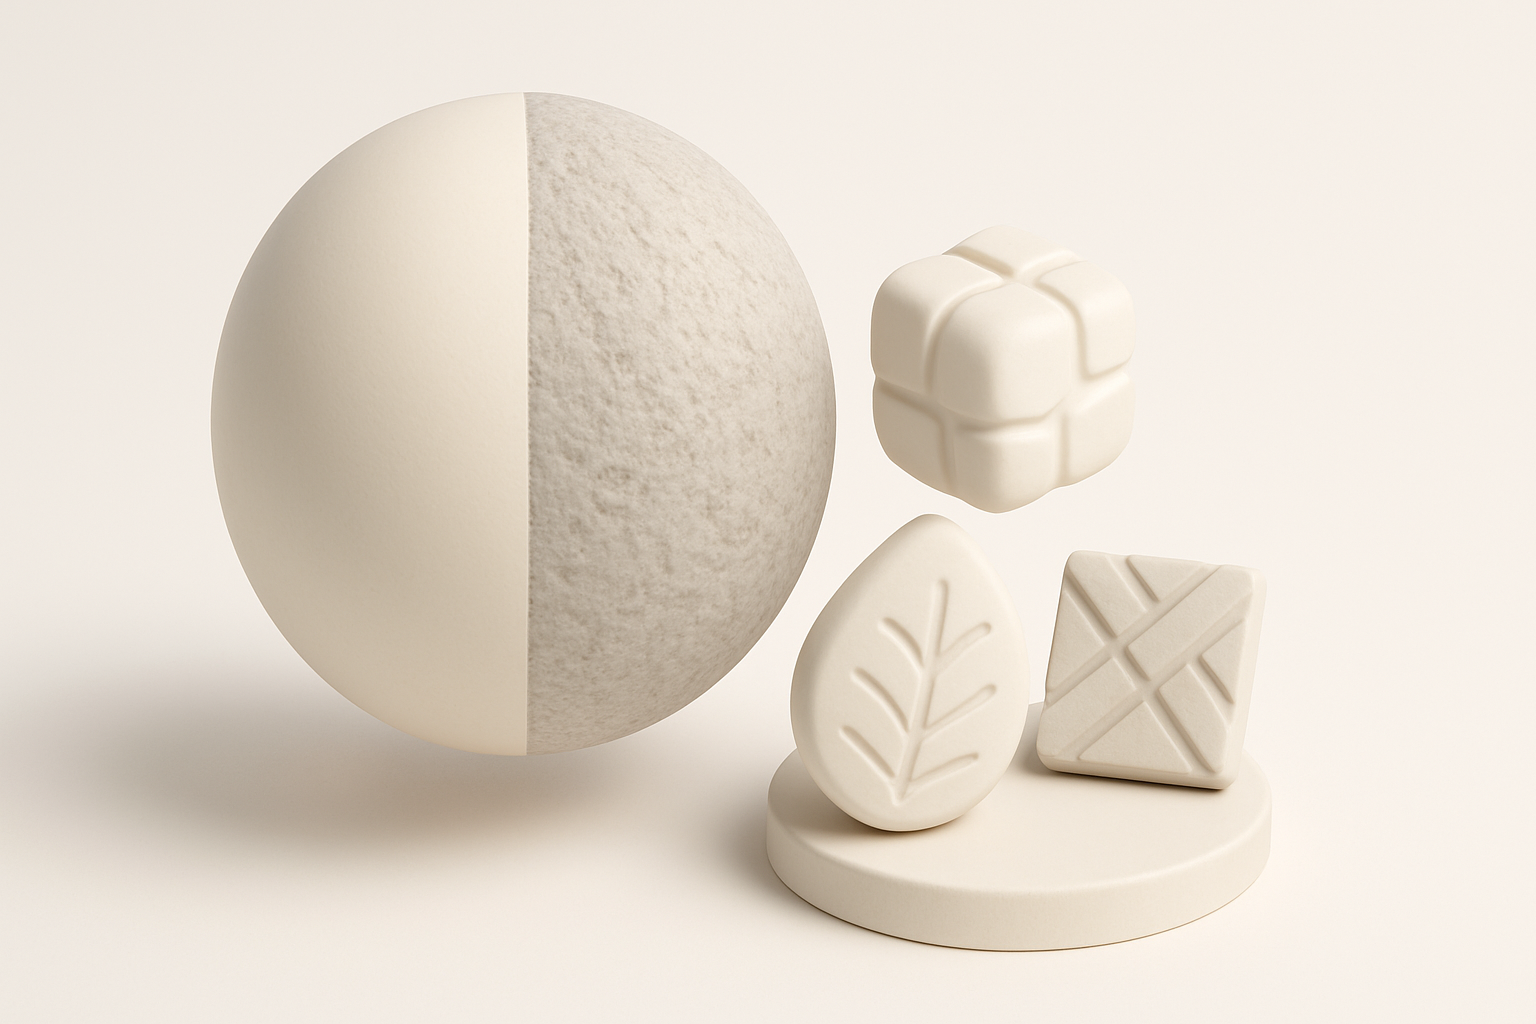
Stylized texturing techniques
For Little Nightmares 2, I’ve found that a painterly, hand-crafted texture approach works best. My process:
- Bake ambient occlusion and curvature maps for painting guides.
- Use a limited color palette to match the game’s mood.
- Layer brush strokes to mimic traditional painting.
Tip: Avoid photo textures—hand-painting gives more control over stylization.
Efficient UV mapping and material setup
Efficient UVs are crucial for stylized assets. I usually:
- Unwrap major forms with minimal seams, hiding them in less visible areas.
- Use single UV tiles for small characters; split into UDIMs for larger assets.
- Assign simple materials—often just base color, roughness, and a subtle normal map.
Mini-checklist:
- Check for UV stretching on limbs and faces.
- Pack UVs tightly to maximize texture resolution.
Retopology, Rigging, and Animation Tips
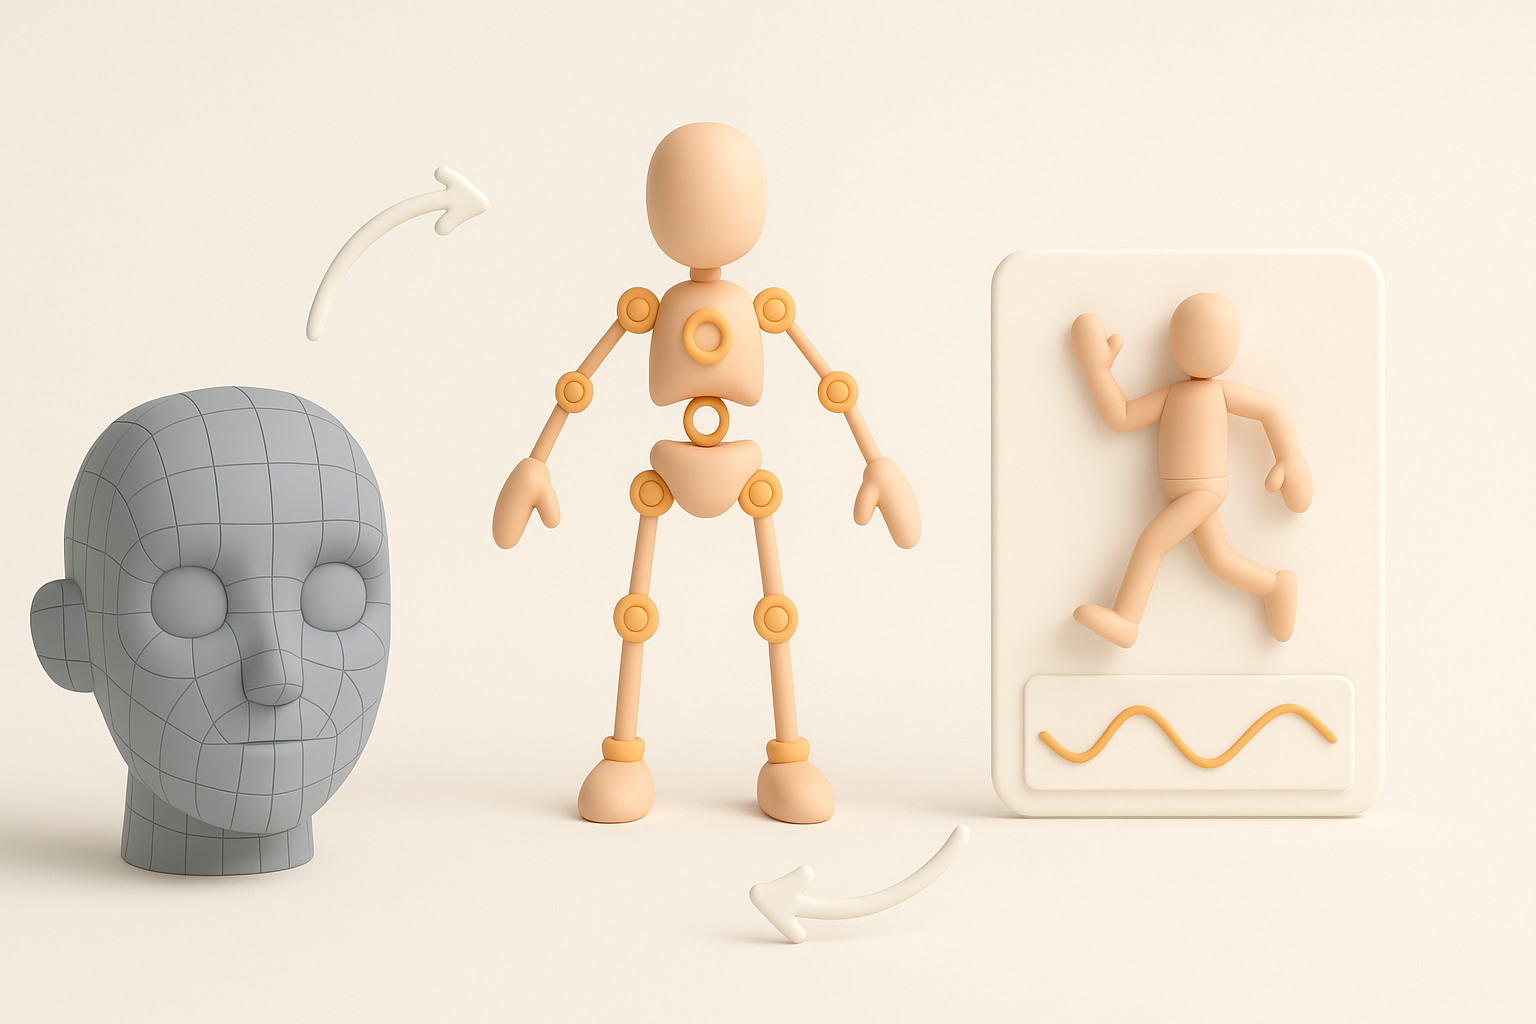
Optimizing topology for games
Game-ready assets need clean, efficient topology. I always:
- Retopologize with animation in mind—edge loops around joints are a must.
- Target a reasonable polycount (5–15k for characters).
- Use quad-based meshes for easier deformation.
Pitfall: Overly dense meshes slow down both rigging and real-time performance.
Rigging and animating for stylized characters
Stylized rigs should be simple but flexible. My approach:
- Use basic IK/FK setups for limbs.
- Add extra controls for squash/stretch if needed.
- Test deformations early with quick animation poses.
Tip: Exaggerated proportions often require custom weighting for smooth bends.
Leveraging AI Tools for Faster 3D Model Production
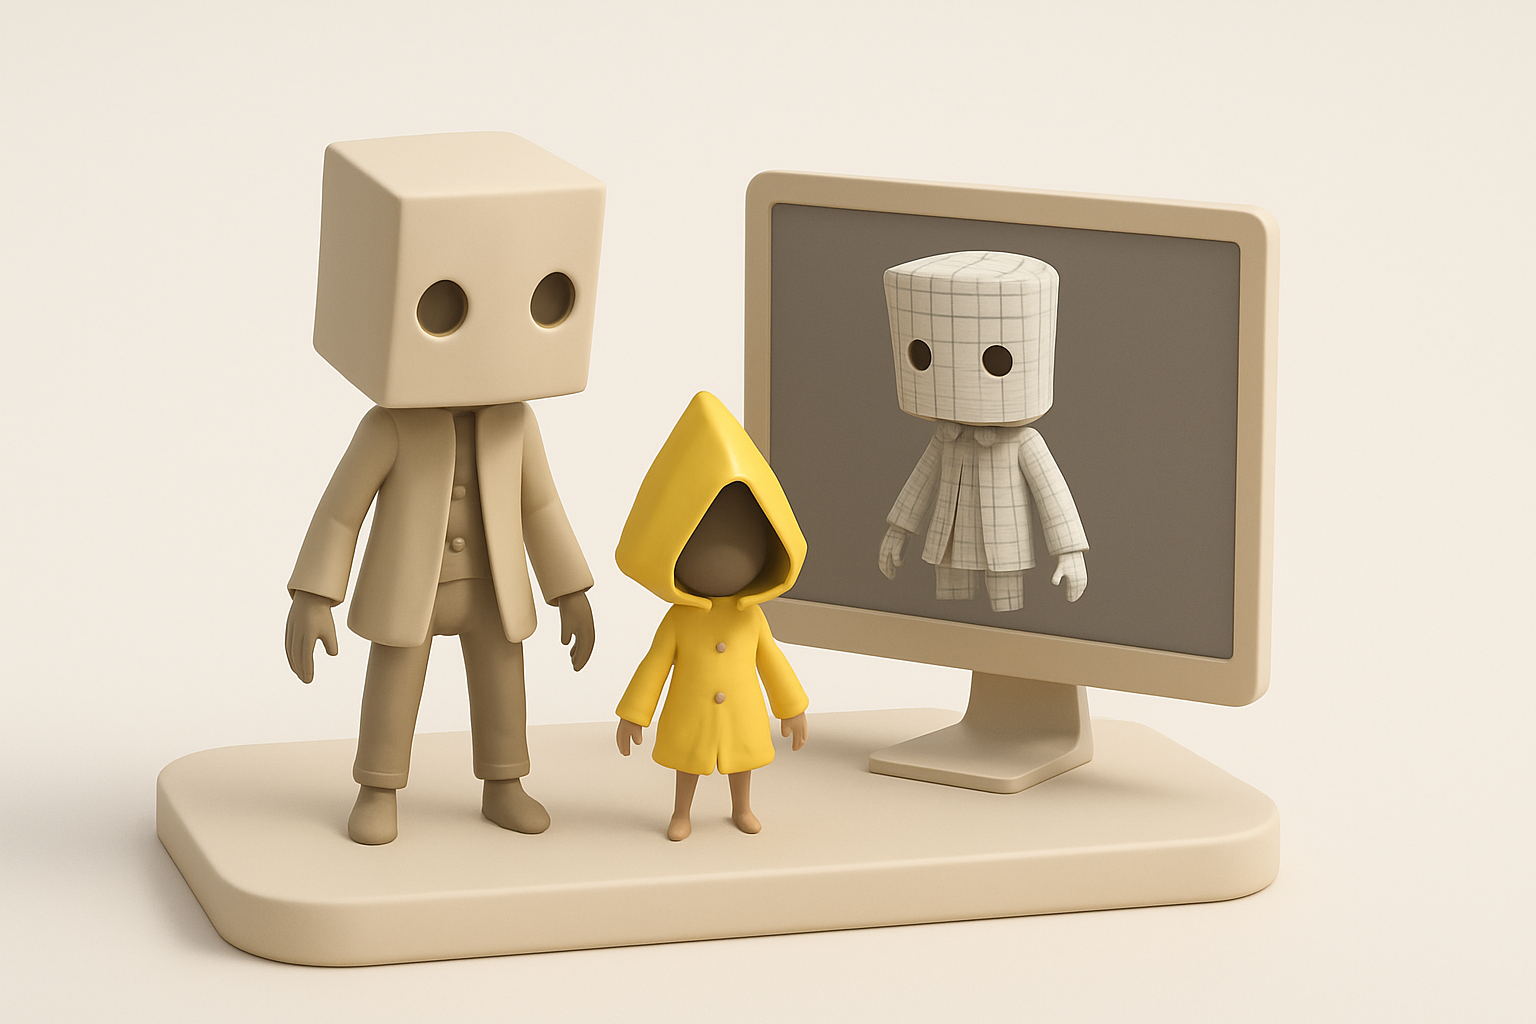
How I use Tripo for rapid prototyping
AI tools like Tripo have become central to my workflow for:
- Instantly generating base meshes from concept sketches or text prompts.
- Auto-segmenting different parts (clothes, accessories) for easier texturing.
- Quickly iterating on alternate designs before committing to detail.
Workflow tip: I export AI-generated blockouts and refine them in my main 3D app.
Integrating AI-generated assets into my workflow
I treat AI outputs as starting points, not final models. My process:
- Clean up topology and adjust proportions as needed.
- Retexture and repaint to match the Little Nightmares 2 style.
- Merge AI-generated elements with hand-modeled details.
Pitfall: Don’t rely solely on AI for stylization—manual passes are essential for authenticity.
Comparison: Manual vs. AI-Assisted 3D Model Creation
Quality, speed, and flexibility differences
- Manual: Highest control and fidelity, but time-consuming—best for hero assets.
- AI-assisted: Much faster for blockouts and repetitive assets, but may need significant cleanup for stylized looks.
What I’ve found:
- AI shines in early ideation and segmentation.
- Manual work is still needed for final polish and unique character.
When to choose each approach
- Use AI for rapid prototyping, background assets, or when iterating on concepts.
- Go manual for main characters, close-up shots, or when matching a specific art style.
Exporting, Optimization, and Game Engine Integration
Export settings and file formats
For game integration, I typically:
- Export FBX or OBJ with baked textures (PNG or TGA).
- Check scale and orientation (Y-up vs. Z-up).
- Include only necessary animation data.
Checklist:
- Remove hidden geometry.
- Apply transforms and freeze scale before export.
Importing models into game engines
When importing into engines (like Unity or Unreal), I:
- Test shaders and materials—stylized assets often need custom lighting.
- Verify rig and animation playback.
- Optimize LODs and collision as needed.
Tip: Always preview assets in-engine to catch any issues with scale, normals, or lighting.
By following this workflow and adapting AI tools thoughtfully, I’ve been able to create Little Nightmares 2-inspired 3D models efficiently, without sacrificing the unique, eerie charm that defines the game’s look. The key is balancing automation with artistic oversight—letting technology handle the grunt work while you focus on bringing your creative vision to life.


