Creating Furry 3D Models: Workflow, Tips, and Best Practices
Designing furry 3D models is both a creative and technical challenge, whether you’re working for games, animation, or XR experiences. Over the years, I’ve refined a workflow that blends AI-powered tools with hands-on artistry, allowing me to deliver expressive, production-ready furry characters quickly. In this article, I’ll outline the essential steps, share my practical insights, and highlight where AI platforms like Tripo make the process more efficient. If you’re a 3D artist, designer, or developer looking to streamline your furry character pipeline, these tips and best practices will help you avoid common pitfalls and elevate your results.
Key takeaways
- Strong references and clear concepting are critical for expressive furry characters.
- Combining AI tools with manual detailing speeds up production without sacrificing quality.
- Retopology and rigging need special attention for fur dynamics and animation.
- Proper export settings and presentation are key for sharing and portfolio work.
- Community feedback is invaluable for refining your models and workflow.
What Makes a Great Furry 3D Model?
Key Features and Design Elements
From my experience, a standout furry 3D model hinges on three pillars: silhouette, fur treatment, and expressive features. A clear, readable silhouette helps the character stand out in any context. Fur, whether stylized or realistic, should enhance the character’s personality—think about length, direction, and clumping. Expressive eyes, mouth, and posture bring the character to life.
Checklist:
- Strong, unique silhouette
- Well-defined fur layers and clumps
- Expressive facial features
- Cohesive color and texture palette
Common Challenges and How I Overcome Them
Fur is notoriously difficult—rendering it believably without bogging down performance is a classic challenge. I’ve found that mixing baked textures with carefully placed geometry or cards gives a good balance. Another issue is keeping the model animation-friendly; dense fur can complicate rigging.
Pitfalls to avoid:
- Overly dense geometry for fur
- Neglecting topology flow for animation
- Ignoring reference consistency
Step-by-Step Workflow for Furry 3D Model Creation
Concepting and Reference Gathering
Every successful project starts with solid references. I gather real animal photos, stylized art, and mood boards to clarify the direction. Sketching or rough block-outs helps me test proportions and silhouette before committing to 3D.
My process:
- Collect reference images (animals, characters, fur styles)
- Sketch key poses and expressions
- Define color and fur pattern guides
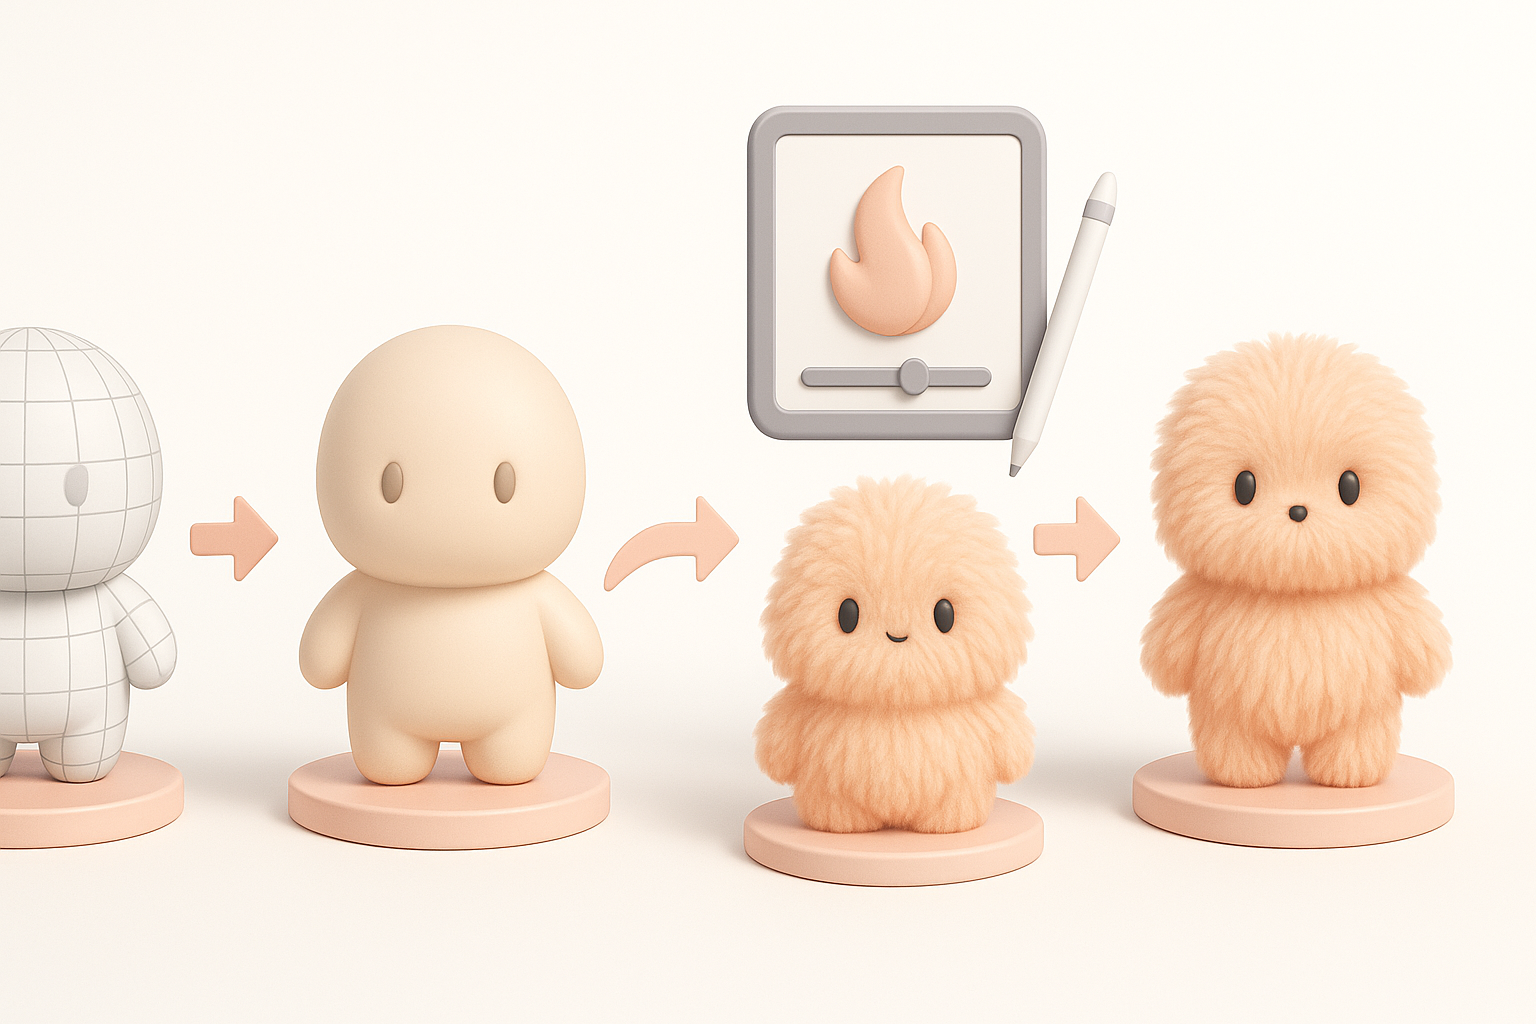
Modeling, Texturing, and Fur Techniques
I block out the base mesh using simple geometry, focusing on proportions. For fur, I decide early whether to use geometry cards, sculpted detail, or texture-based fur—often a hybrid. Texturing is where I add depth: I use hand-painted maps, procedural tools, and AI-assisted segmentation for efficient masking.
Workflow tips:
- Start with low-poly blockout, refine in passes
- Use AI segmentation for quick fur mask generation
- Layer fur details with normal and alpha maps
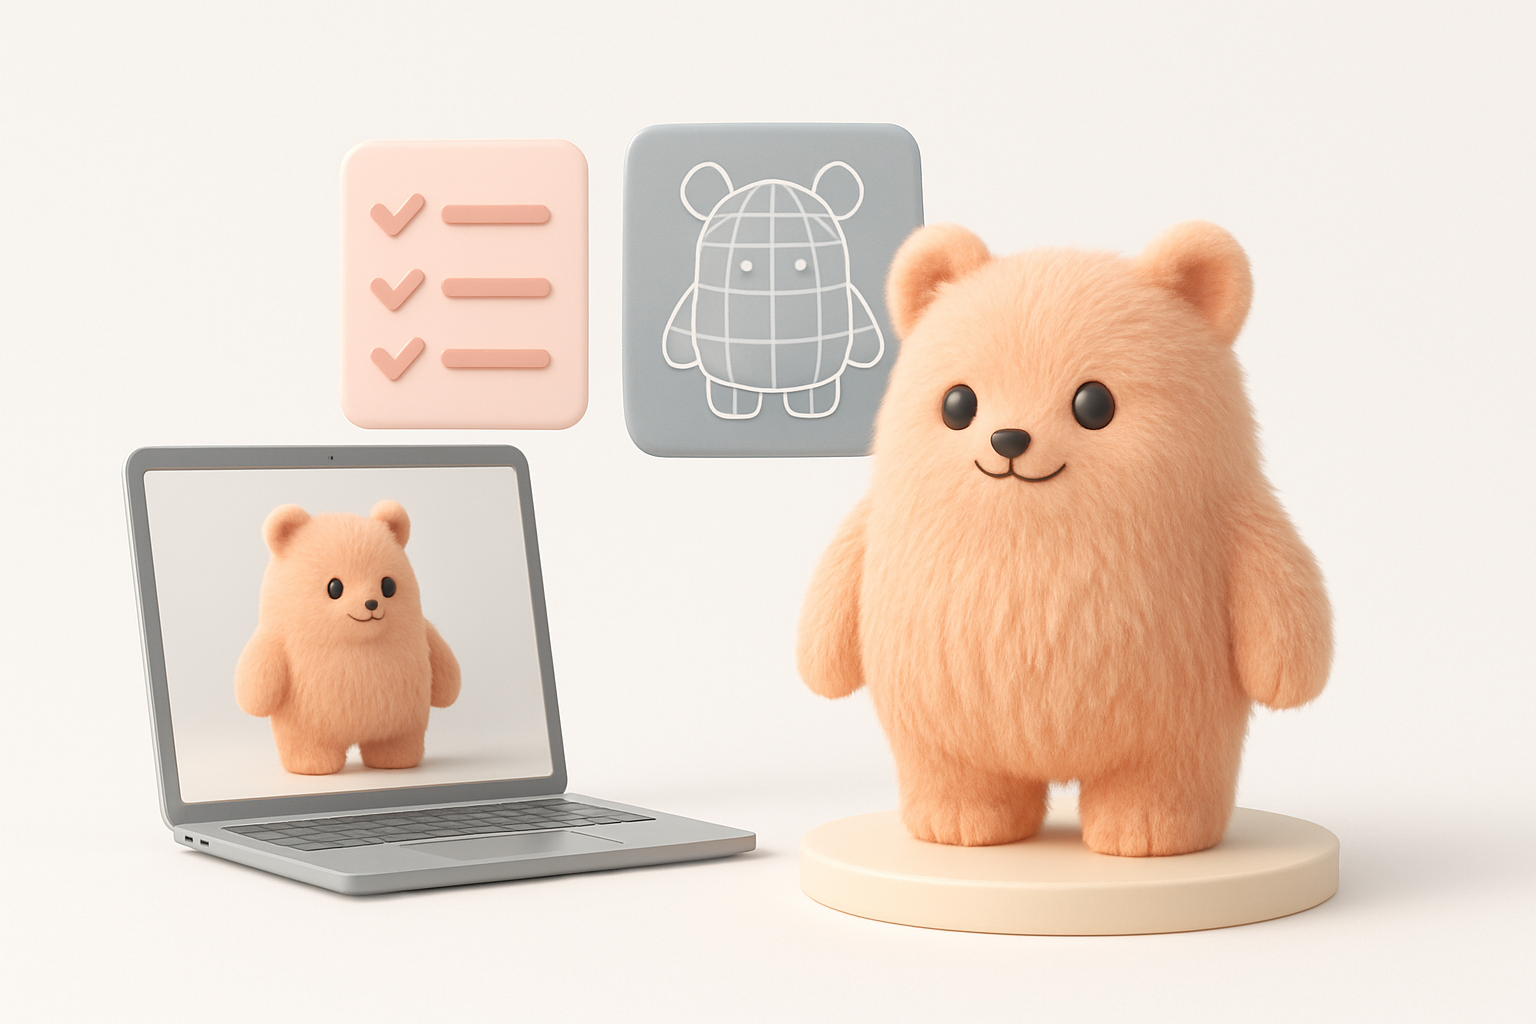
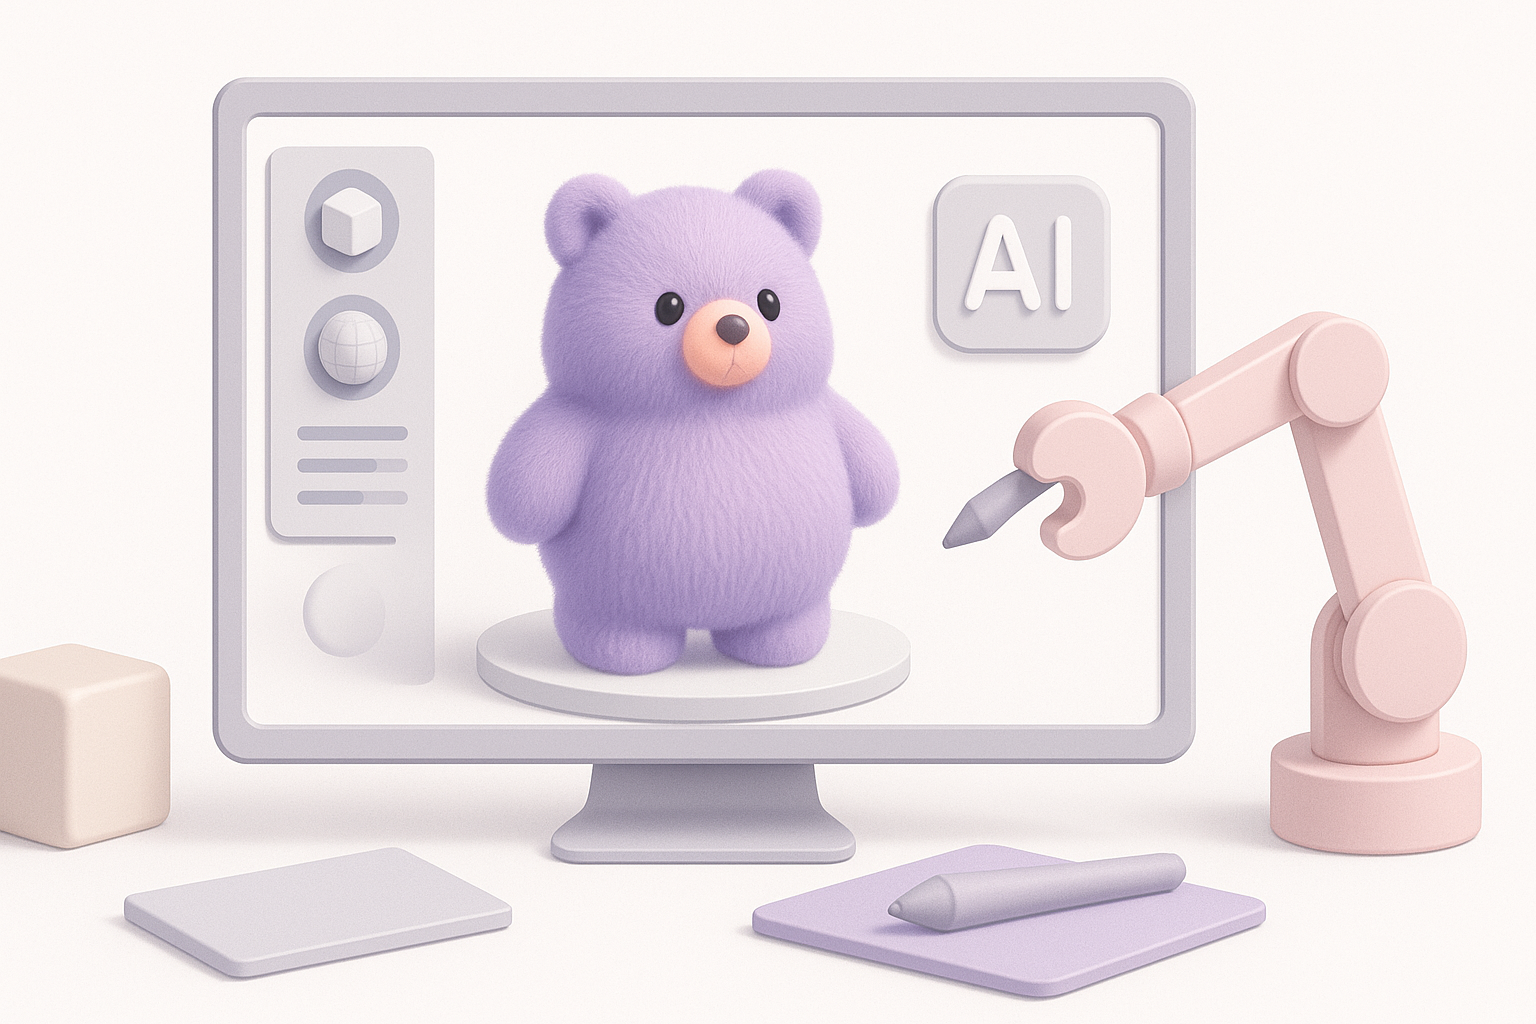
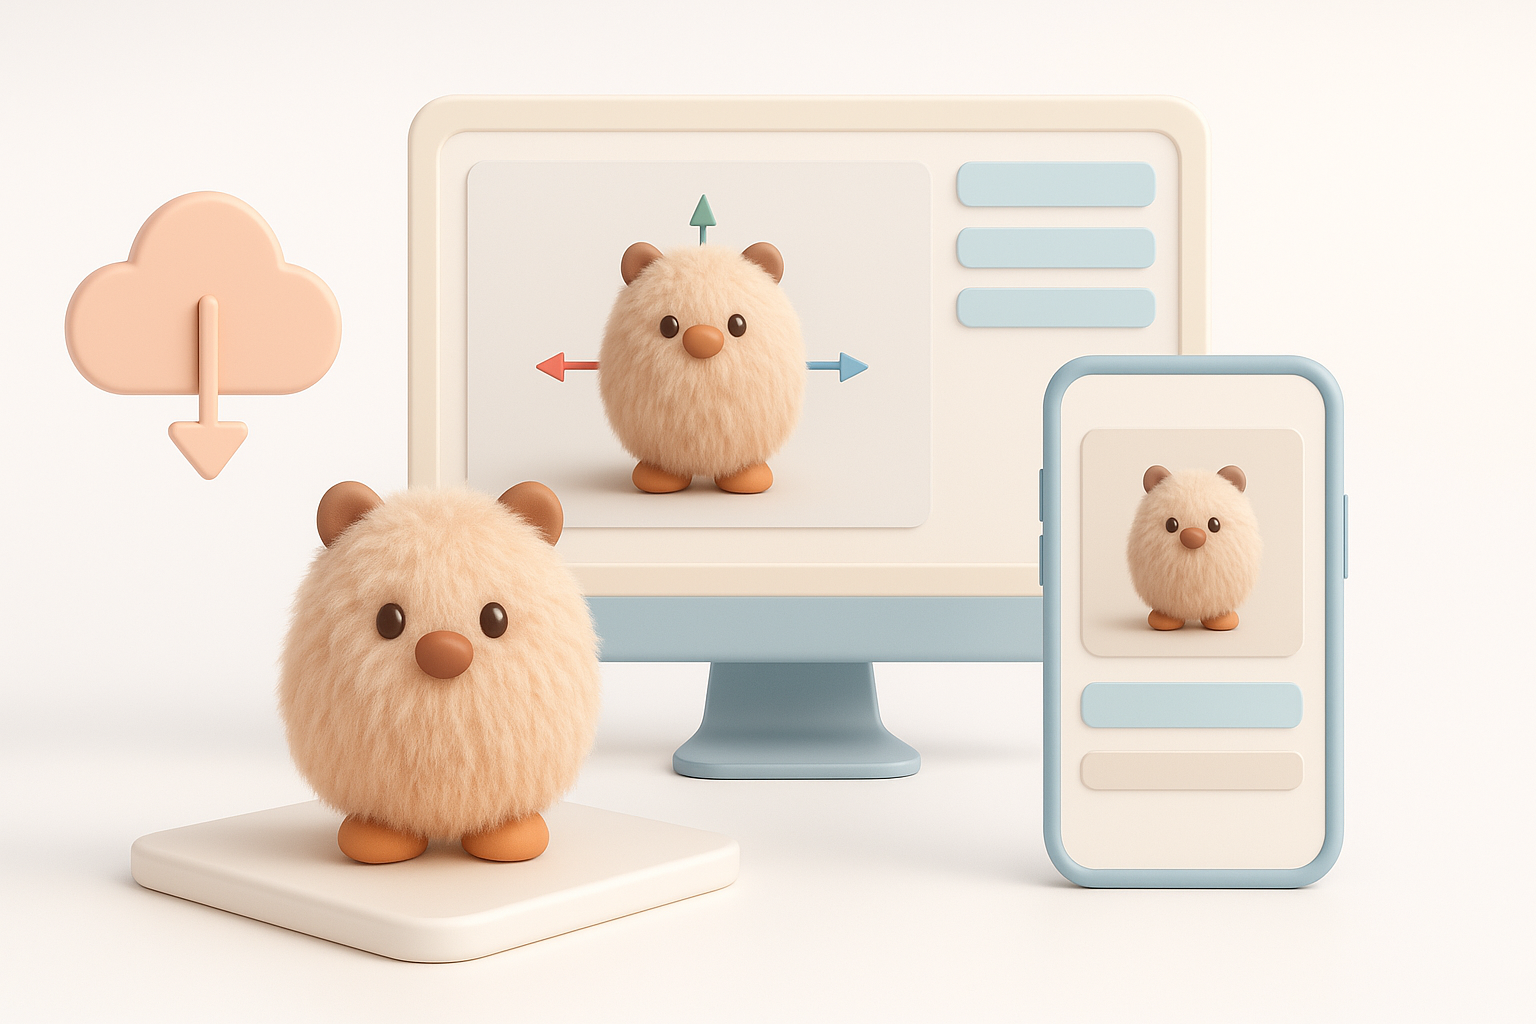
Using AI Tools for Efficient Furry 3D Model Production
How I Integrate AI Platforms Like Tripo
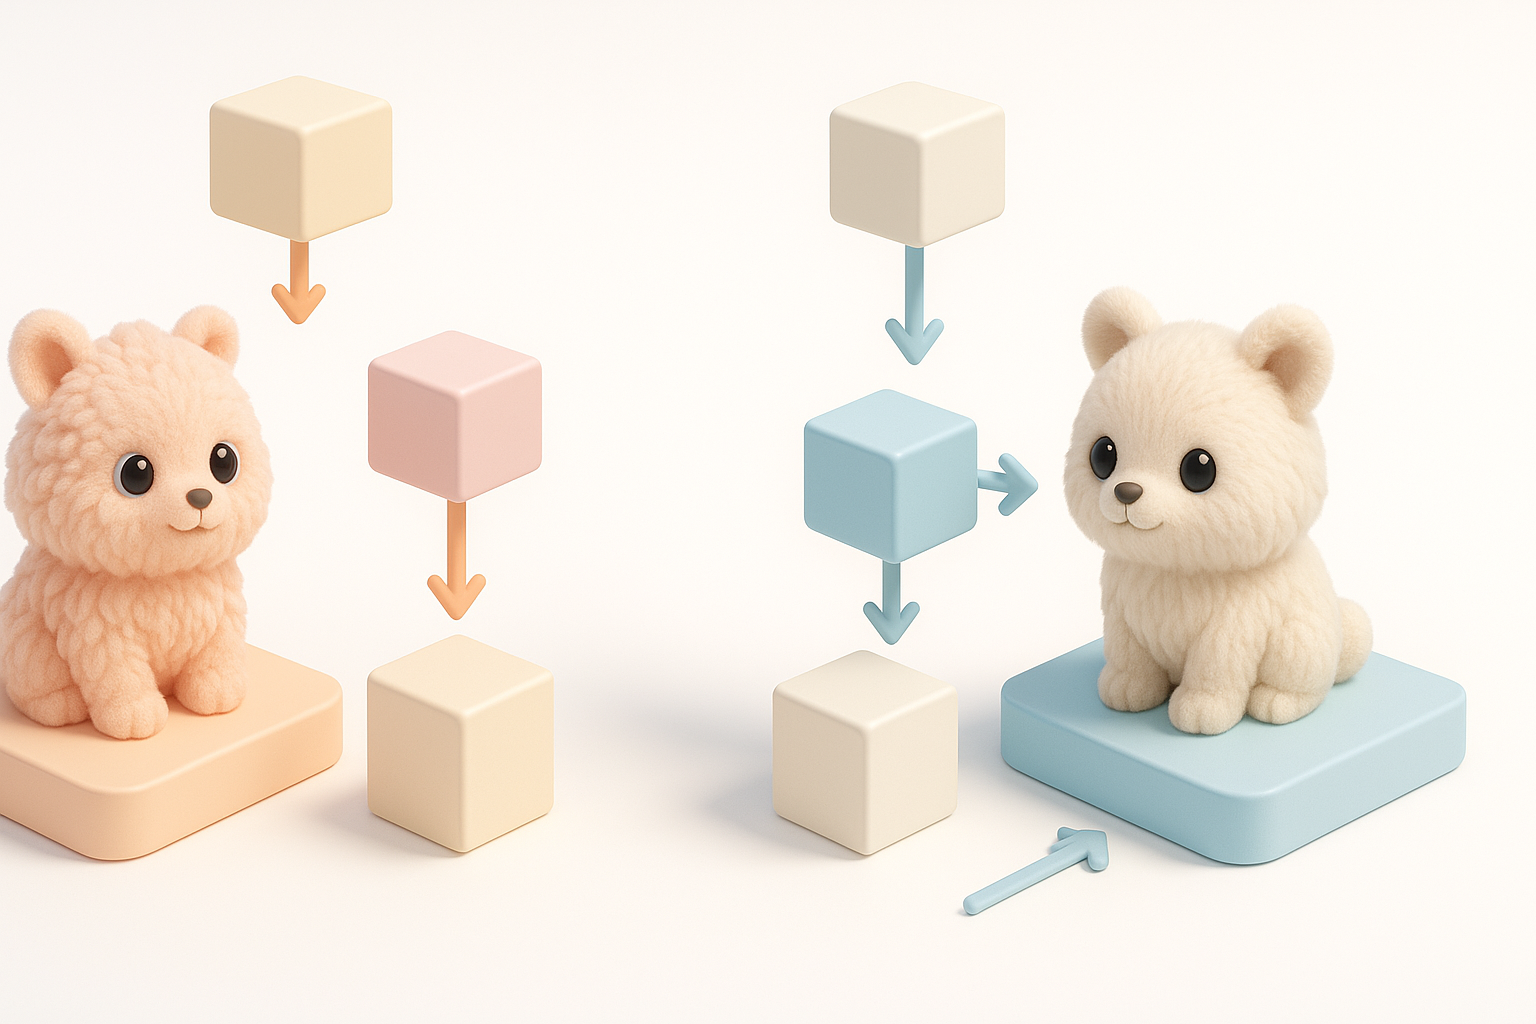
AI tools have become central to my workflow, especially for segmentation, retopology, and auto-texturing. With Tripo, I can generate base meshes or apply intelligent segmentation to speed up fur mask creation. This lets me move quickly from concept to a production-ready asset.
How I use AI:
- Generate initial mesh from sketches or text prompts
- Auto-segment fur regions for targeted detailing
- Use AI-driven retopology to prep for animation
Balancing Automation and Manual Detailing
While AI can handle repetitive or technical tasks, I always reserve time for manual refinement. This is where artistic intent shines—tweaking silhouettes, adjusting fur direction, and fine-tuning textures. The key is to let AI handle the heavy lifting, then add the creative polish yourself.
Best practice:
- Use AI for base generation and repetitive tasks
- Manually refine key features and unique details
- Always review and adjust topology before rigging
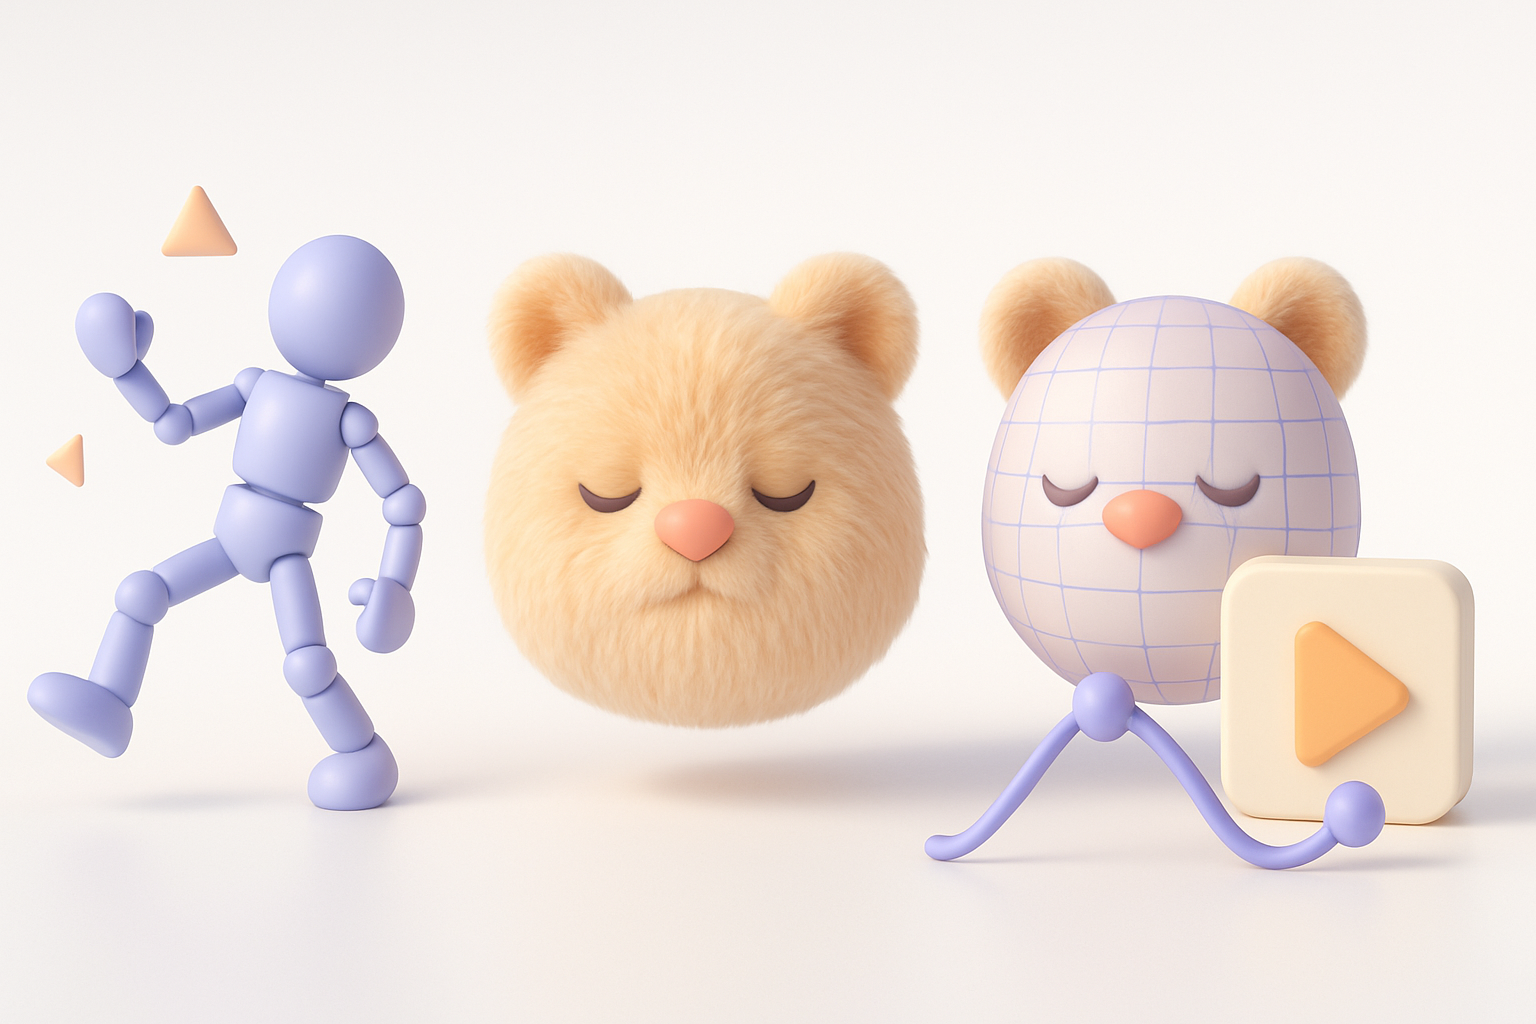
Best Practices for Retopology, Rigging, and Animation
Optimizing Topology for Fur and Animation
Good topology is the backbone of any animatable model. For furry characters, I pay special attention to edge flow around joints and facial features, ensuring fur cards or sculpted details don’t interfere with deformation. I often use AI-assisted retopology, then manually tweak edge loops as needed.
Checklist:
- Maintain clean edge flow at joints and face
- Keep fur geometry separate or easily selectable
- Test deformations early with simple rigs
Rigging Tips for Expressive Furry Characters
Expressiveness comes from well-placed controls and blendshapes. I add extra bones for ears, tails, and sometimes fur tufts. Weight painting is especially important—uneven weights can ruin fur movement. I also recommend testing with quick animation cycles to spot issues early.
Pitfalls to watch for:
- Overcomplicating the rig (keep it manageable)
- Ignoring secondary motion (ears, tails, fur tufts)
- Skipping deformation tests before finalizing
Exporting, Sharing, and Showcasing Furry 3D Models
Preparing Models for Games, XR, and Film
Export requirements vary. For real-time engines, I optimize geometry and textures for performance—bake fur details where possible. For film or high-res renders, I keep more geometry and higher-res maps. Tripo and similar tools often have export presets, but I always double-check material and rig compatibility.
My export prep:
- Reduce texture and poly count for games/XR
- Use LODs (Levels of Detail) if needed
- Test imports in the target engine or renderer
Portfolio Presentation and Community Feedback
Presentation matters. I render turntables, pose sheets, and wireframe overlays to show both artistry and technical skill. Sharing work-in-progress shots on forums or social platforms gets valuable feedback. I make sure to credit any AI tools or collaborators involved.
Tips:
- Show both beauty renders and technical breakdowns
- Solicit feedback early and often
- Update portfolio with final, polished shots
Comparing AI-Driven and Traditional Furry 3D Workflows
When to Use AI Tools vs. Manual Methods
I use AI tools when speed and efficiency are priorities or when tackling repetitive tasks like segmentation and retopology. For highly unique or stylized characters, manual sculpting and detailing still deliver the best results. The sweet spot is combining both: AI for the groundwork, manual for the artistry.
Decision points:
- Use AI for base creation, segmentation, and retopology
- Switch to manual for custom shapes, unique fur, and final polish
- Always review AI outputs for errors or artifacts
Lessons Learned from Real-World Projects
On real projects, I’ve learned that no workflow is one-size-fits-all. AI tools drastically reduce production time, but manual oversight is essential for quality. Iterating with feedback—both from clients and the community—leads to the best final models.
Final thoughts:
- Embrace AI as a productivity booster, not a replacement for skill
- Iterate often and don’t skip manual checks
- Stay flexible and adapt your workflow to the project’s needs
By blending AI-driven efficiency with traditional artistry, you can create furry 3D models that are both production-ready and full of personality. With the right tools and a thoughtful workflow, even complex characters become manageable—and fun—to bring to life.
