How to Create a Dead Cells 3D Model: Workflow & Pro Tips
Creating a 3D model inspired by Dead Cells requires a blend of stylized artistry and technical workflow. I’ve found that translating the game’s distinctive pixel art into 3D is both a creative and technical challenge, but with the right tools and approach, it’s absolutely achievable—even for solo creators or small teams. In this guide, I’ll walk through how I tackle these projects: from art style analysis and tool selection, to hands-on workflow, texturing, and animation. Whether you’re building game assets, fan art, or just want to sharpen your stylized 3D skills, these tips will help you streamline your process and avoid common pitfalls.
Key takeaways:
- Understand Dead Cells’ stylized art to inform 3D decisions
- Use AI-powered tools for rapid prototyping, but refine manually for best results
- Gather strong references and plan topology before modeling
- Prioritize hand-painted texturing for authenticity
- Optimize models for game engines from the start
- Balance speed and control by combining AI and traditional workflows
Understanding the Dead Cells Art Style for 3D Modeling
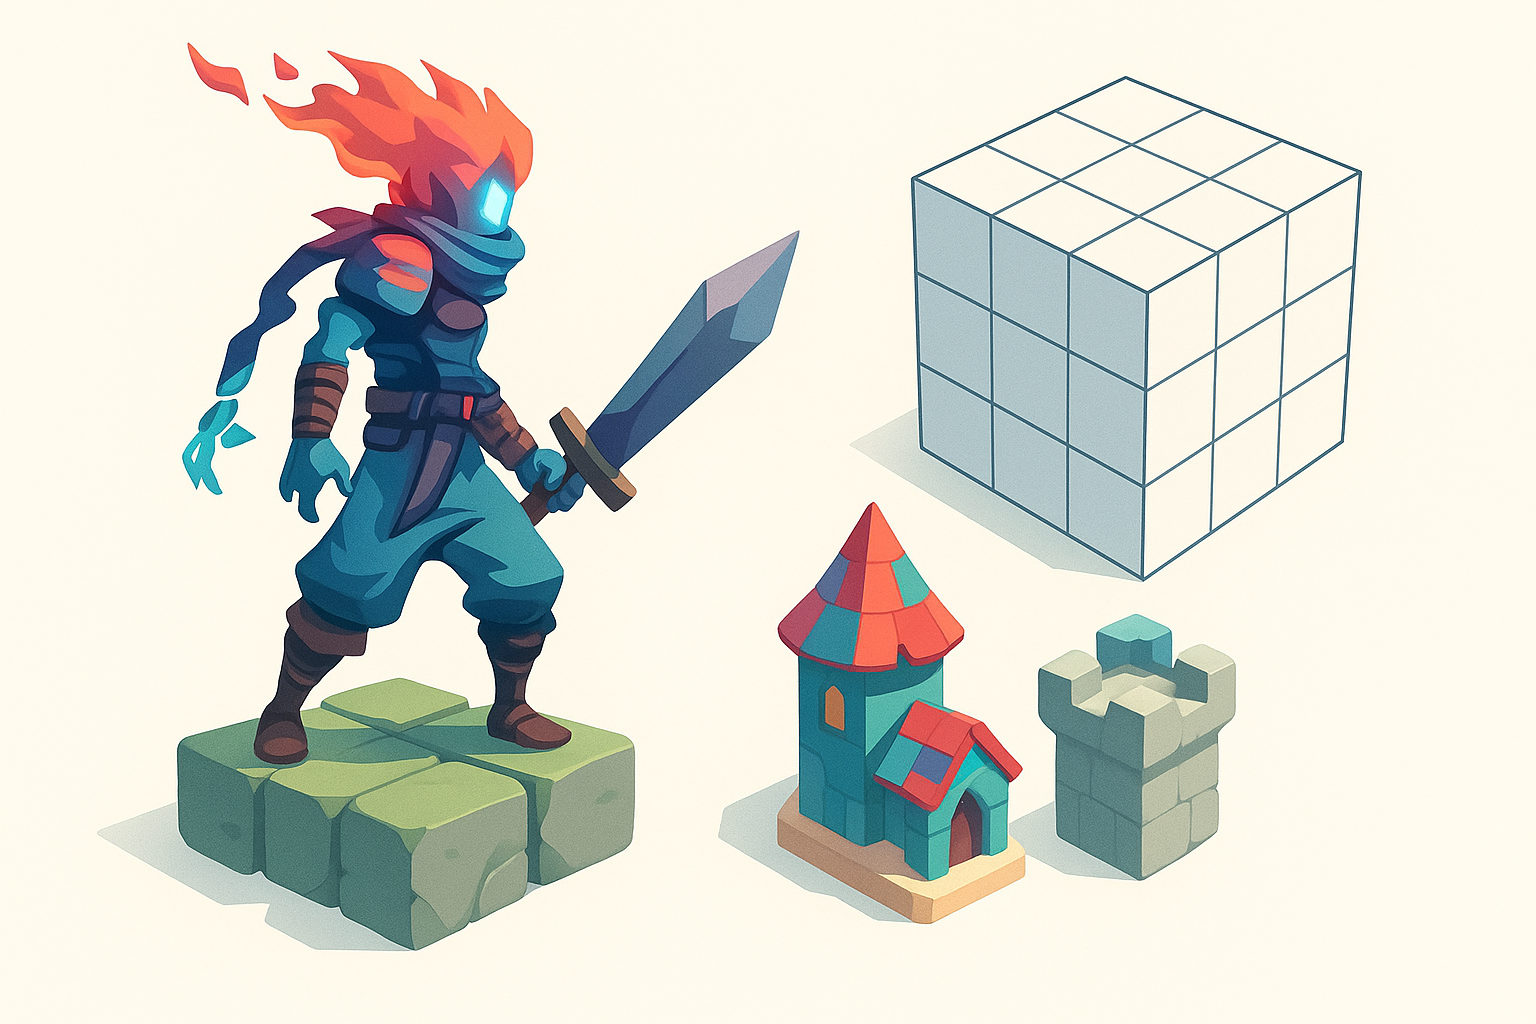
Key visual elements to capture
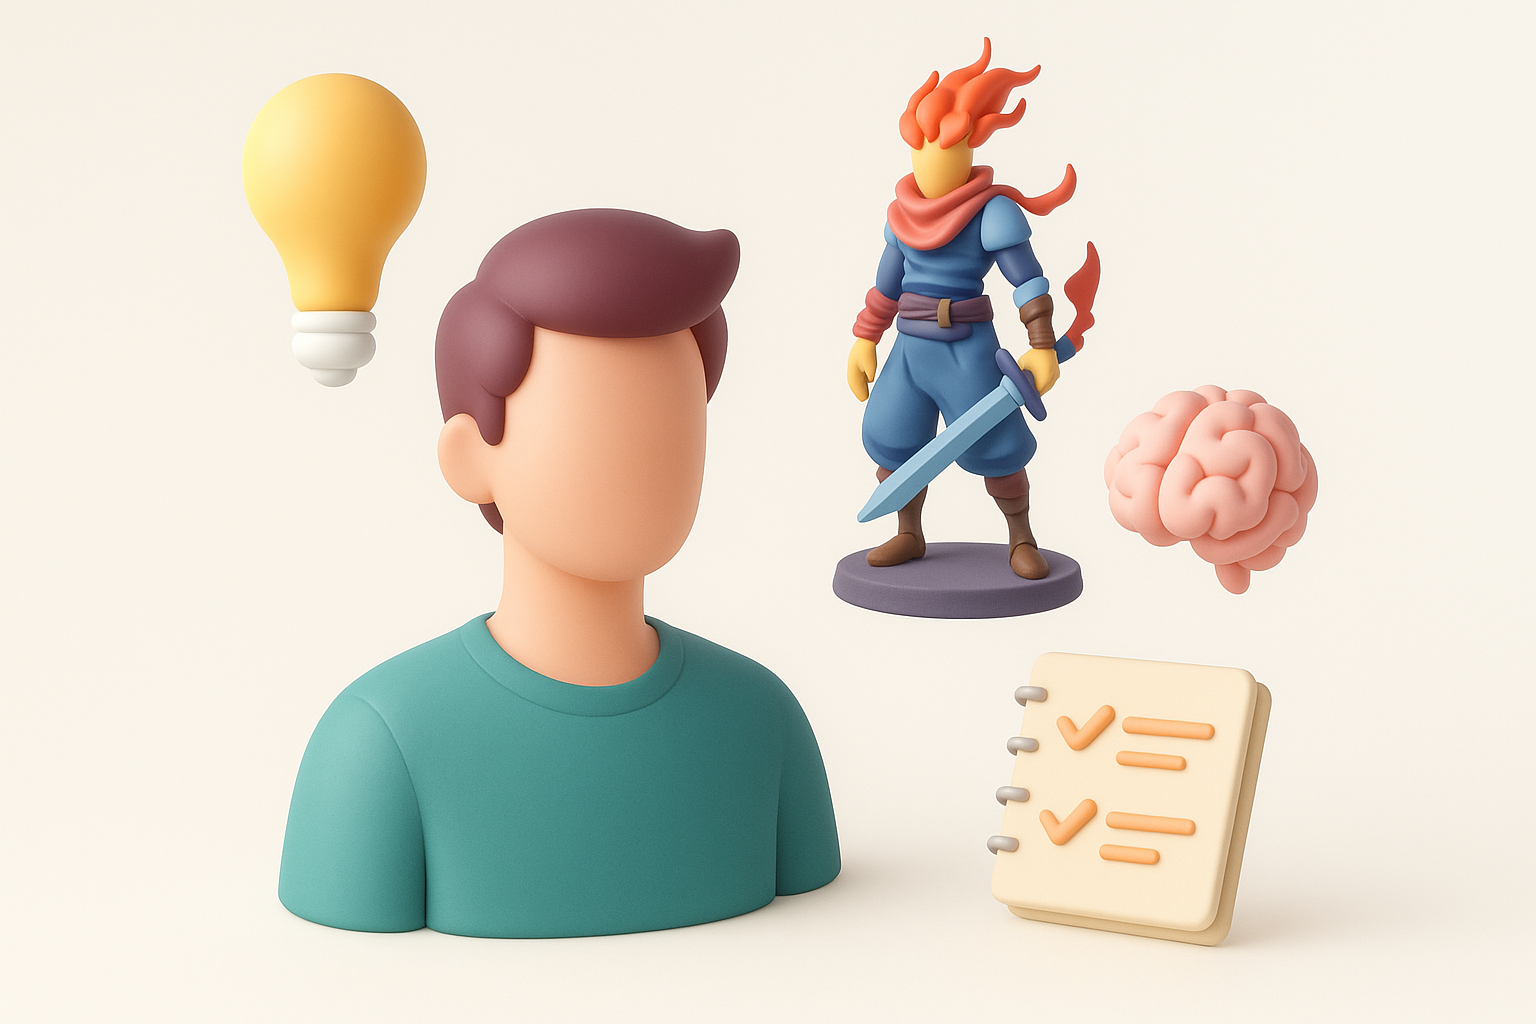
Dead Cells’ art style is defined by bold silhouettes, exaggerated proportions, and a vibrant, limited color palette. When I approach a 3D version, I focus on:
- Chunky, readable forms (avoid excessive detail)
- High-contrast lighting and clear highlights
- Stylized, almost “blocky” anatomy and accessories
Checklist:
- Identify signature shapes (e.g., hero’s helmet, weapons)
- Note color blocking and edge highlights
- Emphasize readable forms over realism
Translating 2D pixel art to 3D forms
Moving from 2D pixel art to 3D means inventing depth and detail that isn’t always explicit. I usually:
- Block out the main shapes in low poly first
- Exaggerate features to maintain the character’s personality
- Reference multiple in-game sprites and concept art for consistency
Pitfall: Over-detailing can ruin the stylized look—less is more.
Choosing the Right Tools and Platforms

AI-powered solutions for rapid prototyping
AI-driven platforms like Tripo AI can generate a solid 3D base from text prompts, sketches, or images. In my workflow:
- I use AI tools to quickly prototype character shapes or props
- The segmentation and auto-retopology features save hours
- It’s best to treat AI output as a base mesh, refining details manually
Tip: Always check AI-generated topology and UVs before moving forward.
Traditional 3D modeling software options
For full control, I still rely on established 3D modeling suites for sculpting, retopology, and UV mapping. My typical stack:
- Blockout and sculpt in DCC software
- Manual retopology for animation-friendly meshes
- Export to texturing and animation tools as needed
Recommendation: Use AI and manual tools in tandem for both speed and precision.
Step-by-Step Workflow: From Concept to 3D Model
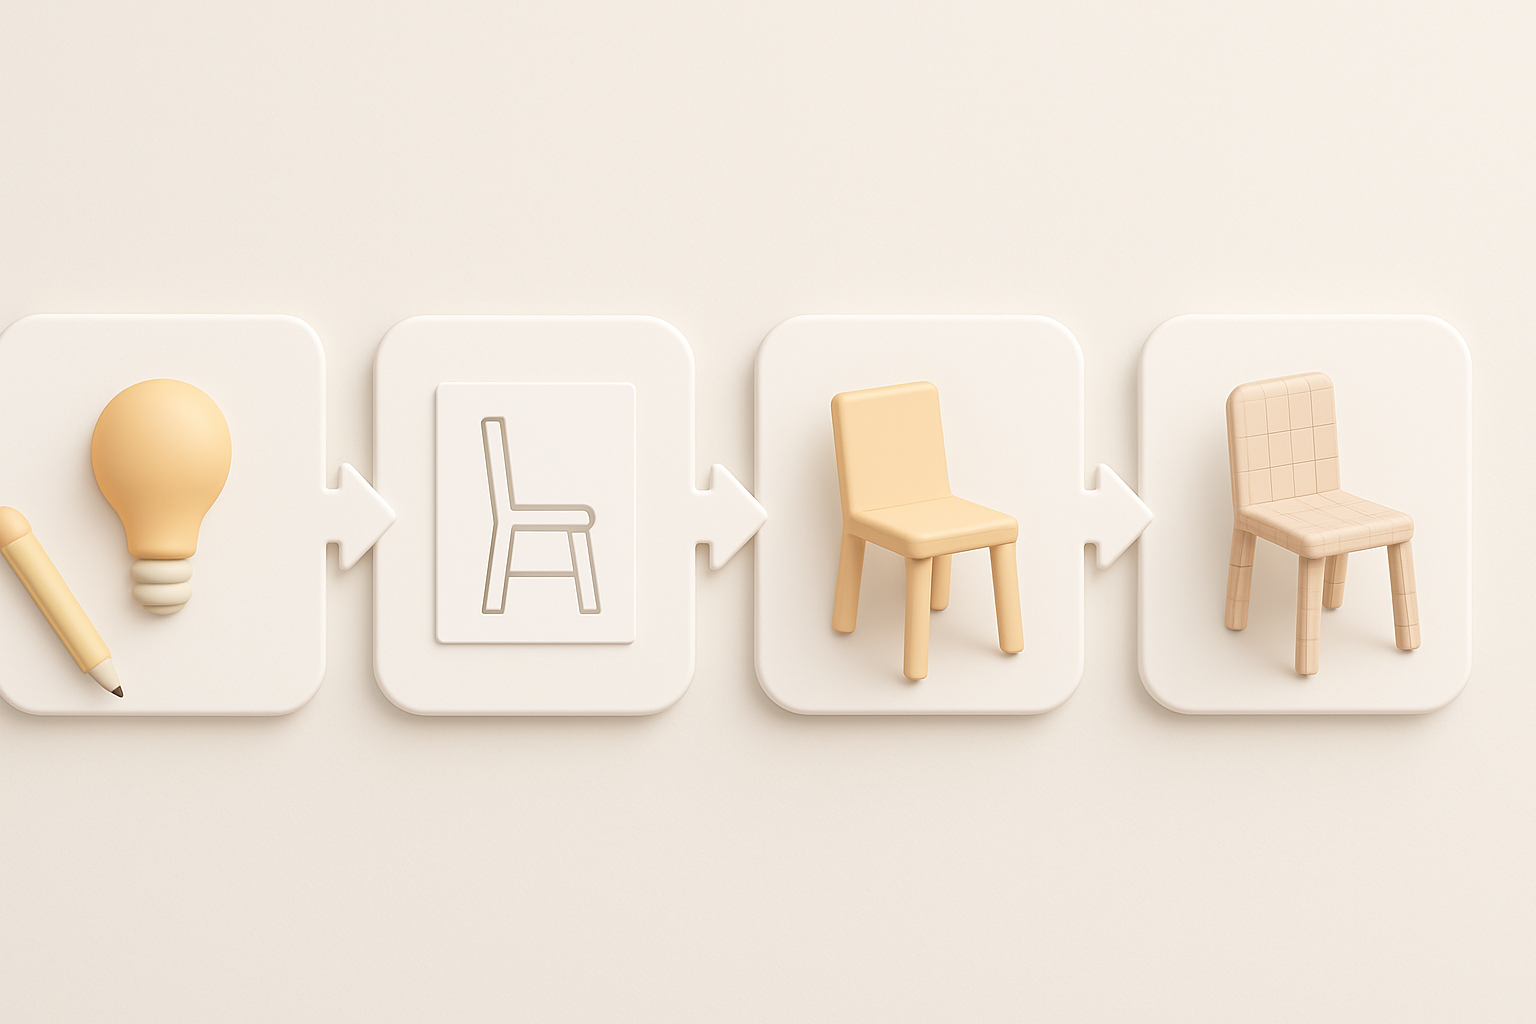
Gathering references and planning topology
Strong references are my foundation. I:
- Collect Dead Cells screenshots, concept art, and fan models
- Sketch over references to plan key forms and proportions
- Map out edge loops for facial features and joints if animating
Checklist:
- Reference folder organized by character/asset
- Topology plan (especially for joints/animation)
- Polycount target set (based on engine requirements)
Modeling, texturing, and optimizing for production
I typically follow this workflow:
- Block out main shapes (starting low poly)
- Sculpt secondary details (don’t overdo)
- Retopologize for clean, animation-ready mesh
- Unwrap UVs and bake maps
- Texture in a painterly style (see next section)
- Optimize mesh and textures for game engine import
Tip: Test your model in engine early to catch scale or shading issues.
Best Practices for Texturing and Stylization
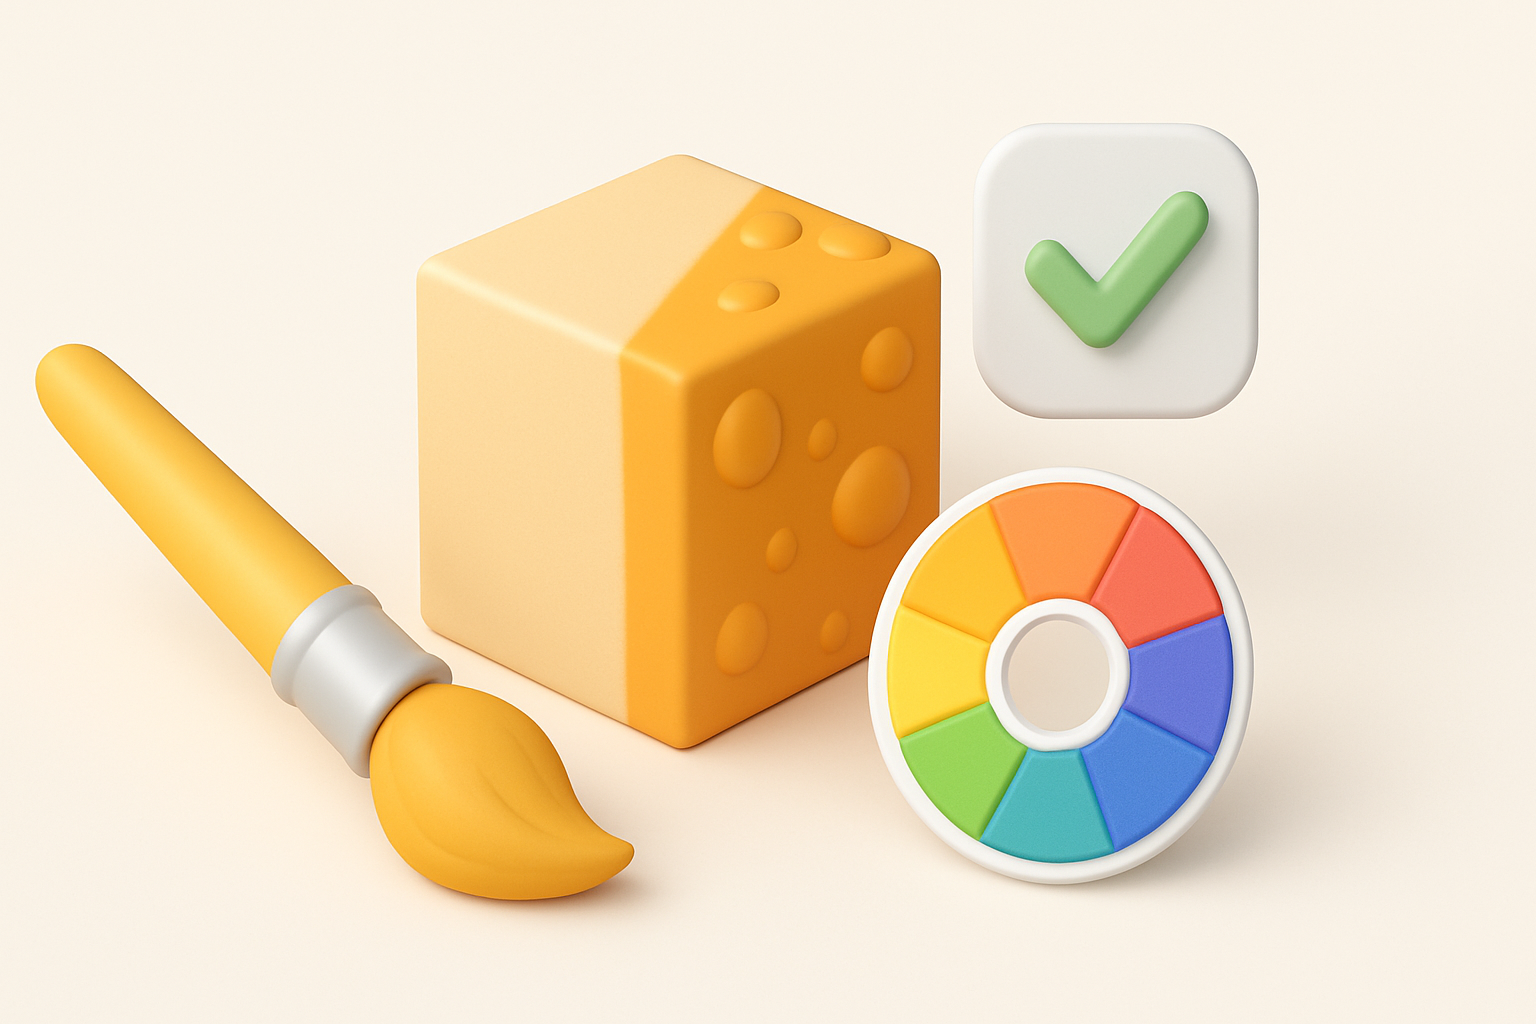
Matching Dead Cells’ color palette and materials
Dead Cells uses a vibrant but restrained palette. I:
- Sample colors directly from game art
- Use flat colors with painted highlights and shadows
- Avoid shiny or realistic materials—stick to stylized, matte surfaces
Mini-checklist:
- Color swatches from source material
- Consistent lighting direction in textures
- Avoid photo textures; hand-paint or use stylized brushes
Tips for hand-painted vs. procedural textures
Hand-painted textures are key for authenticity. I usually:
- Block in base colors, then add shadows and highlights manually
- Use procedural layers sparingly (e.g., for wear or dirt), always blending by hand
- Paint in edge highlights and subtle gradients for depth
Pitfall: Over-reliance on procedural texturing can break the stylized look.
Exporting, Rigging, and Animating Your Model
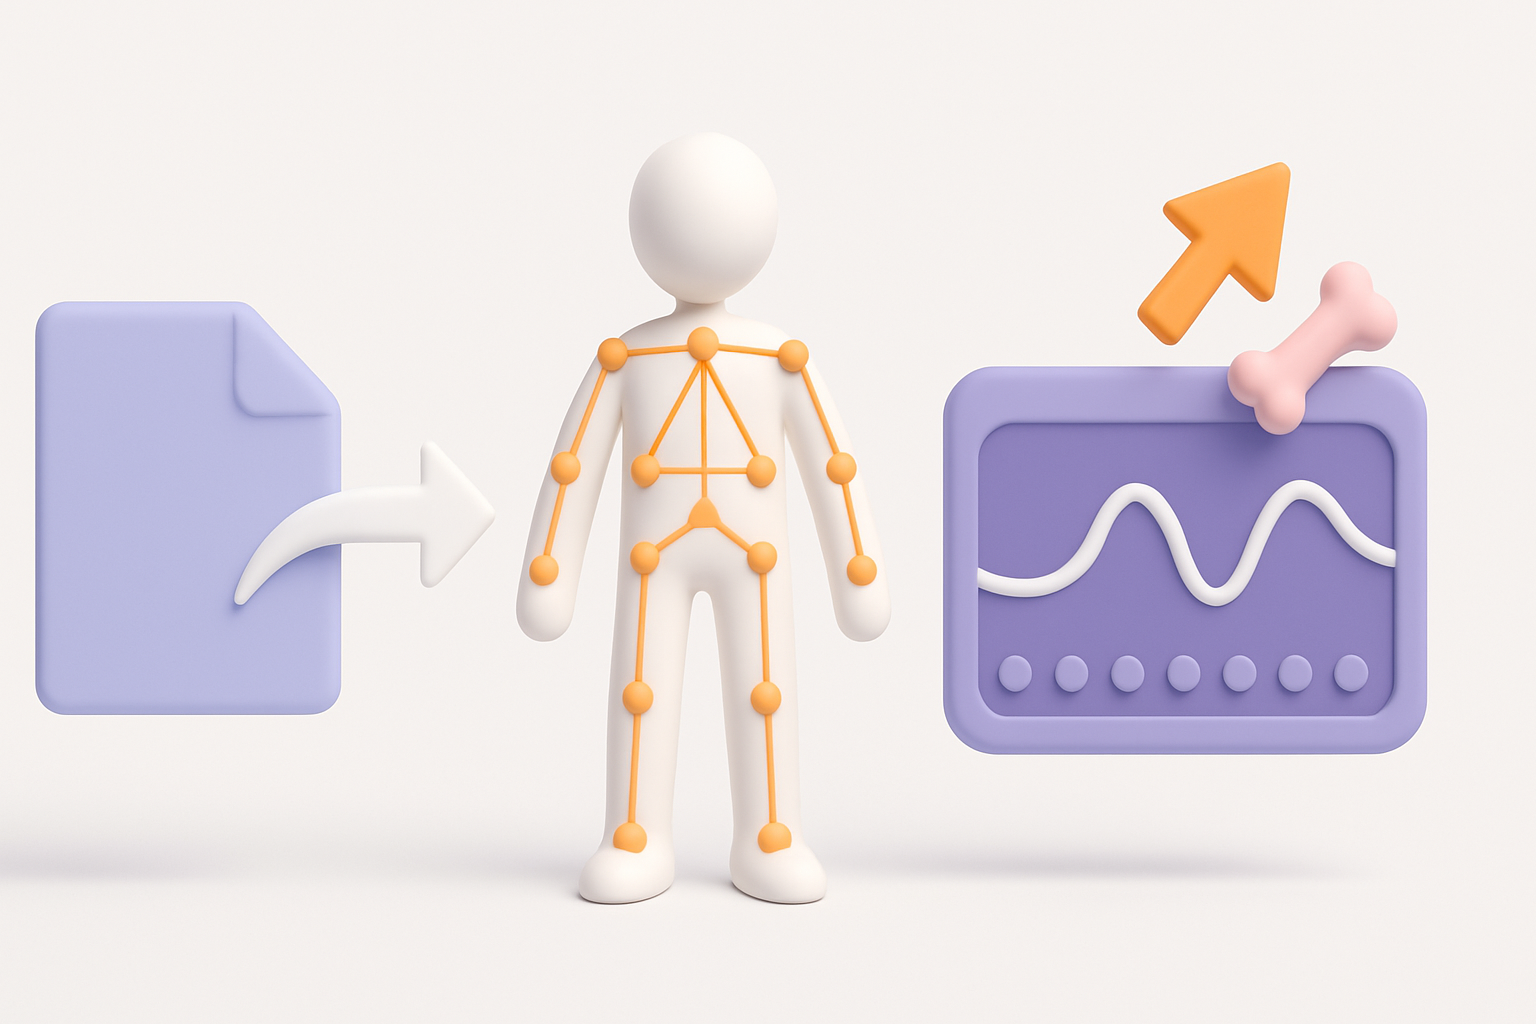
Preparing models for game engines
Before export, I:
- Ensure mesh is triangulated and scaled correctly
- Check UVs for stretching and packing efficiency
- Export in engine-friendly formats (FBX, OBJ, GLTF)
Checklist:
- Clean mesh (no hidden faces, ngons)
- Pivot points set for animation
- Texture maps packed (albedo, normal, etc.)
Rigging and simple animation workflows
For stylized characters, I:
- Use simple skeletons with minimal bones
- Weight paint for clean deformations (especially limbs and accessories)
- Block out key animations (idle, run, attack) to test rig
Tip: Use AI-assisted rigging tools for quick setup, but always test and tweak weights manually.
Personal Insights: What I’ve Learned Creating Dead Cells 3D Models
Common challenges and how to overcome them
- Translating 2D to 3D: Inventing unseen details can be tough—reference other artists’ interpretations for inspiration.
- Maintaining style: It’s easy to drift toward realism; I constantly compare my model to the game art.
- Topology for animation: Plan edge loops early, especially for expressive faces or dynamic poses.
Workflow tips for efficiency and quality
- Start simple; refine only after main forms work
- Use AI tools to save time, but never skip manual checks
- Regularly test in your target engine to avoid surprises late in the process
- Keep a feedback loop—share WIPs with peers or online communities
Comparing AI-Driven and Manual 3D Modeling Approaches
Speed, quality, and creative control
- AI-powered tools: Great for rapid prototyping and base mesh generation, especially when time is tight.
- Manual modeling: Offers full creative control and higher fidelity, but is more time-consuming.
What I’ve found:
- AI excels at getting you 70% of the way there, fast.
- Manual refinement is essential for polish and style consistency.
When to use AI tools vs. traditional methods
- Use AI for:
- Quick iterations or concept exploration
- Generating base meshes for common props or characters
- Use manual methods for:
- Final detailing, topology, and texturing
- Any asset where style and quality are paramount
Final tip: The best results come from blending both approaches—let AI handle the grunt work, but always finish by hand for that Dead Cells magic.


