Creating Call of Duty-Style 3D Models: Expert Workflow & Tips
Creating Call of Duty-style 3D models demands a blend of realism, technical precision, and workflow efficiency. Over the years, I’ve honed my process to deliver production-ready assets quickly, leveraging both manual techniques and AI-powered tools like Tripo AI. This guide outlines my end-to-end workflow—from concepting and modeling to export and animation—highlighting practical tips and common pitfalls. Whether you’re aiming to build game-ready characters, weapons, or environments, this article is for artists and developers who want to streamline their pipeline and hit AAA standards.
Key takeaways
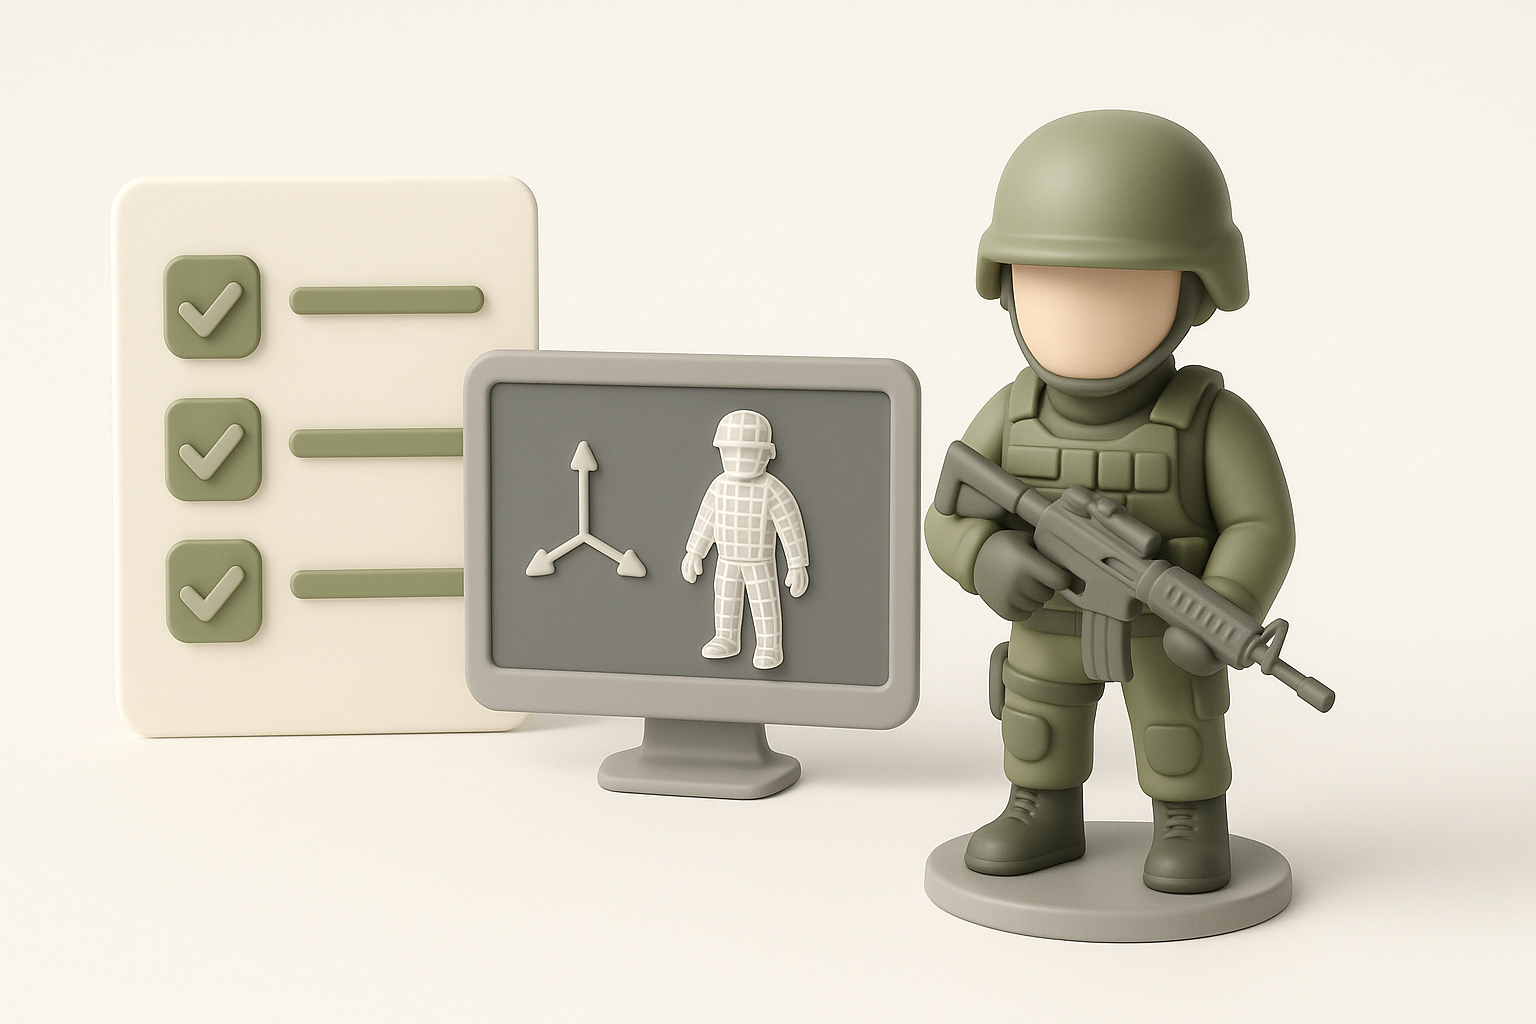
- Reference and planning are critical: Gather detailed references before modeling to match the Call of Duty look.
- Prioritize game-ready specs: Optimize polycount, topology, and UVs for real-time engines.
- Leverage AI tools wisely: Use platforms like Tripo AI to speed up segmentation, retopology, and texturing without sacrificing control.
- Focus on realism in materials: Layered textures and PBR workflows make a big difference.
- Prepare for engine integration: Rig, animate, and export with Unity/Unreal requirements in mind.
Understanding Call of Duty 3D Model Requirements
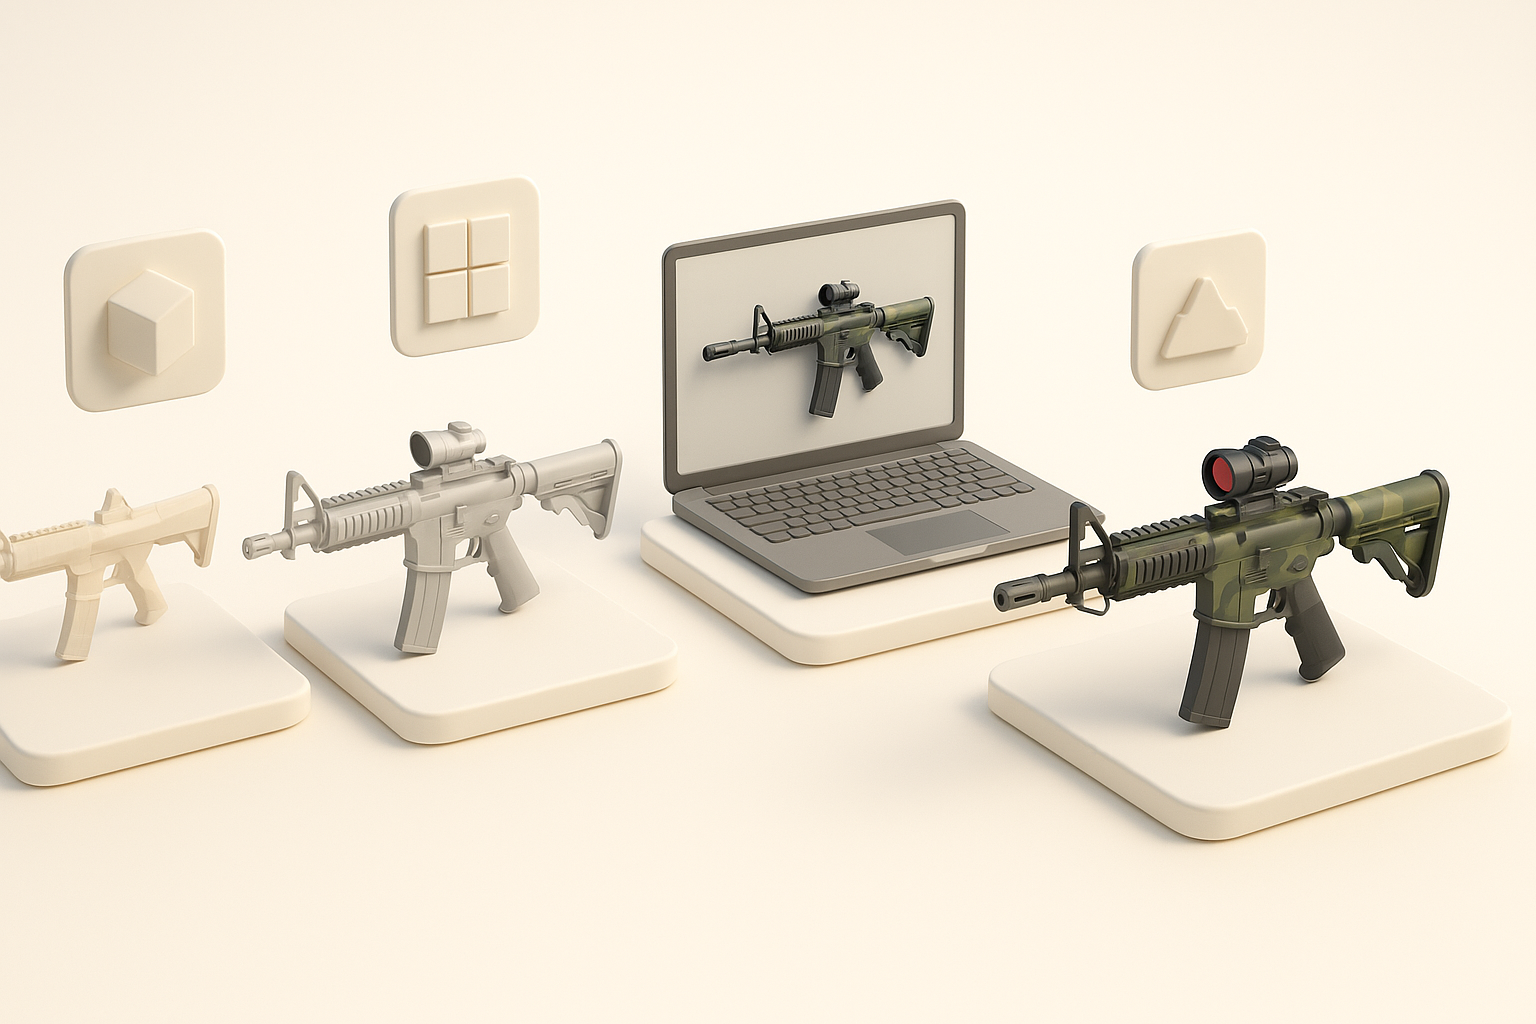
Key Features of Game-Ready Models
From my experience, Call of Duty assets require a balance between visual fidelity and real-time performance. Key features include:
- Efficient topology: Clean edge flow, no unnecessary loops, and quad-based meshes for easy rigging.
- Optimized polycount: Targeting 10k–50k tris for characters, 2k–10k for weapons, depending on asset prominence.
- Consistent scale and orientation: Matching engine units and world scale avoids import headaches.
Checklist:
- Stay within the target triangle budget.
- Use quad-based topology for deformable assets.
- Orient models to world axes (Z-up/Y-up as required).
Common Art Styles and Technical Specs
Call of Duty leans toward photorealism, with gritty textures and realistic proportions. Technically, assets must:
- Use physically-based rendering (PBR) texture sets (albedo, normal, roughness, metallic).
- Be modular for kitbashing environments.
- Include LODs (levels of detail) for performance scalability.
Pitfall: Over-detailing high-poly meshes can slow down games. I always bake details to normal maps instead.
My Step-by-Step Workflow for Call of Duty-Inspired 3D Models

Concepting and Reference Gathering
I start every project by collecting references—screenshots, artbooks, and real-world analogs. This ensures accuracy and consistency.
My process:
- Gather 10–20 references for each asset (e.g., weapons, gear, uniforms).
- Break down key forms, materials, and colors.
- Sketch blockouts or use quick 3D thumbnails to nail proportions.
Tip: Using a mood board tool or even a simple folder structure helps stay organized.
Modeling, Texturing, and Optimization
Once I have references, I block out the model in a DCC tool, focusing on silhouette and proportions first.
Steps:
- Blockout with simple shapes.
- Refine topology, adding edge loops only where needed.
- UV unwrap with minimal seams, maximizing texel density.
- Texture with PBR maps, layering dirt, scratches, and wear for realism.
Optimization: I always check the model in a real-time viewport to ensure it holds up under different lighting and camera angles.
Best Practices for Realistic and Efficient 3D Asset Creation

Retopology and UV Mapping Insights
Clean topology is non-negotiable for animation and shading. I typically:
- Use auto-retopology tools for base meshes, then clean up by hand.
- Keep edge loops dense only where bending occurs (e.g., elbows, knees).
- Lay out UVs to minimize distortion and maximize texture space.
Mini-checklist:
- Avoid long, thin triangles.
- Keep UV islands logically grouped (e.g., arms, legs, gear).
- Use a 1:1 texel density checker before baking.
Texturing and Material Workflow Tips
For Call of Duty assets, realistic texturing is key. I rely on:
- High-res scans or photo-sourced materials for base layers.
- Procedural masks for dirt and wear.
- Consistent roughness/metallic values for believable surfaces.
Pitfall: Overusing smart materials can make assets look generic. I always hand-paint unique details on focal points.
Using AI Tools to Accelerate 3D Model Production
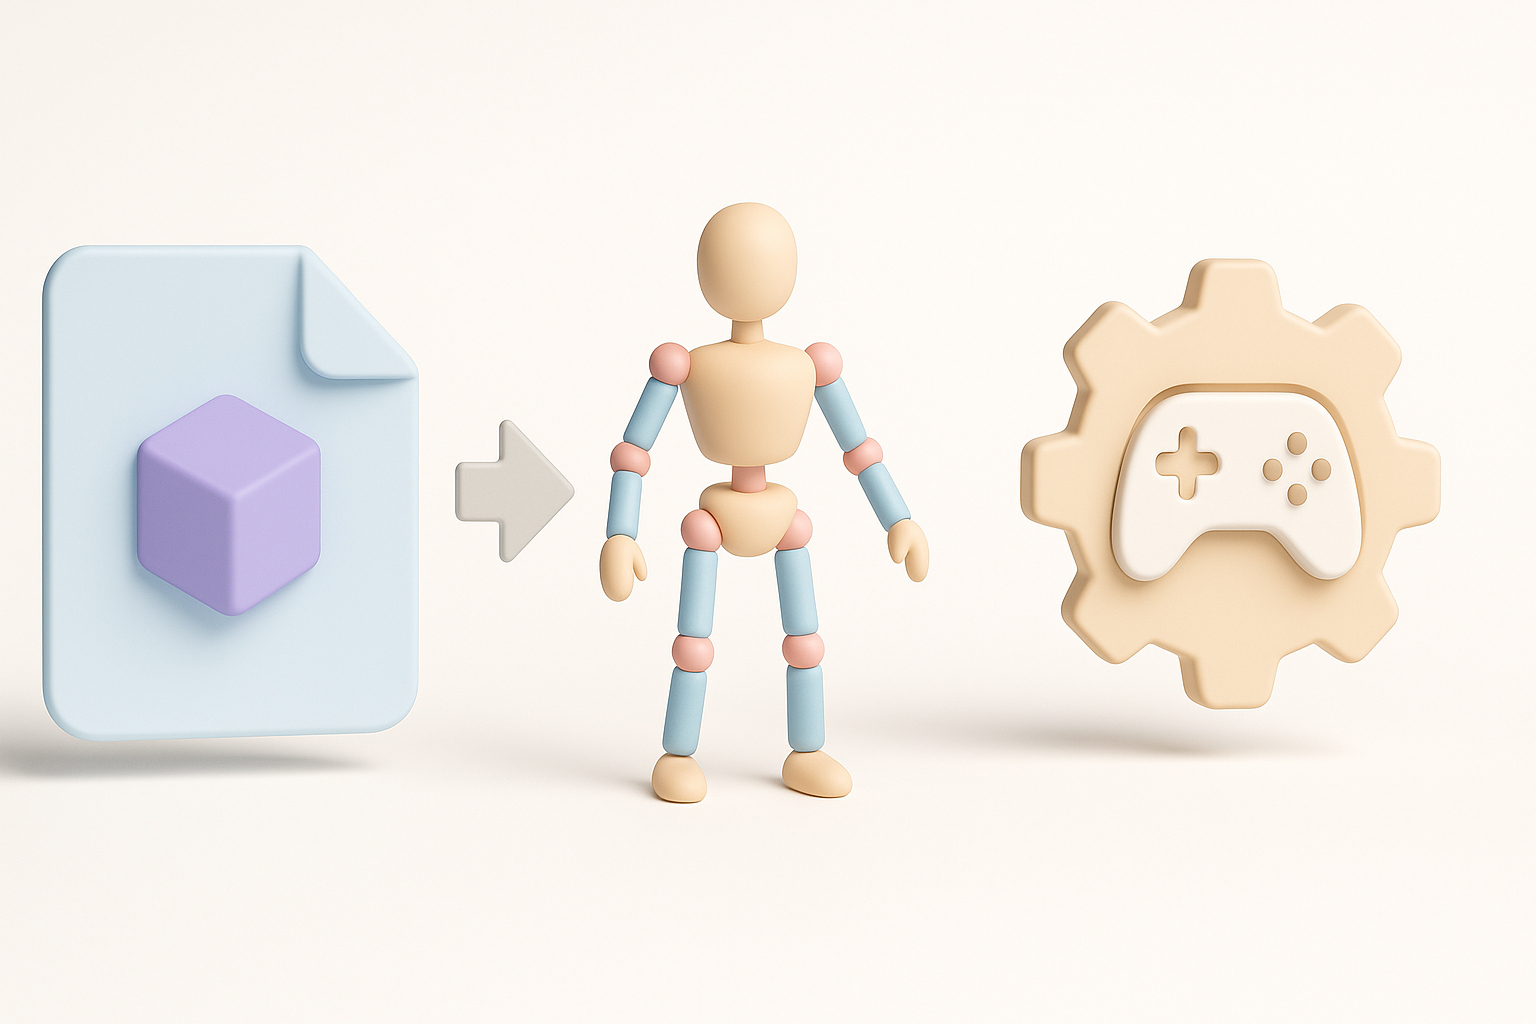
How I Integrate Tripo AI into My Pipeline
Tripo AI has become a core part of my workflow for quick iterations. Here’s how I use it:
- Generate base meshes from text prompts or sketches—ideal for fast blockouts.
- Use built-in segmentation and auto-retopology to get clean, game-ready topology.
- Leverage texturing tools for rapid PBR map generation, then fine-tune in my DCC.
Tip: I always review and adjust AI-generated results—automation is a starting point, not the finish line.
Comparing AI-Powered and Manual Methods
AI tools save time on repetitive tasks, but manual polish is still essential for hero assets.
- AI strengths: Fast blockouts, retopology, and base texturing.
- Manual strengths: Artistic nuance, unique wear, and custom details.
Pitfall: Relying solely on AI can lead to generic results. I blend both approaches for speed and quality.
Exporting, Rigging, and Animating for Game Engines
Preparing Models for Unity and Unreal
Export settings are critical for smooth engine integration. I always:
- Freeze transforms and reset XForms before export.
- Use FBX format with correct scale (usually centimeters).
- Check material assignments and texture paths.
Checklist:
- Apply triangulation if required by engine.
- Test import in both Unity and Unreal to catch issues early.
Rigging and Animation Essentials
For characters and weapons, proper rigging ensures smooth animation.
- Use simple, clean skeletons with named bones.
- Test deformations with basic animation cycles.
- Export animations as separate FBX files or embedded in the model, as required.
Tip: I use Tripo AI’s auto-rigging for quick tests, then refine weights and controllers manually for production.
By following this workflow and leveraging both traditional and AI-powered methods, I consistently deliver Call of Duty-style 3D assets that are both visually impressive and technically robust. For any artist or developer aiming for AAA quality, balancing speed, control, and attention to detail is the key to success.


