How to 3D Print a Model Plane: Expert Workflow & Tips
3D printing a model plane can be a rewarding project—whether you’re a hobbyist, educator, or prototyping for design. In my experience, success hinges on choosing the right design, prepping your files meticulously, and understanding both the printing and finishing stages. This guide walks through my hands-on workflow from model selection to final assembly, with practical tips and pitfalls to avoid. If you want a detailed, production-ready model without wrestling with technical barriers, these steps will help you get there efficiently.
Key takeaways
- Start with a well-chosen, printable design—scale and source matter.
- Optimize your 3D model for printability: good geometry, segmentation, and file format are essential.
- Material and printer settings directly impact durability and detail.
- Post-processing—cleaning, sanding, and painting—makes or breaks realism.
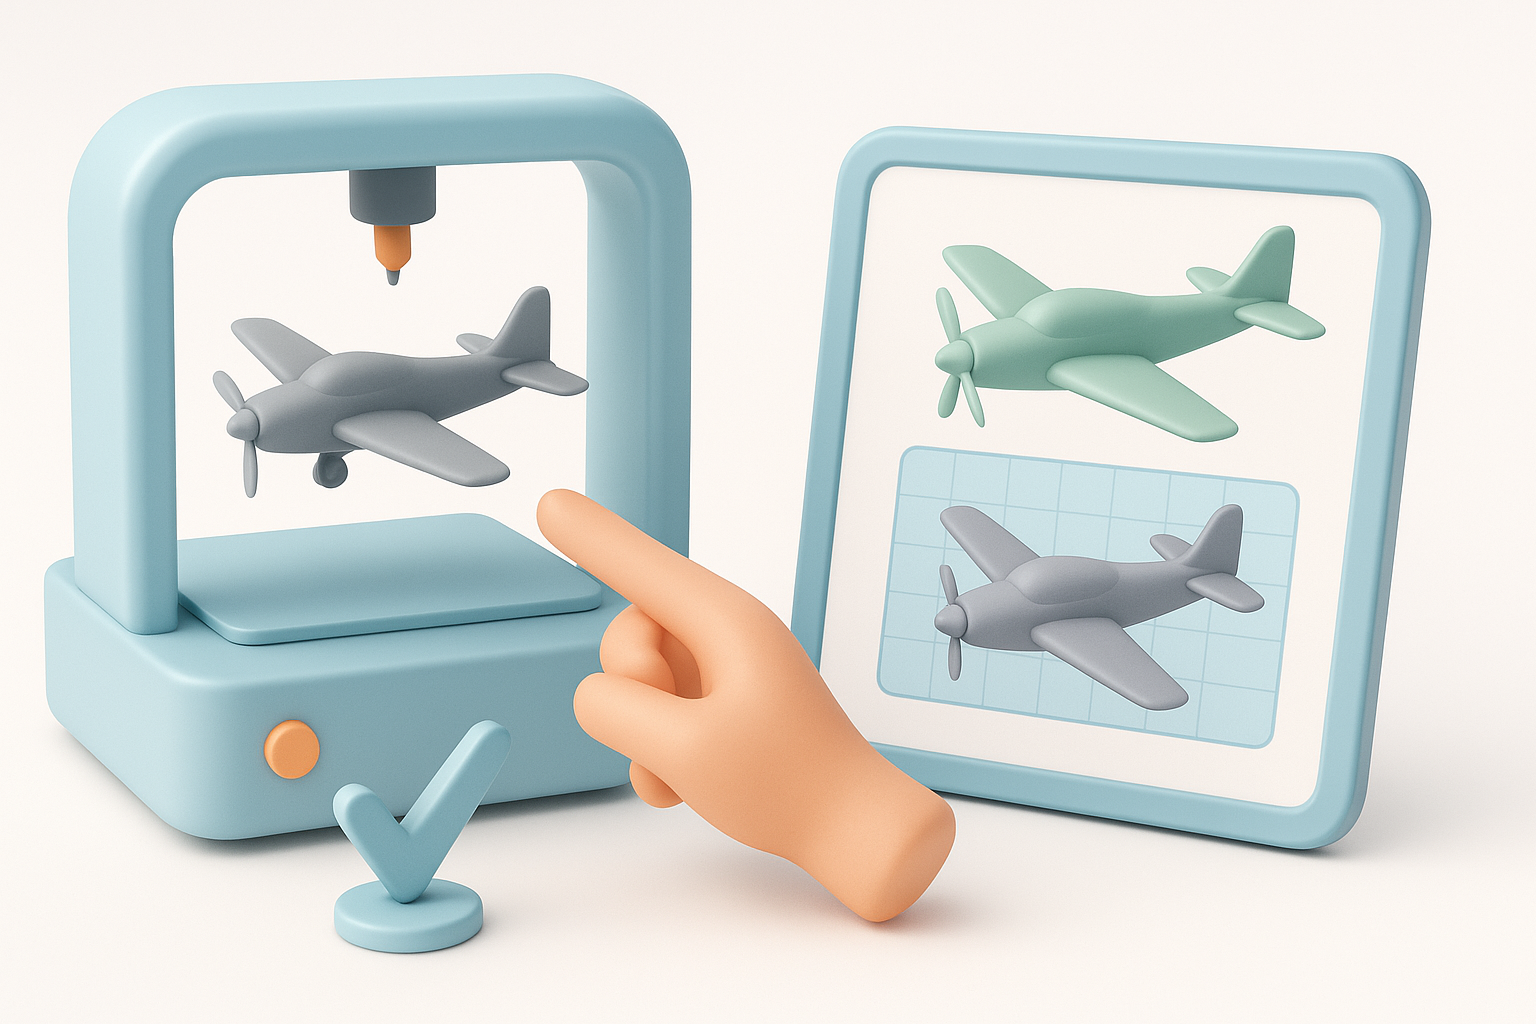
- AI-powered tools can drastically speed up and simplify the workflow.
- 3D printing has unique advantages over traditional model building, especially for custom or rapid iterations.
Choosing the Right Model Plane Design
Selecting a plane type and scale
The type and scale of your model plane dictate print complexity, required detail, and assembly. I recommend starting with a simple trainer or WWII fighter at 1:48 or 1:72 scale for manageable part sizes and print times. Larger scales (e.g., 1:24) deliver more detail but need careful segmentation and a larger print bed.
Checklist:
- Decide on display vs. RC (radio control) model—RC needs more robustness.
- Match scale to printer volume and desired detail.
- Consider part size for easy handling and assembly.
Sources for 3D model files and custom design
There are several ways to get a 3D model:
- Download ready-made files from reputable libraries (e.g., open-source repositories, museum archives).
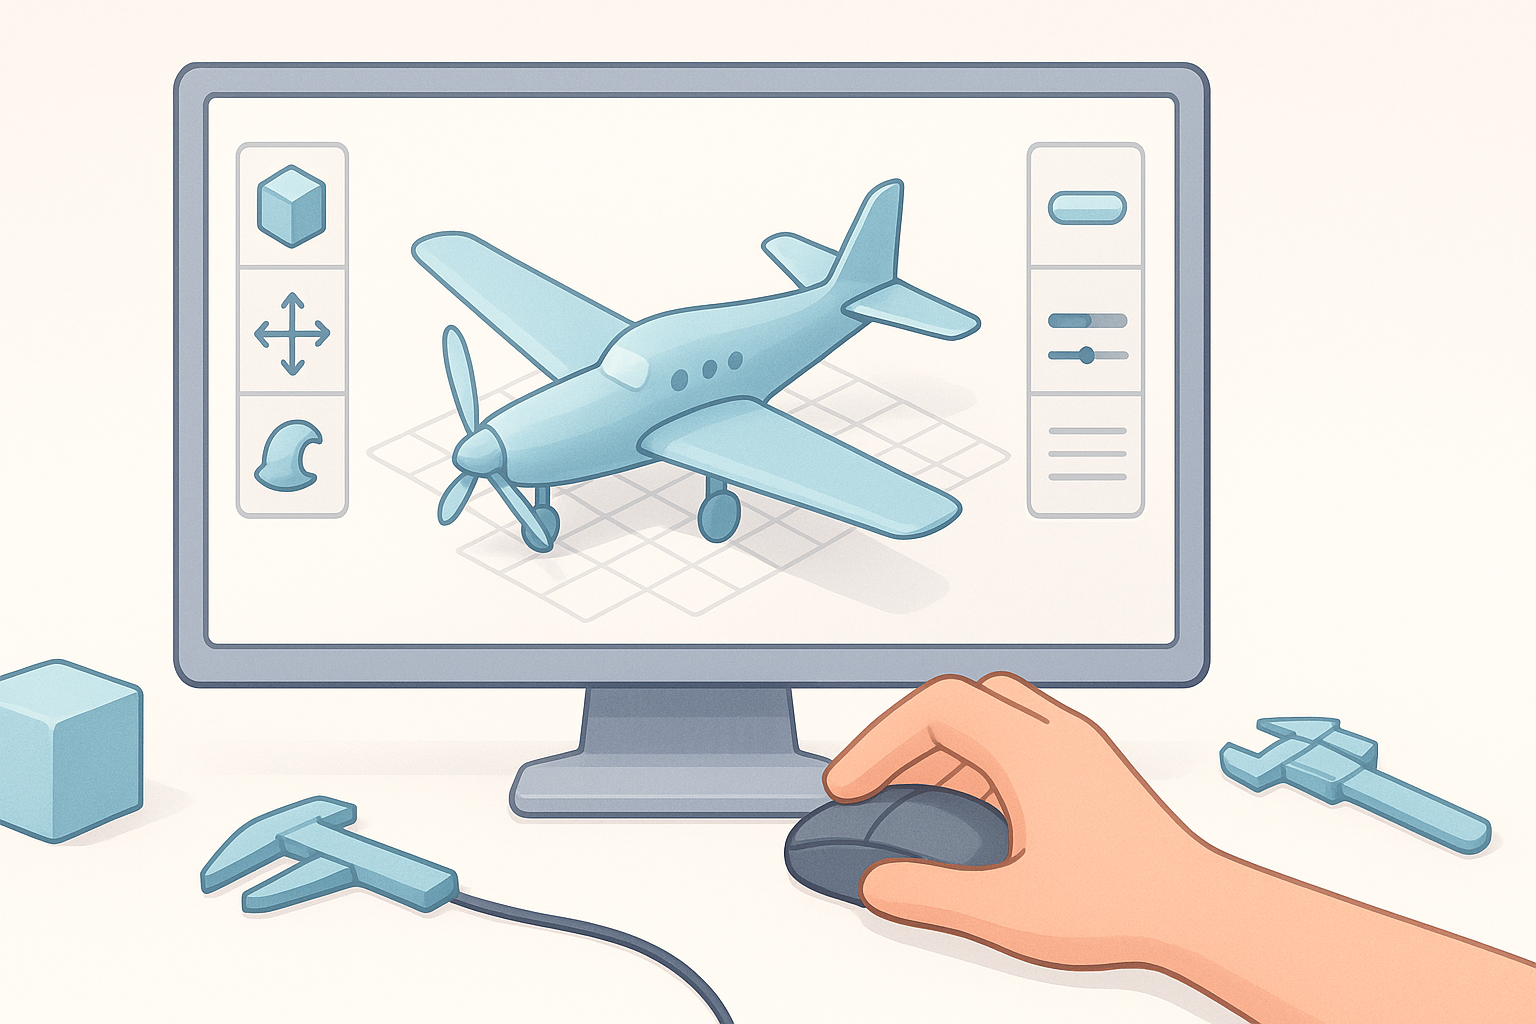
- Design your own using CAD software, or sketch and leverage AI-powered platforms like Tripo for fast, custom model generation.
Tips:
- Always check licensing if downloading models.
- For custom designs, use reference images and blueprints for accuracy.
- With AI tools, I often upload a sketch or description to generate a base model, then refine details in my preferred 3D editor.
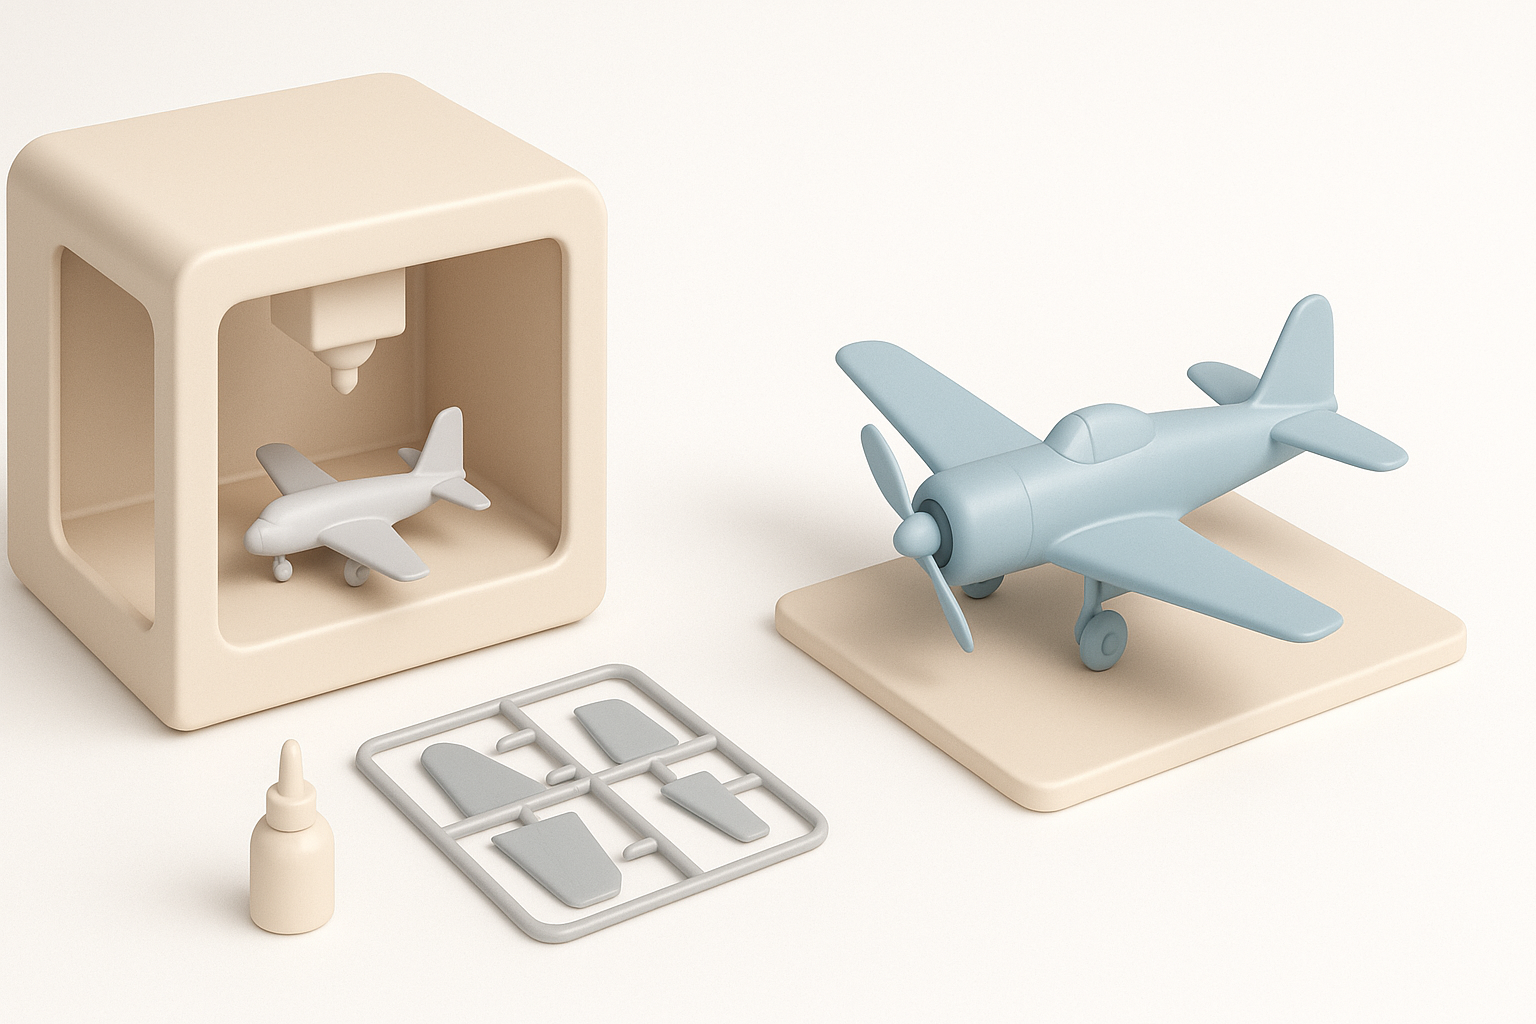
Preparing the 3D Model for Printing
Optimizing geometry and segmentation
A print-ready model needs clean geometry and logical segmentation. I always:
- Inspect for non-manifold edges, holes, or intersecting meshes.
- Break complex planes into manageable parts (wings, fuselage, landing gear) for easier printing and assembly.
- Add alignment pins or sockets to help with part fitting.
Pitfalls:
- Overly thin parts can snap; I set a minimum wall thickness (usually 1–2mm for display models).
- Avoid excessive overhangs to minimize support structures.
Retopology and file format best practices
Retopology ensures efficient, printable meshes. I use automated retopology tools in my workflow to reduce poly count without sacrificing detail. Export your model in STL or OBJ format—STL is universal for most slicers.
Best practices:
- Apply all transforms and freeze scale before export.
- Use AI-powered segmentation and retopology tools (like those in Tripo) to speed up prep.
- Double-check part orientation for optimal printing.
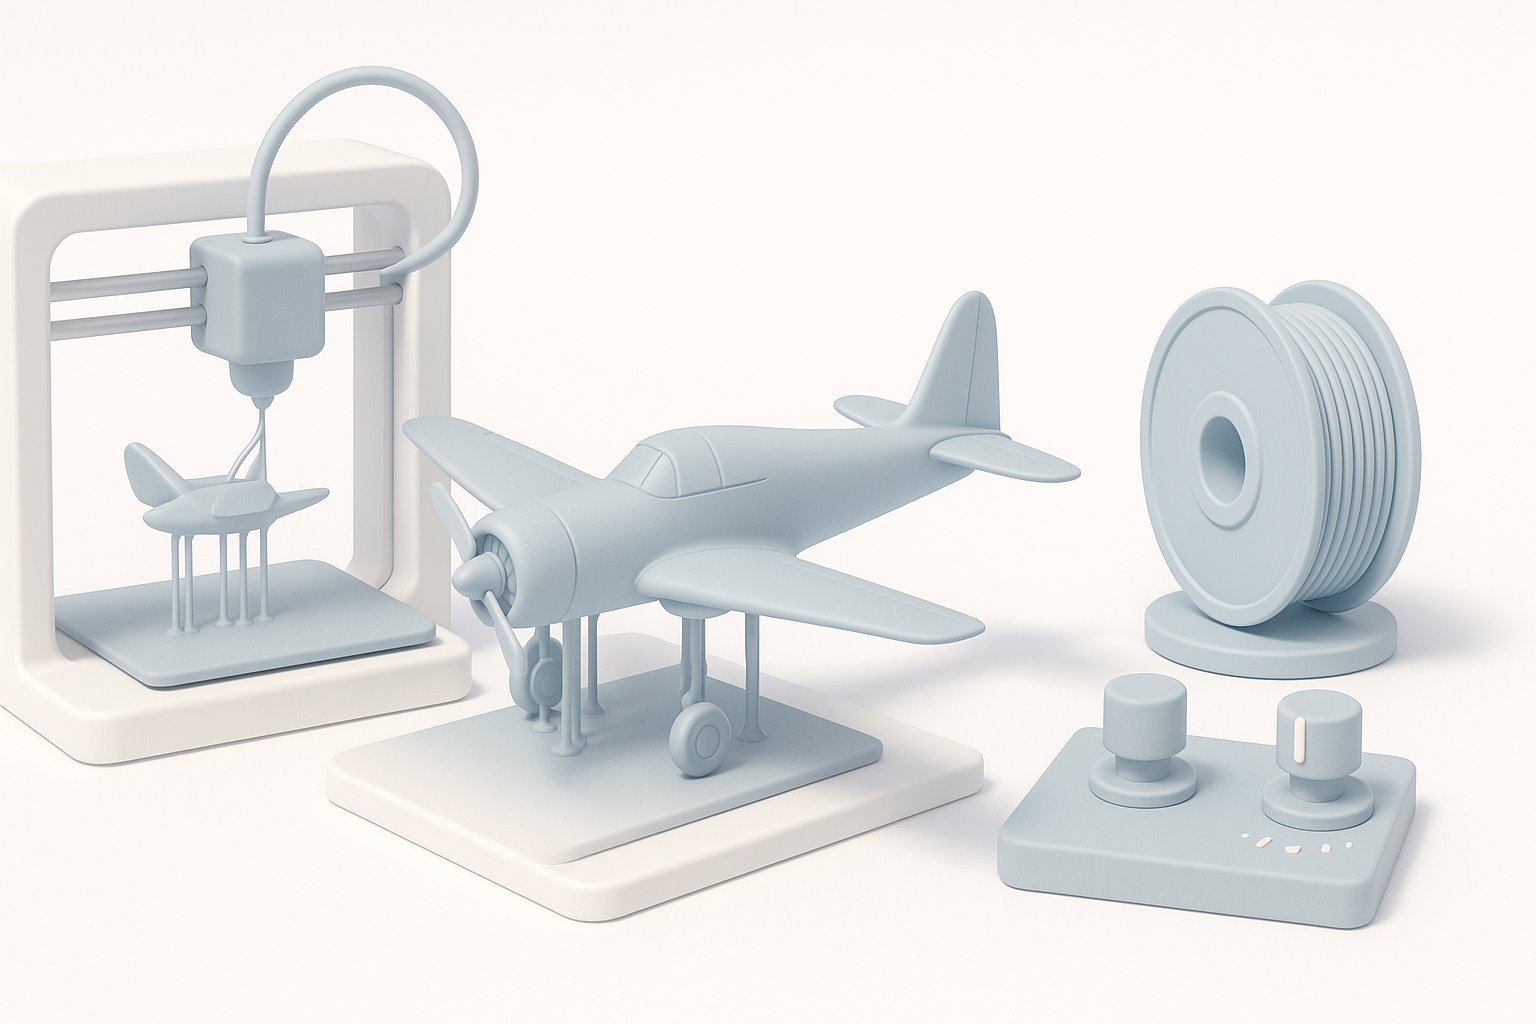
3D Printing Process: Materials and Settings
Material selection for durability and detail
Material choice depends on your priorities:
- PLA: Easy to print, good for display models.
- PETG or ABS: More durable, better for functional or RC planes.
- Resin: High detail, but more brittle—great for small, intricate parts.
What I’ve found:
- PLA is my go-to for most non-flying models.
- For RC, I use PETG for wings and fuselage, sometimes mixing materials.
Printer settings and troubleshooting common issues
Key settings:
- Layer height: 0.1–0.2mm for detail.
- Infill: 15–30% for most parts; higher for structural elements.
- Supports: Use as needed, but orient parts to minimize.
Troubleshooting:
- Warping: Use a heated bed and proper adhesion.
- Stringing: Tweak retraction settings.
- Layer separation: Increase print temp or slow down speed.
Post-Processing and Assembly
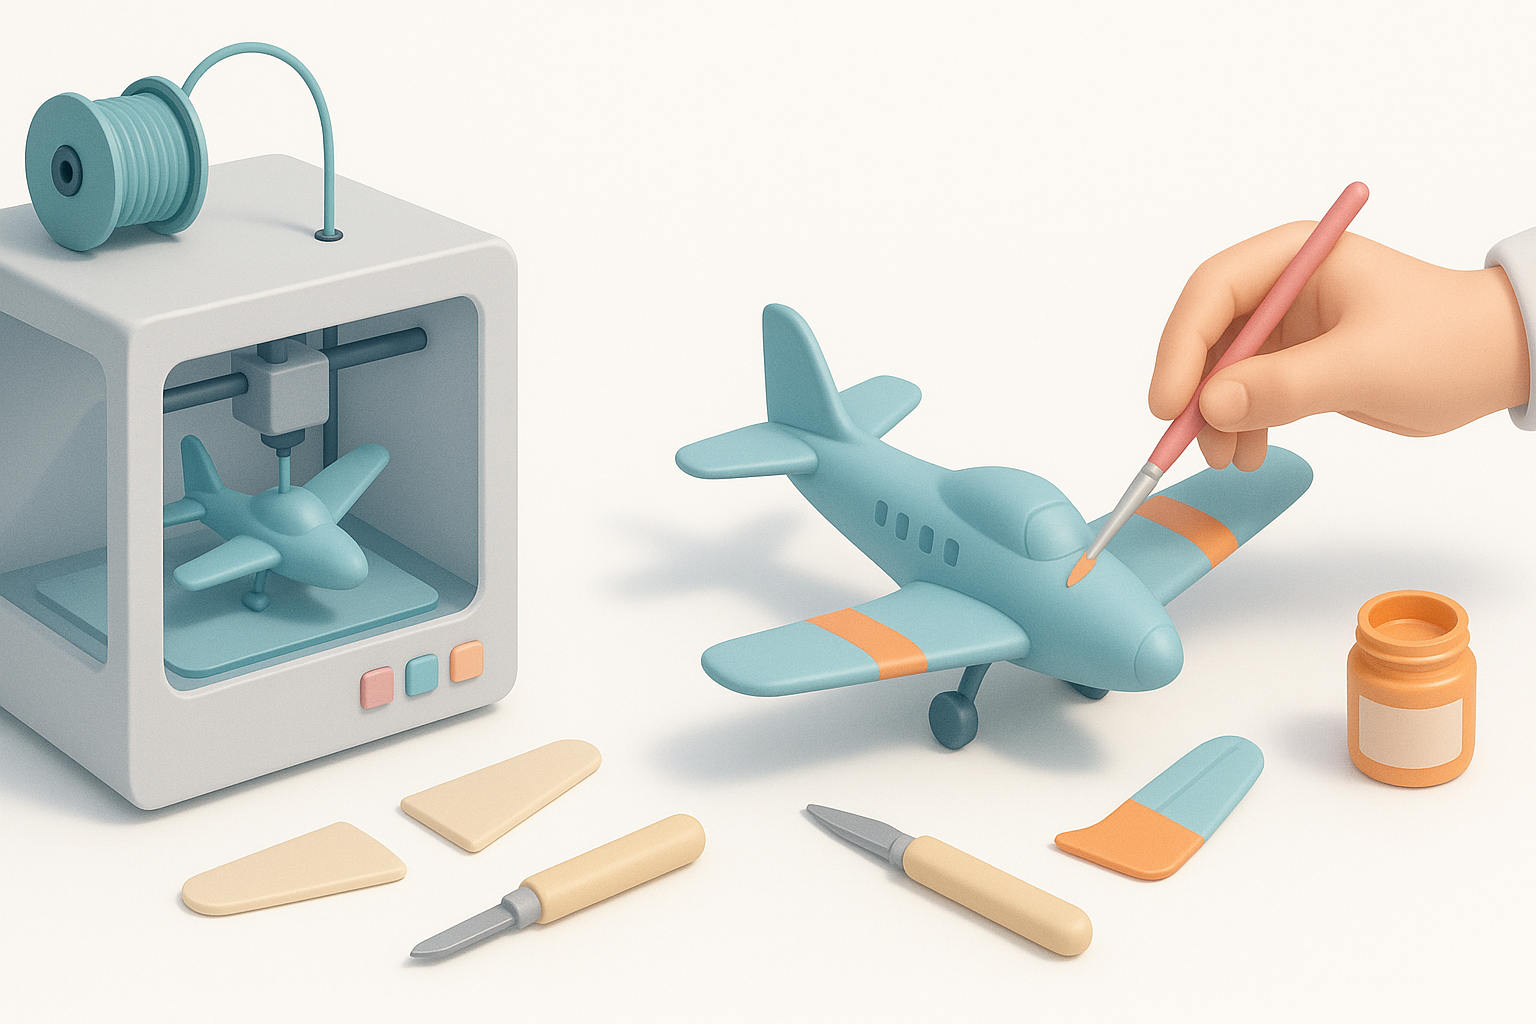
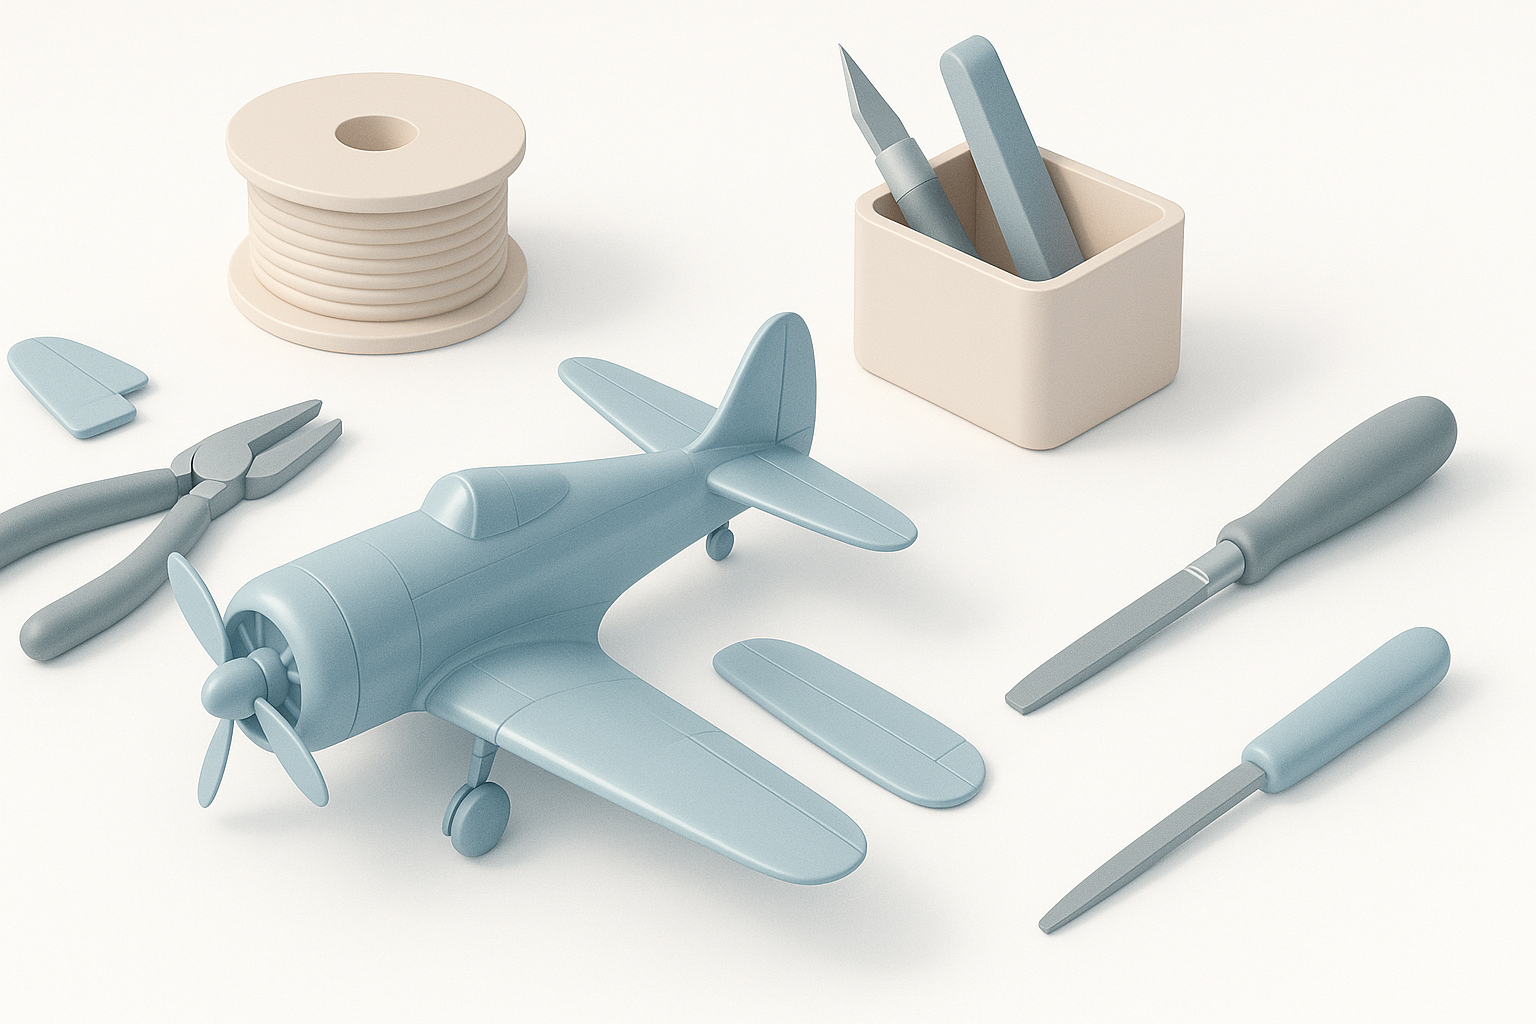
Cleaning, sanding, and fitting parts
After printing, I remove supports and lightly sand mating surfaces. Dry-fit all parts before gluing. For best results:
- Use fine-grit sandpaper for visible surfaces.
- Fill gaps with modeling putty if needed.
- Test fit moving parts to ensure smooth action.
Painting and finishing techniques
A good paint job transforms a print. I prime all parts first, then use acrylics or airbrush for base colors and weathering. Decals add realism.
Steps:
- Wash parts to remove residue.
- Prime with spray primer.
- Paint base colors, then detail.
- Seal with clear coat.
Advanced Tips: Customization and Enhancements
Adding moving parts or electronics
Functional features like spinning props, retractable gear, or LEDs add wow factor. I design hinges and sockets into the model or retrofit after printing.
Checklist:
- Plan wiring channels before printing.
- Use small servos or micro motors for RC or animated models.
- Test-fit electronics before final assembly.
Leveraging AI tools for rapid iteration
AI-powered platforms accelerate iteration. I often use Tripo to quickly generate variations or segment models for different print strategies. This saves hours compared to manual modeling.
Tips:
- Use AI tools to generate alternative liveries or configurations.
- Rapidly prototype design tweaks before committing to a full print.
Comparing 3D Printing to Traditional Model Plane Methods
Pros and cons from hands-on experience
Pros:
- Customization is virtually unlimited—unique planes, scales, or liveries.
- Rapid prototyping—iterate designs in hours, not days.
- No need for traditional molds or kits.
Cons:
- Surface finish requires more post-processing.
- Larger models may need complex assembly.
- Print failures can be frustrating—expect a learning curve.
When to choose 3D printing over other methods
I choose 3D printing when:
- I need a custom or rare aircraft not available as a kit.
- I want to modify or scale a model easily.
- I’m prototyping or testing design changes quickly.
For mass production or ultra-smooth finishes, traditional kits or injection-molded parts may still win out. But for most hobbyists and creators, 3D printing opens up creative possibilities that were previously out of reach.


