How to Create a 3D Model of a Shower Curtain: Expert Workflow
Creating a production-ready 3D shower curtain is a focused exercise in fabric modeling, material realism, and efficient workflow. In my experience, the key is to balance visual accuracy with clean topology, especially if the model needs to perform in games, film, or XR. Leveraging AI-powered tools, like Tripo, can dramatically speed up the process—from concept to export—without sacrificing quality. This article breaks down my end-to-end approach, including planning, modeling, texturing, optimization, and how I blend AI with traditional techniques. If you’re a 3D artist, game developer, or designer looking to streamline your asset pipeline, these practical tips will help you avoid common pitfalls and deliver polished results.
Key takeaways:
- Reference gathering and clear project goals are crucial for efficiency.
- Blockout, detail sculpting, and retopology form the modeling backbone.
- Realistic fabric texturing and shaders elevate the final look.
- AI tools like Tripo can automate tedious steps and speed up iteration.
- Clean topology and proper export settings ensure production-readiness.
- Troubleshooting fabric realism is a common challenge—plan for it.
Executive Summary: Key Steps for 3D Shower Curtain Modeling
Overview of the process and essential takeaways
My workflow for 3D shower curtain creation starts with reference gathering, followed by a structured modeling approach—blockout, detail sculpting, and retopology—before moving into texturing and export. Each stage builds on the last, and skipping any step often leads to rework or subpar results. Efficient workflows are non-negotiable if you want to hit both visual and technical requirements.
Why efficient workflows matter for production-ready results
In production environments, time is money. An efficient workflow reduces bottlenecks, minimizes errors, and ensures assets are ready for integration. I’ve found that combining AI-driven automation with manual artistry gives me the best of both worlds: speed and control. This is especially true for assets like shower curtains, where fabric simulation and realism can quickly eat up hours if not approached methodically.
Planning and Reference Gathering for Shower Curtain Models

Selecting the right references and inspiration
I always start by collecting high-quality images of real shower curtains—front, side, and detail shots. Pinterest, manufacturer websites, and even my own bathroom are great sources. I look for variations in fabric type, fold patterns, grommet/ring styles, and how light interacts with the material.
Checklist for references:
- Variety of curtain shapes (flat, gathered, partially open)
- Close-ups of fabric texture and stitching
- Examples of rings/grommets and how they attach
- Lighting references for translucency
Defining project goals and technical requirements
Before modeling, I define the asset’s purpose: Is it for a real-time engine, a cinematic render, or AR/XR? This helps me set polygon budgets, texture resolutions, and whether rigging/animation is needed. For game-ready models, I aim for optimized meshes and 2K textures; for film, I focus on detail and realism.
Pitfall to avoid: Not clarifying these requirements upfront can lead to wasted time on unnecessary detail or, worse, a model that’s too heavy for the target platform.
3D Modeling Workflow: From Blockout to Detailed Curtain
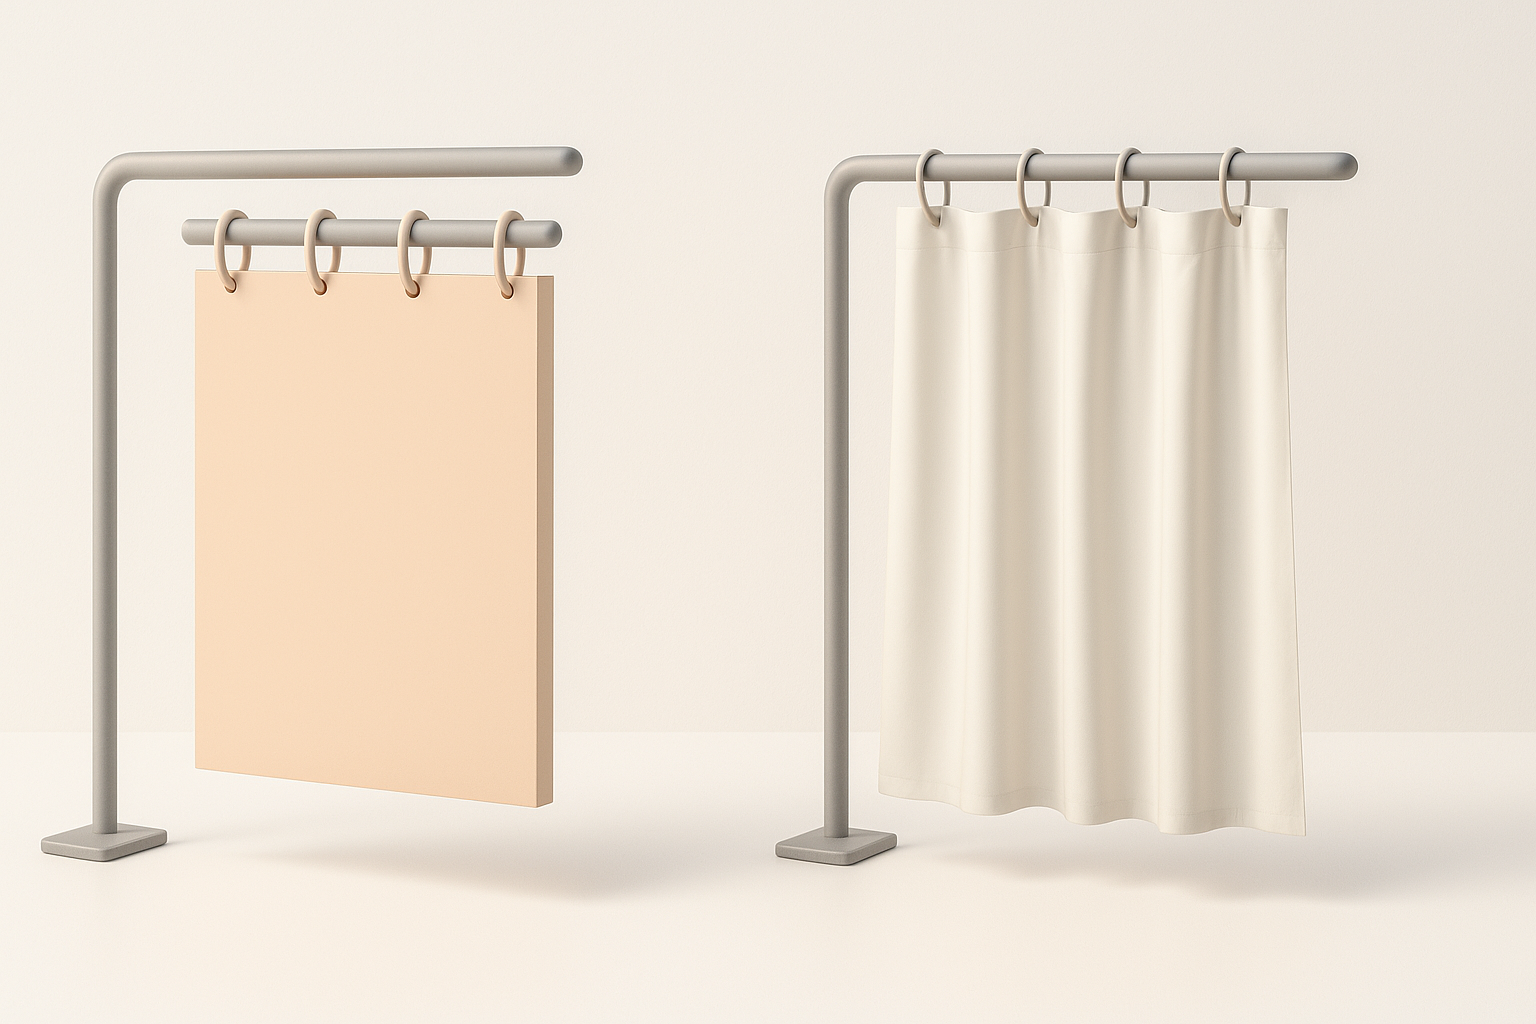
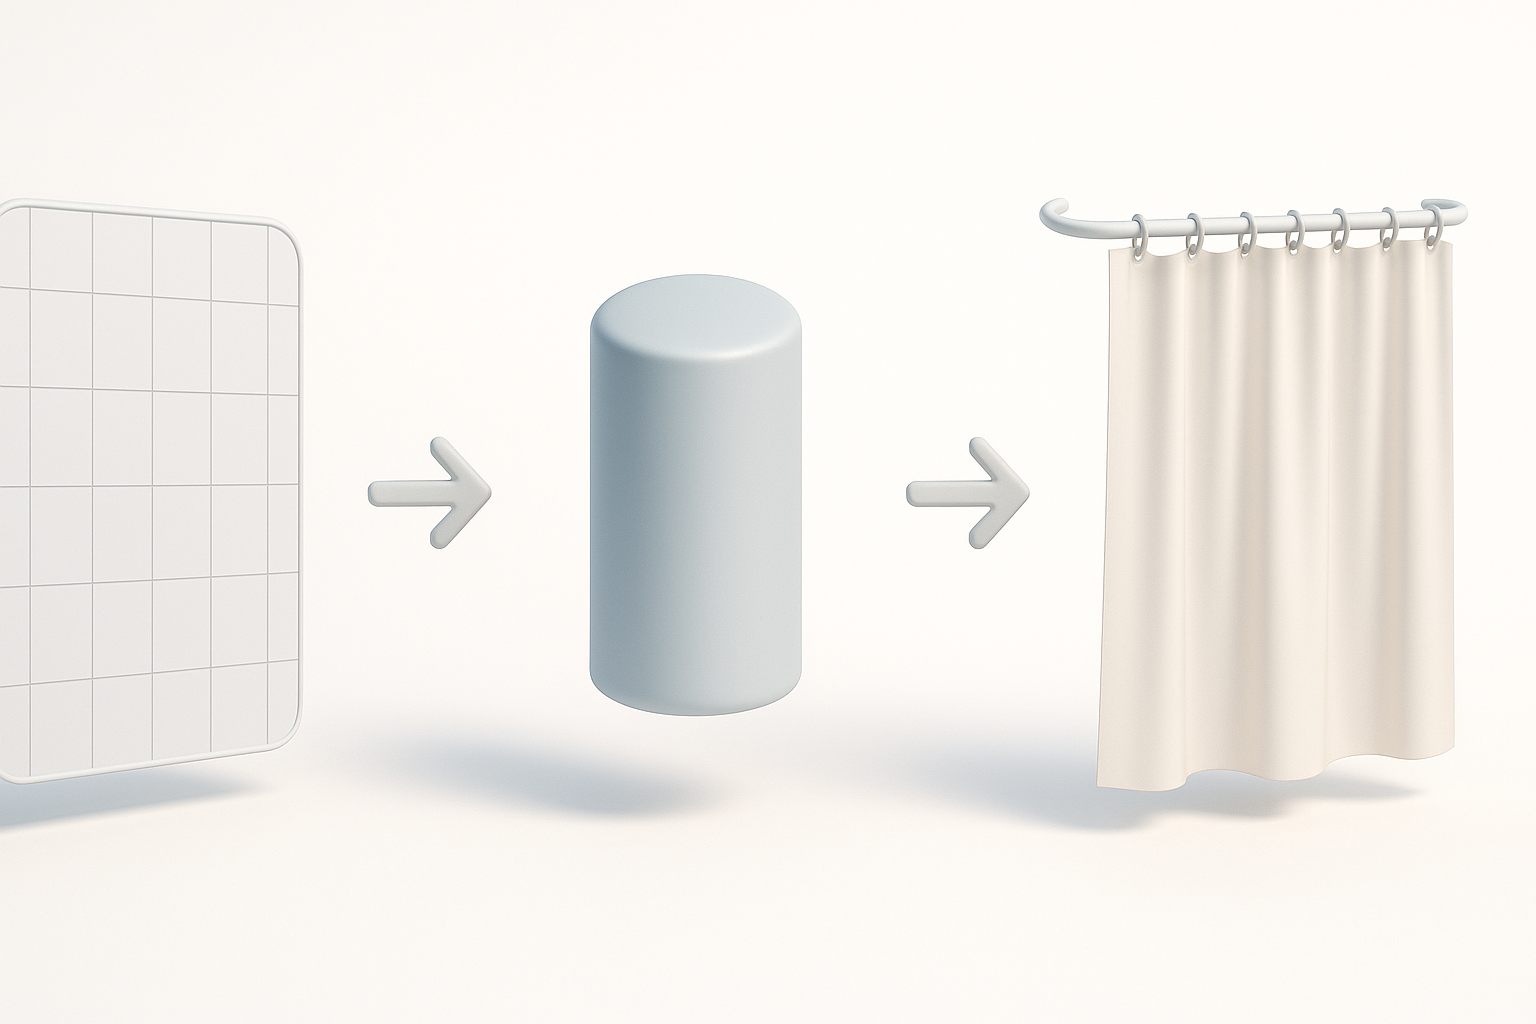
Blocking out the basic shape and proportions
I start with a simple plane or cube to define the curtain’s dimensions. In my workflow, I keep the initial mesh low-poly to allow for easy adjustments. Using reference images as image planes in my 3D software helps maintain correct proportions.
Steps:
- Create a base plane matching the curtain’s width and height.
- Add edge loops to define basic folds and anchor points for rings.
- Block in the top rail and ring positions.
Adding folds, rings, and realistic curtain details
Once the blockout feels right, I sculpt or model the main fabric folds—either manually or using cloth simulation tools. For the rings/grommets, I model one and duplicate it along the top edge. Adding subtle asymmetry and secondary wrinkles is key for realism.
Practical tips:
- Use soft selection or sculpt brushes to vary fold depth.
- Overdo folds slightly; subtlety can get lost after texturing.
- Keep ring geometry simple unless close-ups are needed.
Texturing and Material Creation for Realistic Results
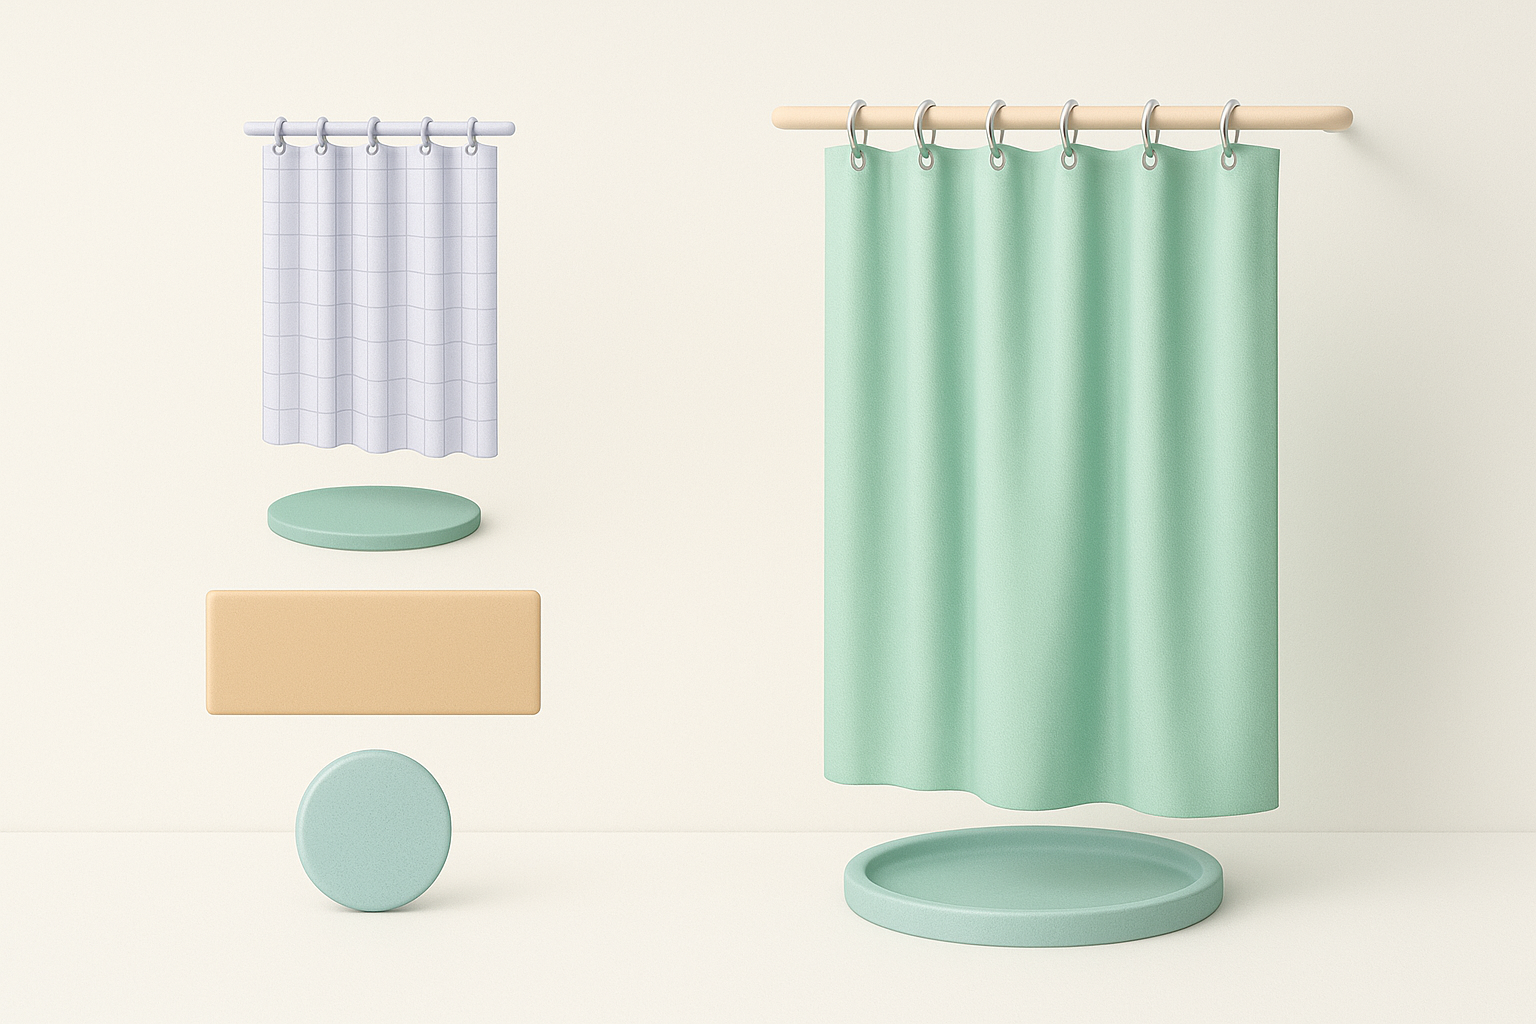
Choosing fabric textures and patterns
For realism, I source or create high-res fabric textures, often scanning real samples or using online libraries. I pay close attention to normal/bump maps for weave detail, and I create a separate alpha mask if the curtain has patterns or transparency.
Mini-checklist:
- Albedo (color) map: fabric base and any printed patterns
- Normal map: weave, seams, and wrinkles
- Roughness/specular: controls sheen and wetness
- Opacity/alpha: for semi-transparent curtains
Applying shaders and simulating translucency
I use a fabric shader with subsurface scattering or transmission to mimic light passing through the curtain. Tuning these settings makes a huge difference, especially for white or light-colored curtains. In real-time engines, I test the model under different lighting to ensure consistency.
Pitfall: Overly shiny or flat materials can kill realism—test different shader presets and tweak as needed.
Optimizing, Retopology, and Exporting for Production
Best practices for clean topology and UVs
After sculpting/detail modeling, I retopologize the mesh for clean, quad-based geometry. This is crucial for animation or if the curtain will be simulated. I unwrap UVs with minimal stretching and pack them efficiently to maximize texel density.
Tips:
- Keep edge flow following the main folds.
- Eliminate n-gons and stray vertices.
- Use a single UV tile for game assets; multiple for high-res/film.
Export settings for games, film, or XR
I export in the format required by the target pipeline (FBX, OBJ, or GLTF). For real-time, I bake normal and AO maps; for offline renders, I keep higher-res geometry. Always double-check scale and orientation before export.
Quick checklist:
- Freeze transforms and apply scale.
- Check for flipped normals.
- Embed or link textures as needed.
Leveraging AI Tools for Faster 3D Shower Curtain Creation

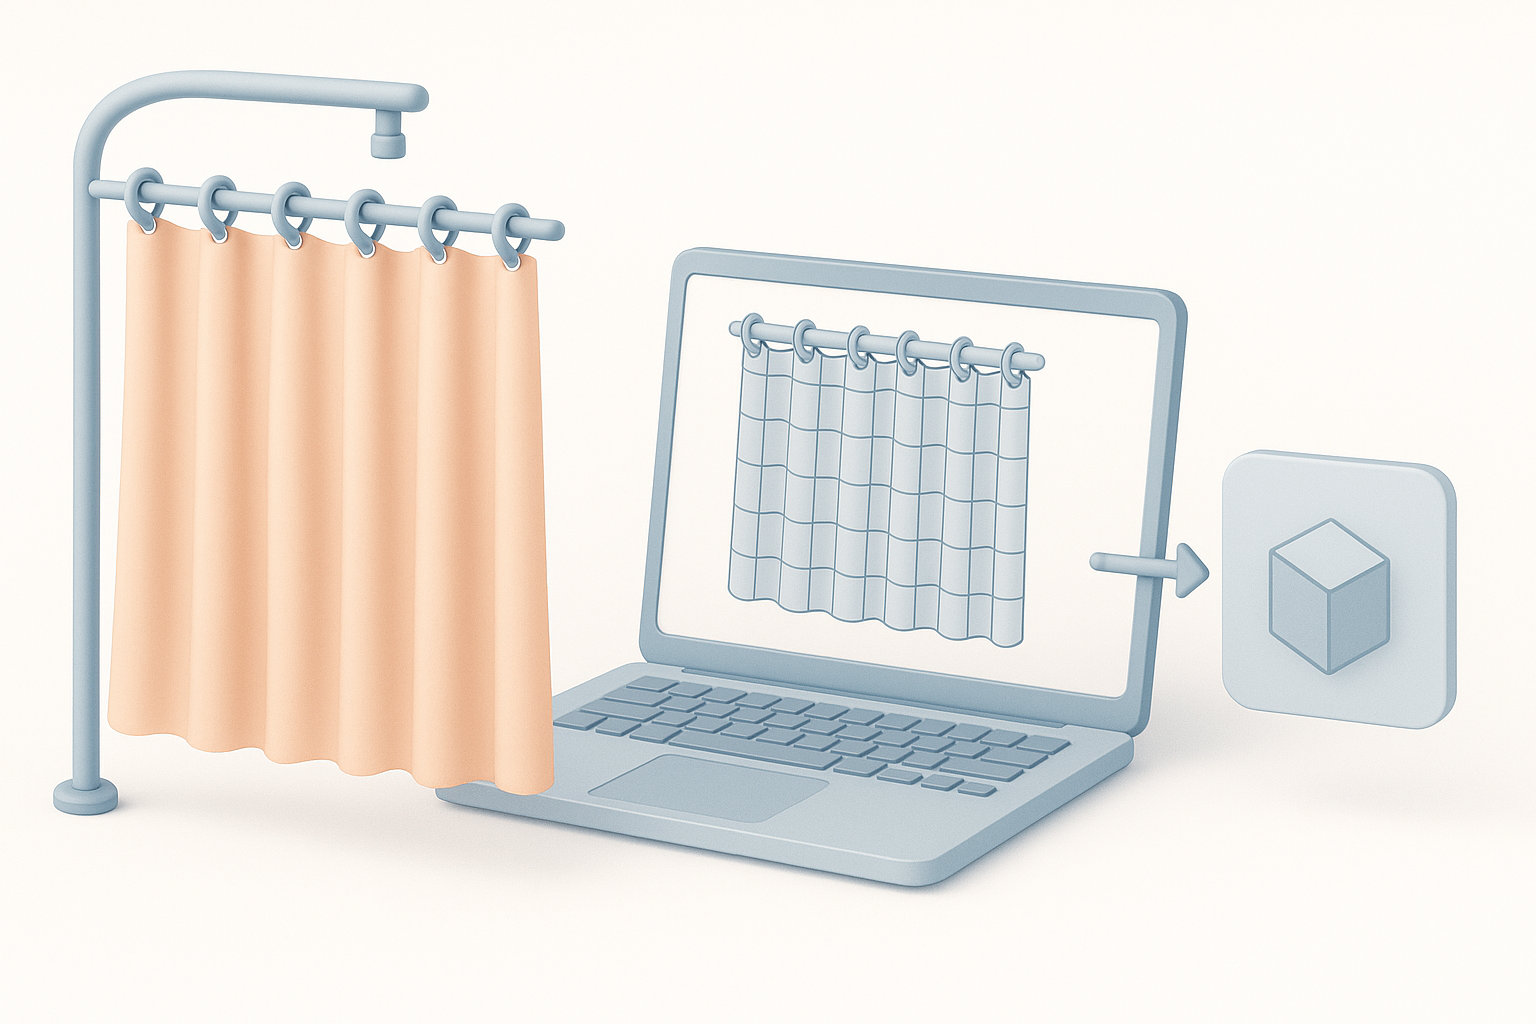
How I use AI-powered platforms in my workflow
AI platforms like Tripo have become a go-to for quickly generating base meshes or even fully textured curtain models from text prompts or sketches. I often use AI to create a starting point, then refine the mesh, add custom details, and rework textures as needed.
My workflow:
- Input reference images or a descriptive prompt.
- Let AI generate the initial 3D asset.
- Edit topology, UVs, and materials in my DCC tool.
- Iterate between AI and manual tweaks for best results.
Tips for integrating AI with traditional modeling techniques
I treat AI-generated assets as a foundation, not a finished product. Combining AI speed with manual polish gives me the flexibility to meet specific art direction or technical needs.
Best practices:
- Always check and clean up AI-generated topology.
- Re-bake normals and adjust UVs for consistency.
- Use AI for repetitive or time-consuming base work, then focus manual effort on hero details.
Comparing Manual and AI-Accelerated Approaches
Pros and cons based on my experience
Manual modeling offers full control and customizability, but it’s time-consuming—especially for repetitive elements like fabric folds. AI-accelerated workflows are dramatically faster for base mesh creation and can automate tedious steps, but sometimes require significant cleanup.
Summary table:
| Approach | Pros | Cons |
|---|---|---|
| Manual | Full control, precise detail | Time-intensive, repetitive tasks |
| AI-accelerated | Fast, great for iteration/prototyping | Needs cleanup, less artistic nuance |
When to choose each method for your project
For tight deadlines or large asset libraries, I lean on AI for initial passes. For hero assets or when unique details are required, I invest more time in manual work. The best results often come from a hybrid approach.
Tip: Match your method to the project’s needs—don’t over-automate at the expense of quality.
Common Challenges and My Solutions

Troubleshooting fabric simulation and realism
Fabric simulation can be unpredictable. I often bake simulated folds into the mesh, then tweak manually for art direction. For realism, I layer detail maps and use reference lighting setups to match real-world translucency and shadowing.
Troubleshooting steps:
- If folds look unnatural, adjust gravity or collision settings.
- For stiff-looking fabric, soften normals and reduce specular.
- Use photo references to match color and translucency.
Avoiding common pitfalls in shower curtain modeling
The most common mistakes I see are overcomplicated meshes, poor UV layouts, and unrealistic materials. Keeping geometry efficient, UVs tidy, and materials physically accurate are my top priorities.
My checklist:
- Keep polygon count in check.
- Test UVs with checker patterns.
- Preview materials in multiple lighting setups.
- Always get a second pair of eyes or feedback when possible.
By following this structured workflow and leveraging both traditional and AI-powered tools like Tripo, I consistently produce production-ready 3D shower curtain models that meet both artistic and technical requirements.
