Creating a Thomas the Tank Engine 3D Model: Expert Workflow & Tips
Modeling a recognizable character like Thomas the Tank Engine in 3D can be streamlined and approachable, even for solo artists or small teams. In my experience, leveraging AI-powered tools—especially for segmentation, retopology, and texturing—removes much of the technical friction, letting me focus on creativity and accuracy. This guide walks through my practical workflow, including reference gathering, modeling, texturing, optimization, and basic animation. Whether you’re aiming for a game asset, animation, or XR project, you’ll find actionable steps and real-world tips to get production-ready results efficiently.
Key Takeaways
- Start with quality references and clear scope—this saves time later.
- Use AI-assisted tools for blocking, segmentation, and retopology to speed up iteration.
- Prioritize clean topology and organized UVs for easy texturing and animation.
- Authentic colors and details make Thomas instantly recognizable.
- Optimize for your target platform (game, animation, XR) before export.
- Simple rigs and animations go a long way for characterful results.
Executive Summary: Key Insights for Modeling Thomas the Tank Engine

What to Expect from This Guide
In this article, I break down my hands-on workflow for creating a 3D Thomas the Tank Engine, from initial planning to animation basics. I focus on practical steps, using AI-powered platforms like Tripo for rapid iteration and production-ready outputs. The guide is suitable for artists, designers, and developers aiming for high-quality results without getting bogged down in technical hurdles.
Essential Takeaways for 3D Artists
- Reference quality is critical—don’t skip this step.
- AI tools can handle most of the heavy lifting, but manual refinement is still key.
- Clean geometry and proper UVs are non-negotiable for texturing and rigging.
- Keep your workflow modular; it’s easier to make changes and updates.
Planning and References: Laying the Groundwork
Gathering Accurate Reference Images
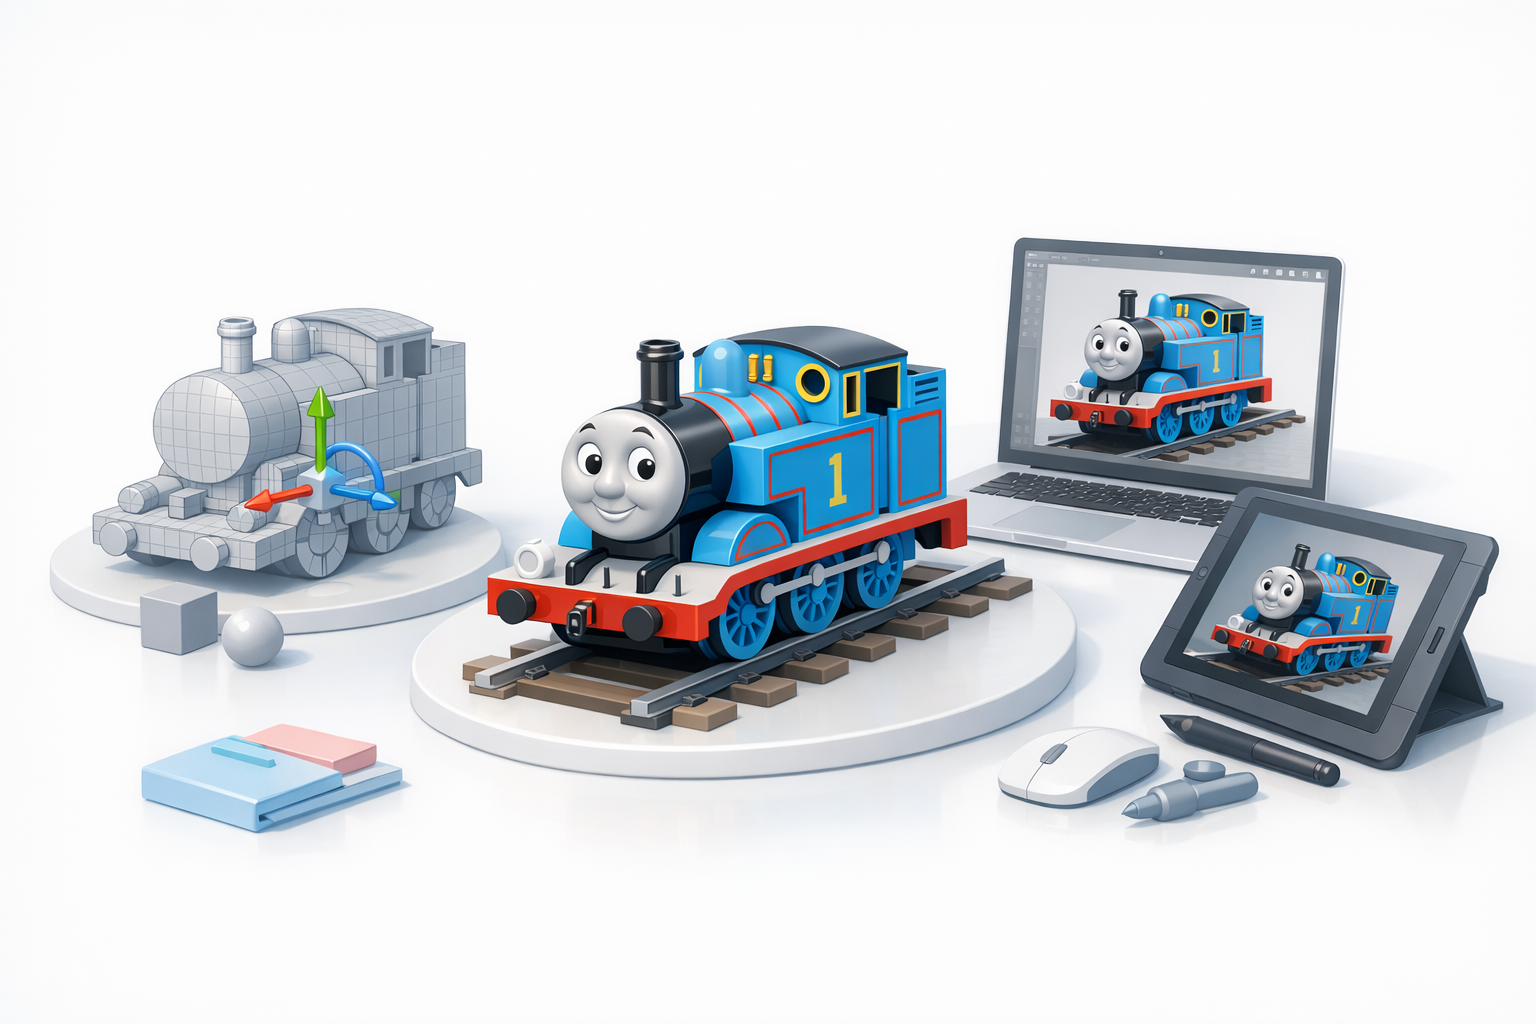
Before opening any 3D software, I always gather a comprehensive set of references. For Thomas, I source high-resolution images from official media, model train photos, and blueprints where available. Consistency in proportions and details (face, wheels, side panels) is essential for recognizability.
My reference checklist:
- Front, side, and top orthographic views
- Close-ups of unique features (face, buffers, lamp)
- Color swatches from official artwork
Defining Project Scope and Requirements
I clarify the end use of the model: Is it for a game, animation, or XR? This informs my polygon budget, texture resolution, and rigging complexity. For production work, I document the target platform specs and any stylistic requirements (realistic vs. stylized).
Pitfall to avoid:
Skipping this step can lead to wasted time on unnecessary details or rework due to mismatched requirements.
Choosing the Right Tools and Platforms
Why I Use AI-Powered 3D Creation Tools
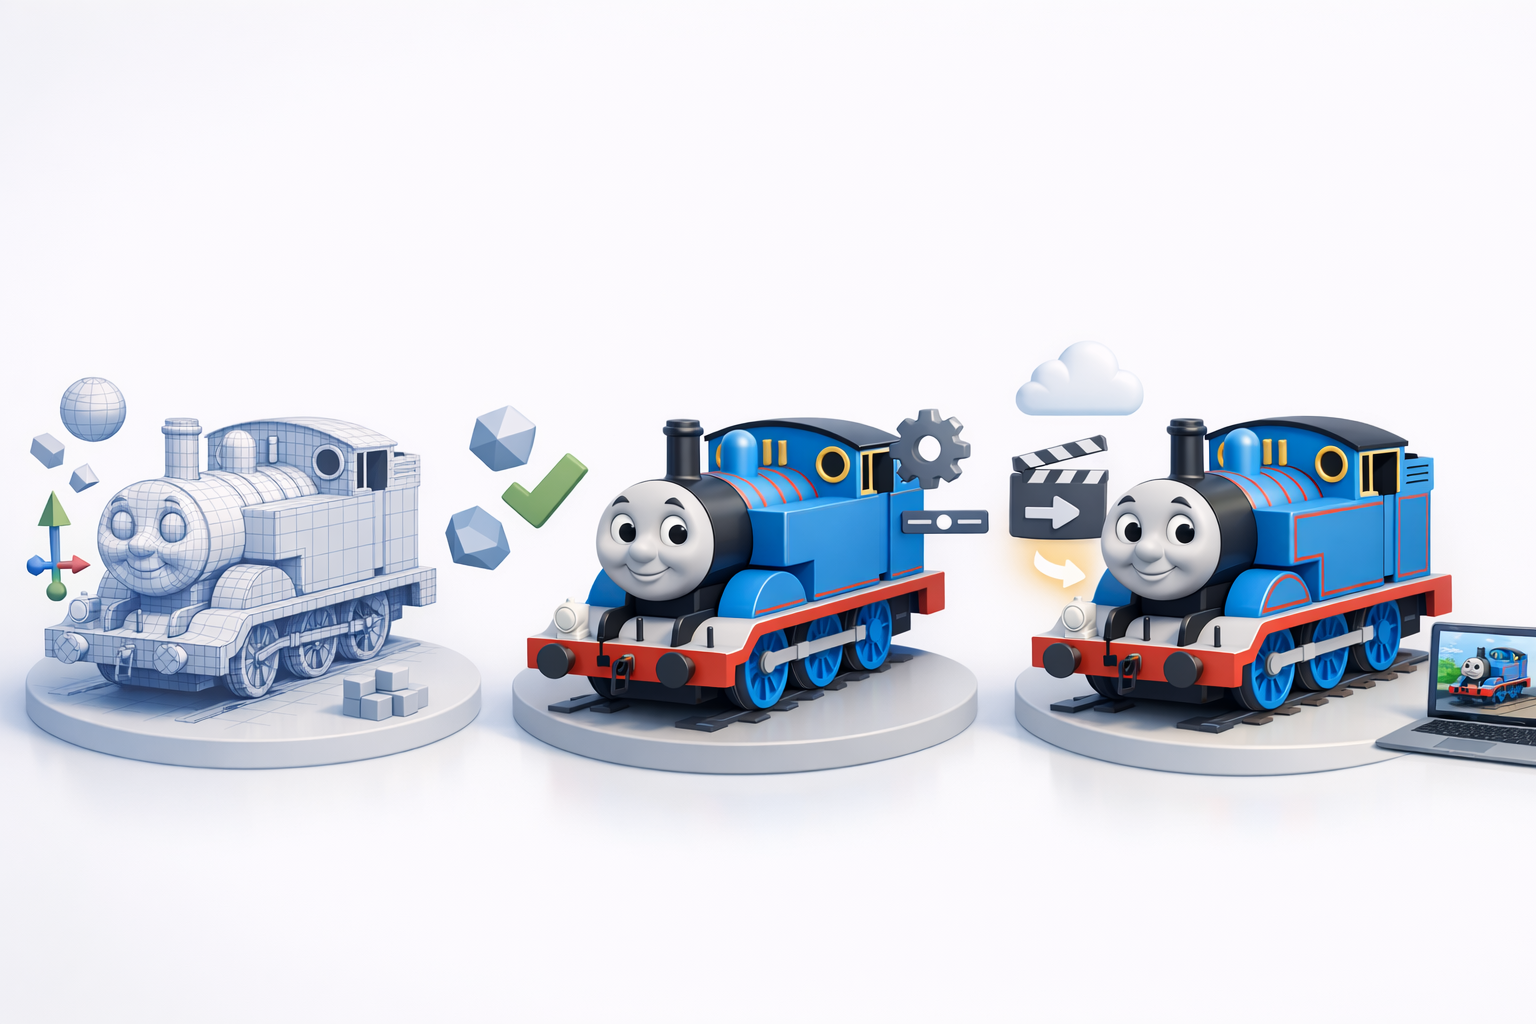
AI-assisted platforms like Tripo have transformed my workflow. I can quickly generate a base mesh from text prompts or sketches, then use built-in segmentation and retopology tools to get clean, editable geometry. This approach accelerates the process, especially for non-organic models like Thomas.
Typical workflow:
- Input text description or reference images
- Refine auto-generated mesh with segmentation tools
- Use auto-retopology for clean topology
Comparing Alternative Methods
Traditional DCC software still has its place, especially for fine-tuning and custom details. However, manual box modeling and UV unwrapping are time-consuming. I reserve these methods for unique features or when I need full control over the mesh.
Tip:
Combine AI tools for rapid base creation with manual refinement for best results.
Step-by-Step Workflow: Modeling Thomas the Tank Engine
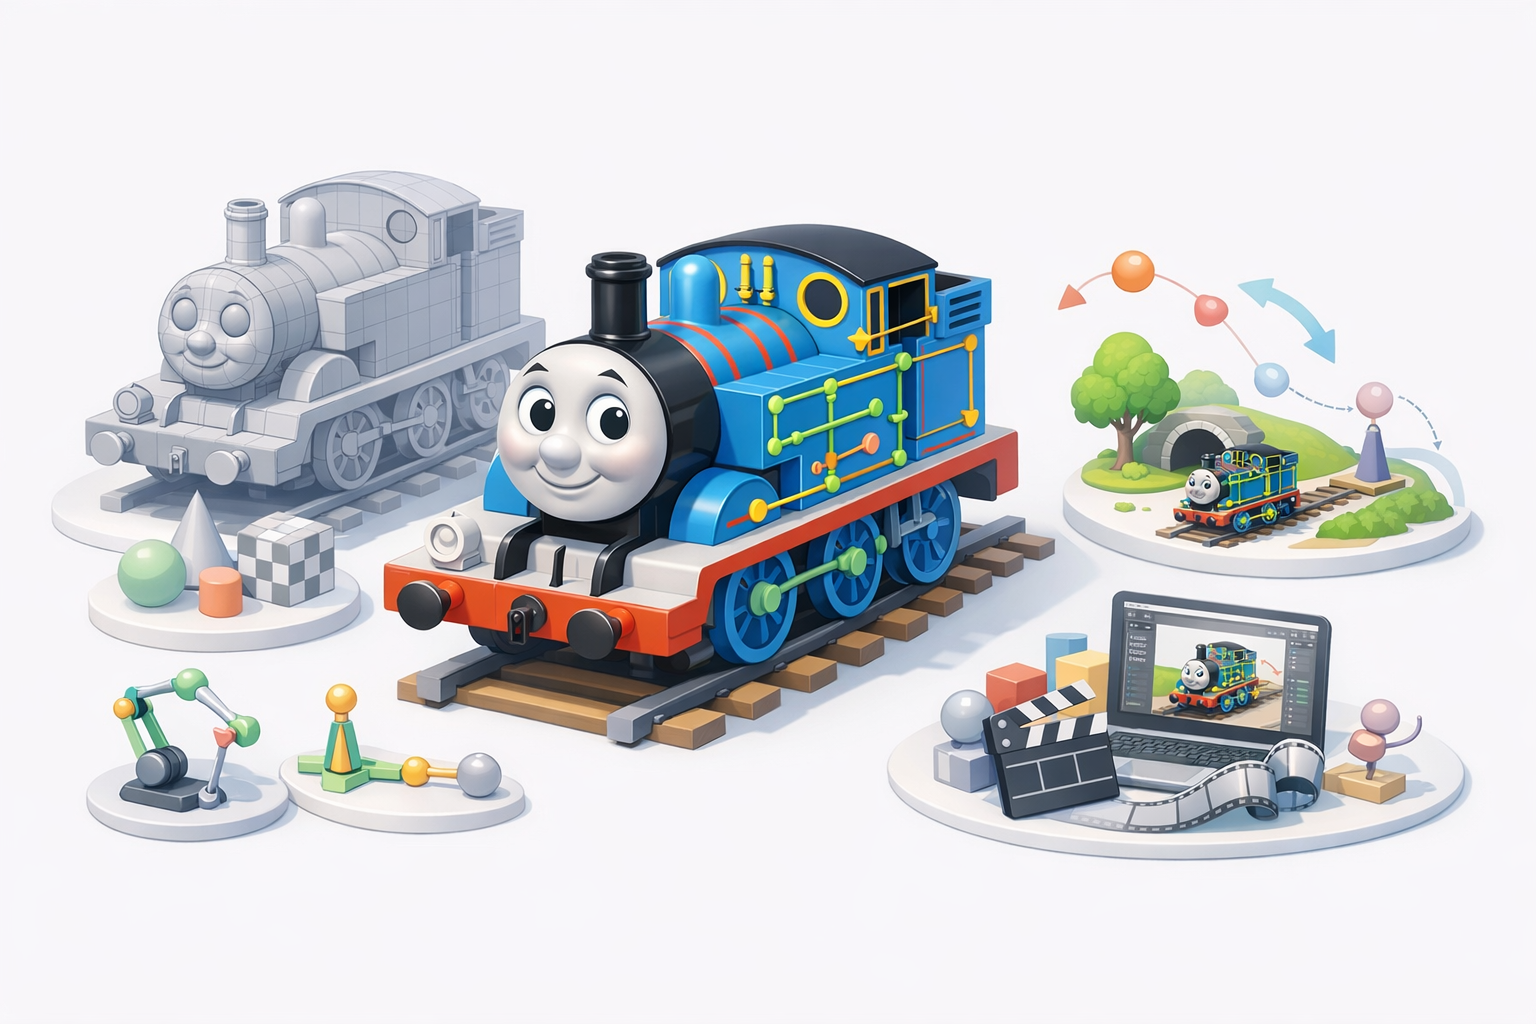
Blocking Out the Basic Shapes
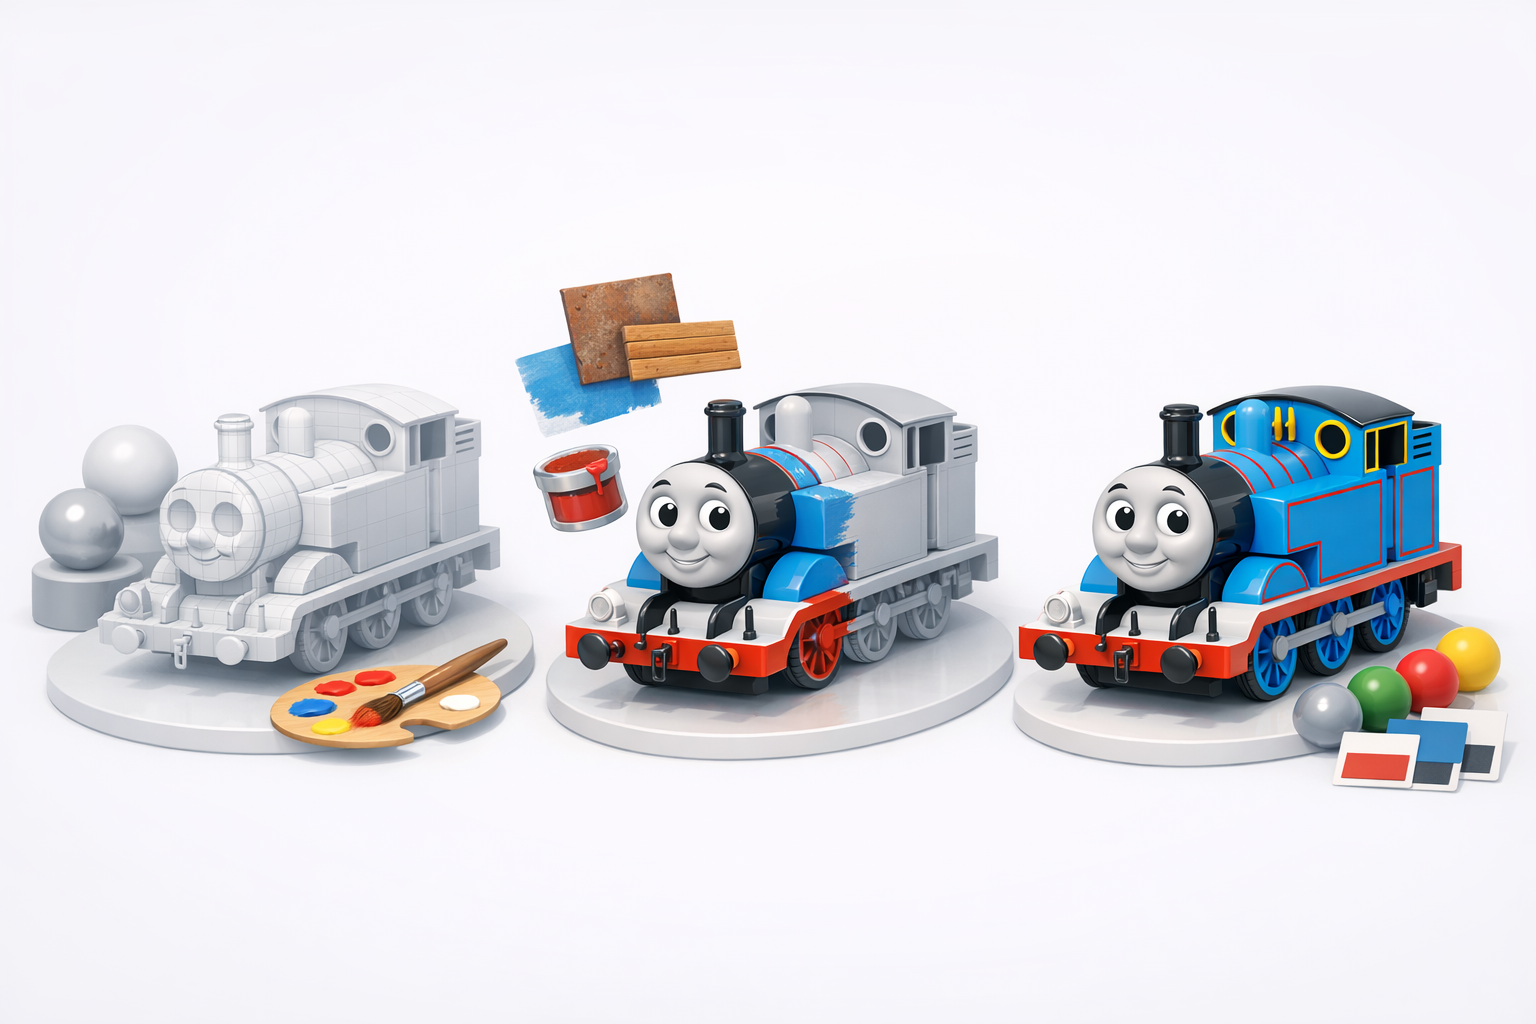
I start by blocking out Thomas’s main forms: cylindrical boiler, cab, face, and wheels. AI platforms can auto-generate these from a prompt, but I always verify proportions against my references.
Blocking steps:
- Create cylinders for the boiler and wheels
- Add boxes for the cab and footplate
- Position and scale according to reference images
Adding Details and Refining Geometry
Once the base is set, I add secondary shapes: buffers, lamp, smoke stack, and facial features. I use segmentation tools to separate mesh parts for easier texturing and rigging later.
Checklist:
- Model buffers, lamp, and funnel as separate objects
- Sculpt or model the face for expressiveness
- Merge or group geometry as needed for animation
Texturing, Materials, and Color Accuracy
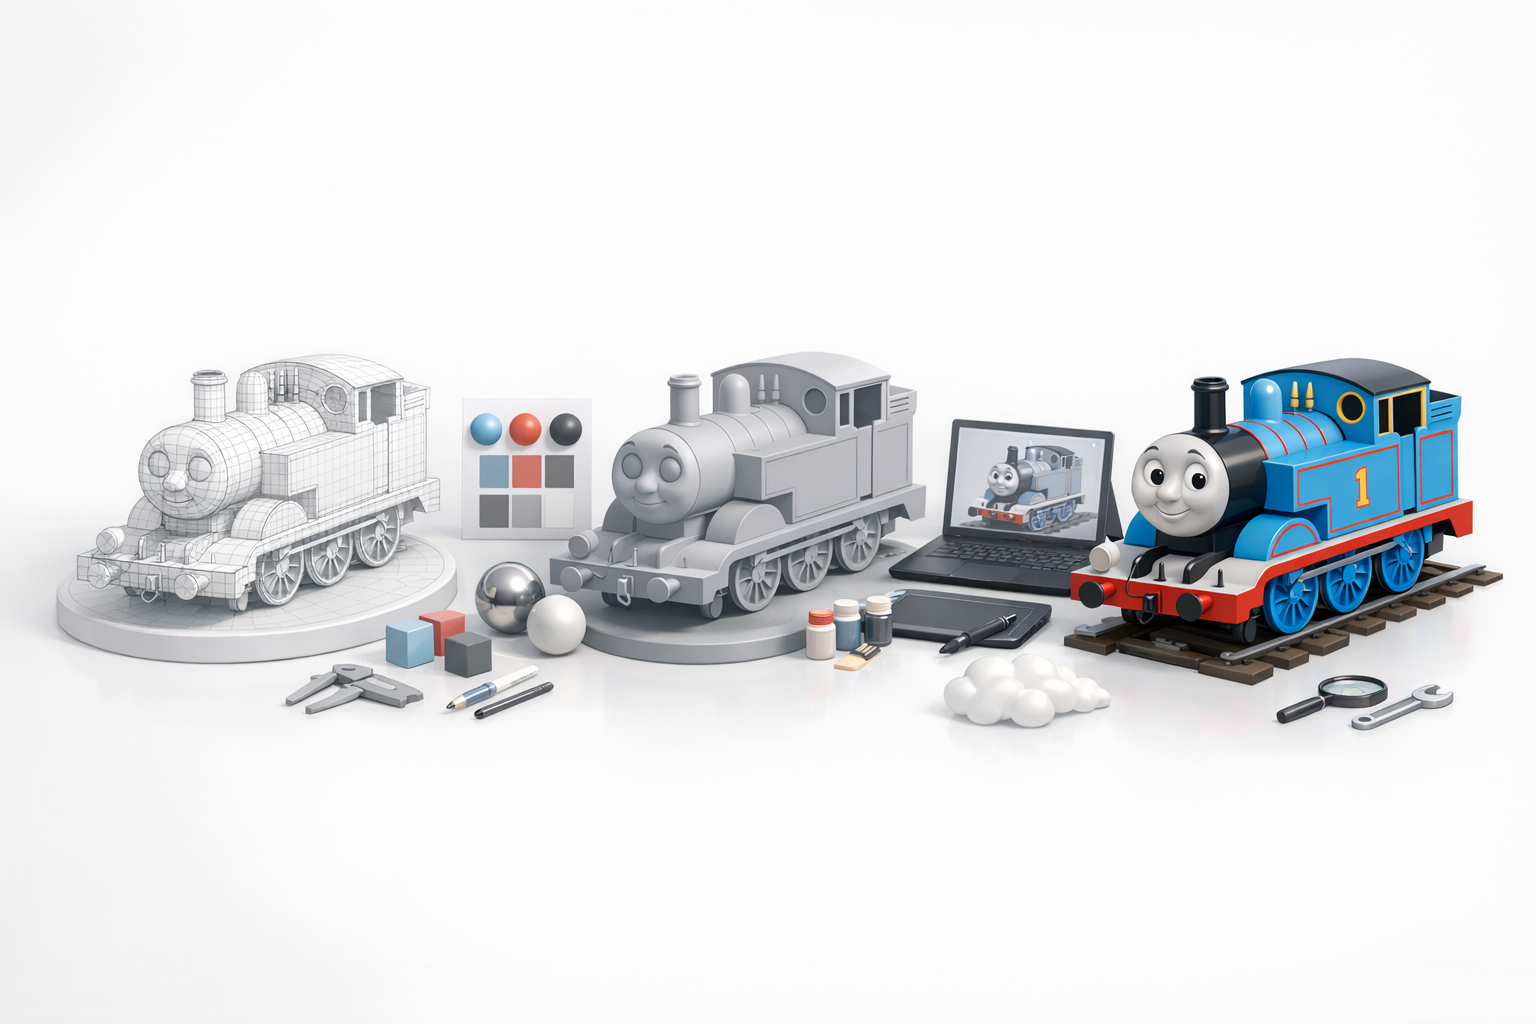
Applying Authentic Colors and Textures
For Thomas, color accuracy is crucial—his blue, red lining, and yellow number are iconic. I sample colors directly from official artwork and apply them as base materials. AI-powered texturing tools can generate stylized or realistic maps from references.
Steps I follow:
- Assign base materials to each part (blue body, black wheels, red lining)
- Use projection or smart UV mapping for clean texture layouts
- Overlay decals (numbers, logos) as separate texture layers
Tips for Realistic and Stylized Looks
Depending on the project, I may use procedural materials for subtle wear or stylized shaders for a cartoon look. Layering edge highlights or grime can add realism without heavy texture maps.
Tip:
Keep texture resolution consistent with your target platform to avoid wasted memory.
Retopology, Optimization, and Export
Ensuring Production-Ready Topology
Clean topology is non-negotiable. I use AI retopology tools to reduce poly count and ensure edge flow supports animation. I check for n-gons, overlapping faces, and non-manifold edges.
My optimization checklist:
- Quad-based topology for deformation
- Minimal polygons on flat surfaces
- Clean, contiguous UVs for easy texturing
Exporting for Games, Animation, or XR
Export settings depend on the target platform. I typically export in FBX or GLTF formats, making sure to include embedded textures and any rigging data.
Pitfall to avoid:
Forgetting to apply transforms or bake animations before export can cause issues in downstream pipelines.
Rigging and Animation Basics
Simple Rigging for Thomas the Tank Engine
Thomas doesn’t require a complex skeleton, but I add bones for the wheels, face, and body. Parenting wheels to a central axle makes animation straightforward.
Rigging steps:
- Add bones for each wheel (or use constraints for rotation)
- Simple bone for the face if animating expressions
- Parent all to a root bone for easy scene placement
Animating Wheels and Facial Expressions
Animating Thomas is mostly about wheel rotation and facial changes. I use basic rotation keyframes for the wheels and shape keys or blendshapes for facial expressions.
Tip:
Keep animations on separate layers or actions for easy reuse and editing.
Best Practices and Lessons Learned
Common Pitfalls and How I Avoid Them
- Inconsistent proportions: Always cross-check with references.
- Messy topology: Use auto-retopology, but inspect and manually clean problem areas.
- UV stretching: Test with checker maps before final texturing.
My Top Tips for Efficient 3D Modeling
- Leverage AI tools for repetitive or technical tasks—focus your time on creative decisions.
- Organize your scene and name objects clearly; it saves headaches later.
- Test exports early in your target engine or viewer to catch issues before final delivery.
By following this workflow and integrating AI-powered tools like Tripo, I consistently produce accurate, production-ready Thomas the Tank Engine models—fast. The key is balancing automation with hands-on refinement, always guided by solid references and clear project goals.


