Creating and Using 3D Models from The Division 2: Expert Workflow
Extracting and working with 3D models from The Division 2 can be a game-changer for artists, game developers, and technical enthusiasts. In my experience, the process involves understanding the source assets, careful extraction, and leveraging both manual and AI-powered tools to optimize and repurpose models for new projects. This article walks through my expert workflow—from asset extraction to production-ready models—highlighting best practices, pitfalls, and the role of AI to save time and boost quality. If you’re looking to streamline your 3D pipeline or integrate game assets into your own work, this guide is for you.
Key takeaways
- Know the legal and ethical boundaries before extracting or reusing game assets.
- Asset extraction requires the right tools and careful data cleaning.
- Retopology, texturing, and material setup are crucial for making assets production-ready.
- AI-powered platforms (like Tripo) can automate segmentation, retopology, and texturing.
- Quality control and efficiency depend on a balanced manual/AI workflow.
- Avoid common pitfalls by planning your pipeline and validating outputs at each stage.
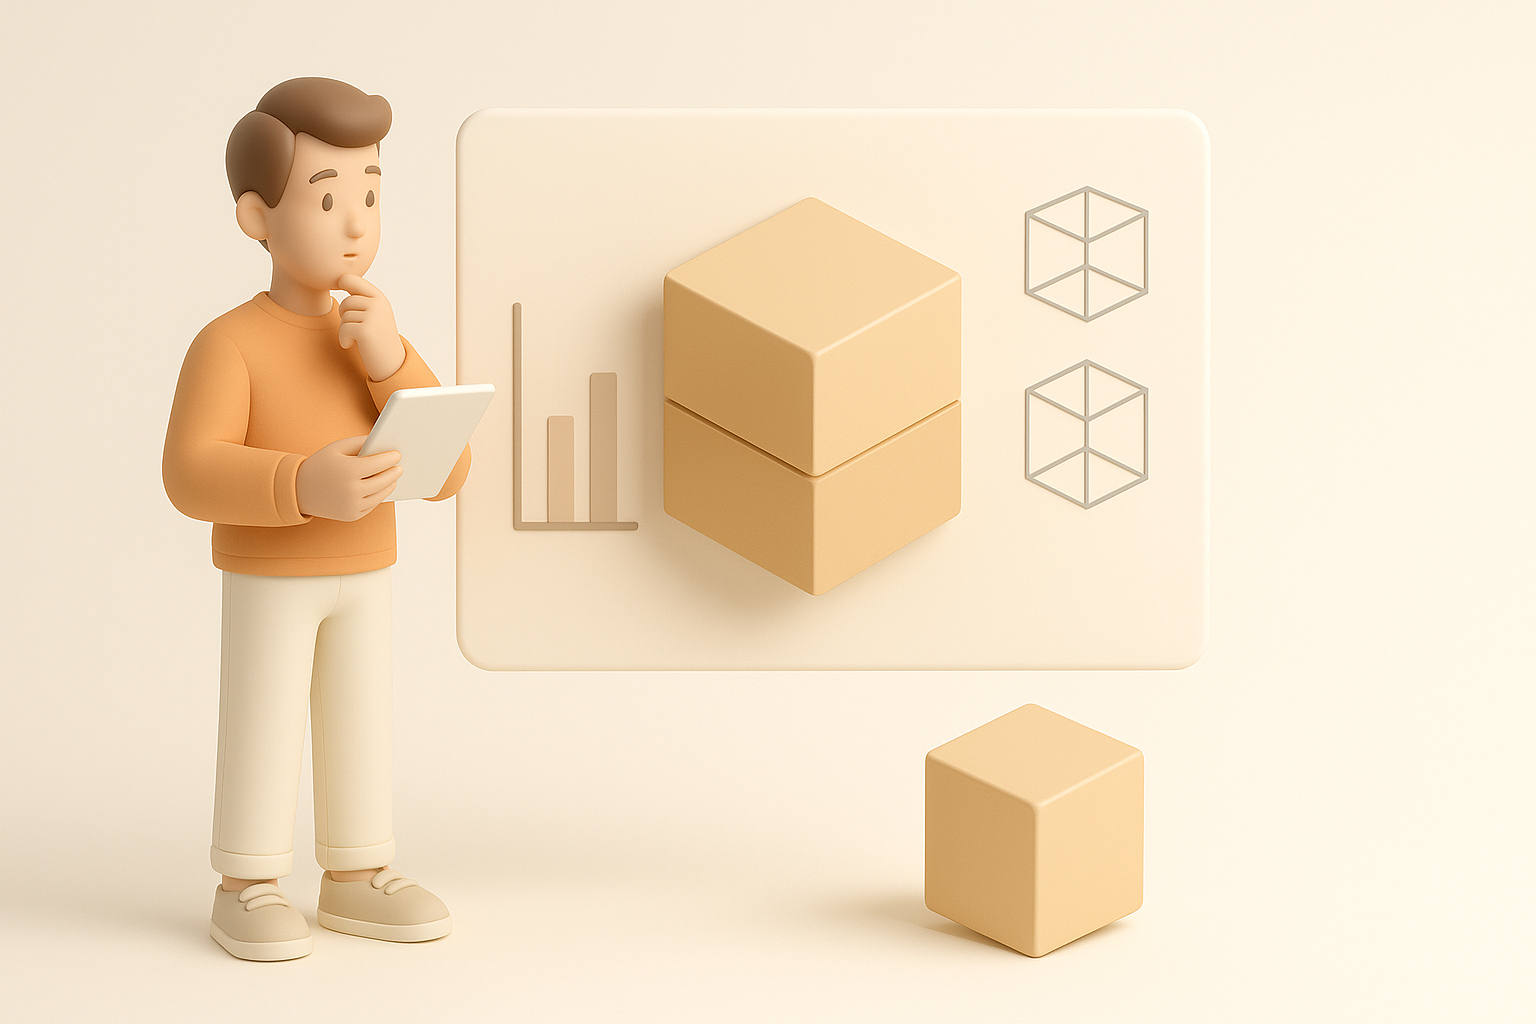
Understanding The Division 2 3D Models
Overview of in-game assets and formats
The Division 2 uses proprietary formats for its models, typically optimized for real-time rendering. These assets include characters, props, environments, and vehicles, usually stored in compressed archives. In my workflow, I first identify the file types (often .xbg, .xbm, or similar) and determine which extraction tools support them.
- Tip: Always start with a clear inventory of the asset types you need.
- Checklist: Map out file extensions, directory structures, and asset naming conventions.
Legal and ethical considerations
Before extracting or using assets from The Division 2, it’s essential to respect copyright and licensing. I never use extracted models for commercial projects without clear rights, and I always credit original creators when possible. For personal, educational, or modding use, check both the game’s EULA and local laws.
- Pitfall: Ignoring legal boundaries can lead to takedowns or legal action.
- Best practice: Document your intended use and keep sources transparent.
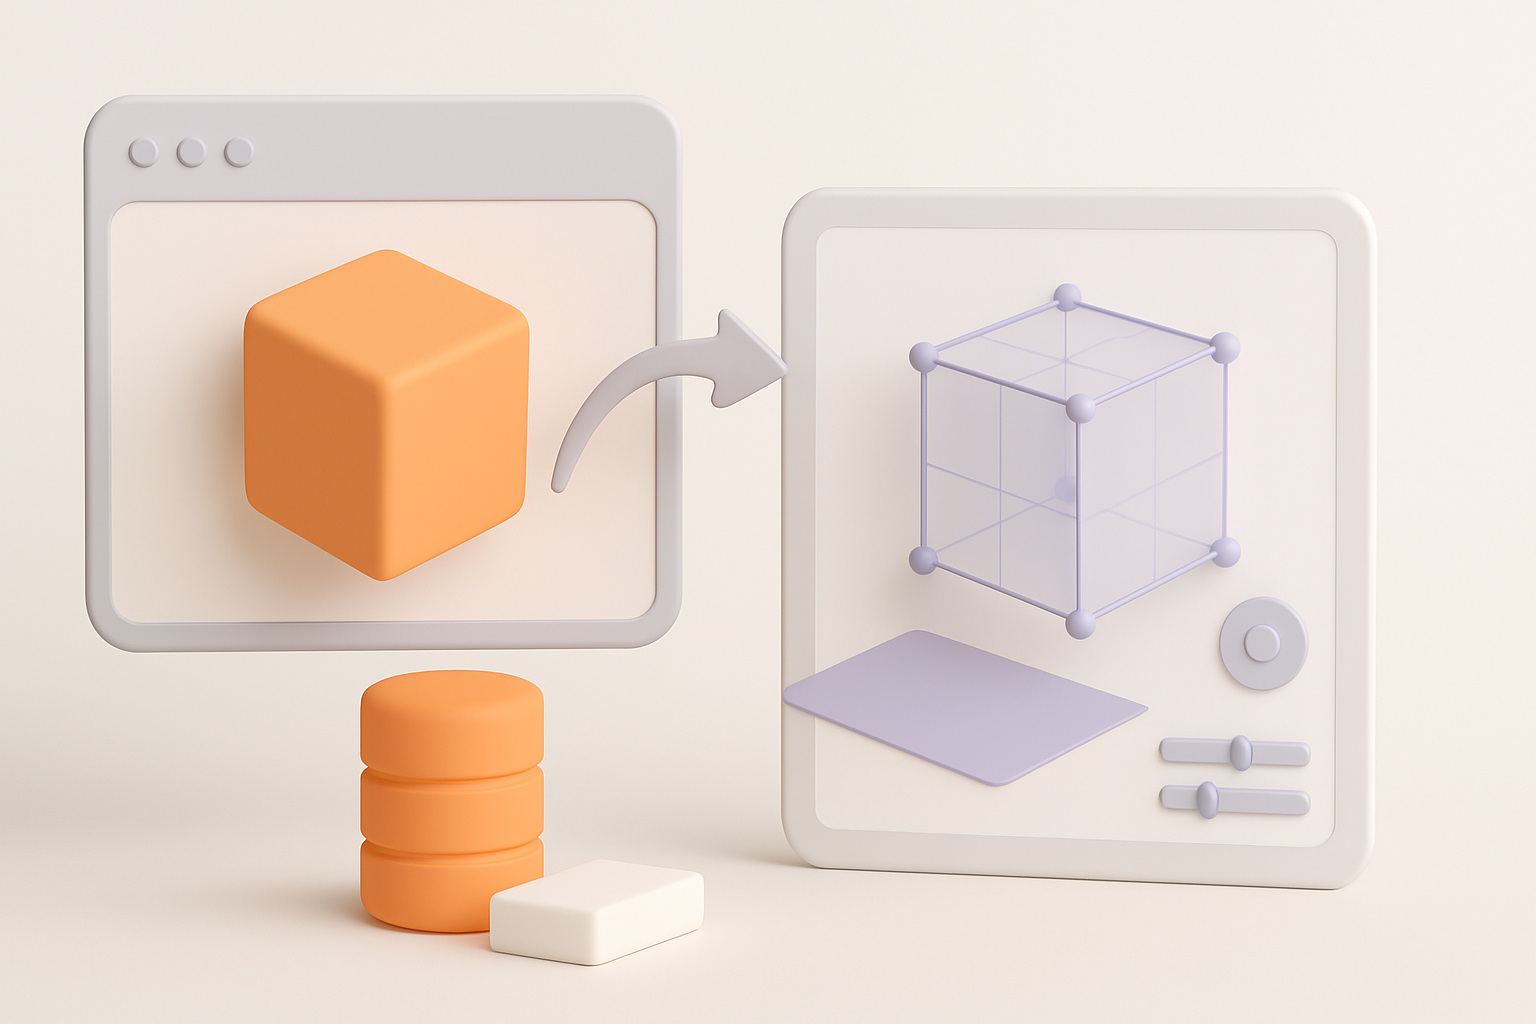
Extracting and Preparing 3D Models
Common extraction methods and tools
To extract models, I use specialized asset viewers or extractors designed for the game’s engine. These tools convert proprietary formats to standard ones like .obj or .fbx. The process usually involves:
- Locating the game’s asset archives.
- Using an extractor to browse and export models.
- Verifying export quality in a 3D viewer.
- Tip: Always scan extracted files for completeness—textures and meshes can be missing or corrupted.
Cleaning and converting model data
Raw extractions often contain unwanted geometry, broken UVs, or missing materials. I import the models into my 3D package (e.g., Blender or Maya) for cleanup:
- Remove duplicate or hidden geometry.
- Fix normals and UV maps.
- Convert to a preferred format for your pipeline.
- Checklist: Check mesh integrity, UVs, and texture assignments before moving forward.
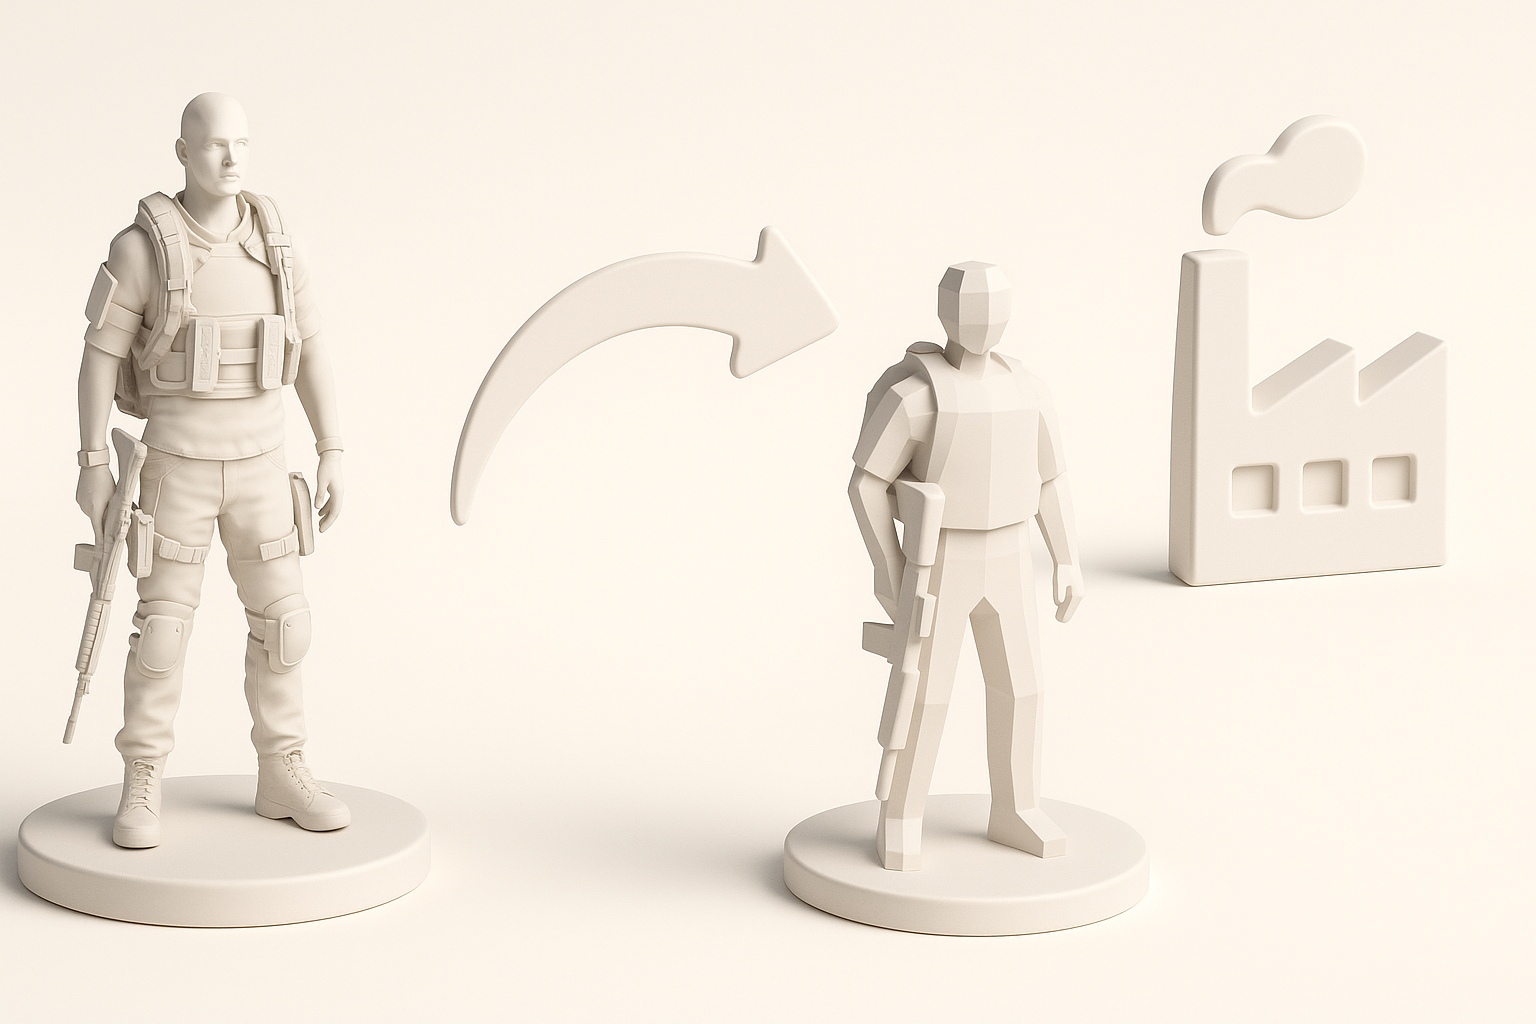
Optimizing The Division 2 Models for Production
Retopology and mesh refinement
Game assets are optimized for in-game performance, not for re-use. I typically retopologize the mesh to reduce polycount or improve edge flow. AI-assisted platforms like Tripo can automate this, but manual tweaks are often needed for high-precision work.
- Steps:
- Run auto-retopology where possible.
- Manually adjust edge loops and topology for animation or deformation.
- Tip: Keep a backup of the original mesh for reference.
Texturing and material workflows
Extracted textures may not align with standard PBR workflows. I use AI tools to generate or up-res missing maps, and manually reassign materials in my 3D software.
- Bake or recreate normal, roughness, and metallic maps if needed.
- Use reference images for accurate color and detail recreation.
- Pitfall: Relying solely on extracted textures can result in poor visual fidelity.
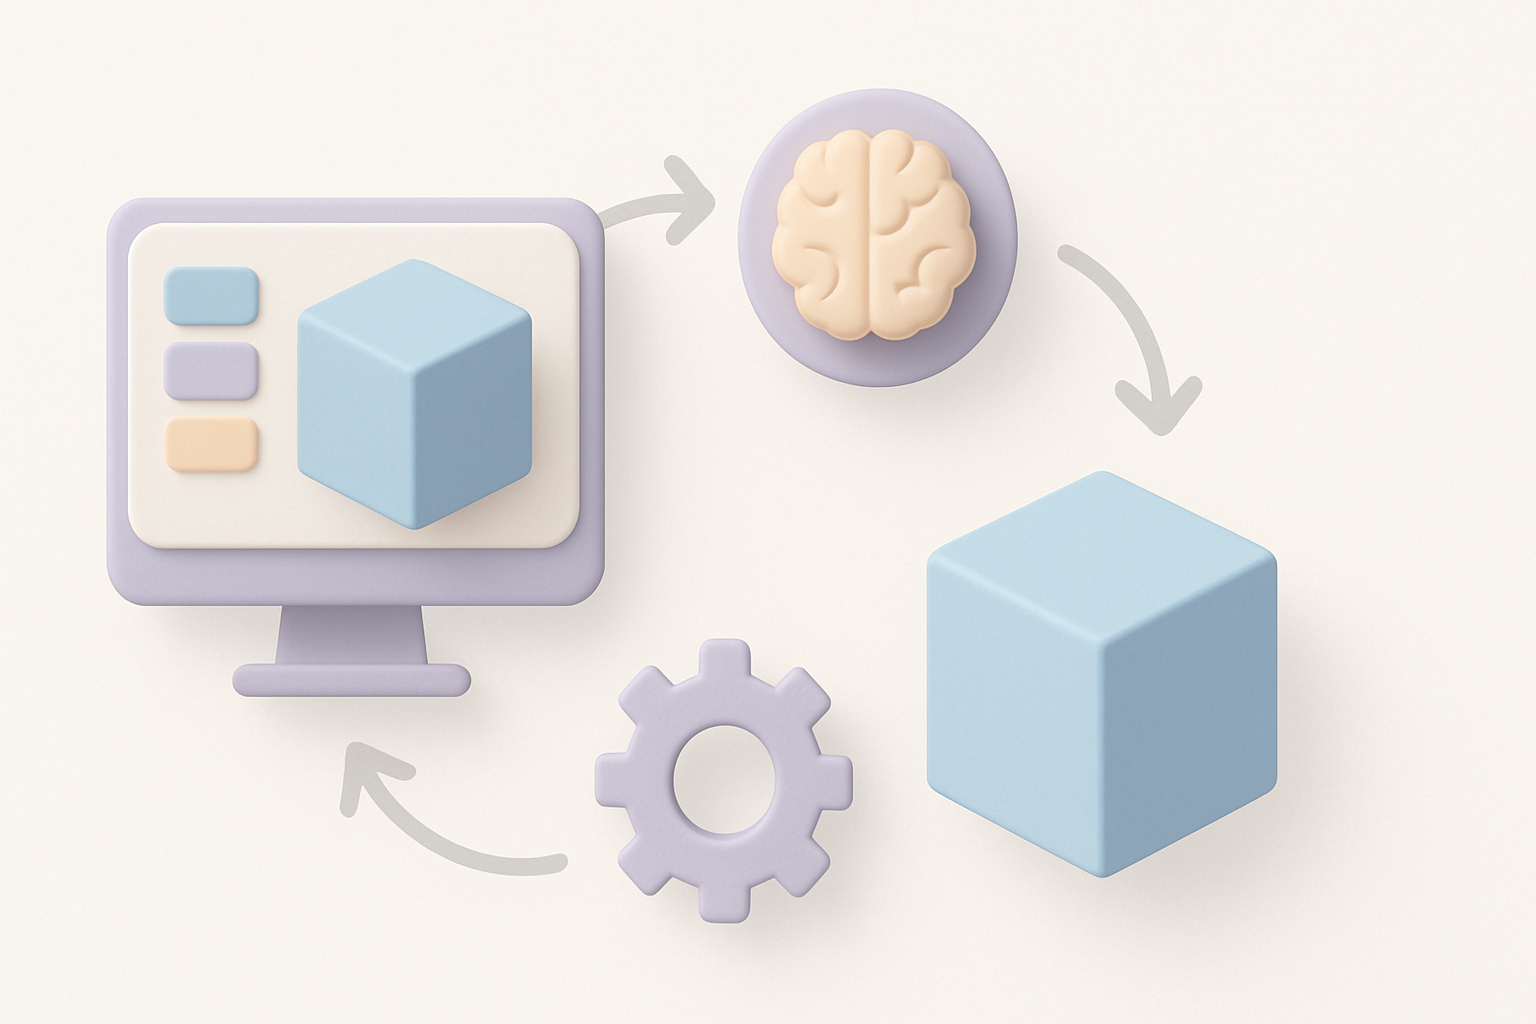
Integrating AI Tools for Enhanced 3D Workflow
How I use AI-powered platforms for segmentation and retopology
AI-powered platforms like Tripo have streamlined my workflow, especially for segmentation and retopology. I can upload raw meshes and quickly get clean, production-ready assets with minimal manual intervention.
- Process:
- Import the cleaned mesh.
- Use AI segmentation to isolate parts (e.g., clothing, gear).
- Run retopology for optimized geometry.
- Tip: Double-check AI outputs for errors—manual review is still crucial.
Tips for speeding up texturing and rigging with AI
AI tools can auto-generate textures based on references or sketches, and some platforms offer automated rigging. This saves hours, especially for prototyping or background assets.
- Use AI-generated textures as a base, then refine by hand.
- For rigging, test deformations in your animation package before production use.
- Checklist: Validate texture seams, rig weights, and animation compatibility.
Best Practices and Lessons Learned
What I do to ensure model quality and efficiency
Quality control is non-negotiable. I set up a checklist for every asset:
- Inspect mesh topology and UVs.
- Validate textures in-engine or in a PBR viewer.
- Test rigs and animations with sample poses.
- Tip: Automate repetitive checks where possible.
Common pitfalls and how to avoid them
- Incomplete extractions: Always verify that all model parts and textures are present.
- Over-reliance on automation: AI is a huge time-saver, but manual passes catch subtle errors.
- Ignoring scale and orientation: Standardize these during cleanup to avoid issues in your target engine.
- Best practice: Maintain clear documentation for each asset’s workflow.
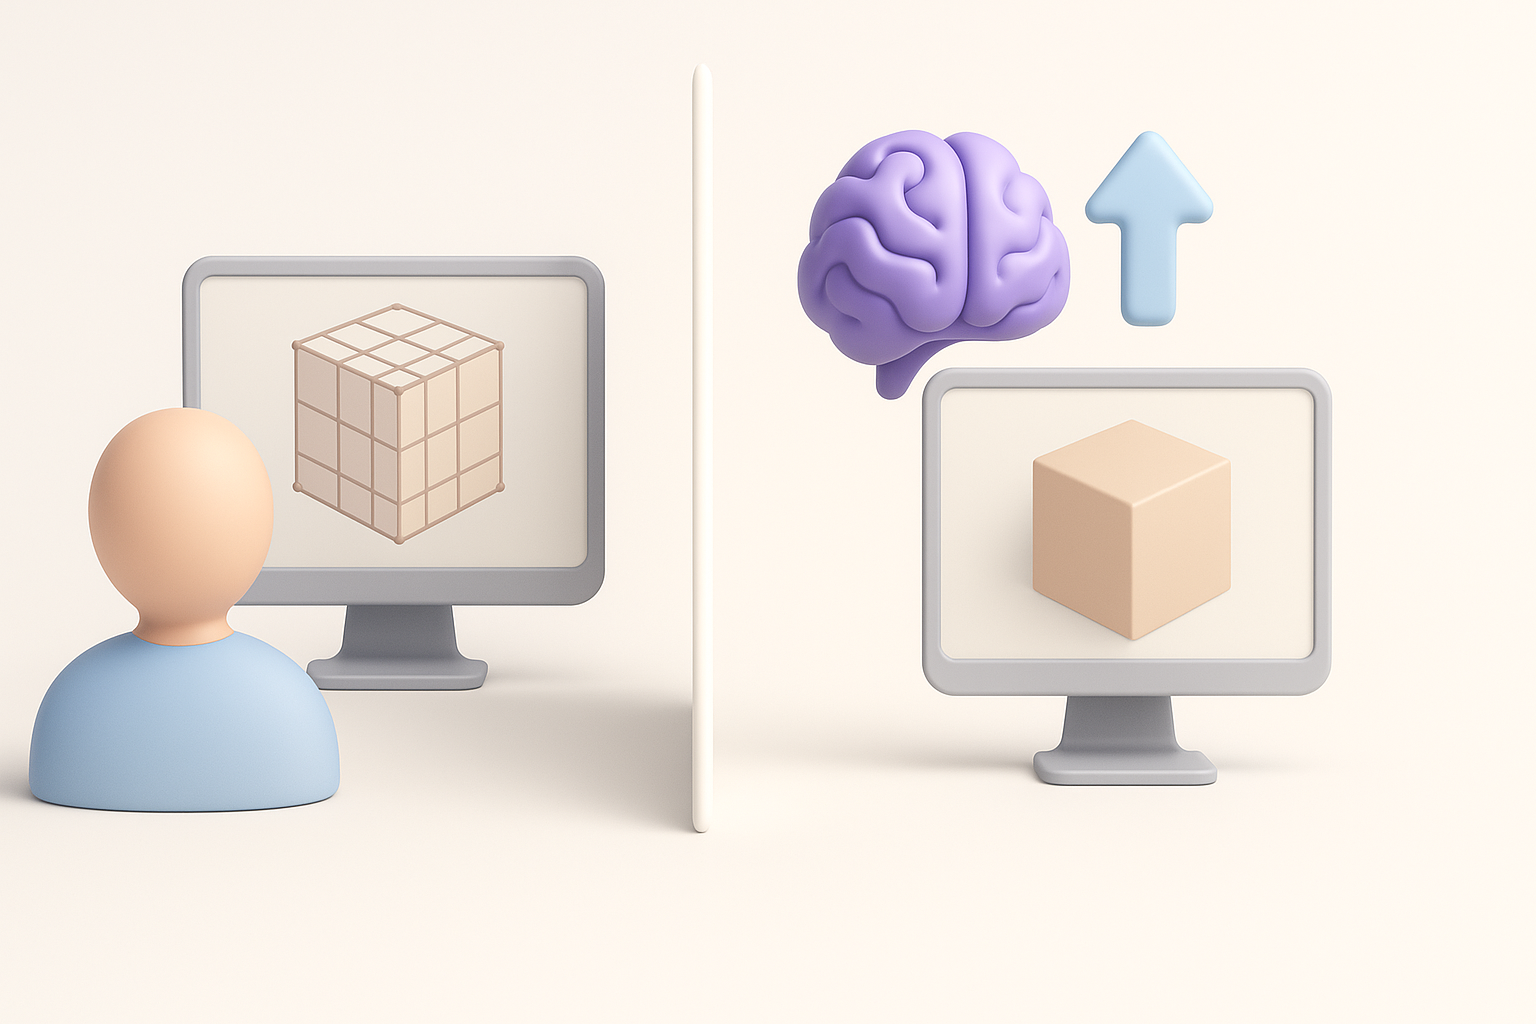
Comparing Manual and AI-Assisted 3D Model Creation
Pros and cons from my experience
Manual Workflow:
- Pros: Full control, better for complex or hero assets.
- Cons: Time-consuming, labor-intensive.
AI-Assisted Workflow:
- Pros: Fast, great for batch processing and iteration.
- Cons: May require manual cleanup, less control over details.
When to choose each approach
- Use manual workflows for key assets where quality and control are paramount.
- Lean on AI for background props, rapid prototyping, or when under tight deadlines.
- Tip: Hybrid workflows (manual + AI) deliver the best balance of speed and quality in my projects.
By following these expert workflows, you can efficiently extract, optimize, and repurpose The Division 2 models—leveraging both traditional and AI-powered tools to get production-ready results.


