Creating a RIA BBR 3.10 10rd Magazine Finger Extension 3D Model
Creating a production-ready 3D model of a RIA BBR 3.10 10rd magazine finger extension is a process I’ve refined through hands-on iteration. In this article, I’ll walk through my full workflow, from initial reference gathering to final export, highlighting practical tips and common pitfalls. Whether you’re a game artist, prop designer, or working in XR, you’ll find actionable steps for both manual and AI-assisted 3D creation. I’ll also share how I leverage AI-powered tools like Tripo to accelerate modeling and texturing without sacrificing quality.
Key takeaways
- Start with clear, accurate references and a plan for essential features.
- Use AI-powered tools for rapid base mesh generation, but always refine manually for fit and detail.
- Segment your workflow: block out, detail, retopologize, texture, and export.
- Optimize geometry and UVs early to avoid headaches later.
- Iterate often, test fit digitally, and prepare for production-readiness from the start.
- Integrate AI with traditional methods for the best balance of speed and control.
Overview and Key Considerations
Executive Summary: What to Expect
Modeling a finger extension for the RIA BBR 3.10 10rd magazine requires accuracy, ergonomics, and production-ready geometry. My approach blends AI-driven tools with hands-on refinement, ensuring both speed and precision. You’ll learn how to structure your workflow, avoid common mistakes, and deliver a model that’s ready for use in games, visualization, or prototyping.
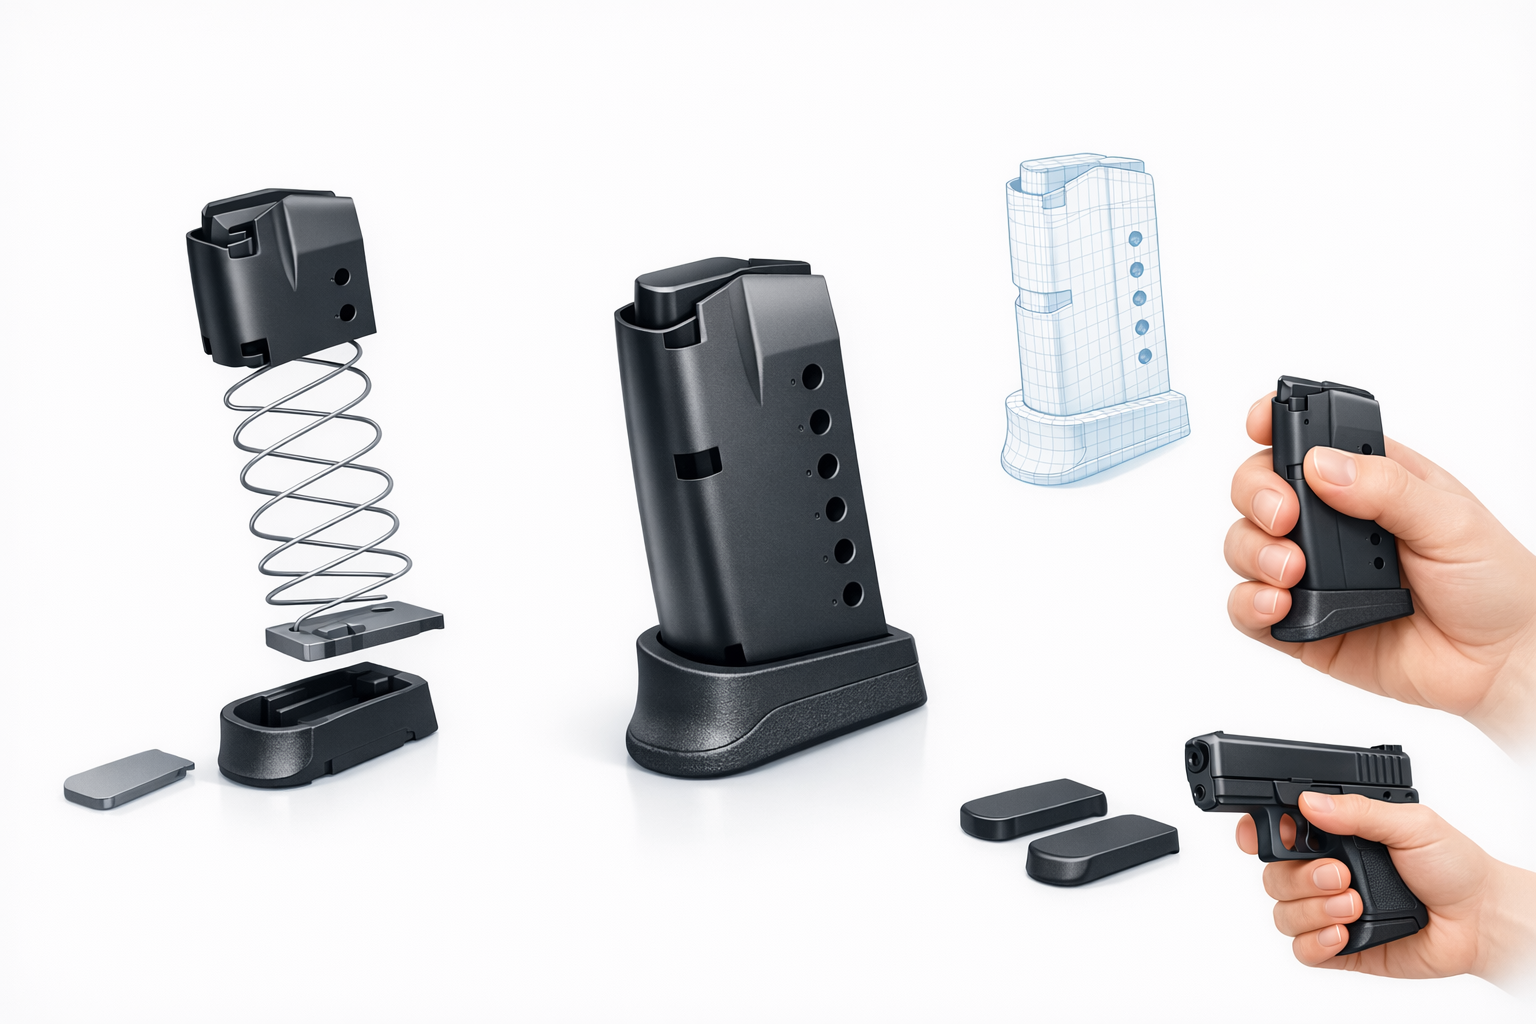
Essential Features of the 10rd Magazine Finger Extension
Before opening any 3D software, I clarify the core requirements:
- Ergonomic fit: The extension must align perfectly with the magazine base and provide comfortable finger support.
- Structural strength: Key for practical use or accurate simulation.
- Detail level: Balancing polygon count with visual fidelity, especially for real-time applications.
- Mounting features: Such as latches or grooves that interact with the magazine.
I always confirm these points with reference images, user feedback, and technical drawings if available.
My Workflow for 3D Modeling the Finger Extension
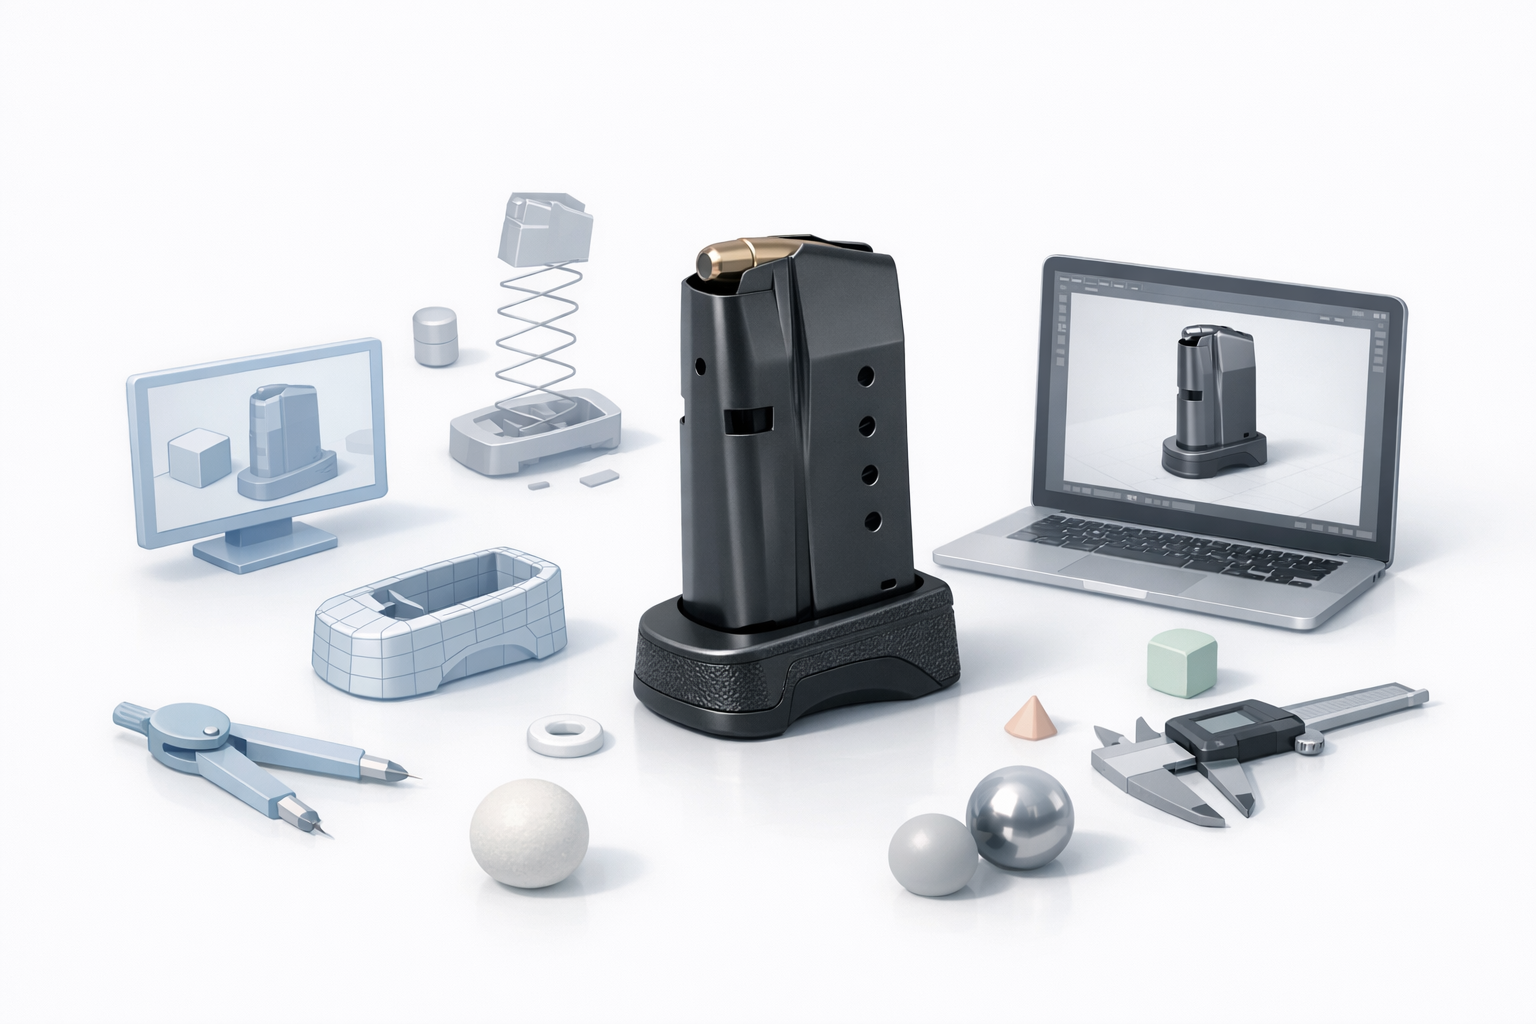
Reference Gathering and Initial Planning
I start by collecting as many high-quality references as possible:
- Photos: Multiple angles, close-ups, and in-use shots.
- Technical specs: Dimensions, tolerances, and any available CAD data.
- User feedback: Insights on comfort or fit issues.
Checklist:
- Front, side, and top views
- Measured dimensions
- Notes on ergonomic requirements
This planning phase saves time later by reducing guesswork during modeling.
Choosing the Right Tools and Software
For this type of part, I use a combination of:
- AI-powered platforms (like Tripo): For rapid base mesh creation from images or sketches.
- Traditional DCCs: For detailed modeling, retopology, and UV work.
- CAD tools: If exact tolerances are critical.
What I’ve found: AI tools are ideal for quick iterations and getting a solid starting point, but manual refinement is always necessary for production-readiness.
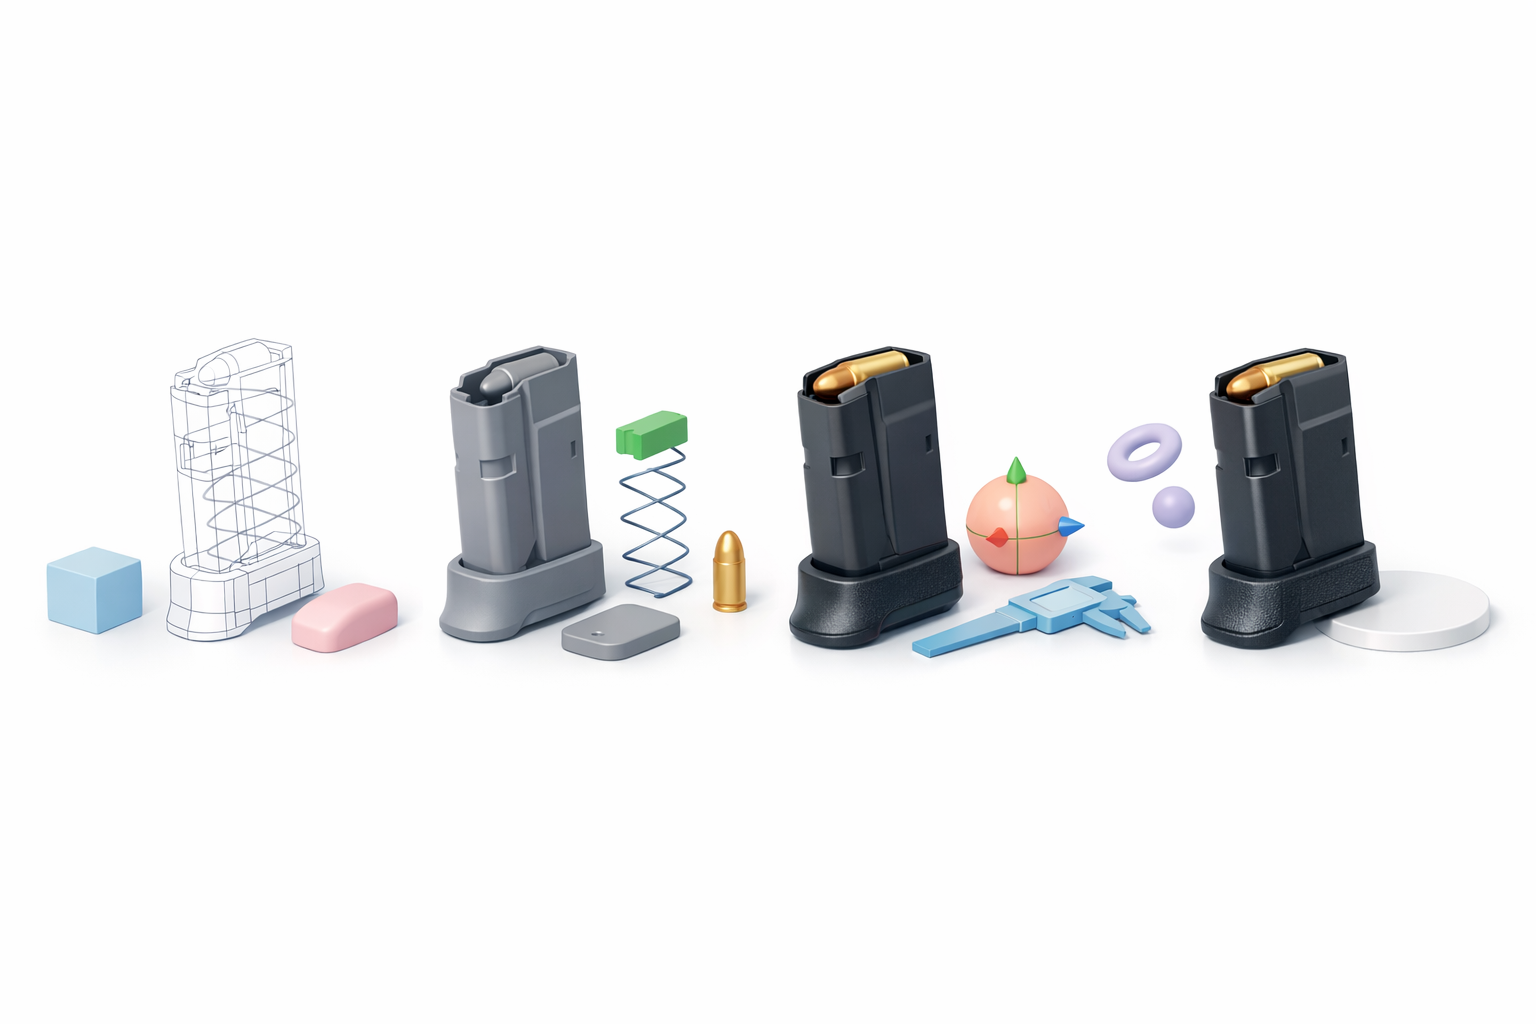
Step-by-Step 3D Creation Process
Blocking Out the Base Shape
I usually begin by generating a rough base mesh:
- Using Tripo: I upload a photo or sketch, set basic parameters, and let the AI generate an initial mesh.
- Manual blocking: If the shape is complex or needs precise alignment, I start with simple primitives (cubes, cylinders) and adjust scale/position.
Steps:
- Import reference images into the viewport.
- Align base mesh to references.
- Adjust proportions and major surfaces.
Tip: Don’t over-detail at this stage—focus on silhouette and fit.
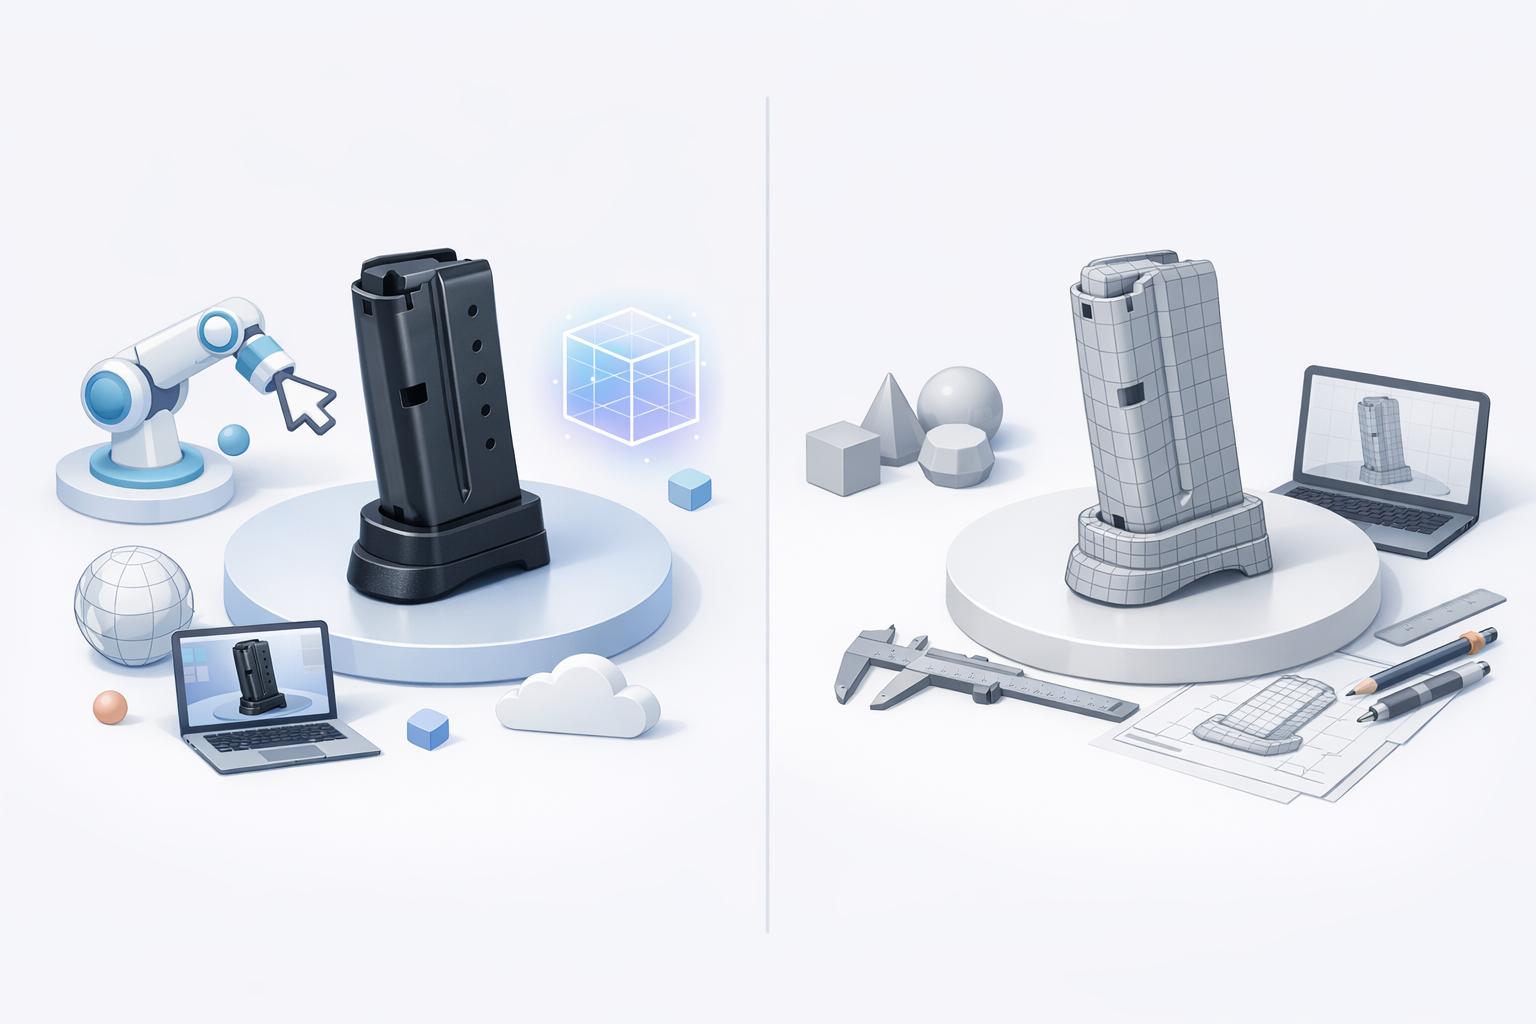
Detailing, Retopology, and Optimization
Once the base is in place, I move to detailing:
- Add ergonomic contours: Chamfers, fillets, and grip textures.
- Retopologize: Using built-in tools or manual methods for clean, quad-based topology.
- Optimize geometry: Remove unnecessary faces, especially on hidden or flat areas.
Pitfalls to avoid:
- Overcomplicating the mesh before retopology.
- Neglecting edge flow around ergonomic features.
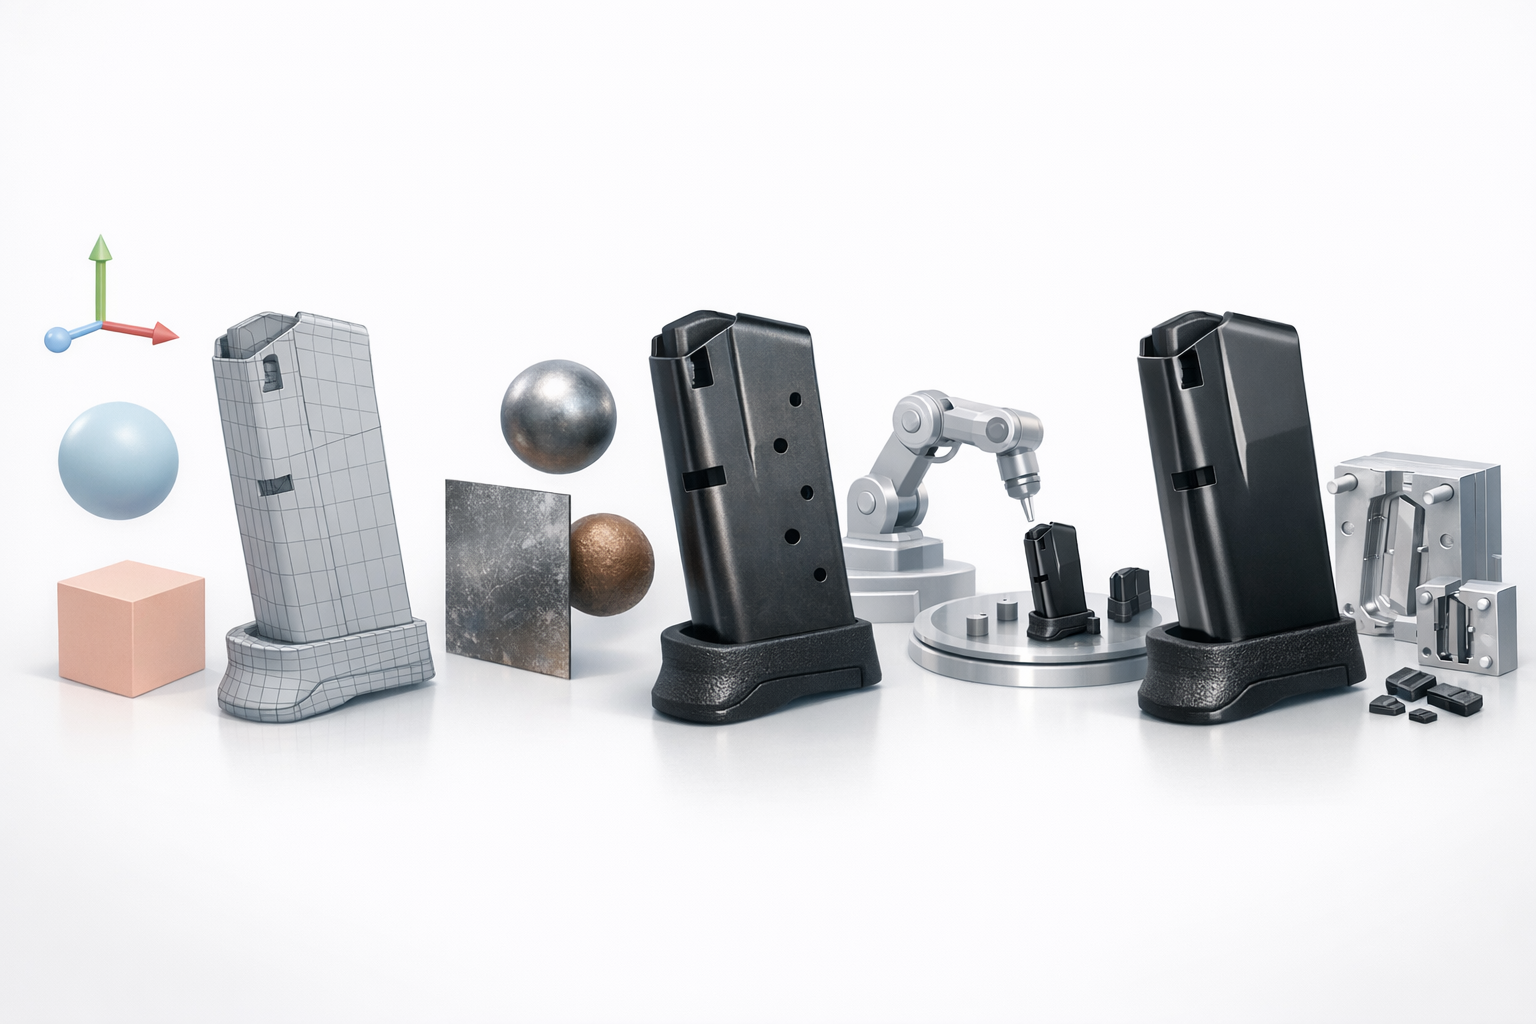
Texturing, Export, and Production-Readiness
Applying Realistic Textures and Materials
I use procedural and image-based methods:
- AI texturing: Tripo’s tools can quickly generate base textures from references.
- Manual painting: For wear, grip details, and logo placement.
Checklist:
- UVs unwrapped with minimal stretching
- Materials assigned (plastic, rubber, metal as needed)
- Texture maps exported (albedo, normal, roughness)
Export Settings and File Preparation
Before export, I check:
- Scale and orientation: Consistent with target platform (e.g., millimeters for CAD, meters for game engines).
- File format: OBJ or FBX for general use; STL for 3D printing.
- Naming conventions: Clear and descriptive for easy asset management.
Tip: Always test-import your file into the target application before final delivery.
Best Practices and Lessons Learned
Common Challenges and How I Overcome Them
- Fit issues: I simulate assembly digitally and, if possible, 3D print a draft.
- Topology problems: Regularly check wireframe and fix poles/triangles early.
- Texture stretching: Use checker patterns to spot UV issues before painting.
Tips for Efficient Iteration and Revision
- Save incremental versions: Quick rollbacks save hours.
- Automate repetitive steps: Use scripts or AI tools for retopology and UVs.
- Request feedback early: Share drafts with stakeholders to catch issues before final detailing.
Comparing AI-Powered and Manual Workflows
When to Use AI Tools for 3D Modeling
In my experience, AI is best for:
- Rapid prototyping from sketches or photos.
- Generating base meshes and textures.
- Automating segmentation and retopology.
I still rely on manual methods for:
- Precision modeling (tight tolerances, engineering parts).
- Custom details and final polish.
Integrating AI Workflows with Traditional Methods
My hybrid approach looks like this:
- Use AI to create the base mesh and initial texture.
- Import into DCC software for refinement, retopology, and UVs.
- Apply manual tweaks, test fit, and finalize for production.
Best practice: Treat AI as an accelerator, not a replacement—always review and refine outputs before delivery.
By following this workflow, I consistently deliver accurate, production-ready 3D models for RIA BBR 3.10 10rd magazine finger extensions—faster and with fewer headaches. Whether you’re using AI-powered tools or working by hand, the key is a structured process, early iteration, and attention to detail.


