Creating and Using Rat 3D Models: Expert Workflow & Tips
Crafting production-ready rat 3D models is now faster and more accessible thanks to AI-powered platforms and evolved workflows. In my experience, the blend of intelligent automation and hands-on artistry delivers lifelike results for games, film, XR, and design projects. This guide distills my best practices—from reference gathering to final animation—so creators can focus on creativity, not complexity. If you need realistic, animated rat models for any pipeline, here’s how I approach it efficiently and reliably.
Key takeaways:
- Accurate anatomical references are essential for realism.
- AI-driven tools accelerate prototyping and reduce manual steps.
- Retopology and texturing workflows impact animation quality.
- Rigging and animation require careful attention to natural movement.
- Optimizing models for performance is crucial in interactive contexts.
- Troubleshooting proportions early avoids downstream issues.
Executive Summary: Key Insights on Rat 3D Models
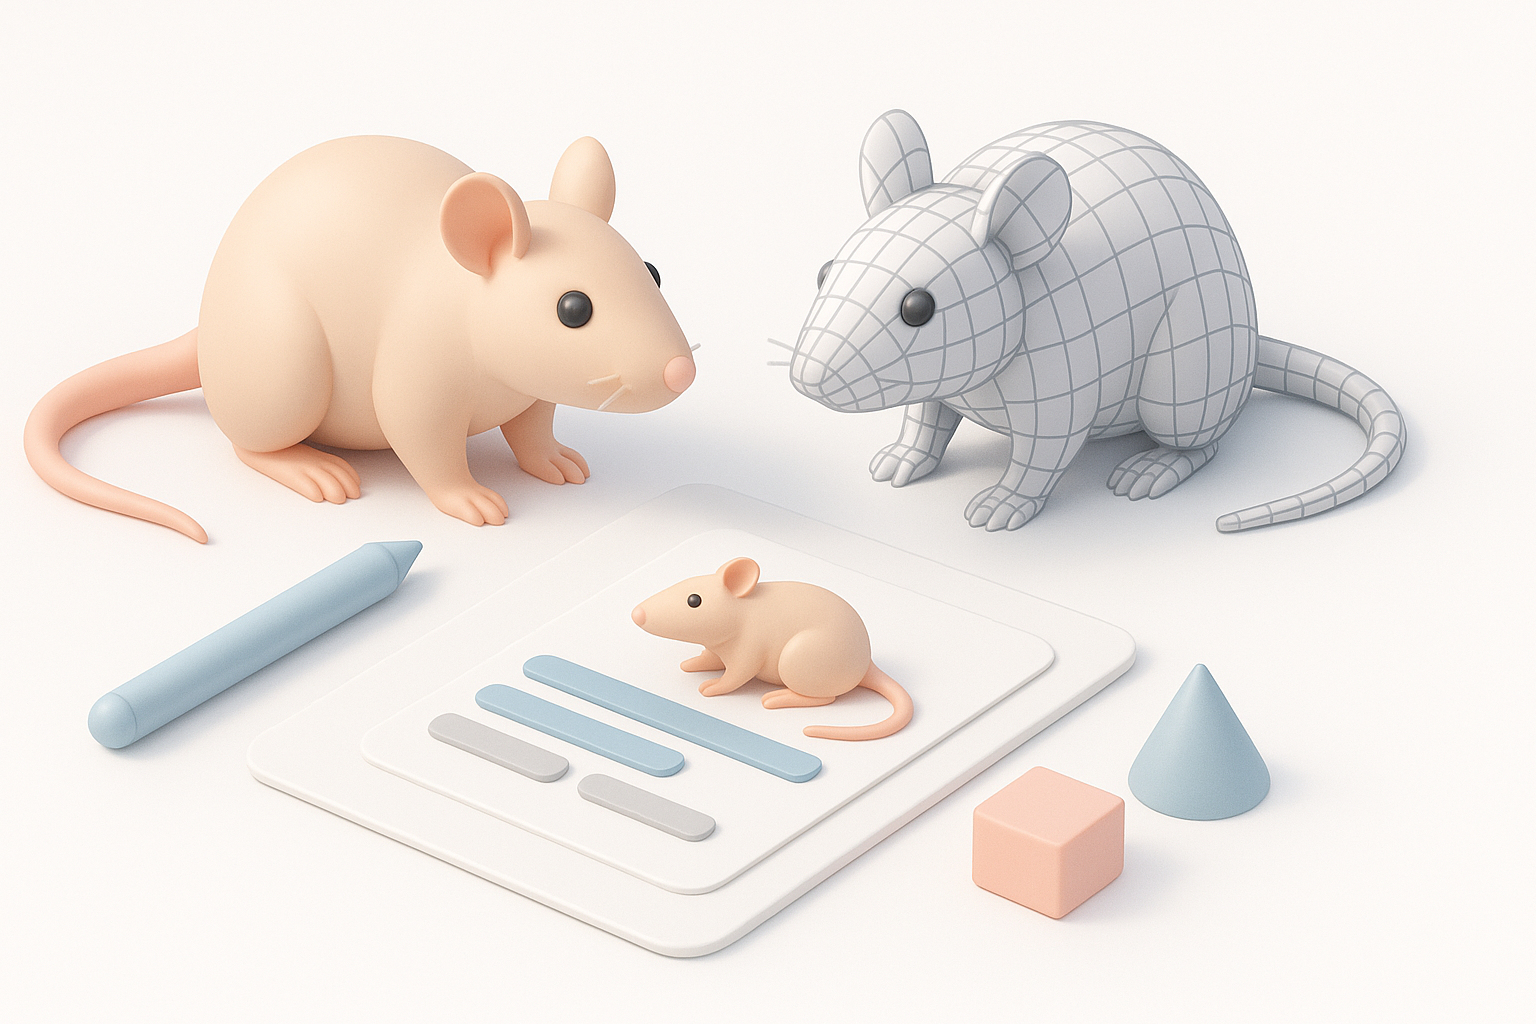
Why 3D rat models matter in creative industries
Rat 3D models are surprisingly versatile—used in everything from game characters and cinematic creatures to scientific visualization and XR experiences. Their anatomical complexity and expressive potential make them a valuable asset for storytelling and simulation.
Top takeaways from my hands-on experience
- Realism starts with solid reference and awareness of rat anatomy.
- Fast iteration using AI-powered platforms lets me test concepts before committing.
- Integration into pipelines (games, film, XR) requires careful optimization and export settings.
Best Practices for Designing a Realistic Rat 3D Model
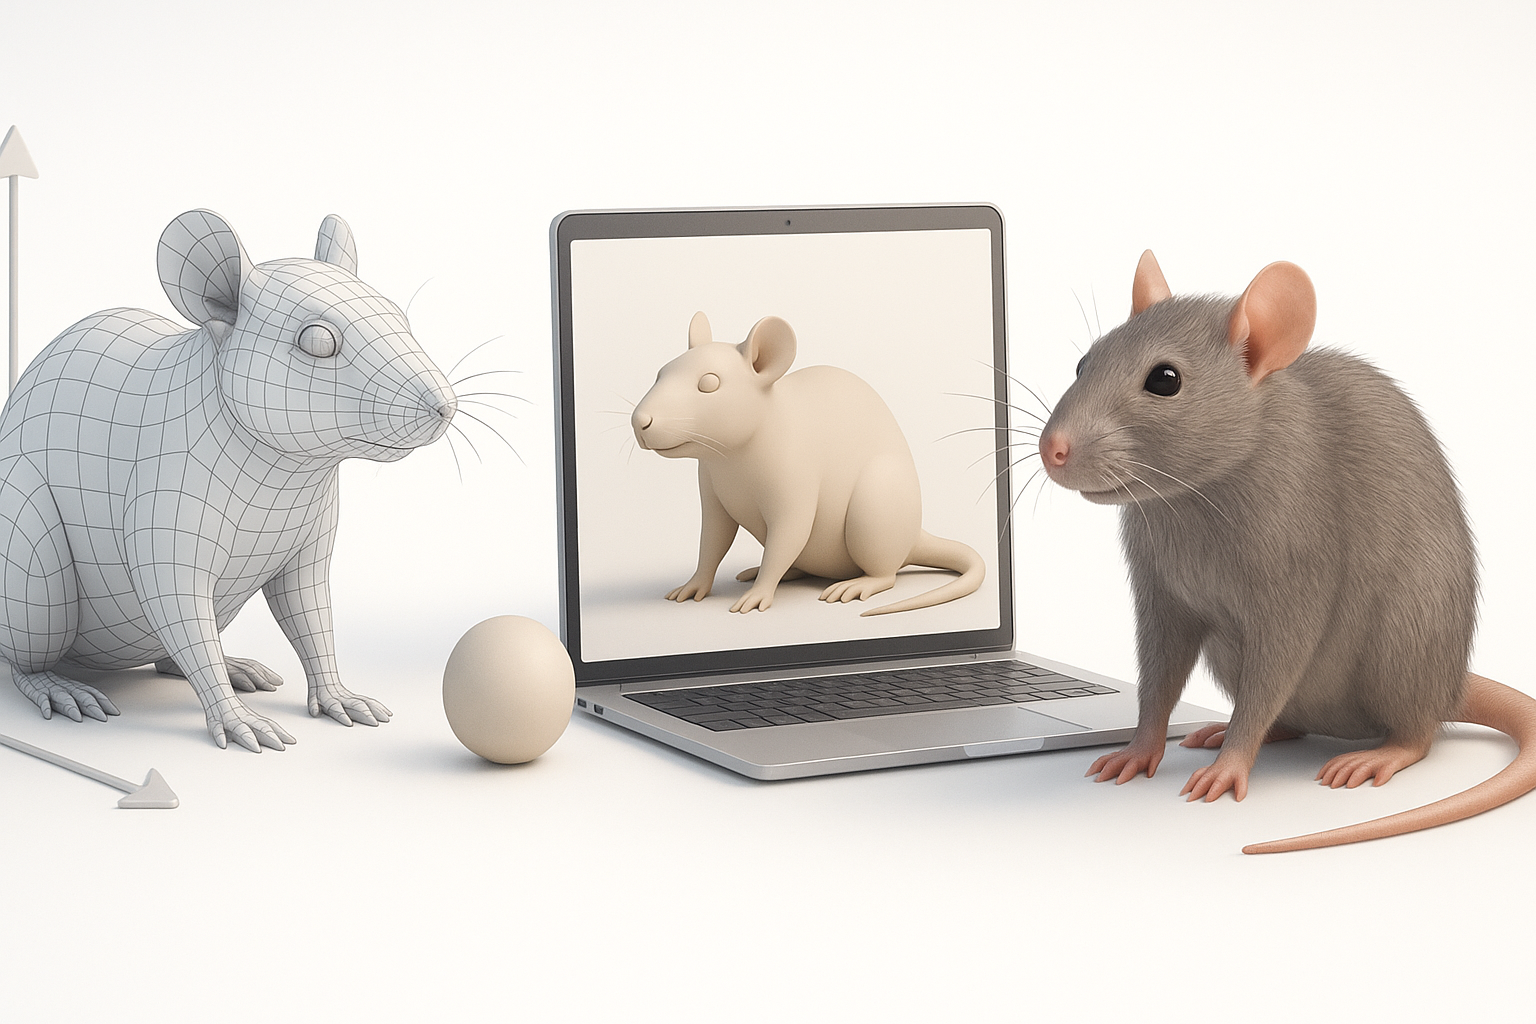
Reference gathering and anatomical accuracy
I always start by collecting high-resolution images and anatomical diagrams of rats from multiple angles. This ensures my models have correct proportions, muscle structure, and fur direction. Sketches and mood boards help clarify style—whether realistic or stylized.
Mini-checklist:
- Gather at least 10–15 reference images (side, top, close-ups).
- Note key anatomical landmarks: skull shape, limb joints, tail structure.
- Decide on stylization early to guide modeling choices.
Modeling techniques I rely on for lifelike results
For organic creatures like rats, I use sculpting tools and subdivision modeling. I block out the main forms, then refine details such as ears, paws, and fur tufts. AI-powered platforms can generate base meshes quickly, which I tweak for anatomical accuracy.
Pitfalls to avoid:
- Overlooking subtle curves in the spine and limbs.
- Neglecting the unique proportions of rat heads and tails.
Step-by-Step Workflow: From Concept to Production-Ready Rat Model
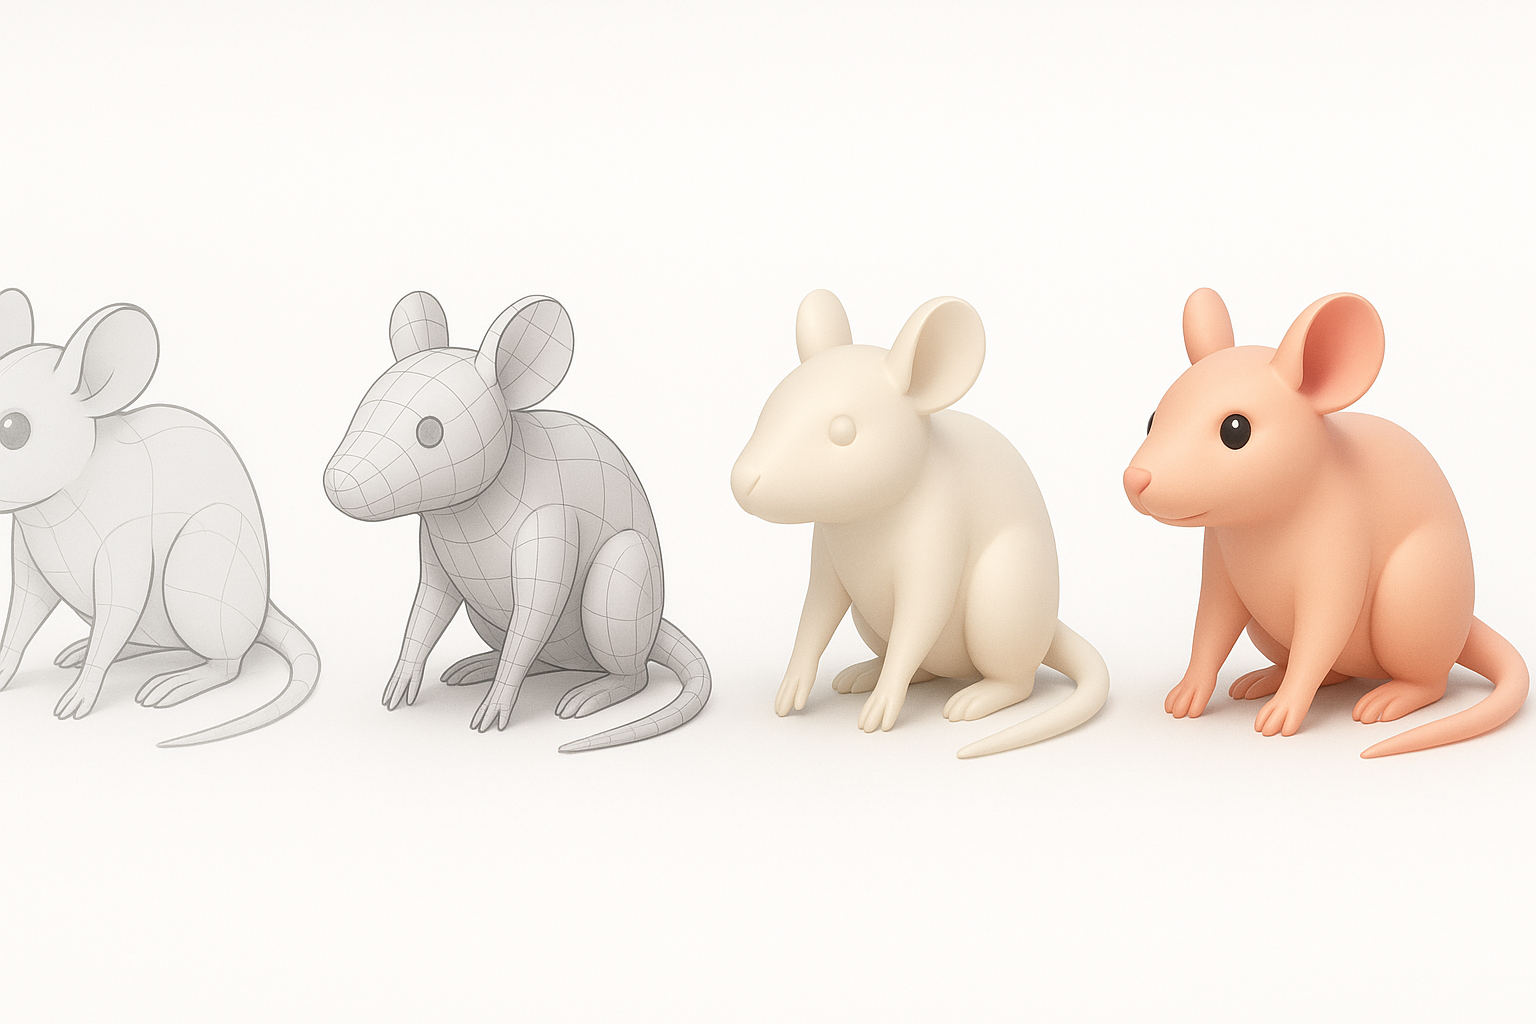
Using AI-powered platforms for rapid prototyping
I input text prompts or sketches into AI-driven platforms to generate a base mesh. This saves hours compared to manual blocking. The auto-segmentation and retopology tools help produce clean, editable geometry.
Workflow steps:
- Describe rat style and pose in a text prompt (e.g., "realistic brown rat, alert stance").
- Review and refine generated mesh for anatomical correctness.
- Export for further sculpting or detailing.
Retopology, texturing, and preparing for animation
Once the base mesh is ready, I use automatic retopology to ensure clean edge flow—especially around joints. For texturing, I rely on smart UV unwrapping and AI-assisted material generation to get realistic fur and skin. Preparing for animation means checking mesh deformation and adding key loop geometry.
Tips:
- Always test mesh deformation with basic rigging before finalizing topology.
- Use layered textures for skin, fur, and subtle coloration.
Texturing, Rigging, and Animating Your Rat Model
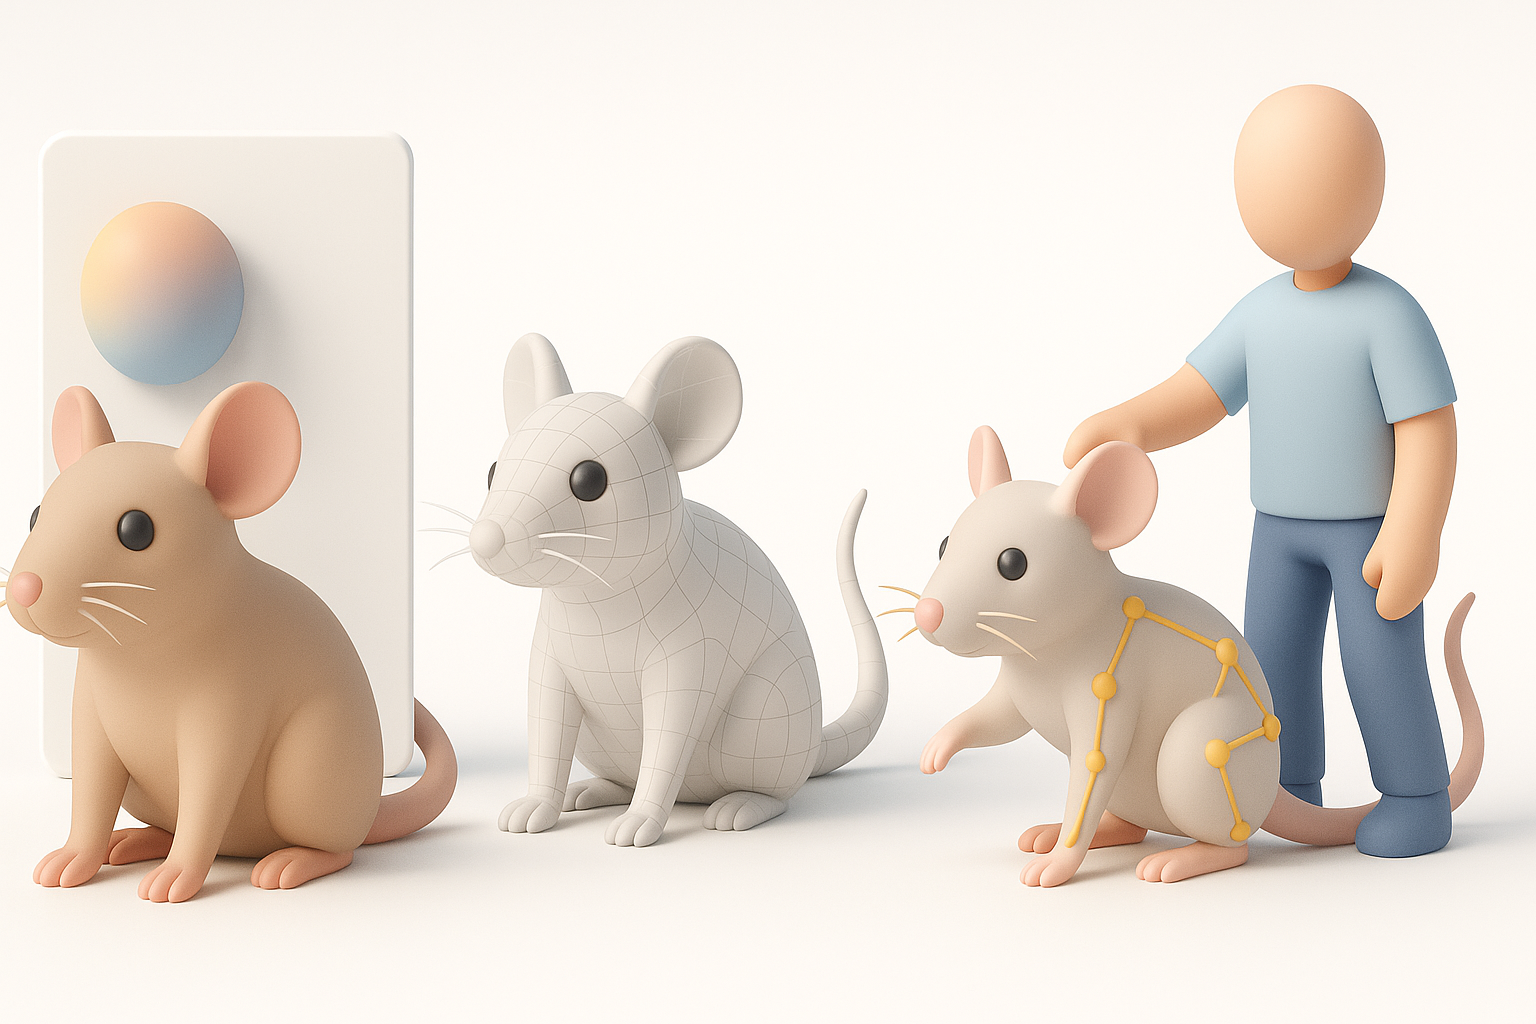
Efficient texturing workflows and material choices
I prefer procedural fur shaders and layered textures for speed and realism. AI-generated textures can be a strong starting point, but I often tweak color maps and normal maps to match references.
Texturing checklist:
- Base color: Match reference fur colors.
- Normal/displacement: Add subtle skin and fur detail.
- Roughness: Adjust for oily nose, matte fur.
Rigging and animation tips for natural movement
Rat locomotion is distinctive—quick, agile, with flexible tails. I set up a basic skeleton, then add extra bones for tail and whisker control. Weight painting is crucial for smooth deformations, especially at the shoulders and hips.
Animation tips:
- Use reference videos for walk/run cycles.
- Add subtle secondary motion to tail and whiskers.
- Test with simple animations before exporting.
Comparing Tools and Methods for Rat 3D Model Creation
When to use AI-driven tools versus manual modeling
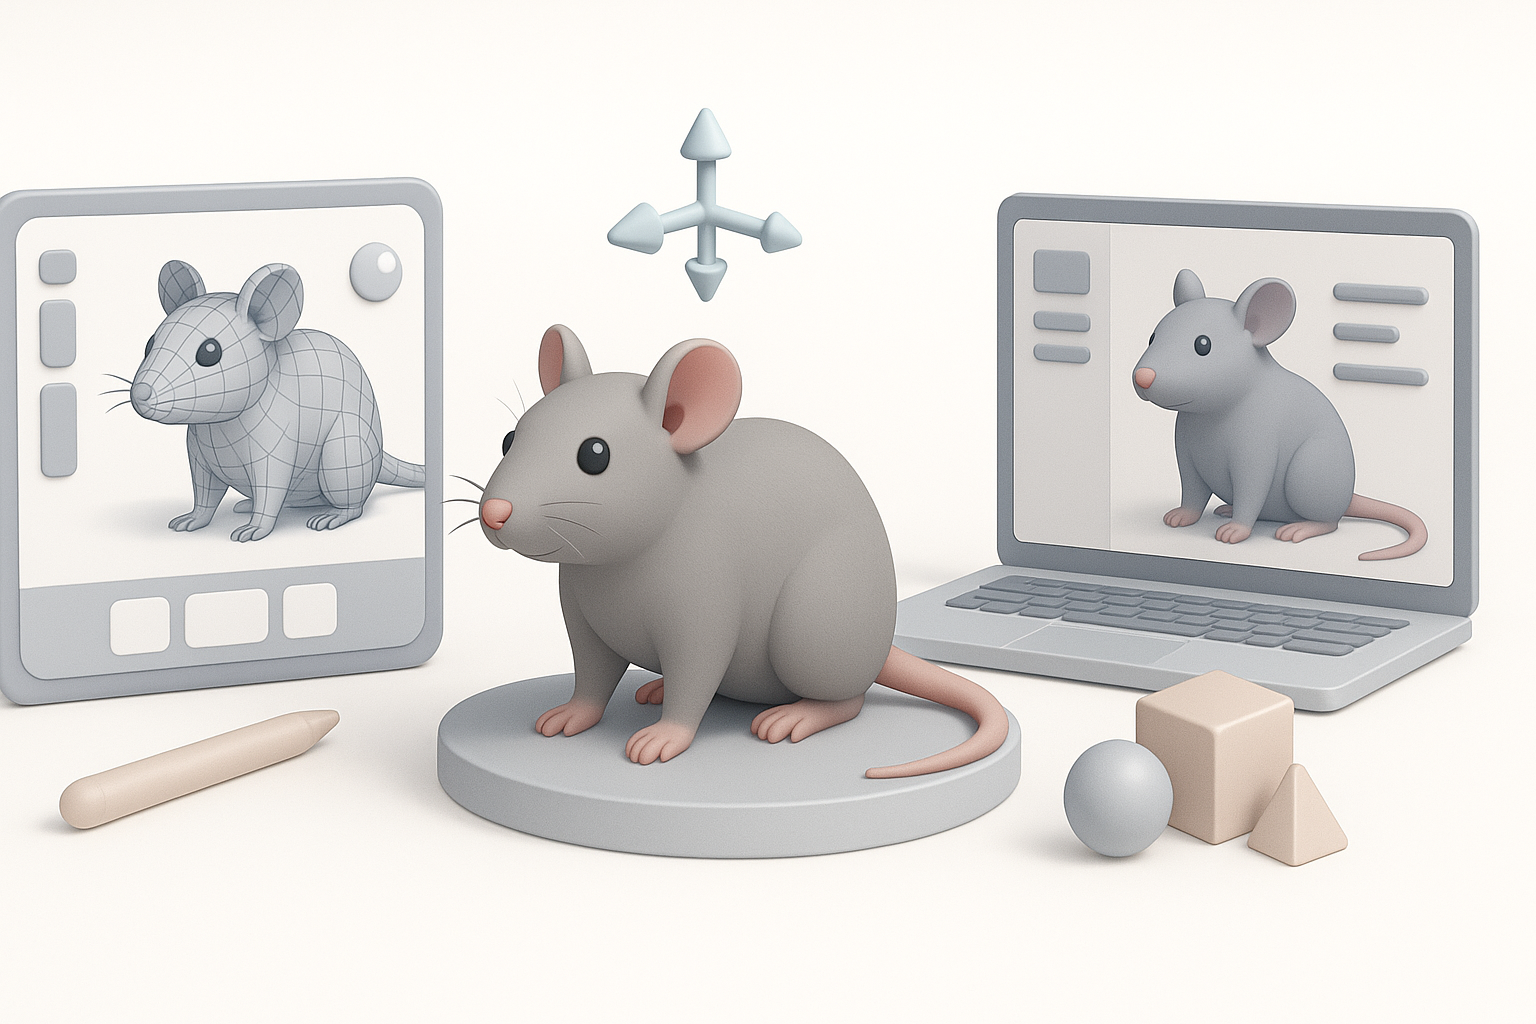
I use AI-driven platforms for initial prototyping and base mesh creation, especially when speed is key. Manual modeling remains essential for fine-tuning anatomy and adding custom details. For stylized rats, I often sculpt by hand to achieve unique proportions.
Decision guide:
- Use AI for rapid iteration and base mesh.
- Switch to manual for detail, stylization, or custom topology.
Integrating models into different pipelines (games, XR, film)
Export formats and optimization settings vary by pipeline. For games, I reduce poly count and bake textures. For film and XR, I keep higher detail and ensure compatibility with rendering engines.
Integration tips:
- Test imports in target engine early (Unity, Unreal, etc.).
- Adjust LODs and texture resolution for performance.
- Use standard rigging conventions for animation compatibility.
Common Challenges and My Solutions in Rat 3D Modeling
Troubleshooting anatomy and proportions
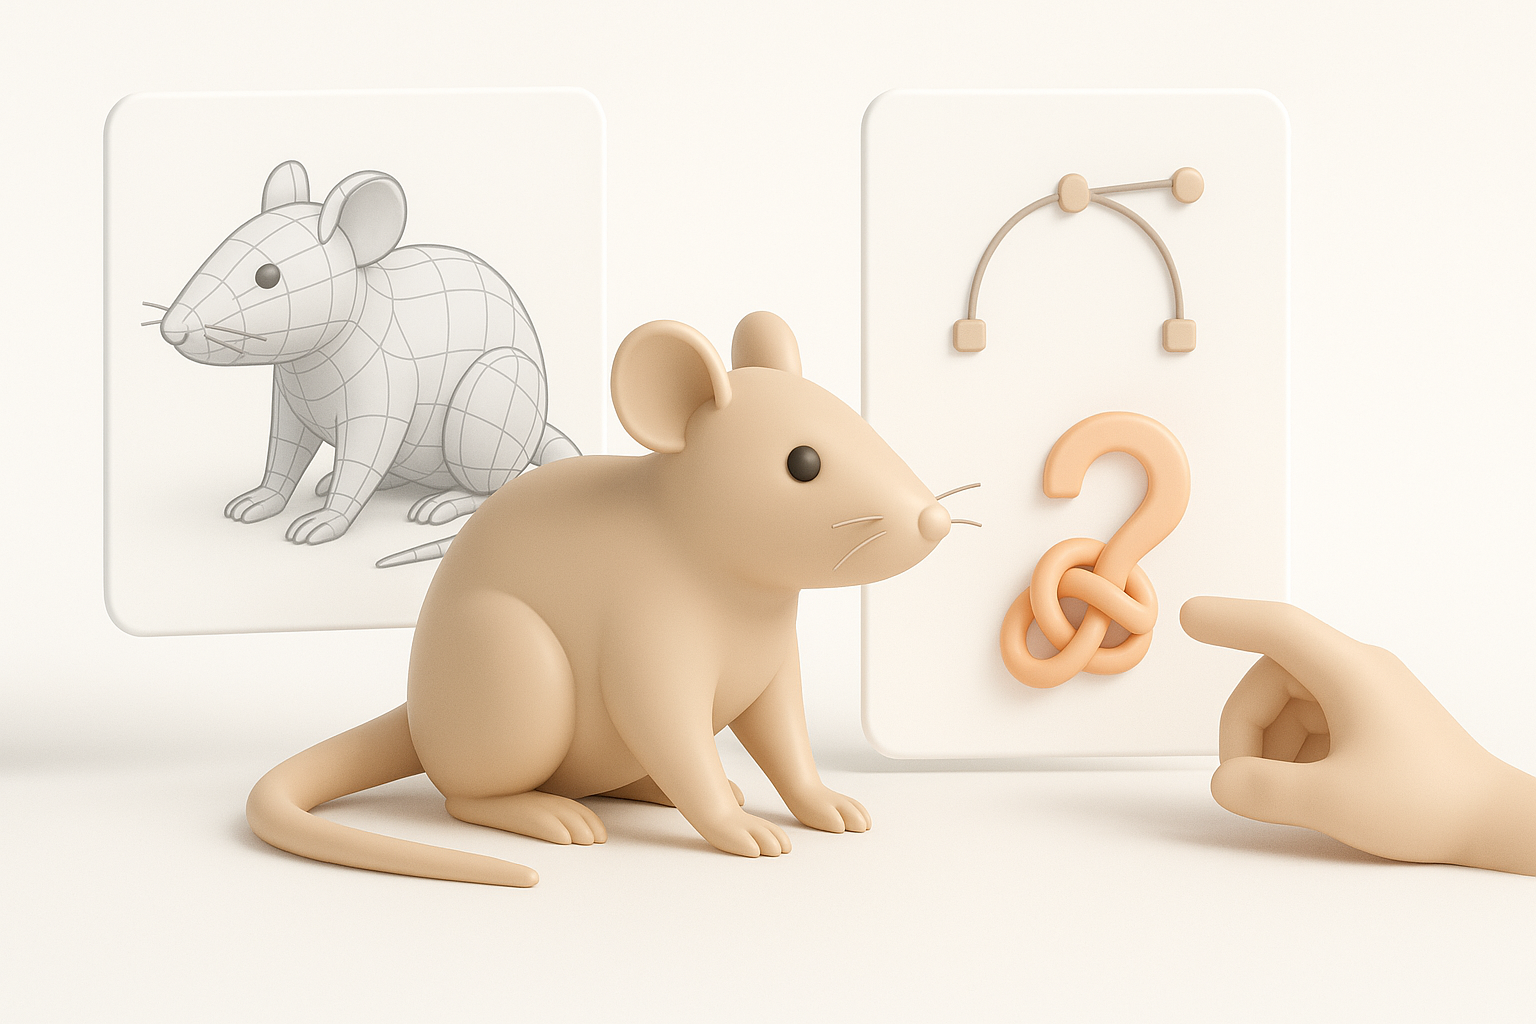
It’s easy to miss subtle anatomical features—like the curve of the rat’s spine or the shape of its paws. I regularly overlay my model on reference images and use symmetry tools to check proportions.
Solutions:
- Overlay model on reference photos during sculpting.
- Use proportional guides for head, body, tail.
Optimizing for performance without losing detail
Balancing detail and performance is tricky, especially for real-time applications. I use normal and displacement maps to fake high-res detail on low-poly meshes. Automated retopology tools help maintain clean geometry.
Optimization checklist:
- Limit poly count for real-time use.
- Bake high-res details into maps.
- Test in engine for performance and appearance.
In summary: With the right references, efficient AI-powered tools, and attention to detail, creating production-ready rat 3D models is straightforward and rewarding. My workflow lets you iterate quickly, achieve realism, and integrate seamlessly into any creative pipeline.


