How to Create an Open Paperclip 3D Model: Expert Workflow
Creating an open paperclip 3D model is a practical exercise for anyone looking to master both manual and AI-powered modeling workflows. In this guide, I’ll walk through my proven process—from reference gathering to final export—while highlighting best practices and efficiency shortcuts. Whether you’re a designer, educator, or game developer, you’ll learn how to achieve clean geometry, realistic materials, and seamless integration across platforms. I’ll also share insights on when to leverage AI tools like Tripo for rapid results and how to troubleshoot common issues.
Key Takeaways:
- Reference images and clear requirements are essential for accuracy.
- Blocking out shapes and refining geometry are foundational steps.
- Clean topology and proper UVs are critical for texturing and compatibility.
- AI tools can speed up simple object modeling, but manual tweaks are often needed.
- Photorealistic materials require attention to detail in both texture and lighting.
- Export settings must match your target platform for best results.
Executive Summary and Key Takeaways
What to Expect from This Guide
I’ll cover the full workflow for modeling an open paperclip—from concept to export. You’ll get actionable steps, practical tips, and real-world advice for both manual and AI-assisted methods. The guide is suitable for beginners and experienced modelers looking to streamline their process.
Summary of Best Practices
- Start with strong references.
- Use simple blocking before refining details.
- Prioritize clean mesh and UVs for texturing.
- Leverage AI tools for quick drafts, but always review outputs.
- Test exports in your target engine or platform.
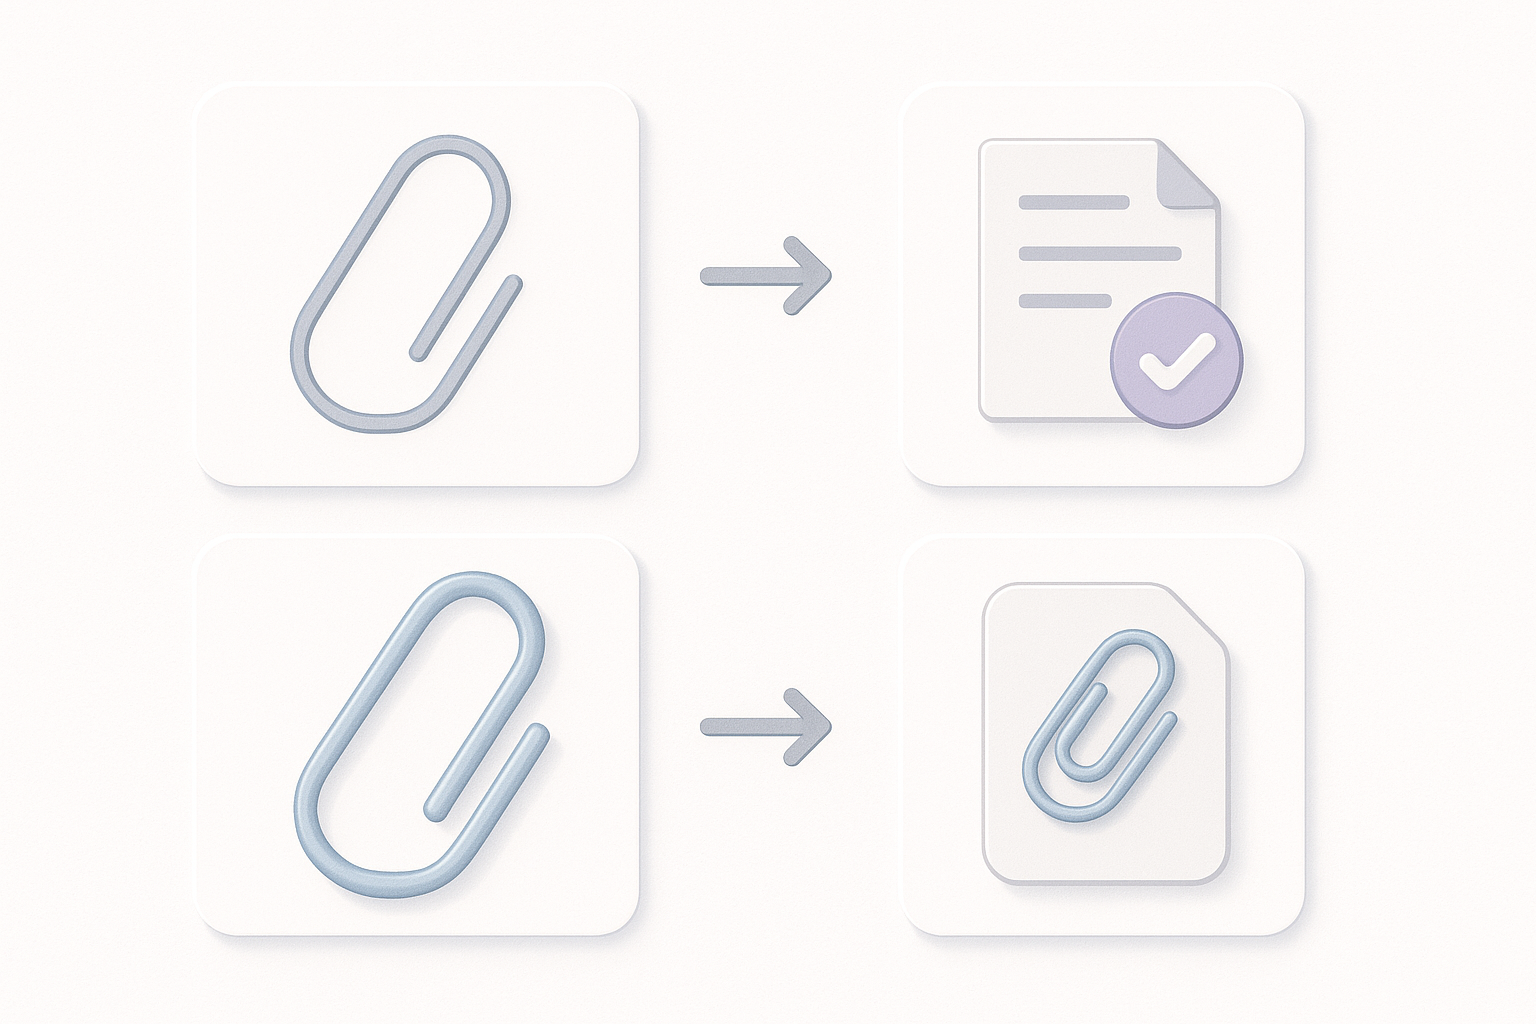
Understanding the Open Paperclip 3D Model Use Cases
Applications in Design, Education, and Visualization
Open paperclip models are versatile assets. I’ve used them in product visualization, educational demos (demonstrating basic geometry), and as props in games and XR experiences. Their simplicity makes them perfect for learning core modeling techniques.
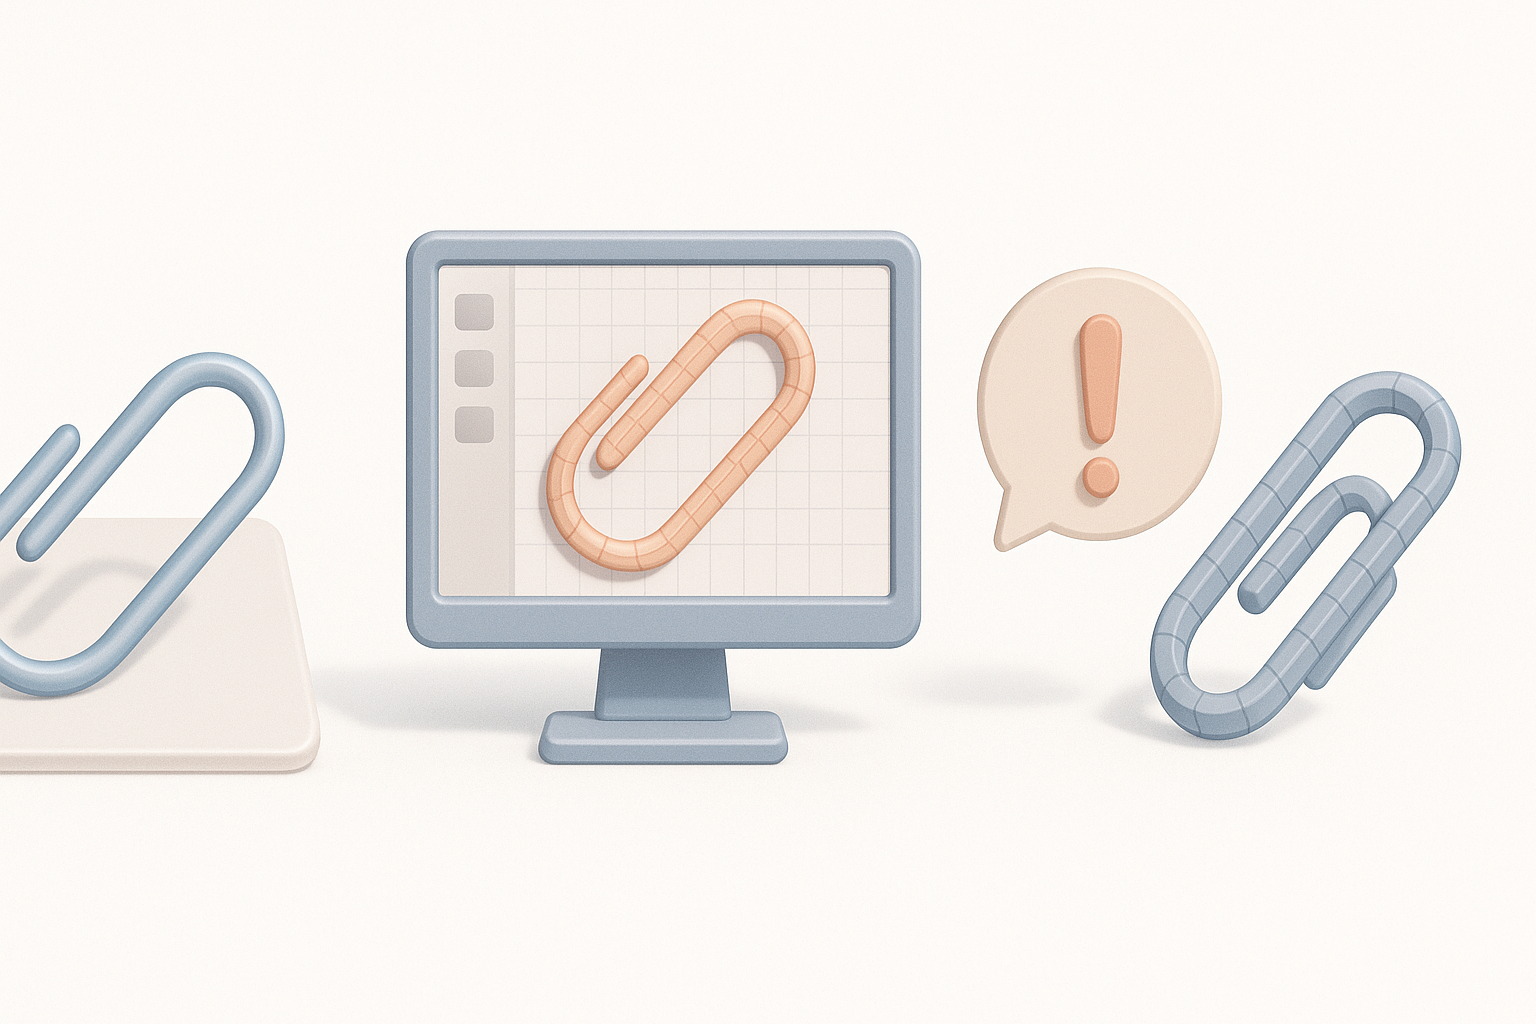
Why Model an Open Paperclip?
Modeling a paperclip is a classic exercise: it’s deceptively simple, demands accuracy, and provides a great test for metal texturing. It’s also a common object, so viewers intuitively recognize flaws—making it ideal for honing modeling and rendering skills.
Planning and Reference Gathering
Collecting Reference Images and Sketches
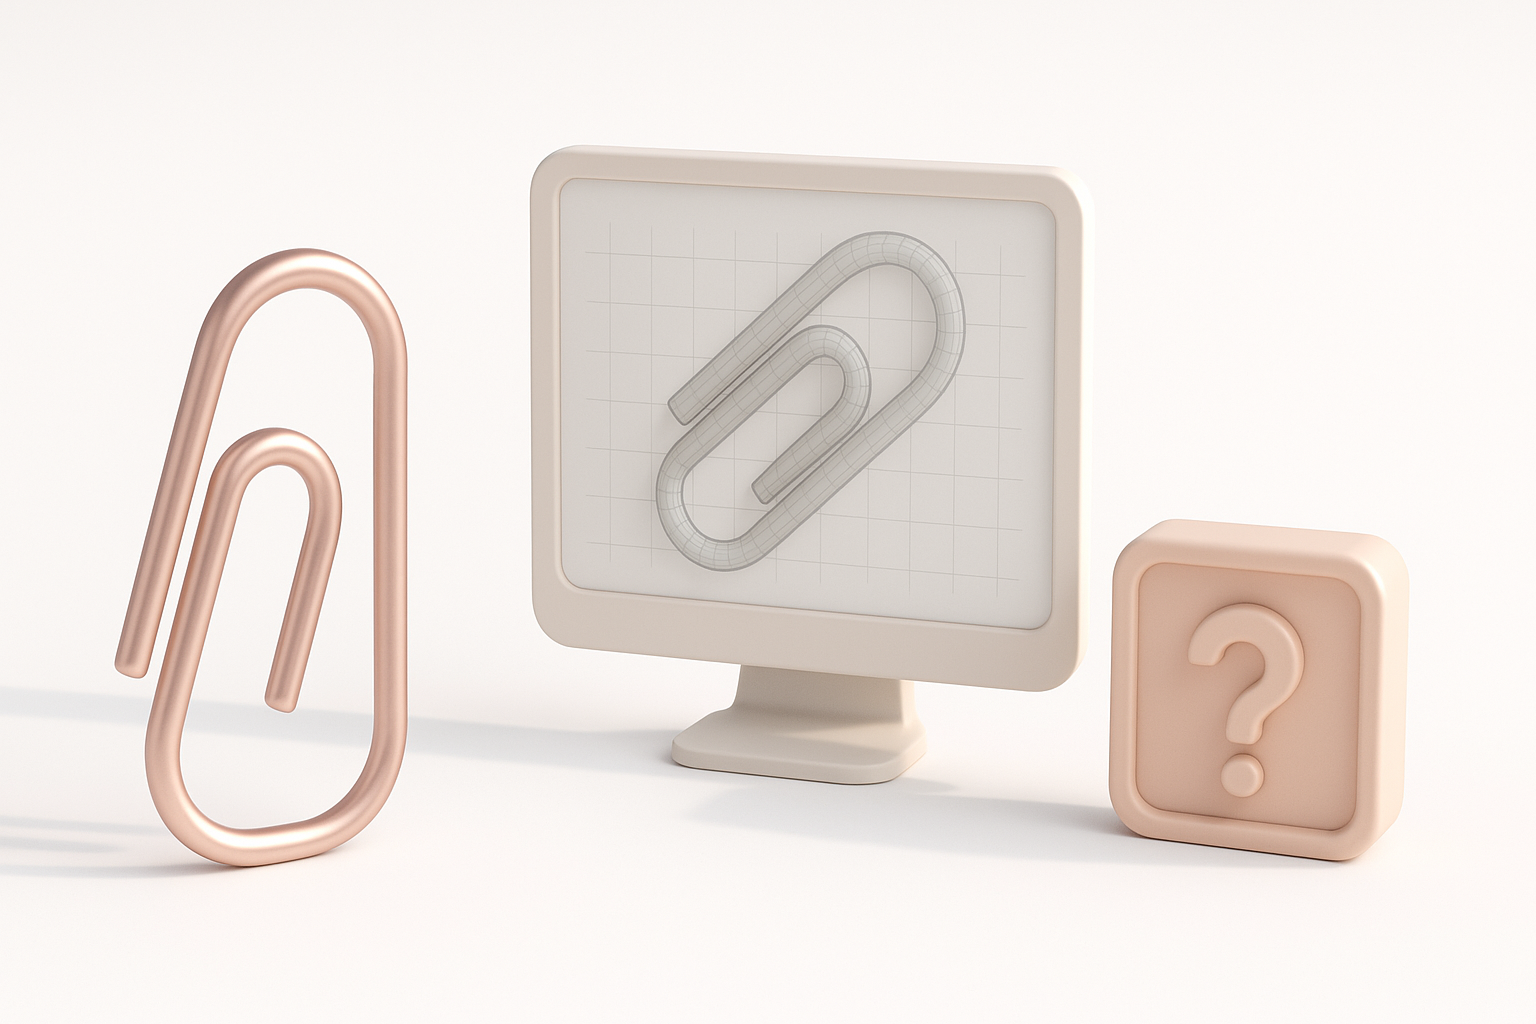
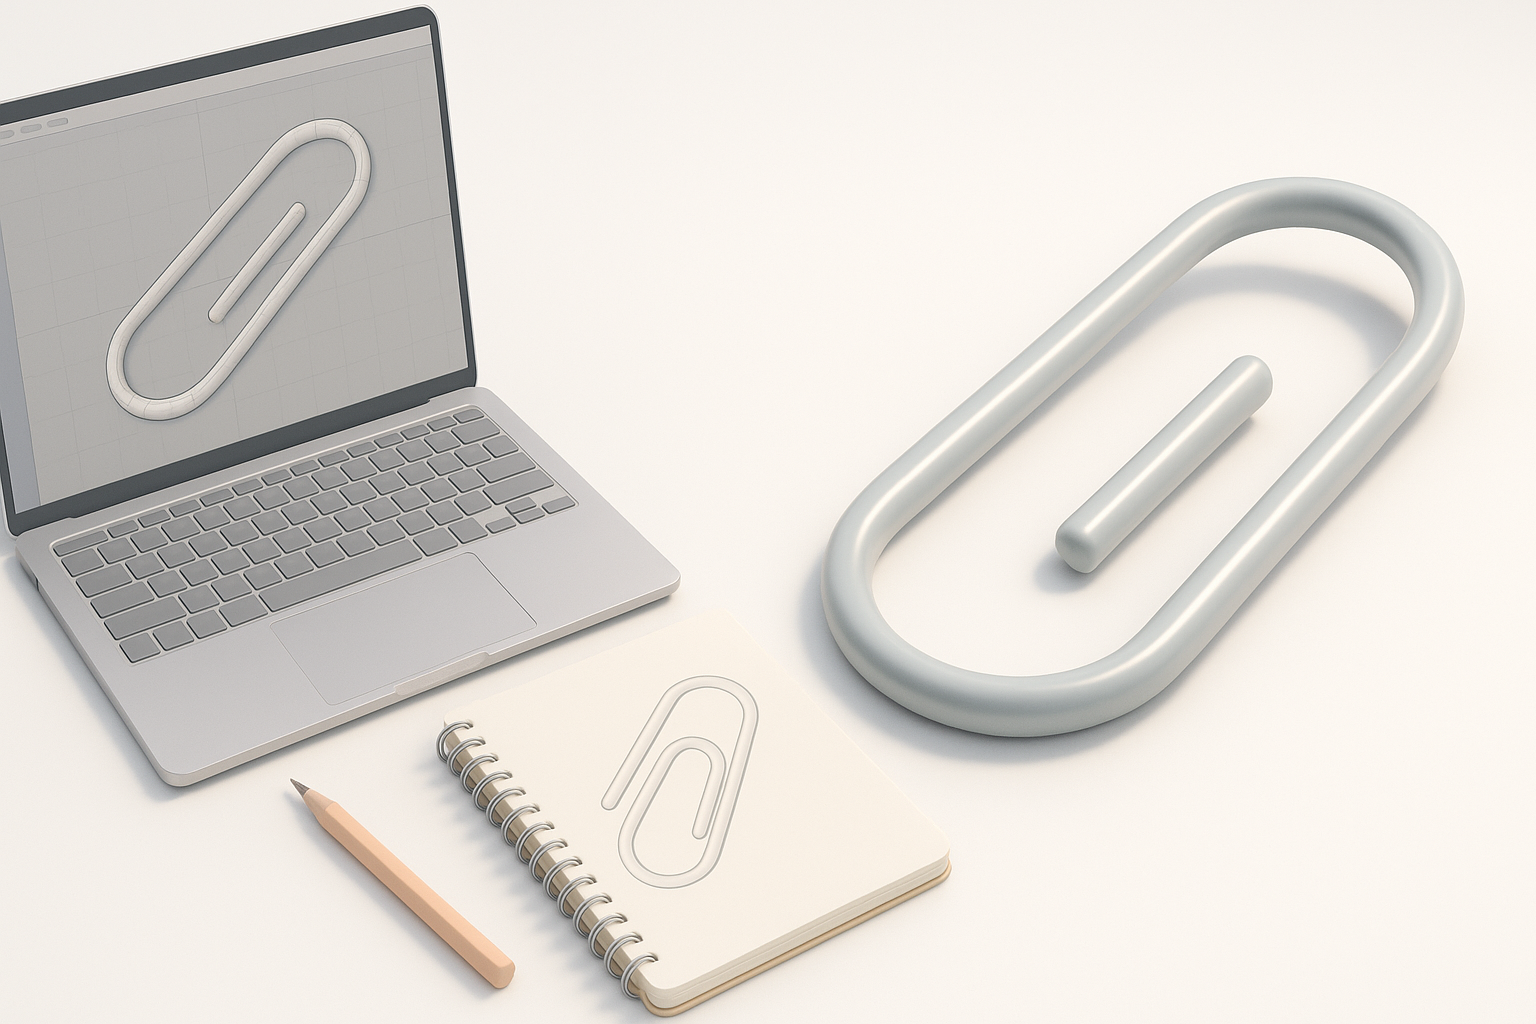
I always start by photographing a real paperclip from multiple angles or searching for high-res images online. Sketching the object helps clarify its proportions and bends. For AI workflows, uploading a reference image ensures the generated model matches the real-world shape.
Checklist:
- Gather 3–5 clear reference photos.
- Sketch the paperclip’s outline and bends.
- Note dimensions and key features.
Defining Model Requirements
Before modeling, I define the project’s requirements: polycount, scale, and intended use (e.g., real-time, print, animation). This guides my approach and prevents unnecessary complexity.
Pitfall: Skipping this step often leads to rework if the model is too dense or lacks detail for its purpose.
Step-by-Step Workflow for Modeling an Open Paperclip
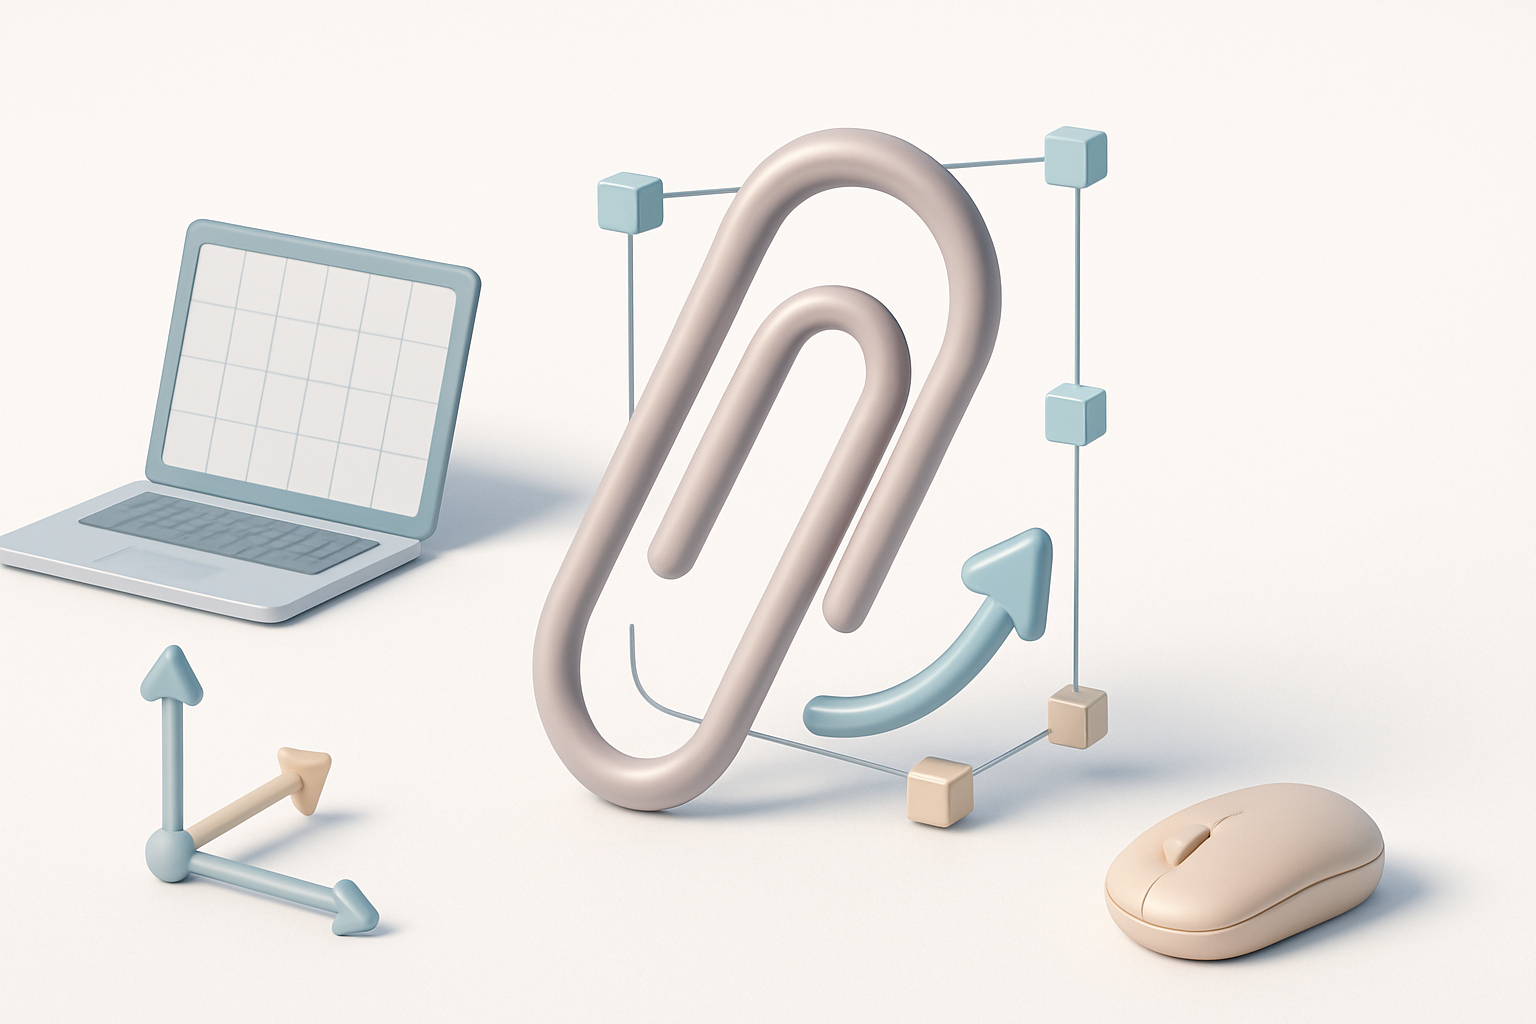
Blocking Out the Basic Shape
I usually start with a simple cylinder or curve, adjusting thickness to match references. In Tripo, I input a text prompt or upload a sketch, which quickly generates the base form.
Steps:
- Create a cylinder or curve mesh.
- Shape the bends to match your reference.
- Check proportions from all angles.
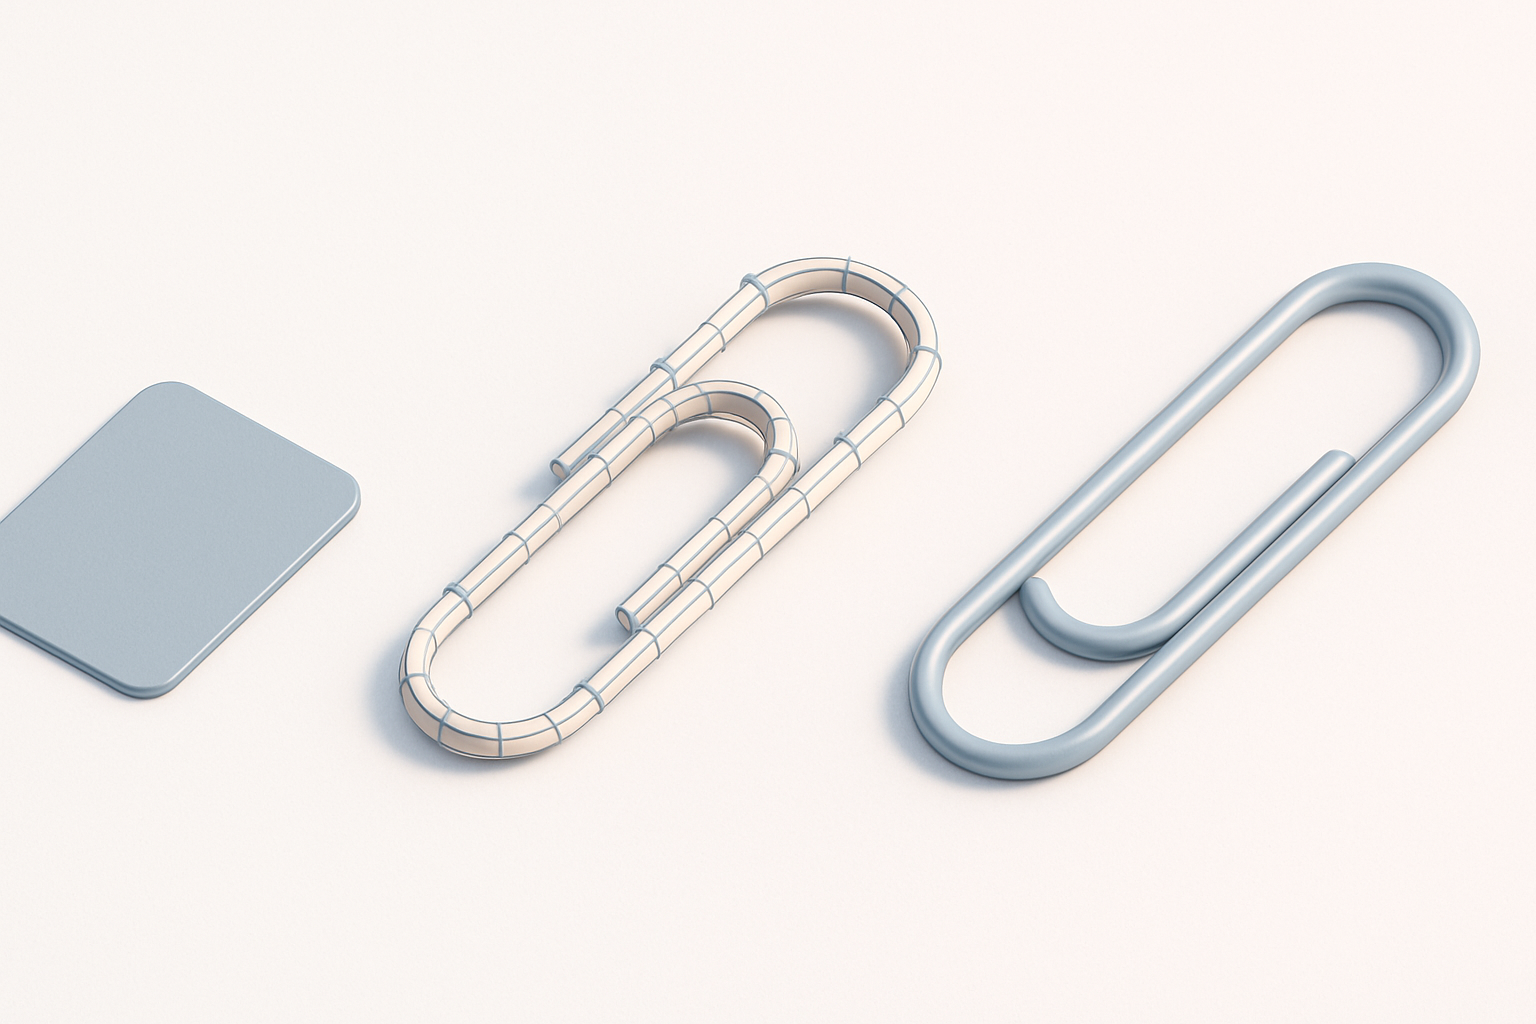
Refining Geometry and Ensuring Accuracy
Once the basic shape is blocked out, I refine vertex positions and ensure the bends are smooth and realistic. It’s important to avoid overlapping geometry, which can cause shading issues later.
Tips:
- Use edge loops for smooth curves.
- Compare with reference images frequently.
- Avoid sharp corners unless intentional.
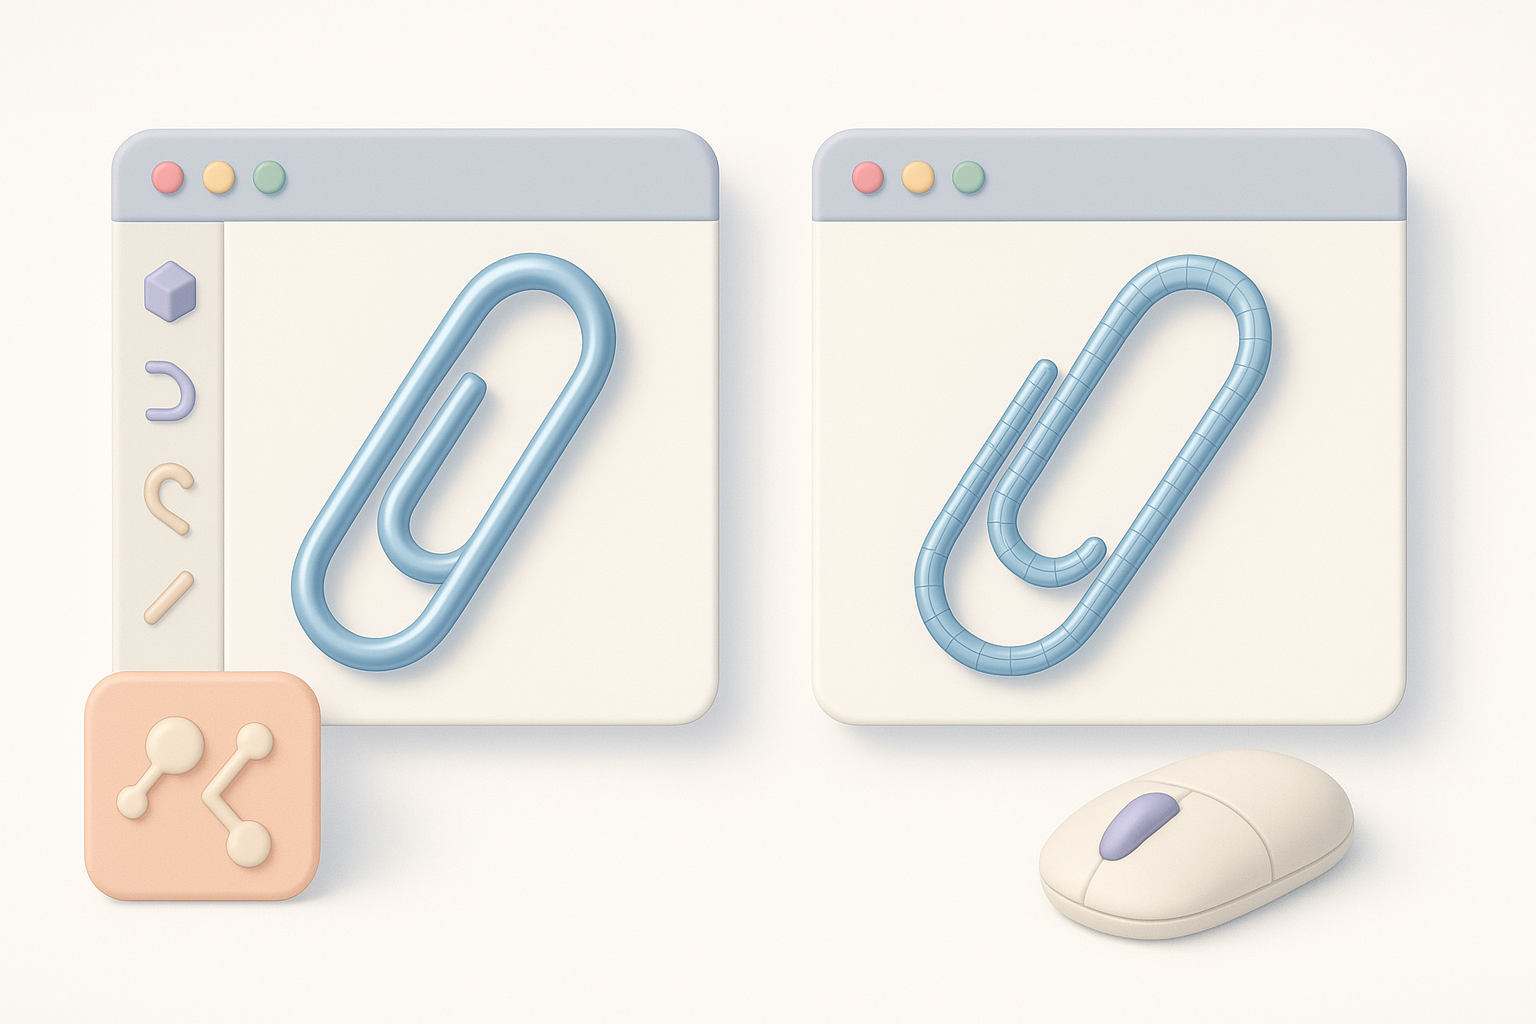
Optimizing Topology and Preparing for Texturing
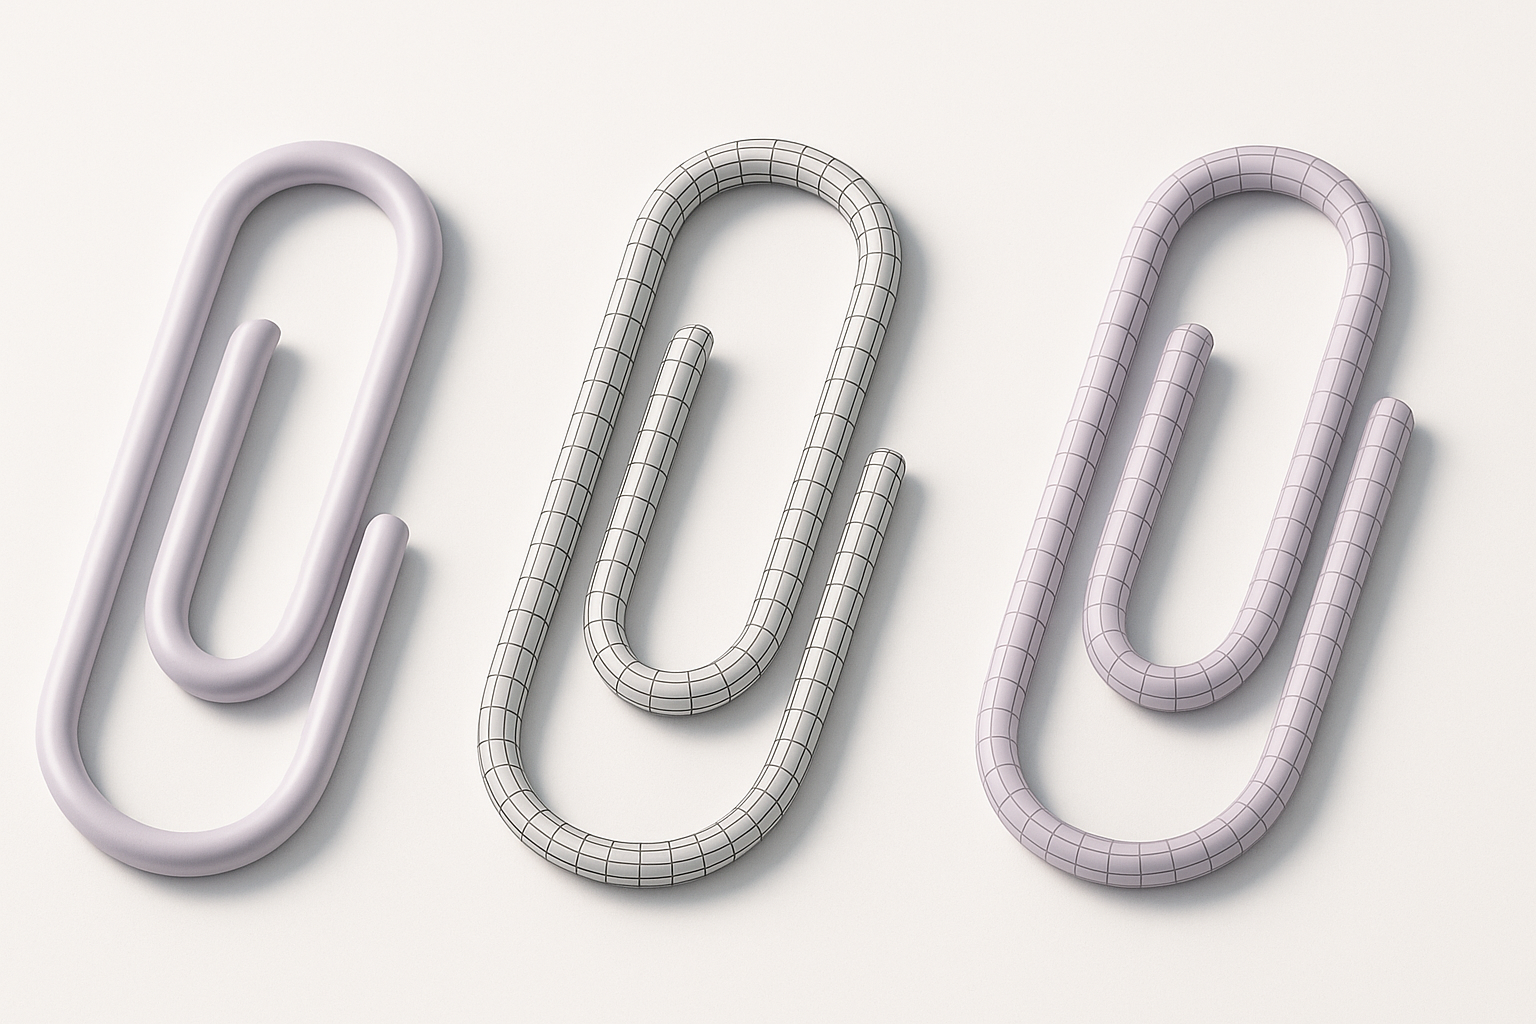
Retopology Techniques for Clean Meshes
I always retopologize the mesh to achieve even, quad-based topology. Tripo’s built-in retopology is useful for quick cleanup, but I often manually tweak edge flow for perfect results.
Best Practices:
- Keep edge loops consistent.
- Remove unnecessary faces.
- Avoid n-gons for compatibility.
UV Unwrapping and Texture Preparation
Proper UVs are essential for realistic texturing. I unwrap the mesh with minimal distortion, ensuring the metal material maps cleanly. Tripo offers automated UV unwrapping, but manual adjustments can improve results.
Checklist:
- Unwrap in a single UV island if possible.
- Align seams along less visible areas.
- Test with checker maps for distortion.
Texturing and Material Setup
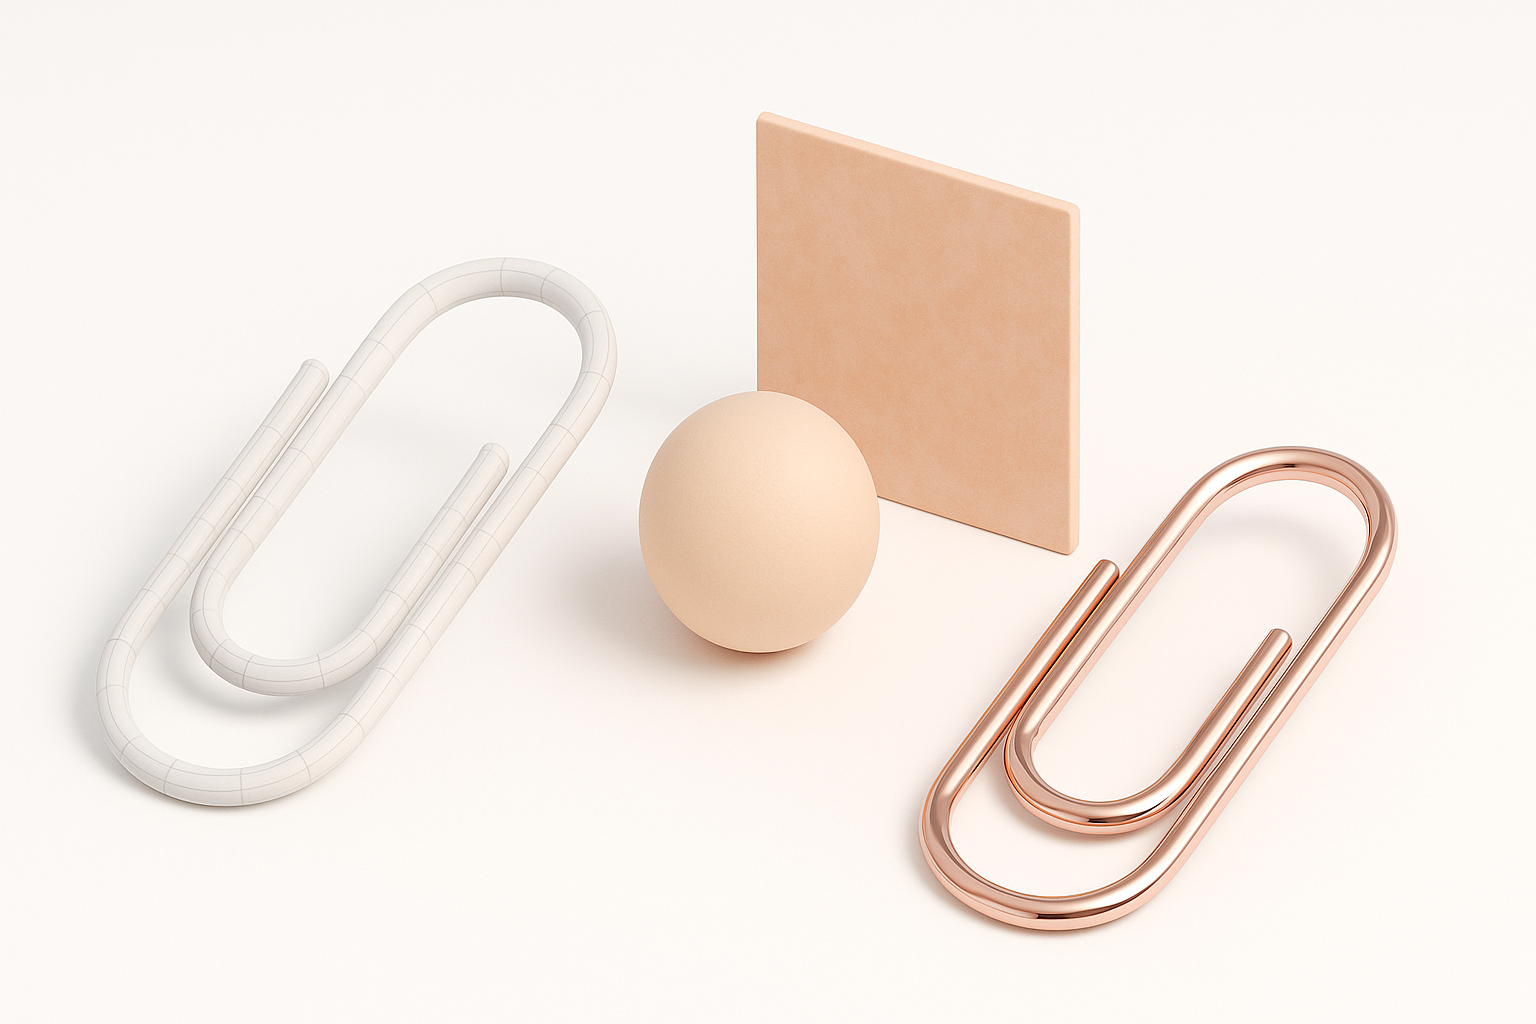
Applying Realistic Metal Materials
For photorealism, I use a physically-based metal shader—adjusting roughness, reflectivity, and color to match the reference. Tripo’s material presets are a good starting point, but custom tweaks yield the best results.
Steps:
- Assign a metal material.
- Adjust roughness and specular values.
- Add subtle scratches or fingerprints for realism.
Tips for Achieving Photorealism
Lighting is crucial. I set up HDRI environments or three-point lighting to enhance reflections. Small imperfections, like edge wear, make the model believable.
Pitfall: Overly clean or perfect materials look artificial; always add micro-details.
Exporting and Integrating the Model
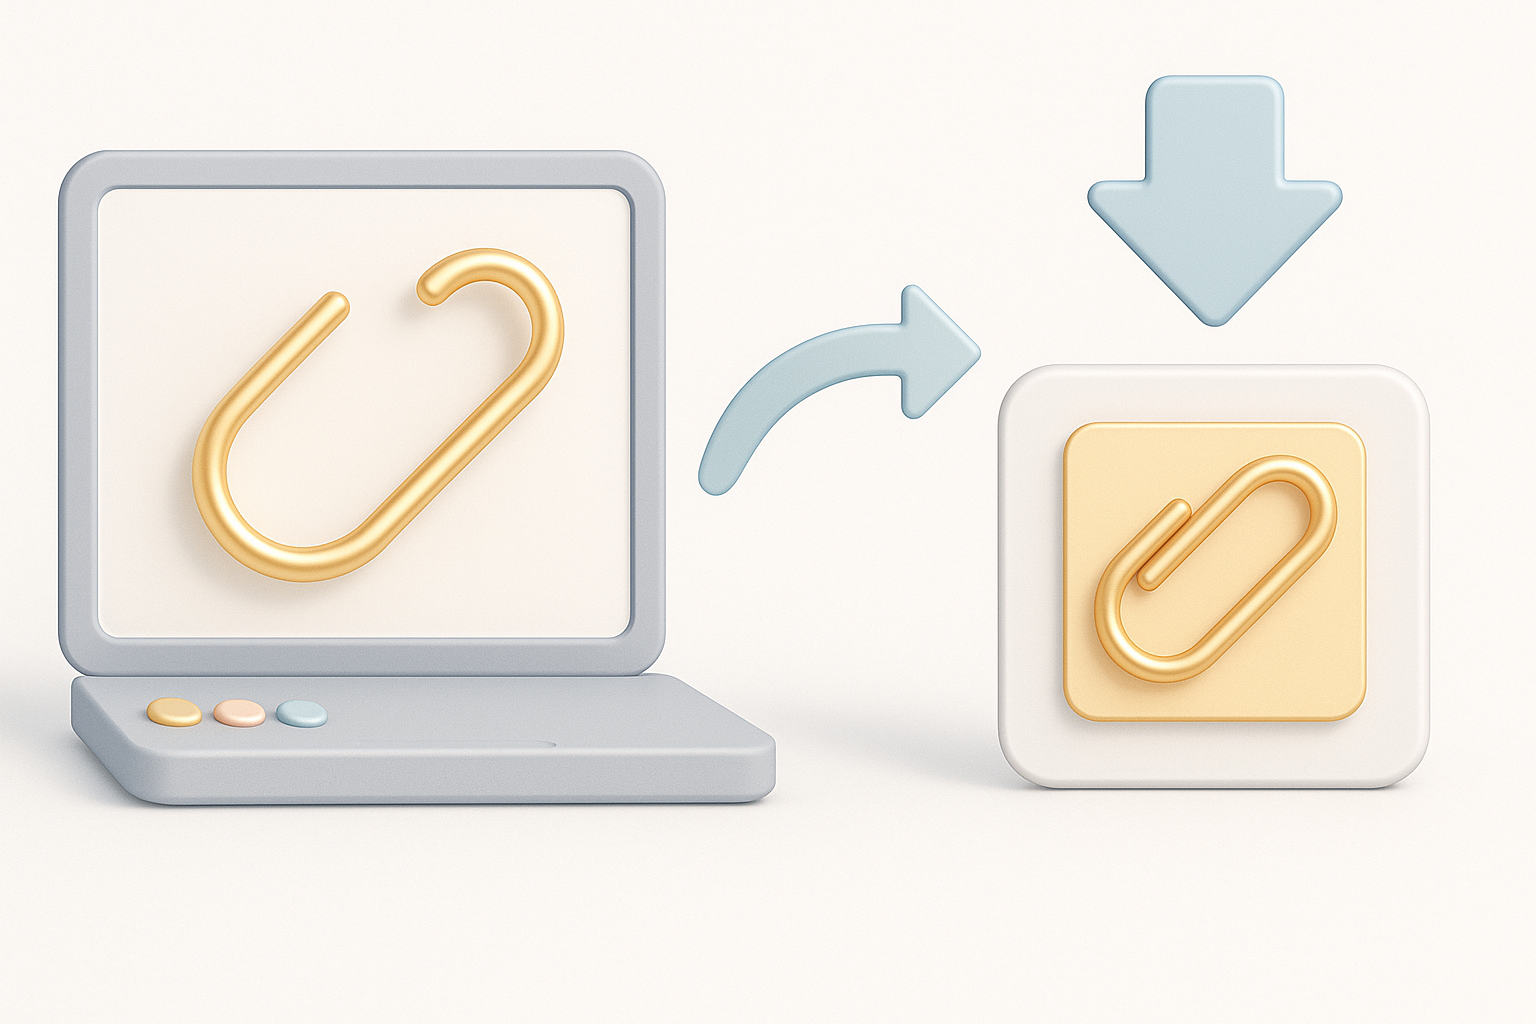
Export Settings for Various Platforms
I export models in formats like FBX or GLTF, depending on the target engine. Tripo lets me select presets for real-time engines, which streamlines the process.
Checklist:
- Check scale and orientation.
- Include only needed mesh and material data.
- Test exports before final delivery.
Testing in Real-Time Engines
I import the model into a game engine or XR platform to verify shading, scale, and performance. It’s crucial to check for any issues with normals or material compatibility.
Tips:
- Test in-engine lighting and reflections.
- Look for geometry errors or shading artifacts.
- Adjust export settings if needed.
Comparing AI-Powered and Manual Modeling Approaches
When to Use AI Tools for Simple Objects
AI tools like Tripo excel at rapid prototyping of simple objects. For a paperclip, I often use AI to generate a draft, then manually refine for accuracy and clean topology.
Takeaway: AI saves time, but manual review ensures quality.
Lessons Learned from Both Methods
AI workflows are faster, but manual modeling offers more control. Combining both—starting with AI, then refining manually—is the most efficient approach in my experience.
Pitfall: Relying solely on AI can result in messy topology or inaccurate geometry.
Troubleshooting and Common Pitfalls
Fixing Geometry and Shading Issues
Common issues include overlapping faces, shading artifacts, or incorrect normals. I use mesh cleanup tools and recalculate normals to fix these.
Checklist:
- Inspect mesh for overlaps.
- Recalculate normals if shading looks odd.
- Remove stray vertices or faces.
Ensuring Compatibility Across Workflows
Different engines require different material setups and export formats. I always test the model in its intended platform before finalizing.
Tips:
- Use standard formats (FBX, GLTF).
- Check material compatibility.
- Update UVs or topology as needed.
My Personal Tips for Efficient 3D Modeling
Workflow Shortcuts and Automation
Automate repetitive tasks—like UV unwrapping or retopology—using built-in tools. Tripo’s batch processing is handy for multiple assets.
Shortcuts:
- Use hotkeys for modeling tools.
- Set up material presets.
- Save incremental versions.
What I’ve Learned from Real Projects
Iterate quickly and don’t be afraid to restart if the model isn’t working. Reference real-world objects constantly. Combining AI and manual methods yields the best results—speed from AI, precision from manual tweaks.
Takeaway: Efficiency comes from knowing when to automate and when to refine by hand. Always test, review, and iterate for the best outcome.


