Monster Hunter World 3D Model Creation: Expert Workflow & Tips
Creating production-ready Monster Hunter World 3D models demands a balance of artistry and technical precision. Over years of hands-on work, I’ve refined a workflow that lets me move efficiently from concept to animation, leveraging both manual skill and AI-powered tools like Tripo to streamline the process. This guide is aimed at artists, game developers, and XR creators who want actionable strategies for high-quality asset creation, including practical tips for texturing, retopology, rigging, and export. The main takeaway: mastering both the creative and technical sides—and knowing when to use automation—can unlock faster, more consistent results.
Key takeaways:
- Start with strong references and clear silhouette blocking for Monster Hunter creatures.
- Use efficient retopology and optimized texturing to balance realism and performance.
- Rigging and animation prep are crucial for believable monster movement.
- AI-powered tools like Tripo can accelerate workflow without sacrificing quality.
- Export settings and troubleshooting ensure seamless integration into game engines.
Understanding Monster Hunter World 3D Models
Key Features and Art Style
Monster Hunter World models are defined by their exaggerated anatomy, intricate details, and stylized realism. I always pay close attention to the unique proportions, layered armor, and organic textures that distinguish these creatures. The art style mixes grounded materials (scales, fur, bone) with fantastical elements—getting this balance right is essential.
Practical tips:
- Study official artbooks and in-game screenshots for reference.
- Focus on silhouette and gesture: Monster Hunter monsters are instantly recognizable by shape.
- Don’t over-detail early; prioritize key features that define the creature.
Common Uses in Games and XR
These models aren’t just for visual spectacle—they’re functional assets for gameplay, cinematics, and XR experiences. In my projects, I often adapt models for real-time rendering, VR, or AR, which means optimizing for performance without losing visual impact.
Checklist:
- Target polygon counts based on platform (console, PC, mobile, XR).
- Prepare LODs (Levels of Detail) for scalable performance.
- Ensure textures and shaders are compatible with target engine.
My Step-by-Step Workflow for Creating Monster Hunter World 3D Models
Concepting and Reference Gathering
I start every project with a deep dive into references: official concept art, fan sketches, and anatomical studies. This sets the creative direction and helps avoid scope creep.
My steps:
- Collect high-res images and sketches.
- Break down monster anatomy—identify unique traits.
- Sketch rough concepts or use AI-generated variations for brainstorming.
Pitfall: Skipping reference gathering leads to generic, uninspired models.
Blocking Out Forms and Silhouettes
Early blocking is about capturing the monster’s shape and proportion. I usually work in low-poly, focusing on big forms before details.
My approach:
- Use simple primitives to map out body, limbs, and major features.
- Constantly check silhouette from multiple angles.
- Iterate quickly—don’t get stuck on details.
Tip: Tripo AI can generate base meshes from sketches or descriptions, speeding up the blocking phase.
Texturing, Retopology, and Optimization Best Practices
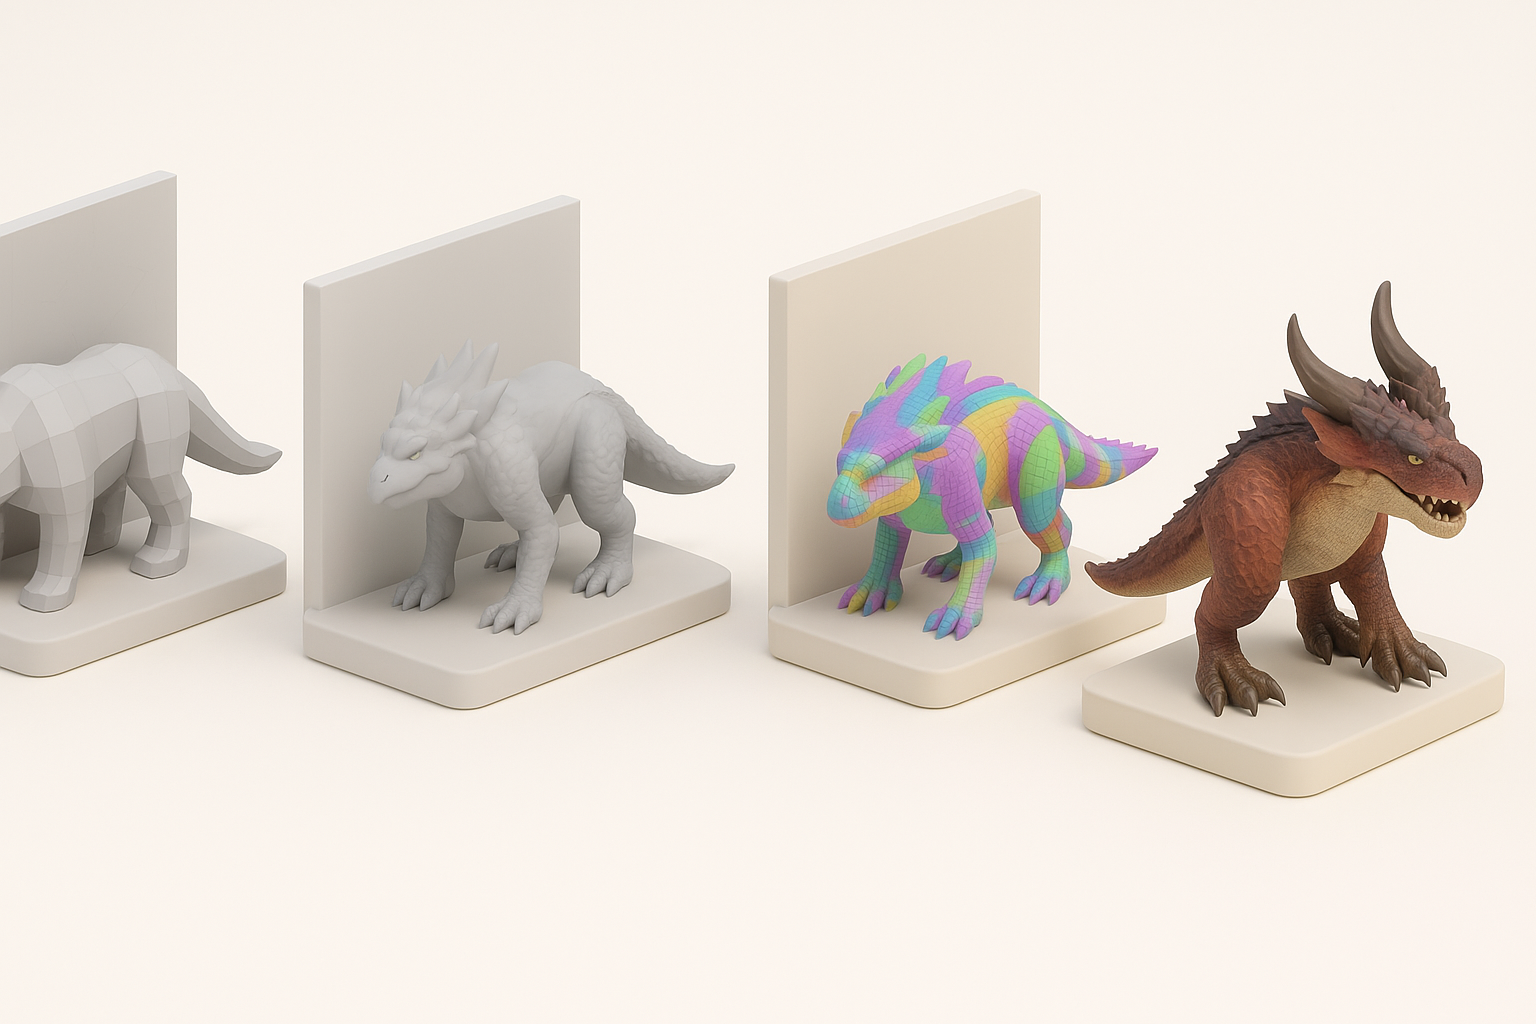
Efficient Retopology Techniques
Retopology is critical for animation and performance. I prefer manual retopology for hero assets, but AI tools like Tripo can automate clean mesh generation when time is tight.
My workflow:
- Start with auto-retopology for rough mesh.
- Refine edge loops around joints and deformation zones.
- Check mesh density—avoid unnecessary polygons.
Pitfall: Dense meshes slow down rigging and animation.
Texturing for Realism and Performance
Texturing brings monsters to life. I use layered maps (diffuse, normal, roughness) and keep an eye on UV efficiency.
Tips:
- Bake high-poly details to normal maps for realism.
- Use smart materials and procedural texturing for scales, fur, and armor.
- Optimize texture resolution—4K for close-ups, 2K or lower for background assets.
Checklist:
- Test textures in-engine for color and lighting consistency.
- Compress textures for faster load times.
Rigging and Animating Monster Hunter World Models
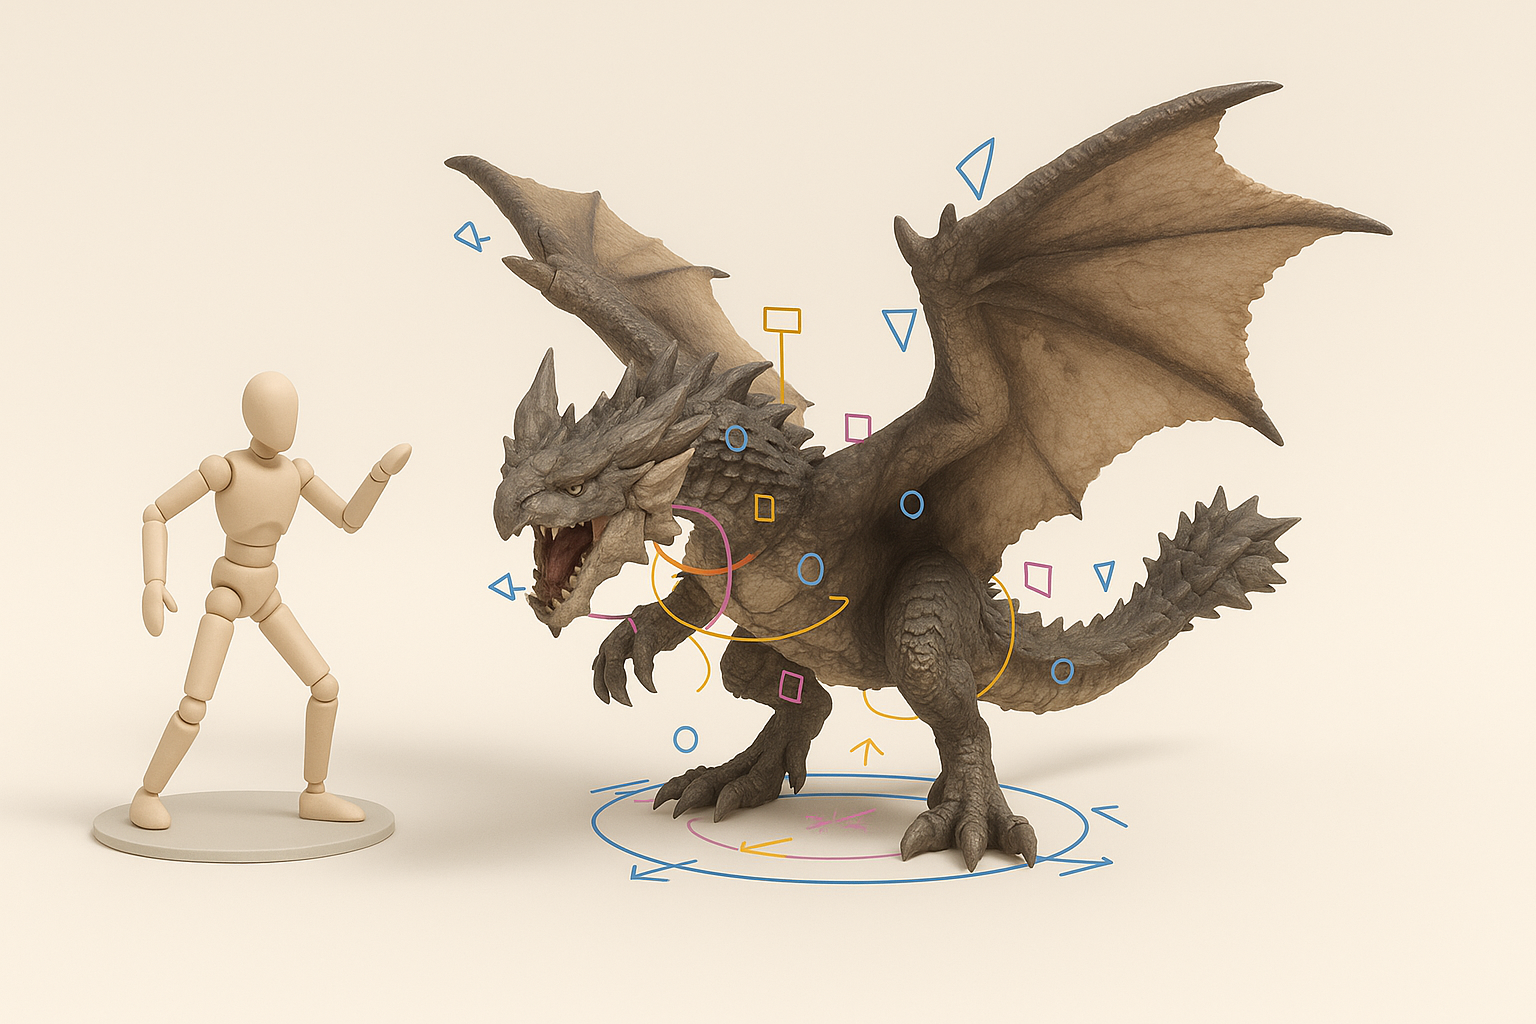
Preparing Models for Animation
Rigging is where many models break down. I always ensure clean topology and logical joint placement before adding bones.
My steps:
- Align mesh topology with expected movement (e.g., jaw, wings, tail).
- Use Tripo’s auto-rigging for quick skeleton setup, then manually tweak weights.
- Export test animations to check deformation.
Pitfall: Poor rig placement leads to unnatural movement and clipping.
Tips for Natural Monster Movements
Monster Hunter creatures have distinct movement styles. I study real animals for reference and exaggerate poses for impact.
Practical advice:
- Animate in cycles: idle, attack, walk, run.
- Use overlapping action and follow-through for tails, wings, and appendages.
- Test animations in context (game engine or XR platform).
Tip: AI-assisted animation tools can generate base cycles, but manual refinement is often needed for personality.
AI-Powered Tools and Alternative Methods

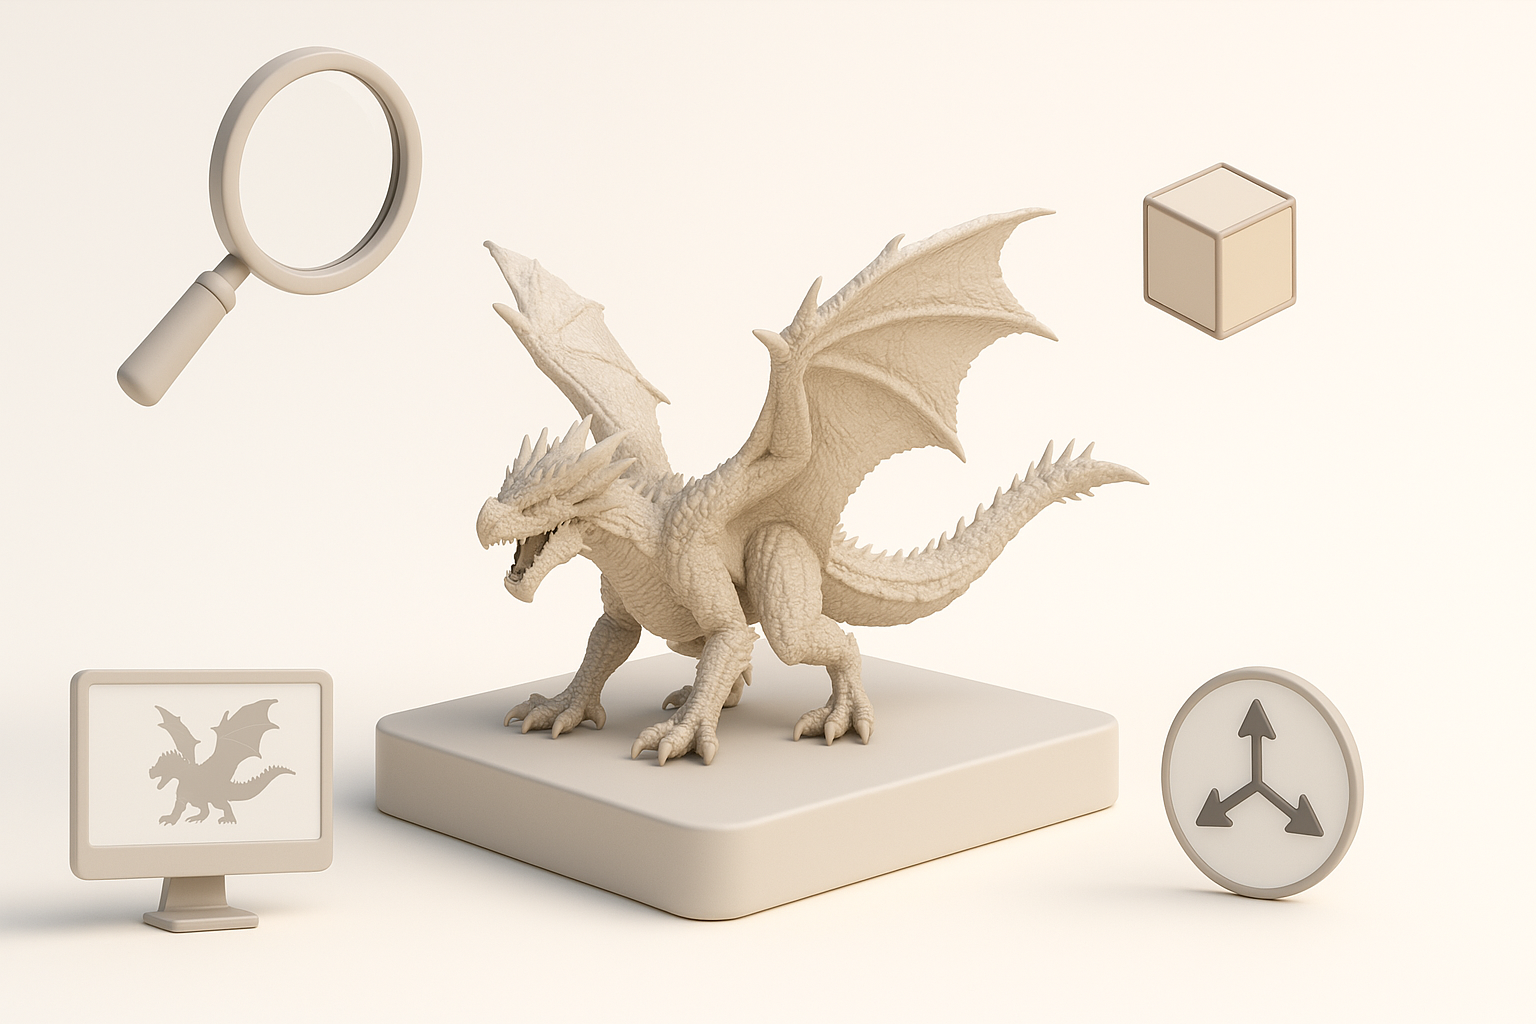
Integrating Tripo AI into My Workflow
Tripo AI streamlines several stages—mesh generation, segmentation, retopology, texturing, and rigging. I use it to prototype quickly or automate repetitive tasks.
How I use Tripo:
- Generate base meshes from text or sketches.
- Auto-segment and retopologize for clean geometry.
- Apply smart materials for rapid texturing.
Pitfall: Over-reliance on AI can result in generic assets; always customize outputs.
Comparing Manual and AI-Assisted Approaches
Manual modeling offers control and nuance, while AI tools accelerate routine tasks. I combine both for best results.
My approach:
- Use AI for base mesh and initial setup.
- Refine details, topology, and textures manually.
- Always review outputs for quality and style consistency.
Checklist:
- Evaluate AI-generated assets for uniqueness.
- Customize and polish for project requirements.
Exporting and Implementing Models in Projects

Export Settings for Popular Engines
Proper export ensures models function in game engines. I tailor settings based on target platform.
My export workflow:
- Use FBX or GLTF formats for compatibility.
- Check scale, orientation, and pivot points.
- Embed textures or link external files as needed.
Tip: Tripo offers presets for major engines, minimizing setup errors.
Troubleshooting Common Issues
Exporting isn’t foolproof. I often run into issues like missing textures, incorrect scale, or animation glitches.
Troubleshooting checklist:
- Verify all textures are linked and paths are correct.
- Test imports in engine before final delivery.
- Check animation loops and rig integrity.
Pitfall: Ignoring export errors can cause major delays in production.
Conclusion
My Monster Hunter World 3D model workflow blends creative vision with technical execution, leveraging both manual skill and AI-powered tools like Tripo for speed and consistency. By focusing on strong references, efficient modeling, and careful rigging, I deliver assets ready for games and XR—while avoiding common pitfalls. The key is to adapt the workflow to the project’s needs and always review outputs for quality and style.


