How to Create a Production-Ready F-22 Raptor 3D Model
Creating a production-ready F-22 Raptor 3D model is a task that demands accuracy, efficiency, and smart workflow choices. From my experience, leveraging AI-powered platforms alongside traditional modeling techniques can dramatically speed up the process—especially for gaming, film, and XR projects. The key is to start with solid references, use intelligent tools for segmentation, retopology, and texturing, and always plan for your end-use. This guide is for artists, developers, and designers who want practical steps and proven strategies to build a high-quality F-22 Raptor model without getting bogged down by technical hurdles.
Key takeaways:
- Accurate references and a clear plan are essential for realistic results.
- AI-assisted platforms can accelerate modeling, texturing, and rigging.
- Retopology and material setup dictate game/film readiness.
- Export settings must match your target platform (game engine, renderer, XR).
- Common pitfalls include poor topology, inaccurate scale, and rushed texturing.
- Integrating AI tools with manual workflows yields the best balance of speed and control.
Executive Summary and Key Takeaways
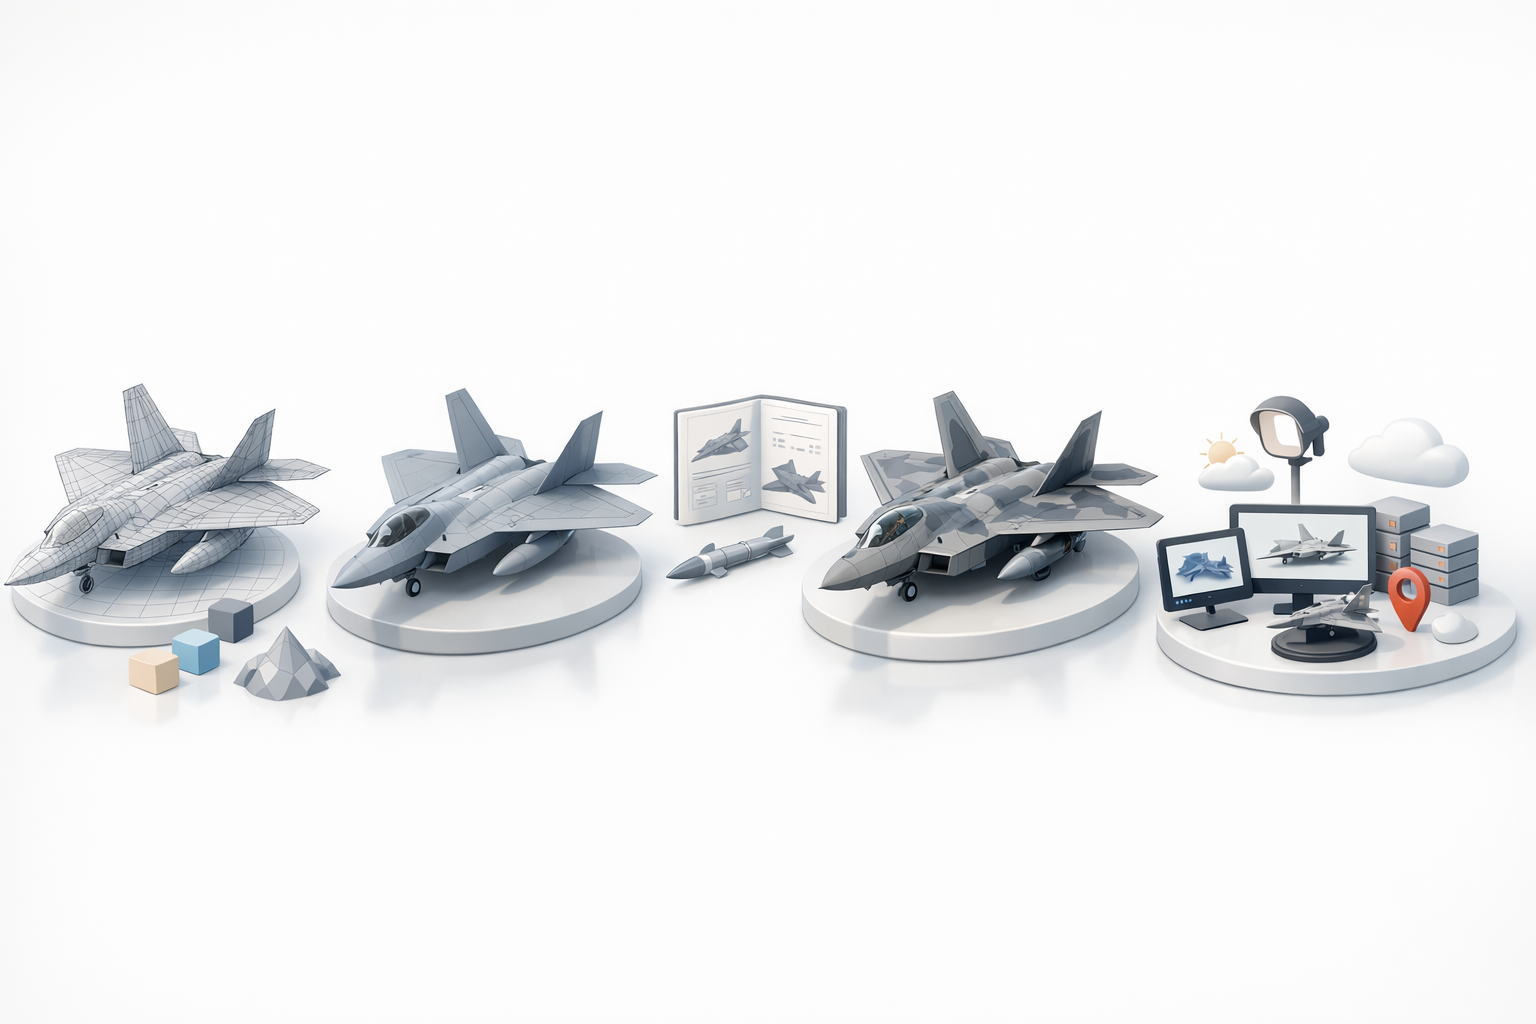
What I’ve Learned from F-22 Raptor 3D Modeling
Modeling aircraft like the F-22 Raptor requires a blend of precision and efficiency. I’ve found that starting with the right references and planning my workflow saves hours of rework. AI-powered tools can handle segmentation, retopology, and even initial texturing, freeing me to focus on accuracy and creative detail.
Essential Steps for Efficient Workflow
- Gather high-quality references before opening any software.
- Block out shapes quickly, then refine details iteratively.
- Use AI-assisted platforms for segmentation and retopology.
- Check topology and UVs before texturing.
- Rig and export with your target platform in mind.
Gathering Reference Materials and Planning
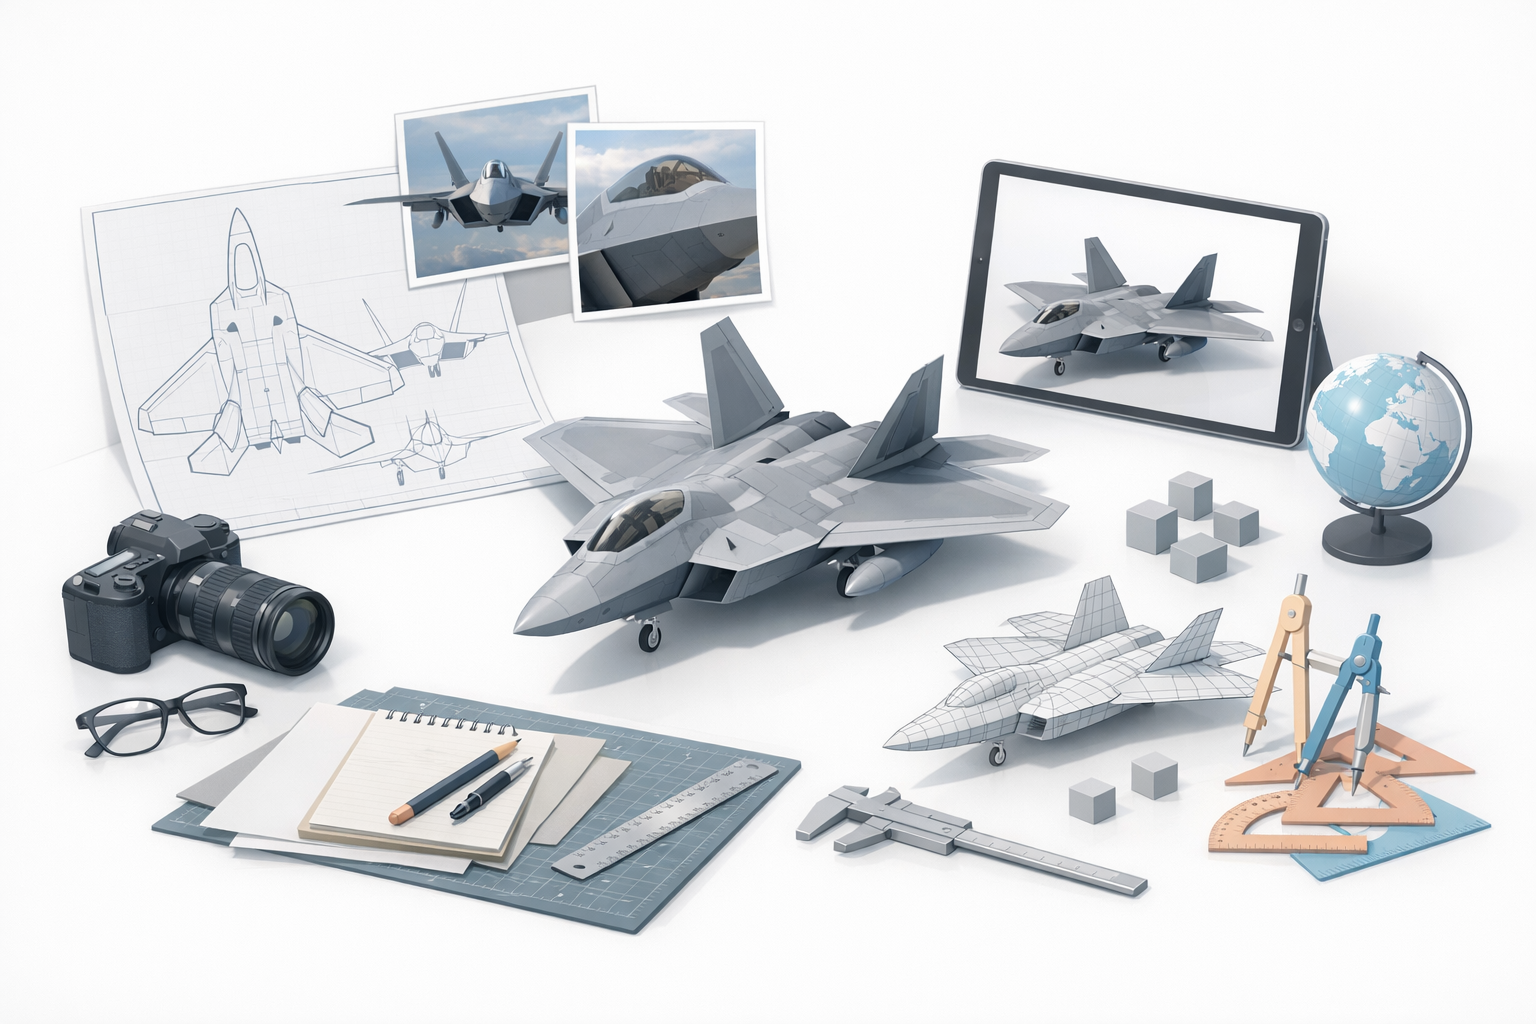
Selecting Accurate F-22 Raptor References
I always begin by collecting blueprints, high-res photos, and technical diagrams. Reliable sources include aerospace websites, model kit instructions, and official military publications. Having multiple angles and close-ups of key details (cockpit, landing gear, wing edges) is crucial.
Checklist:
- Top, side, front, and rear blueprint views
- Close-ups of cockpit, landing gear, and weapon bays
- High-res texture references for panels and insignia
Planning the Modeling Approach
Before modeling, I define the project scope: game asset, cinematic, or XR. This affects poly count, texture resolution, and rig complexity. I sketch a rough workflow, noting which parts to tackle first and where AI tools can speed things up.
Pitfalls to avoid:
- Starting without clear reference alignment
- Overcomplicating early geometry
- Ignoring export requirements
Modeling the F-22 Raptor: Workflow and Best Practices
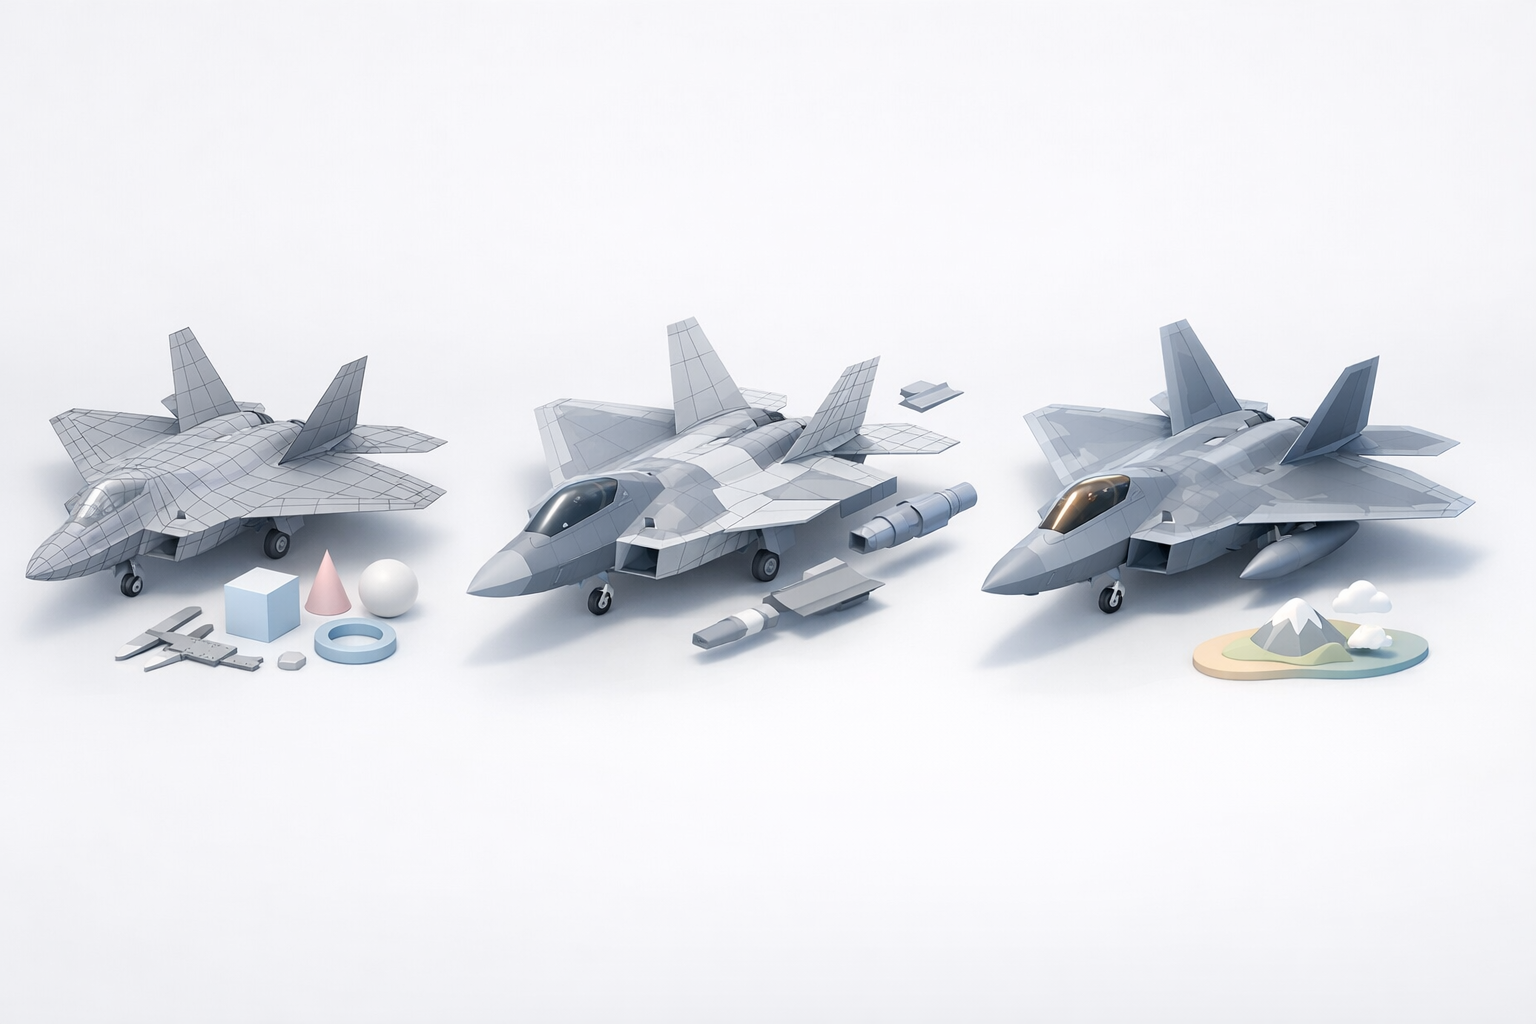
Blocking Out the Base Shape
I block out the fuselage, wings, and tail using simple primitives. The goal is to capture proportions and silhouette before diving into details. AI platforms can generate a rough base from sketches or text prompts, which I then refine.
Steps:
- Align primitives to reference blueprints
- Adjust scale and proportions early
- Use symmetry tools for efficiency
Detailing and Refining Geometry
Once the base is set, I add panel lines, cockpit details, and landing gear. I keep geometry clean—avoiding unnecessary edge loops. For complex shapes (intakes, weapon bays), I use intelligent segmentation tools to separate parts for easier detailing.
Tips:
- Work from large shapes to small details
- Use AI-assisted segmentation for tricky areas
- Regularly check mesh for artifacts and errors
Automated Tools and AI-Assisted 3D Creation
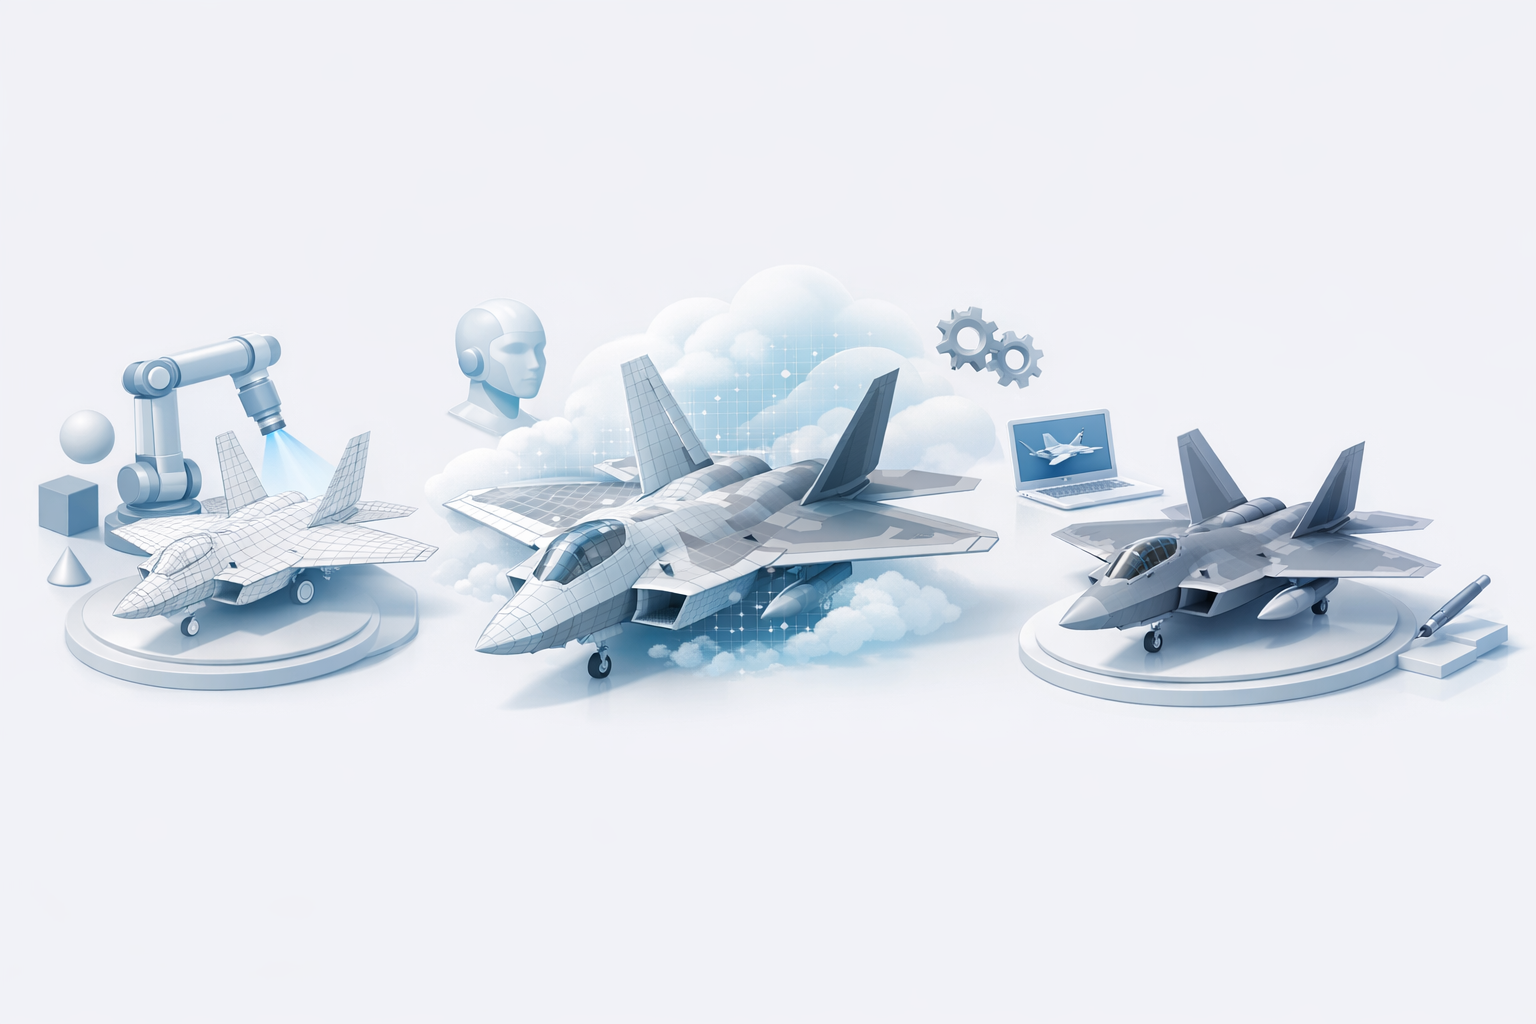
Using AI Platforms for Rapid Model Generation
AI-powered platforms like Tripo enable me to generate base models from text, images, or sketches in seconds. I use these tools to quickly produce segmented geometry, which I then refine manually.
Workflow:
- Input reference images or sketches
- Review generated base mesh for accuracy
- Use built-in retopology and texturing tools
Integrating AI with Traditional Workflows
I often combine AI-generated meshes with manual tweaks. After AI handles segmentation and retopology, I fine-tune geometry, add custom details, and ensure UVs are optimized for texturing.
Best practices:
- Always validate AI outputs against references
- Use manual tools for final polish and corrections
- Integrate AI-generated assets seamlessly into your pipeline
Retopology, Texturing, and Material Setup
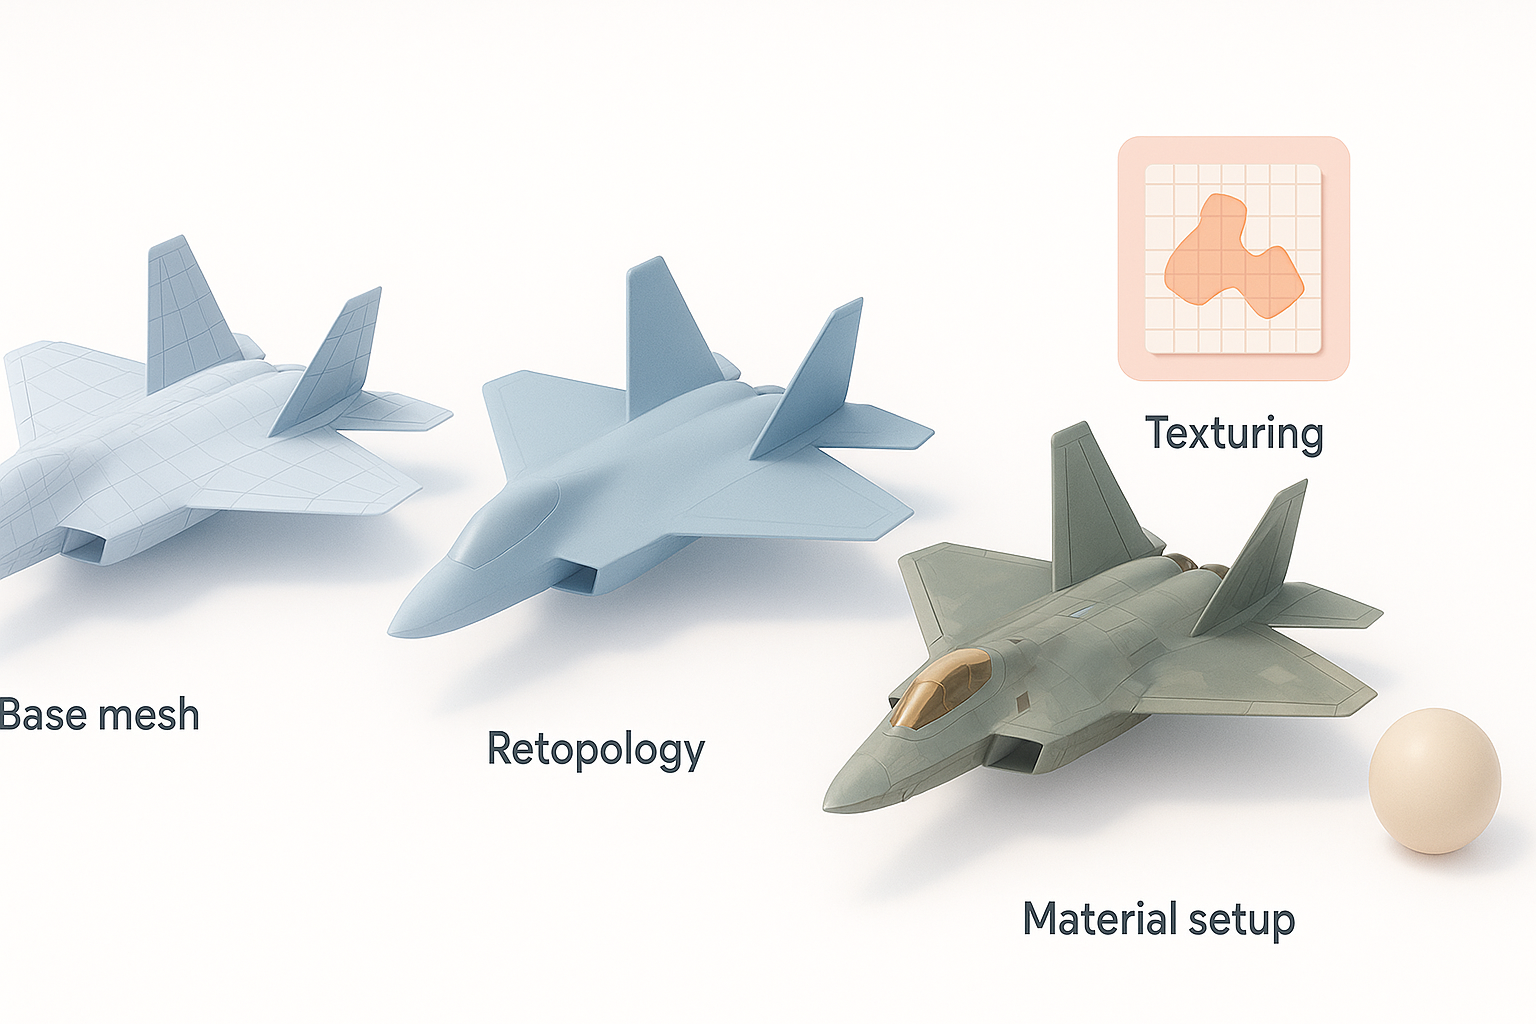
Retopology for Game and Film Readiness
Clean topology is vital for animation and real-time engines. I use automated retopology tools to generate quad-based meshes, then manually adjust edge flow around critical areas (cockpit, wing roots).
Checklist:
- Quads for deformation zones (landing gear, flaps)
- Optimize poly count for target platform
- Test mesh in viewport for smooth shading
Texturing Techniques and Material Choices
I bake normal maps and ambient occlusion for depth, then apply high-res textures for panels, insignia, and wear. AI-assisted texturing helps accelerate base layer creation, but I always hand-paint details and weathering.
Tips:
- Use reference photos for accurate color and markings
- Layer procedural and hand-painted textures
- Test materials in engine or renderer for realism
Rigging, Animation, and Exporting
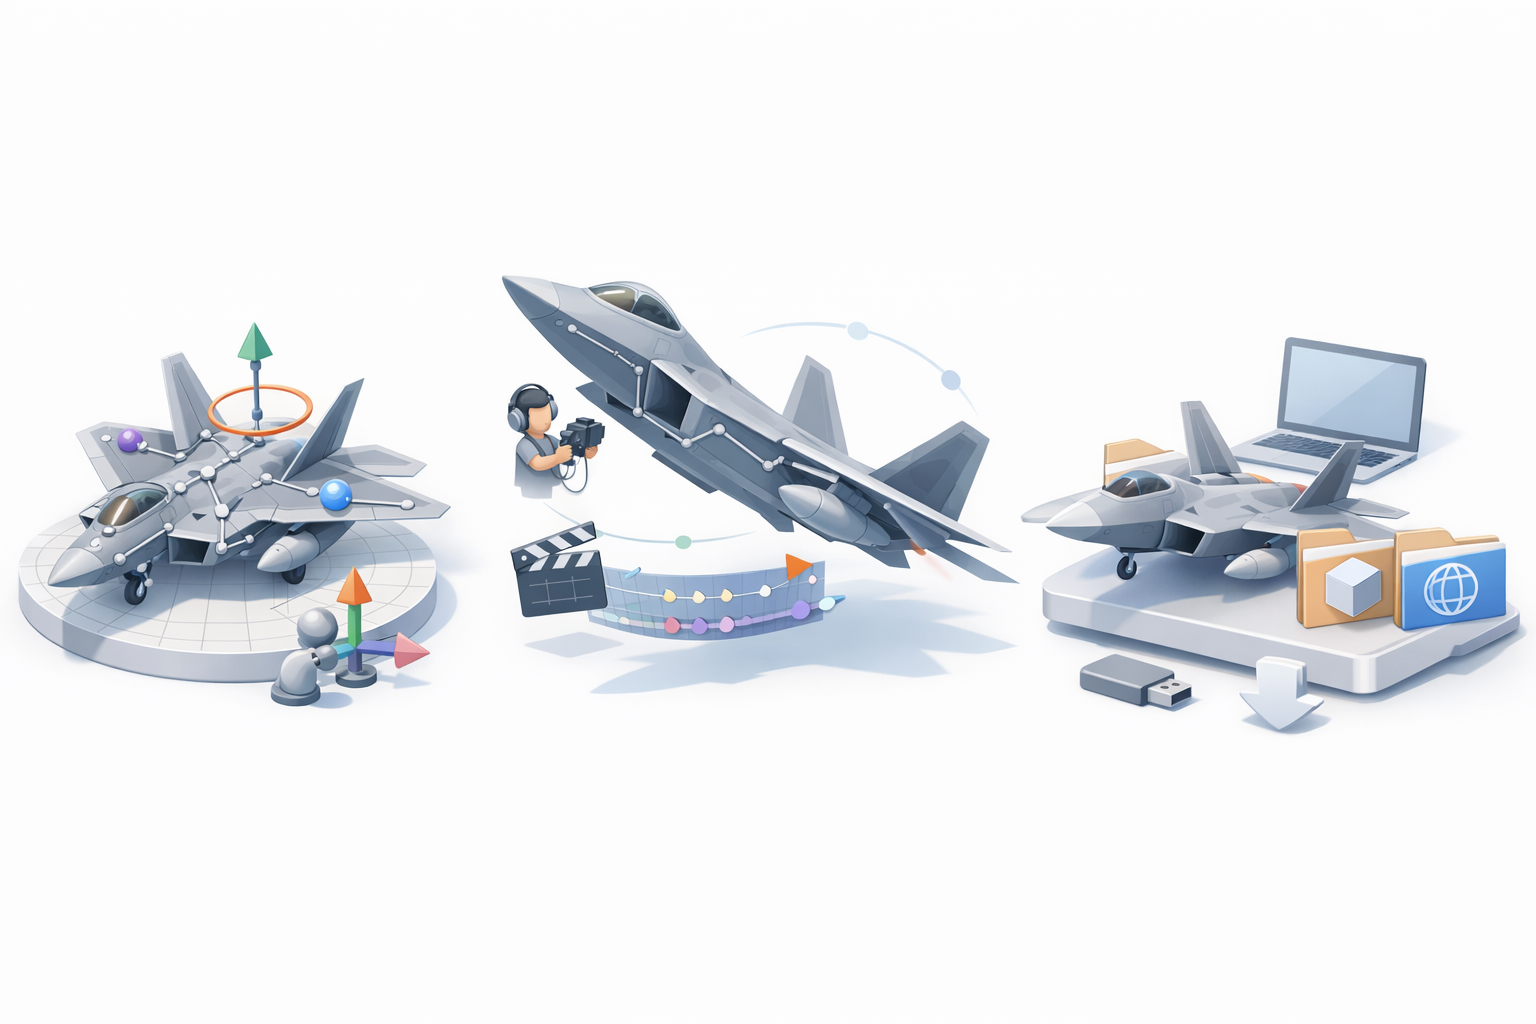
Rigging the F-22 Raptor for Animation
For game or film, I rig landing gear, flaps, and cockpit canopy. Automated rigging tools handle basic skeleton setup, but I manually adjust constraints and controllers for realistic movement.
Steps:
- Add bones for moving parts (gear, flaps, canopy)
- Test rig with simple animations
- Fix weight painting and pivot issues
Exporting for Various Platforms
I export using formats compatible with the target engine or renderer (FBX, GLTF). I check scale, orientation, and material assignments before final export.
Checklist:
- Match export settings to platform requirements
- Verify animations and materials on import
- Include LODs for real-time projects
Comparing Methods and Tools for F-22 Raptor Modeling
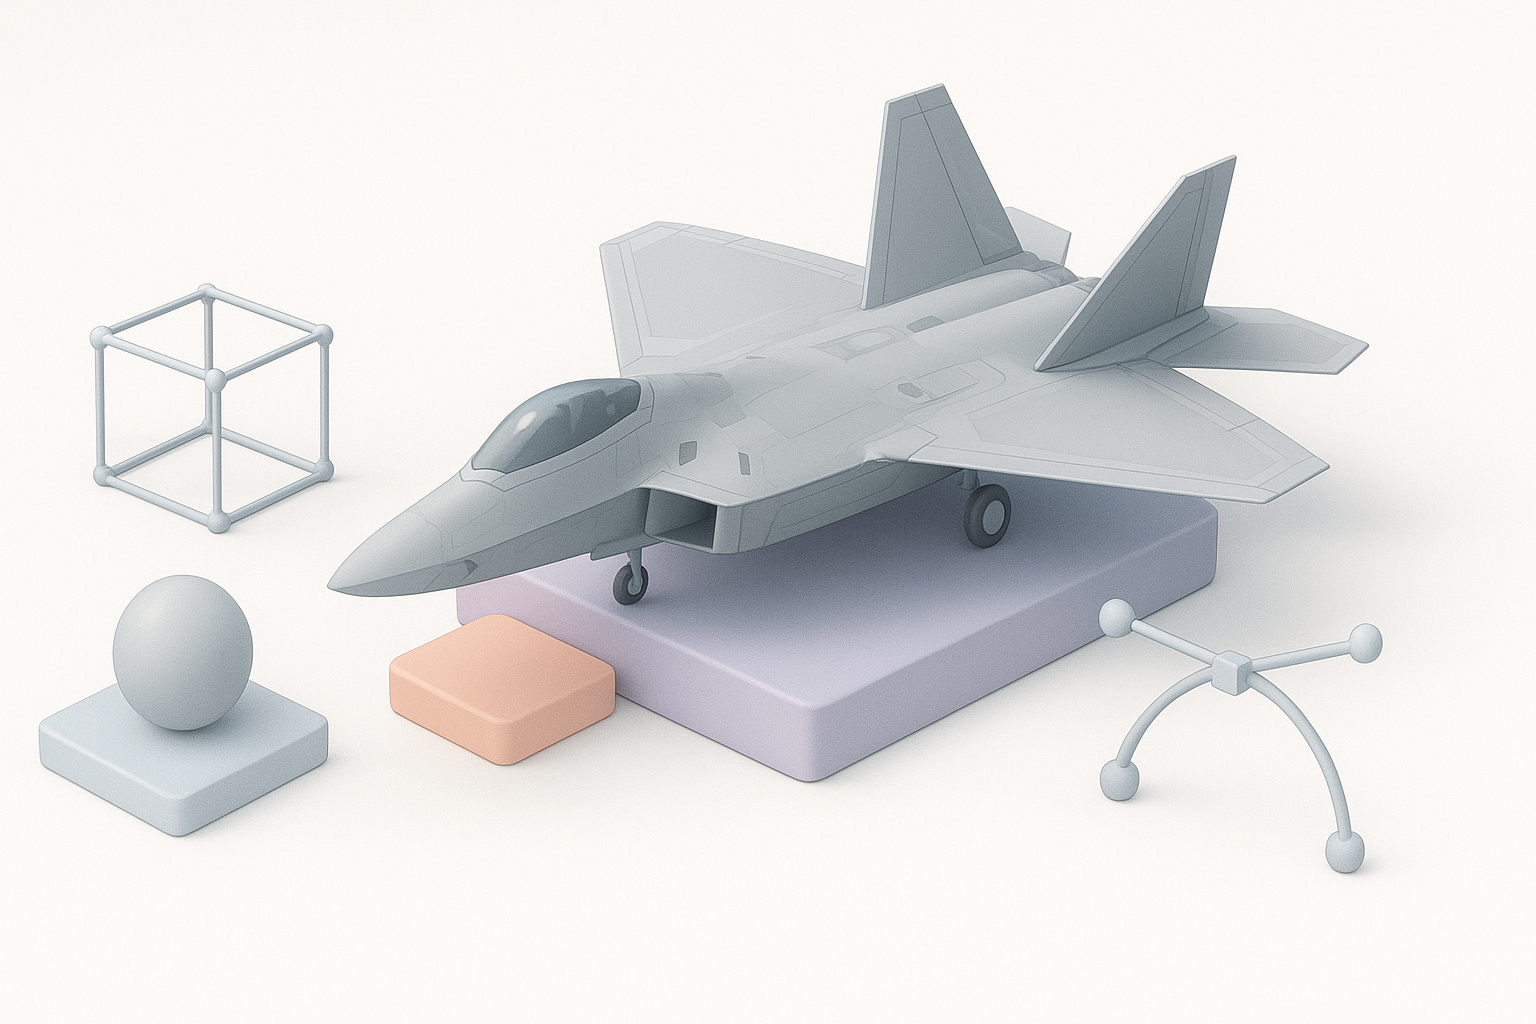
AI-Powered vs. Manual Modeling Approaches
AI-assisted tools dramatically reduce initial modeling time and handle repetitive tasks like segmentation and retopology. Manual modeling offers more control over fine details and topology. I use AI for speed, then manual methods for precision.
Pros and Cons:
- AI: Fast, good for base models, less control over fine detail
- Manual: Precise, time-consuming, best for custom features
Choosing the Right Tool for Your Needs
I select tools based on project scope and deadlines. For quick prototypes or large asset libraries, AI platforms are ideal. For hero assets or cinematic shots, manual refinement is essential.
Considerations:
- Project timeline and quality requirements
- Target platform (game, film, XR)
- Team skillset and workflow preferences
Tips, Pitfalls, and Lessons Learned
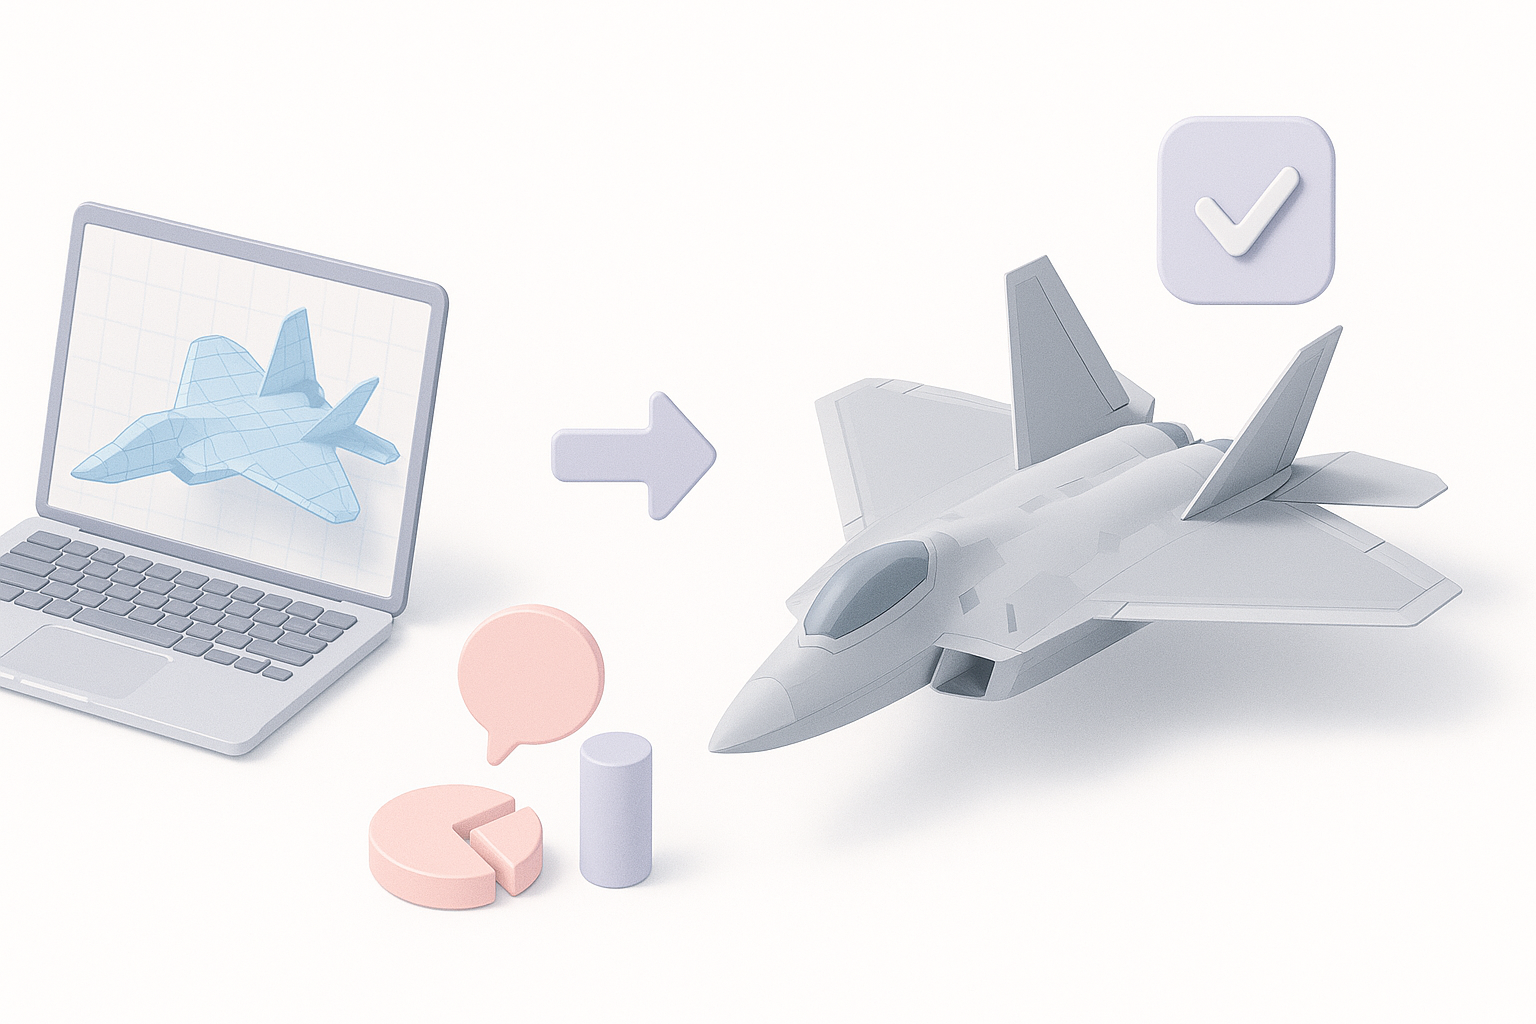
Common Challenges and How I Overcome Them
Inaccurate scaling, messy topology, and rushed texturing are common pitfalls. I overcome these by double-checking references, using automated retopology, and spending extra time on UVs and materials.
Mini-checklist:
- Align model to reference blueprints regularly
- Run mesh checks for topology and UV errors
- Test textures and rigs in engine before final export
Best Practices for Production-Ready Results
I always validate the model against reference images, optimize geometry for the target platform, and ensure textures and rigs are tested in context. Integrating AI tools with manual polish yields the best results.
Takeaways:
- Plan ahead and gather references before modeling
- Use AI tools for speed, manual methods for detail
- Test exports and rigs early to catch issues
Slug suggestion: f-22-raptor-3d-model-guide
Meta description: Learn how to create a production-ready F-22 Raptor 3D model with expert workflows, AI-assisted tools, and practical tips for gaming, film, and XR projects.
Keywords: f-22 raptor 3d model, 3d modeling workflow, ai 3d tools, retopology, texturing, rigging


