Creating a Black Myth Wukong 3D Model: Expert Workflow & Tips
Creating a production-ready Black Myth Wukong 3D model demands a blend of artistic vision and technical precision. In my experience, the key is to streamline each stage—from reference gathering to export—using a combination of hands-on techniques and AI-powered tools. This guide is for 3D artists aiming to deliver high-quality models efficiently, whether for games, film, or XR. I’ll share my proven workflow, practical tips, and lessons learned, so you can avoid common pitfalls and focus on what matters: creative excellence.
Key Takeaways:
- Start with thorough reference gathering and clear style definition.
- Efficient blockout and sculpting set the foundation for quality.
- Retopology and UV mapping are critical for game-ready assets.
- AI tools like Tripo can accelerate segmentation, retopology, and texturing.
- Rigging and export settings must match your target platform.
- Testing in-engine is essential for final polish.
Executive Summary: Key Takeaways for 3D Artists

What to Expect When Modeling Black Myth Wukong
Modeling a character like Wukong means balancing stylized elements with realistic detail. Expect complex anatomy, layered armor, and dynamic fur—each requiring careful attention. The process is iterative, with frequent back-and-forth between sculpting, retopology, and texturing.
Essential Tools and Workflow Overview
I rely on a mix of sculpting software, retopology tools, and AI-driven platforms like Tripo for segmentation and rapid asset generation. My workflow typically follows: reference > blockout > sculpt > retopo > UV > texture > rig > export. Keeping each stage modular helps with revisions and troubleshooting.
Reference Gathering and Concept Planning

Sourcing High-Quality Visual References
I start by collecting official concept art, screenshots, and fan interpretations. High-resolution images are essential—especially close-ups of armor, fur, and facial expressions. I also reference mythology and previous game adaptations for authenticity.
Checklist:
- Official game art and trailers
- Mythological references (Journey to the West)
- Real-world monkey anatomy
- Armor and texture details
Defining Style and Technical Requirements
Before modeling, I clarify style: realistic, stylized, or hybrid. Technical specs—poly count, texture resolution, rig complexity—depend on the target platform. I document these early to avoid rework.
Pitfall:
Skipping style definition leads to inconsistent results. Always align references and requirements before sculpting.
3D Modeling Workflow: From Blockout to High Poly
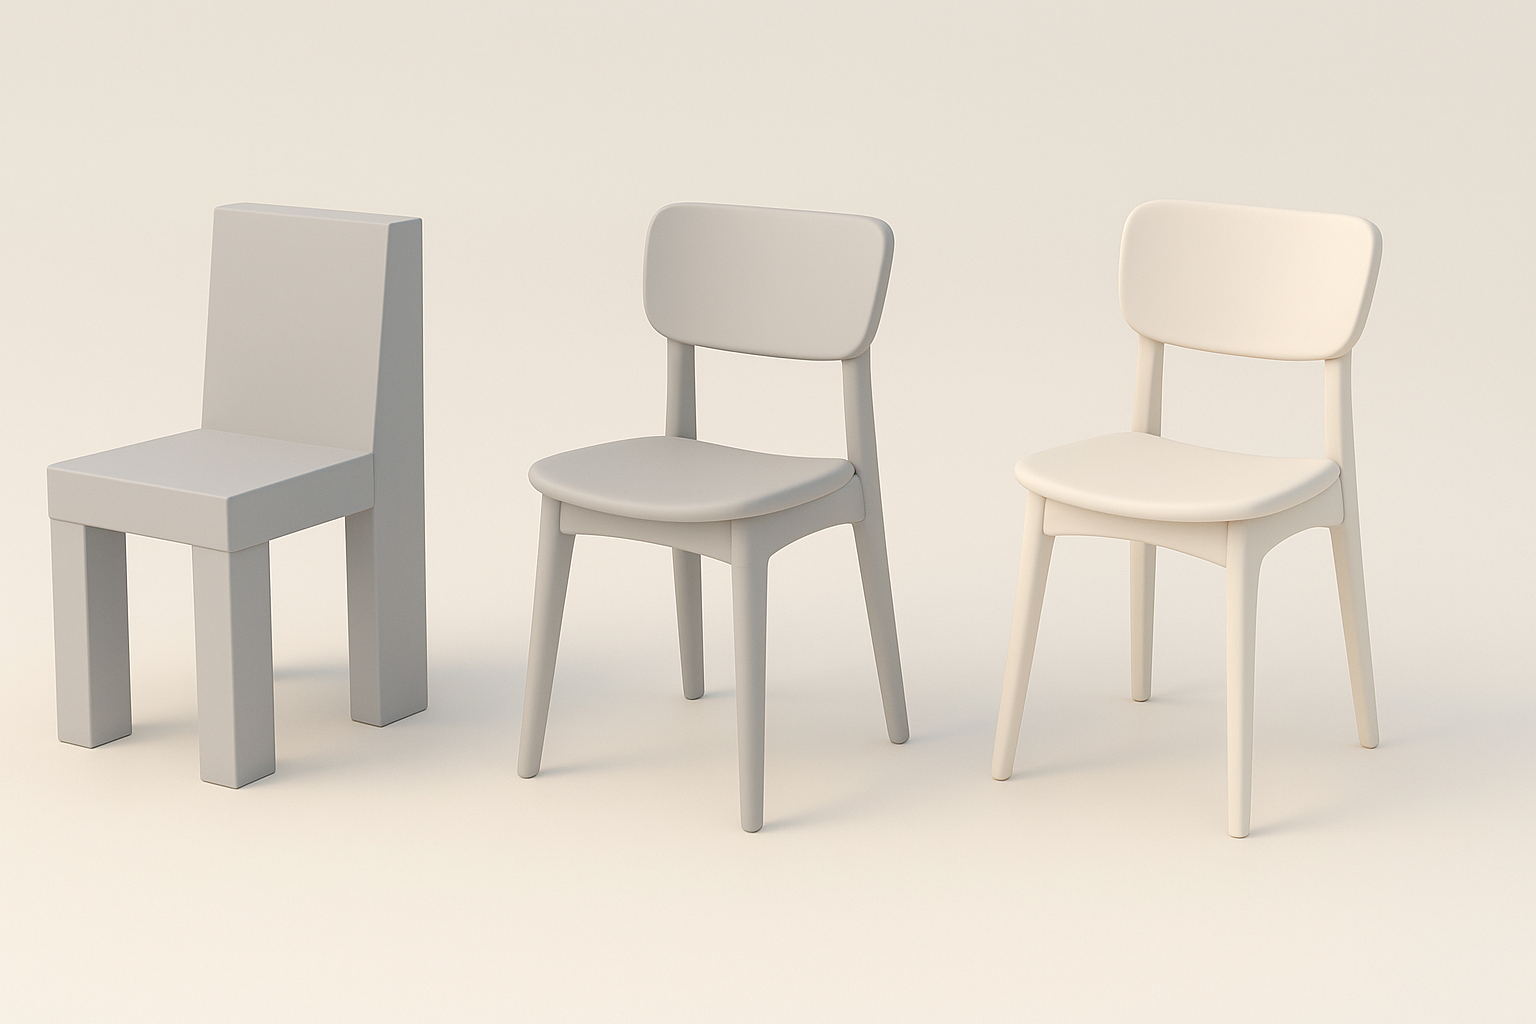
Blocking Out the Silhouette
I begin with basic shapes to establish proportions. Using primitives and simple meshes, I quickly iterate on the silhouette. This step is crucial for capturing Wukong’s dynamic posture and iconic features.
Tips:
- Focus on overall gesture, not details.
- Use symmetry tools for faster iteration.
Sculpting Details and Refining Anatomy
Once blockout is solid, I move to high-poly sculpting. I refine muscle structure, facial features, and fur flow. Layering armor and accessories comes next. I use Tripo AI’s segmentation to isolate parts for detailed work.
Pitfall:
Over-detailing too early can waste time. Always finalize anatomy before adding surface details.
Retopology and UV Mapping Best Practices
Efficient Retopology Techniques
Retopology ensures the model is animation-friendly and optimized. I use automated tools for initial passes, then manually tweak edge loops around joints and face. Tripo’s retopology feature helps speed up this stage.
Steps:
- Auto-retopo for base mesh
- Manual cleanup of critical loops (mouth, eyes, elbows)
- Test deformation with simple rigs
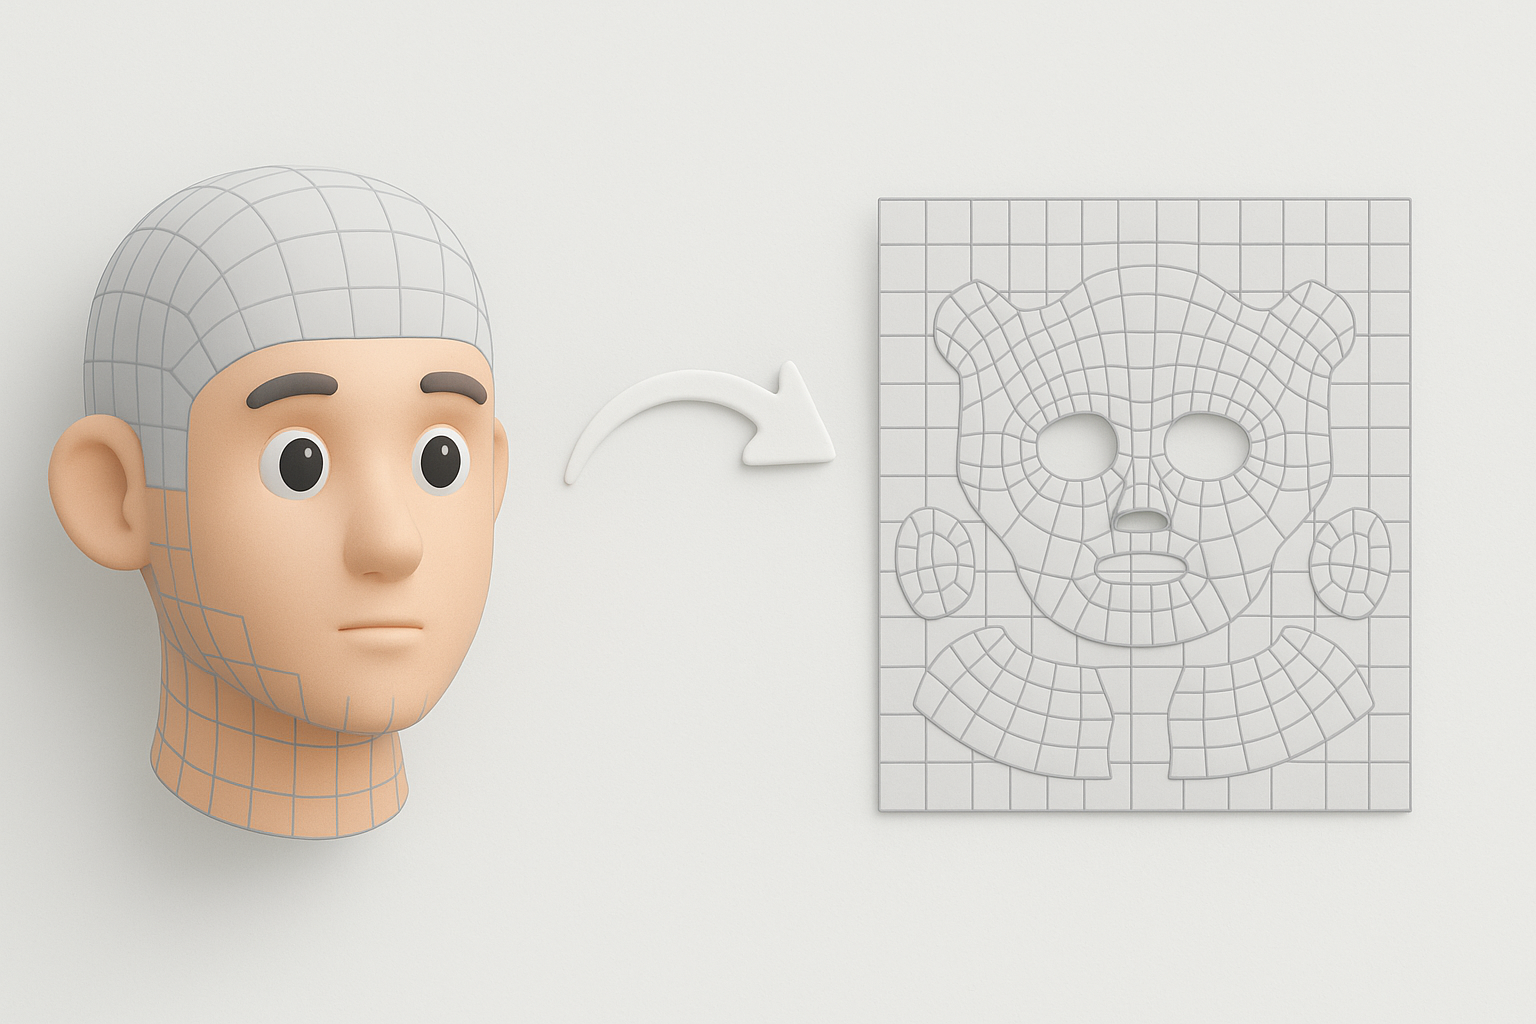
UV Unwrapping for Clean Textures
Clean UVs are vital for seamless texturing. I aim for minimal distortion and logical seams, especially on the face and armor. Tripo’s UV tools can generate quick layouts, but I always check and adjust manually.
Tips:
- Prioritize low-stretch regions for important details
- Stack UVs for symmetrical parts to save texture space
Texturing and Material Creation
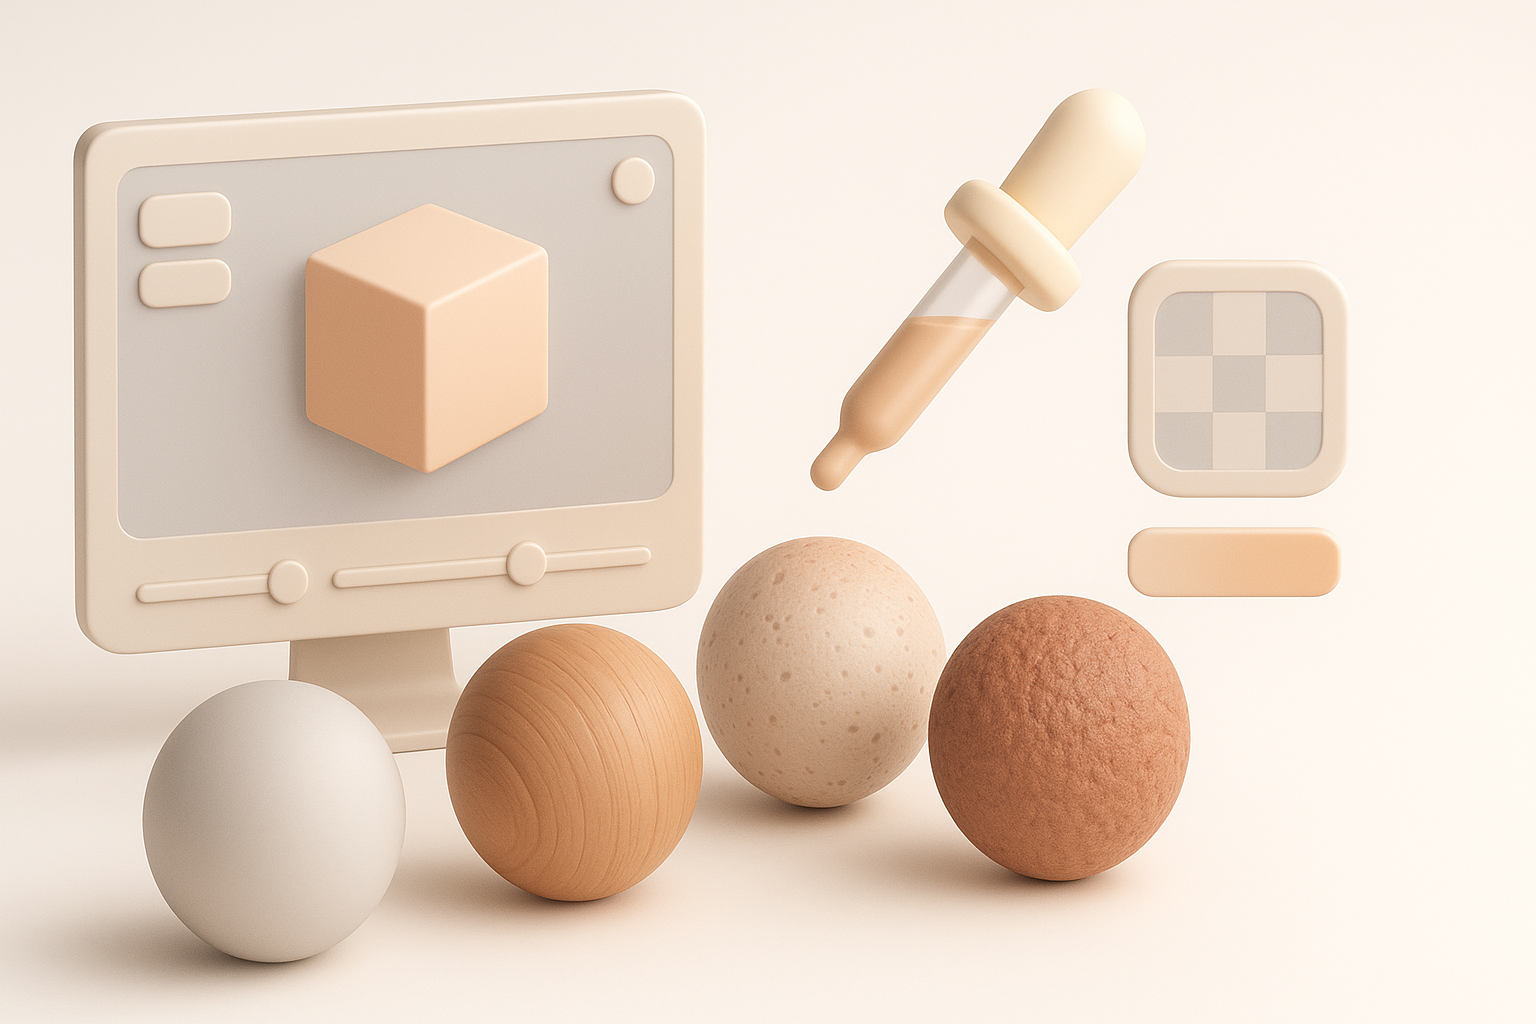
Painting Realistic Skin, Fur, and Armor
I use a mix of hand-painting and procedural textures. For skin and fur, I layer color, roughness, and normal maps. Armor gets metallic and worn effects. Tripo’s texturing tools help generate base maps, which I refine in my painting software.
Checklist:
- Reference monkey skin and fur patterns
- Use smart masks for dirt/wear
- Test materials under different lighting
Optimizing Materials for Game Engines
Game engines require efficient materials. I bake complex shaders into maps and limit texture sizes. Always preview in-engine to catch issues like specular glitches or incorrect normals.
Pitfall:
Forgetting to optimize maps leads to performance drops. Always check game engine requirements.
Rigging and Animation Preparation
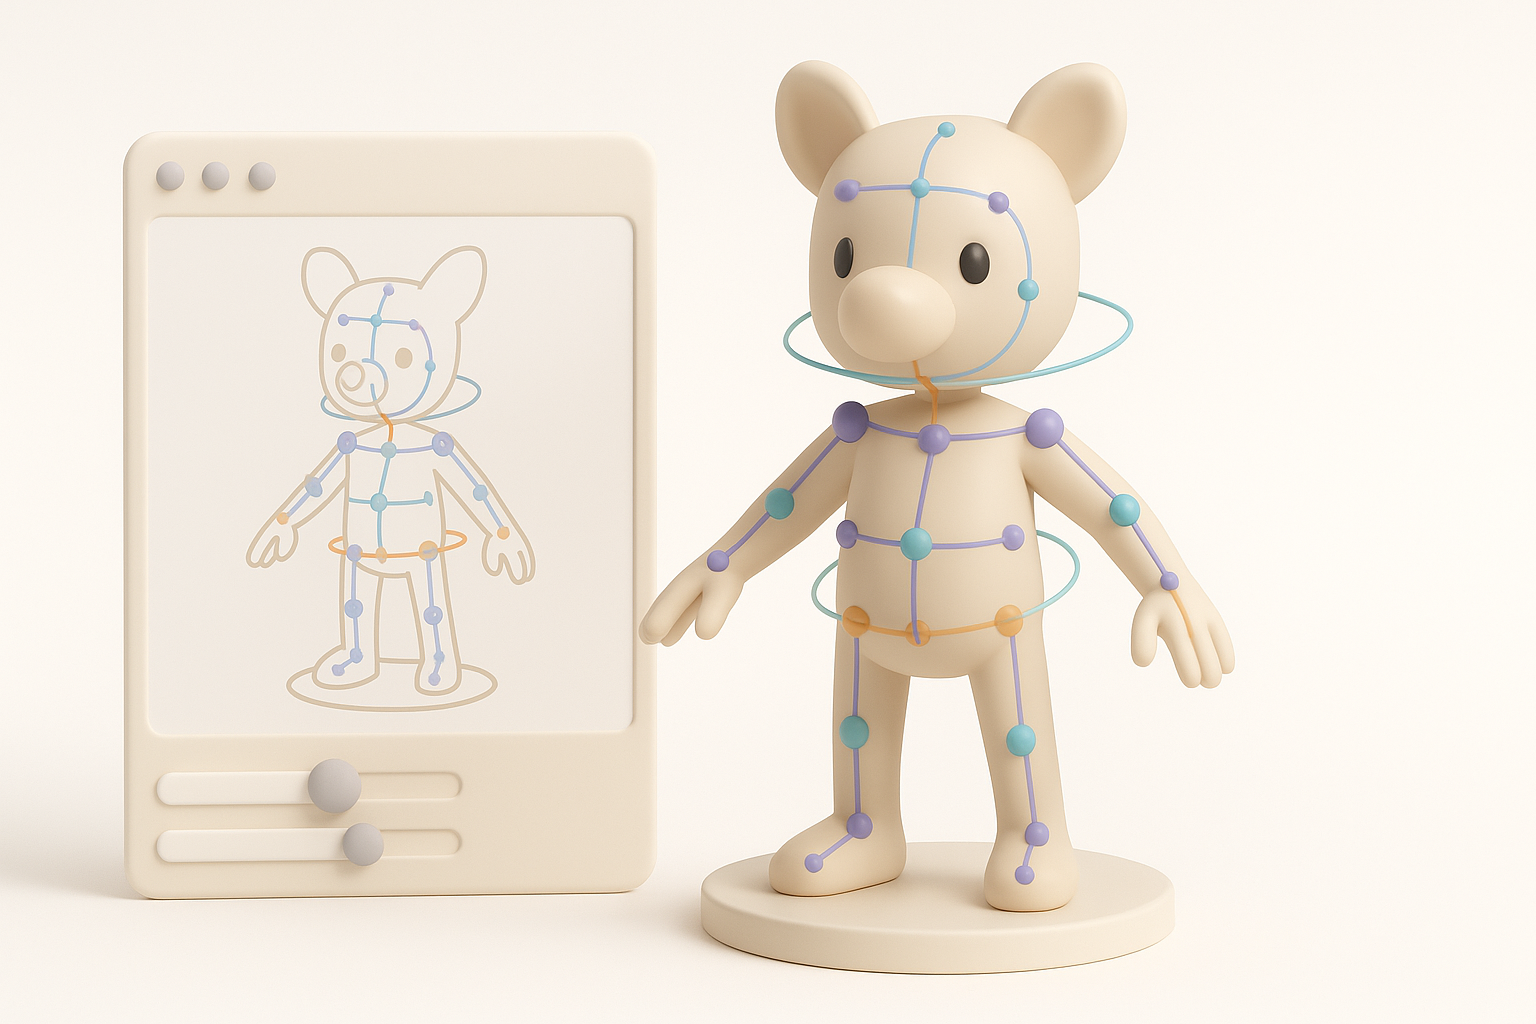
Setting Up a Flexible Rig
Rigging Wukong means planning for agility and expressive movement. I build a robust skeleton, add IK/FK controls, and test deformation on key poses. Tripo’s auto-rigging can handle basic setups, but I tweak for custom needs.
Tips:
- Add extra joints for tail and facial expressions
- Test with simple animations before finalizing
Preparing the Model for Animation
I clean up weights and ensure no mesh penetration. Exporting test animations helps catch issues early. I always keep backup versions before major rig changes.
Pitfall:
Ignoring weight painting leads to ugly deformations. Always test and iterate.
Exporting and Integrating the Model

Export Settings for Different Platforms
Exporting requires matching the target platform’s specs. I use FBX or GLTF formats, set scale and orientation, and embed textures. Tripo’s export presets simplify this step for common engines.
Checklist:
- Match scale to engine units
- Export with correct axis orientation
- Include all necessary maps (diffuse, normal, etc.)
Testing and Troubleshooting in Engine
Once imported, I check for shading errors, rig issues, and animation glitches. I run quick playtests to ensure performance and visual fidelity.
Pitfall:
Skipping engine tests risks last-minute surprises. Always verify integration before final delivery.
Leveraging AI Tools for Faster 3D Production

How I Use Tripo AI in My Workflow
I use Tripo for fast segmentation, retopology, and base texturing. It’s especially useful for rapid prototyping and iterative feedback. For complex assets, I combine AI outputs with manual refinement.
Tips:
- Use AI for repetitive tasks, manual for creative decisions
- Validate AI-generated meshes before final export
Comparing AI-Powered and Traditional Methods
AI tools accelerate mundane steps, but traditional methods still excel in custom detail and artistic control. In my workflow, AI saves time on setup, letting me focus on polish and creative direction.
Pitfall:
Over-reliance on AI can lead to generic results. Always add personal touches.
Lessons Learned and Expert Tips

Common Pitfalls and How to Avoid Them
- Rushing reference gathering: Leads to inaccurate models.
- Skipping topology checks: Causes animation issues.
- Neglecting optimization: Results in performance bottlenecks.
How I avoid them:
- Double-check references before sculpting.
- Test topology with basic rigs.
- Profile assets in-engine early.
My Personal Recommendations for Success
- Always start with clear style and technical specs.
- Use AI tools for speed, but refine manually for quality.
- Test every stage in your target engine.
- Keep backup versions at major milestones.
- Never underestimate the value of thorough reference and planning.
By following this workflow and leveraging both traditional and AI-powered tools, you can create a production-ready Black Myth Wukong 3D model efficiently—without sacrificing artistic integrity or technical quality.


