Expert Guide to 3D Vehicle Modeling: Workflow & Best Practices
As someone who’s spent years building vehicles for games, XR, and film, I can say that the right workflow can make or break your 3D vehicle projects. Leveraging AI-powered tools has dramatically reduced my turnaround times, letting me focus on creativity rather than technical hurdles. This guide distills my hands-on process, from concept to production-ready assets, with practical tips for texturing, rigging, and optimizing. Whether you’re a solo artist or part of a studio pipeline, these best practices will help you deliver high-quality, efficient models.
Key takeaways
- Reference and planning are critical: Good results start with thorough concept and reference gathering.
- AI-powered tools accelerate workflows: Use them for segmentation, retopology, and texturing to save hours.
- Model with production in mind: Optimize geometry and UVs early for real-time or offline rendering needs.
- Rig and animate smartly: Focus on realistic movement and efficient control setups.
- Stay organized: Consistent naming, clean topology, and proper file management prevent pipeline headaches.
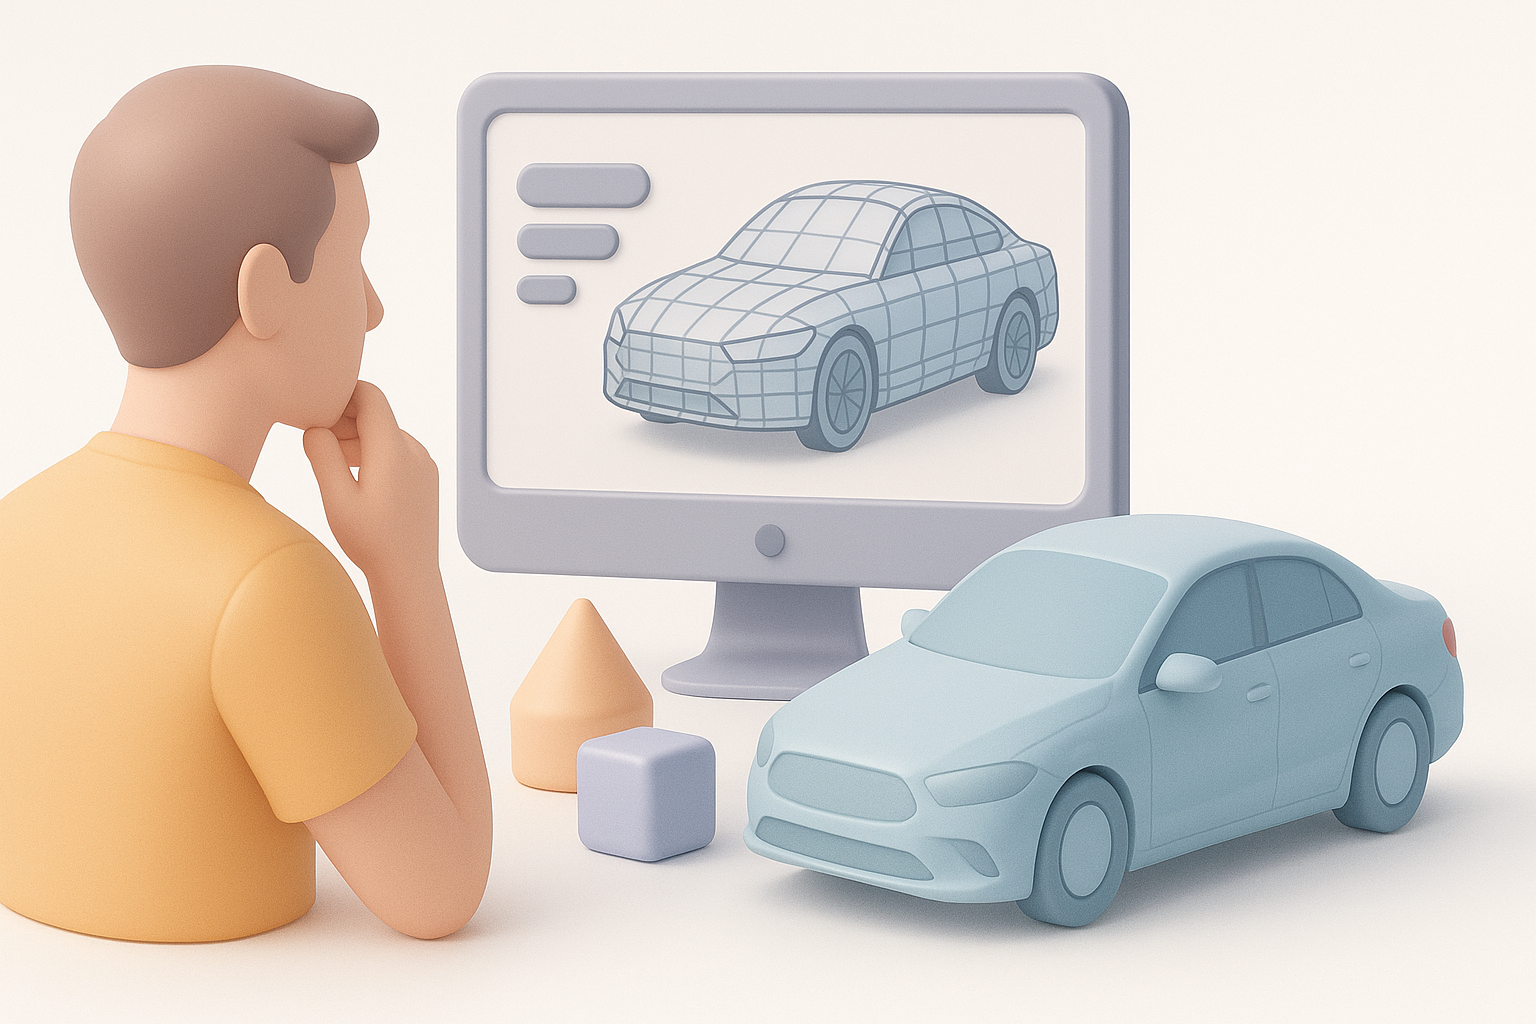
Overview of 3D Vehicle Modeling
What 3D vehicle modeling involves
3D vehicle modeling is the process of creating digital representations of cars, trucks, aircraft, or any transport asset for use in games, film, XR, or visualization. In practice, this means translating 2D concepts or real-world references into clean, accurate 3D geometry, then texturing, rigging, and animating as needed.
I typically start with broad shapes, then refine details like panel lines, tires, and interiors. The complexity depends on the project—game assets often need lower poly counts, while cinematic vehicles demand more detail.
Key applications and industry use cases
- Games: Real-time vehicles for racing, open-world, or simulation titles.
- Film/TV: High-res hero assets for VFX shots or background vehicles.
- XR/VR: Optimized models for immersive experiences.
- Product visualization: Prototypes for automotive design or marketing.
No matter the sector, accuracy, and efficient workflow are essential. I always tailor my approach to the intended platform and audience.
Choosing the Right Tools and Platforms
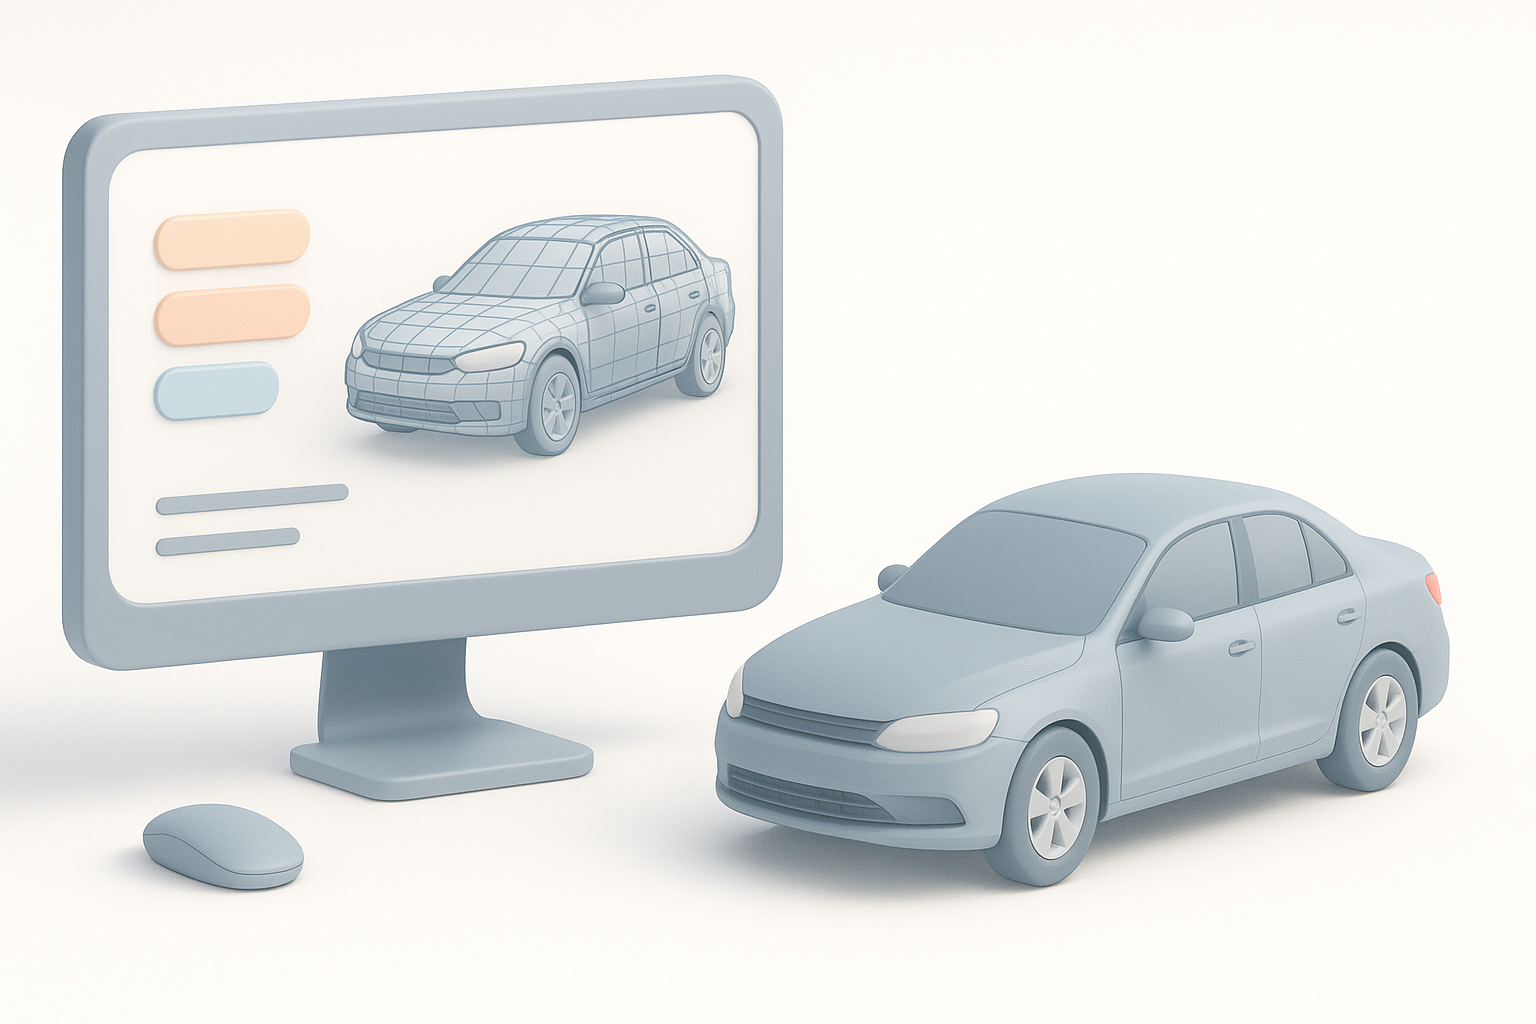
AI-powered solutions for rapid modeling
AI-driven platforms like Tripo have transformed my workflow, especially for blocking out base meshes and automating repetitive tasks like segmentation and retopology. I can generate a production-ready vehicle from a sketch or prompt, then refine details manually.
My typical approach:
- Use AI for initial geometry and UVs.
- Manually adjust key proportions and add unique design elements.
- Leverage built-in texturing to quickly iterate on looks.
Comparing traditional and modern workflows
Traditional modeling relies on manual polygon modeling, sculpting, and baking maps—effective but time-consuming. Modern workflows blend these methods with AI assistance, dramatically reducing iteration cycles.
Pros of modern (AI-assisted) workflows:
- Faster blockouts and retopology.
- Automated UV unwrapping and texturing.
- Easier adaptation to different styles or platforms.
Pitfall: Don’t rely solely on automation—manual tweaks are still needed for quality and uniqueness.
Step-by-Step Workflow for Vehicle Modeling
Concept development and reference gathering
Every successful project I’ve worked on started with solid references. I gather real-world photos, blueprints, and style guides before opening any 3D app.
Checklist:
- Collect orthographic and perspective images.
- Define key proportions and unique features.
- Gather material and texture references.
This prep work ensures accuracy and saves time during modeling.
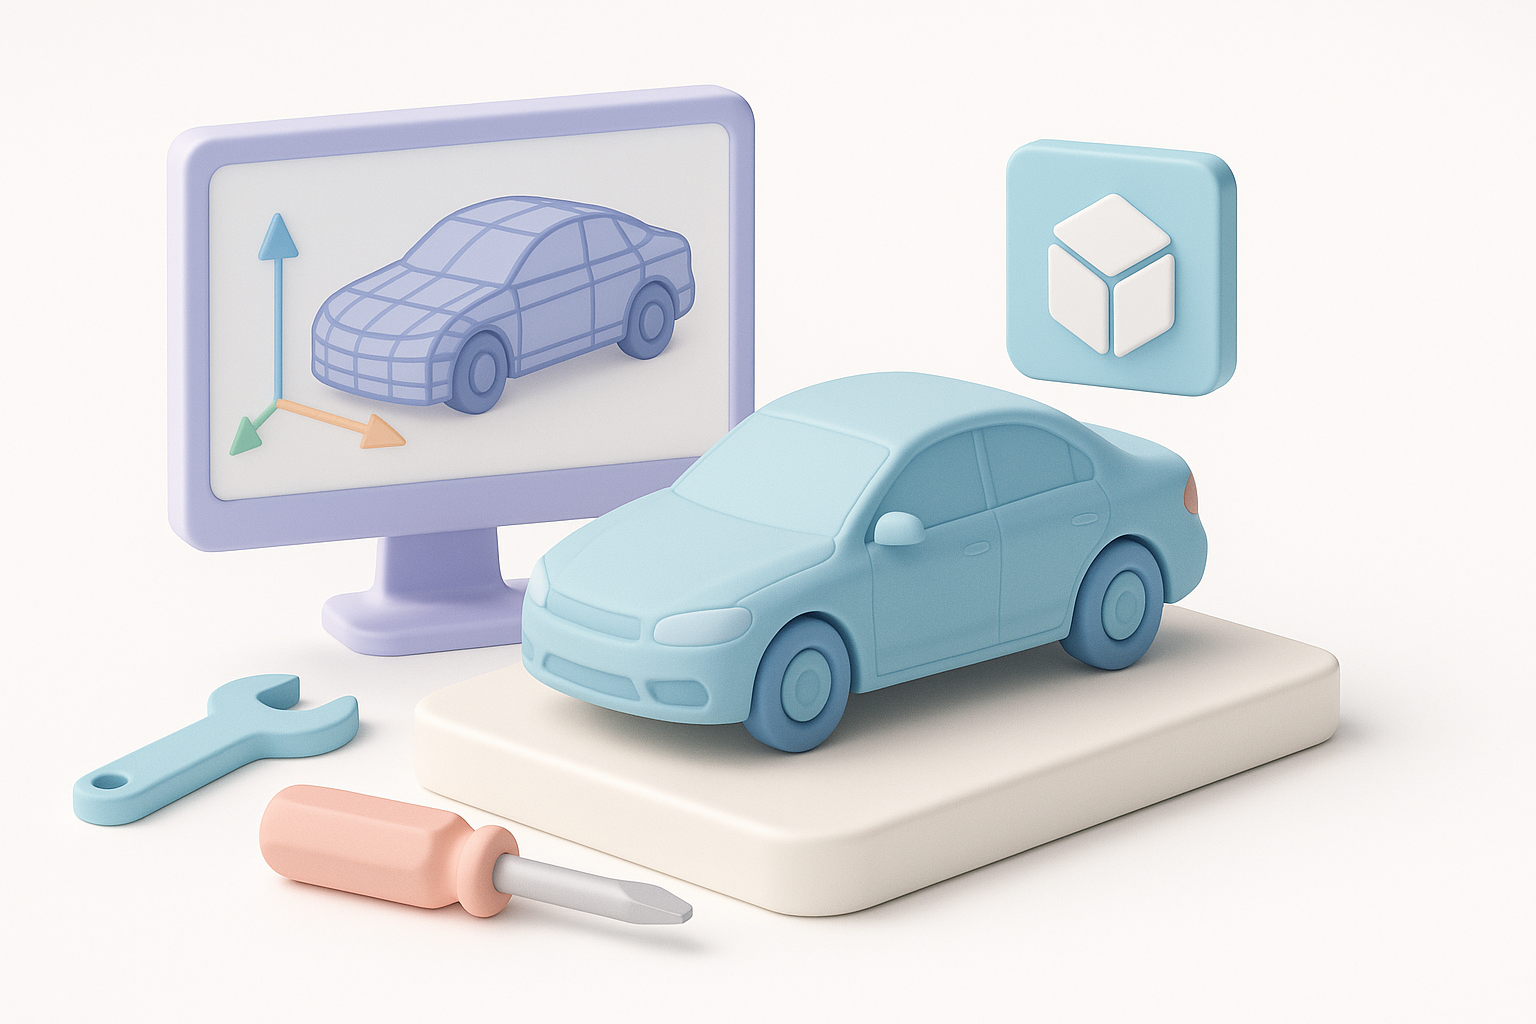
Blocking out shapes and refining geometry
I begin with basic shapes, focusing on silhouette and major forms. With AI tools, I can generate a rough base mesh from a sketch or prompt, then refine it in my DCC tool.
Steps:
- Block out main body, wheels, and windows.
- Refine proportions and ensure symmetry.
- Add secondary details (grilles, lights, interior if needed).
Tip: Don’t rush into details—get the overall shape right first.
Best Practices for Texturing, Rigging, and Animation

Efficient texturing techniques for vehicles
Texturing can make or break a vehicle asset. I rely on AI-powered auto-unwrap and smart material assignment for base textures, then layer custom details.
My workflow:
- Use auto-UV tools for clean, non-overlapping UVs.
- Apply procedural materials for metals, glass, and rubber.
- Hand-paint logos, decals, and wear for realism.
Pitfall: Watch for stretching and seams—inspect your UVs before finalizing.
Rigging and animating for realistic movement
For vehicles, rigging focuses on wheels, suspension, and sometimes doors or hatches. I use auto-rigging tools when available, then tweak constraints for realism.
Checklist:
- Set up rotation controls for wheels.
- Add suspension and steering if required.
- Test animations for smoothness and believability.
Tip: Keep rigs as simple as possible for real-time use.
Optimizing Models for Production and Real-Time Use
Retopology and segmentation tips
Clean topology is crucial for performance and deformation. I use AI-based retopology to quickly get quad-based meshes, then manually adjust edge flow where needed.
Best practices:
- Segment large parts (body, wheels, glass) for easy material assignment.
- Maintain even polygon distribution.
- Avoid ngons and unnecessary triangles.
Exporting and integrating into pipelines
Exporting correctly is key for downstream use. I stick to industry-standard formats (FBX, OBJ), ensuring proper scale and orientation.
Steps:
- Freeze transforms and apply scale.
- Name parts consistently.
- Export with embedded textures when possible.
Pitfall: Test exports in your target engine or renderer to catch issues early.
Personal Insights and Lessons Learned
Common challenges and how I overcome them
- Reference gaps: When references are missing, I use AI-generated concept sketches to fill in details.
- Topology issues: Automated retopology saves time, but I always inspect and manually clean up problem areas.
- Time pressure: AI-powered tools let me deliver on tight deadlines without sacrificing quality.
Workflow improvements using AI-powered tools
Integrating AI has let me focus on design and polish, not grunt work. For example, I can:
- Generate base meshes from sketches or prompts.
- Automatically segment and unwrap UVs.
- Iterate on textures and materials in minutes, not hours.
Final tip: Stay flexible—combine automation with manual skill for the best results. The right balance delivers both speed and quality in 3D vehicle modeling.


