Création et utilisation de modèles 3D de la Terre : conseils d'experts
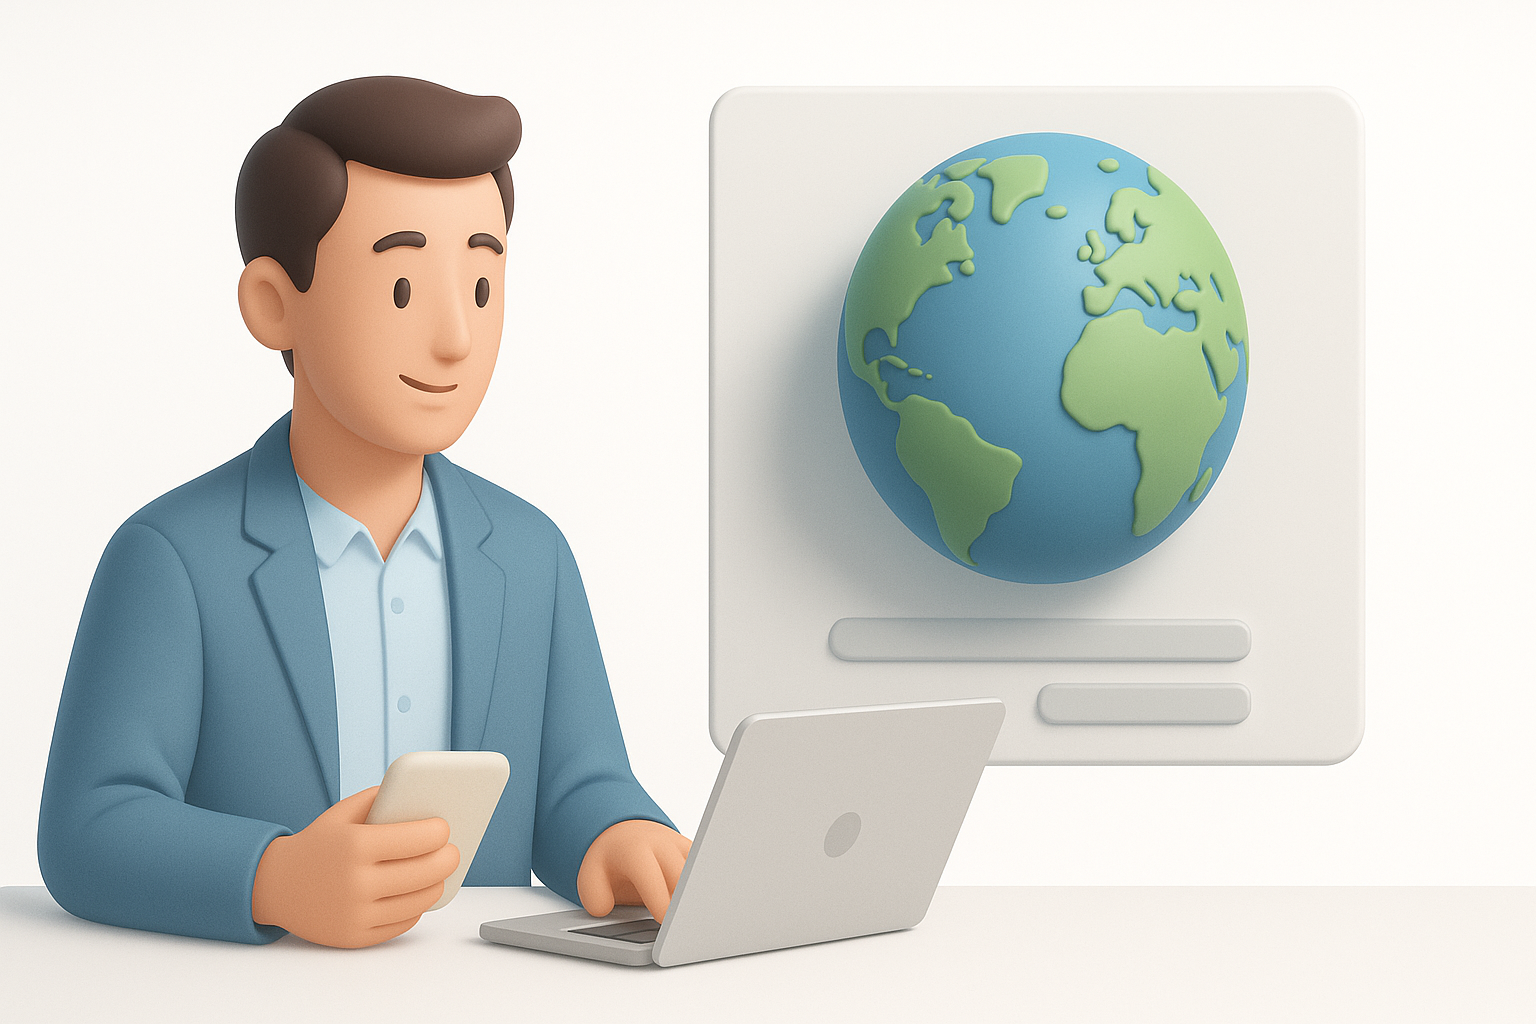
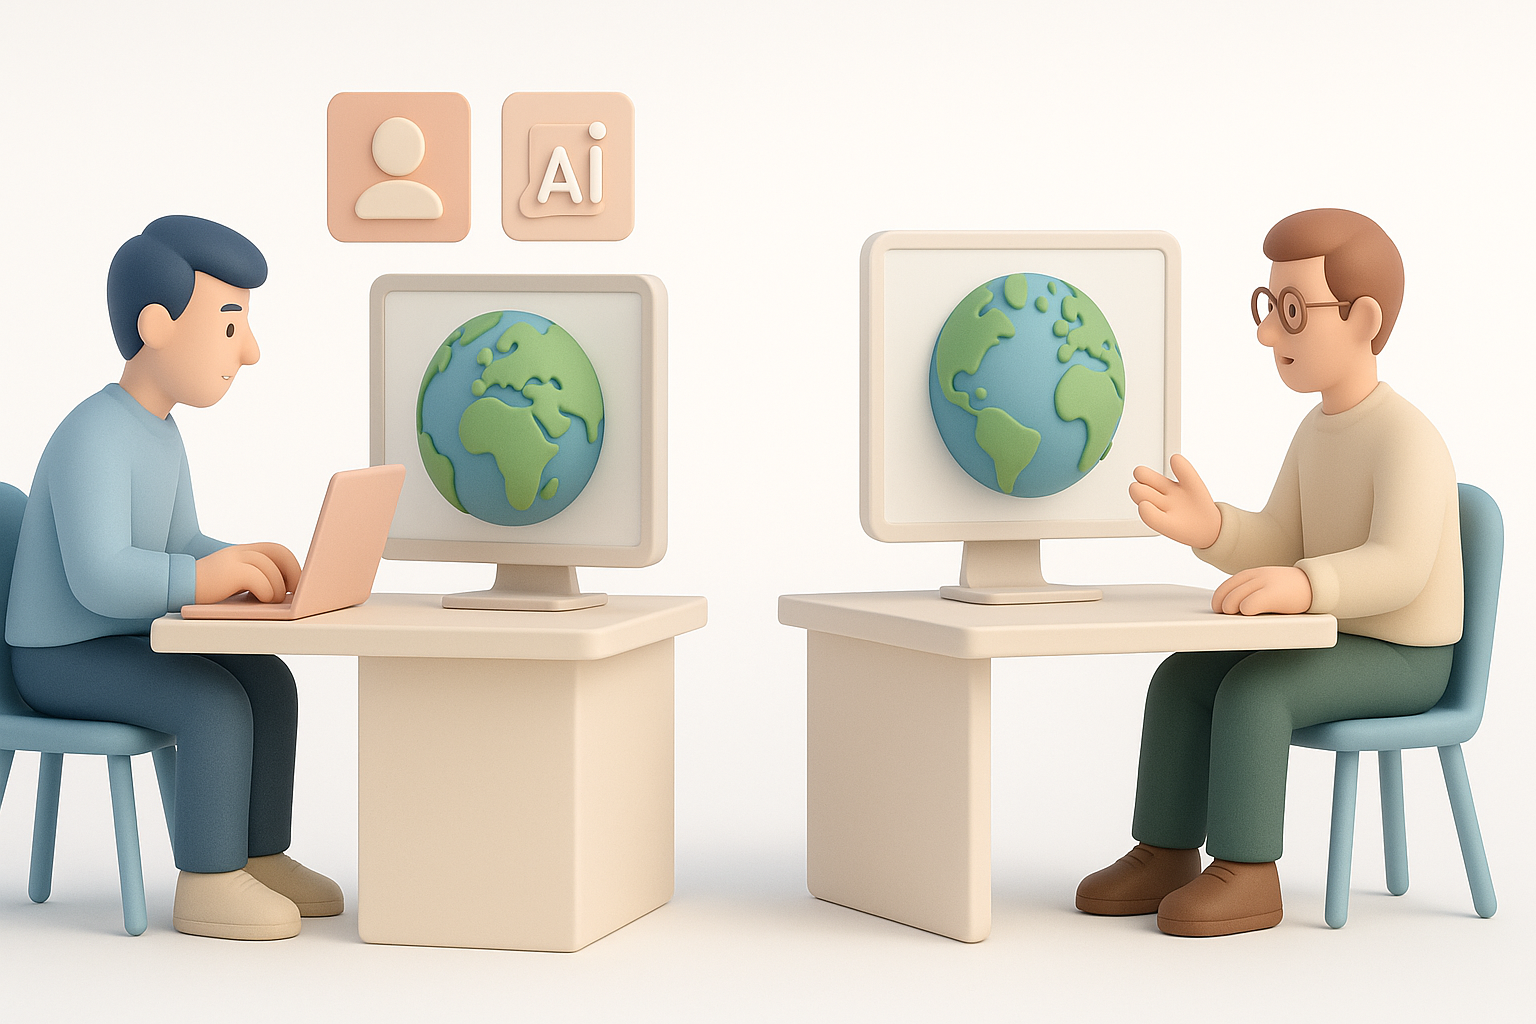
La création et le déploiement de modèles 3D de la Terre sont devenus considérablement plus accessibles et efficaces grâce aux récentes avancées des outils basés sur l'IA. D'après mon expérience, un bon flux de travail peut vous faire passer du concept à un modèle réaliste de la Terre, prêt pour la production, en quelques heures plutôt qu'en quelques jours. Que vous travailliez dans le jeu vidéo, l'éducation, la simulation ou la XR, comprendre les étapes clés — sélection des outils, texturation, optimisation et intégration — vous fera gagner du temps et vous évitera bien des maux de tête. Ce guide résume mon processus pratique et mes meilleures pratiques pour tous ceux qui cherchent à créer des modèles 3D de la Terre de haute qualité avec un minimum de friction.
Points clés à retenir
- Les plateformes basées sur l'IA comme Tripo simplifient la création de modèles 3D de la Terre à partir de textes, d'images ou de croquis.
- Des textures de haute qualité et une géométrie précise sont essentielles pour le réalisme et l'utilité.
- La rétopologie et la simplification du maillage garantissent que les modèles restent performants sur toutes les plateformes.
- Choisissez des flux de travail et des formats d'exportation qui correspondent à votre application cible et aux besoins de votre équipe.
- Collaborez tôt et souvent pour éviter les retouches et garantir la compatibilité.
Présentation des modèles 3D de la Terre et de leurs applications
Qu'est-ce qu'un modèle 3D de la Terre ?
Un modèle 3D de la Terre est une représentation numérique tridimensionnelle de notre planète, comprenant généralement les masses continentales, les océans et parfois des effets atmosphériques. Ces modèles vont de simples sphères texturées à des reconstructions très détaillées et géospatialement précises.
De mon point de vue, le niveau de détail et de précision dépend entièrement de votre utilisation finale. Pour les applications en temps réel, j'utilise souvent des modèles à faible nombre de polygones (low-poly) avec des textures cuites (baked). Pour des besoins cinématographiques ou éducatifs, un niveau de détail et une précision plus élevés sont essentiels.
Utilisations courantes dans l'industrie et l'éducation
Les modèles 3D de la Terre sont fondamentaux dans plusieurs industries :
- Jeu vidéo et XR : Pour la navigation planétaire immersive et la création de mondes.
- Éducation : Visualisation de la géographie, des modèles climatiques ou de l'activité tectonique.
- Simulation : Entraînement, simulateurs de vol et planification des interventions en cas de catastrophe.
- Cinéma/Médias : Prises de vue réalistes de la Terre pour les VFX et l'animation.
Dans mes projets, j'adapte la complexité du modèle à l'application — par exemple, en privilégiant le détail des textures pour la VR, ou l'efficacité du maillage pour les visionneuses web.
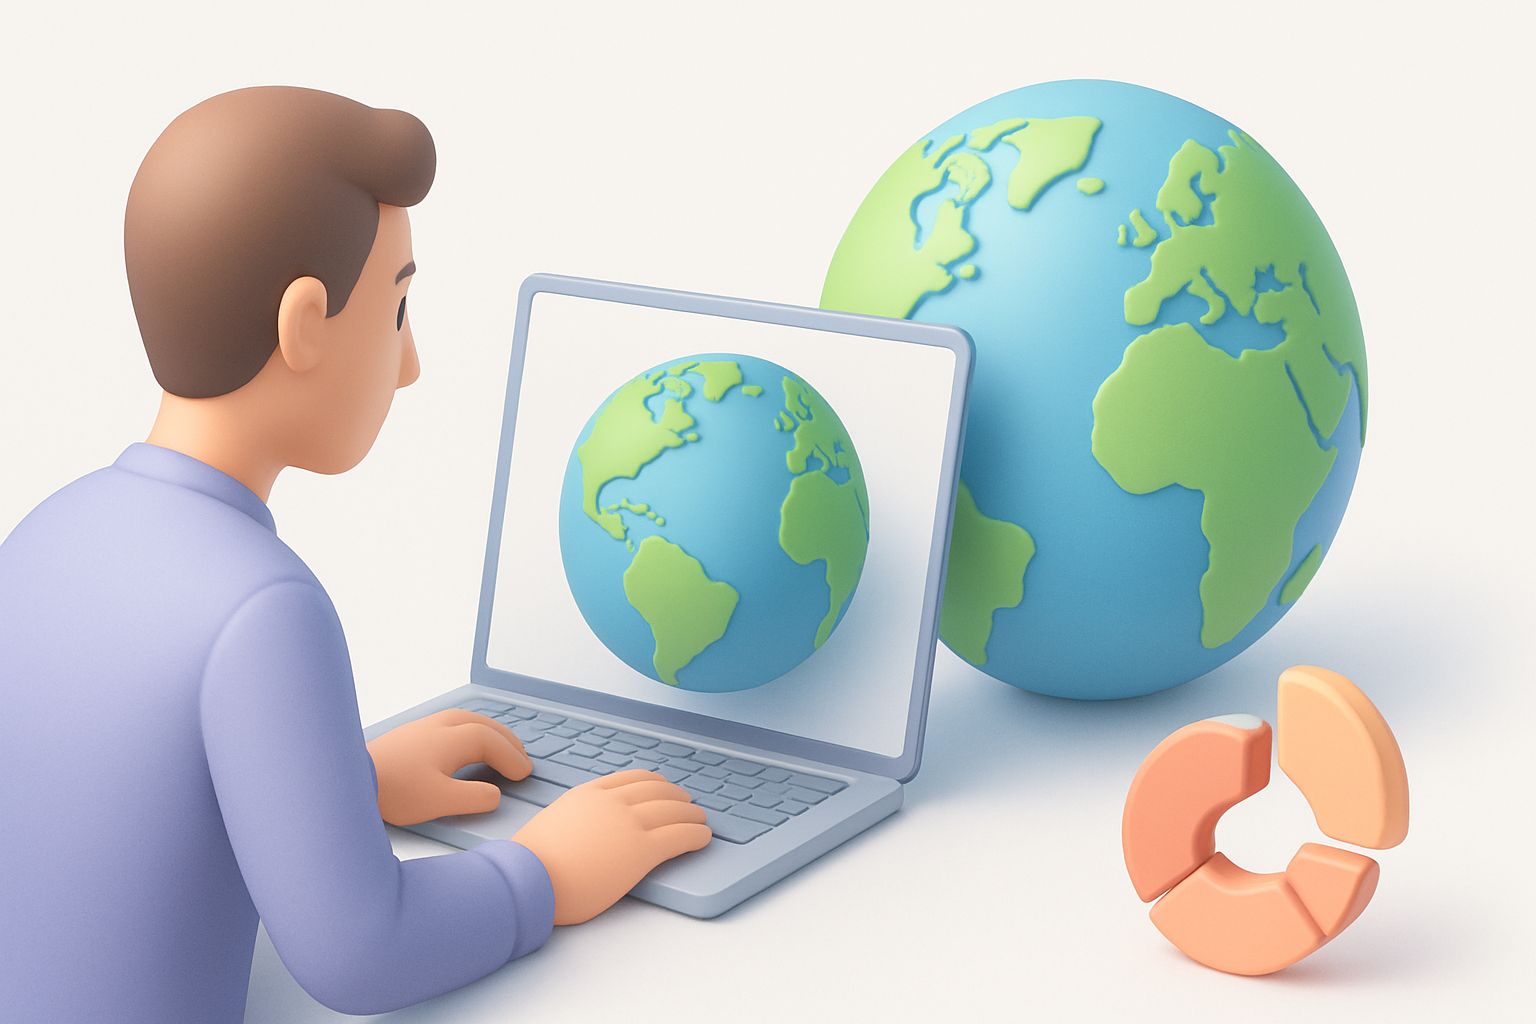
Mon flux de travail pour la création d'un modèle 3D de la Terre
Choisir les bons outils et ressources
Choisir le bon ensemble d'outils est crucial. En général, j'évalue :
- Exigences d'entrée : Dois-je commencer à partir d'un croquis, d'une image ou d'une invite textuelle (prompt) ?
- Formats de sortie : De quoi mon pipeline ou mon client a-t-il besoin ?
- Besoins d'automatisation : Est-ce que j'optimise pour la vitesse ou pour des détails personnalisés ?
Pour le prototypage rapide, je m'appuie sur Tripo pour générer le modèle de base et les UVs initiaux. Pour plus de contrôle, j'utilise parfois des DCCs traditionnels pour des ajustements manuels.
Liste de contrôle :
- Confirmer les ressources sources (cartes, textures, DEMs)
- Identifier les exigences de la plateforme (moteur, visionneuse, etc.)
- Tester les sorties générées par l'IA pour valider la qualité de base
Processus de création étape par étape
Voici mon flux de travail typique :
- Collecte des prompts/ressources : Rassemblez des images de référence ou définissez les exigences (ex. couverture nuageuse, lumières nocturnes).
- Génération du modèle : Utilisez Tripo pour créer une sphère terrestre de base avec une segmentation initiale et un dépliage UV.
- Application des textures : Importez des images satellites haute résolution pour les cartes diffuses, de normales (normal) et spéculaires (specular).
- Détails : Ajoutez des éléments tels que des nuages, des lumières de la ville ou un déplacement de terrain (displacement) selon les besoins.
- Rétopologie (si nécessaire) : Simplifiez le maillage tout en préservant la silhouette et les détails.
- Exportation : Exportez dans le format requis pour l'étape suivante.
Piège : Ignorer la vérification des UVs peut entraîner un mauvais alignement des textures, en particulier aux pôles.
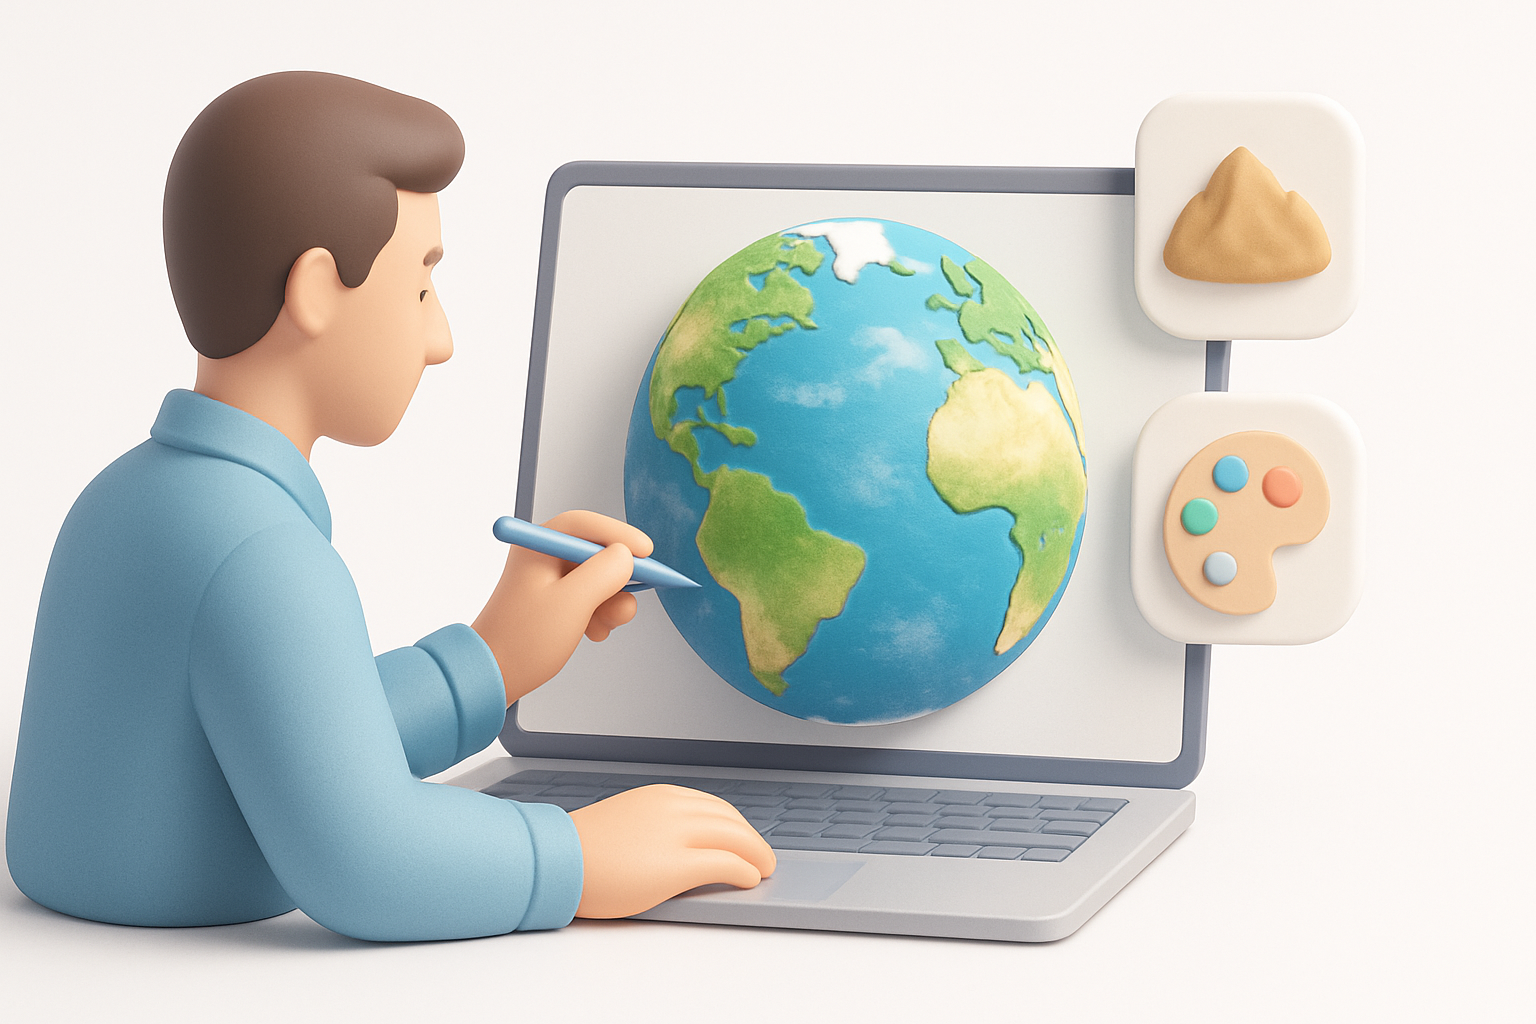
Meilleures pratiques pour une texturation et des détails réalistes
Recherche et application de textures de haute qualité
Des textures de qualité sont indispensables pour le réalisme. Mes sources habituelles sont :
- NASA Blue Marble ou des ensembles de données satellites similaires pour les cartes diffuses.
- Les lumières de nuit et les superpositions de nuages provenant de répertoires géospatiaux ouverts.
- Des cartes de normales (normal maps) et de relief (bump maps) pour les détails du relief.
Je les applique dans Tripo ou dans le DCC de mon choix, en m'assurant que les UVs ne présentent pas de distorsion. Pour un réalisme avancé, je superpose plusieurs couches de textures (par exemple, des nuages au-dessus de la terre).
Mini-liste de contrôle :
- Aligner les coutures de texture sur la ligne de changement de date
- Tester les régions polaires pour éviter les étirements
- Utiliser des images 16 bits pour des dégradés plus fluides
Conseils pour obtenir réalisme et précision
- Effets atmosphériques : Ajoutez une sphère bleue subtile et semi-transparente pour l'atmosphère.
- Cartes spéculaires/de rugosité : Les océans doivent refléter la lumière, la terre doit être mate.
- Échelle et orientation : Vérifiez l'alignement des axes pour la compatibilité avec les moteurs.
Ce que j'ai constaté : de légers ajustements de la direction de la lumière et de l'opacité des nuages peuvent rendre un modèle beaucoup plus vivant.
Optimisation des modèles 3D de la Terre pour la performance
Rétopologie et simplification du maillage
La performance est essentielle, en particulier dans les applications en temps réel. J'utilise des outils de rétopologie automatisés (intégrés à Tripo ou externes) pour réduire le nombre de polygones tout en conservant la forme.
- Conserver la silhouette : Préservez la rondeur de la sphère.
- Décimer les zones non visibles : Réduisez les détails sur la face cachée ou dans les zones non visibles par la caméra.
Piège : Une décimation trop agressive peut briser l'alignement des textures — effectuez toujours une nouvelle cuisson (re-bake) ou ajustez les UVs après des modifications majeures du maillage.
Équilibrer détails et efficacité
- LOD (Niveau de détail) : Préparez plusieurs versions pour différentes distances.
- Atlas de textures : Combinez plusieurs cartes pour réduire les appels de rendu (draw calls).
- Tester dans le moteur/la visionneuse cible : Surveillez les baisses de performance ou les artefacts visuels.
D'après mon expérience, équilibrer une sphère de 10k à 20k polygones avec des textures 4K offre un bon compromis pour la plupart des utilisations sur PC et XR.
Comparaison des méthodes de création basées sur l'IA et traditionnelles
Avantages des flux de travail basés sur l'IA
Les outils basés sur l'IA comme Tripo ont transformé mon approche :
- Vitesse : Générez des modèles de base et des UVs en quelques secondes.
- Accessibilité : Les non-experts peuvent créer des ressources utilisables.
- Itération : Testez rapidement différents aspects ou superpositions de cartes.
Pour le prototypage rapide et le travail de concept, j'utilise par défaut les flux de travail IA. Ils sont particulièrement pratiques pour les délais serrés ou lorsque l'on travaille avec des non-spécialistes de la 3D.
Quand utiliser des méthodes alternatives
Les méthodes traditionnelles ont toujours leur place :
- Topologie personnalisée : Pour des simulations très spécialisées ou des VFX pour le cinéma.
- Détails ajustés à la main : Lorsque vous avez besoin d'un contrôle absolu sur chaque sommet (vertex) ou pixel.
- Compatibilité du pipeline : Lors du travail avec des outils existants (legacy) ou des exigences de ressources strictes.
Je combine souvent les deux approches, en commençant par l'IA pour la base et en affinant manuellement selon les besoins.
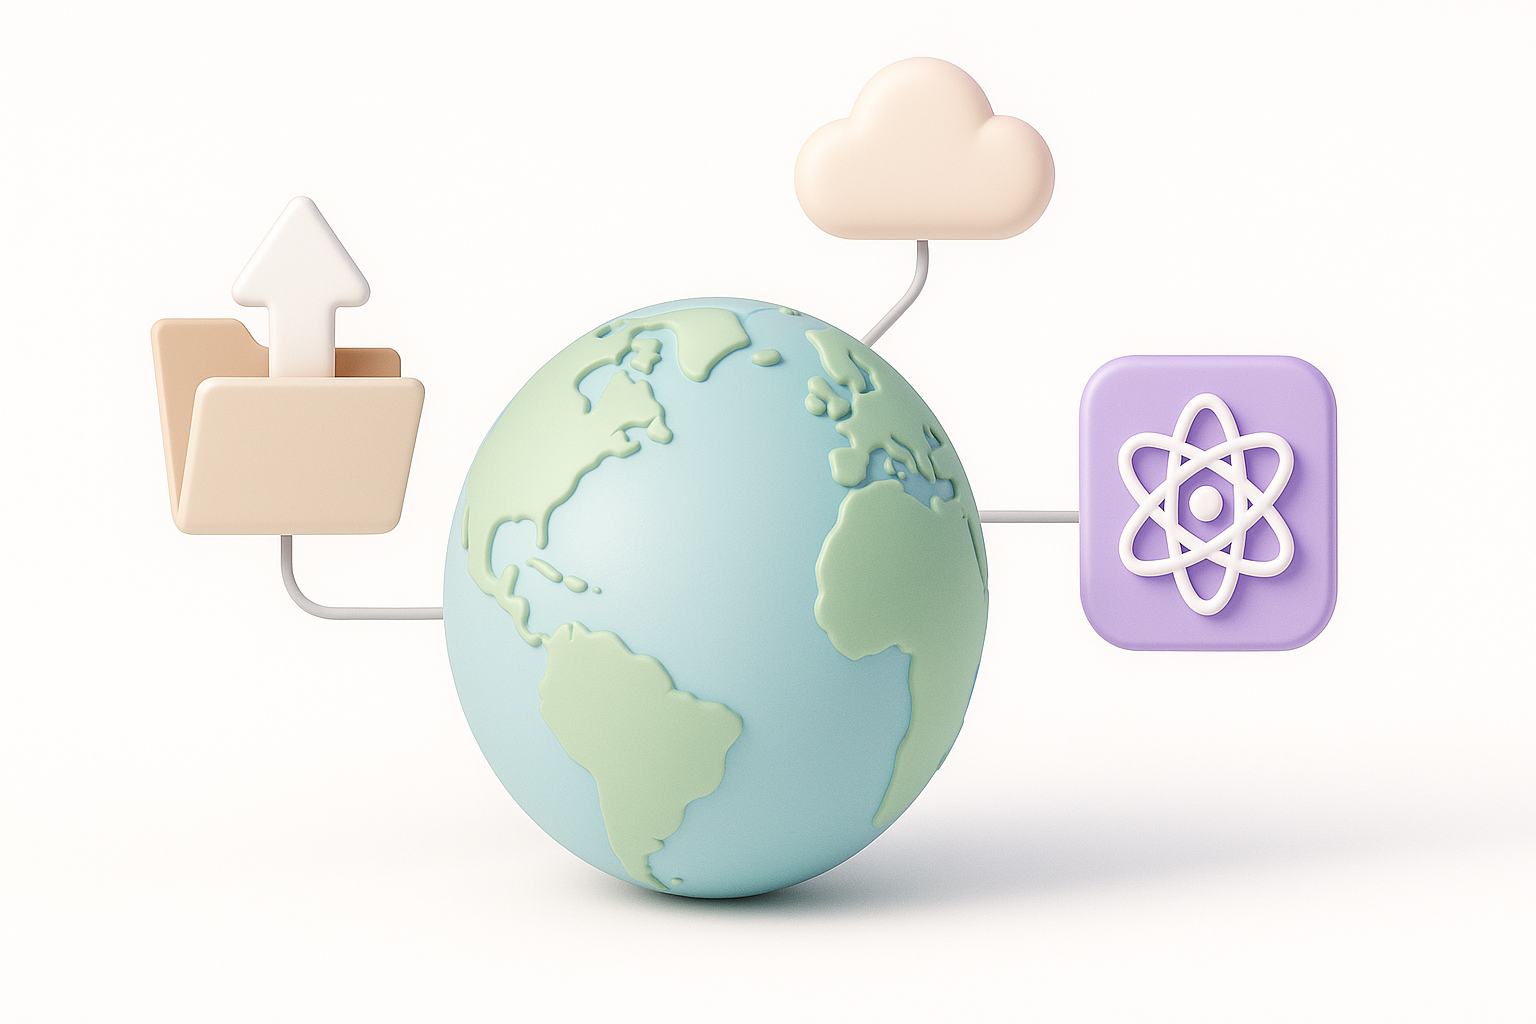
Exportation, partage et intégration de modèles 3D de la Terre
Formats et plateformes pris en charge
J'exporte généralement dans des formats largement pris en charge :
- GLB/GLTF : Pour le web, la VR et les moteurs de jeu.
- FBX/OBJ : Pour les pipelines DCC et VFX.
- USD : Pour les flux de travail avancés de cinéma/animation.
La plupart des plateformes (moteurs Unity, Unreal, visionneuses WebGL) acceptent ces formats avec un minimum d'ajustement.
Conseils pour la collaboration et la présentation
- Incluez les textures sources et la documentation avec vos exportations.
- Versionnez clairement les ressources pour éviter toute confusion au sein des équipes.
- Utilisez des rendus de prévisualisation ou des tables tournantes (turntables) pour des révisions rapides.
- Pour les utilisateurs de Tripo : Partagez des liens de scène ou exportez directement vers un stockage cloud pour un accès en équipe.
Piège : Oublier d'intégrer les textures peut entraîner des ressources manquantes sur d'autres machines.
Conclusion
La création de modèles 3D de la Terre prêts pour la production est plus rapide et plus accessible que jamais, grâce aux outils basés sur l'IA et aux flux de travail intelligents. En vous concentrant sur des textures de haute qualité, une géométrie efficace et une collaboration claire, vous pouvez livrer des ressources superbes et performantes, quels que soient votre secteur d'activité ou votre application.
