Creating Tears of the Kingdom 3D Models: Expert Workflow
скачать 3d модель для chicken gun
Creating high-quality 3D models inspired by Tears of the Kingdom demands a blend of creative vision and technical execution. In my experience, leveraging AI-powered tools like Tripo AI has dramatically accelerated my workflow, especially for rapid prototyping and production-ready assets. This guide breaks down my expert process—from concept to game-ready model—highlighting practical tips, common pitfalls, and when to lean on automation versus manual techniques. If you're a 3D artist, game developer, or designer aiming to streamline asset creation without sacrificing quality, this workflow is for you.
Key takeaways

- Use AI-powered modeling to jumpstart asset creation, then refine for quality.
- Gather strong references and plan scope before modeling.
- Optimize text/image/sketch input for best AI results.
- Always check geometry, UVs, and textures post-generation.
- Automate rigging/animation but validate compatibility with your engine.
- Know when manual modeling is necessary for unique or complex assets.
Executive Summary and Key Takeaways
Overview of the 3D modeling process
My workflow starts with collecting references, then moves to AI-driven model generation, followed by meticulous refinement (segmentation, retopology, texturing), and ends with rigging and animation. Each stage requires a balance between automation and hands-on adjustments to ensure models are both visually authentic and technically sound.
Essential tools and workflows
I rely on Tripo AI for fast model generation from text, images, or sketches, then use standard DCCs (like Blender or Maya) for detailed edits. Automated tools handle segmentation, retopology, and rigging, but manual passes are essential for polish and game engine integration.
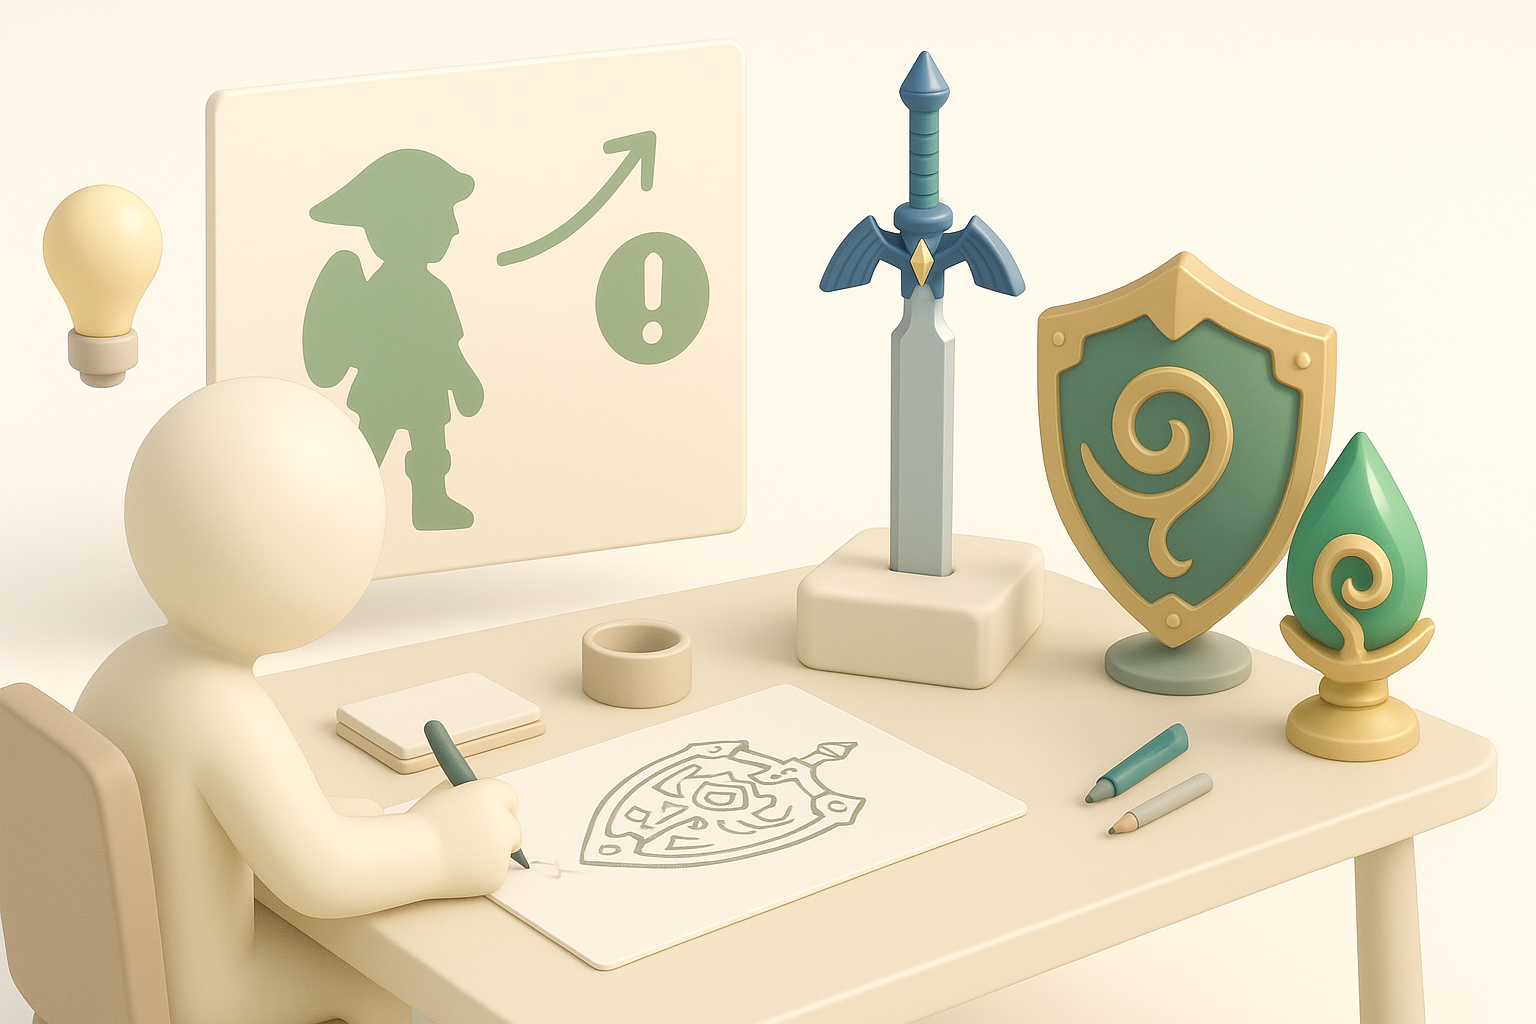
Conceptualizing Tears of the Kingdom Assets
Gathering references and inspiration
I begin by collecting high-quality screenshots, official artwork, and fan interpretations. For Tears of the Kingdom, I focus on key motifs—ornate armor, ancient tech, and environmental details. Pinterest boards and in-game captures help keep references organized.
Checklist:
- Gather multiple angles of each asset.
- Note distinctive materials and patterns.
- Save references in a centralized folder.
Planning model scope and details
Before modeling, I define the asset’s purpose (hero prop, background, etc.) and target polycount. I sketch rough silhouettes or blockouts to clarify form and scale. This planning step prevents wasted effort and keeps the model focused on what matters most for the scene.
Pitfall: Skipping this stage often leads to over-detailed or unfocused models.
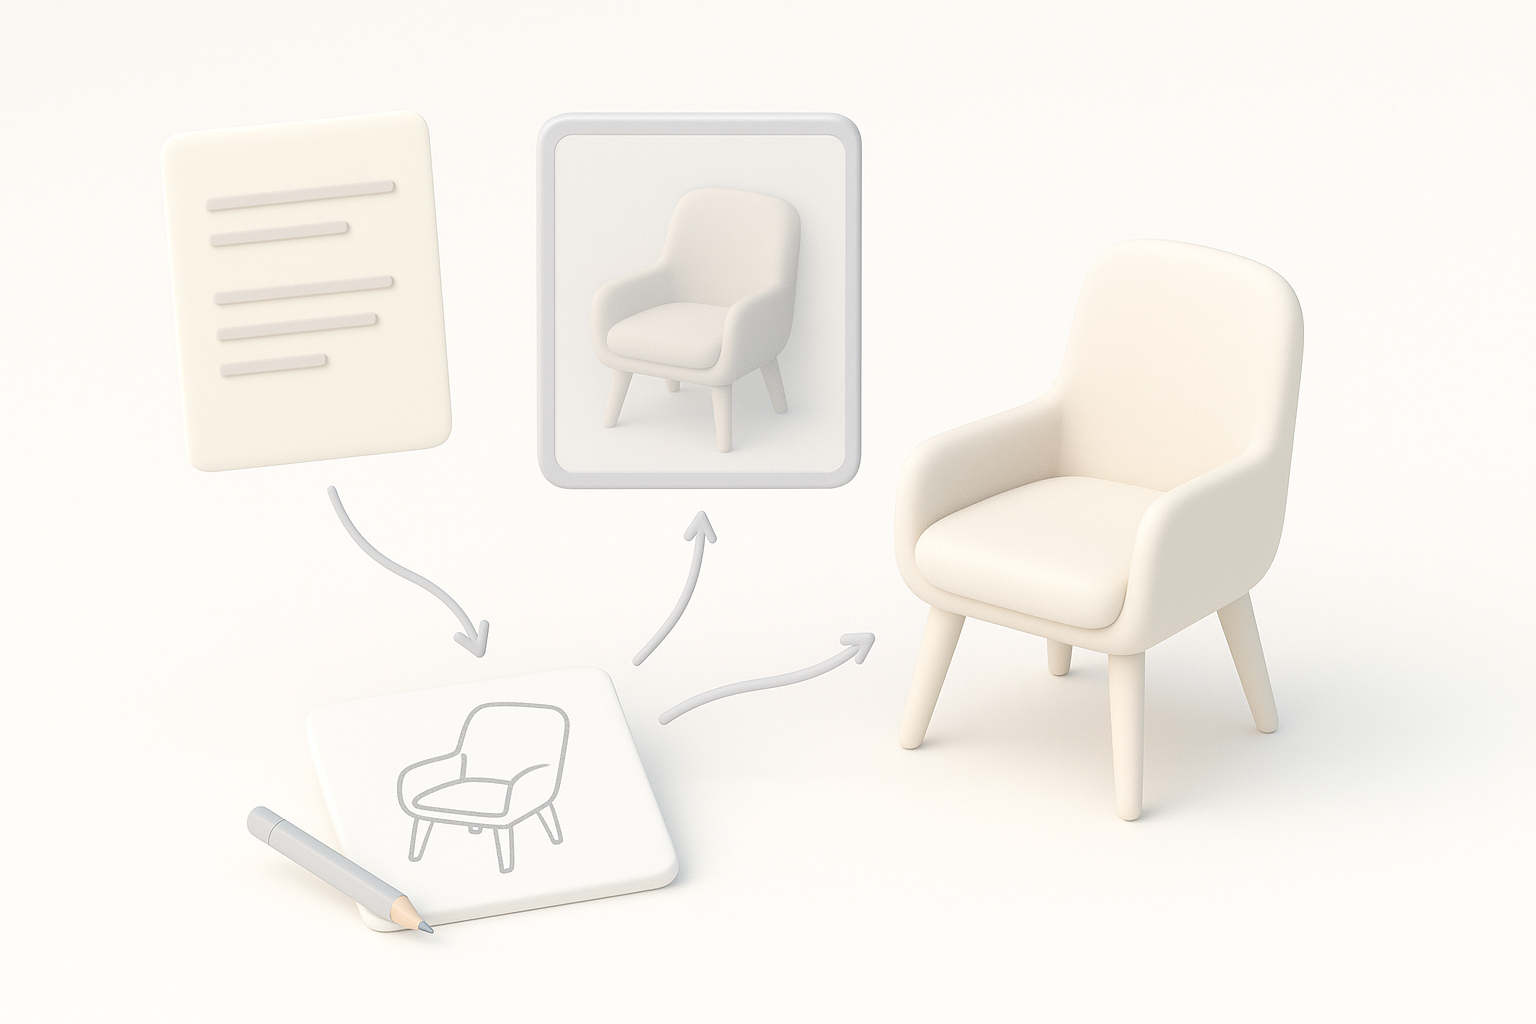
Generating 3D Models from Text, Images, or Sketches
Step-by-step workflow using AI-powered platforms
- Input preparation: I write concise prompts or upload cleaned sketches/images.
- AI generation: Using Tripo AI, I generate base meshes, iterating as needed.
- Initial review: I check for major errors, proportion issues, or missing details.
Tip: The clearer the input and the more specific the description, the better the AI output.
Tips for optimizing input for best results
- Use simple, unambiguous language in text prompts.
- Clean up sketches—high contrast, clear lines.
- Crop reference images to focus on the asset only.
- If possible, provide multiple views (front, side).
Pitfall: Overly complex or vague prompts often yield generic results.
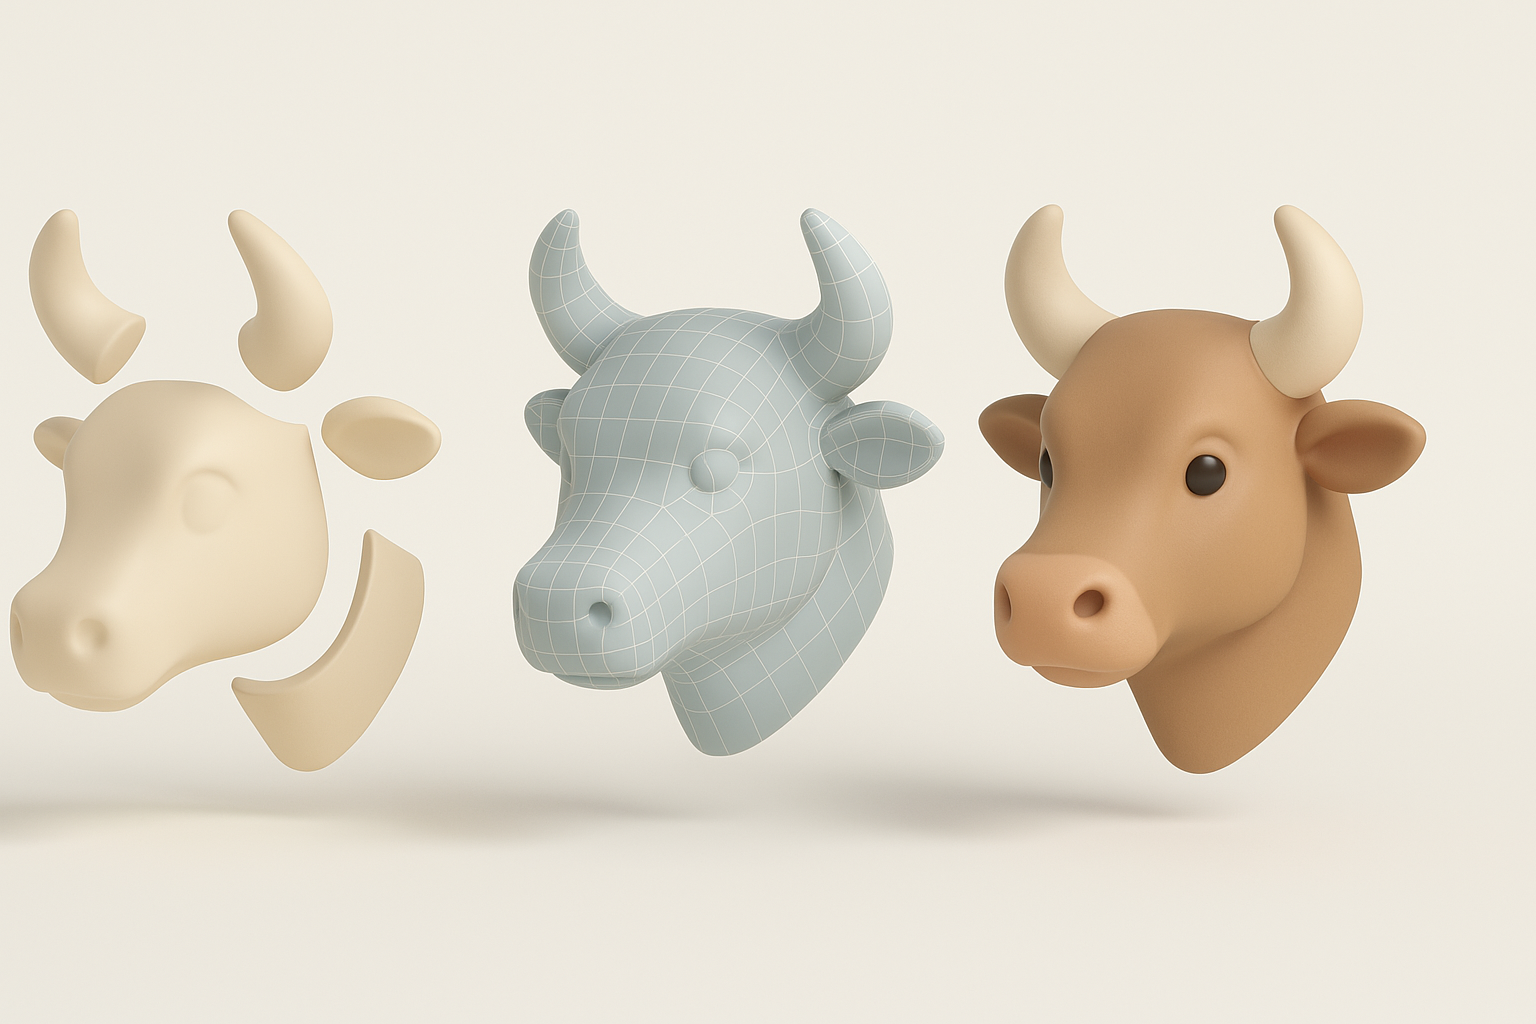
Refining Models: Segmentation, Retopology, and Texturing
Best practices for clean geometry and UVs
After AI generation, I always inspect mesh density and topology. Automated retopology tools are a good start, but I often manually adjust edge flow for deformation and UV unwrapping. Clean UVs mean fewer texture artifacts later.
Checklist:
- Check for Ngons and stray vertices.
- Ensure even quad distribution for animation.
- Unwrap UVs with minimal seams.
Applying authentic textures and materials
I use the AI’s auto-texturing as a base, then layer in custom maps (normal, roughness, metallic) for authenticity. For Tears of the Kingdom assets, I pay special attention to stylized hand-painted looks and unique material blends.
Tip: Reference in-game lighting and color palettes to match the original style.
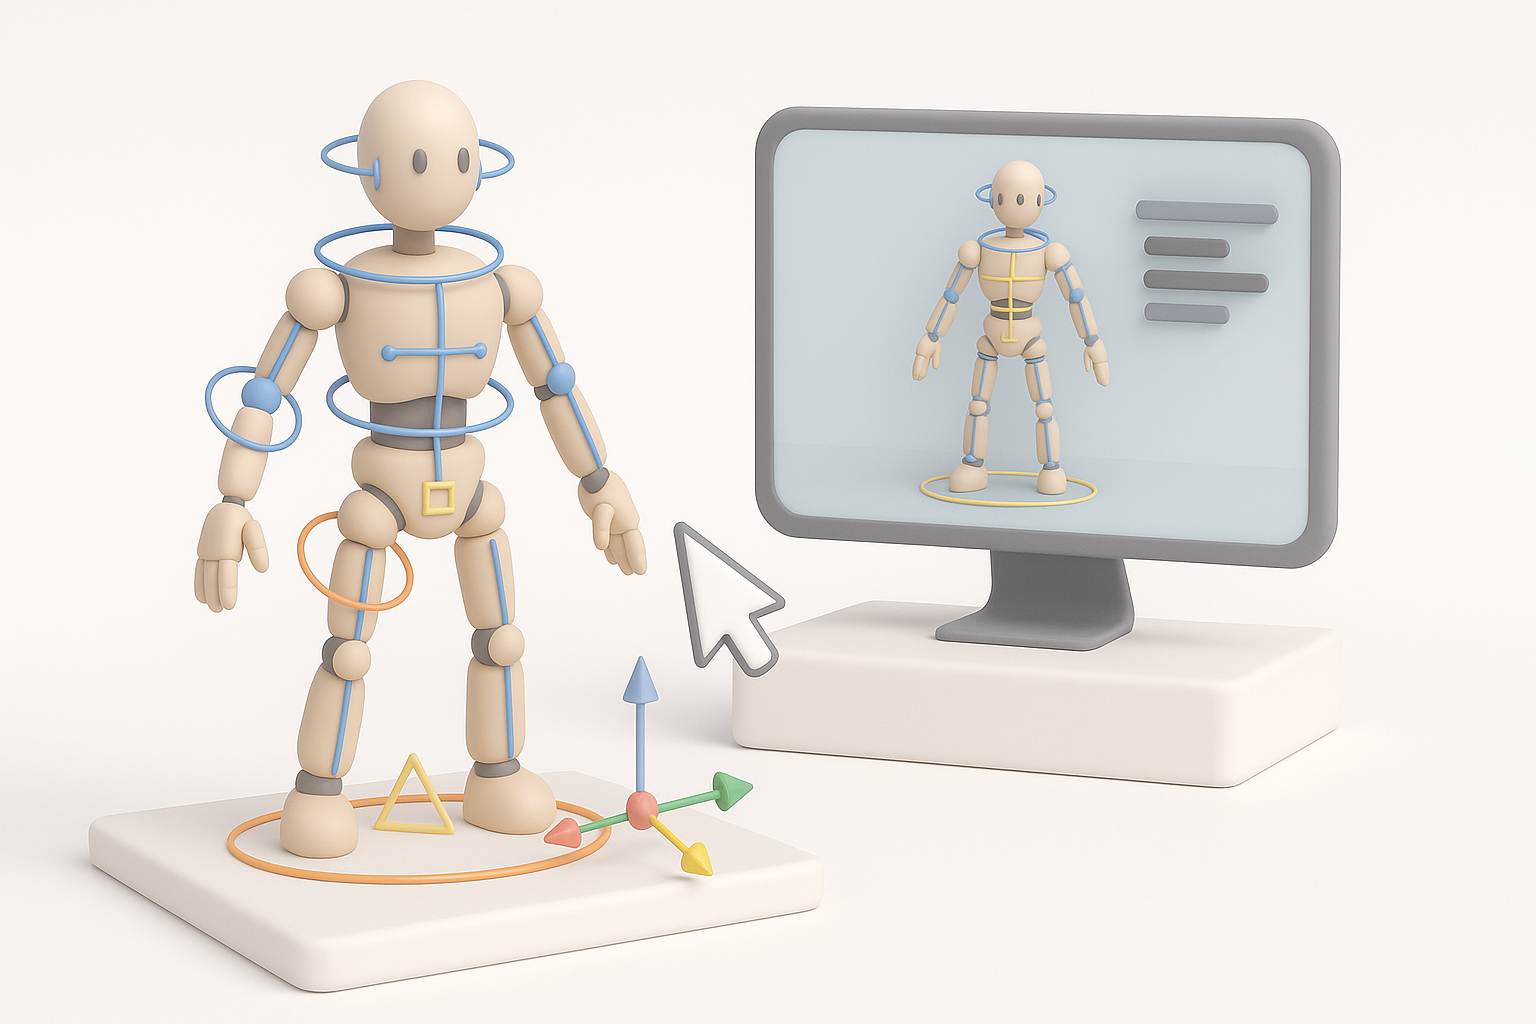
Rigging and Animation for Game-Ready Assets
Automating rigging and animation
Automated rigging tools in Tripo AI handle most bipedal and mechanical assets. I test the rigs with basic animations to spot issues early. For simple props, I skip rigging; for characters, I validate weight painting and joint placement.
Steps:
- Run auto-rig, check joint placement.
- Test with quick idle/walk cycles.
- Adjust weights manually if needed.
Ensuring compatibility with game engines
I always export models in standard formats (FBX, glTF), checking scale and orientation. I test imports in Unity or Unreal to catch issues with skeletons or materials before final delivery.
Pitfall: Neglecting engine tests can lead to broken rigs or missing textures.
Comparing AI Tools and Alternative Methods

Strengths and limitations of AI-powered workflows
AI modeling is unbeatable for speed and iteration, especially for concepting and background assets. However, for hero props or highly unique designs, manual modeling still offers more control and fidelity.
Pros:
- Rapid prototyping.
- Great for bulk or iterative work.
Cons:
- Limited for complex or highly specific topology.
- Texture detail may require manual fixes.
When to use manual modeling techniques
I switch to manual modeling when:
- The asset has intricate moving parts.
- Precise topology is required for deformation.
- AI output doesn’t match the intended style.
Tip: Use AI for base mesh, manual for final polish.
Personal Insights and Lessons Learned
What I do to streamline production
- Batch process similar assets with AI, then refine in bulk.
- Create a reusable material library for consistent texturing.
- Build a checklist for each stage to avoid missing steps.
Common pitfalls and how to avoid them
- Pitfall: Relying solely on AI—always review and refine output.
- Pitfall: Skipping engine tests—import early, fix issues before finalizing.
- Pitfall: Over-detailing—focus on silhouette and readability first.
What I’ve found: Combining AI generation with targeted manual intervention saves time without sacrificing quality. The key is knowing when to automate and when to get hands-on.
