Creating and Optimizing a Solo-T1-BK 3D Model: Expert Workflow
Creating a production-ready Solo-T1-BK 3D model is about blending efficient workflows with the right tools. In my experience, leveraging AI-powered platforms like Tripo alongside traditional modeling skills speeds up the process and ensures quality. This guide is for 3D artists, game developers, and XR creators looking to streamline their Solo-T1-BK modeling—from concept to export. I’ll break down my practical workflow, share optimization tips, and highlight when to use AI-driven versus manual approaches.
Key takeaways
- Start with clear references and a defined purpose for the Solo-T1-BK model.
- Use AI-powered tools for rapid prototyping, segmentation, and texturing.
- Always check topology and UVs for production readiness.
- Choose export settings based on your target platform (game, XR, film).
- Integrate AI workflows where possible, but don’t skip manual quality checks.
Understanding the Solo-T1-BK 3D Model
What is the Solo-T1-BK Model?
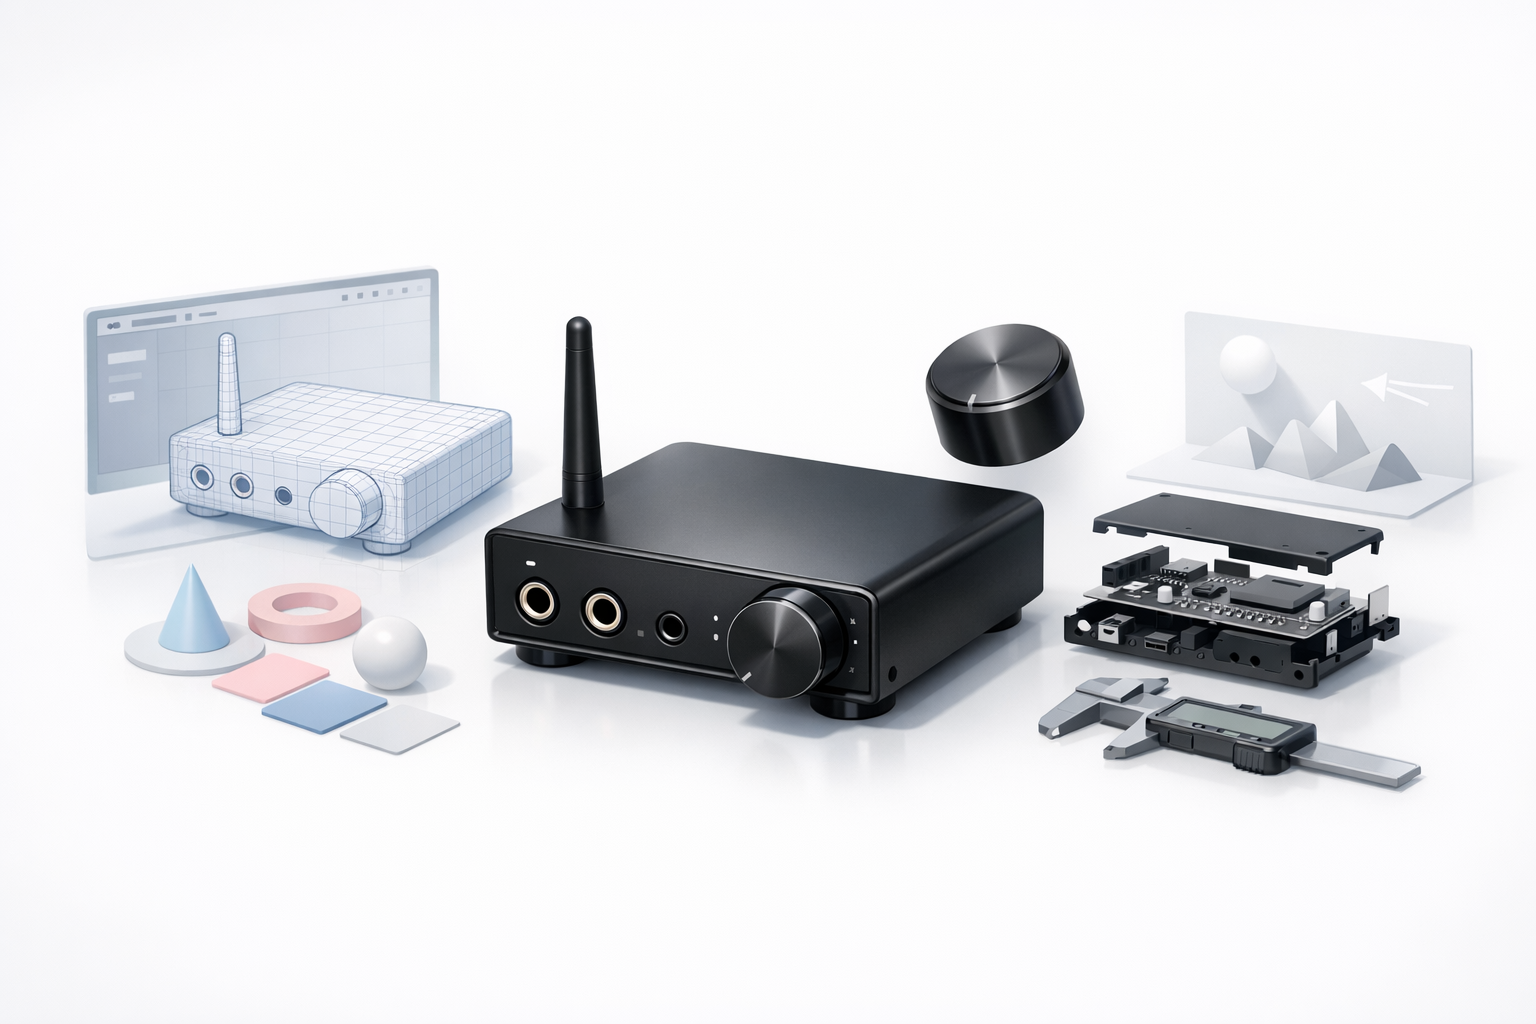
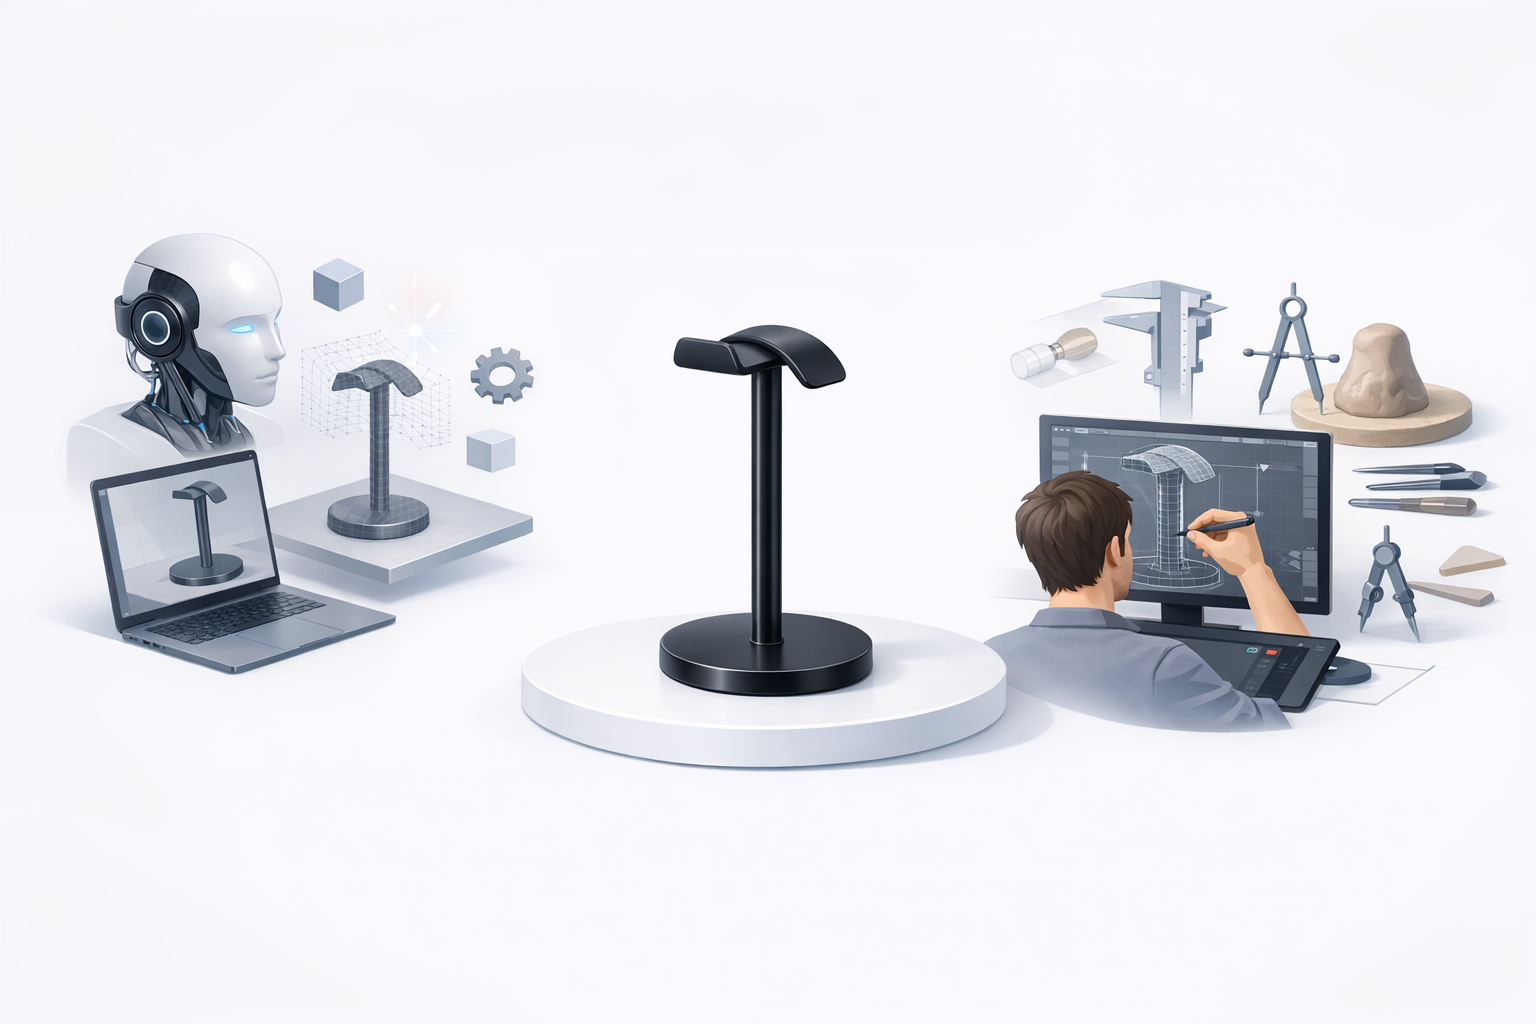
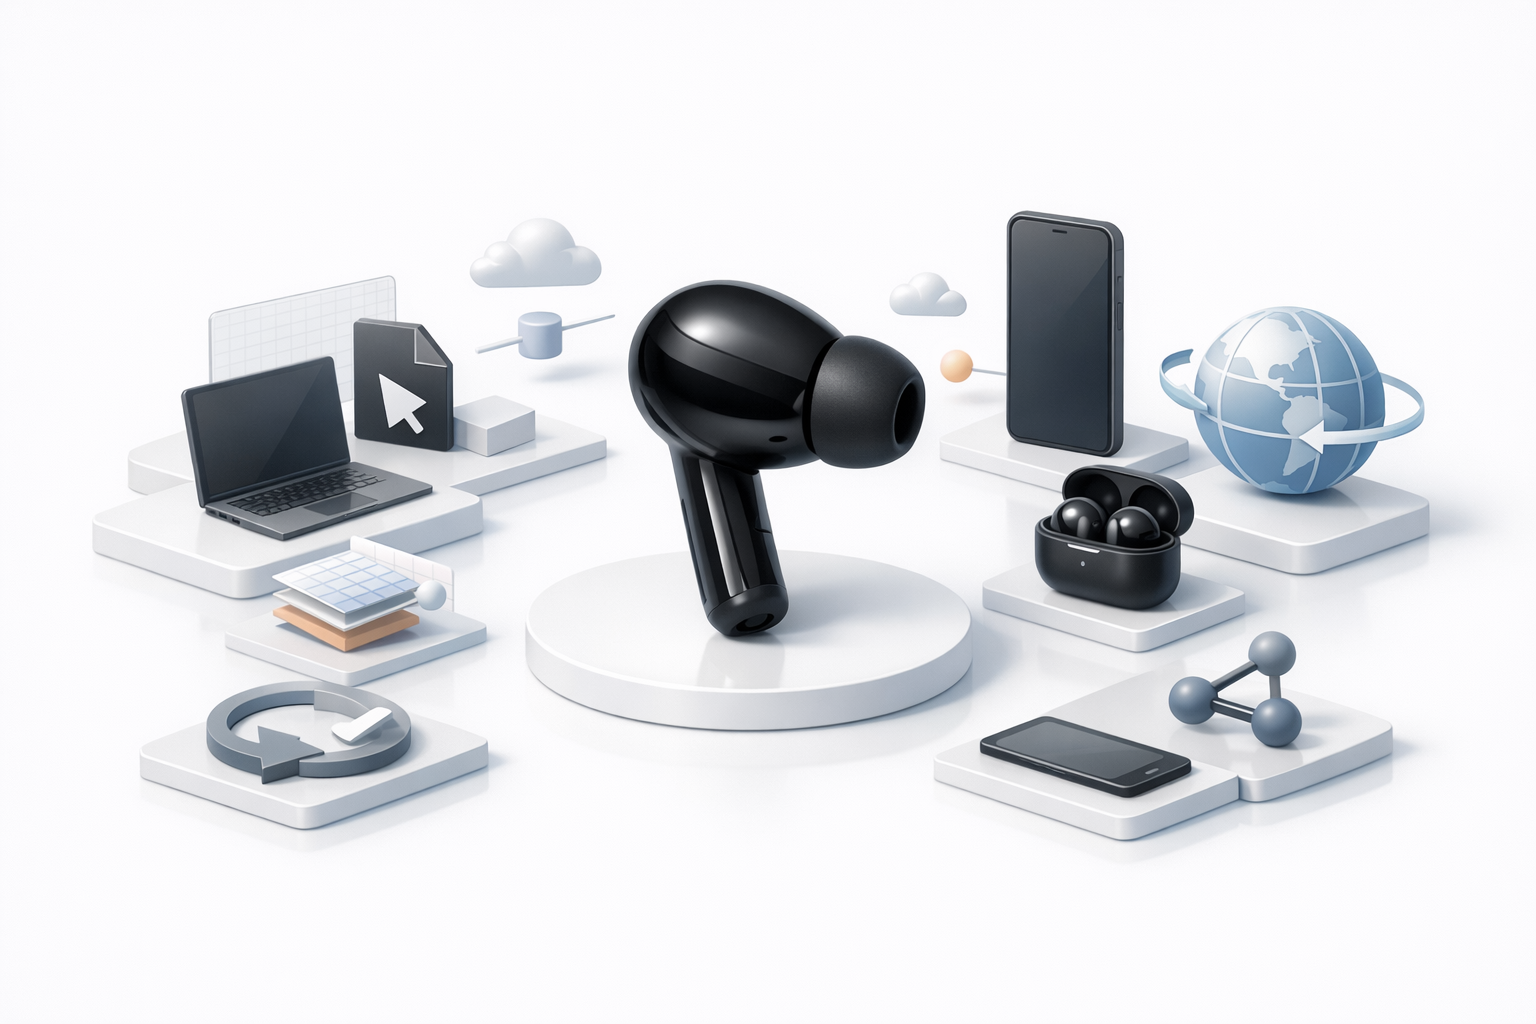
The Solo-T1-BK is a specific 3D asset, typically representing a device or object with distinct geometry and texturing requirements. In my work, it often refers to a compact, tech-inspired prop or component, with a focus on clean topology and realistic materials.
- Key features: Hard-surface elements, compact form, visible functional details.
- Modeling focus: Accurate proportions, logical segmentation for animation or interaction.
Common Use Cases and Applications
I’ve seen Solo-T1-BK models used across multiple industries:
- Gaming: As interactive props or environmental assets.
- XR/VR: For training simulations or product visualization.
- Film/Animation: As background or hero assets requiring high fidelity.
Tip: Always clarify the end use early—real-time applications require different optimization than pre-rendered scenes.
My Step-by-Step Workflow for Solo-T1-BK 3D Modeling
Initial Concept and Reference Gathering
Every successful project starts with strong references. I collect:
- Orthographic sketches, product photos, or technical drawings.
- Material samples and usage context (e.g., in-game screenshots).
Checklist:
- Gather at least 3–5 high-res references.
- Annotate key features (buttons, connectors, seams).
Choosing the Right Tools and Platforms
For Solo-T1-BK, I combine AI-powered tools like Tripo with traditional 3D software:
- Tripo: For fast mesh generation, segmentation, and base texturing.
- Blender/Maya/3ds Max: For manual tweaks, UV unwrapping, and advanced retopology.
- Substance Painter: For detailed texturing if needed.
Pitfall: Relying solely on AI output can miss subtle details—always review and refine manually.
Best Practices for Efficient 3D Model Creation
Segmentation, Retopology, and Texturing Tips
Efficient segmentation and retopology are crucial for animation and export.
- Segmentation: Use Tripo’s intelligent tools to separate moving parts or logical sections.
- Retopology: Check for clean edge flow, especially around curves and connection points.
- Texturing: Start with AI-generated maps, then hand-paint or tweak in your preferred texturing app.
Mini-checklist:
- Keep polycount within target specs (e.g., 5–10k tris for games).
- Ensure all UVs are non-overlapping and within 0–1 space.
- Bake normal and AO maps for added detail.
Ensuring Production-Ready Quality
Production-ready means the model is clean, efficient, and error-free.
- Run mesh checks: Look for non-manifold edges, flipped normals, and ngons.
- Test in engine: Import to your target platform early to catch scale or shading issues.
- LOD creation: For games/XR, generate lower-poly versions for performance.
Tip: Use Tripo’s built-in validation tools to catch common export errors.
Comparing AI-Powered and Manual 3D Modeling Approaches
Advantages of AI-Driven Workflows
AI tools like Tripo significantly speed up early-stage modeling:
- Rapid prototyping: Generate base meshes in seconds.
- Automated retopology: Saves hours on manual cleanup.
- Smart texturing: Instantly applies plausible materials.
When I use AI: For quick iterations, concept validation, or when deadlines are tight.
When to Use Alternative Methods
Manual modeling is still essential for:
- Highly custom shapes: When AI struggles with unique silhouettes.
- Precise control: For hero assets or animation-critical geometry.
- Complex UVs or shaders: When advanced material setups are needed.
Pitfall: Don’t skip manual passes—AI is a starting point, not a replacement.
Exporting, Integrating, and Sharing the Solo-T1-BK Model
Export Settings and File Formats
Export settings depend on the destination:
- Common formats: FBX, OBJ, GLB/GLTF.
- Settings: Apply scale, triangulate meshes, embed textures where possible.
- Naming: Use clear, versioned filenames (e.g.,
solo-t1-bk_v03.fbx).
Checklist:
- Check unit scale matches your target engine.
- Verify all textures are packed or referenced correctly.
Integrating with Game Engines and XR Platforms
Integration is smoother when you plan ahead:
- Unity/Unreal: Import FBX or GLTF, assign materials, check collision and LODs.
- XR platforms: Optimize for draw calls and memory usage; test on device.
- Collaboration: Share with teams via cloud storage or asset management tools.
Tip: Use Tripo’s export presets for popular engines to avoid manual reconfiguration.
By following this workflow, I ensure my Solo-T1-BK 3D models are efficient, visually consistent, and ready for any production environment—whether for games, XR, or film. The right mix of AI and manual techniques delivers speed without sacrificing quality.


