Creating High-Quality Need for Speed 3D Models: Expert Workflow
As someone who’s built and optimized 3D models for racing games, I know how crucial it is to balance visual fidelity, performance, and workflow efficiency. In this article, I’ll break down my practical approach to creating Need for Speed-style 3D assets—from concept to game engine integration. I’ll share real-world tips for modeling, texturing, and optimizing, and compare traditional versus AI-powered methods. If you’re a 3D artist, game developer, or hobbyist aiming for production-ready racing car models, this guide will help you avoid common pitfalls and speed up your pipeline.
Key takeaways:
- Start with clear requirements and solid reference material for authentic, game-ready assets.
- Use efficient modeling and texturing workflows to balance quality and performance.
- Optimize geometry and textures for real-time use in game engines.
- AI-powered tools like Tripo AI can accelerate steps like segmentation, retopology, and texturing.
- Always test assets in the target engine to catch issues early.
Understanding the Requirements for Need for Speed 3D Models
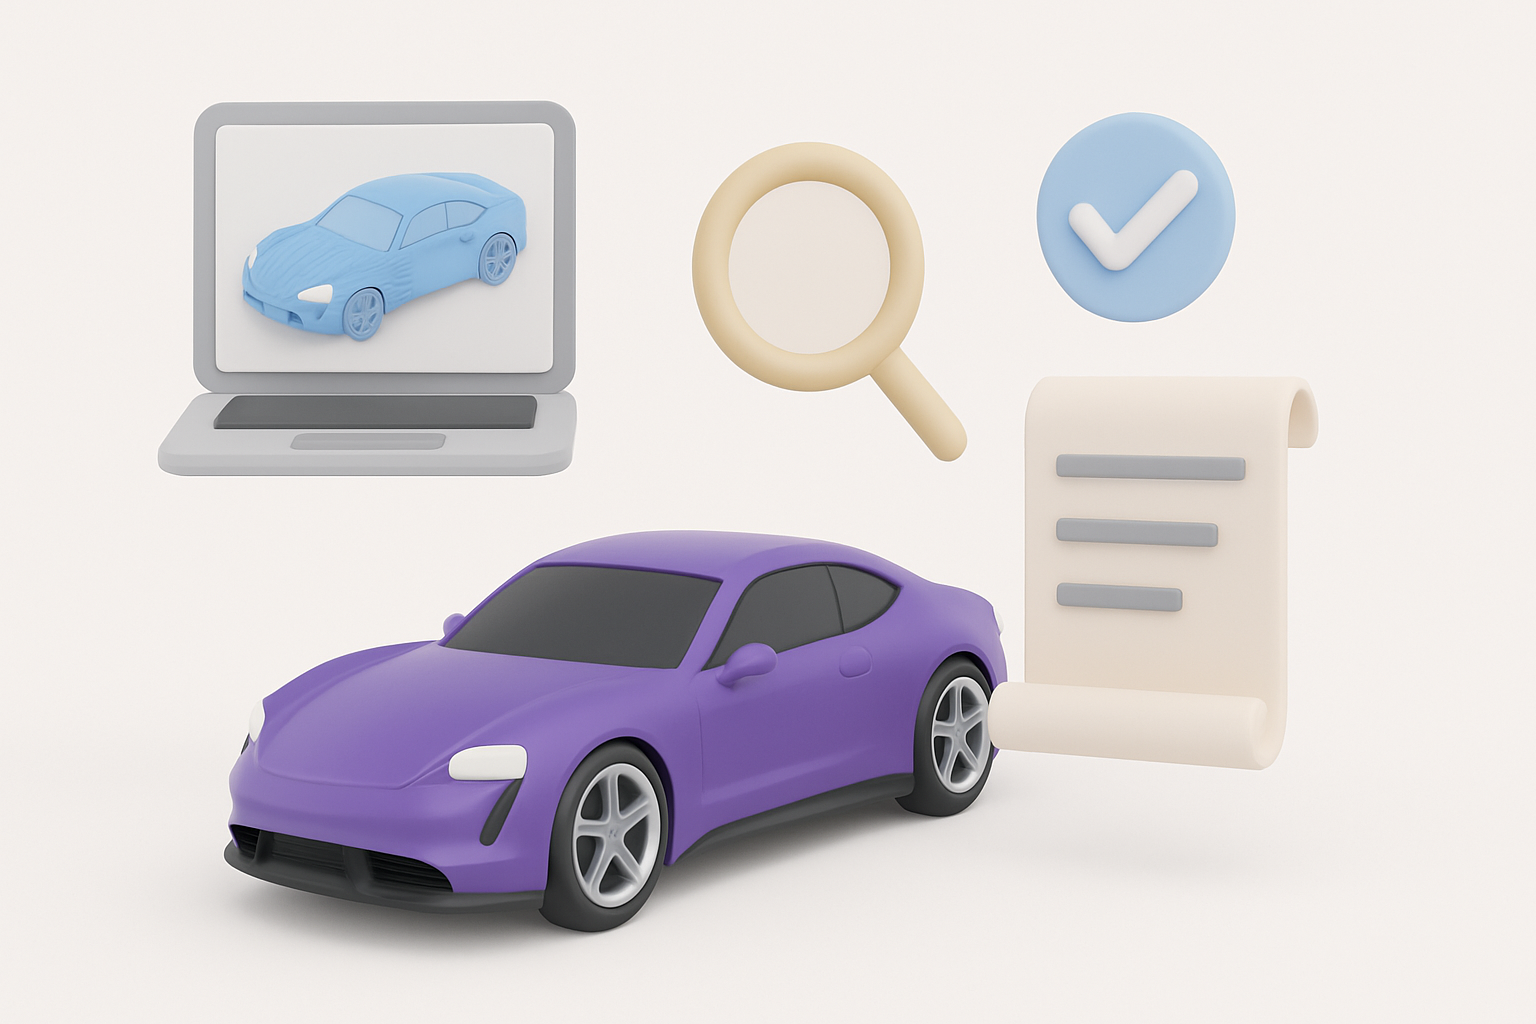
Key Features of Racing Game 3D Assets
For racing games, the 3D model must capture the essence of high-performance vehicles—sleek shapes, detailed interiors, and accurate proportions. What I’ve found most important is:
- Realistic proportions: Even stylized cars need believable dimensions.
- Functional details: Wheels, brakes, interiors, and lights should be modeled, as they often appear in cutscenes or cockpit views.
- LOD (Level of Detail) support: Prepare multiple mesh versions for different camera distances.
Checklist:
- Gather blueprints and high-res photos
- Note unique features (badges, spoilers, decals)
- Identify which parts need extra detail based on gameplay
Licensing and Authenticity Considerations
Authenticity is key, but legalities matter. If you’re referencing real-world cars, ensure you have the rights or use generic designs. In my experience:
- Avoid trademarked logos unless licensed
- Modify designs enough to avoid infringement if needed
- Document your reference sources for future proof
My Workflow for Designing Need for Speed-Inspired 3D Models
Concept Development and Reference Gathering
I always start with a moodboard and gather references—blueprints, photos, and in-game screenshots. This helps me lock down the car’s silhouette and key features before modeling.
Steps:
- Collect side, front, and top orthographic images
- Sketch or block out the main shapes digitally
- Identify signature elements (grilles, lights, rims)
Tip: I use online car blueprint repositories and official manufacturer sites for accuracy.
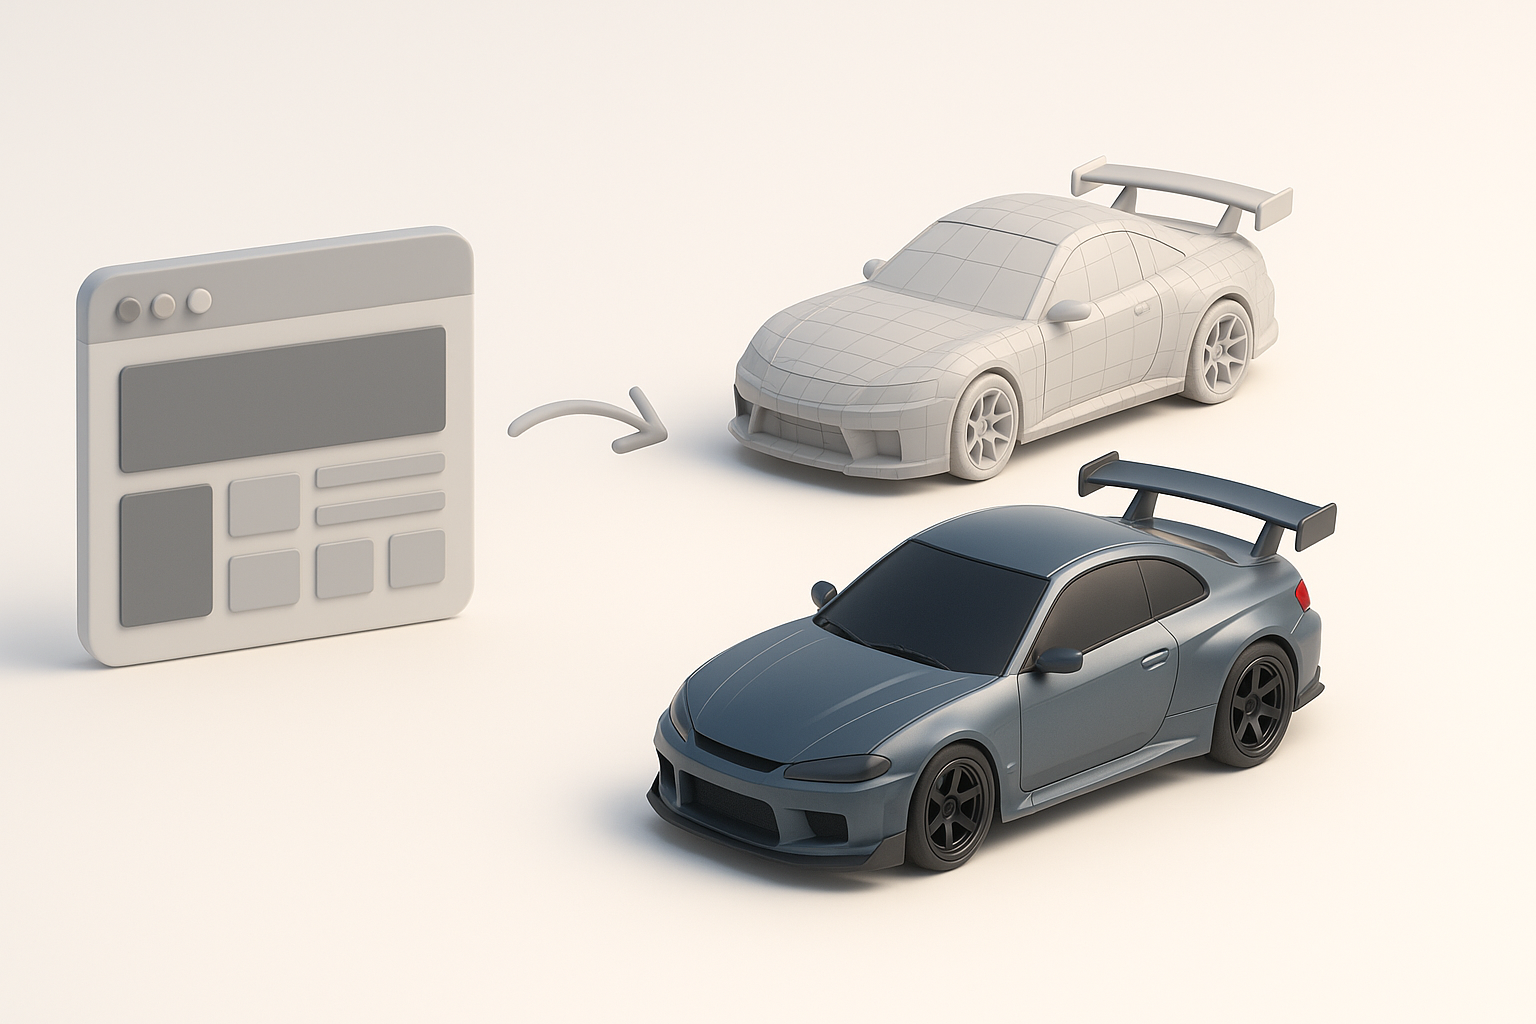
Choosing the Right Tools and Platforms
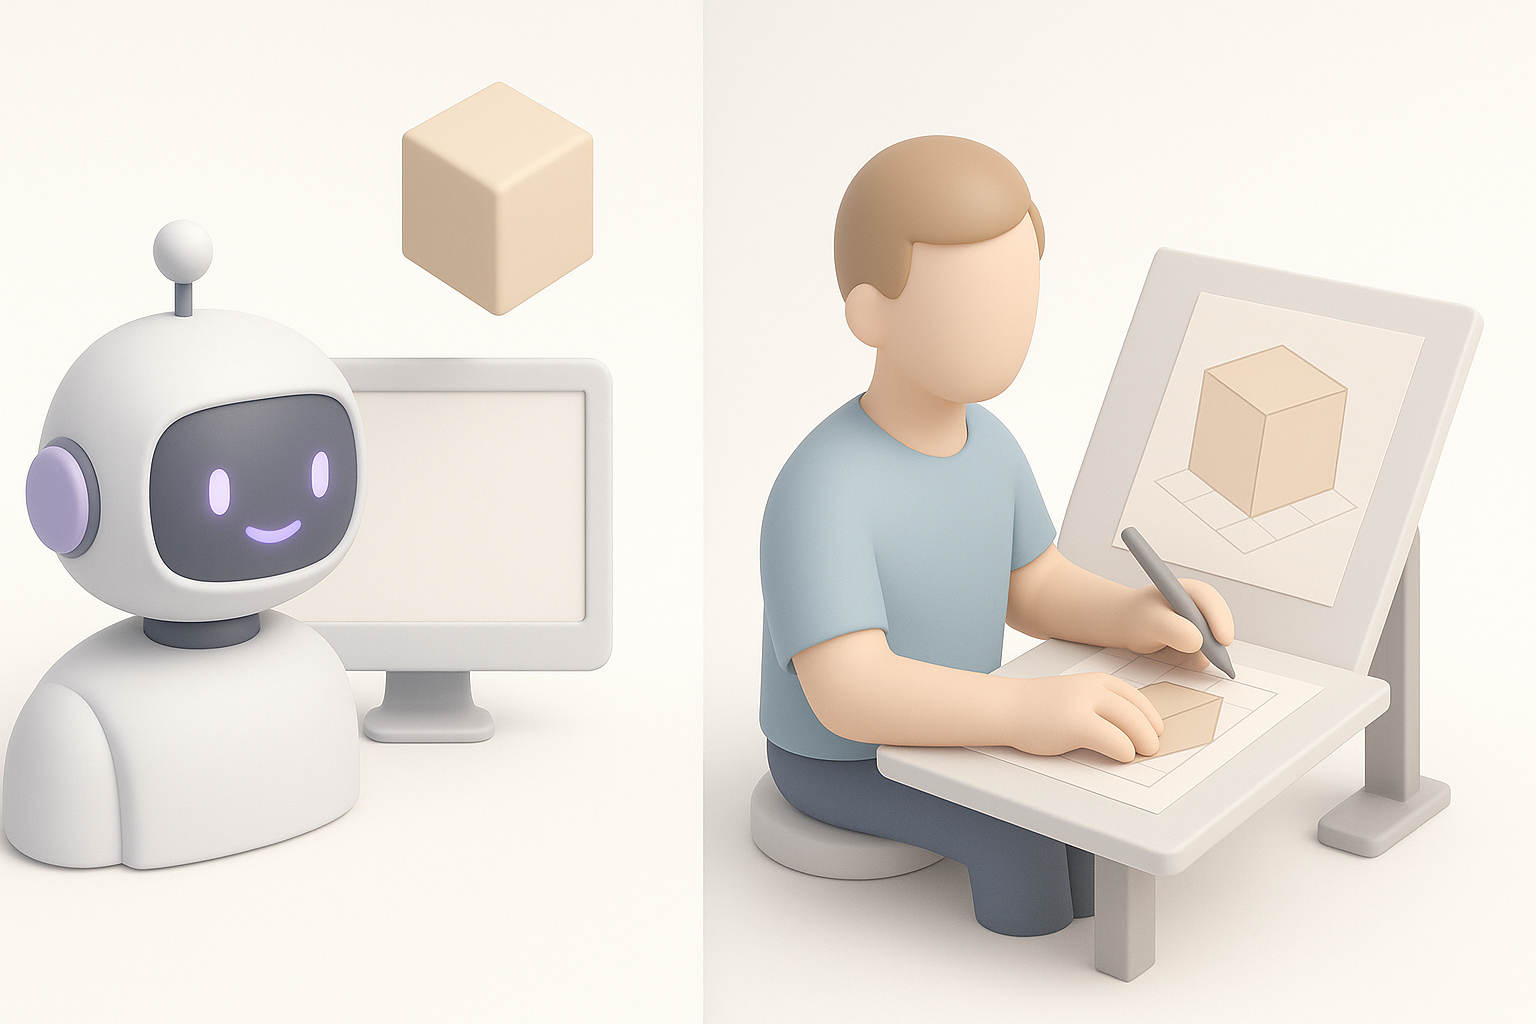
Selecting the right tools impacts both speed and output quality. I often use a mix of traditional 3D software and AI-powered platforms like Tripo AI for different stages.
- Traditional DCCs: Good for manual control and precision edits
- AI-powered tools: Great for rapid prototyping, segmentation, and texturing
- Interoperability: Make sure your tools export standard formats (FBX, OBJ, GLTF)
Pitfall: Don’t rely solely on AI for final polish—manual tweaks are usually needed for game-ready results.
Step-by-Step Guide: Building a Racing Car 3D Model
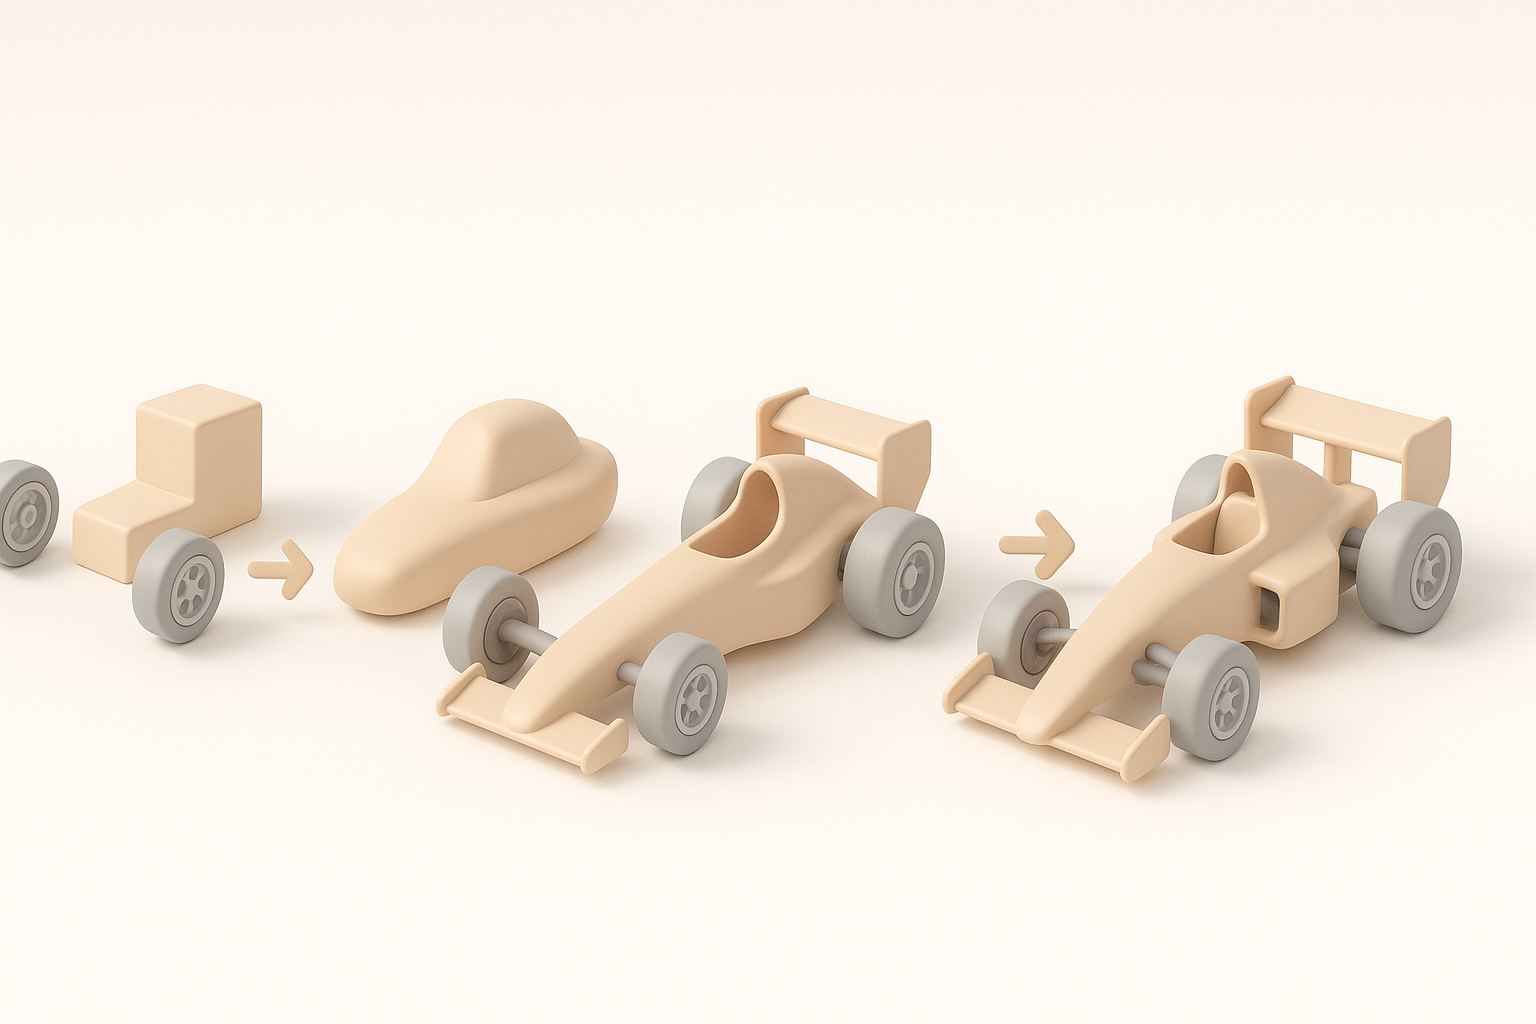
Modeling Techniques and Best Practices
I usually start with a low-poly blockout, then refine the mesh. For cars, edge flow and smooth surfaces are vital.
Best practices:
- Use symmetry and mirroring to speed up work
- Model major panels separately (hood, doors, bumpers)
- Keep topology clean—quads over triangles where possible
Mini-checklist:
- Block out main shapes
- Refine with subdivision modeling
- Add secondary details (mirrors, spoilers)
Texturing, Materials, and Detailing
Texturing brings the model to life. I use high-res textures and PBR materials for realism.
My process:
- Unwrap UVs carefully to avoid stretching
- Bake normal and AO maps for added depth
- Use AI-assisted texturing for quick material creation, then tweak manually
Tips:
- Layer decals and dirt for realism
- Use real car paint references for accurate materials
Optimizing 3D Models for Real-Time Performance
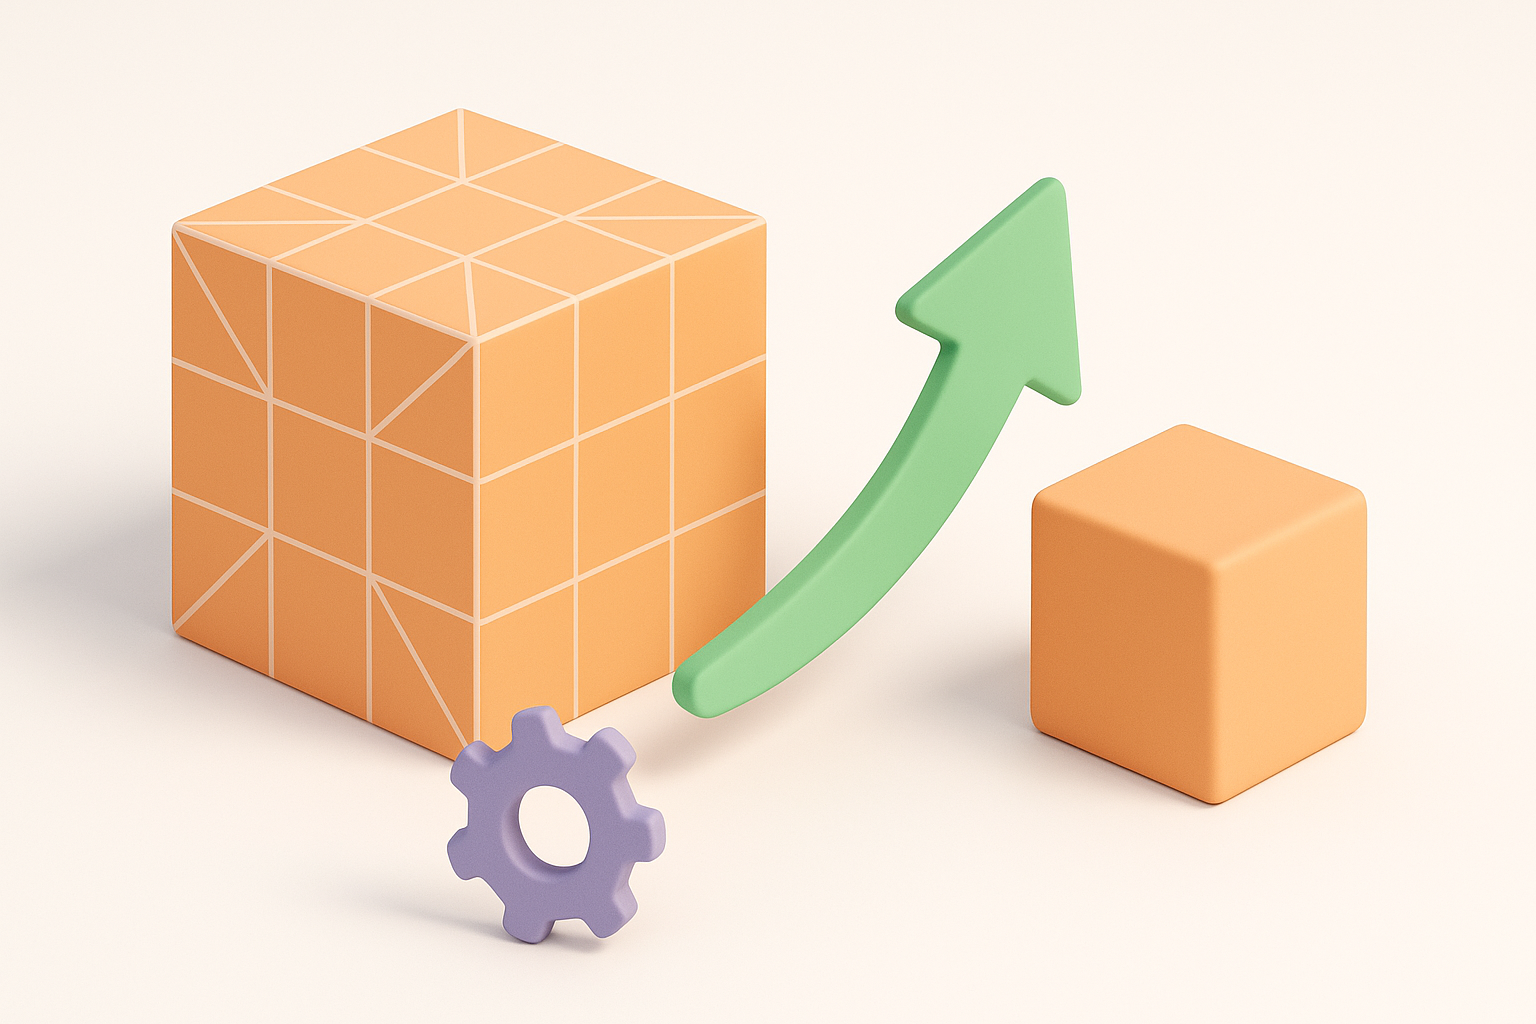
Retopology and Polygon Count Management
Optimization is crucial for smooth gameplay. I always retopologize after sculpting or high-poly modeling.
- Target polygon count based on platform (e.g., 20–50k for hero cars)
- Use automatic retopology (AI tools like Tripo AI can help) to save time, but check results manually
- Remove hidden or unnecessary geometry
Pitfall: Over-detailing can kill performance—focus detail where it matters most.
Efficient UV Mapping and Texture Baking
Efficient UVs reduce draw calls and memory usage. I pack UVs tightly and minimize seams.
My workflow:
- Use overlapping UVs for symmetrical parts
- Bake maps (normals, AO, curvature) for enhanced detail
- Merge texture sets when possible
Checklist:
- Check for UV stretching
- Optimize texture resolution for target platform
Integrating 3D Models into Game Engines

Export Settings and Compatibility Tips
Exporting correctly avoids headaches later. I always:
- Use FBX or GLTF for compatibility
- Apply transforms and freeze scale/rotation
- Name objects and materials clearly
Tip: Test exports in a staging project before final import.
Testing and Troubleshooting in Game Environments
Once imported, I check for:
- Shading or normal issues
- Pivot points and scale mismatches
- Material assignments
Steps:
- Spawn the car in-game
- Test with lighting and camera angles
- Check collision and physics if needed
Pitfall: Don’t skip in-engine testing—issues are easier to fix early.
Comparing AI-Powered and Traditional 3D Modeling Approaches
Speed, Quality, and Flexibility: What I’ve Learned
AI-powered tools like Tripo AI can dramatically speed up segmentation, retopology, and even texturing. However, traditional tools still offer more control for fine-tuning.
- AI excels at: Rapid prototyping, auto-segmentation, and first-pass texturing
- Traditional tools: Better for custom details and complex edits
What I’ve learned: The best results often come from blending both approaches—start with AI for speed, finish with manual tweaks for quality.
When to Use AI Tools in Your Workflow
I recommend using AI tools for:
- Early-stage blocking and rapid iteration
- Auto-retopology and UV unwrapping
- Generating base textures to save time
But for final polish, animation, and integration, manual work is still essential.
Mini-checklist for AI use:
- Use AI for repetitive or time-consuming steps
- Always review and refine AI-generated outputs
- Combine AI speed with artist intuition for best results
If you’re aiming for Need for Speed-quality 3D models, focus on balancing speed, quality, and optimization. Leverage AI where it makes sense, but never skip the hands-on polish that separates a good asset from a great one.
