Creating a Legend of Zelda 3D Model: Workflow & Best Practices
Creating a Legend of Zelda 3D model is a rewarding challenge, whether you're building assets for a fan project, game mod, or portfolio piece. Over the years, I’ve refined a workflow that balances creative vision with technical efficiency—leveraging both traditional and AI-powered tools to streamline the process. This guide distills my hands-on experience with Zelda-inspired assets, from initial concept and modeling to texturing, rigging, and export. If you're a 3D artist, game developer, or hobbyist aiming to create high-quality Zelda models for games or XR, these practices will help you work faster and achieve more consistent results.
Key takeaways:
- Start with strong references and clear asset goals.
- Use blocking and stylization to capture Zelda’s iconic look.
- Balance hand-painted and PBR texturing for authenticity.
- Rely on AI tools for rapid prototyping, but refine details manually.
- Optimize topology and exports for your target platform.
- Learn from each project—efficiency comes with iteration.
Getting Started with Legend of Zelda 3D Models
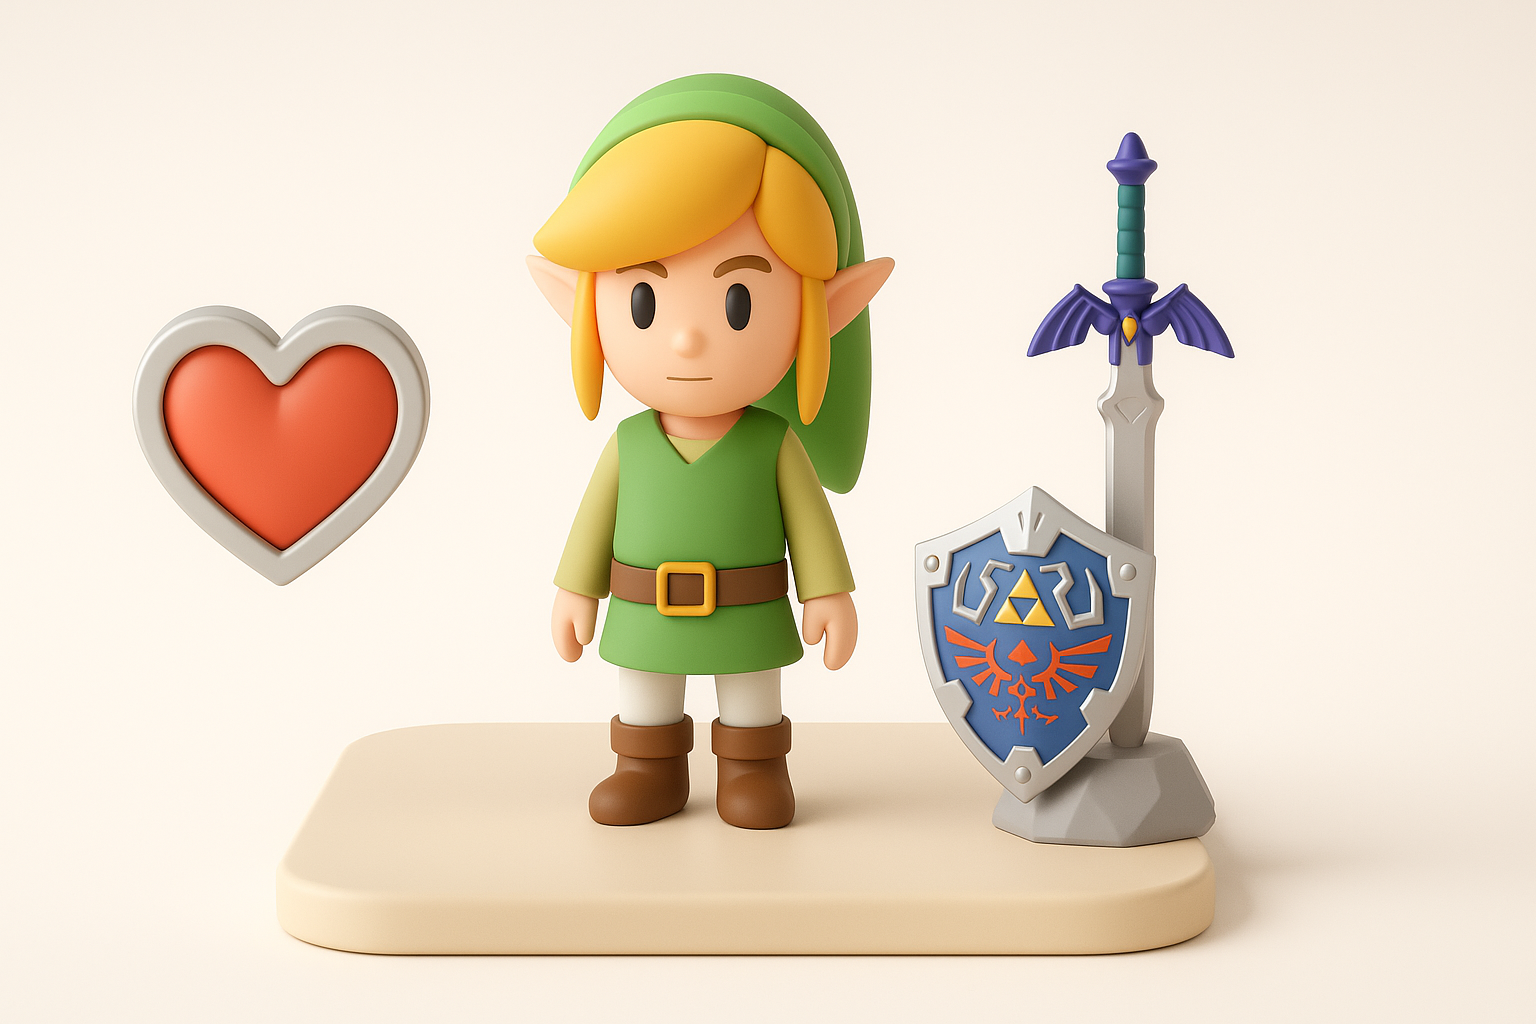
Choosing Your Zelda Character or Asset
The first step is deciding what to model: a character like Link, a prop (e.g., Master Sword), or an environment piece. I recommend picking something that excites you and matches your skill level. For beginners, simple props like rupees or heart containers are great. More advanced artists might tackle complex characters or creatures.
Checklist:
- Define the asset’s purpose (game, animation, XR, etc.).
- Assess your skill set and available time.
- Select an asset with clear, recognizable features.
Gathering References and Concept Art
Reference gathering is crucial. I collect official artwork, in-game screenshots, and fan interpretations to understand proportions, colors, and key details. For Zelda models, stylization and silhouette are everything—so I focus on images that highlight these aspects.
Tips:
- Use multiple angles if possible.
- Sketch over references to break down forms.
- Don’t overlook lesser-known designs for unique inspiration.
3D Modeling Techniques for Zelda Assets

Blocking Out the Base Mesh
I always start with a rough blockout—simple shapes to establish size and proportion. For Zelda’s stylized look, exaggerate key features (big eyes, bold props). This phase is about speed and flexibility, not detail.
Steps:
- Use cubes, spheres, and cylinders for main forms.
- Adjust proportions to match references.
- Keep topology clean for easy editing.
Detailing and Stylization Tips
Once the base mesh feels right, I move to secondary forms and details: clothing folds, armor trims, or facial features. For Zelda assets, stylization means emphasizing clean lines and readable shapes rather than hyper-realism.
Pitfalls to avoid:
- Overcomplicating geometry—keep it simple.
- Losing the iconic silhouette.
- Neglecting edge flow, which impacts deformation later.
Texturing and Materials for Zelda Models
Hand-Painted vs. PBR Textures
Zelda’s look often leans toward hand-painted textures, but some modern games use PBR (Physically Based Rendering) for subtle realism. I choose based on the project’s style and platform.
My approach:
- For classic Zelda, hand-painting in tools like Substance Painter or Photoshop gives the best results.
- For hybrid or next-gen looks, blend hand-painted details with PBR maps.
Color Palette and Material Choices
Zelda assets rely on bold, harmonious colors. I extract palettes directly from references and keep materials simple—wood, metal, leather—avoiding overly complex shaders.
Checklist:
- Limit palette to 3–5 main colors.
- Use gradients and subtle highlights for depth.
- Test textures under different lighting setups.
Rigging and Animation Essentials
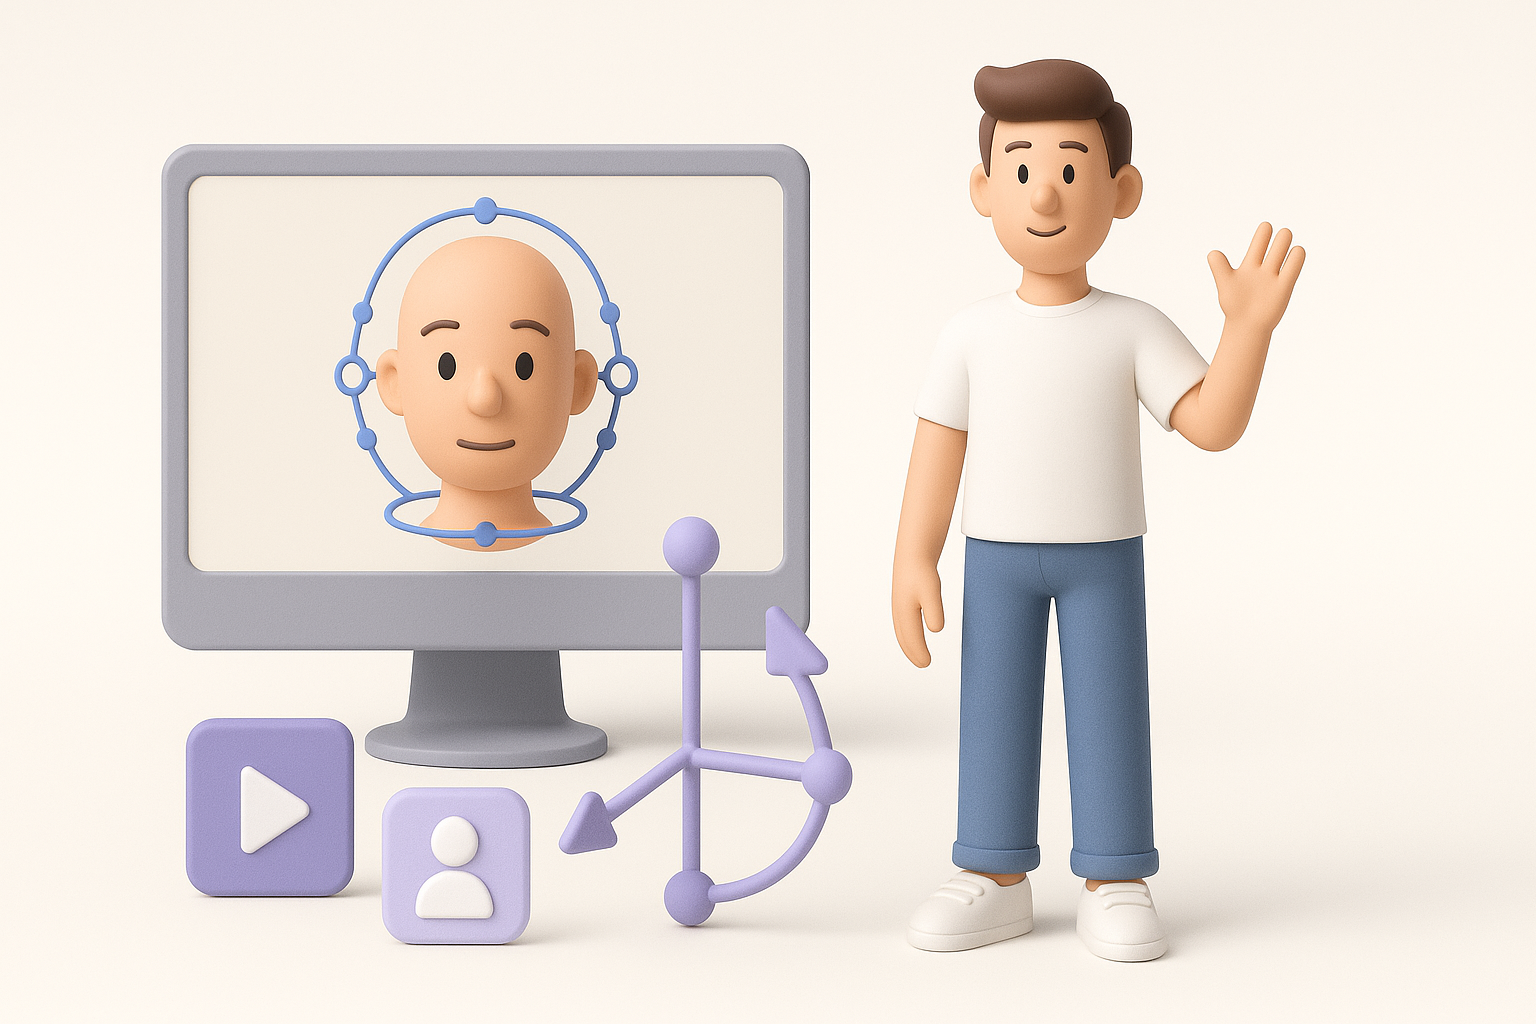
Setting Up a Basic Rig
For characters or animated props, a clean rig is essential. I use simple bone structures and avoid unnecessary complexity, especially for stylized characters.
Steps:
- Define main joints: spine, limbs, head.
- Weight paint carefully for smooth deformations.
- Test with basic poses early.
Animating Iconic Zelda Actions
Animating classic actions—like Link’s sword swing or item pickup—requires understanding the exaggerated timing and poses used in Zelda games. I study gameplay clips to capture that energy.
Tips:
- Block out keyframes before refining.
- Exaggerate anticipation and follow-through.
- Keep loops seamless for in-game use.
Optimizing and Exporting for Games or XR

Retopology and Polycount Management
For real-time use, efficient topology is crucial. I retopologize high-res sculpts to create animation-friendly, low-poly meshes. Tools with automated retopology save hours, but I always check edge flow manually.
Pitfalls:
- Excessive polycount slows performance.
- Poor topology causes rigging headaches.
- Forgetting LODs (Levels of Detail) for XR.
Export Settings and Compatibility
Exporting is about matching your target engine or platform. I use standard formats like FBX or GLTF, ensuring animations and textures are properly embedded.
Checklist:
- Apply transforms and freeze scale.
- Name meshes and materials clearly.
- Test imports in your target engine (Unity, Unreal, WebXR).
AI-Powered Workflows and Tools

How I Use AI Platforms for Zelda Models
AI tools accelerate the modeling and texturing process. I often use Tripo AI to generate base meshes or quick texture passes from sketches or descriptions. This lets me iterate ideas rapidly before refining details manually.
Workflow:
- Input prompt or concept sketch.
- Review and tweak generated mesh.
- Refine topology and UVs as needed.
Comparing AI Tools and Manual Methods
While AI platforms are fast, they sometimes miss stylistic nuances or produce imperfect topology. I treat AI outputs as a starting point—manual tweaking is always needed for production-quality Zelda assets.
Best practice:
- Use AI for prototyping and ideation.
- Always review and polish manually.
- Save time on repetitive tasks, but don’t skip quality control.
Best Practices and Lessons Learned
What I’ve Learned from Zelda Projects
Every Zelda project has taught me the value of planning and iteration. Rushing leads to mistakes, especially with stylized assets where every detail matters. Consistency in style and workflow makes collaboration easier, too.
Lessons:
- Don’t skip the blockout or reference phase.
- Iterate textures—first drafts rarely stick.
- Save versions frequently.
Tips for Faster, Higher-Quality Results
Efficiency comes from combining AI tools with traditional skills. I batch repetitive tasks, use smart naming conventions, and keep a library of reusable assets. Most importantly, I always test assets in the final environment before calling them done.
Quick wins:
- Automate where possible, but review everything.
- Build a personal library of Zelda-style brushes and materials.
- Stay organized—label files and layers clearly.
By following these workflows and best practices, you’ll be able to create Legend of Zelda 3D models that look great and perform well—whether for games, XR, or animation. With the right balance of creativity, technology, and iteration, the process becomes both efficient and enjoyable.


