Creating Realistic 3D Models for Farming Simulators
скачать 3d модель для chicken gun
As someone who’s built countless assets for farming games and simulators, I know how crucial it is to balance realism, performance, and fast iteration. This guide is for artists, designers, and developers aiming to create believable 3D farming equipment and environments—whether you’re using AI-powered platforms like Tripo or traditional modeling workflows. I’ll walk through my process, highlight best practices, and share practical tips for texturing, rigging, and integration to help you deliver production-ready assets efficiently.
Key takeaways
- Realistic farming assets require attention to scale, detail, and interactivity.
- Efficient workflows combine solid planning, reference gathering, and iterative modeling.
- Texturing and optimization are critical for real-time performance in simulators.
- Rigging and animation bring machinery to life—don’t skip functional details.
- AI-powered tools can speed up asset creation, especially for prototyping or bulk tasks.
- Always test assets in-engine to ensure they meet technical and visual requirements.
Understanding Farming Simulator 3D Model Requirements

Key features of effective farming assets
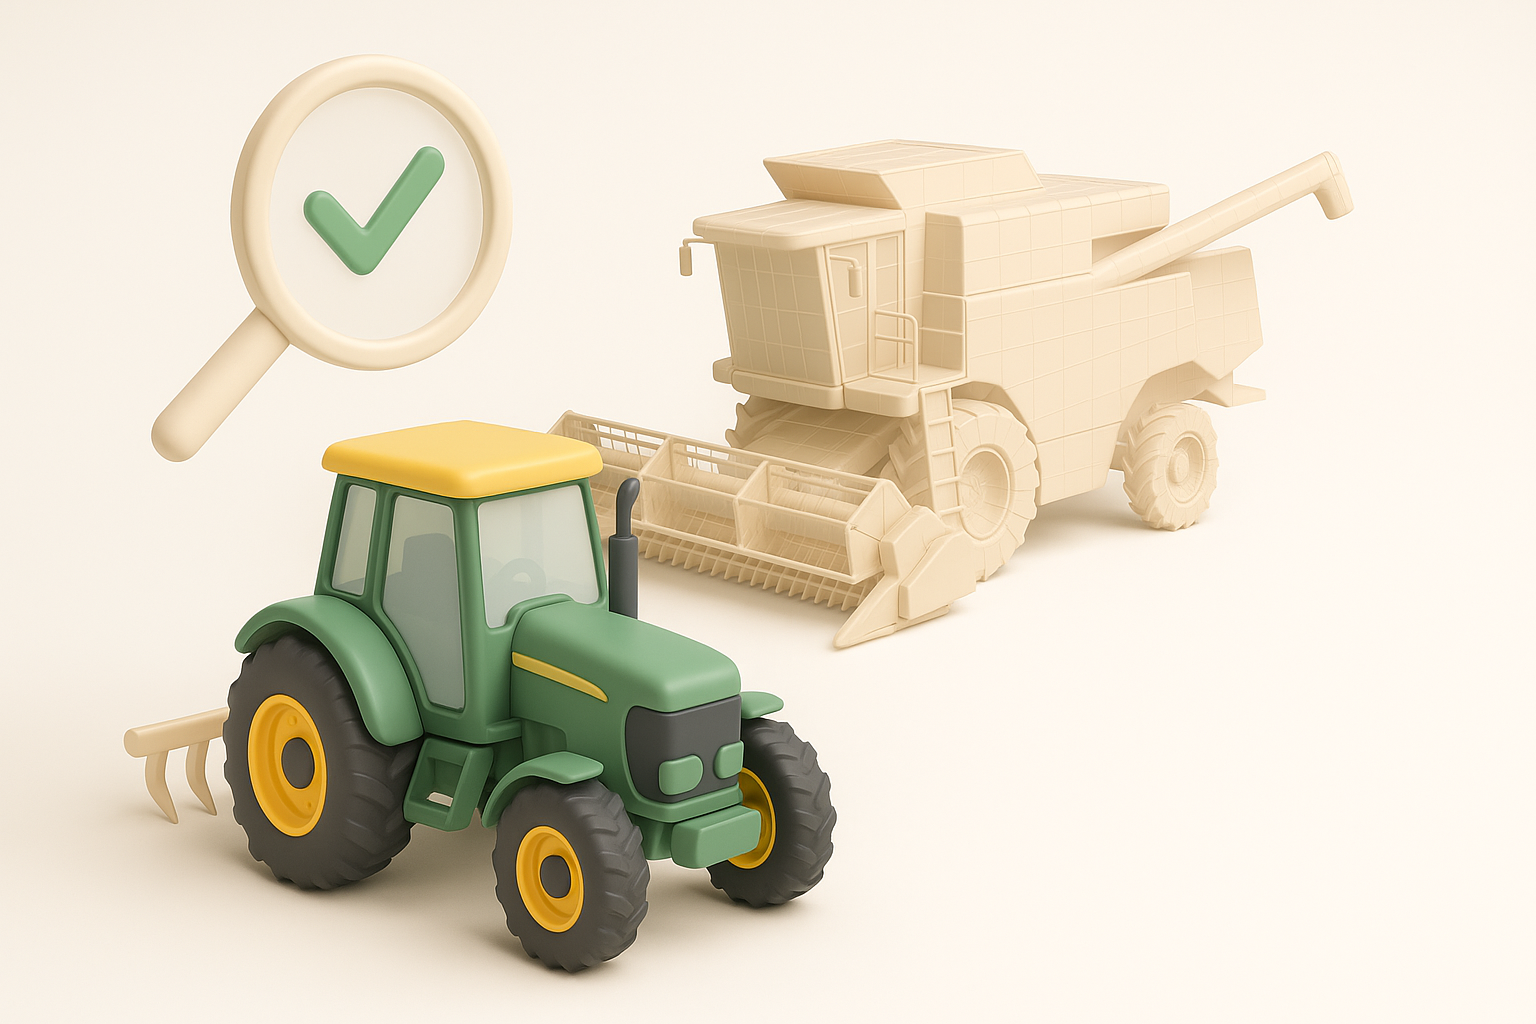
From my experience, farming simulator assets need to strike a balance between visual realism and technical efficiency. Key features include:
- Accurate scale and proportions: Tractors, plows, and crops must look correct next to each other and the player.
- Functional detail: Include moving parts (e.g., wheels, hydraulic arms) that match real-world machinery.
- Optimized geometry: Avoid unnecessary polygons—especially for parts that won’t be seen up close.
- Interactivity: If equipment is drivable or animated, ensure pivots and rigging are set up for game logic.
Common file formats and technical specs
I usually work with these specs for farming simulators:
- File formats: FBX and OBJ are standard for static and animated models.
- Texture maps: PBR workflows (albedo, normal, roughness, metallic) are common.
- Polycount: Varies by asset, but I aim for 5k–20k triangles for vehicles, less for props.
- Scale: Stick to 1:1 real-world units (meters), which most engines prefer.
Tip: Always check the target simulator’s documentation for specific import guidelines.
My Workflow for Designing Farming Equipment and Environments

Gathering references and planning the model
I start every project by collecting high-quality references—photos, blueprints, and videos of real farming machinery or landscapes. This helps me understand not just the look, but how parts move and connect.
My planning checklist:
- Gather 10–20 reference images from multiple angles.
- Sketch the main shapes or block out silhouettes.
- List key features (e.g., wheel size, attachment points, cabin details).
Pitfall: Skipping reference gathering often leads to inaccurate or generic-looking assets.
Blocking out shapes and refining details
Once I have references, I block out the main forms in my modeling software or with an AI generator (like Tripo for quick iteration). I focus on:
- Getting overall proportions right before adding details.
- Using simple primitives (cubes, cylinders) to map out the structure.
- Gradually refining with bevels, extrusions, and secondary elements.
Steps:
- Block out chassis and main body.
- Add wheels, axles, and key attachments.
- Refine with details like bolts, pipes, and textures.
Texturing and Optimizing for Real-Time Performance
Best practices for UV mapping and texturing
Efficient UV mapping is essential for clean textures and good performance. I usually:
- Lay out UVs with minimal stretching and logical seams.
- Pack UV islands tightly to maximize texture resolution.
- Use PBR texture maps for realism—Tripo’s auto-texturing speeds this up for prototypes.
Quick checklist:
- Avoid overlapping UVs (unless intentional, like for mirrored parts).
- Bake normal and ambient occlusion maps for extra detail.
- Test textures under different lighting conditions.
Retopology and polygon count optimization
Retopology is where I optimize the mesh for real-time use. I:
- Reduce polycount on flat or hidden surfaces.
- Use edge loops and quads for smooth deformations (important for rigged parts).
- Rely on AI tools to auto-retopologize quick concepts, then refine manually if needed.
Pitfall: Over-detailing small parts can tank performance—focus detail where it matters most.
Rigging and Animating Farming Machinery
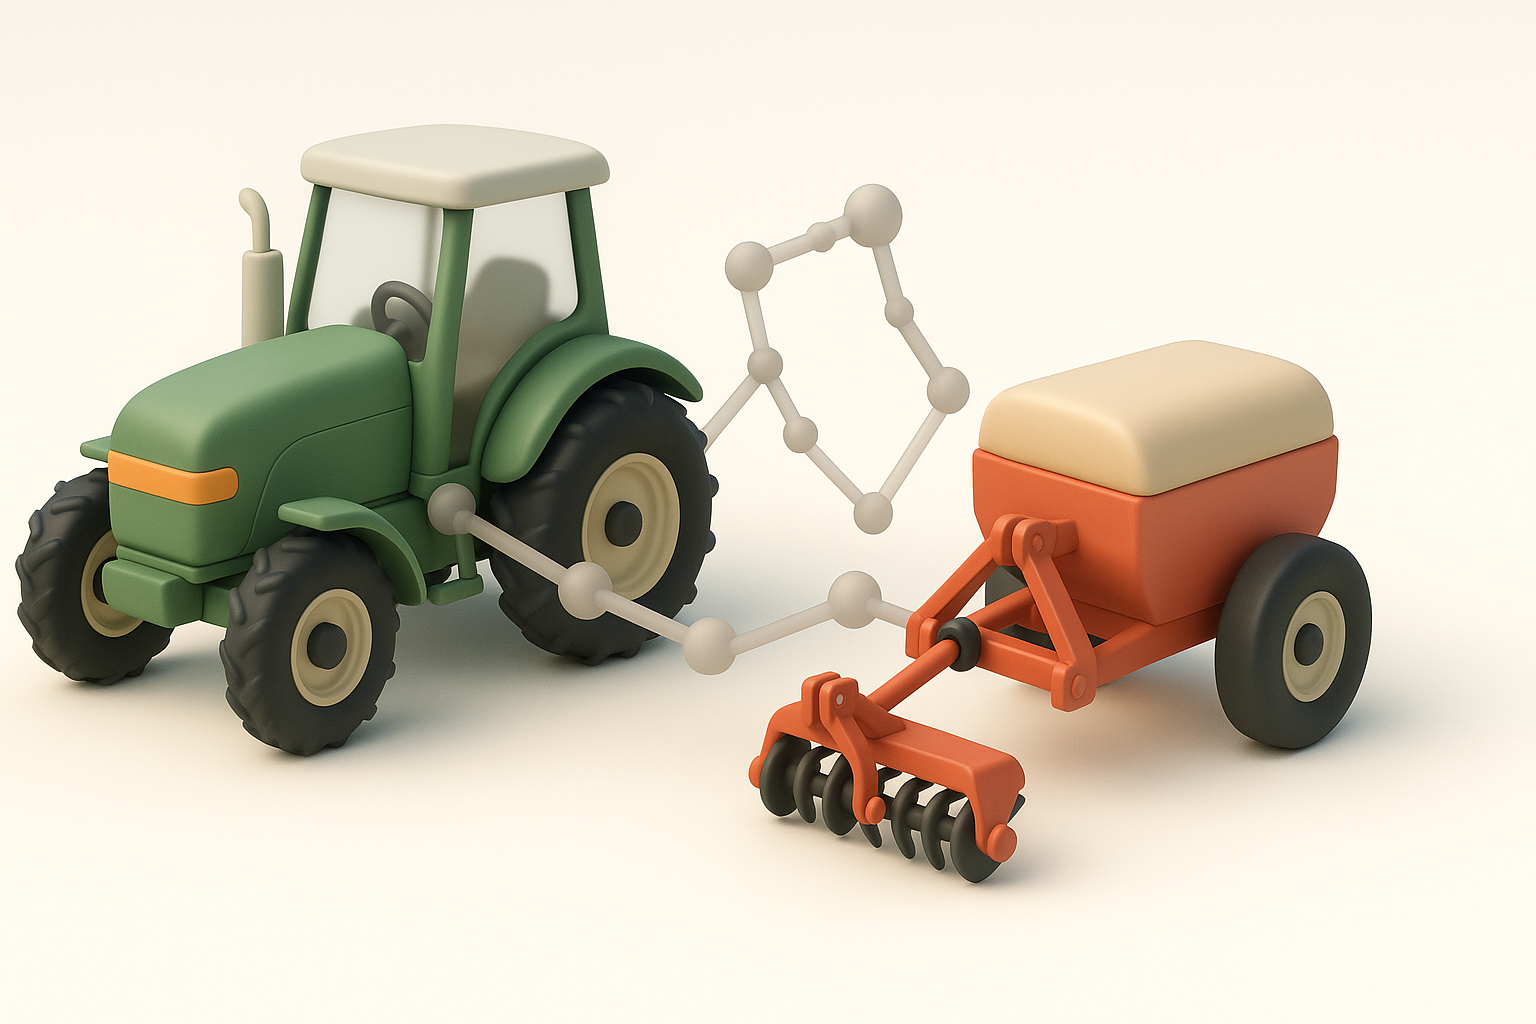
Setting up functional rigs for vehicles
For drivable or interactive machinery, I set up simple but robust rigs:
- Place pivots at logical rotation points (e.g., wheel centers, arm joints).
- Name bones/controls clearly for easy integration.
- Test basic movements in the modeling tool before export.
Steps:
- Add bones for each moving part (wheels, steering, arms).
- Parent mesh parts to corresponding bones.
- Create simple control handles for animation.
Animating moving parts for realism
I animate key functions—like wheel rotation, steering, or hydraulic lifts—using concise keyframes. My goal is to match real machinery movements as closely as possible.
- Use reference videos for timing and motion.
- Loop animations cleanly if they’ll repeat in-game.
- Export test animations with the model to check in-engine.
Exporting and Integrating Models into Farming Simulators

Preparing assets for engine import
Before exporting, I:
- Freeze transforms and apply scale/rotation.
- Ensure correct axis orientation (Y-up or Z-up, depending on engine).
- Export as FBX with embedded textures and animations if needed.
Checklist:
- Remove unused meshes or hidden geometry.
- Name meshes and materials clearly.
- Double-check material assignments.
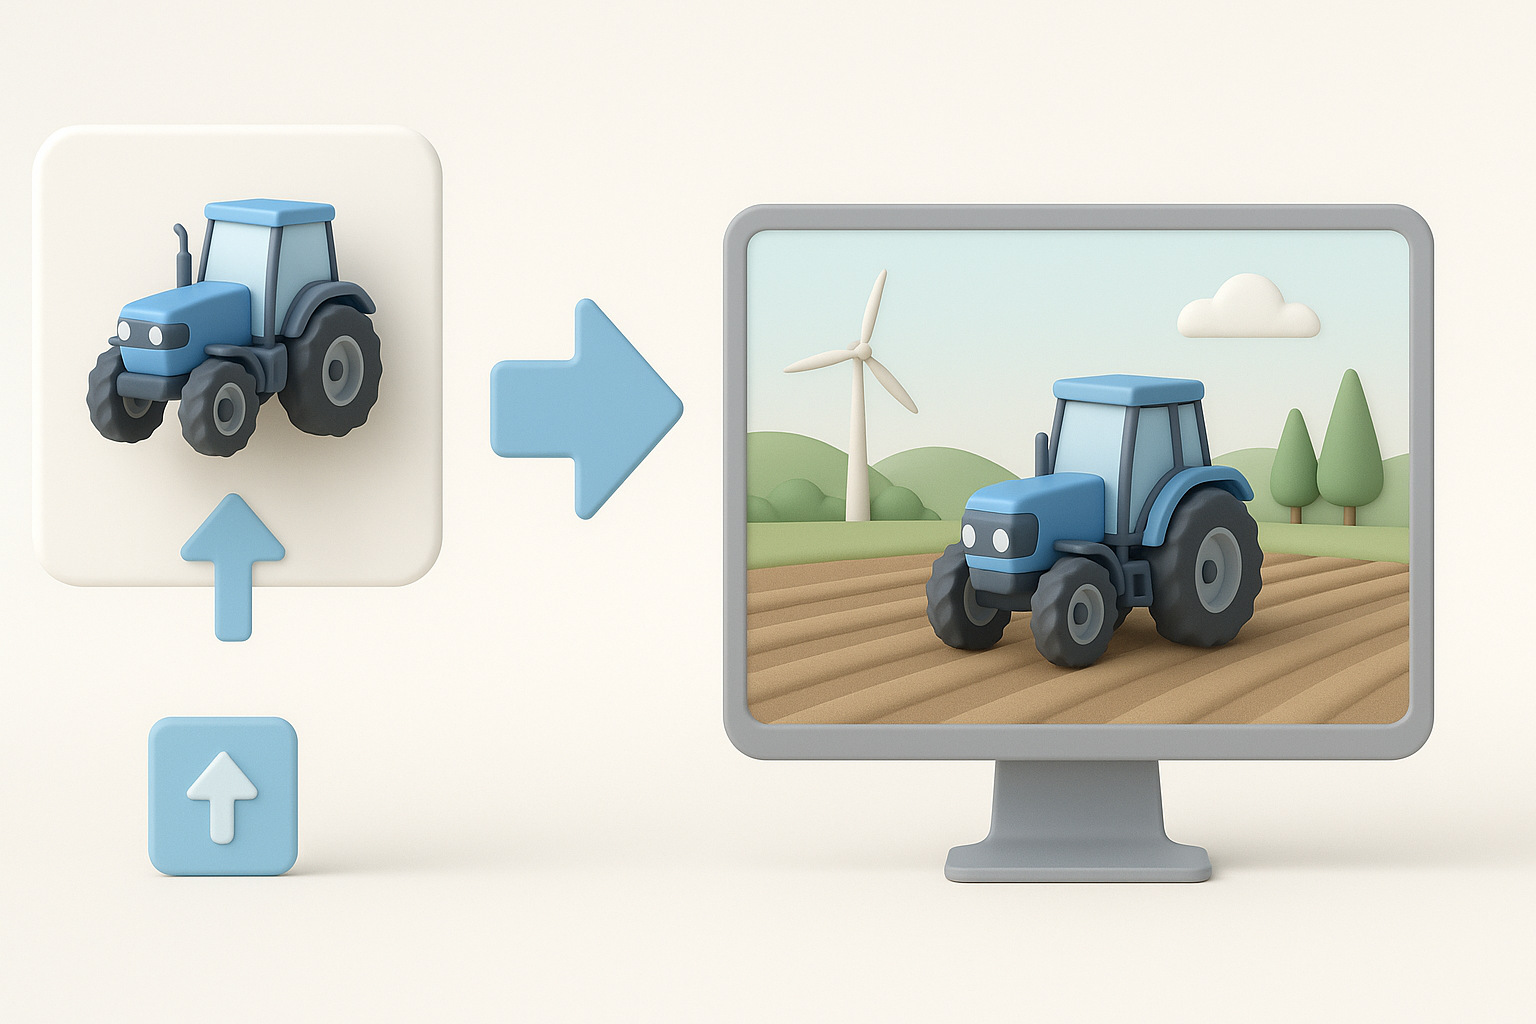
Testing and troubleshooting in-game
Once imported, I test assets in the target simulator:
- Check scale and placement relative to other objects.
- Verify animations and rigging work as expected.
- Look for shading, collision, or texture issues.
Common pitfalls:
- Incorrect pivot points cause erratic animation.
- Unapplied transforms lead to scaling/rotation errors.
- Material mismatches if texture paths aren’t set up properly.
Comparing AI-Powered and Traditional 3D Modeling Methods
When to use AI-driven tools for farming assets
In my workflow, AI-powered tools like Tripo are invaluable for:
- Rapid prototyping and concept iteration.
- Generating base meshes from text or sketches.
- Automating repetitive tasks (retopology, basic texturing).
I still rely on manual modeling for hero assets or when precise control is needed.
Lessons learned from both approaches
- AI tools: Great for speed and ideation, but often require manual cleanup for final production.
- Traditional methods: Offer full control and precision, but are slower—especially for bulk assets.
What’s worked best for me: Combining both approaches—using AI for initial drafts, then refining by hand—yields the fastest and most reliable results for farming simulator projects.
By following these steps and leveraging both traditional and AI-powered workflows, I’ve consistently delivered realistic, efficient farming assets ready for any simulator or game engine.


