Dragon Ball Z Kakarot 3D Model Creation: Expert Workflow
Creating production-ready 3D models for Dragon Ball Z Kakarot is a blend of artistry, technical discipline, and smart tool choices. In my experience, leveraging AI-powered platforms like Tripo streamlines modeling, retopology, texturing, and rigging, allowing me to focus on creative decisions rather than technical bottlenecks. This workflow is ideal for game developers, animators, and XR creators who need high-quality, stylized assets with efficiency. Below, I break down my complete process, highlight common challenges, and share actionable tips for achieving professional results.
Key takeaways
- Start with solid references and a clear concept before touching any tools.
- Use AI-powered 3D platforms to accelerate segmentation, retopology, and texturing.
- Prioritize clean topology and efficient UVs for animation and game integration.
- Rigging and animation are smoother with well-structured models.
- Always optimize models for target platforms to avoid performance issues.
- Traditional methods still have their place for custom or ultra-specific needs.
Overview of Dragon Ball Z Kakarot 3D Models
Key features and characteristics
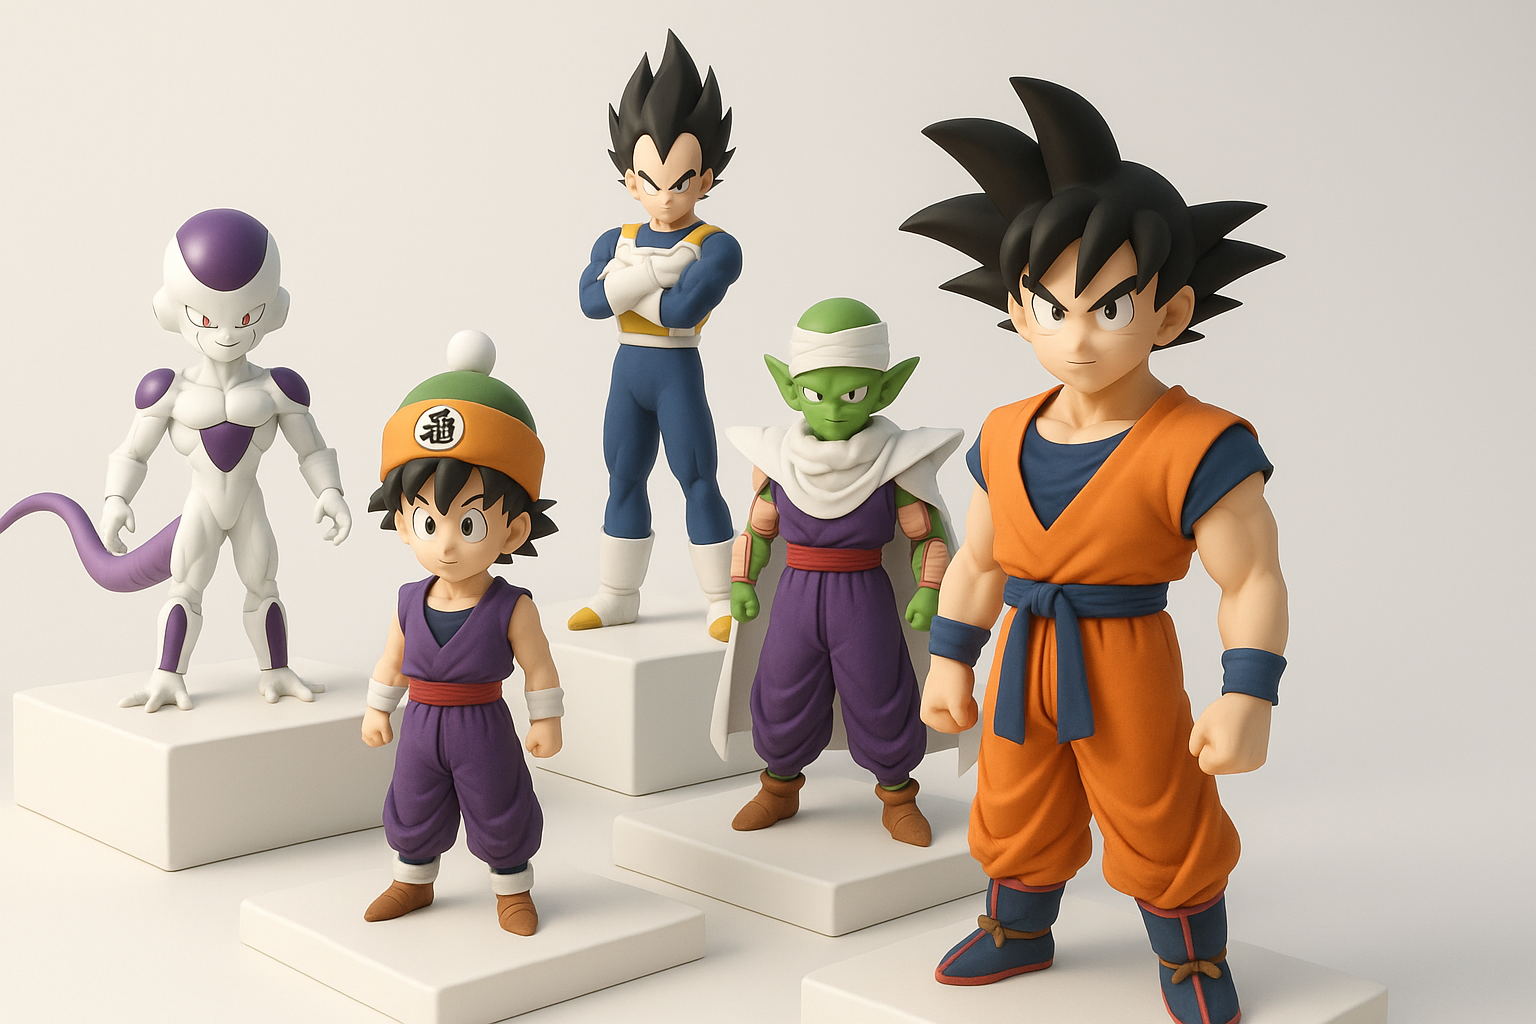
Dragon Ball Z Kakarot models are defined by their stylized proportions, clean lines, and iconic anime-inspired details. I focus on exaggerated anatomy, sharp facial features, and dynamic hair shapes. Maintaining a balance between visual fidelity and real-time performance is crucial, especially for in-game assets.
Common use cases in games and media
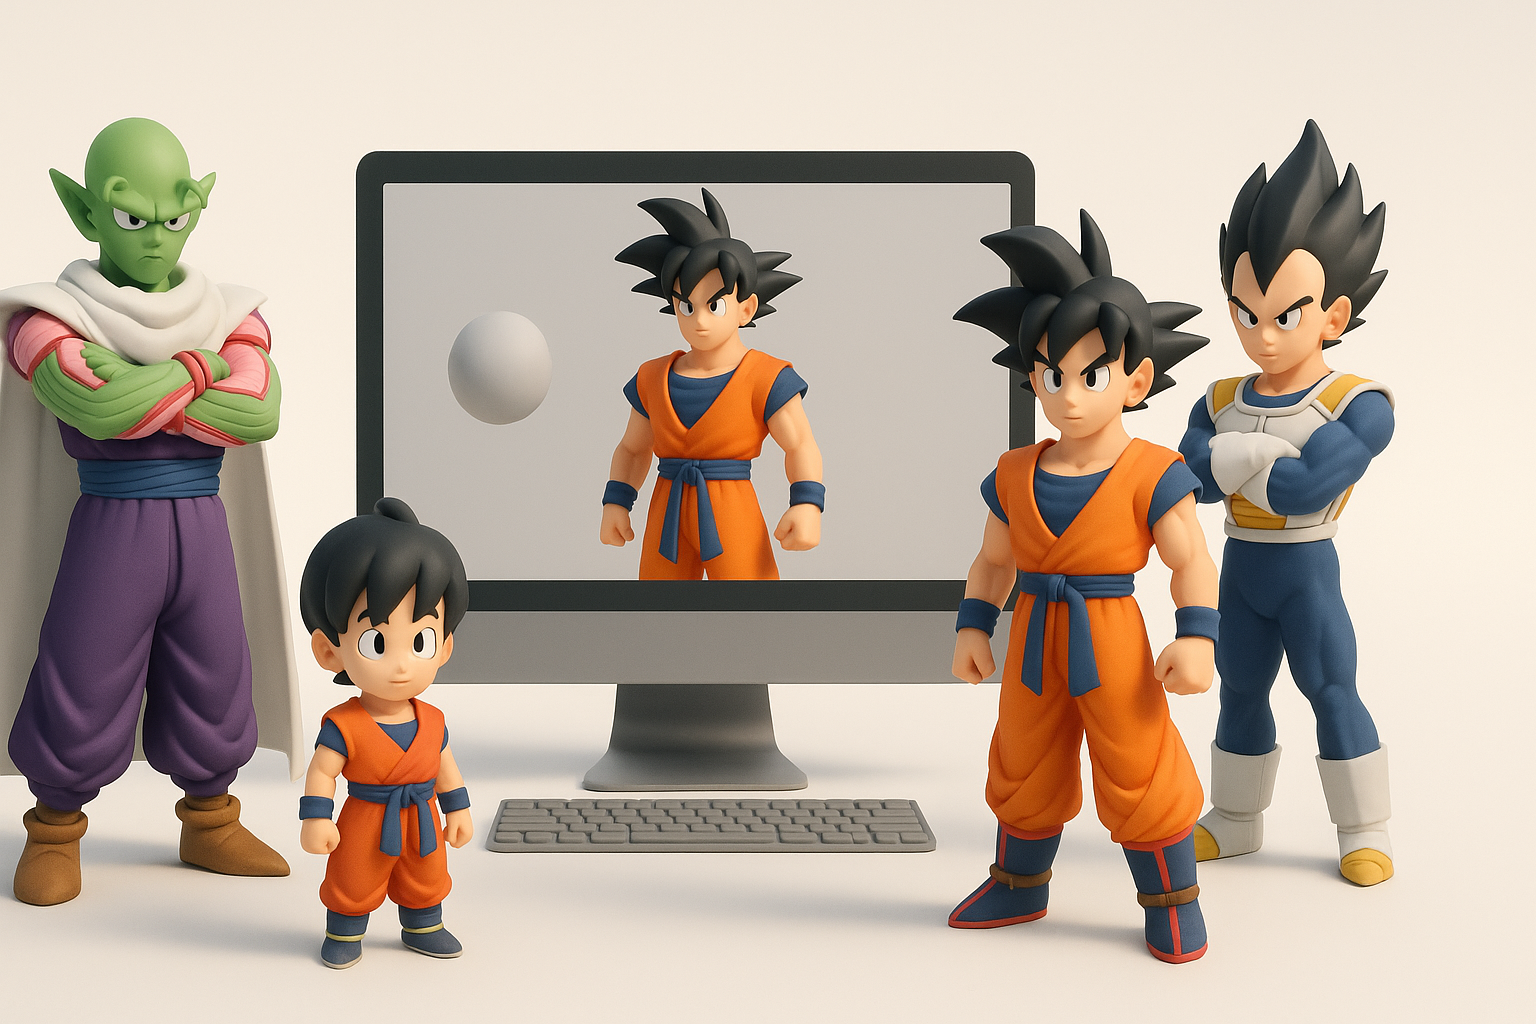
These models are used in action RPGs, cutscenes, XR experiences, and fan projects. I often tailor topology and texture resolution based on whether the asset is for real-time gameplay, pre-rendered cinematics, or interactive AR/VR applications.
My Approach to Creating Dragon Ball Z Kakarot 3D Models
Concept development and reference gathering
I start by collecting high-resolution screenshots, official art, and turnarounds from the anime and game. This step ensures accuracy and helps me capture the essence of each character. I create a mood board and annotate key features—like Goku’s hair spikes or Vegeta’s armor.
Checklist:
- Gather multiple angles (front, side, back)
- Note color palettes and material references
- Identify unique silhouette elements
Choosing the right tools and platforms
For efficiency, I use Tripo for rapid base mesh generation and intelligent segmentation. For detailed sculpting or custom tweaks, I supplement with traditional DCC tools. The key is to match the tool to the task—AI for speed and consistency, manual tools for nuance.
Step-by-Step Workflow for 3D Model Production
Modeling and sculpting techniques
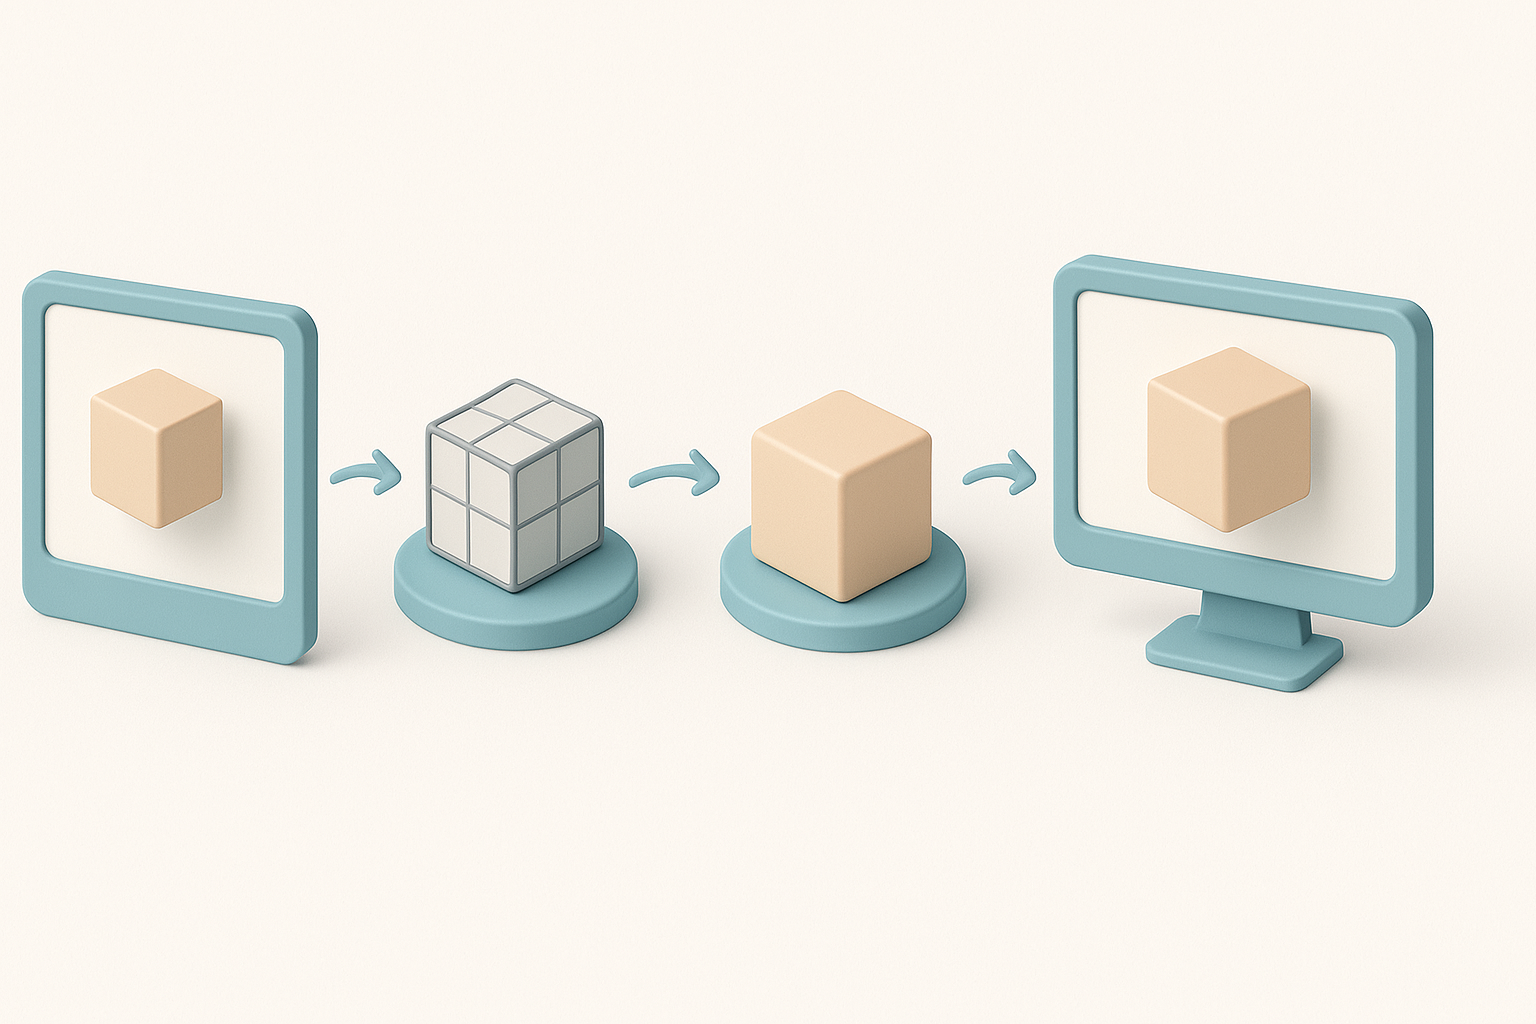
I usually start with a rough blockout to define proportions, then refine the form using sculpting tools. With Tripo, I can generate a solid base mesh from text prompts or sketches, then export to my preferred sculpting software for fine details.
My typical steps:
- Generate base mesh (Tripo or manual blockout)
- Sculpt primary forms and silhouette
- Add secondary details (hair, clothing folds)
Pitfalls: Over-modeling early; I keep details broad until proportions are locked.
Retopology, segmentation, and texturing best practices
Good topology is non-negotiable for animation. I use Tripo’s auto-retopology and segmentation to quickly get clean, animation-friendly meshes. For texturing, I bake normal and AO maps, then hand-paint stylized textures or use smart materials.
Tips:
- Keep edge loops clean around joints
- Segment parts logically (hair, armor, skin)
- Test UVs for stretching before painting
Rigging and Animation for Dragon Ball Z Characters
Efficient rigging workflows
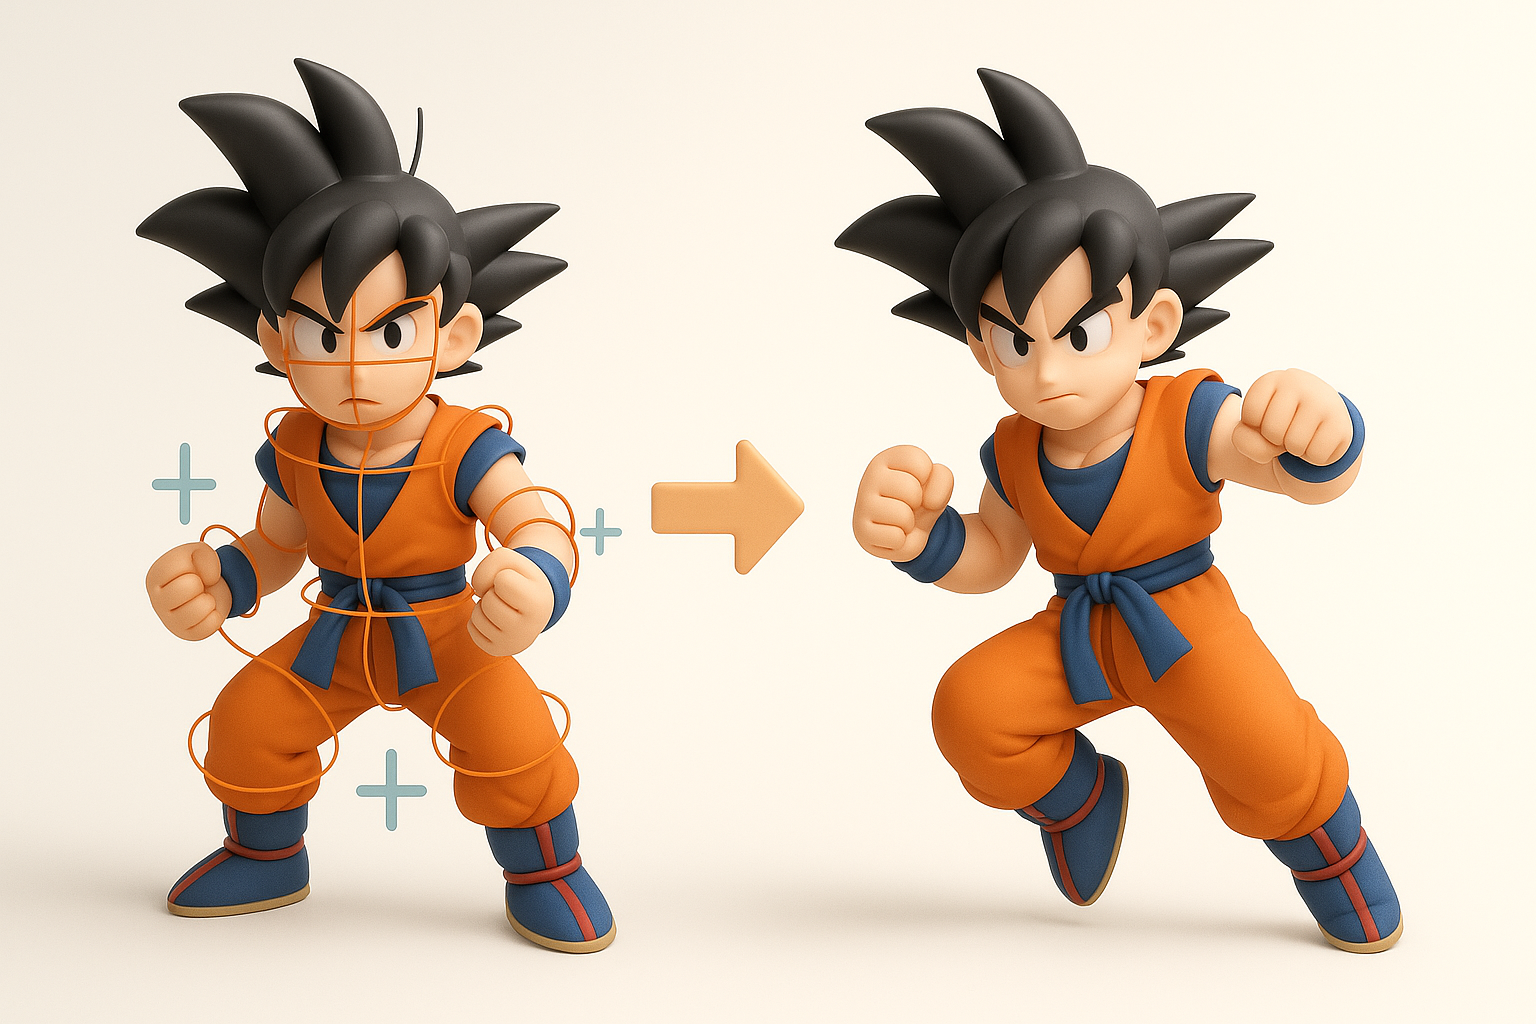
I rely on auto-rigging features to establish a solid skeleton quickly, then manually tweak weights for expressive poses. Tripo’s rigging tools handle most humanoid setups well, but I always check deformation around shoulders and hips.
Mini-checklist:
- Align skeleton with model’s center line
- Test basic poses (T-pose, crouch, jump)
- Adjust weights for spiky hair and accessories
Animating iconic moves and poses
Animating DBZ characters means capturing dynamic, exaggerated action. I block out key poses first—like Kamehameha stances—then refine timing and arcs. For rapid prototyping, I use built-in animation presets, but polish final moves manually.
Pitfalls: Overcomplicating curves; I keep animation snappy and readable.
Optimizing and Exporting Models for Different Platforms
Performance considerations and file formats
For games and XR, I optimize polycount and texture sizes, baking details into maps when possible. I export in formats like FBX or GLB, depending on the target engine.
Best practices:
- Limit polycount for mobile/XR
- Use texture atlases to reduce draw calls
- Test in-engine for lighting and shading issues
Integration into game engines and XR environments
I import assets into engines with the correct scale and pivot points. I always check material assignments and rig compatibility, especially if using custom shaders or physics.
Checklist:
- Verify orientation and scale
- Assign materials and test animations
- Profile performance in the target environment
Comparing AI-Powered and Traditional 3D Creation Methods
Advantages of AI-driven workflows
AI-driven tools like Tripo dramatically cut down on repetitive tasks—segmentation, retopology, and even base texturing. This lets me iterate faster and spend more time on creative direction.
When I use AI:
- Rapid prototyping
- Batch processing similar assets
- Tight deadlines
When to use alternative methods
Traditional modeling still excels for highly custom, unique assets or when I need granular control. I switch to manual workflows for hero assets or when AI outputs need heavy modification.
Expert Tips and Lessons Learned
Common challenges and how I solve them
Challenges:
- Achieving anime-style shading in real-time engines
- Maintaining clean deformations during animation
- Balancing detail with optimization
My solutions:
- Use custom shaders for cel-shading
- Test deformations early with extreme poses
- Bake details into textures, not geometry
Best practices for production-ready results
- Always work from solid references
- Validate topology and UVs before rigging
- Keep a modular workflow for easy edits
- Test assets in the final environment before handoff
If you want to create Dragon Ball Z Kakarot 3D models efficiently, blend AI-powered tools with traditional artistry. This approach delivers high-quality, production-ready assets—without the usual headaches.


