How I Create Battlefield 6 3D Models: Workflow, Tips, and Tools
Creating production-ready 3D models for a high-profile game like Battlefield 6 demands a blend of precision, efficiency, and adaptability. Over the years, I’ve refined my workflow to balance realism with game engine requirements, leveraging both traditional modeling skills and AI-powered tools. In this article, I’ll break down my end-to-end process, highlight key lessons learned, and share practical tips for anyone aiming to produce top-tier game assets—whether you’re a solo artist or part of a studio pipeline.
Key takeaways:
- Battlefield 6 assets require a unique mix of realism and technical optimization.
- Gathering accurate references and understanding engine requirements is critical.
- Blocking, retopology, and texturing are core steps; AI tools can accelerate and enhance results.
- Smart material workflows and efficient export settings are essential for game integration.
- Avoid common pitfalls by validating models early and optimizing as you go.
Executive Summary: Key Takeaways for Battlefield 6 3D Modeling
What makes Battlefield 6 models unique
Battlefield 6 models stand out due to their high level of detail, modularity, and strict performance constraints. The game’s environments and assets often combine photorealistic textures with efficient geometry, requiring a careful balance between fidelity and optimization.
My top workflow insights
In my workflow, I prioritize reference gathering and early validation. Leveraging AI-powered segmentation and retopology tools like Tripo AI saves significant time, especially on complex assets. I always iterate with the game engine in mind, ensuring models are both visually compelling and performant.
Planning and Reference Gathering for Battlefield 6 Assets

Choosing the right references
I start every asset with a deep dive into reference material—official concept art, real-world analogs, and in-game screenshots. For military vehicles or weapons, I cross-reference blueprints and high-res photos to capture both function and detail. This ensures my models feel authentic within the Battlefield universe.
Checklist:
- Gather at least 5–10 high-quality references per asset.
- Cross-check with in-game camera angles and lighting.
- Note unique wear, decals, and environmental effects.
Understanding game-specific requirements
Battlefield 6 assets must meet strict polycount, UV, and texture guidelines. I always consult the latest documentation from the art lead or technical director before starting. This helps avoid rework and ensures seamless integration.
Practical tip:
Keep a running checklist of asset requirements (tris, texture sets, LODs) visible in your workspace.
My Step-by-Step Workflow for Creating Battlefield 6 3D Models
Blocking out the base mesh
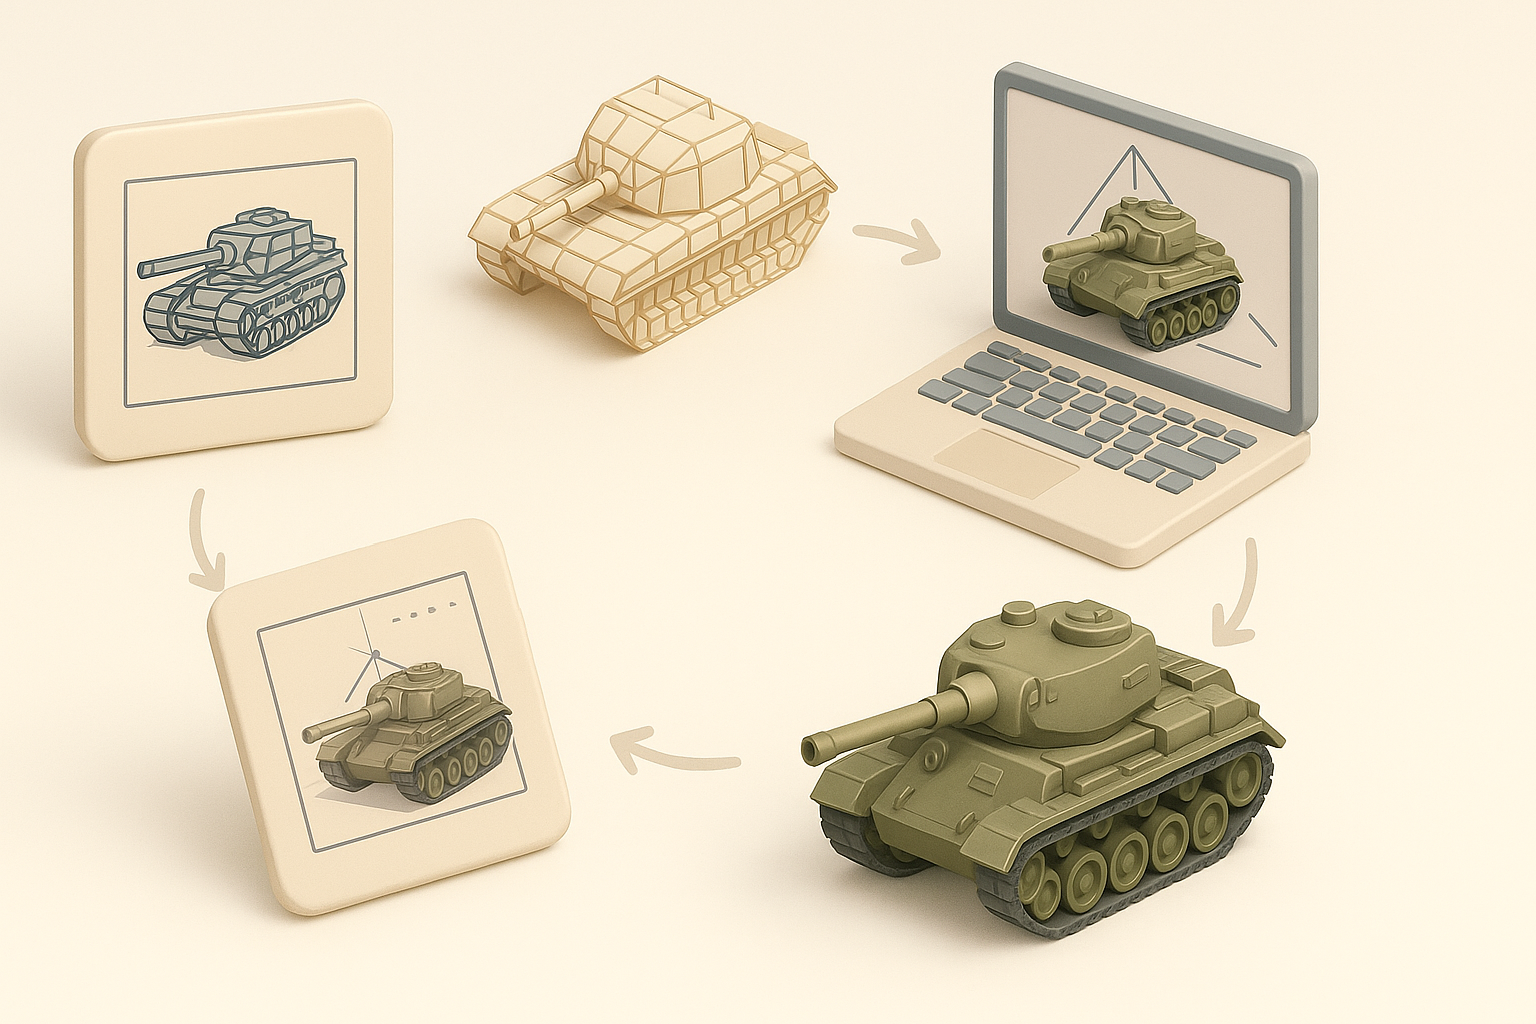
I begin with a rough blockout in my preferred 3D software, focusing on silhouette and proportions. At this stage, I ignore fine details and prioritize speed—using primitives and symmetry whenever possible.
Steps:
- Block out main forms using cubes, cylinders, and planes.
- Check scale using reference images and engine units.
- Iterate quickly, keeping feedback loops short.
Detailing, retopology, and optimization
Once the blockout is approved, I move to high-poly detailing—adding bevels, panel lines, and surface imperfections. For retopology, I often turn to Tripo AI to generate clean, game-ready topology, which greatly accelerates this step.
Pitfalls to avoid:
- Don’t over-detail areas that won’t be visible.
- Always bake normal and AO maps from high to low poly early to test fidelity.
Texturing and Material Creation: Achieving Realism

Texture painting techniques I use
I rely on a combination of procedural and hand-painted techniques. After baking maps, I use smart masks for edge wear, grime, and weathering. Layering is key—starting with base color, then adding roughness, metallic, and detail passes.
Mini-checklist:
- Bake normal, AO, and curvature maps for mask generation.
- Use reference-based color palettes.
- Preview textures in the target engine as early as possible.
Smart material workflows and best practices
Using smart materials—especially those tailored for military and industrial assets—speeds up iteration. I often create reusable material presets and tweak them per asset. Tripo AI’s intelligent texturing features help generate base materials, which I then refine manually.
Tip:
Save custom smart materials for future projects to maintain consistency across assets.
Rigging, Animation, and Exporting for Game Engines
Rigging and prepping for animation
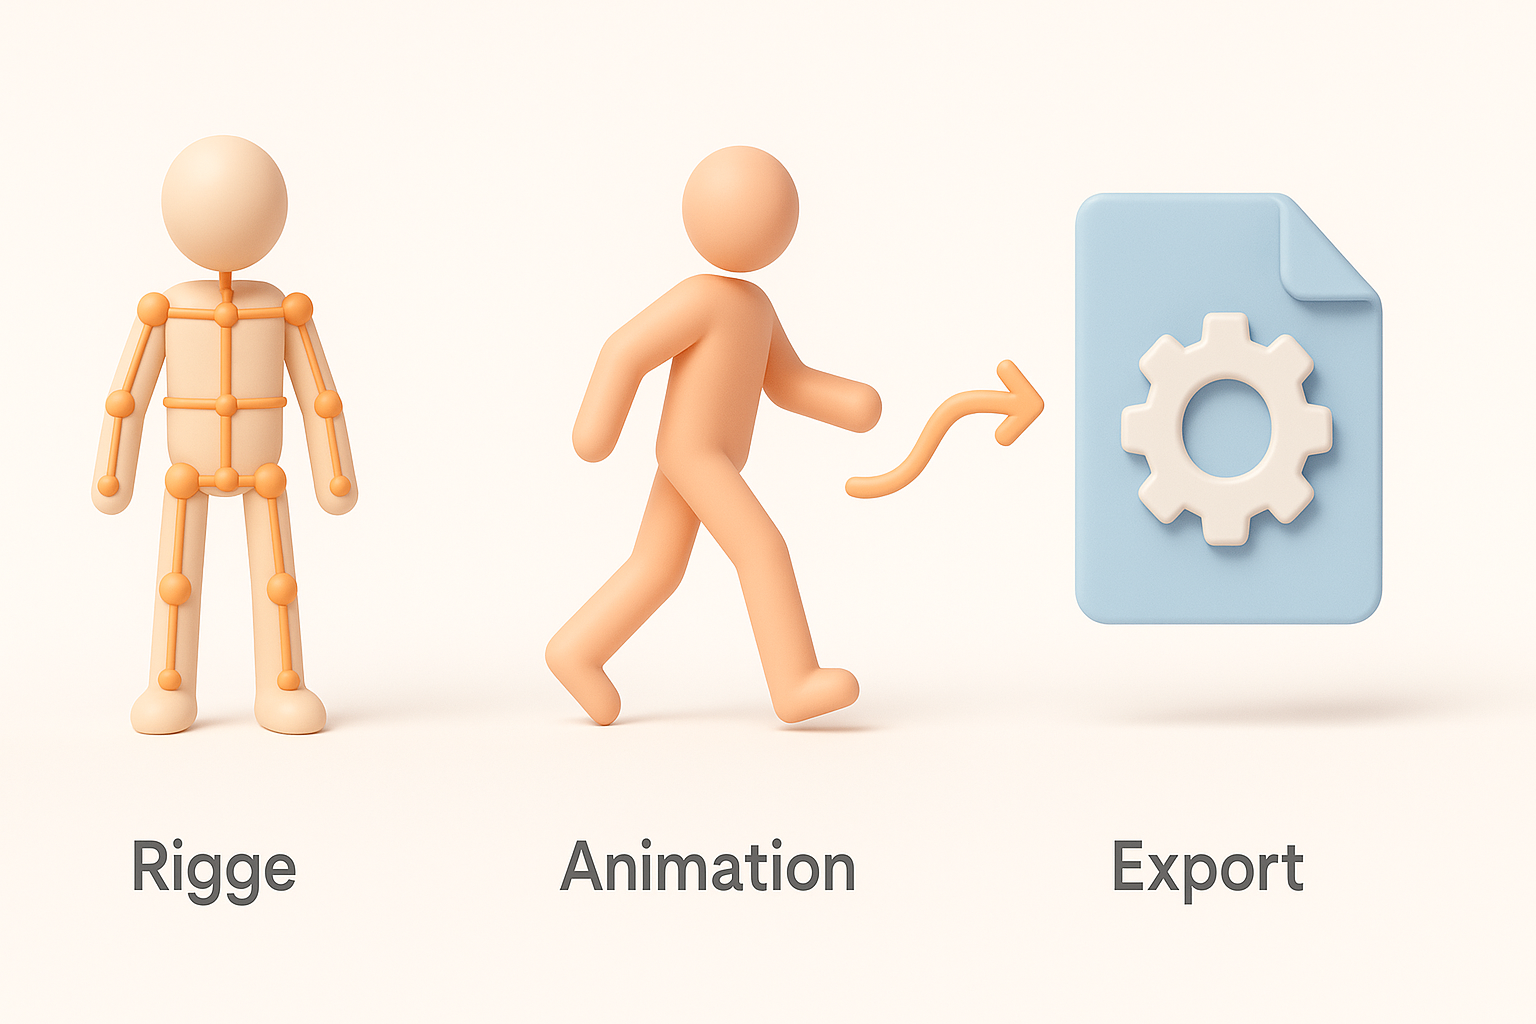
For assets that require movement (like vehicle turrets or doors), I create simple rigs, focusing on clean joint placement and minimal hierarchy complexity. Rigging is always driven by in-game requirements—no extra bones or controls unless specified.
Steps:
- Name bones and meshes clearly.
- Test basic animations (open/close, rotate) in your 3D package.
- Export test animations to the engine for validation.
Export settings and engine compatibility
Exporting for Battlefield 6 means sticking to the engine’s preferred formats (usually FBX), applying correct scale, and ensuring all transformations are frozen. I always double-check material assignments and UV channels before final export.
Checklist:
- Set correct axis orientation.
- Embed or reference textures as required.
- Validate model in the engine before final submission.
AI-Powered Tools in My Battlefield 6 3D Model Workflow
How I leverage AI for segmentation and retopology
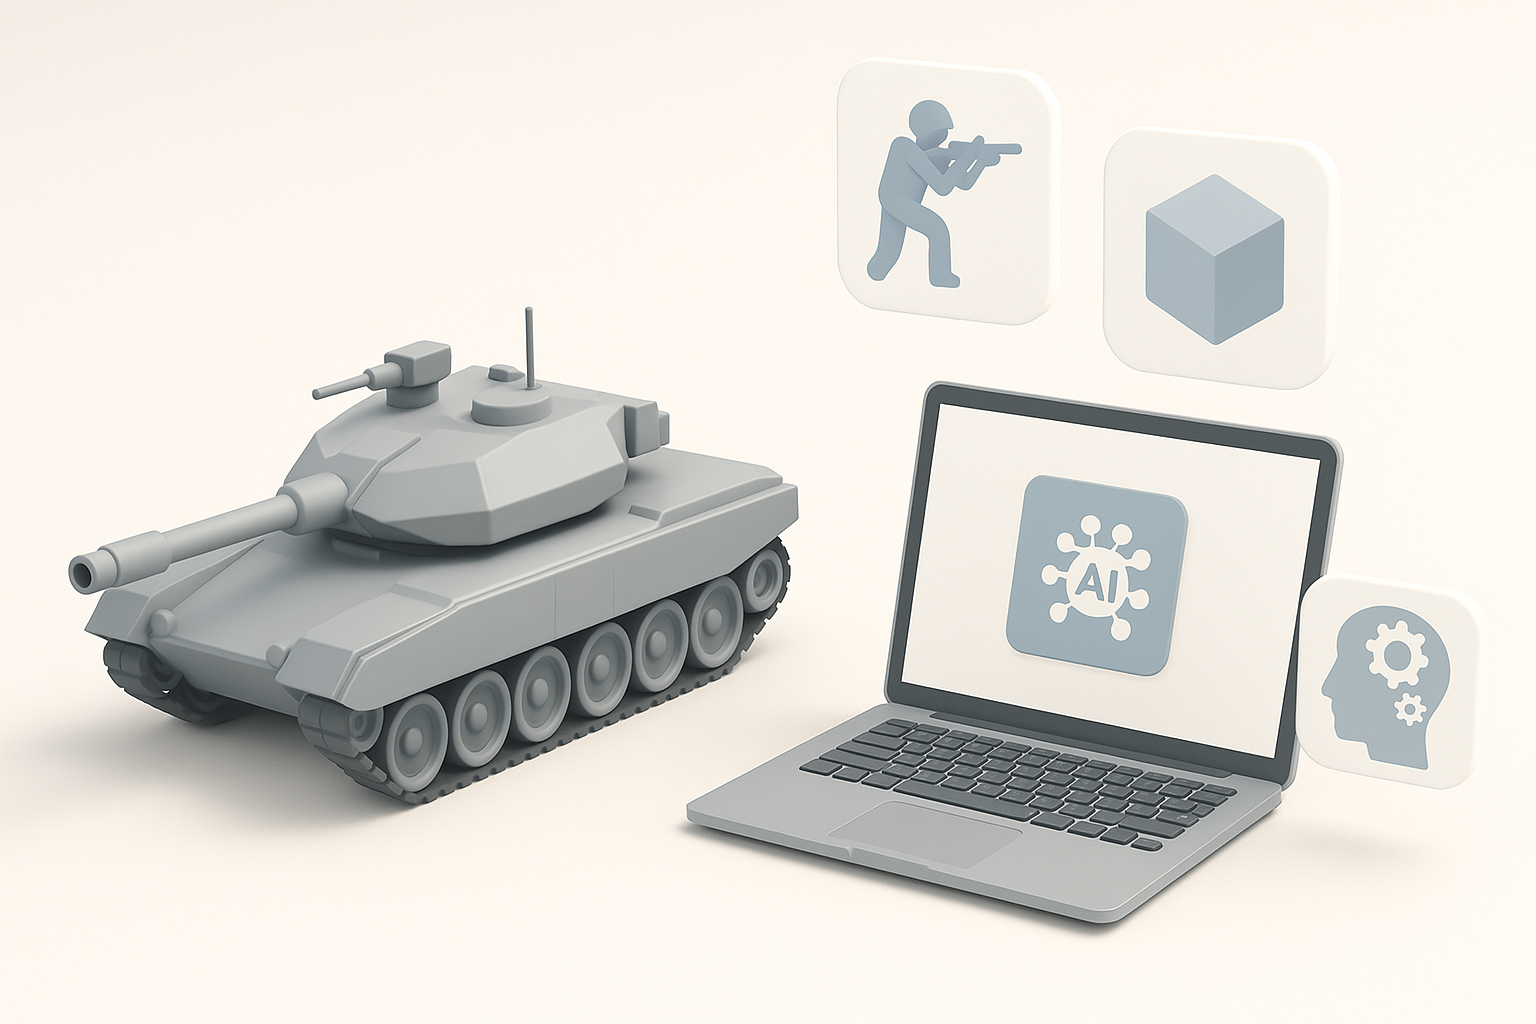
AI tools like Tripo AI have become central to my workflow, especially for rapid segmentation and automated retopology. This is invaluable for complex objects or when working under tight deadlines. I feed in my high-poly mesh or concept sketch and let the AI handle initial segmentation, then make manual adjustments as needed.
Benefits:
- Cuts retopology time by 50% or more.
- Consistent, production-ready topology for animation and baking.
Integrating AI tools with traditional 3D pipelines
I use AI-generated outputs as a base, refining them in my main DCC tool. The key is to treat AI as an assistant, not a replacement—manual passes are still essential for polish and game-specific tweaks.
Tip:
Always validate AI-generated meshes for UVs, normals, and engine compatibility before moving to the next stage.
Best Practices and Lessons Learned from Real Projects

Common pitfalls and how I avoid them
From experience, the most frequent issues are over-modeling, poor UV layouts, and missed technical requirements. I avoid these by regularly checking my asset against the project brief and running test imports into the engine early.
Pitfalls:
- Too many edge loops in hidden areas.
- Overlapping or stretched UVs.
- Ignoring LOD or collision mesh requirements.
Tips for efficiency and quality
- Automate repetitive tasks with scripts or AI tools.
- Use version control for all assets.
- Get early feedback from art leads and technical artists.
Comparing 3D Model Creation Methods for Battlefield 6
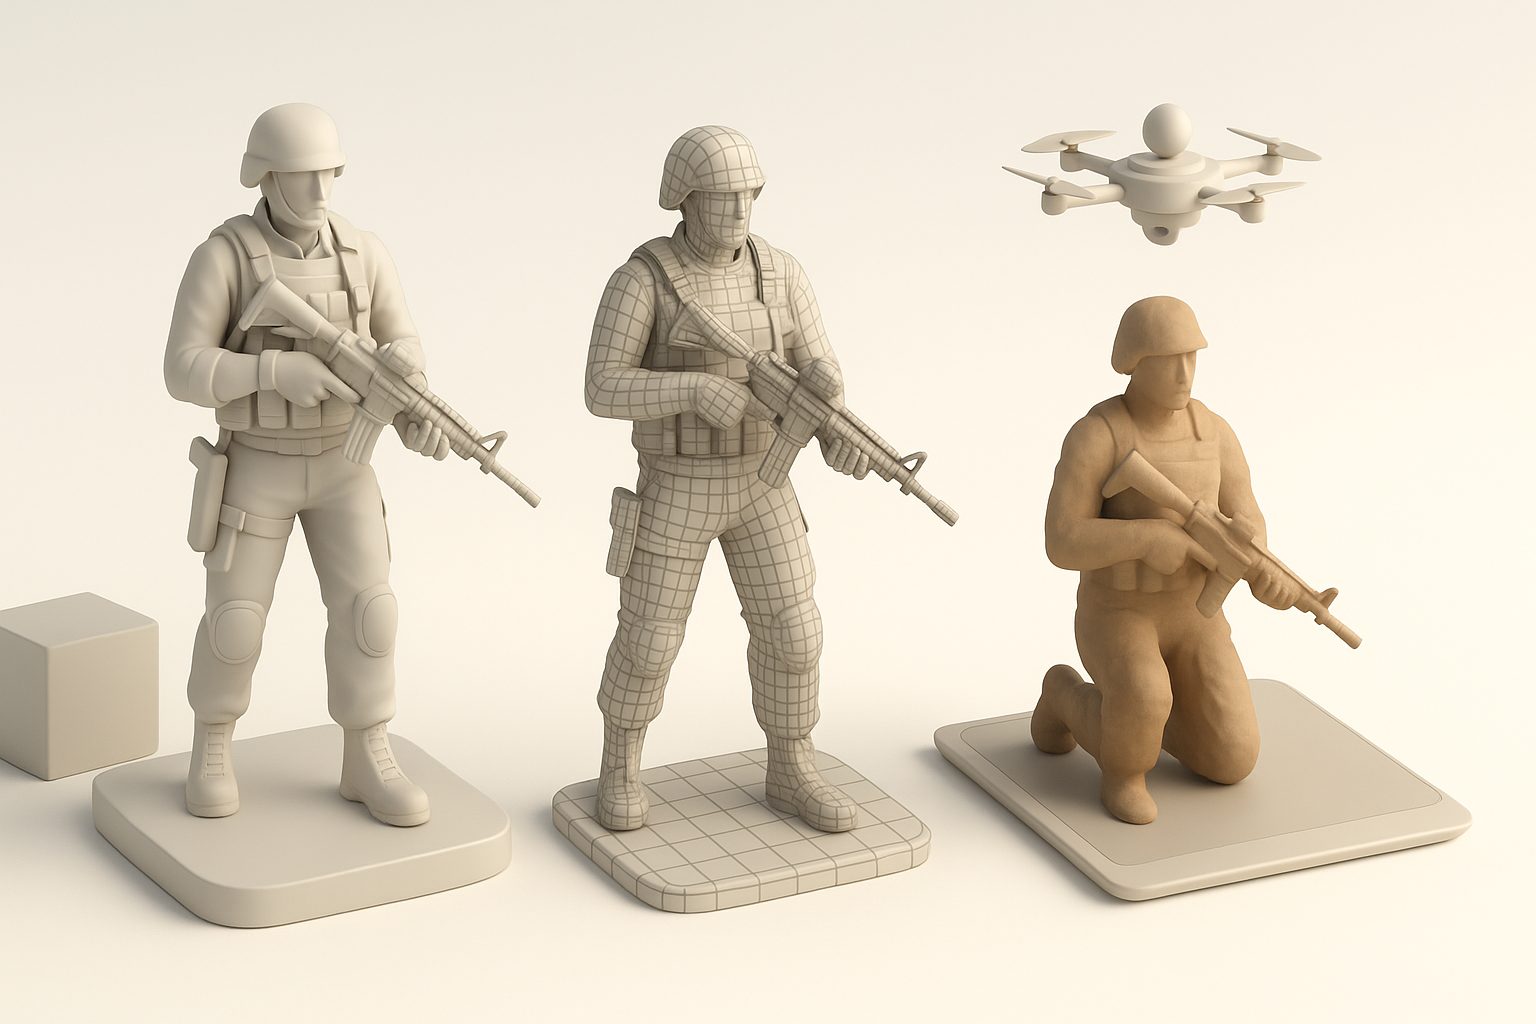
Manual vs. AI-assisted workflows
Manual modeling offers full control and is ideal for hero assets or unique props. AI-assisted workflows, on the other hand, excel at rapid prototyping, batch asset creation, and retopology. I choose the approach based on asset complexity and deadline pressure.
When to use which:
- Manual: Custom hero assets, unique forms, or highly stylized models.
- AI-assisted: Repetitive props, background assets, or when optimizing existing meshes.
When to use alternative methods
For photogrammetry or kitbashing, I use these methods when time is short or realism is paramount. However, every asset still goes through my core workflow for optimization and texturing to meet Battlefield 6’s standards.
Tip:
Blend multiple methods—blockout manually, refine with AI, texture using smart materials—for the best results.
In summary:
Success in Battlefield 6 3D modeling comes down to thoughtful planning, leveraging the right tools (including AI), and maintaining a rigorous validation process. By combining traditional skills with modern workflows, I consistently deliver assets that meet both artistic and technical benchmarks.


