Creating a Xiaomi Mi Door Window Sensor 2 3D Model: Expert Workflow
If you need a production-ready 3D model of the Xiaomi Mi Door Window Sensor 2—whether for games, XR, or product visualization—this guide breaks down my tested, efficient workflow. I’ll share how I approach reference gathering, modeling, texturing, and optimization, as well as how I leverage AI-powered tools like Tripo to speed up the process. You’ll learn key decision points, practical troubleshooting tips, and how to avoid common pitfalls. This article is especially useful for 3D artists, technical directors, and developers looking to streamline their asset pipeline without sacrificing quality.
Key takeaways:
- Gather accurate references and plan topology before modeling.
- Use a blockout-to-detail approach for clean, efficient geometry.
- AI-powered tools like Tripo can accelerate modeling and texturing, but manual touch-ups are often required.
- Proper UV mapping and retopology are critical for production-ready assets.
- Export settings and file formats matter for downstream integration.
- Troubleshooting and iteration are part of every successful 3D workflow.
Overview and Key Considerations for Modeling the Sensor
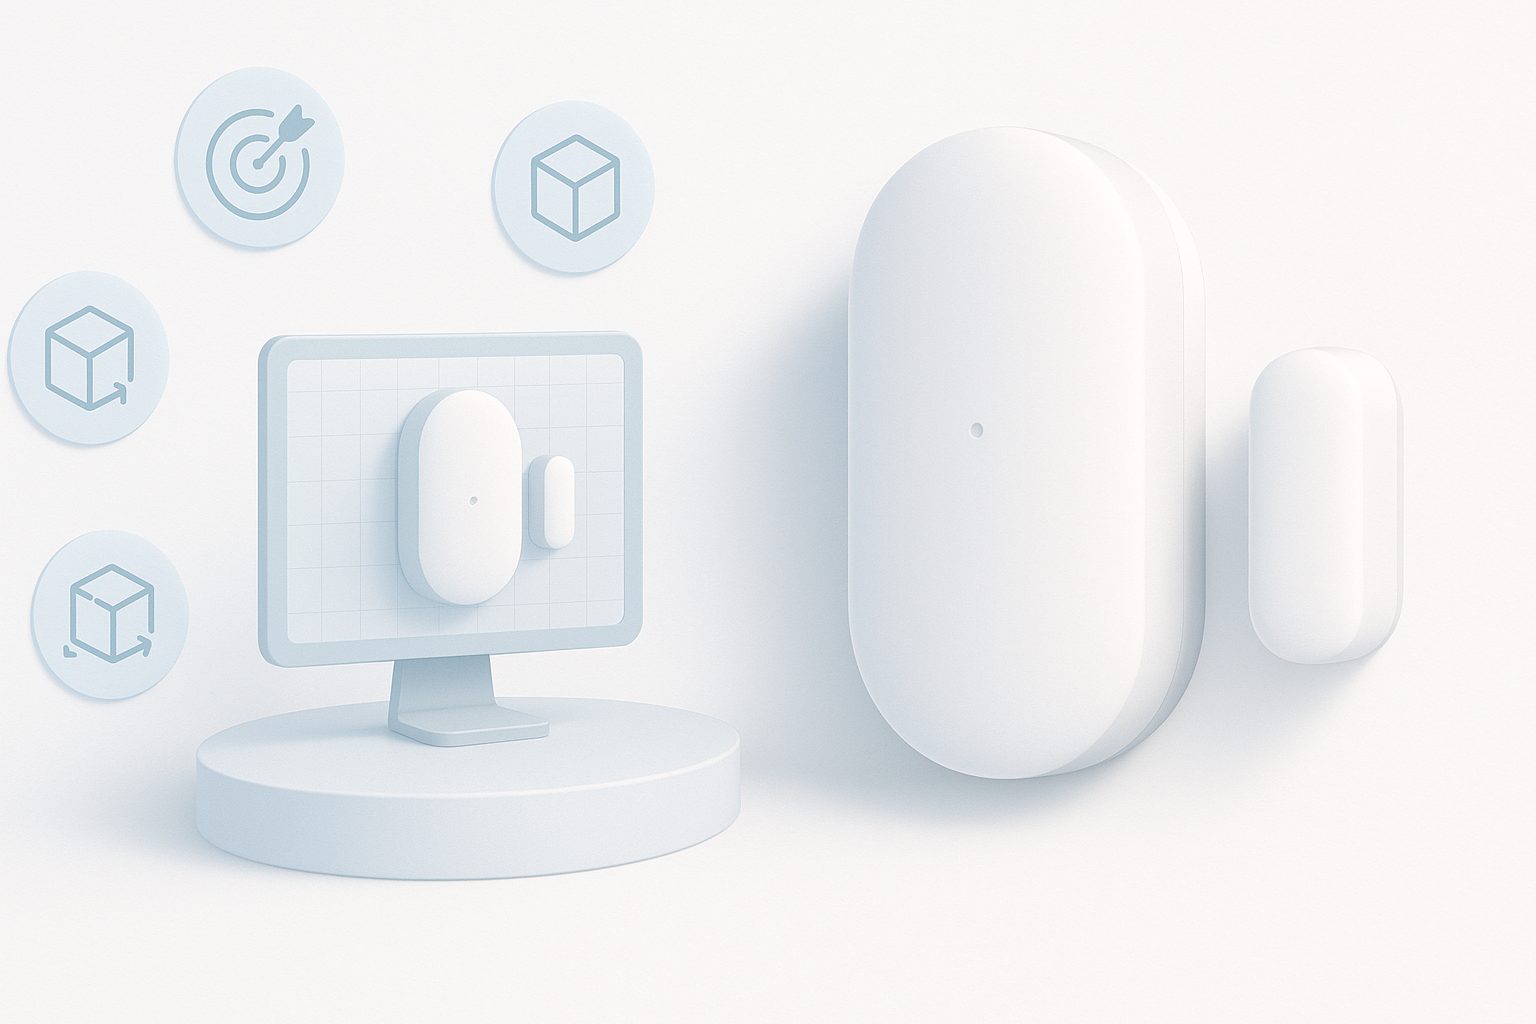
Understanding the Sensor’s Design and Functional Elements
Before modeling, I always analyze the product’s form and function. The Xiaomi Mi Door Window Sensor 2 is a compact, minimalist device with subtle seams, indicator LEDs, and a magnetic contact point. Its geometry is mostly simple—rounded rectangles and soft bevels—but the details (like the LED lens and mounting clips) matter for realism and animation.
Checklist:
- Identify all visible components (main body, magnet, LED, seams)
- Note dimensions and proportions from datasheets or photos
- Understand how parts interact (e.g., opening/closing mechanism)
Executive Summary: My Approach and Key Takeaways
My workflow balances speed and precision. I start with a rough blockout to lock in proportions, then refine the mesh based on references. For this sensor, keeping edge loops clean and maintaining symmetry is crucial. I leverage Tripo AI for rapid initial modeling and texturing, then manually optimize topology and UVs for production use.
Key points:
- Speed up initial mesh creation with AI, but always check for artifacts
- Manual retopology is essential for clean, animation-ready geometry
- Small details (like subtle seams) add realism and should not be skipped
Step-by-Step Workflow for 3D Modeling
Reference Gathering and Initial Planning
Success starts with solid references. I collect high-res images from multiple angles, manufacturer diagrams, and, if possible, physical measurements. I organize these in a PureRef board or similar tool for quick access during modeling.
Steps:
- Gather at least 5–6 clear images (front, side, top, close-up)
- Note any hidden features or assembly details
- Decide on the final use case (real-time, render, animation) to guide polycount and detail level
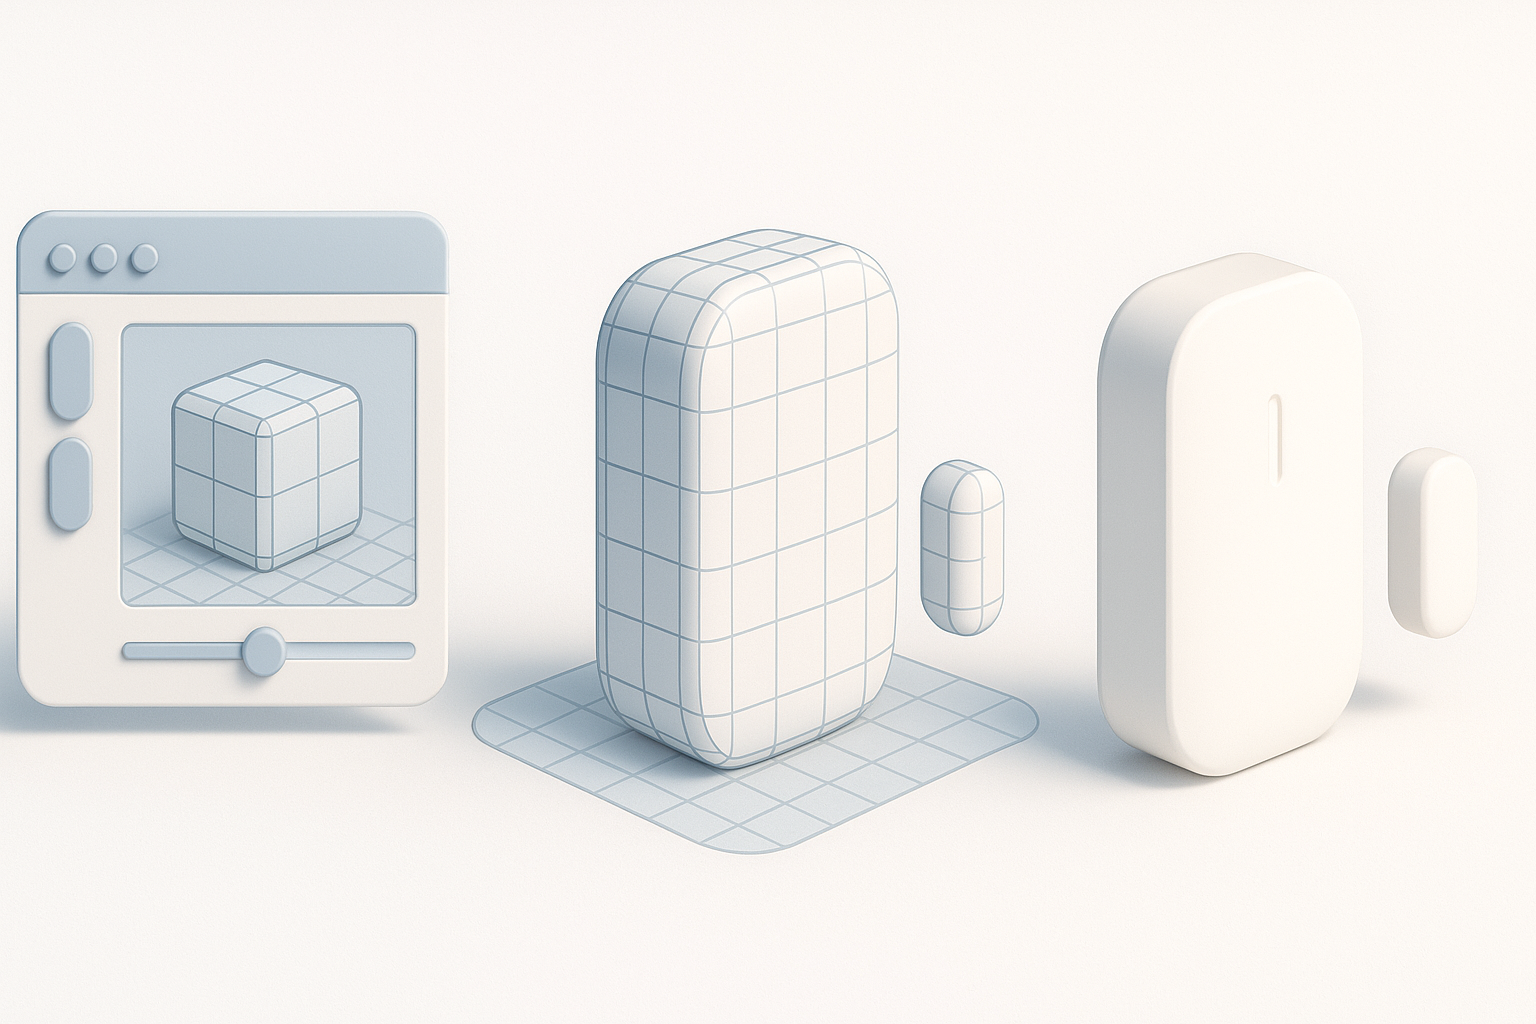
Modeling Techniques: From Blockout to Detail
I begin with a simple blockout—usually a cube or rectangle scaled to match the sensor’s footprint. Using subdivision modeling, I add edge loops and bevels to capture the signature rounded edges. For smaller details, like the LED and seams, I use boolean operations or fine edge control.
Tips:
- Model with symmetry enabled to save time
- Use non-destructive modifiers (e.g., bevel, subdivision) for flexibility
- Frequently compare against references to avoid proportion drift
Texturing, Retopology, and Optimization Best Practices
UV Mapping and Material Creation
After modeling, I unwrap UVs to minimize stretching and seams. For a product like this, I keep UV islands logical—separating the main body, magnet, and small details. I use Tripo’s AI texturing tools to generate a base material, then fine-tune roughness, metallic, and normal maps in my painting software.
Checklist:
- Lay out UVs with padding for mipmapping
- Use AO and curvature maps to enhance realism
- Keep texture resolution consistent with target platform
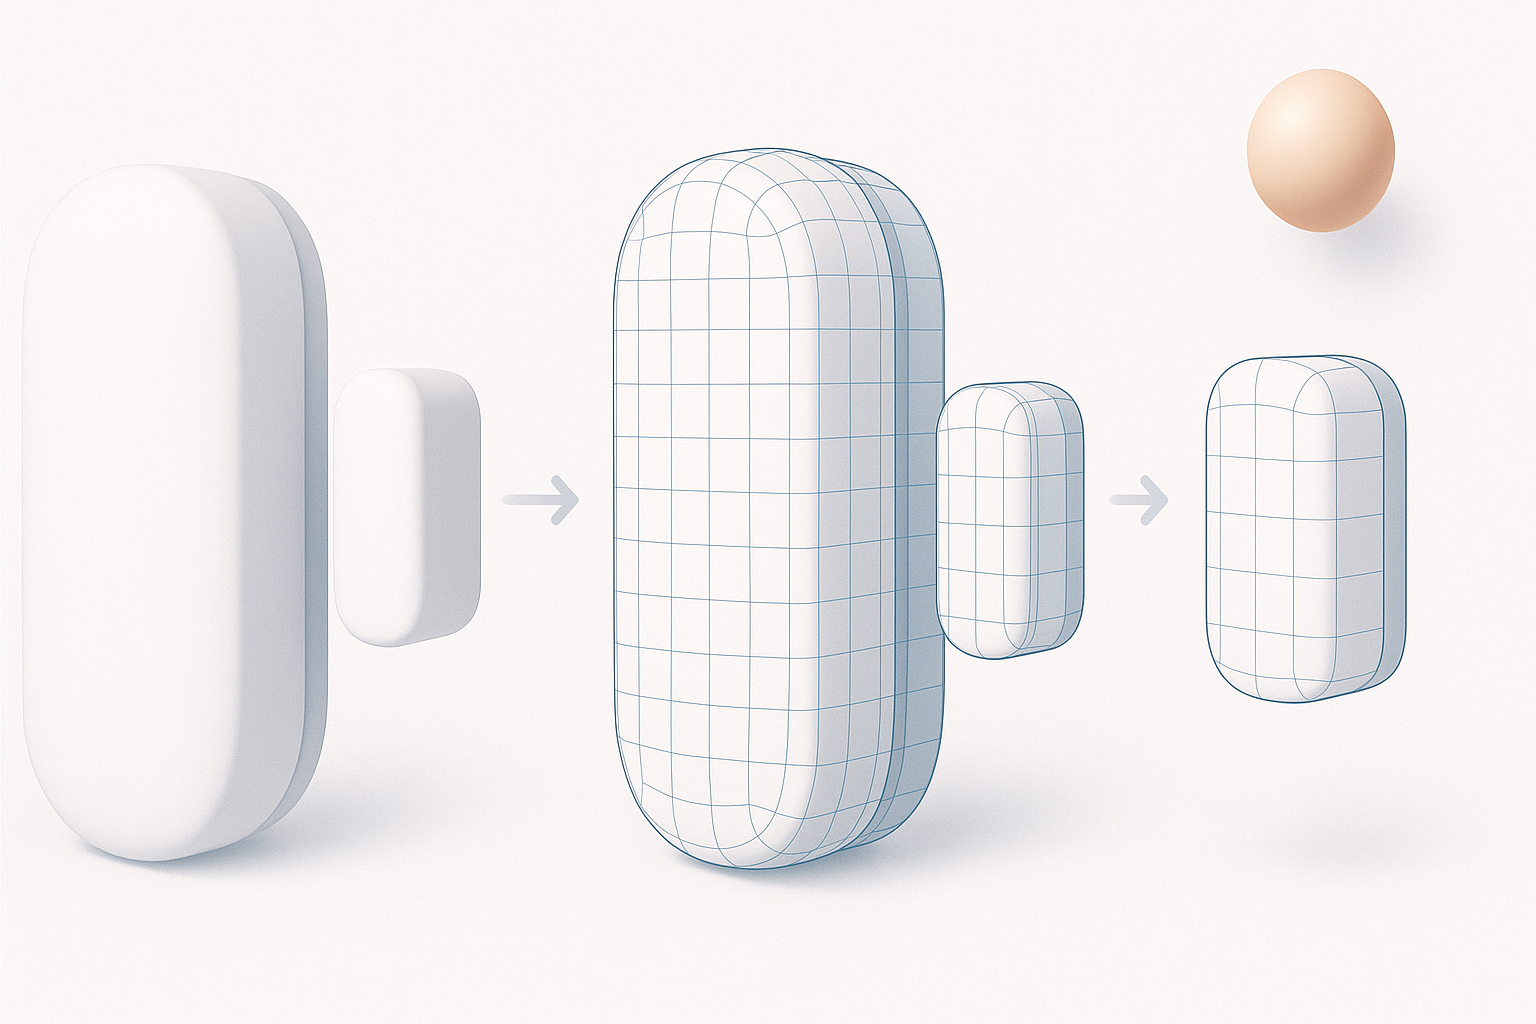
Retopology for Production-Ready Assets
AI-generated meshes often need manual retopology. I simplify geometry while maintaining silhouette and key details. For game or XR use, I target quads and avoid long triangles or n-gons. Clean topology ensures smooth shading and easier rigging.
Pitfalls to avoid:
- Overly dense meshes that impact performance
- Badly placed poles or stretched quads
- Ignoring the importance of a clean edge flow around functional parts
Rigging, Animation, and Integration Tips
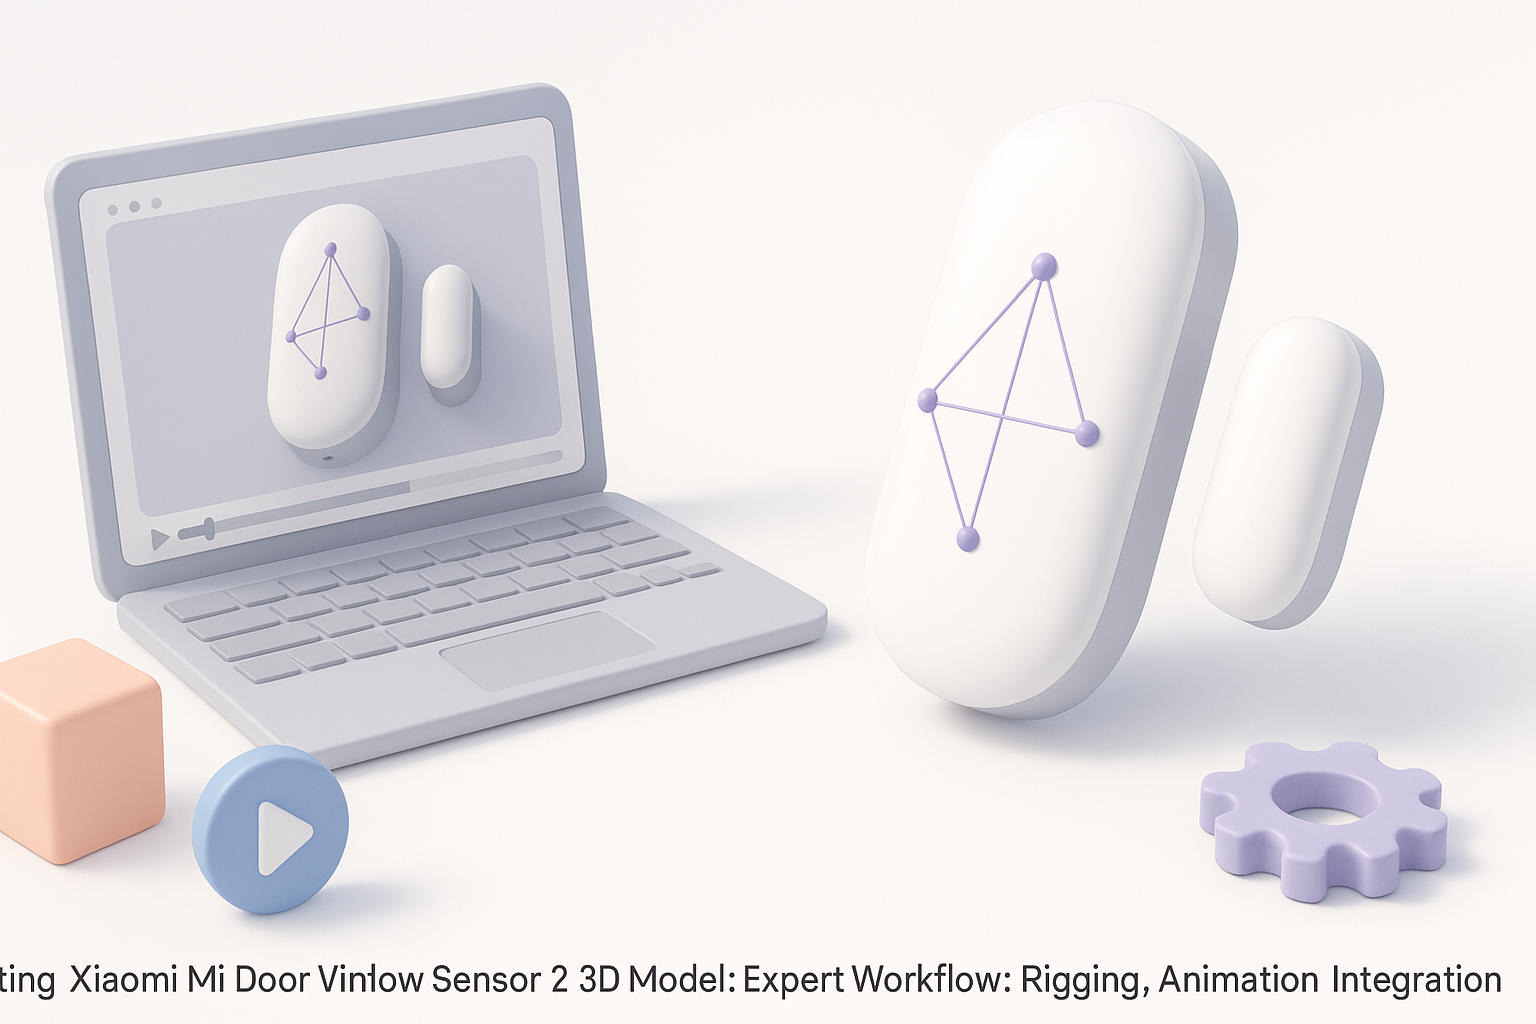
Preparing the Model for Rigging and Animation
For interactive use (e.g., opening/closing the sensor), I separate moving parts into distinct objects. I add simple pivot points and, if needed, basic bones for animation. Testing the motion early helps catch geometry issues before export.
Steps:
- Separate the magnet and sensor body as individual meshes
- Set pivots at logical rotation points
- Test simple open/close animations in your DCC tool
Exporting and Integrating with Game Engines or XR Platforms
I export models in standard formats (FBX, GLB) with correct scale and orientation. I check textures and materials for compatibility (e.g., PBR workflow for real-time engines). Tripo’s export presets are helpful, but I always verify in the target platform.
Tips:
- Freeze transforms and apply scale before export
- Use naming conventions for easy asset management
- Test imports in-engine to catch material or normal issues early
Comparing AI-Powered and Traditional 3D Workflows
Using Tripo AI and Other Tools: My Experience
Tripo’s AI modeling and texturing features save significant time, especially for base meshes and quick concept iterations. However, I regularly find the need for manual cleanup—especially with edge flow, UV layout, and small details. For high-stakes production assets, a hybrid approach (AI + manual refinement) works best.
What works well:
- Fast blockouts and material generation
- Kickstarting projects with minimal input
- Reducing repetitive manual tasks
Limitations:
- Occasional geometry artifacts
- Non-optimal UVs for complex shapes
- Manual retopology often required for animation-ready assets
When to Choose Automated vs Manual Methods
I choose AI-powered tools when speed is essential or for early-stage prototyping. For hero assets, manual modeling ensures quality and control. The key is to match the workflow to project needs—AI for speed, manual for precision.
Decision points:
- Use AI for background assets or quick iterations
- Go manual for client-facing, animated, or close-up assets
- Always plan for a manual pass on topology and UVs if quality matters
Common Challenges and Expert Solutions

Troubleshooting Modeling and Texturing Issues
Common issues include shading artifacts, UV stretching, and mismatched materials. I resolve these by checking normals, re-unwrapping UVs, and adjusting material settings. When using AI-generated assets, I pay close attention to hidden geometry or overlapping faces.
Quick fixes:
- Recalculate normals if shading looks off
- Use checker maps to spot UV problems
- Re-export textures if color space or roughness looks wrong
What I’ve Learned from Real-World Projects
Every project brings unique challenges—tight deadlines, changing specs, or technical constraints. What’s worked for me is staying flexible: using AI where it helps, but never skipping manual checks. Iteration, feedback, and a willingness to redo work are essential for professional results.
My advice:
- Don’t skip reference gathering—it pays off later
- Embrace AI tools as accelerators, not replacements
- Always budget time for testing and iteration
By following this workflow, you can efficiently create a high-quality, production-ready 3D model of the Xiaomi Mi Door Window Sensor 2, ready for integration into games, XR, or visualization projects.


