Creating a Production-Ready Werewolf 3D Model: My Workflow & Tips
Building a production-ready werewolf 3D model is a process I’ve refined for both speed and quality. My approach combines solid fundamentals—like anatomy and strong references—with efficient use of AI-powered tools for rapid prototyping, texturing, and optimization. Whether you’re aiming for games, film, or XR, the workflow I outline below is designed to help you avoid common pitfalls and focus on creativity, not technical hurdles. This guide is for artists and developers looking to streamline their creature modeling process while achieving professional, animation-ready results.
Key takeaways:
- Start with strong references and clear style direction.
- Block out forms before diving into detail.
- Prioritize clean topology and UVs for production.
- Use AI tools (like Tripo) for rapid prototyping and iteration.
- Optimize models for intended platforms (games, film, XR).
- Rig and animate with flexibility for dynamic movement.
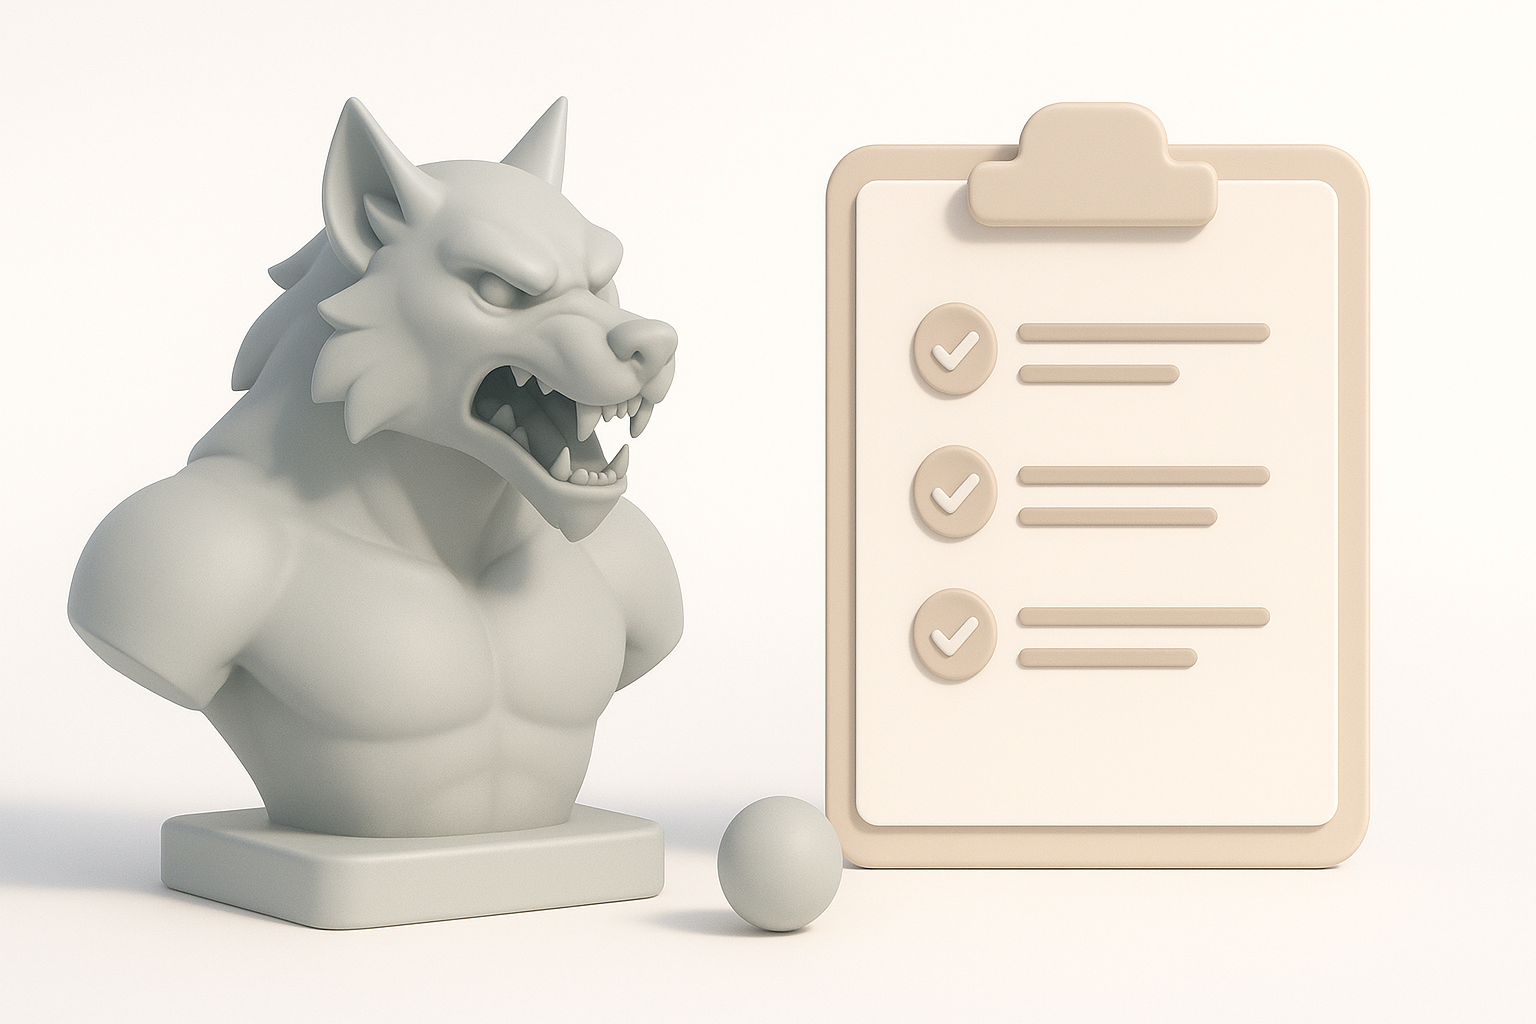
Executive Summary: Key Takeaways for Werewolf 3D Modeling
What makes a great werewolf 3D model
A standout werewolf model combines believable anatomy, expressive features, and production-ready topology. In my experience, the best models balance stylized exaggeration with anatomical grounding—musculature should feel powerful, but not overworked or unnatural. Attention to secondary details like fur layers, claws, and facial structure is crucial for realism and appeal.
Summary of recommended workflow
My recommended workflow is:
- Gather references and define style.
- Block out the base mesh (AI-assisted for speed).
- Sculpt and refine anatomy.
- Texture with a focus on fur and skin detail.
- Retopologize and UV for clean production assets.
- Rig and test with animation cycles.
- Export and optimize for your target platform.
Concepting and References: Laying the Foundation
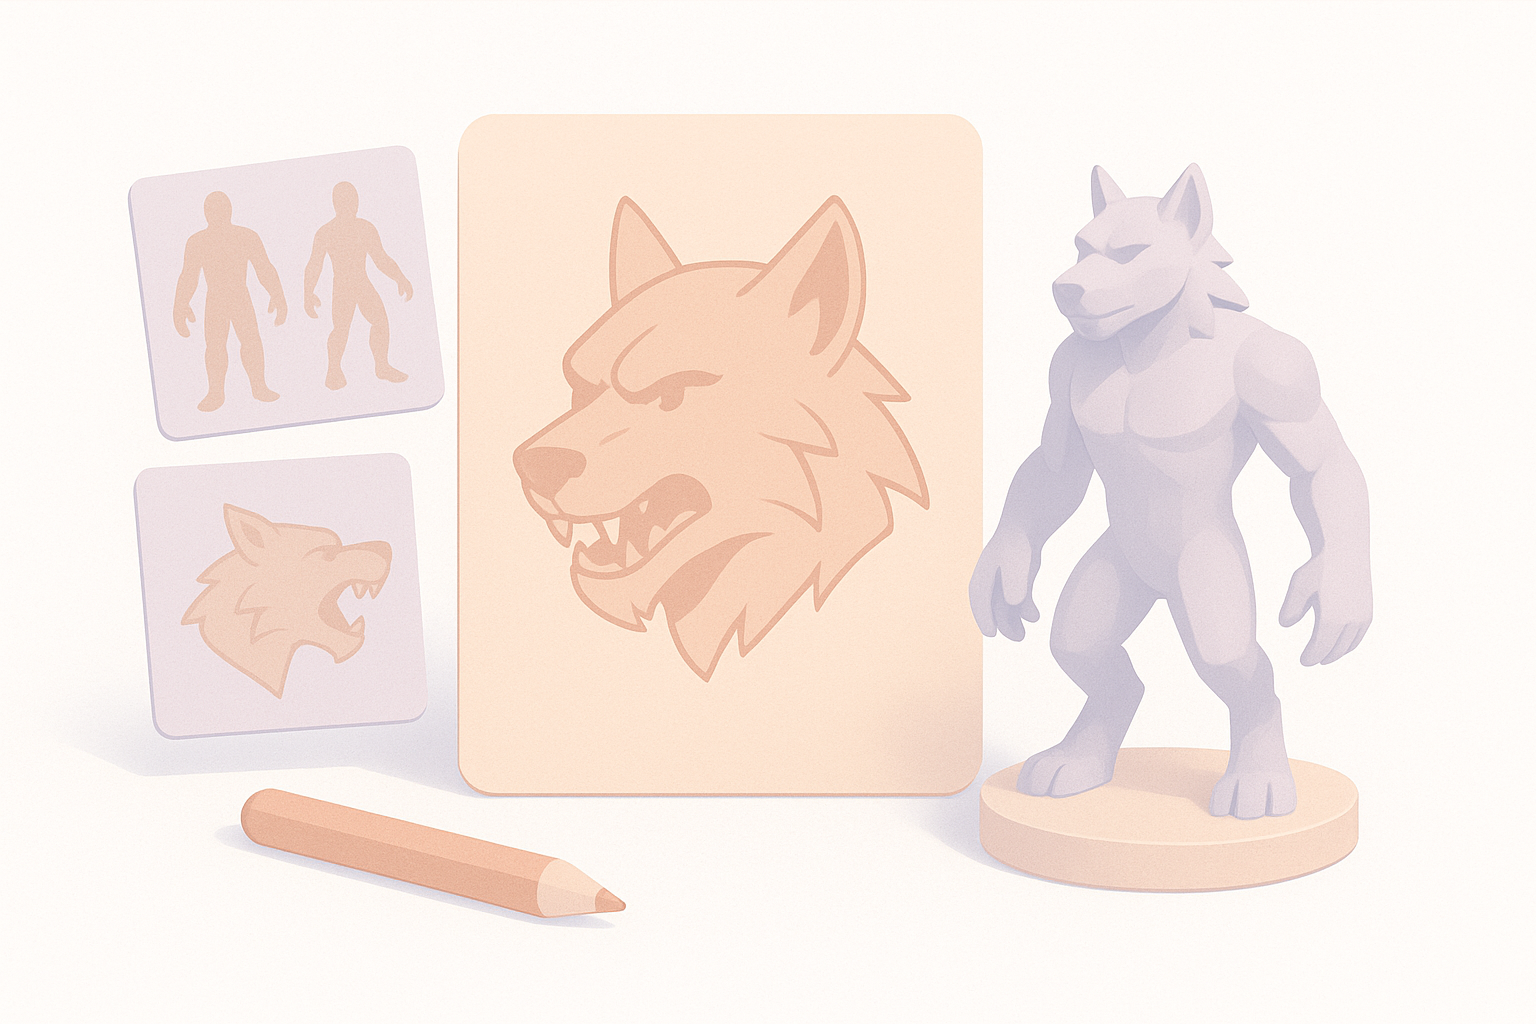
Gathering inspiration and references
I always start by collecting references—film stills, anatomy books, and artwork. A moodboard helps me lock in the vibe: feral, noble, or monstrous? I also reference real wolves and human anatomy to inform muscle groups and posture.
Checklist:
- Gather 10–20 reference images (wolves, humans, werewolves)
- Include side, front, and action poses
- Note key features: snout shape, ear placement, fur patterns
Defining style and anatomy for werewolves
Before modeling, I define the werewolf’s style: realistic, stylized, or hybrid. I sketch or block out rough silhouettes to explore proportions. Key decisions include digitigrade vs. plantigrade legs, head-to-body ratio, and hand/claw structure.
Tips:
- Decide how human vs. wolf-like your model should be
- Over-exaggerate silhouette in early stages; refine later
- Watch for anatomical pitfalls: neck length, limb thickness
Modeling the Werewolf: My Step-by-Step Approach
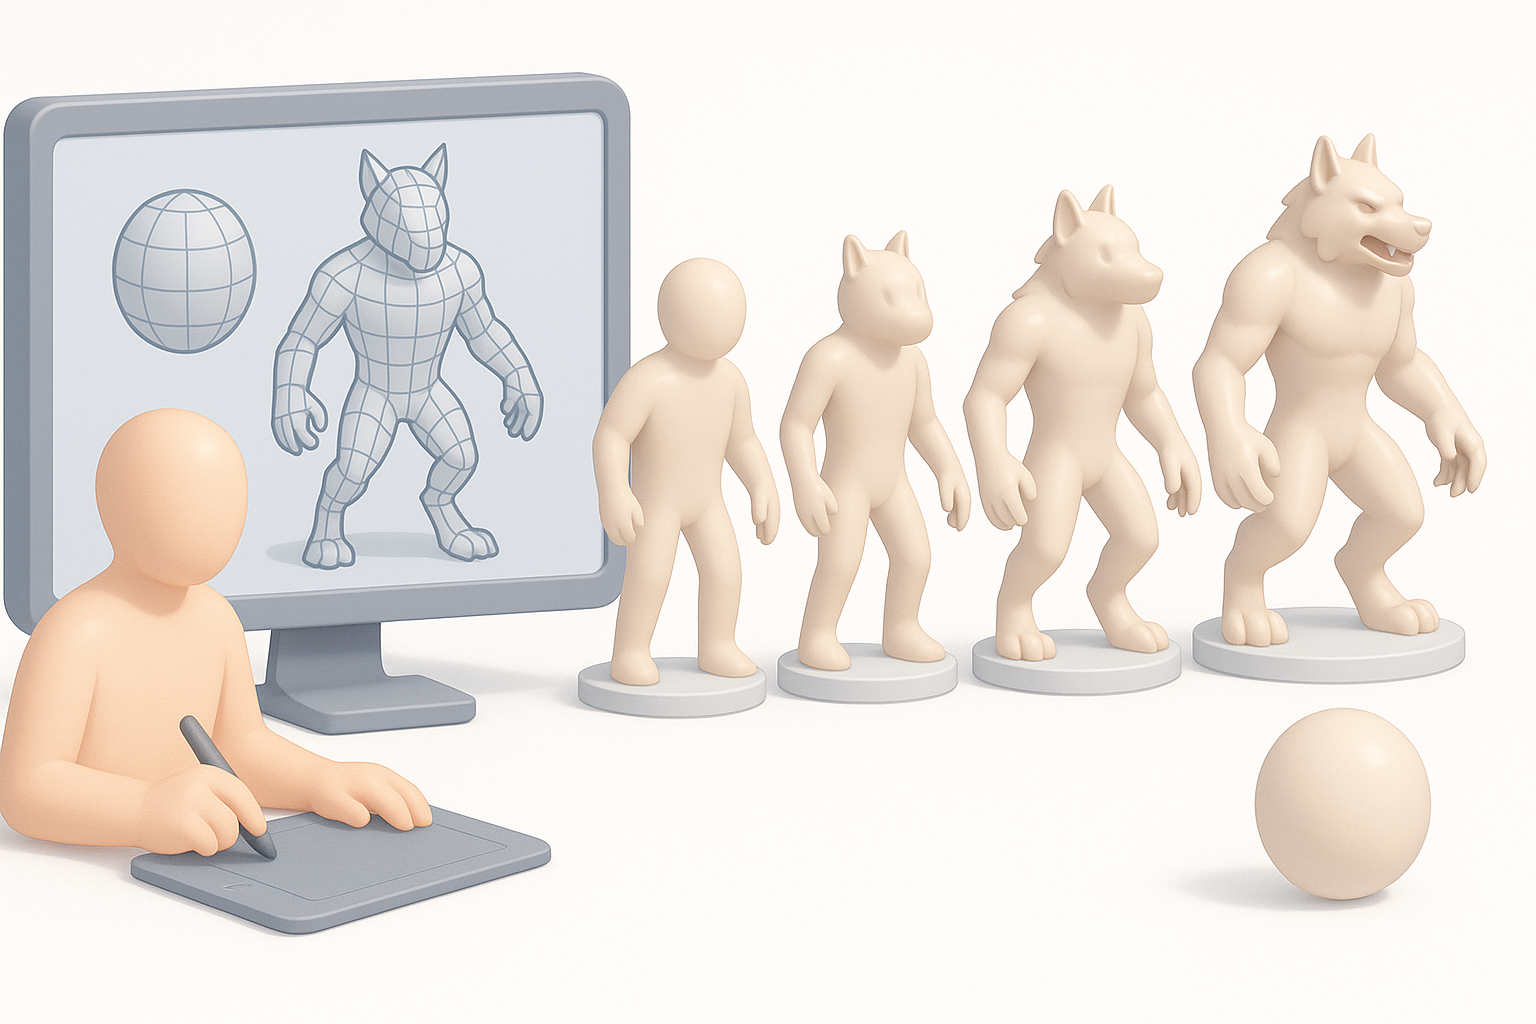
Blocking out forms and proportions
I use basic shapes or AI-generated base meshes to quickly establish proportions. In Tripo, I can generate a rough werewolf mesh from text prompts or sketches, then adjust the pose and massing.
Steps:
- Start with a neutral pose (A-pose or T-pose)
- Block out head, torso, limbs with simple geometry
- Adjust proportions before adding detail
Refining details and anatomy
Once the base is solid, I sculpt secondary forms: muscle groups, facial structure, and claws. I pay special attention to areas that deform in animation—shoulders, hips, and jaw. For fur, I rough in clumps and layers rather than individual strands.
Pitfalls to avoid:
- Over-detailing too early—stay broad, then refine
- Ignoring joint deformation zones
- Forgetting anatomical landmarks (elbows, knees, scapula)
Texturing and Materials: Bringing the Werewolf to Life
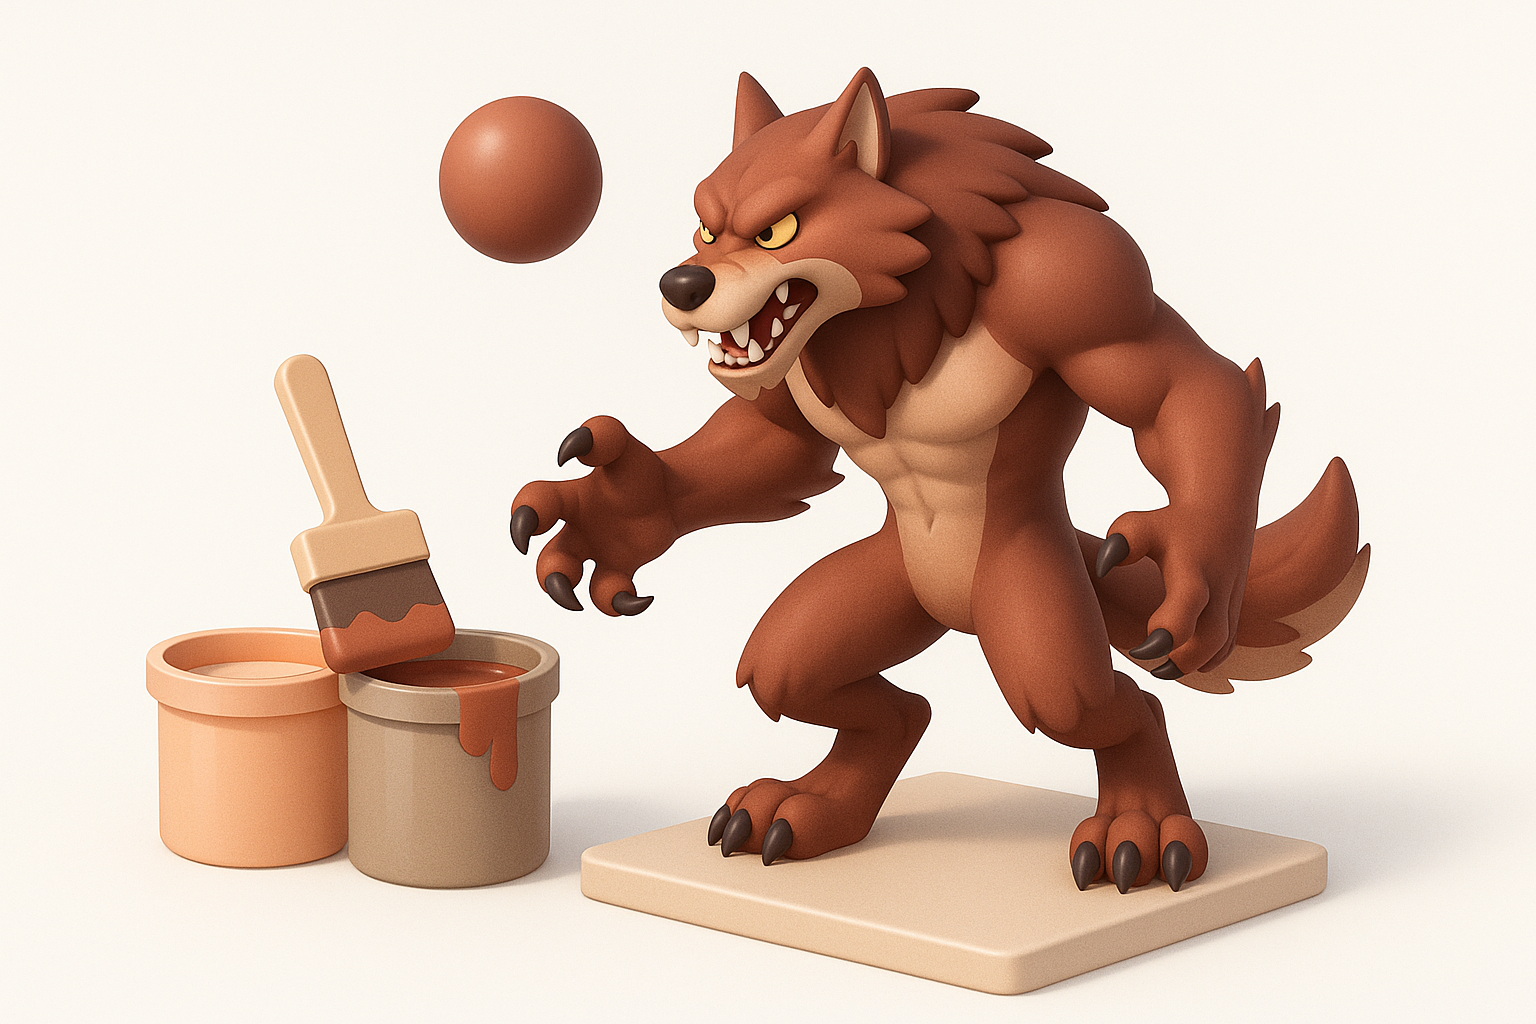
Best practices for realistic fur and skin
For realism, I combine hand-painted textures with procedural fur detail. I focus on color variation, specular highlights, and subtle skin translucency. Tripo’s built-in texturing tools speed up this process, letting me quickly iterate on fur patterns and color schemes.
Mini-checklist:
- Layer base color, fur pattern, and dirt/grime
- Add normal/height maps for skin wrinkles and fur depth
- Use reference images for color accuracy
Tools and techniques for efficient texturing
I use AI-assisted texturing for base passes, then refine in my preferred painting app. Baking maps (AO, normals, curvature) helps unify detail. For fur, I often combine painted detail with geometry-based cards or hair systems if the platform allows.
Tips:
- Use smart masks for dirt and wear
- Preview textures in your rendering engine early
- Keep texture sets organized by material type
Retopology, UVs, and Optimization for Production
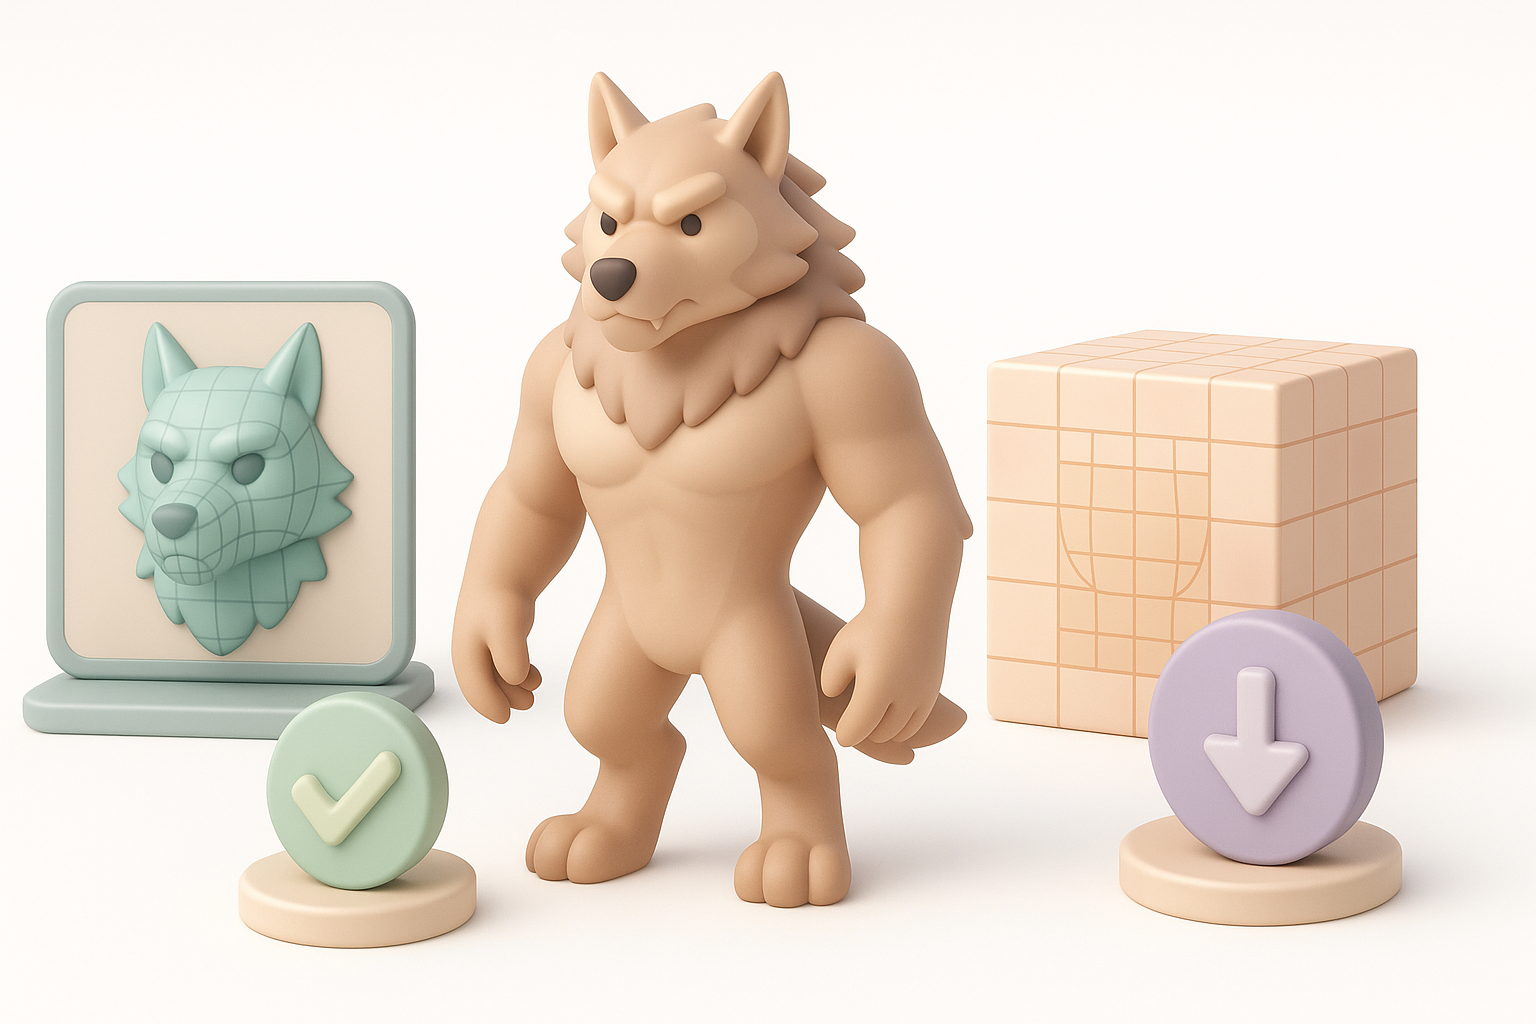
Ensuring clean topology and UV mapping
Clean topology is critical for animation and shading. I retopologize the sculpted mesh, aiming for even quad flow and efficient edge loops around joints. Tripo can auto-retopologize, but I always check and tweak critical areas manually.
Checklist:
- Quads only, minimal triangles/ngons
- Edge loops around elbows, knees, mouth, eyes
- UVs: minimize seams, maximize texel density in visible areas
Optimizing for games, film, or XR
I tailor model density and texture resolution for the target platform. For games, I keep polycount lean and textures compressed; for film/XR, I allow higher detail and larger maps.
Pitfalls:
- Overly dense meshes in games (kills performance)
- Poor UV packing (wastes texture space)
- Not testing in-engine for shading/animation artifacts
Rigging and Animation: Making the Werewolf Move
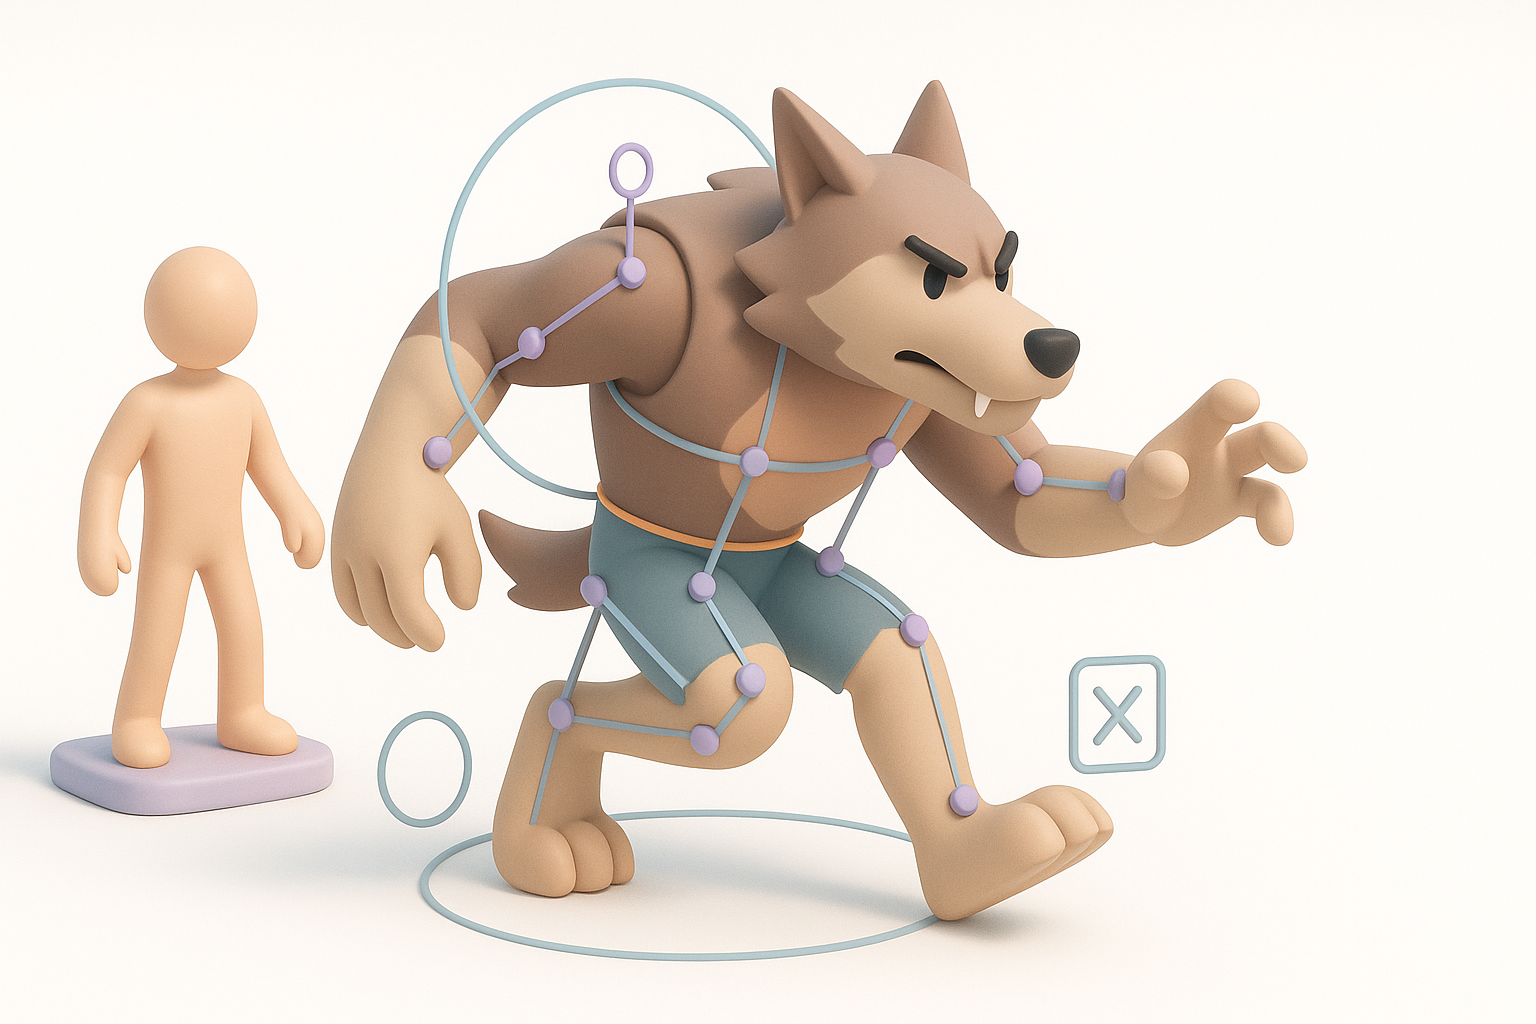
Rigging workflows for creature models
I use a modular rig with IK/FK switches for limbs and a flexible spine. Facial rigging (blendshapes or bones) is key for expressive snarls and howls. AI tools can auto-rig, but I always test and adjust skin weights manually.
Steps:
- Place bones for spine, limbs, hands, and face
- Weight paint for smooth deformations
- Test with extreme poses and corrective shapes
Tips for dynamic werewolf animation
Werewolves need dynamic, animalistic motion. I study wolf gait cycles and exaggerate for drama. Secondary motion (tail, ears, fur) adds realism. I block out key poses, then refine with breakdowns and overlapping action.
Tips:
- Animate in passes: body, then facial, then secondary motion
- Use reference video for weight and timing
- Avoid stiff movement—add subtle breathing and shifting
AI-Powered Tools in My Workflow
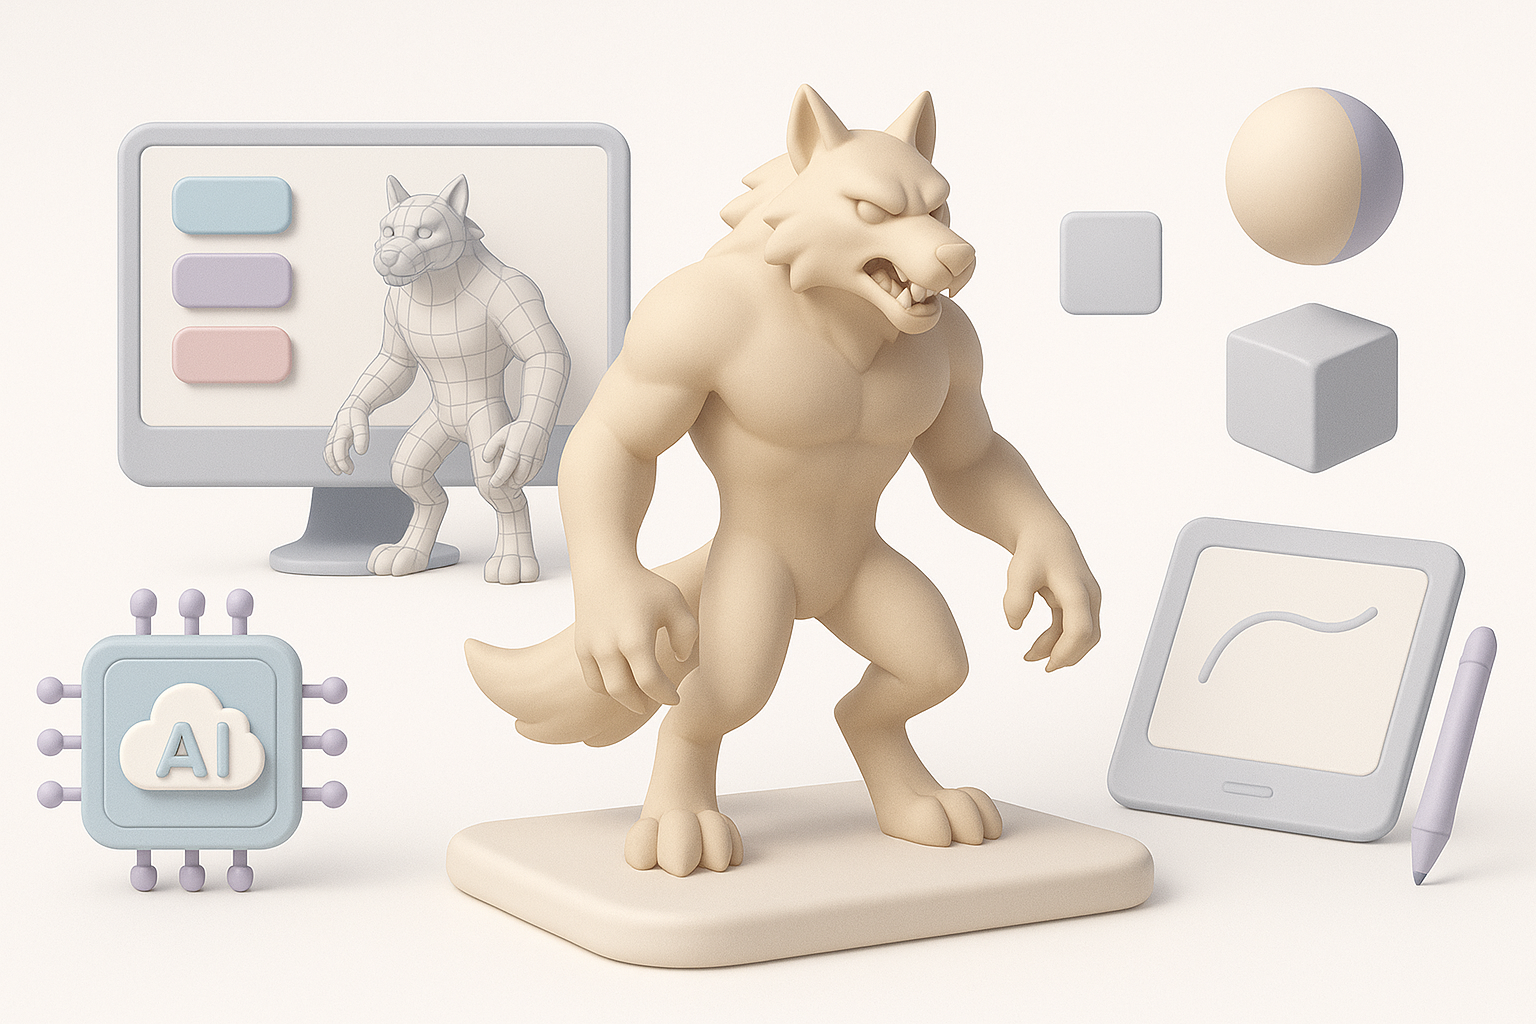
How I use Tripo for rapid prototyping
I leverage Tripo to generate base meshes and texture passes from text or sketches. This shaves hours off the early stages, letting me focus on refinement and creative iteration. For complex tasks like retopology or segmentation, Tripo’s automation handles the grunt work.
Practical uses:
- Generate a base werewolf mesh from a prompt
- Auto-segment parts for material assignment
- Rapidly iterate on style variations
Comparing AI-driven and traditional methods
AI tools accelerate blockout and repetitive tasks, but I always combine them with manual refinement for quality control. Traditional sculpting and painting still matter for unique details and final polish.
Takeaways:
- Use AI for speed, manual tools for nuance
- Always review and clean up AI-generated assets
- Integrate AI into, not in place of, your creative process
Exporting, Sharing, and Next Steps
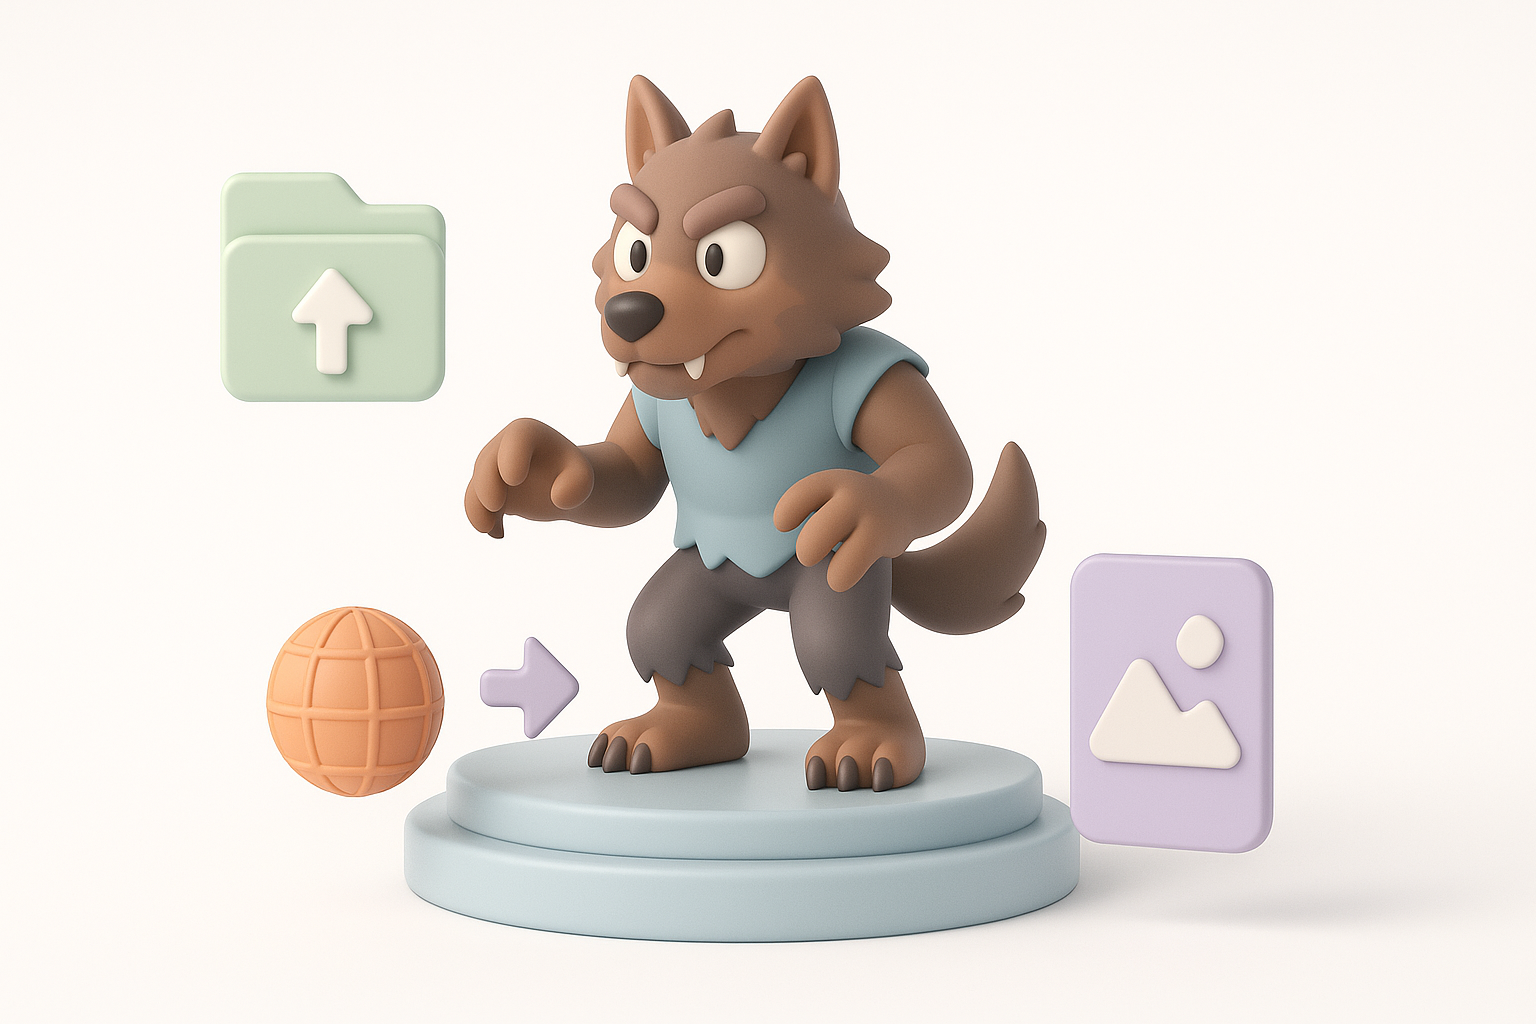
Export settings for different platforms
I tailor exports to the target platform:
- Games: FBX, triangulated mesh, packed textures (2K/4K)
- Film: Alembic or FBX, higher-res meshes, UDIMs
- XR: GLB/GLTF, optimized polycount and compressed textures
Checklist:
- Freeze transforms, zero out pivots
- Name and organize materials/meshes
- Test imports in target engine
Showcasing and iterating on your werewolf model
I present the werewolf model with turntables, Marmoset/Sketchfab viewers, and in-context renders. Feedback from peers or clients is invaluable. I iterate based on notes, using Tripo to quickly test new variations or fixes.
Tips:
- Prepare multiple views (front, side, action pose)
- Share in relevant forums or portfolios
- Keep source files organized for future updates
By blending solid fundamentals with AI-powered efficiency, I consistently deliver production-ready werewolf models—fast. Whether you’re a solo artist or part of a team, these workflow tips will help you create creatures that are both technically sound and visually compelling.


