How to Create a Realistic Water Stream 3D Model
скачать 3d модели для chicken gun
Creating a realistic water stream 3D model is both an art and a technical challenge. Over the years, I’ve honed a workflow that balances accuracy, visual appeal, and production efficiency—whether the model is destined for a game, film, or XR project. In this guide, I’ll walk through my process from reference gathering to animation, texturing, and optimization, highlighting practical steps and common pitfalls. If you’re a 3D artist, technical director, or developer looking to elevate your water stream assets, this article distills the best practices and lessons I’ve learned, including when to leverage AI-powered tools like Tripo.
Key takeaways
- Effective water stream modeling starts with strong references and clear planning.
- Realism hinges on material setup: transparency, refraction, and subtle caustics.
- Animation and mesh optimization are crucial for real-time performance.
- AI-driven tools can dramatically speed up initial modeling and iteration.
- Export settings and retopology affect compatibility across engines and platforms.
Understanding Water Stream 3D Modeling
Key characteristics of water streams in 3D
When modeling water streams, I focus on capturing their fluidity and interaction with the environment. Key characteristics include:
- Shape and flow: Streams are dynamic, with varying widths, curves, and turbulence.
- Surface detail: Ripples, foam, and splashes add realism.
- Transparency and light: Water reflects and refracts light, creating complex visuals.
A mini-checklist I use:
- Reference real water streams for shape and color.
- Observe how the stream interacts with rocks and banks.
- Note the difference between calm and rapid sections.
Common use cases in games, film, and XR
Water streams are everywhere in digital media. In my experience, the main applications are:
- Games: Interactive streams for gameplay or ambiance.
- Film/Animation: Realistic or stylized streams for environments.
- XR/VR: Immersive, real-time water for simulations or virtual worlds.
The requirements differ: games need optimized meshes and looping animations, while film can prioritize visual fidelity.
My Workflow for Modeling Water Streams
Reference gathering and concept planning
I always start by collecting references—photos, videos, and sometimes sketches. This helps define the stream’s scale, flow, and environment context.
My steps:
- Gather high-res images and slow-motion videos of real streams.
- Note lighting conditions and water clarity.
- Sketch a rough concept or flow diagram.
This planning phase saves time later, ensuring the model fits the intended scene.
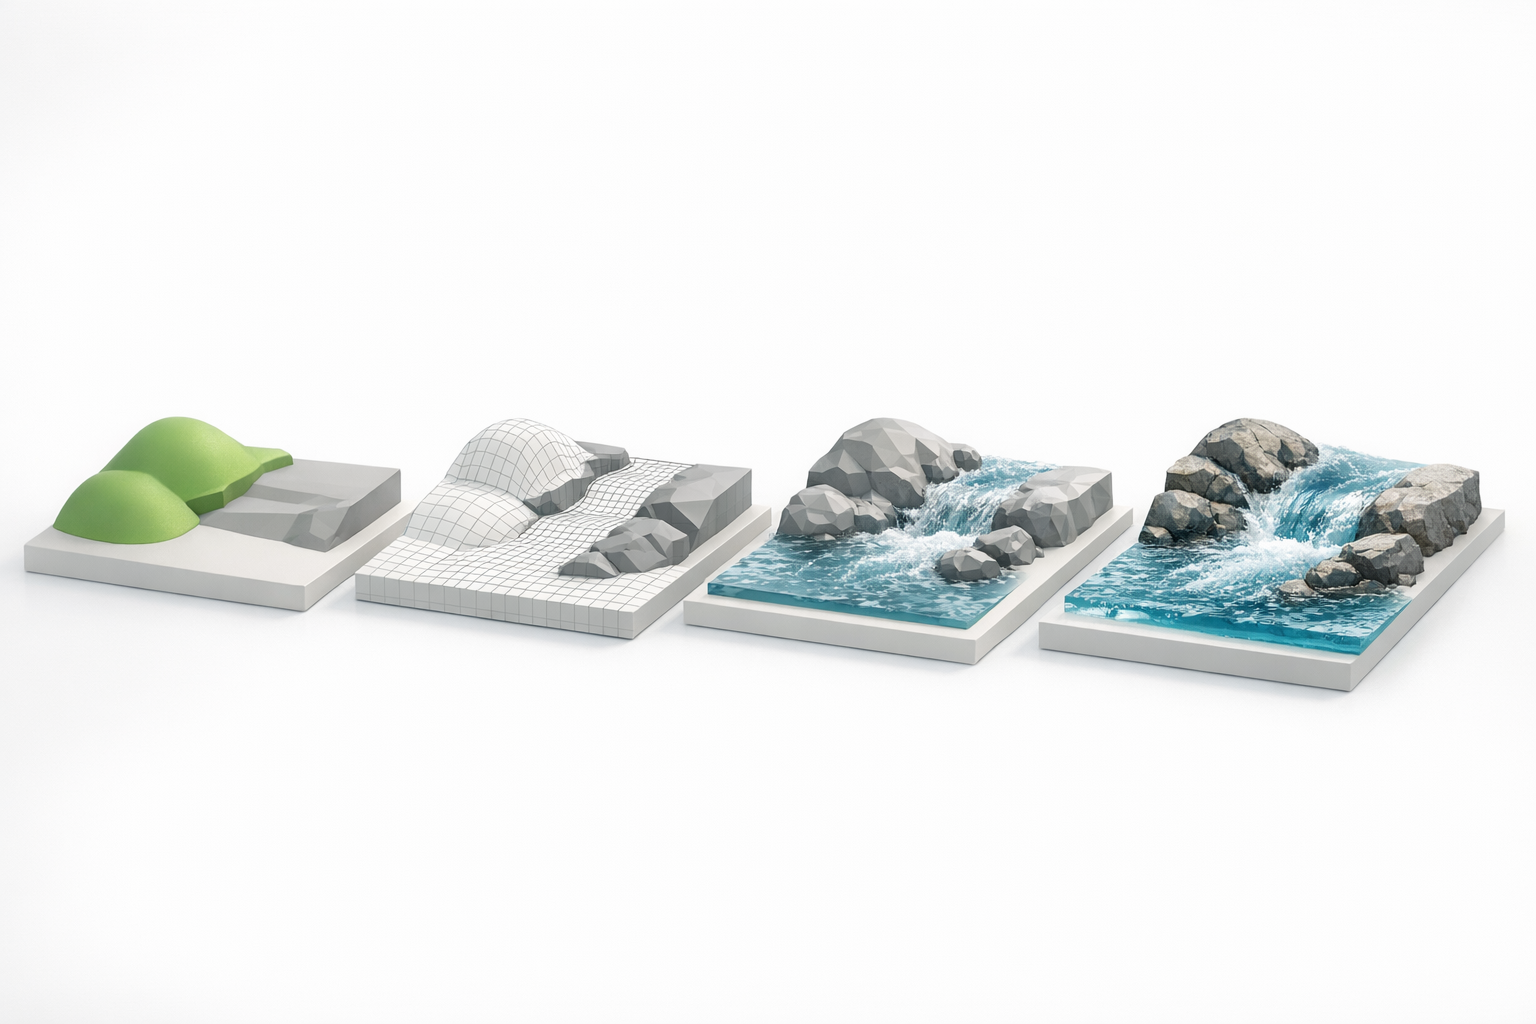
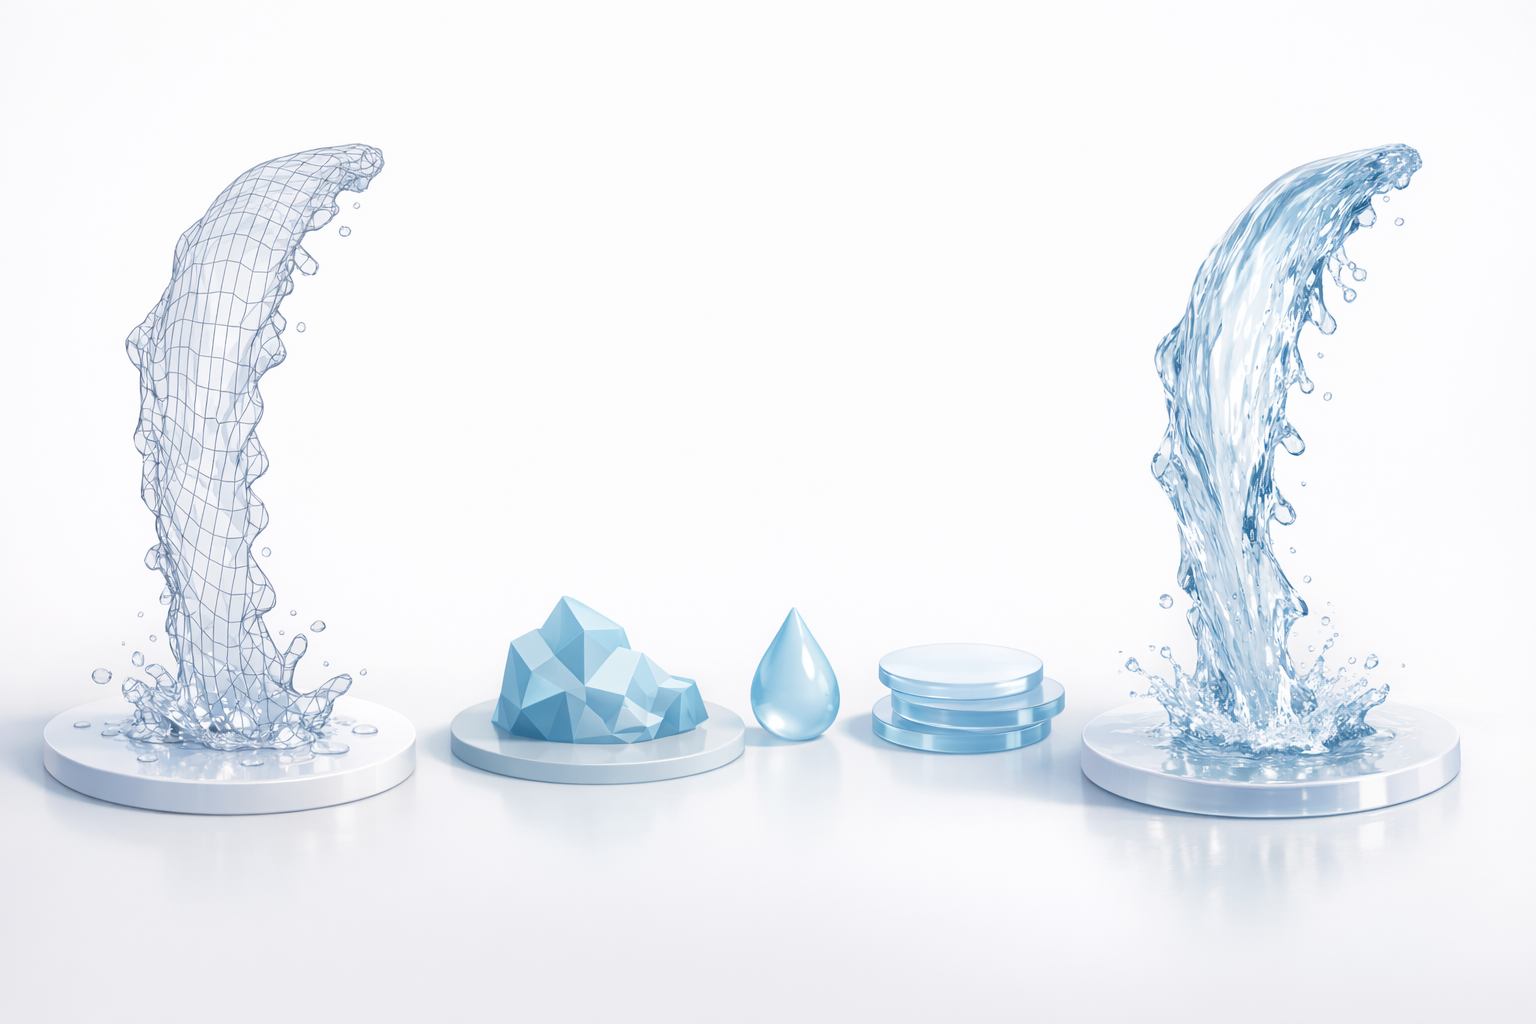
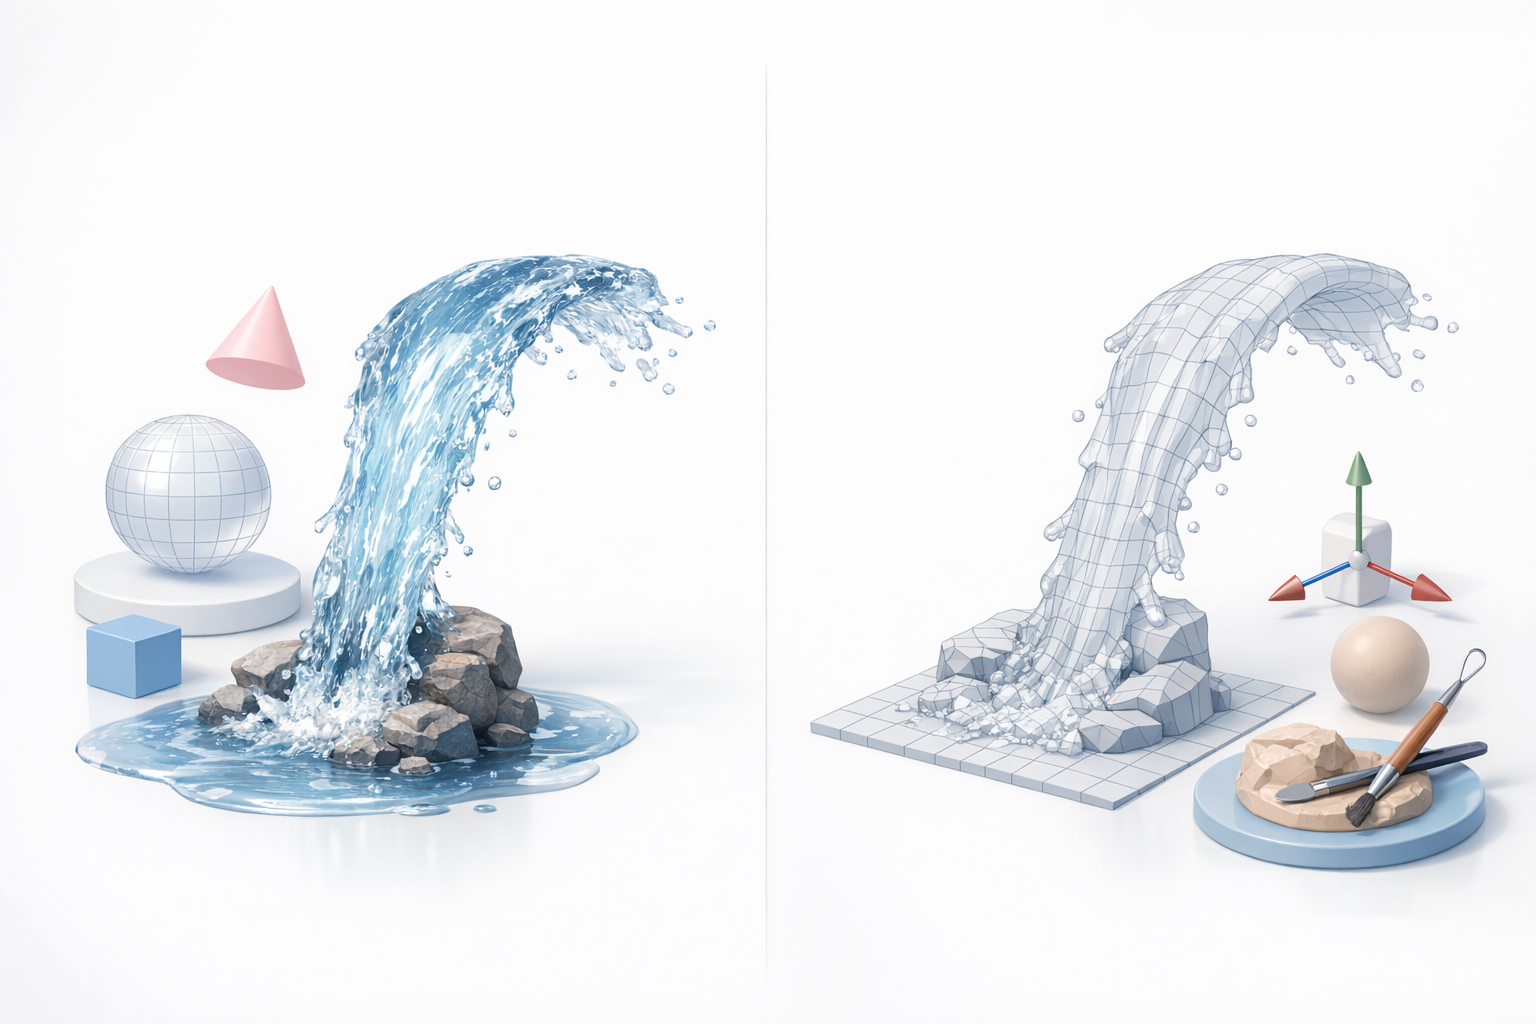
Blocking out the stream shape and flow
I block out the stream’s shape using basic geometry—splines or meshes—to define the path and volume.
- For organic streams, I use curves to lay out the main flow.
- I extrude and tweak the mesh to match the reference.
- If speed is key, I sometimes use Tripo to generate a base mesh from a sketch or photo, then refine it manually.
Tips:
- Avoid overcomplicating the mesh at this stage.
- Focus on silhouette and major features.
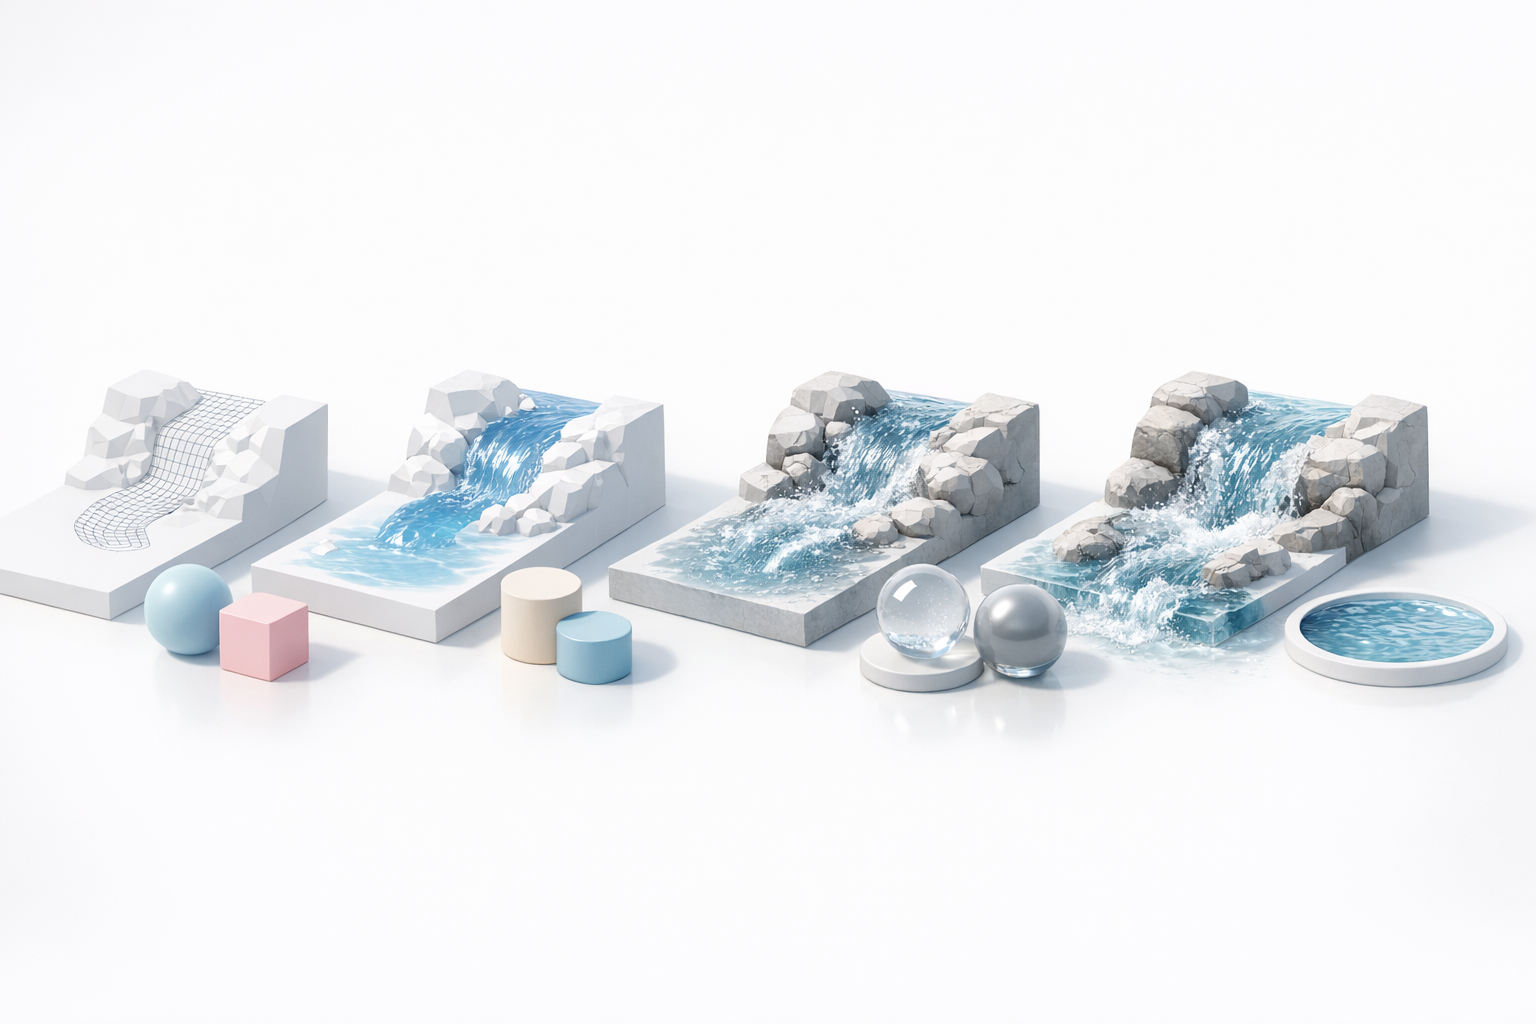
Texturing and Shading Techniques
Creating realistic water materials
Water realism comes from the material, not just the mesh. I set up shaders with:
- High transparency and subtle color tint.
- Fresnel effects for edge highlights.
- Normal maps for ripples and small waves.
In engines like Unreal or Unity, I use layered materials to blend foam and wetness. Tripo’s texturing tools help lay down a solid base, which I then tweak for realism.
Tips for transparency, refraction, and caustics
Getting the light interaction right is crucial. My go-to tricks:
- Use physically-based rendering (PBR) for accurate reflections.
- Enable screen-space refraction and tweak the index of refraction.
- Add caustic textures or projectors for light patterns on surfaces below the water.
Pitfall: Overdoing transparency can make the stream look like glass. I balance opacity and reflection for a more natural effect.
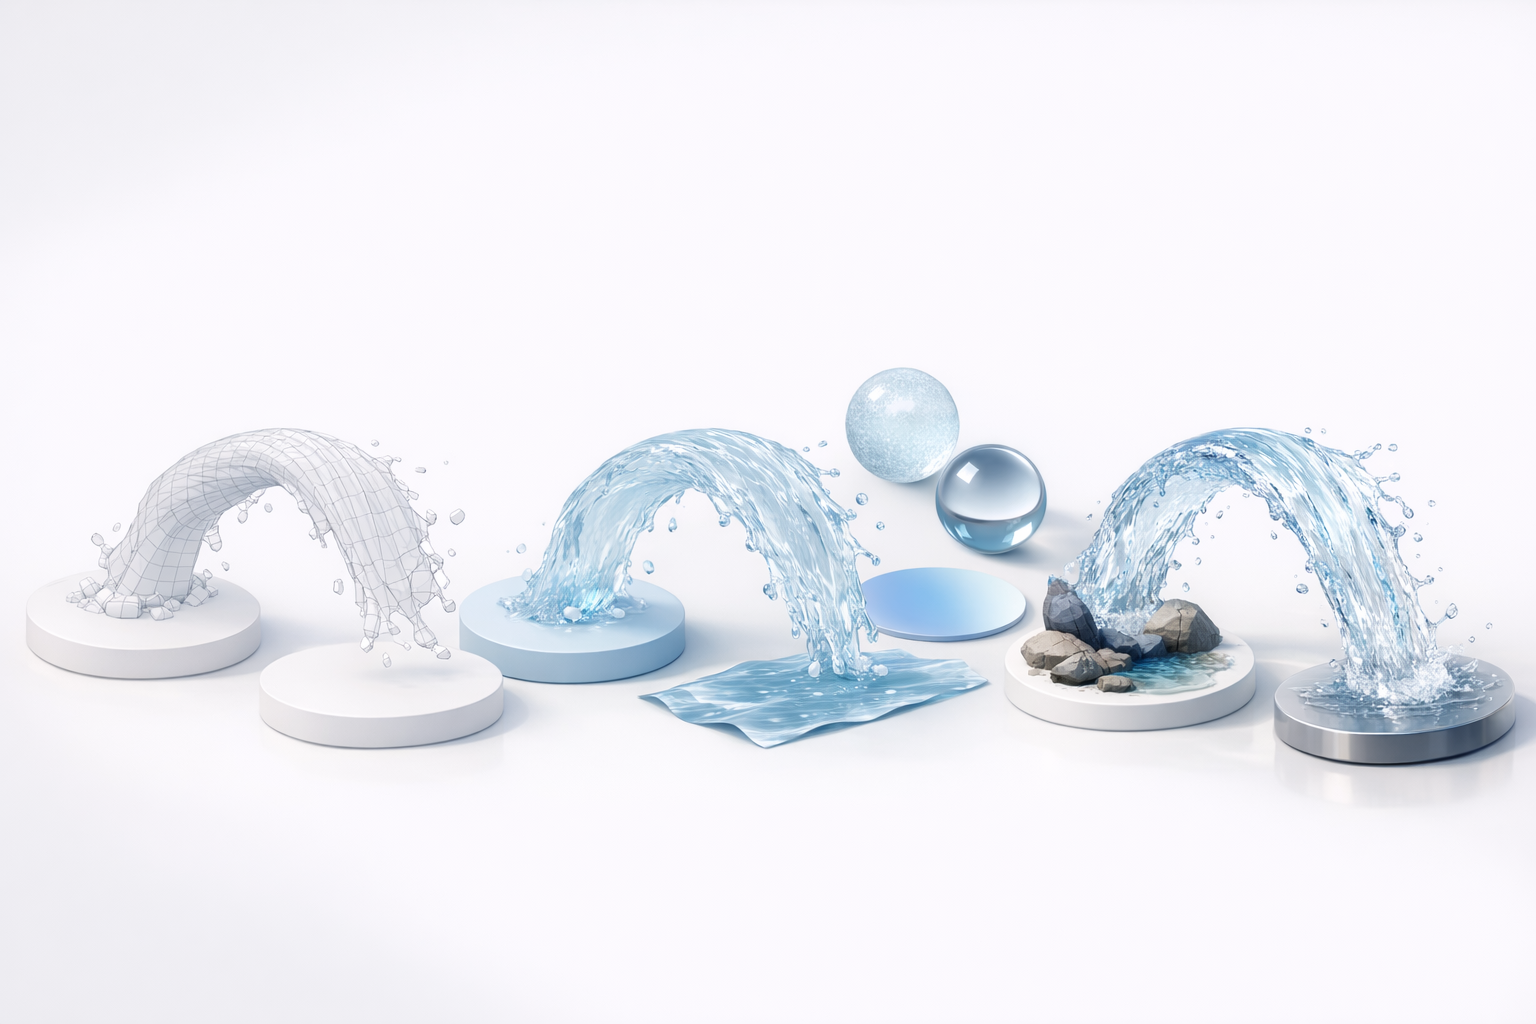
Animating Water Streams
Simulating flow and turbulence
For animation, I simulate flow using vertex animations, texture scrolling, or fluid simulations.
- In real-time projects, I animate normal maps and mesh vertices for simple flow.
- For high-end shots, I bake fluid simulations and apply them as blend shapes or animated textures.
Checklist:
- Animate both surface movement and foam.
- Match animation speed to the stream’s slope and volume.
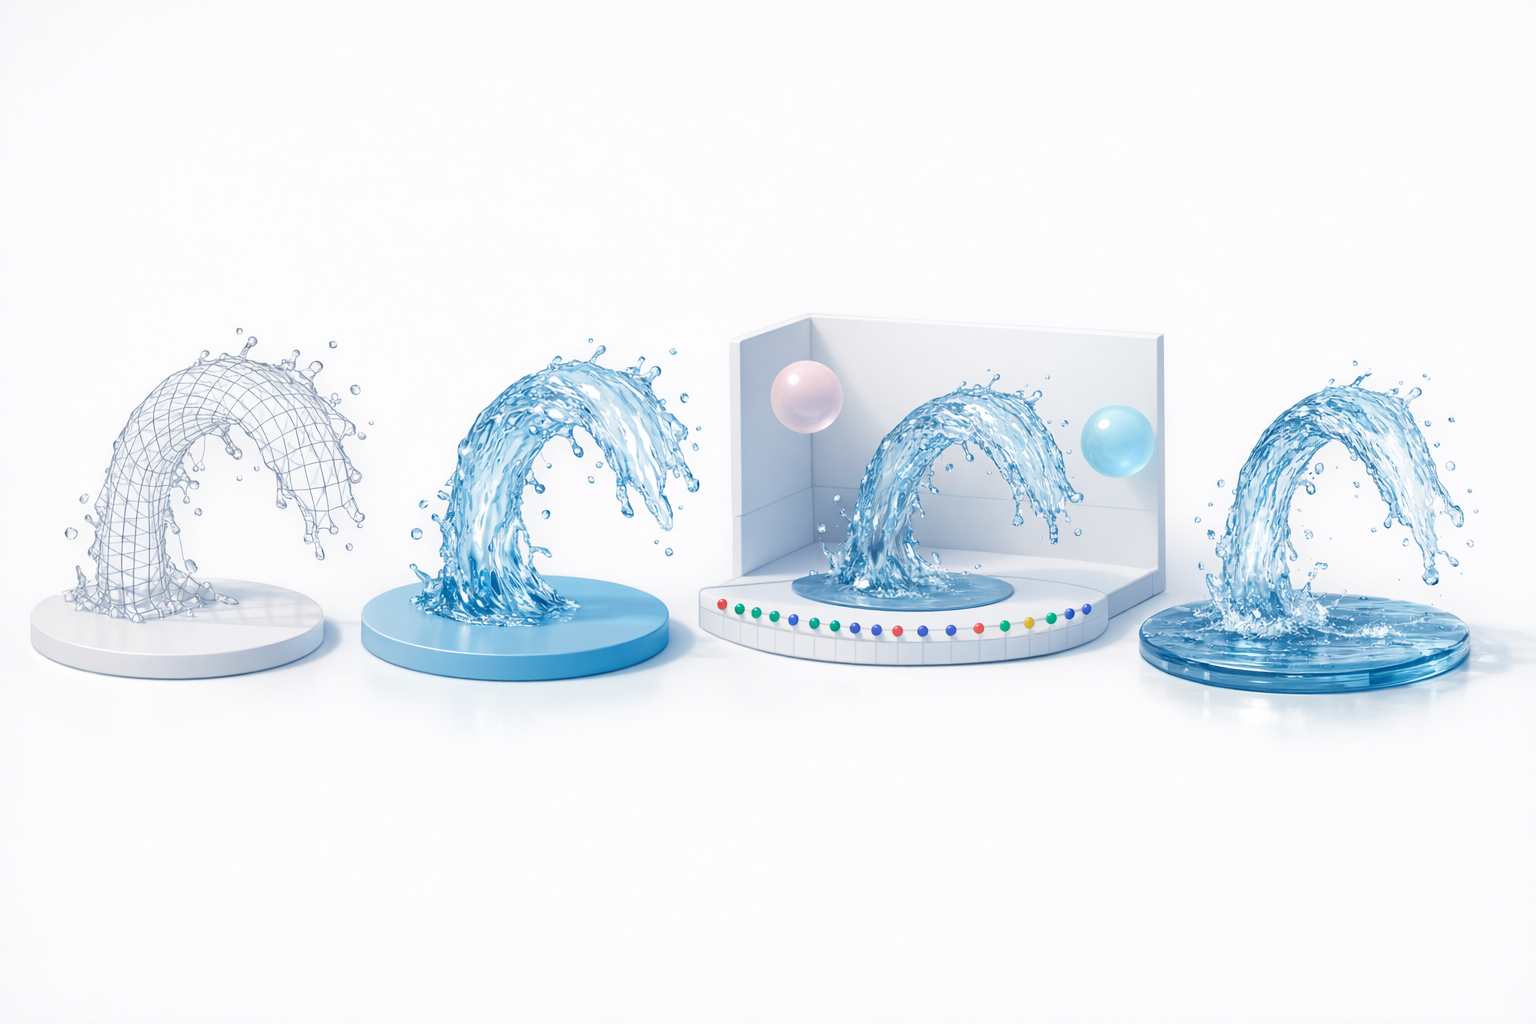
Looping animations for real-time applications
Looping is vital for games and XR. I ensure:
- Texture and mesh animations tile seamlessly.
- Loop points are hidden in foam or turbulence areas.
- If using Tripo, I export animation-ready assets and test loops in the engine.
Optimizing Water Stream Models for Production
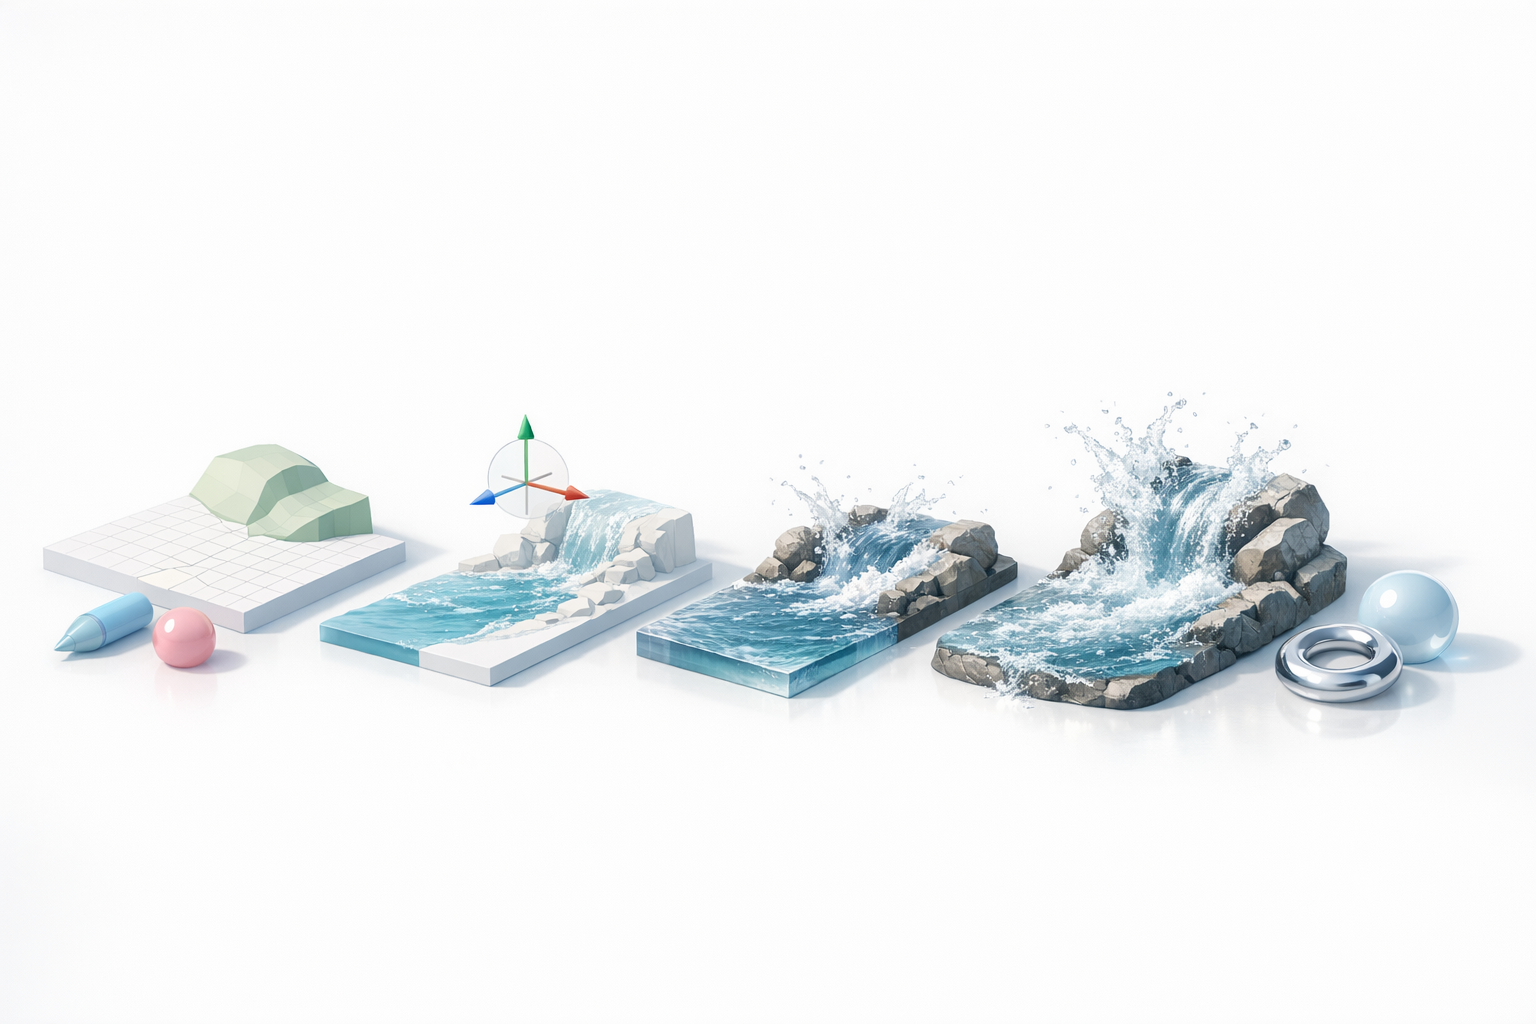
Retopology and mesh efficiency
Efficient meshes are essential, especially for real-time use. My process:
- Retopologize to reduce poly count, focusing detail where needed.
- Use LODs (levels of detail) for distant streams.
- Tripo’s retopology tools speed this up, especially for irregular shapes.
Exporting for different engines and platforms
Export settings can make or break compatibility:
- Use FBX or GLTF for most engines.
- Check material and animation compatibility.
- Compress textures and mesh data for mobile or XR platforms.
Pitfall: Forgetting to bake normals or export animation data can cause issues downstream.
Best Practices and Lessons Learned
Common pitfalls and how I avoid them
Some mistakes I’ve made (and now avoid):
- Overcomplicating the mesh: Keep geometry simple; let shaders do the heavy lifting.
- Ignoring scale: Match the stream’s scale to the environment for believable results.
- Neglecting optimization: Always test performance early, especially for real-time projects.
My favorite tools and workflow tips
- References: PureRef for organizing images.
- Modeling: Standard DCCs for sculpting, Tripo for rapid base mesh creation.
- Texturing: Substance Painter or engine-native tools.
- Animation: In-engine editors for real-time, fluid sims for film.
Workflow tip: I iterate quickly with AI-powered tools, then refine manually for final polish.
Comparing AI-Powered and Manual Methods
When to use AI-driven tools like Tripo
I reach for AI-driven tools when I need:
- Fast concept-to-mesh turnaround.
- Multiple variations for look development.
- Automated retopology or texturing to save time.
They’re especially useful at the start or when iterating on ideas.
Advantages and limitations of alternative methods
- AI-powered tools: Great for speed and iteration, but may need manual tweaks for specific art direction or technical constraints.
- Manual methods: Offer full control, but can be time-consuming for repetitive tasks.
My advice: Combine both—use AI for rapid prototyping, then refine manually for production-ready assets.
By following this workflow and leveraging the right mix of tools, I consistently achieve realistic, optimized water stream 3D models tailored for any production pipeline.


