Creating a Realistic 3D Water Cycle Model: Expert Workflow
Designing a realistic 3D water cycle model is one of the most rewarding projects for both educators and 3D artists. In my experience, the right workflow can turn a complex scientific process into a visually engaging and interactive learning tool—whether for classrooms, XR experiences, or web presentations. This guide walks through my practical, step-by-step approach, from planning and modeling to texturing, animation, and export. I’ll share what’s worked for me, including how AI-powered tools like Tripo streamline the process and where manual techniques still shine. If you want your water cycle model to be both accurate and visually compelling, this workflow will save you time and headaches.
Key takeaways
- Start with clear educational goals and solid reference material.
- Block out main landforms and water bodies before detailing.
- Use smart texturing for realistic water, clouds, and terrain.
- Animate key water cycle processes for maximum impact.
- AI tools like Tripo can automate segmentation, texturing, and retopology—saving hours.
- Optimize your model for the target platform (web, AR, education).
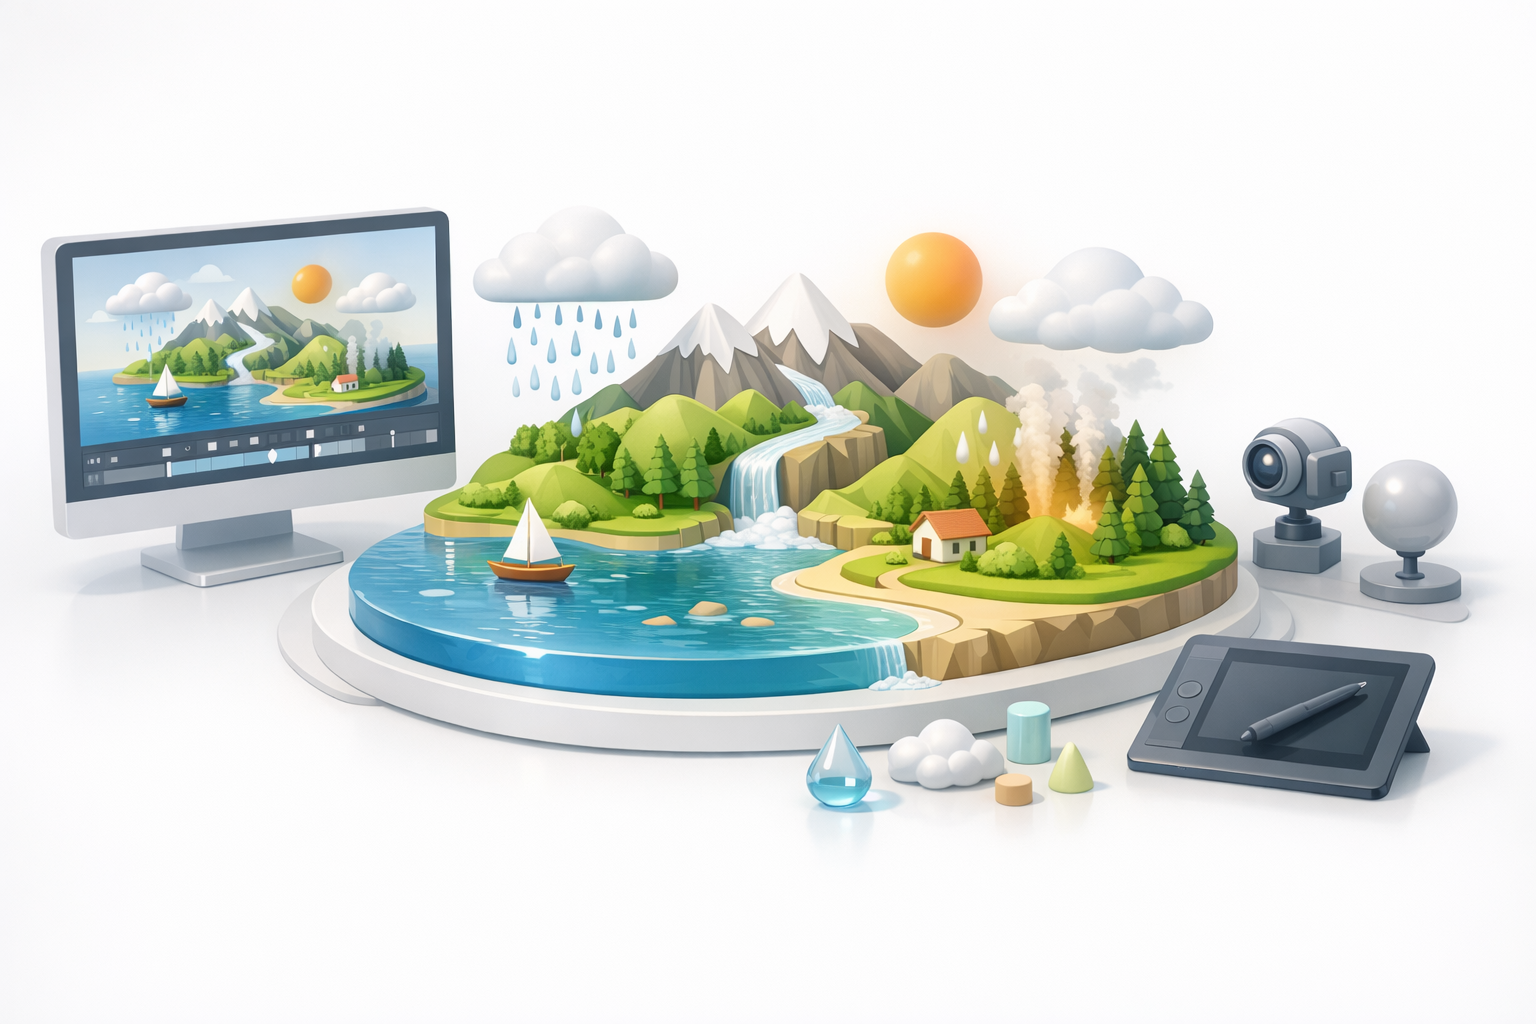
Overview of the Water Cycle in 3D Modeling
Key stages of the water cycle to represent
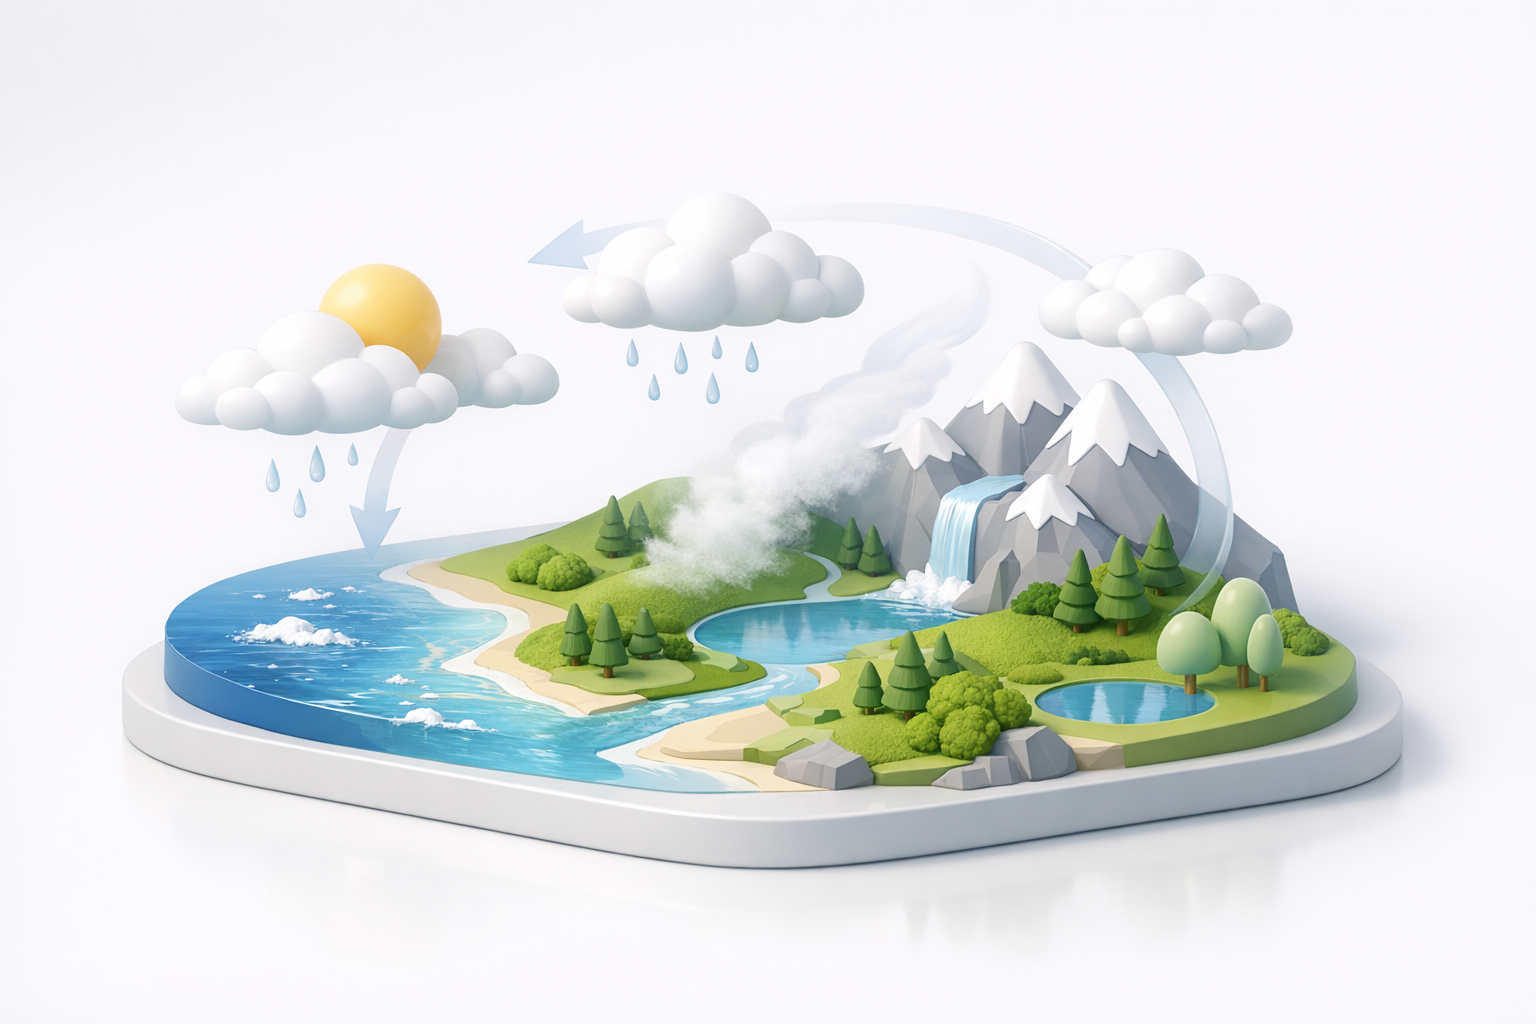
In my workflow, I always break the water cycle into its fundamental stages: evaporation, condensation, precipitation, and collection. For a comprehensive 3D model, it’s essential to visually represent each stage with clear transitions—think water bodies (lakes, oceans), clouds, rainfall, and rivers.
Checklist for stages:
- Evaporation (surface water to vapor)
- Condensation (cloud formation)
- Precipitation (rain/snow)
- Collection (rivers, lakes, groundwater)
Why 3D models enhance understanding
3D models bring the water cycle to life in ways 2D diagrams can’t. I’ve found that interactive 3D scenes allow users to explore different perspectives, observe movement, and grasp spatial relationships between components. This is especially powerful in educational and XR contexts, where engagement and retention are key.
Planning and Reference Gathering
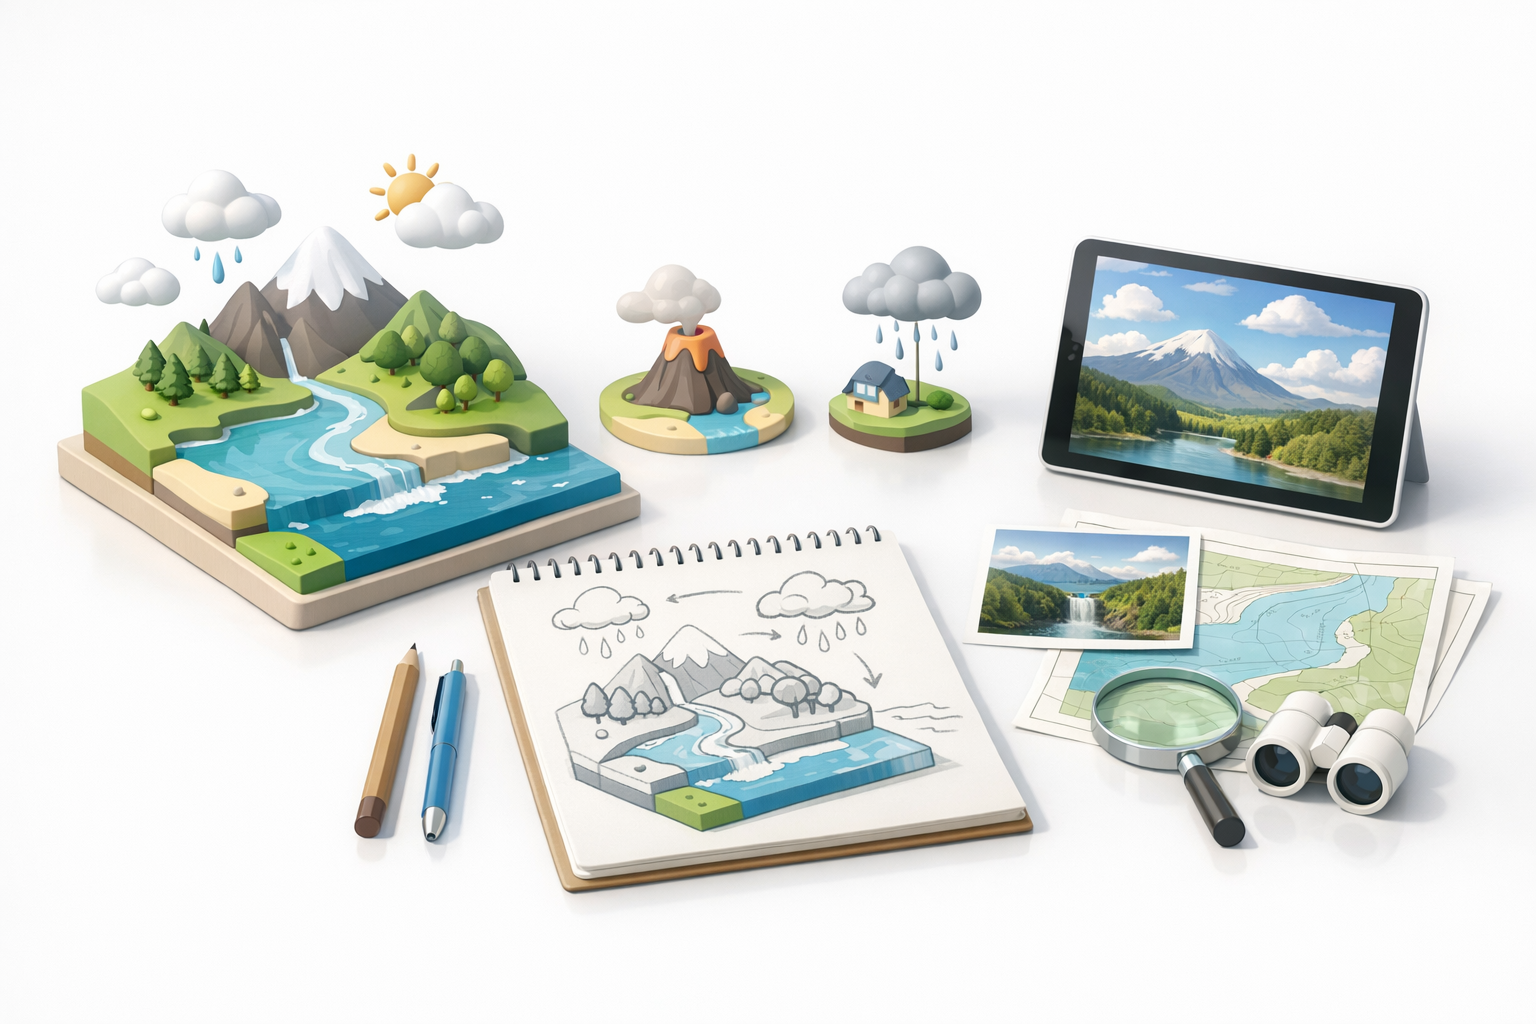
Selecting reference images and diagrams
I always start by collecting high-quality scientific diagrams and real-world landscape photos. These references guide the overall shape and scale of the model. I usually organize my references in a mood board or directly upload them into Tripo as prompts to guide the AI’s initial output.
Tips:
- Use reputable educational sources for accuracy.
- Gather multiple views (top, side, isometric) for clarity.
Defining model scope and educational goals
Before modeling, I define the intended audience and depth of detail. For example, a model for elementary students focuses on clarity and simplicity, while a university-level model can include groundwater flow and atmospheric layers.
Questions to ask:
- Who is the model for?
- What concepts must be clear?
- Is interactivity required, or is it a static visual?
Step-by-Step 3D Modeling Workflow
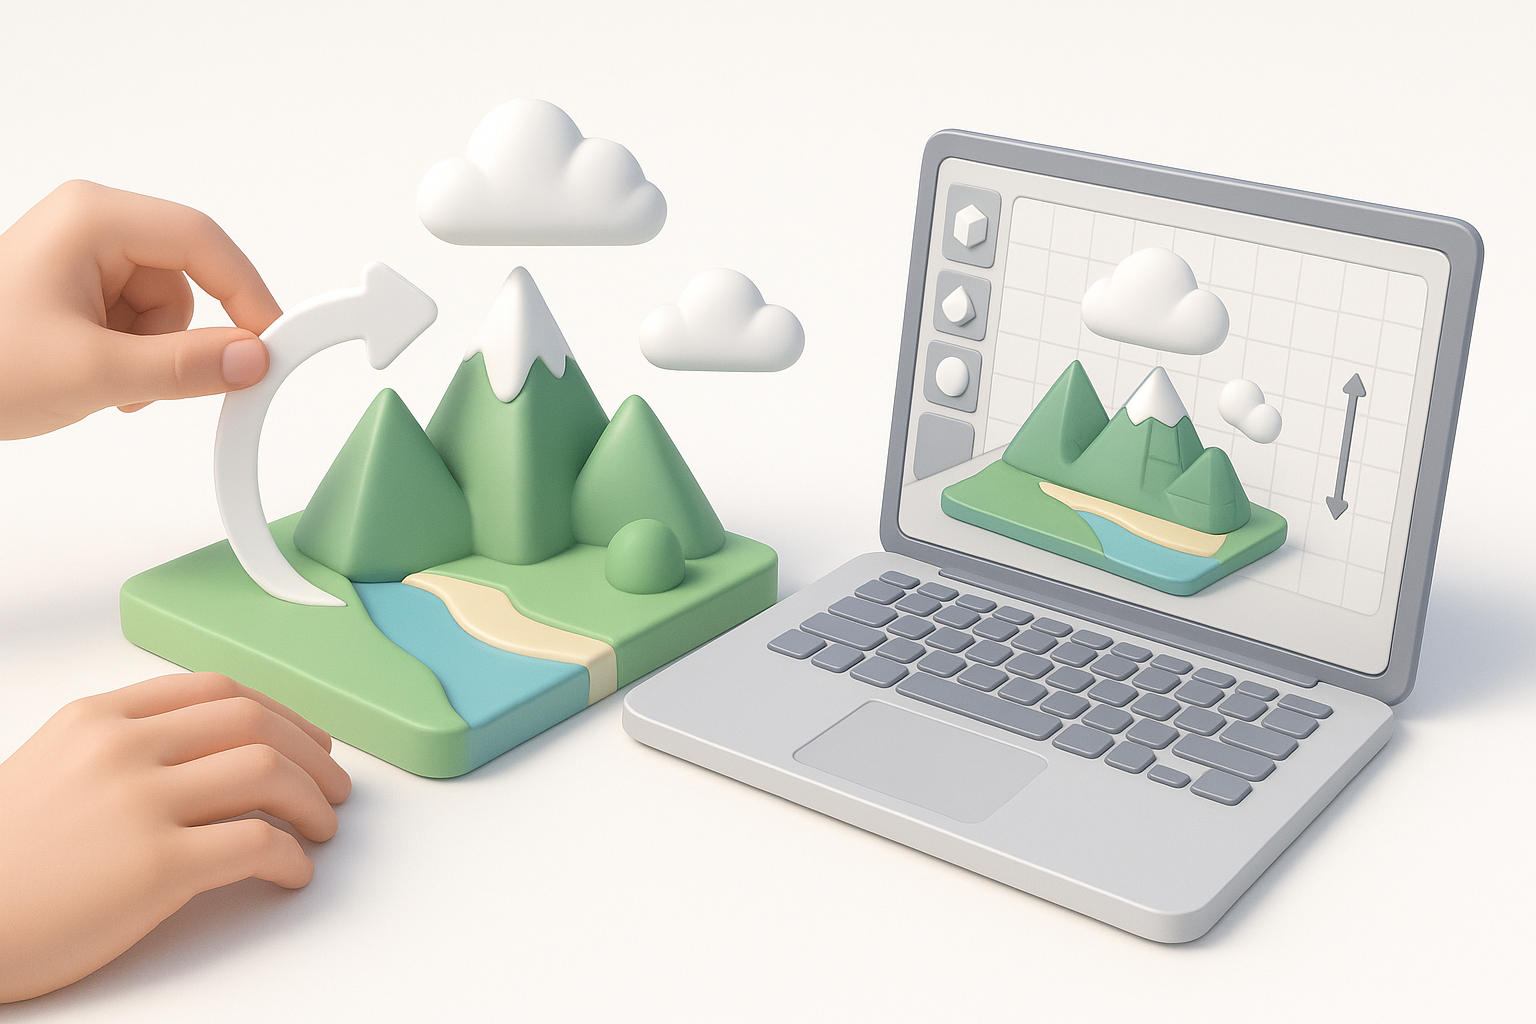
Blocking out main forms: land, water, clouds
I begin by blocking out the primary shapes—terrain, bodies of water, and clouds. In Tripo, I can use a simple text prompt or a quick sketch to generate base meshes, which saves a lot of time compared to manual box modeling.
Steps:
- Generate or sculpt the terrain (mountains, valleys).
- Add major water bodies (lakes, oceans).
- Place cloud forms above the landscape.
Adding details: rivers, precipitation, evaporation
Once the main forms are in place, I add secondary elements like rivers, rain paths, and vapor trails. I often use curve tools for rivers and particle systems for rain, then refine the details manually or with AI-assisted segmentation.
Tips:
- Keep geometry efficient—avoid excessive subdivision.
- Use layers/groups to organize each cycle stage for easy animation later.
Texturing and Material Best Practices
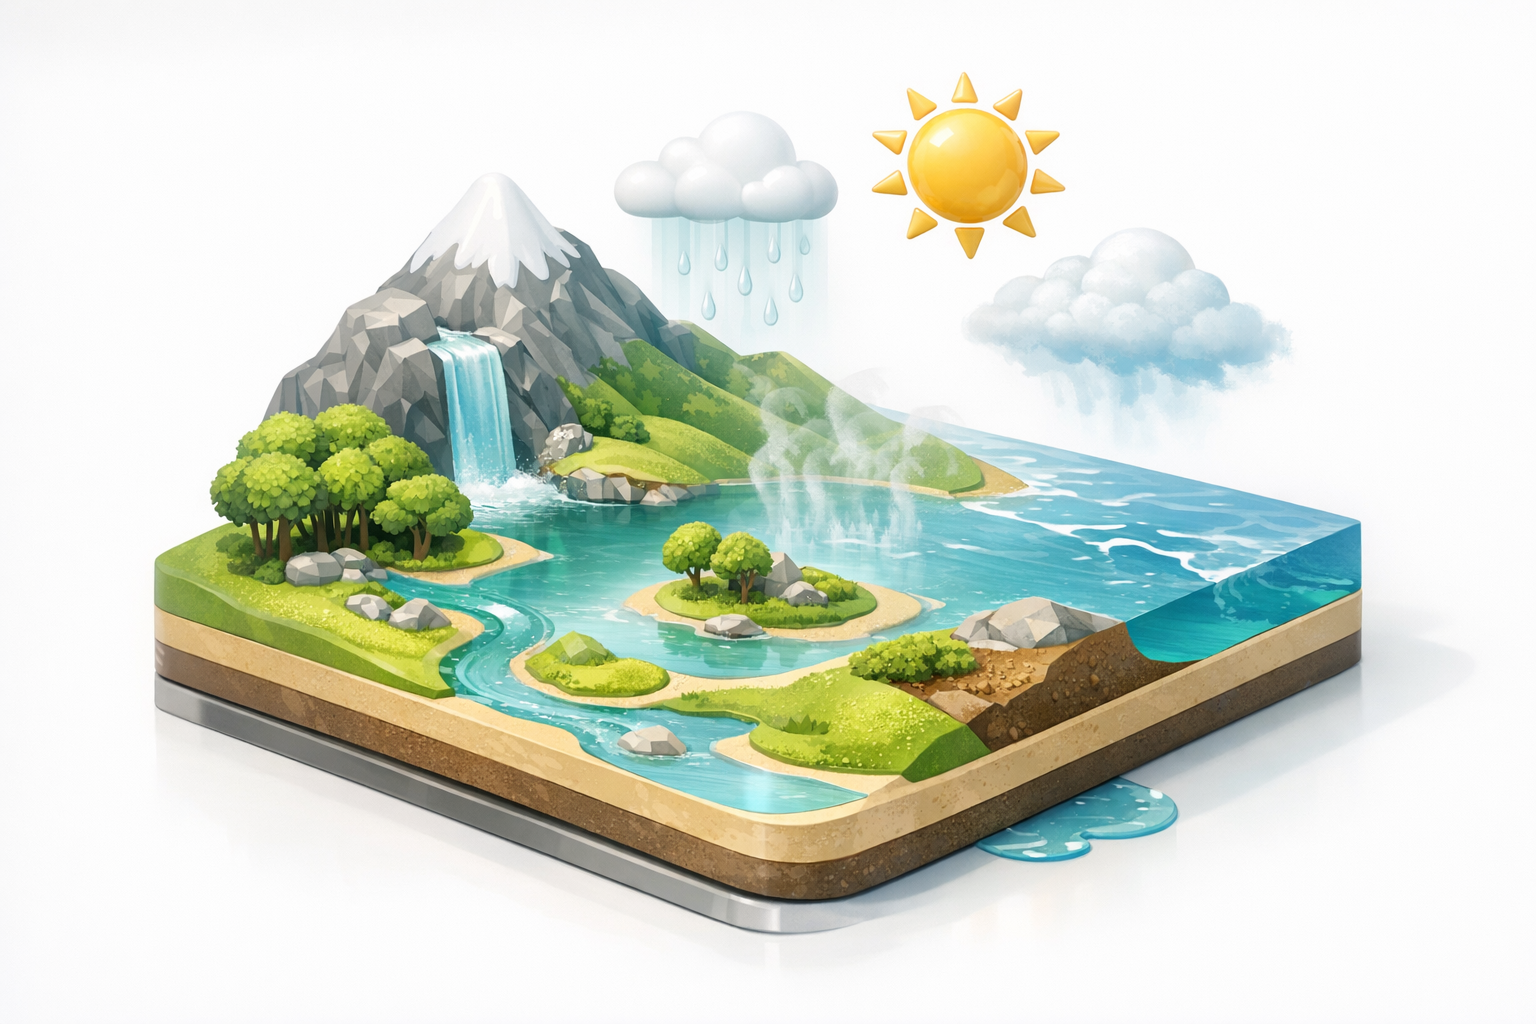
Creating realistic water and terrain textures
For realism, I rely on PBR (physically based rendering) materials. Tripo’s built-in texturing tools can auto-generate seamless water, soil, and cloud textures from references or prompts, which I tweak for reflectivity and transparency.
Checklist:
- Water: Use high-reflectivity, subtle normal maps.
- Terrain: Blend grass, soil, and rock textures.
- Clouds: Use alpha-masked shaders for softness.
Tips for seamless transitions between cycle stages
Transitions—like water vapor rising or rain merging with rivers—can look awkward if not handled carefully. I blend textures and use gradient masks to create smooth, natural-looking transitions.
Pitfalls:
- Avoid hard edges between land and water.
- Don’t overuse transparency; it can hurt performance in real-time apps.
Animating the Water Cycle

Simple animation techniques for cycle movement
Animating the water cycle is all about clarity. I use simple looping animations: water rising as vapor, clouds forming, rain falling, and water flowing back. Tripo’s basic rigging and path animation tools make this straightforward.
Steps:
- Animate water particles rising (evaporation).
- Morph vapor into clouds (condensation).
- Animate rain particles (precipitation).
- Move water along rivers (collection).
Highlighting evaporation, condensation, and precipitation
To emphasize each stage, I use color changes, particle effects, and arrows or labels. Timing the animations so each process is distinct helps learners follow the cycle.
Tips:
- Use slow, exaggerated motion for clarity.
- Add simple UI elements (arrows, icons) if the platform allows.
Exporting and Sharing Your Model
Optimizing for web, AR, and educational use
Export settings matter. I always optimize polygon count and texture sizes for the target platform—lightweight for web/AR, higher-res for offline use. Tripo’s export presets make this easy, but I always check the final file size and performance.
Checklist:
- Decimate mesh for web/AR.
- Compress textures without losing clarity.
- Test on target device before sharing.
File formats and sharing platforms
I typically export to GLB/GLTF for web and AR, or FBX/OBJ for offline and legacy platforms. For sharing, I use educational repositories, cloud viewers, or direct classroom integration.
Tips:
- Include a readme or guide for educators.
- Test compatibility with target platforms.
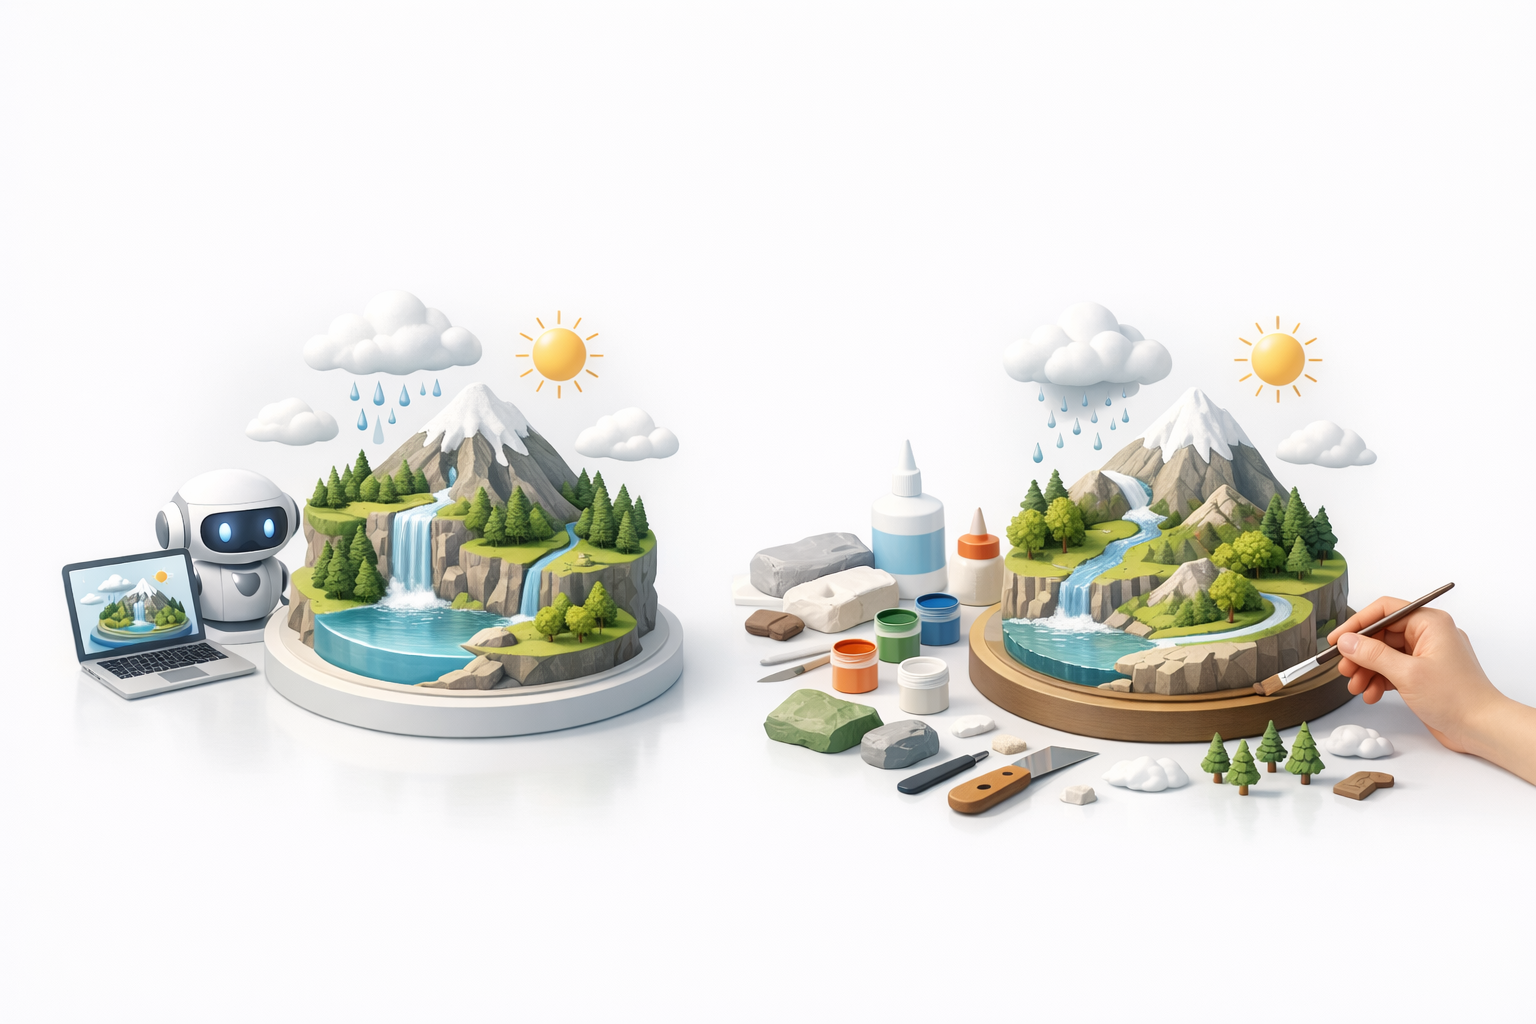
Comparing AI-Powered and Manual Workflows
Benefits of using AI tools for water cycle models
In my experience, AI-powered tools like Tripo drastically reduce the time spent on segmentation, retopology, and base texturing. This lets me focus on creative and educational aspects rather than repetitive technical tasks.
Advantages:
- Faster prototyping from text, image, or sketch prompts.
- Automated UVs and retopology for clean, ready-to-animate meshes.
- Consistent results, especially for educational series.
When to use traditional methods
I switch to manual modeling when I need full artistic control, custom topology, or highly stylized visuals. For complex animations or specialized shaders, traditional 3D software still has the edge.
Pitfalls:
- Relying solely on AI can limit fine-tuning.
- Manual tweaks are often needed for advanced animation or interactivity.
Expert Tips and Common Pitfalls
What I’ve learned from real-world projects
- Start simple: Overcomplicating the model early leads to wasted time.
- Use layers and groups: Organize each cycle stage for easy editing and animation.
- Always test: Preview your model on the actual device or platform.
Troubleshooting common modeling challenges
- Transitions look unnatural: Blend textures and use soft geometry transitions.
- Performance issues: Optimize mesh and texture sizes before export.
- Animation feels confusing: Slow down and exaggerate cycle stages for clarity.
Final tip: Document your workflow and settings. It saves time when updating or reusing the model for new projects or audiences.
By following these steps and leveraging both AI-powered and manual techniques, you’ll create a water cycle model that’s not only visually compelling but also a powerful educational tool.


