How I Create Warframe 3D Models: Tools, Tips, and Workflow
Creating Warframe-inspired 3D models demands a blend of artistic vision, technical precision, and efficient workflow management. Over the years, I’ve streamlined my process to capture the distinct style of Warframe assets, leveraging both manual and AI-powered tools to achieve production-ready results quickly. This article covers my end-to-end workflow, including reference gathering, tool selection, retopology, texturing, and optimization for games and XR. Whether you’re a beginner or looking to refine your pipeline, I’ll share practical tips and lessons learned from real projects.
Key takeaways:
- Gather high-quality references and plan details before modeling.
- Use AI-powered tools for rapid prototyping; refine with manual techniques for polish.
- Prioritize clean topology and efficient UVs for game-ready assets.
- Optimize textures and geometry for real-time performance.
- Know when to leverage automation versus hands-on sculpting.
- Address common pitfalls early—especially scale, proportions, and material accuracy.
Understanding Warframe 3D Model Requirements
Key features and details to capture
Warframe’s visual style is defined by intricate surface details, biomechanical forms, and dynamic silhouettes. In my experience, the following elements are essential:
- Distinct silhouettes: Exaggerated shapes and strong profiles.
- Surface detail: Engraved patterns, armor plating, and “techno-organic” motifs.
- Material separation: Clear distinctions between metals, energy, and organic surfaces.
I always start by identifying these signature features, as missing them can make the model feel generic or off-brand.
Reference gathering and planning
Reference is everything. I typically:
- Gather official concept art, in-game screenshots, and fan art.
- Break down references into specific parts (e.g., helmet, armor, weapons).
- Annotate features that must be accurate (e.g., emblem positions, color zones).
Before touching any modeling software, I sketch or block out the main forms to clarify proportions and plan the modeling sequence. This step saves hours of rework later.
My Workflow for Creating Warframe 3D Models
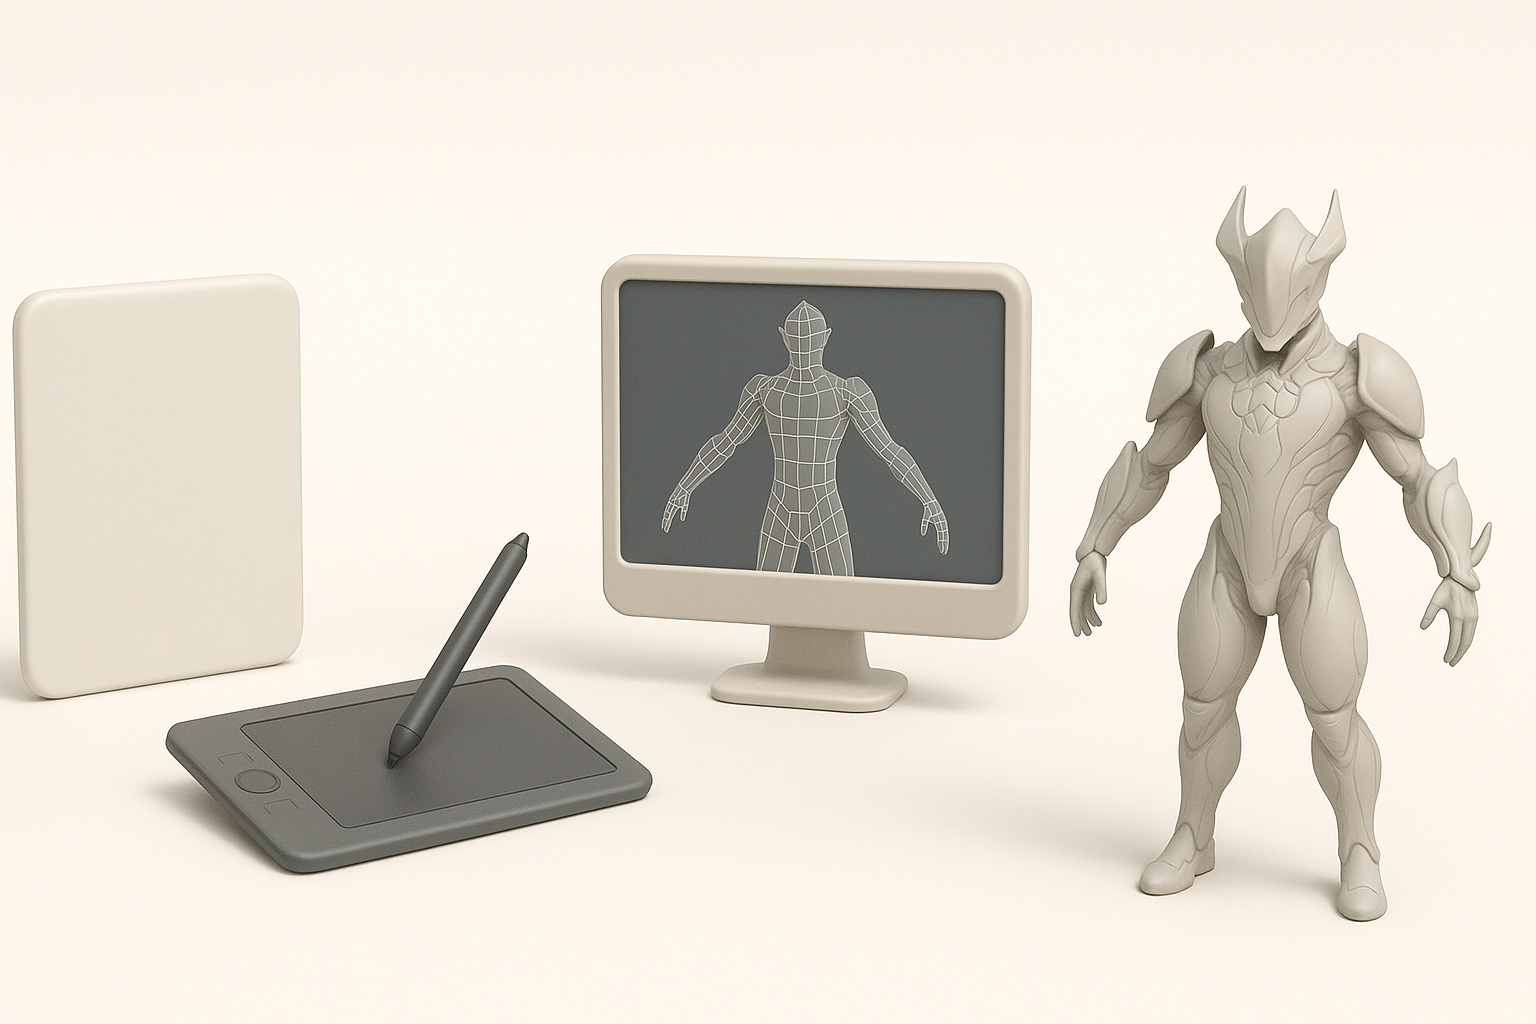
Choosing the right tools for the job
The choice of tools can make or break efficiency. For Warframe-style assets, I rely on:
- AI-powered platforms (like Tripo): For rapid concept generation and base mesh creation from text or sketches.
- Traditional DCC tools: For sculpting, retopology, and fine detailing (e.g., Blender, ZBrush, Substance Painter).
I typically start with AI tools for blockouts, then switch to manual sculpting for refinement. This hybrid approach balances speed and control.
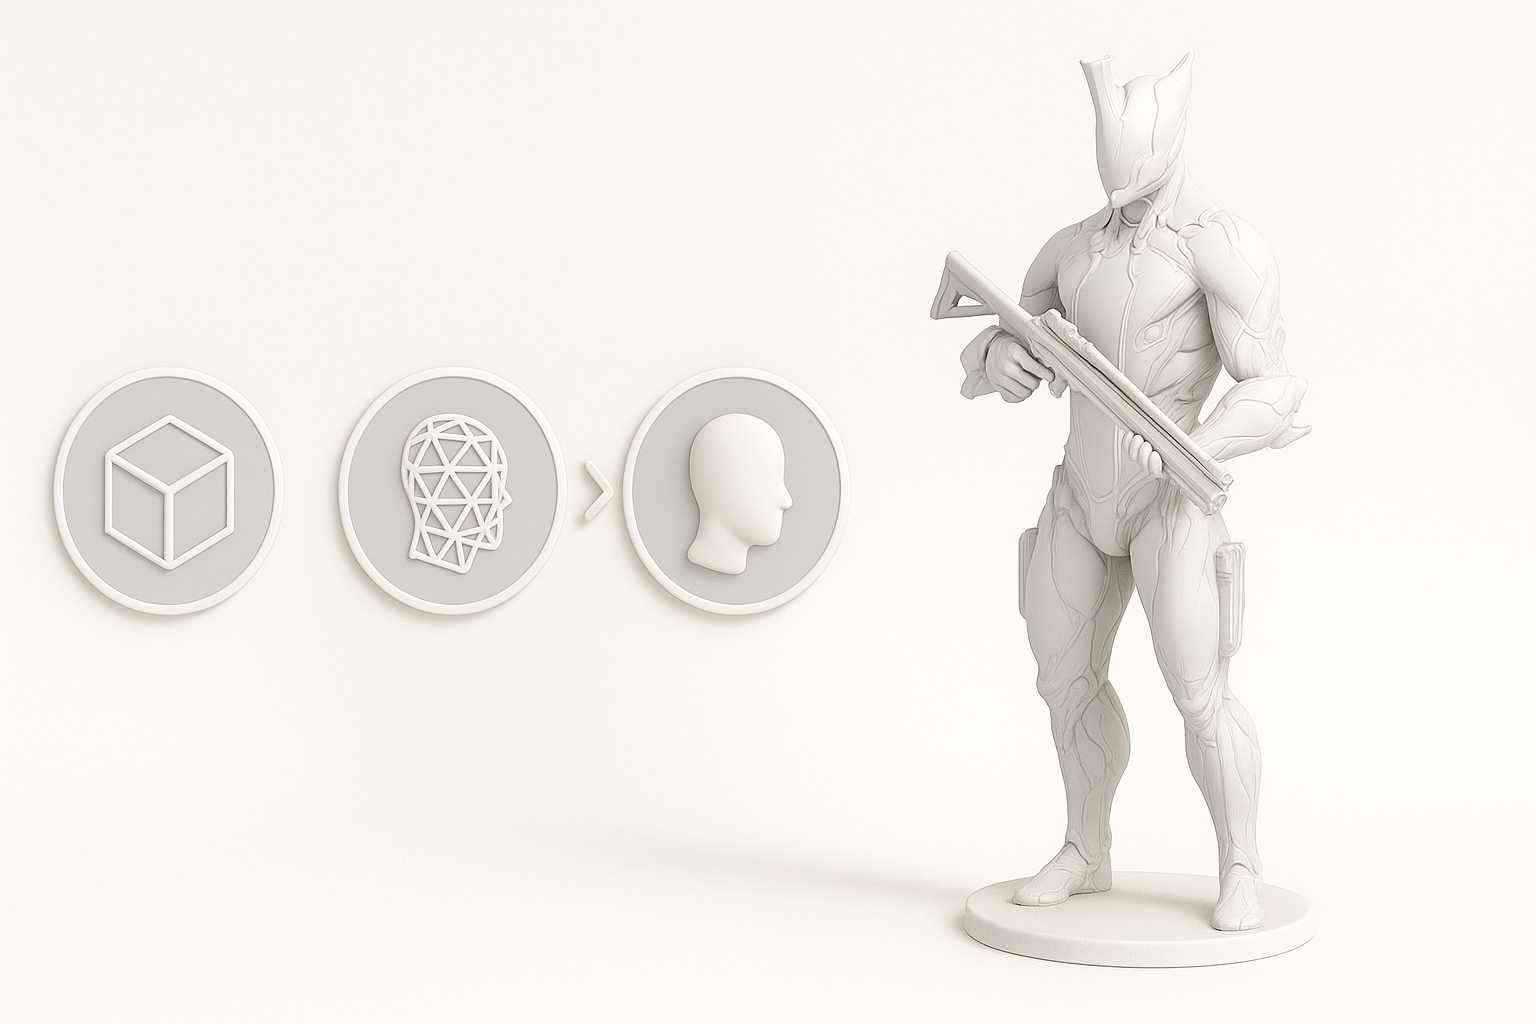
Step-by-step process from concept to completion
Here’s my typical workflow:
- Reference & planning: Collect and annotate key images.
- Blockout: Use an AI platform to generate a base mesh, or quickly sculpt in a DCC tool.
- Sculpting: Refine forms, add primary and secondary details.
- Retopology: Use built-in AI retopology tools or manual retopo for clean, animation-ready geometry.
- UV unwrapping: Ensure efficient, distortion-free UVs.
- Texturing: Paint materials, focusing on wear, emissives, and material separation.
- Rigging & posing: If needed, use auto-rigging tools for quick setup.
- Export & optimization: Check polygon count, texture sizes, and game engine compatibility.
Pitfalls: Skipping the blockout or reference phase usually leads to proportion issues. Always validate scale and silhouette early.
Best Practices for High-Quality Warframe 3D Models
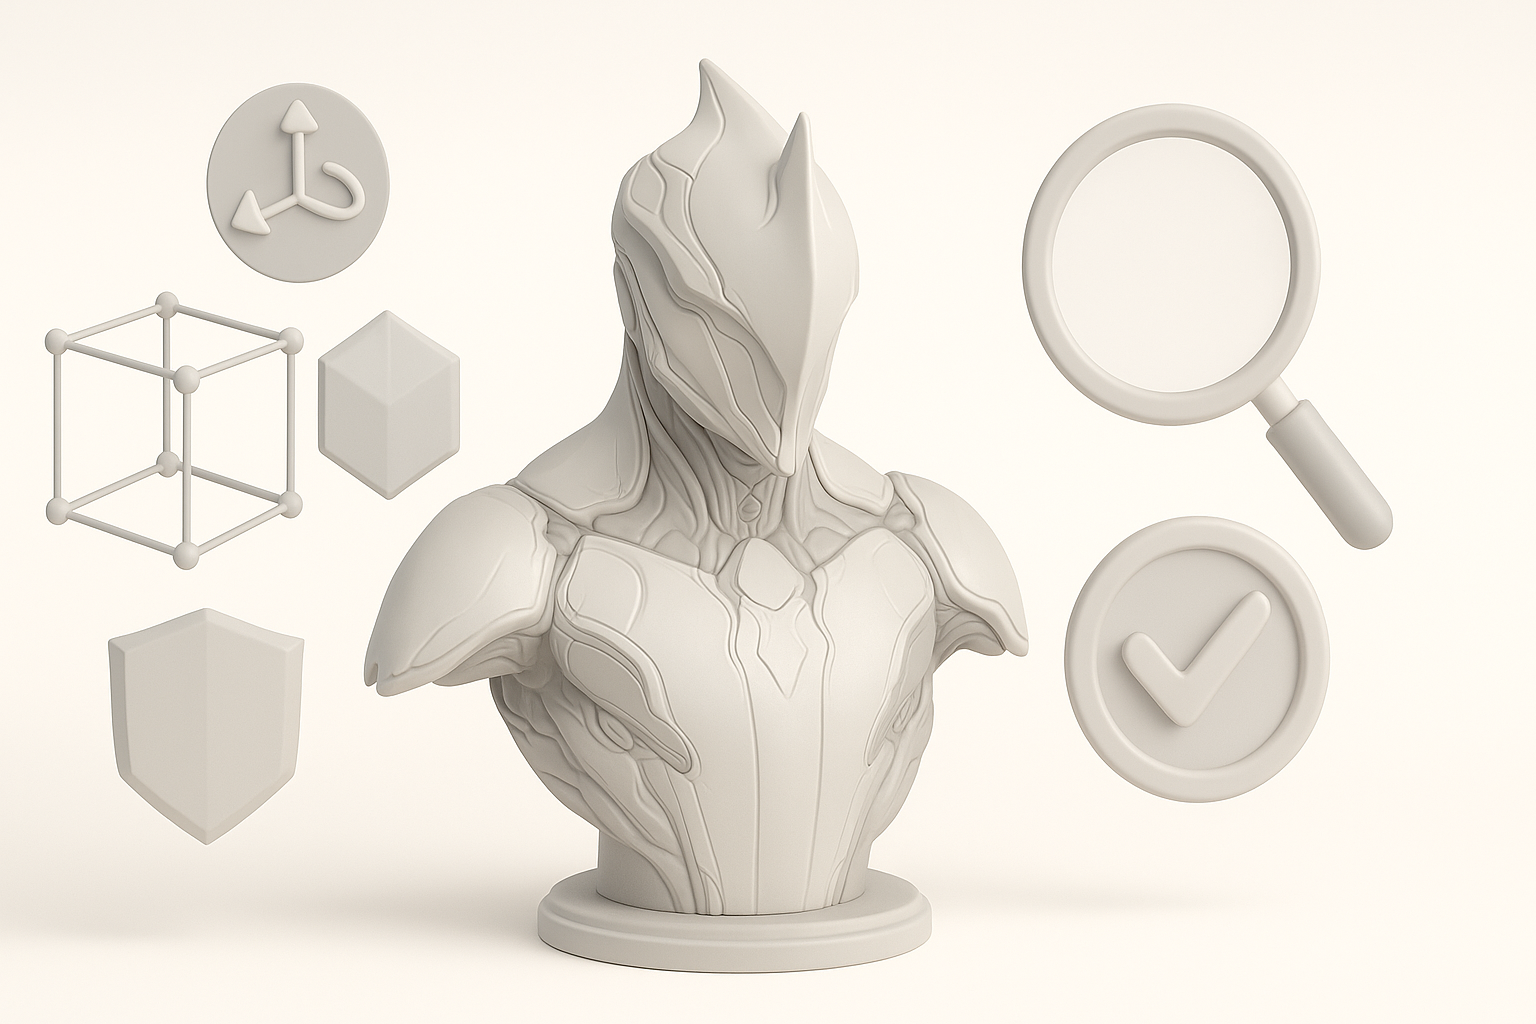
Efficient retopology and texturing techniques
Clean topology is non-negotiable for game assets. What I’ve found works best:
- Use automated retopology for initial passes, then manually adjust edge flow in critical areas (joints, faces).
- Keep polycount reasonable—optimize dense areas without sacrificing silhouette.
- For texturing, bake high-poly details to normal maps, and use smart masks for metals, emissives, and grime.
Mini-checklist:
- Quads over triangles for deformation.
- Edge loops around joints.
- Consistent texel density.
Optimizing models for games and XR
Performance is crucial. My top tips:
- Limit texture sizes (2K max for most assets).
- Use efficient UV packing—minimize wasted space.
- Test in-engine early to spot shading or LOD issues.
- For XR, reduce overhangs and fine protrusions to prevent VR artifacts.
Common mistake: Over-detailing areas that won’t be seen up close. Focus detail where it matters most.
Comparing AI-Powered and Traditional 3D Modeling Methods
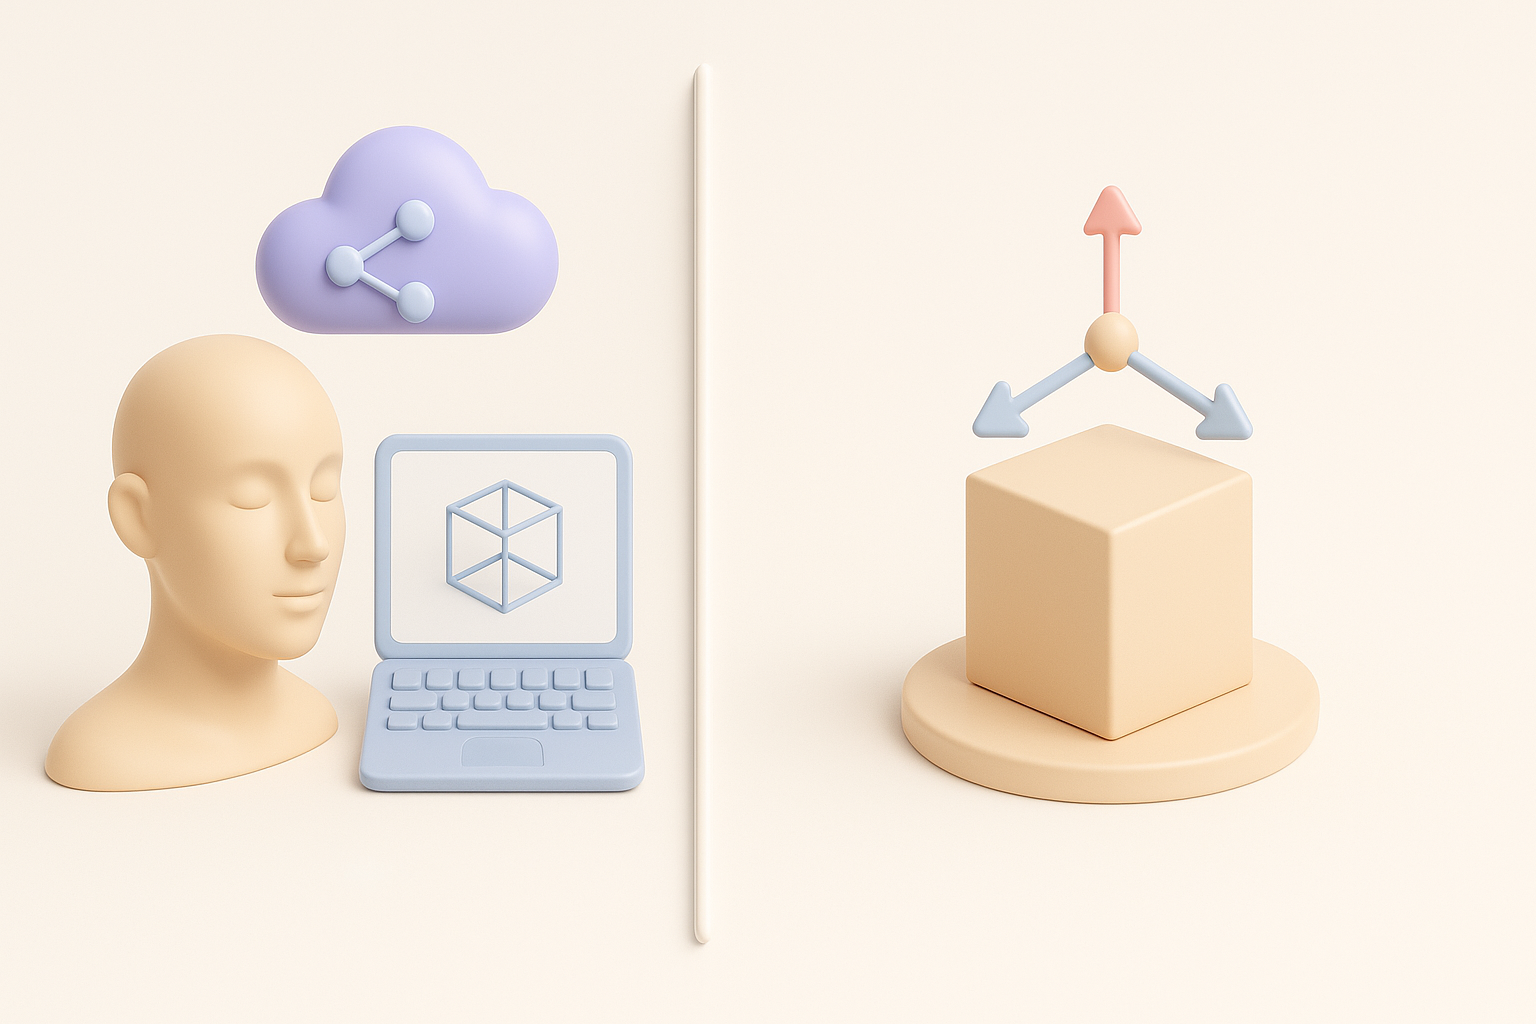
When to use AI-driven platforms like Tripo
AI tools shine when:
- Rapid iteration is needed (e.g., concept blockouts, alternate designs).
- You need to generate multiple variations quickly.
- Time or manpower is limited.
I use AI platforms at the start for speed, then refine manually for polish and accuracy.
Pros and cons of manual vs. automated workflows
AI-powered workflows:
- Pros: Fast, accessible, great for ideation and base meshes.
- Cons: May require manual cleanup, sometimes lacks fine control.
Manual workflows:
- Pros: Full control, precision, ideal for hero assets.
- Cons: Time-consuming, steeper learning curve.
For Warframe models, I combine both: AI for speed, manual for quality.
Tips and Lessons Learned from My Warframe 3D Projects
Common challenges and how I solve them
- Complex shapes: Use AI-generated blockouts to avoid getting stuck on base forms.
- Maintaining style: Constantly compare with references; don’t rely solely on memory.
- Texture consistency: Create reusable smart materials for metals, energy, and organic parts.
Checklist:
- Validate scale in-engine.
- Double-check normals and UVs before baking.
- Set up a feedback loop—get early reviews from peers.
Advice for creators new to Warframe modeling
- Start simple—focus on one Warframe part (e.g., helmet) before tackling full suits.
- Don’t skip reference or blockout stages.
- Experiment with AI tools, but learn the fundamentals of topology and texturing.
- Share work-in-progress for feedback; the Warframe community is very supportive.
Biggest lesson: The right workflow saves more time than any single tool. Iterate quickly, validate often, and don’t be afraid to combine manual and AI-driven methods for the best results.


