How to Create a Realistic Tub 3D Model in Blender
Creating a realistic tub 3D model in Blender is a practical exercise in both technical modeling and artistic detail. In my experience, success hinges on solid reference gathering, efficient geometry workflows, and thoughtful texturing. This guide walks you through each stage, with actionable tips and insights for artists, designers, and developers—whether you’re aiming for game assets, product visualization, or XR applications. I’ll also share how I leverage AI tools like Tripo to speed up the process without sacrificing quality.
Key Takeaways:
- Gather strong references before modeling for accuracy and realism.
- Block out basic shapes before adding details—avoid overcomplicating early.
- Use UV best practices to prevent stretching and seams.
- AI tools like Tripo can accelerate tedious steps, but manual refinement is still essential.
- Always clean up geometry and optimize for your target platform.
- Export settings matter—tailor them for your intended use (game, film, XR, etc.).
Executive Summary and Key Takeaways
What to Expect from This Guide
In this guide, I break down my workflow for creating a realistic tub in Blender, from planning to final export. You’ll get hands-on steps, practical checklists, and advice for each stage. I include my experience with both manual and AI-accelerated methods, highlighting where each shines.
Essential Tools and Workflows
- Blender: My main modeling, UV, and rendering tool.
- Tripo AI: For rapid mesh generation, segmentation, and texturing.
- Reference boards: PureRef or similar for organizing inspiration.
- Image editors: For texture tweaks (optional).
Planning and References for Tub Modeling
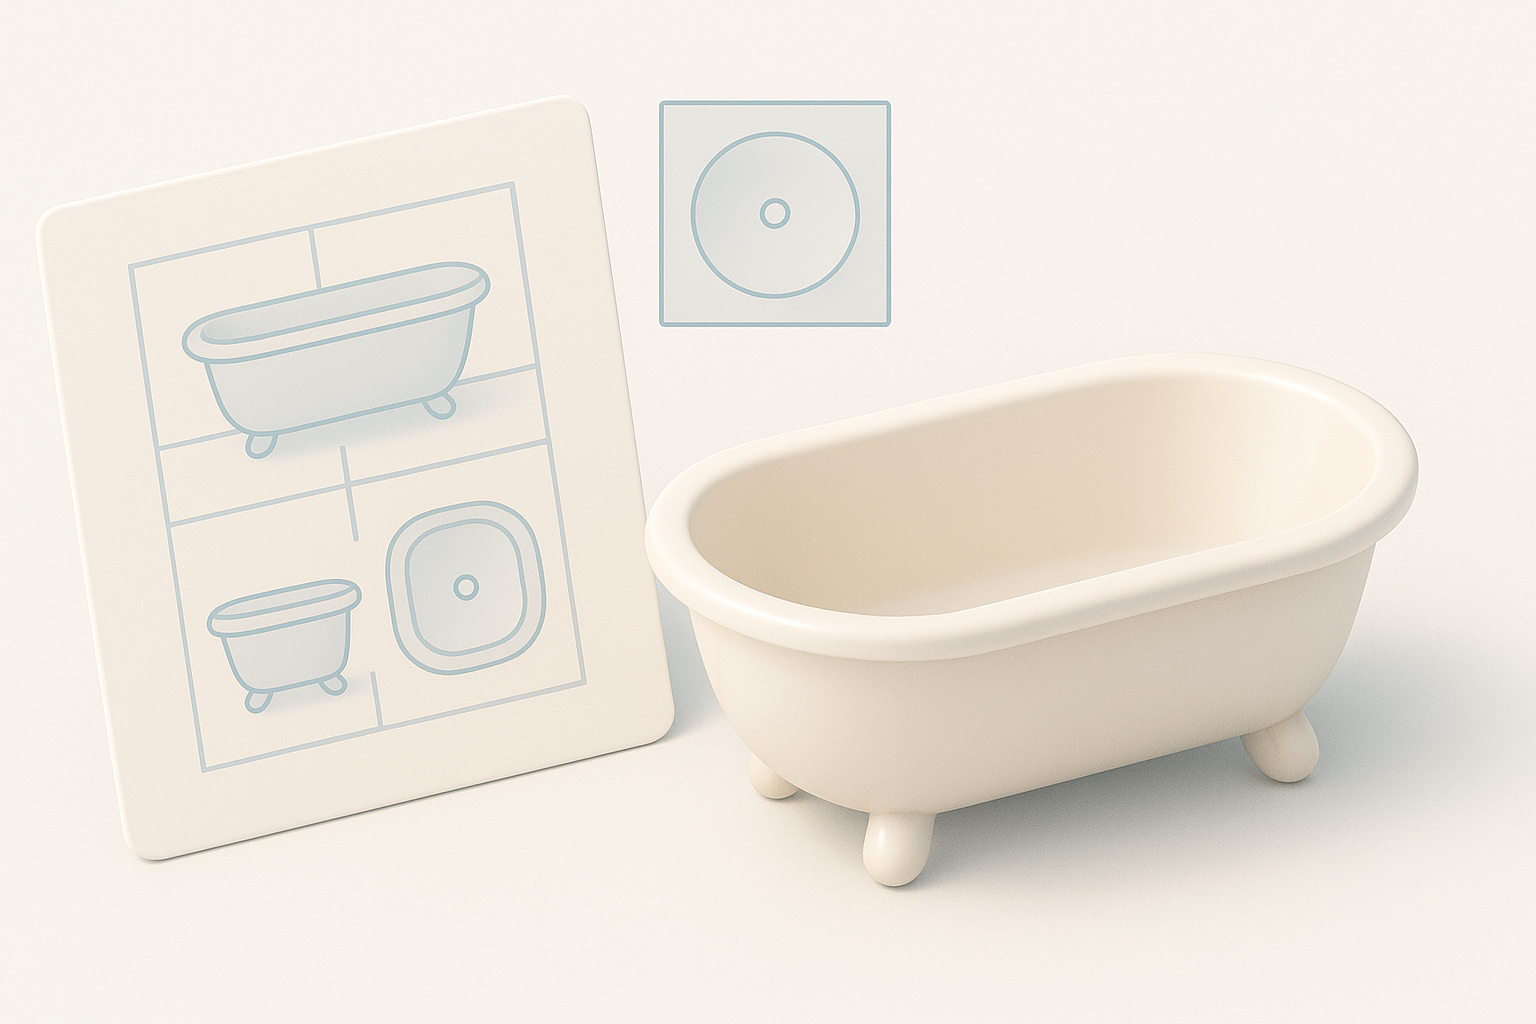
Gathering Reference Images and Sketches
I always start by collecting high-quality references—photos from multiple angles, technical drawings, and style inspirations. For realistic results, I recommend:
- Searching for tubs in real-world contexts (bathrooms, catalogs).
- Capturing top, side, and perspective views.
- Sketching over references to clarify proportions.
Checklist:
- At least 3–5 reference images
- Sketch or annotate key features (rim shape, feet, fixtures)
Analyzing Tub Shapes and Proportions
Before opening Blender, I analyze the tub’s silhouette and major forms. Most tubs are a blend of cylinders and ellipsoids, with subtle curves at the rim and base. Key proportions to note:
- Height-to-length ratio
- Rim thickness and curvature
- Placement of overflow, drain, and feet
Pitfall: Skipping this analysis often leads to “off” proportions that break realism.
Step-by-Step Tub Modeling in Blender
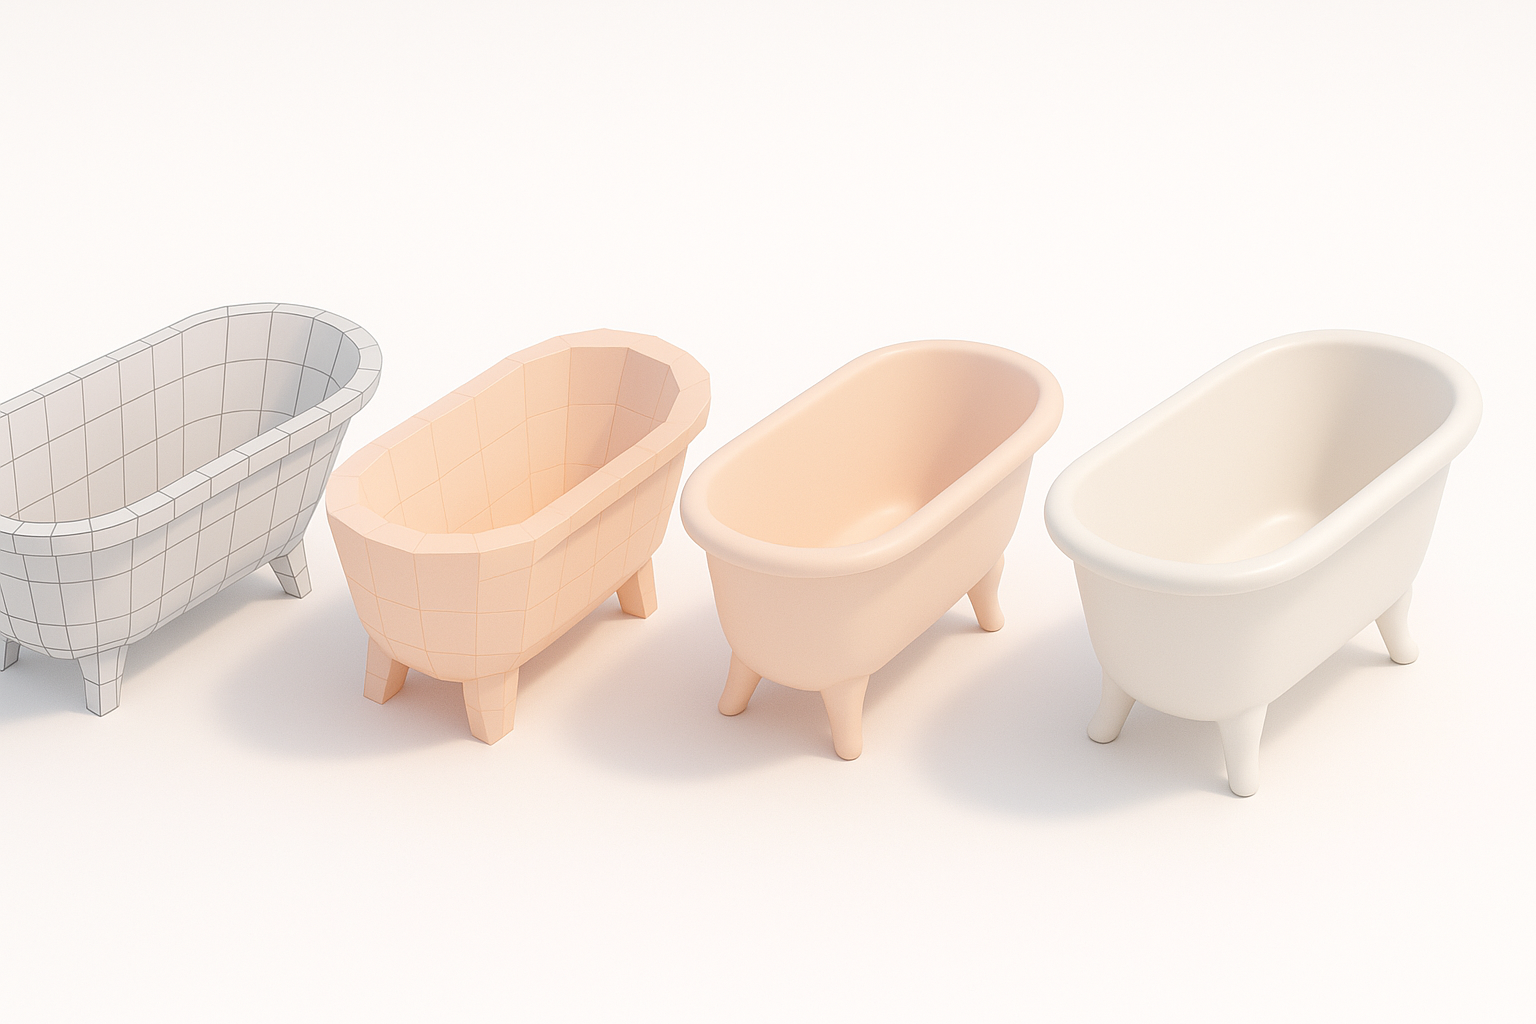
Blocking Out the Basic Shape
I begin with primitive shapes—usually a cylinder for the body. Here’s my typical workflow:
- Add a cylinder mesh (
Shift+A→ Mesh → Cylinder). - Scale and shape: Use
SandGfor rough proportions. - Inset the top face (
I), extrude down (E) to form the inner basin. - Adjust edge loops (
Ctrl+R) to refine the rim and base.
Tip: Don’t add too many subdivisions early; keep it simple for easy edits.
Adding Details and Refining Geometry
Once I’m happy with the blockout, I add features:
- Rim bevels: Select rim edges, apply a small bevel (
Ctrl+B). - Feet or supports: Model separately and position under the tub.
- Fixtures: Use reference to add overflow, drain, or faucet holes.
Checklist:
- Clean, quad-based geometry
- Realistic rim and base transitions
- Separate objects for movable parts (e.g., feet)
Texturing and Materials for a Realistic Tub
UV Unwrapping Best Practices
Good UVs are essential for clean textures. My process:
- Mark seams around the rim and base.
- Unwrap (
U→ Unwrap) and check for stretching in the UV editor. - Pack UVs efficiently; avoid overlapping unless intentional.
Tip: Use Blender’s “Minimize Stretch” and “Average Islands Scale” for even texel density.
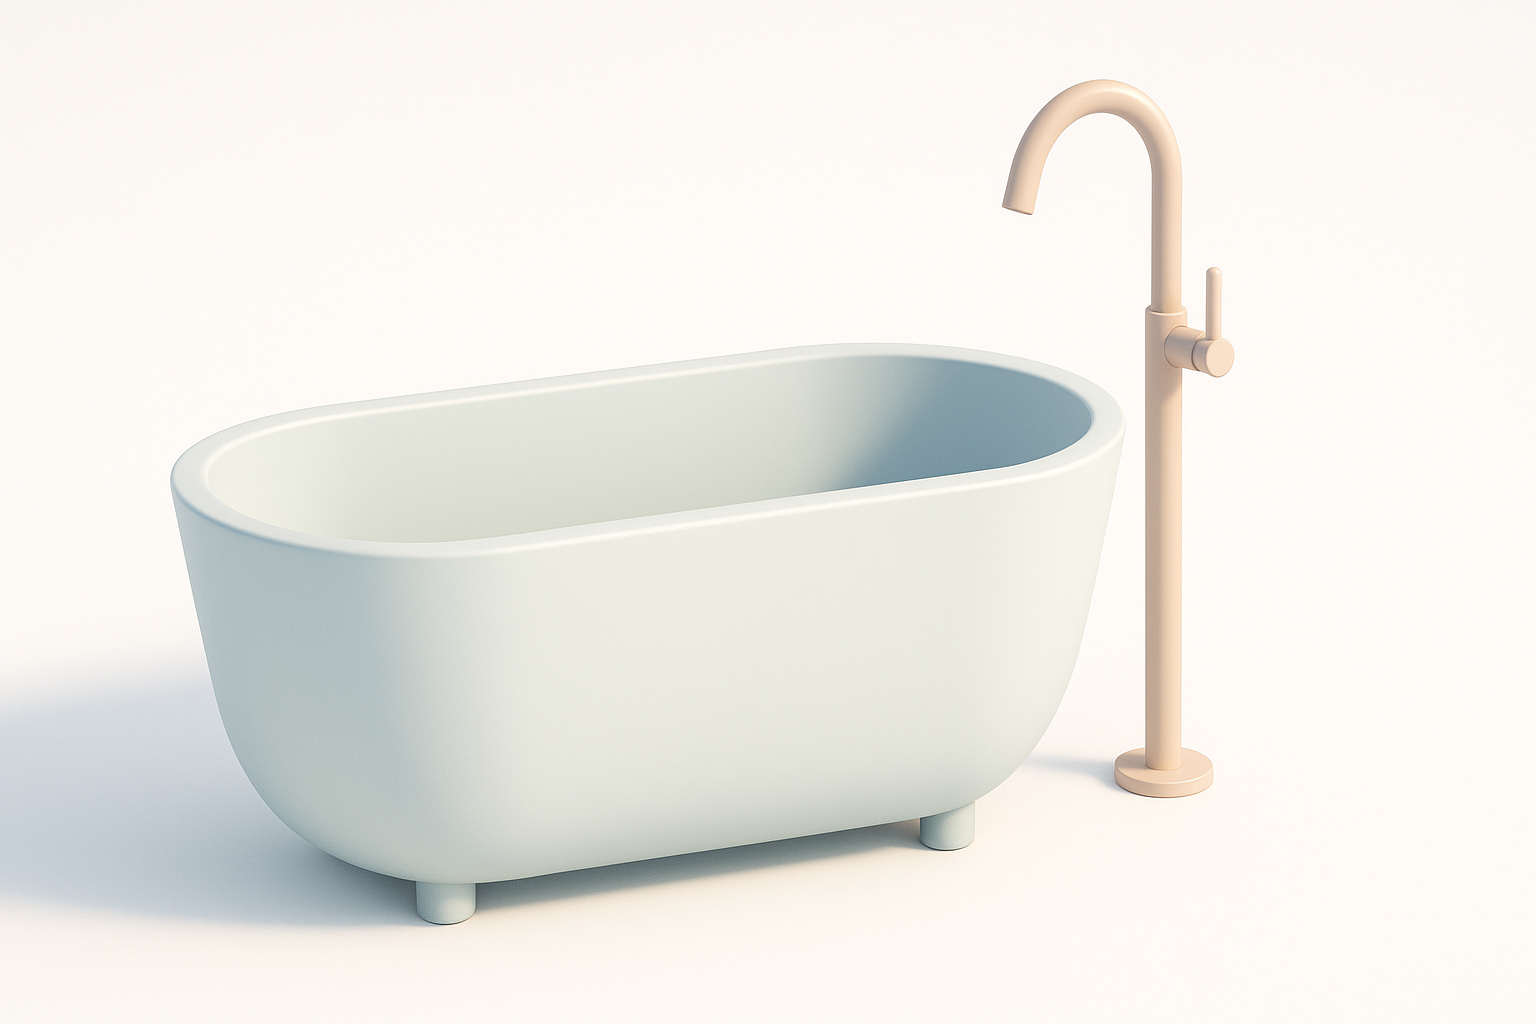
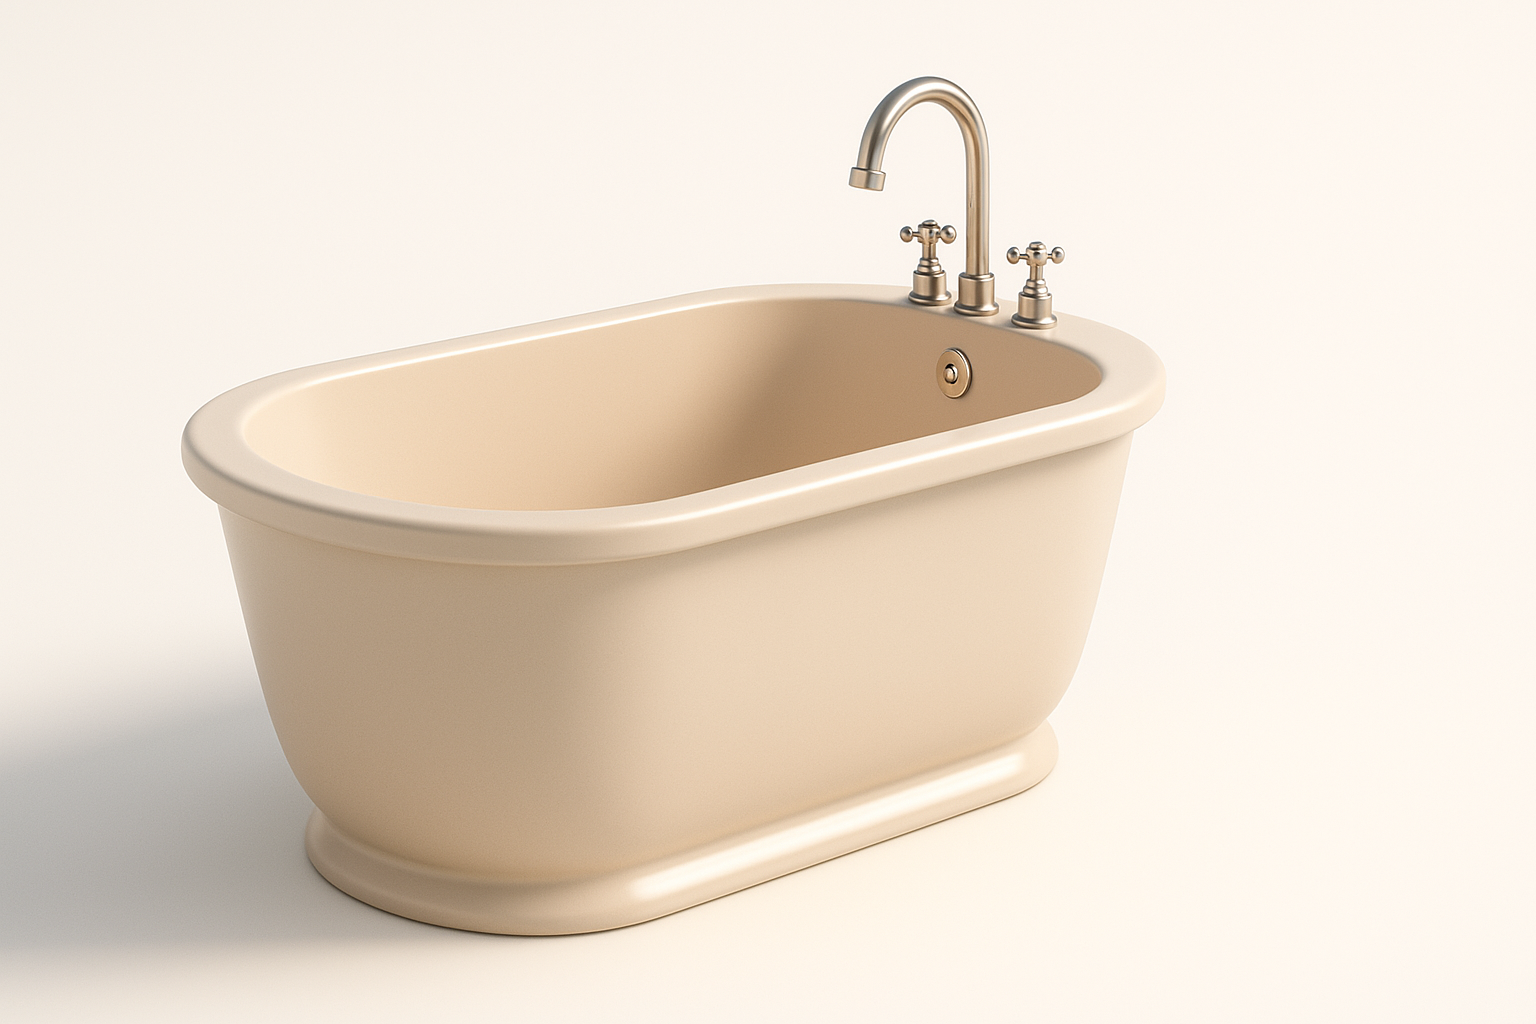
Applying Materials and Textures
For realism, I use a combination of procedural and image-based materials:
- Base material: Glossy white ceramic (Principled BSDF with high roughness).
- Grime or wear: Add subtle noise or AO maps.
- Metal parts: Separate materials for fixtures.
Pitfall: Overly clean tubs look fake—add imperfections for believability.
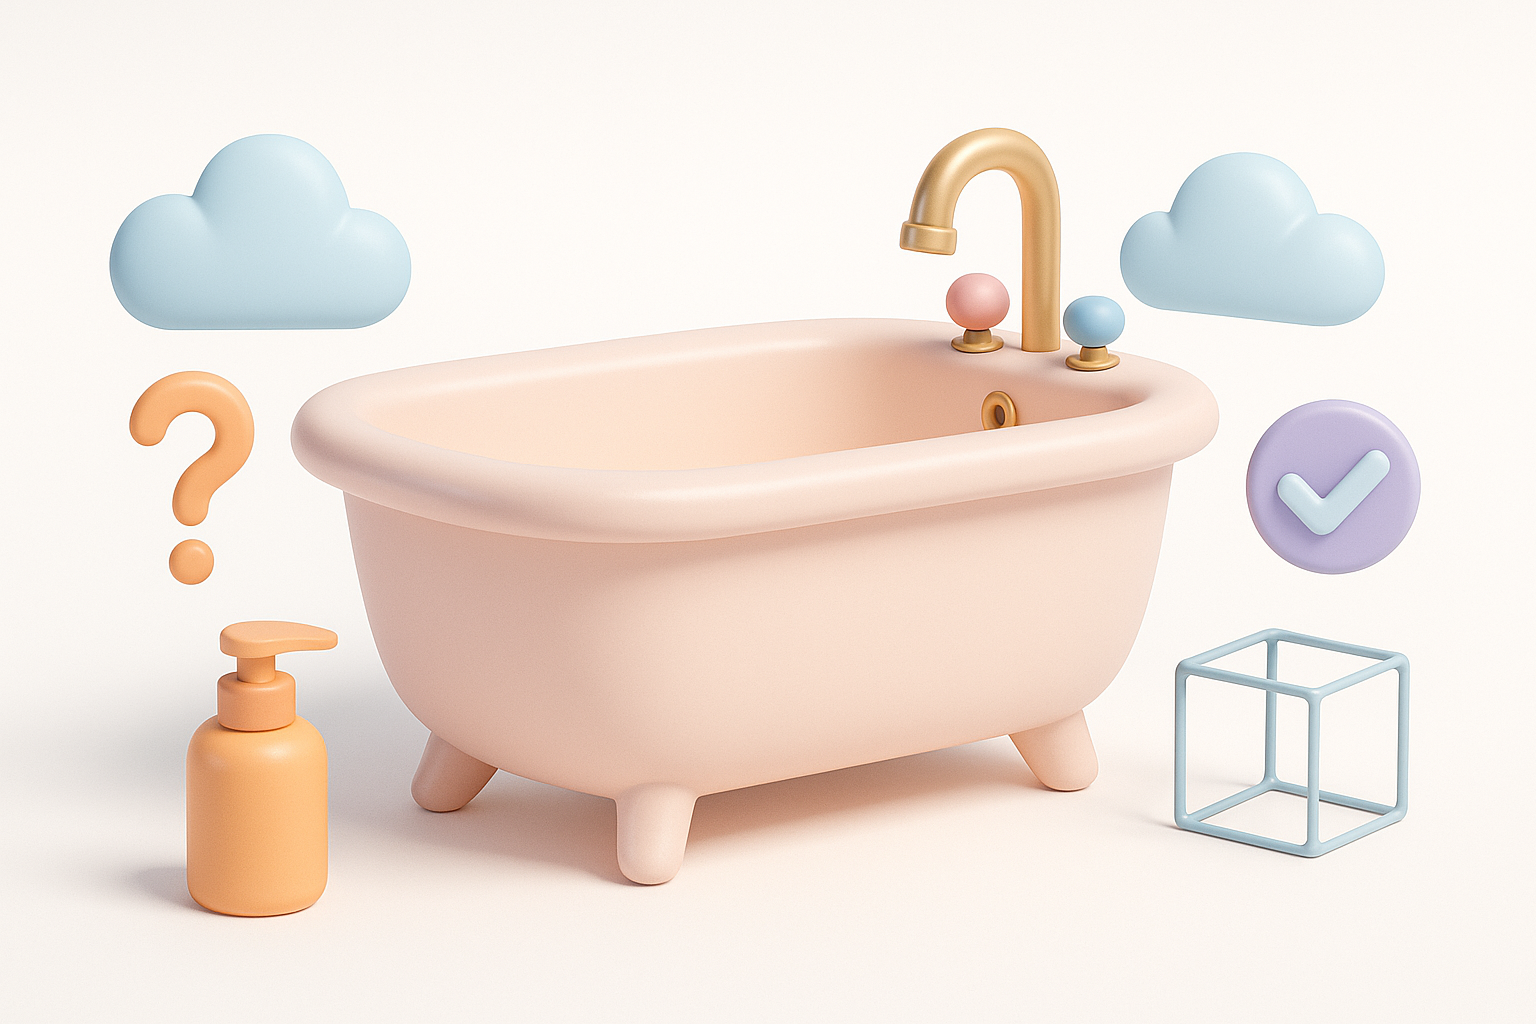
Optimizing and Exporting the Tub Model

Retopology and Mesh Cleanup
Before export, I always check for:
- Non-manifold edges (
Select→ Select All by Trait → Non-manifold) - N-gons and triangles: Convert to quads where possible.
- Unnecessary loops: Remove for lower poly count.
If I use Tripo AI for initial mesh generation, I let it handle auto-retopology, then manually tweak areas as needed.
Export Settings for Various Uses
Export settings depend on the target:
- Games:
.fbx, triangulate mesh, bake normals. - Film/Render:
.objor.abc, keep higher poly, include displacement. - XR/AR: Optimize for low poly, pack textures, use
.glbor.gltf.
Checklist:
- Apply scale/rotation (
Ctrl+A) - Check material assignments
- Test import in target engine
Using AI Tools to Accelerate Tub Modeling
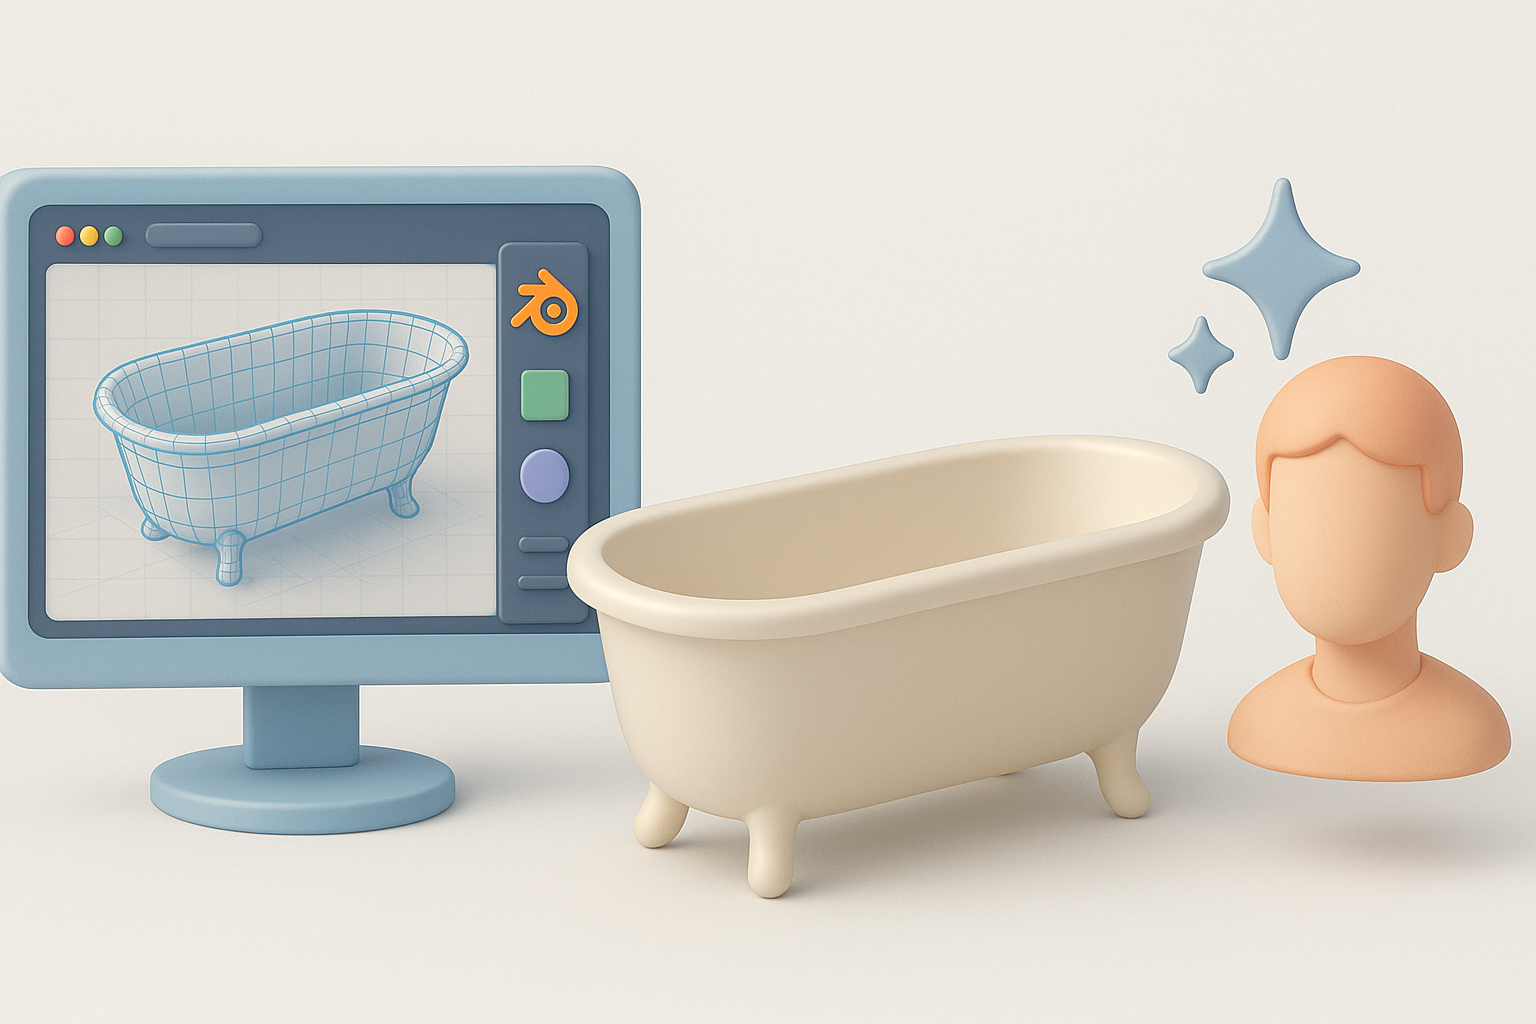
Integrating Tripo AI in My Workflow
When speed matters, I use Tripo AI to generate a base mesh from a quick sketch or text prompt:
- Input: Upload a reference image or describe the tub.
- AI output: Receive a segmented, production-ready mesh.
- Refine in Blender: Adjust geometry, UVs, or materials as needed.
This saves me time on blockout and basic topology, letting me focus on details and final touches.
Comparing AI and Manual Methods
- AI tools: Great for quick iterations, concepting, or when reference is clear.
- Manual modeling: Better for unique designs, tight control, or stylized work.
Tip: I often combine both—AI for the base, manual for polish.
Common Challenges and My Solutions
Fixing Geometry Issues
Common problems I encounter:
- Pinching at rim or base: Add supporting edge loops.
- Normals facing wrong way: Recalculate (
Shift+N). - Shading artifacts: Use auto-smooth or manual smoothing groups.
Mini-checklist:
- No visible seams or shading glitches
- Clean, watertight mesh
Ensuring Realism and Efficiency
To balance realism and performance:
- Reference check: Regularly compare model to source images.
- Imperfect details: Add subtle wear or asymmetry.
- Optimize polycount: Remove hidden faces, merge vertices.
Pitfall: Over-modeling tiny details—use normal maps instead for small features.
By following these steps and integrating AI where it adds value, I efficiently create realistic tub models in Blender that are ready for any pipeline.


